Embed Size (px)
Citation preview
Editing with GarageBand
Assignment #2
Music Production @Coursera
July 31, 2014
Introduction
• I am Ranjit from California, USA.
• I play synths & program music using ChucK.
• This lesson is my assignment for week 2 of Introduction To Music Production @Coursera.
• I’ll describe how GarageBand X (Mac) performs a variety of useful editing functions
• I’ve tried to throw in some additional details which I found interesting
• Thanks for your time!
LESSON
Editing with GarageBand X
GarageBand
• GarageBand is a music creation studio for the Mac — it comes with numerous instruments & presets, and a sound library.
• You can plug in your guitar or mic and choose from various amps and effects.
• It’s not as powerful as tools like Ableton Live & Logic Pro but it provides numerous features which are ideal for beginners
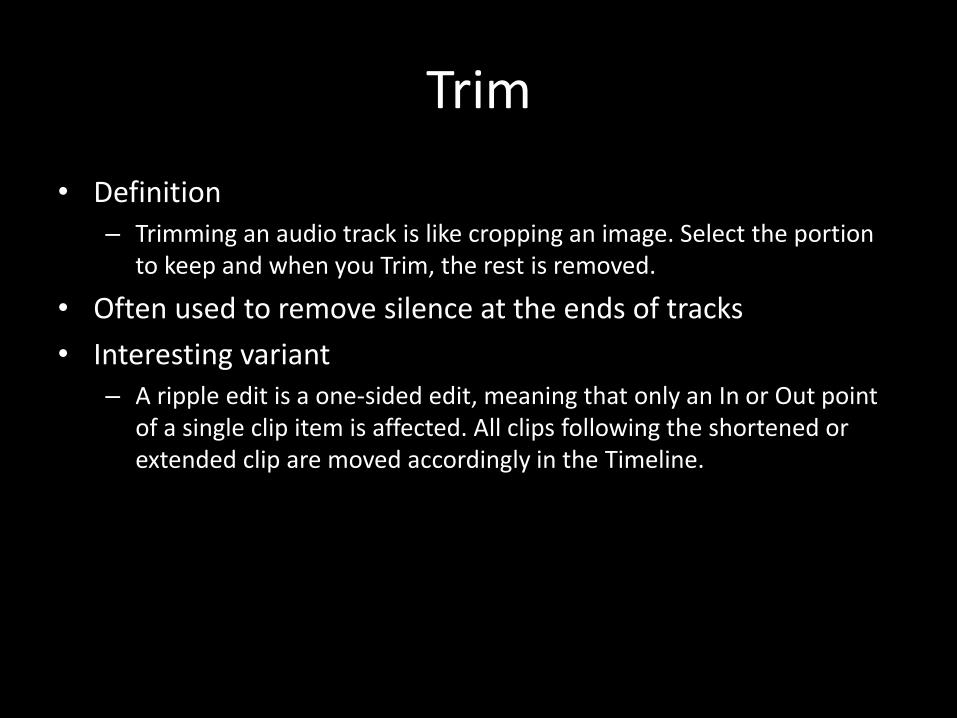
Trim
• Definition– Trimming an audio track is like cropping an image. Select the portion
to keep and when you Trim, the rest is removed.
• Often used to remove silence at the ends of tracks
• Interesting variant– A ripple edit is a one-sided edit, meaning that only an In or Out point
of a single clip item is affected. All clips following the shortened or extended clip are moved accordingly in the Timeline.
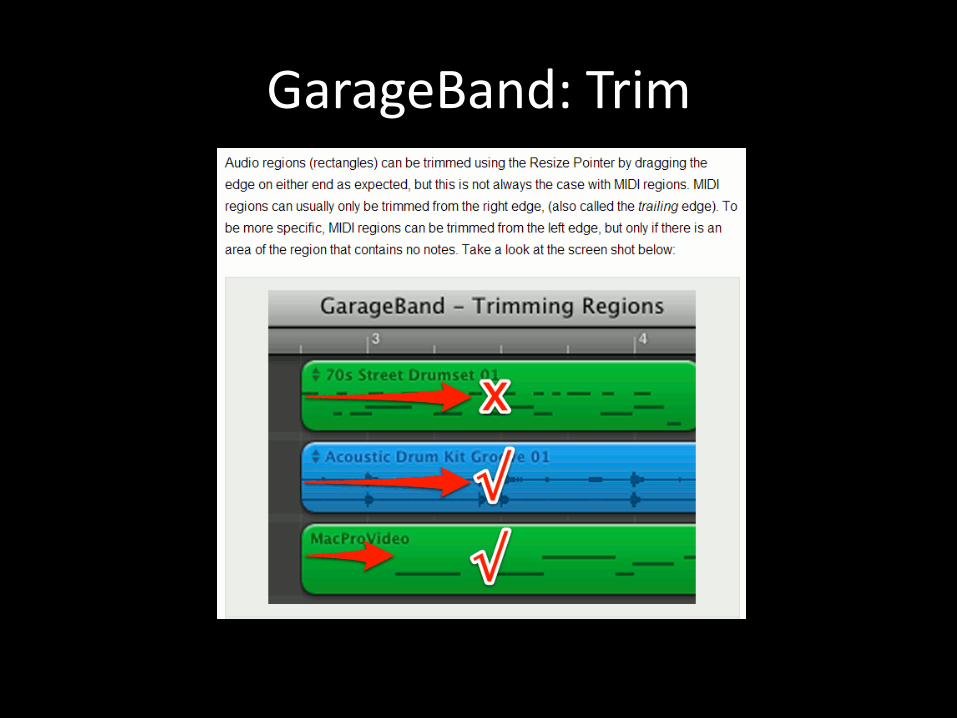
GarageBand: Trim
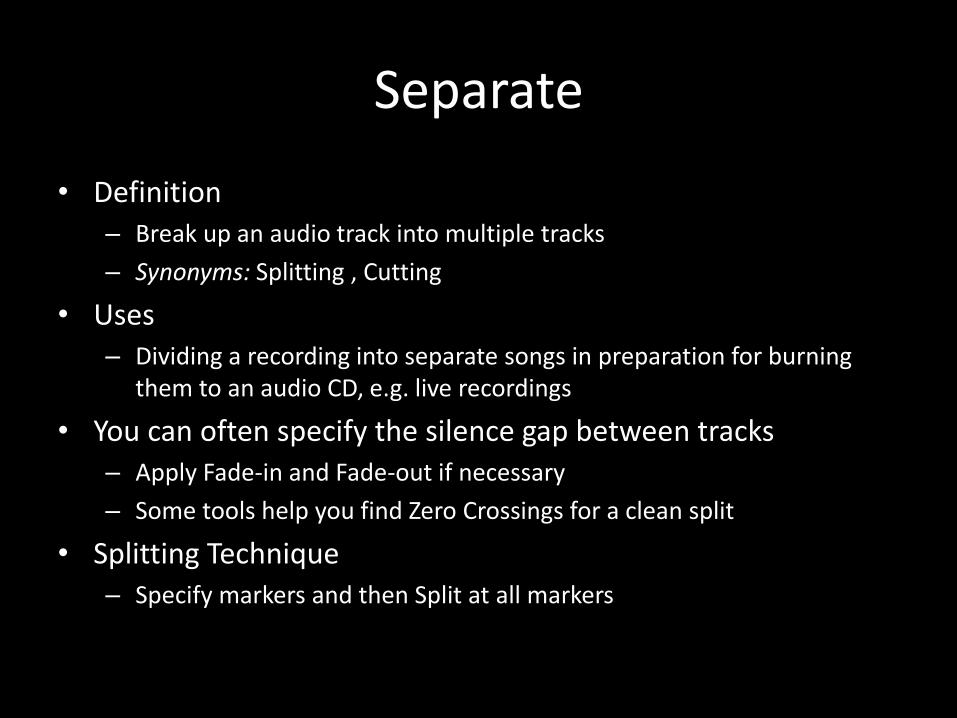
Separate
• Definition– Break up an audio track into multiple tracks
– Synonyms: Splitting , Cutting
• Uses– Dividing a recording into separate songs in preparation for burning
them to an audio CD, e.g. live recordings
• You can often specify the silence gap between tracks– Apply Fade-in and Fade-out if necessary
– Some tools help you find Zero Crossings for a clean split
• Splitting Technique– Specify markers and then Split at all markers
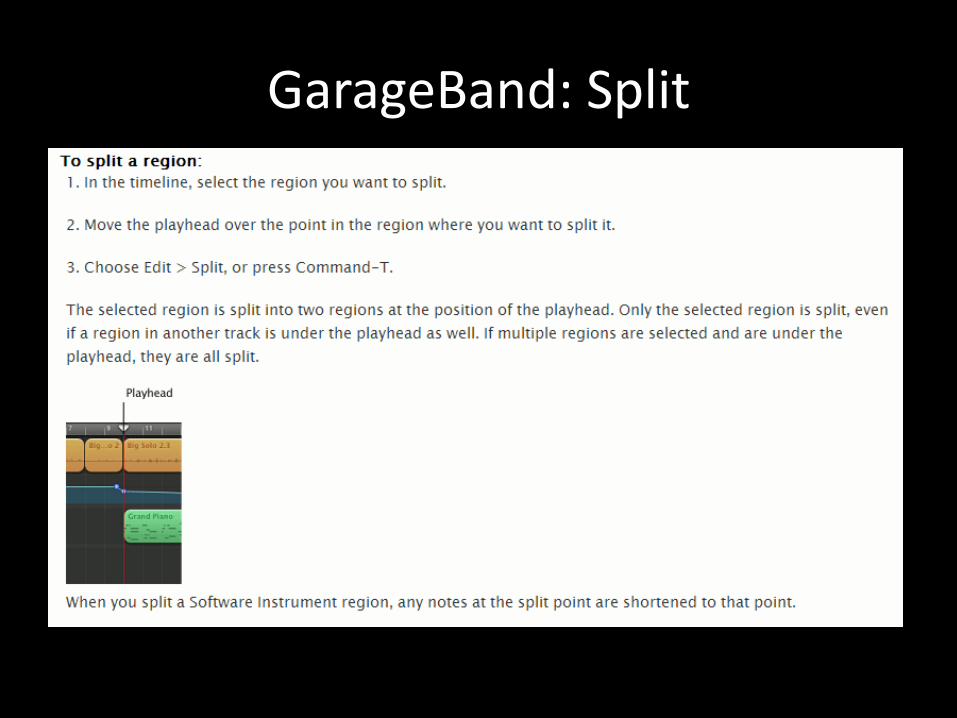
GarageBand: Split
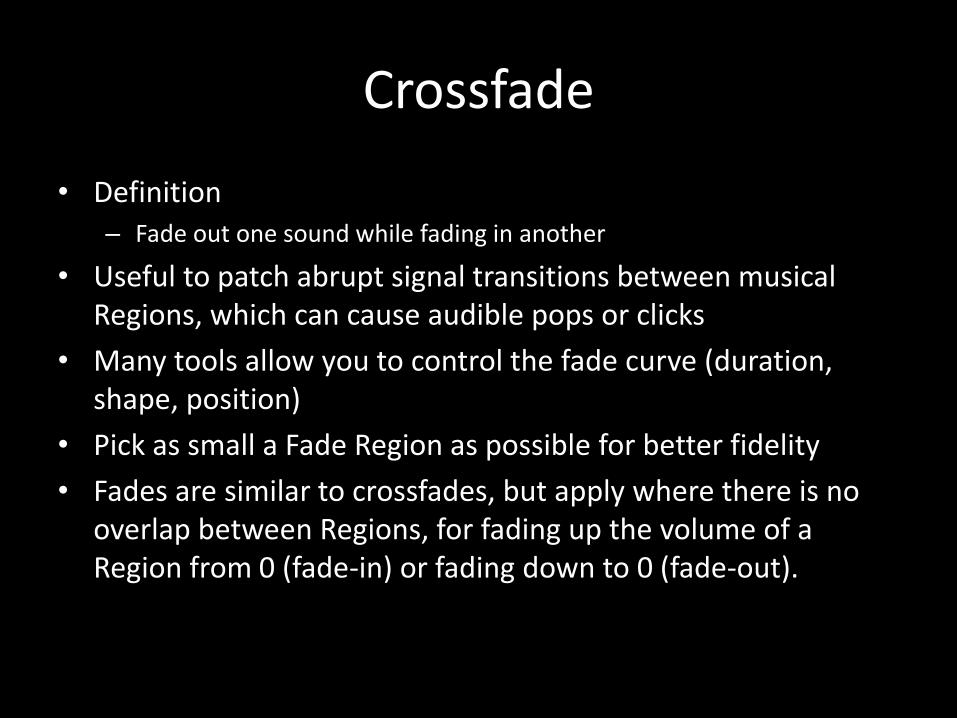
Crossfade
• Definition– Fade out one sound while fading in another
• Useful to patch abrupt signal transitions between musical Regions, which can cause audible pops or clicks
• Many tools allow you to control the fade curve (duration, shape, position)
• Pick as small a Fade Region as possible for better fidelity
• Fades are similar to crossfades, but apply where there is no overlap between Regions, for fading up the volume of a Region from 0 (fade-in) or fading down to 0 (fade-out).

GarageBand: Curve• The only way to achieve crossfade in GarageBand is to use Curve Shaping
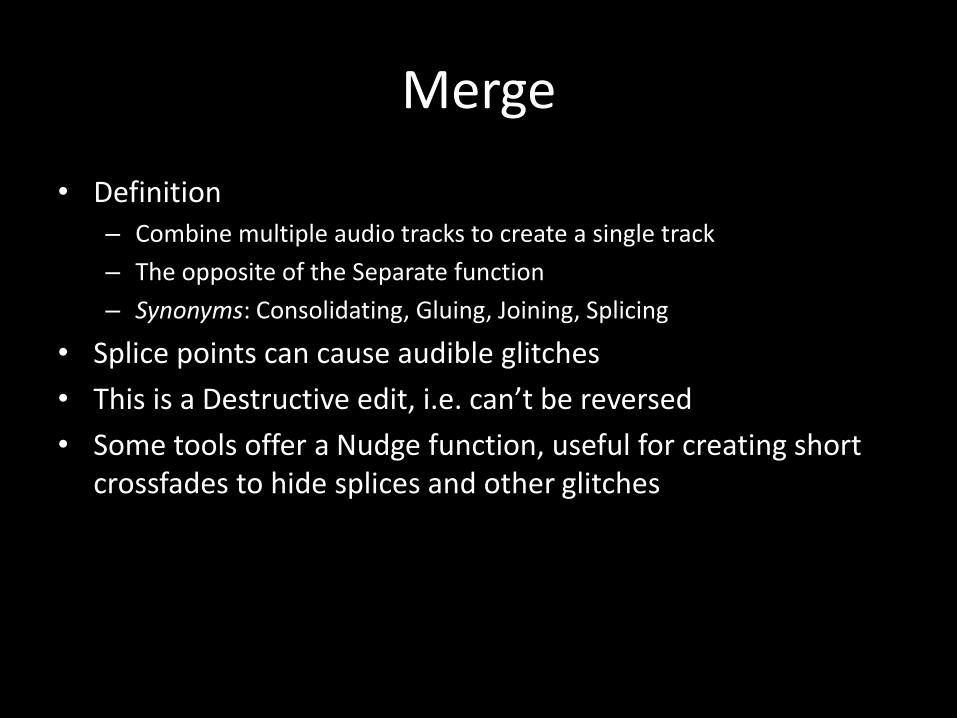
Merge
• Definition– Combine multiple audio tracks to create a single track
– The opposite of the Separate function
– Synonyms: Consolidating, Gluing, Joining, Splicing
• Splice points can cause audible glitches
• This is a Destructive edit, i.e. can’t be reversed
• Some tools offer a Nudge function, useful for creating short crossfades to hide splices and other glitches
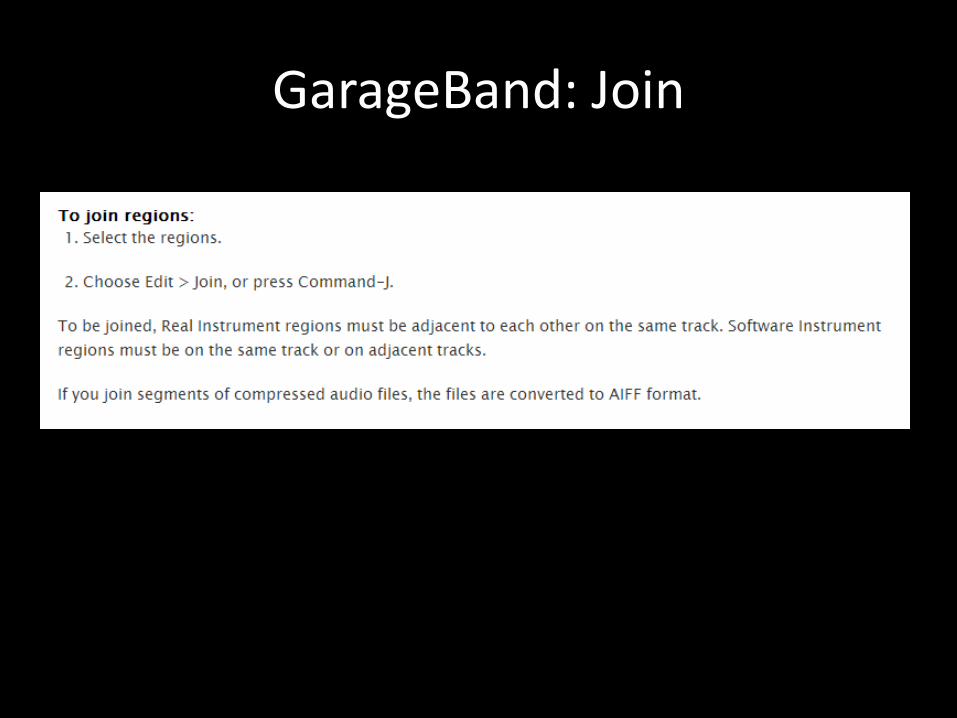
GarageBand: Join
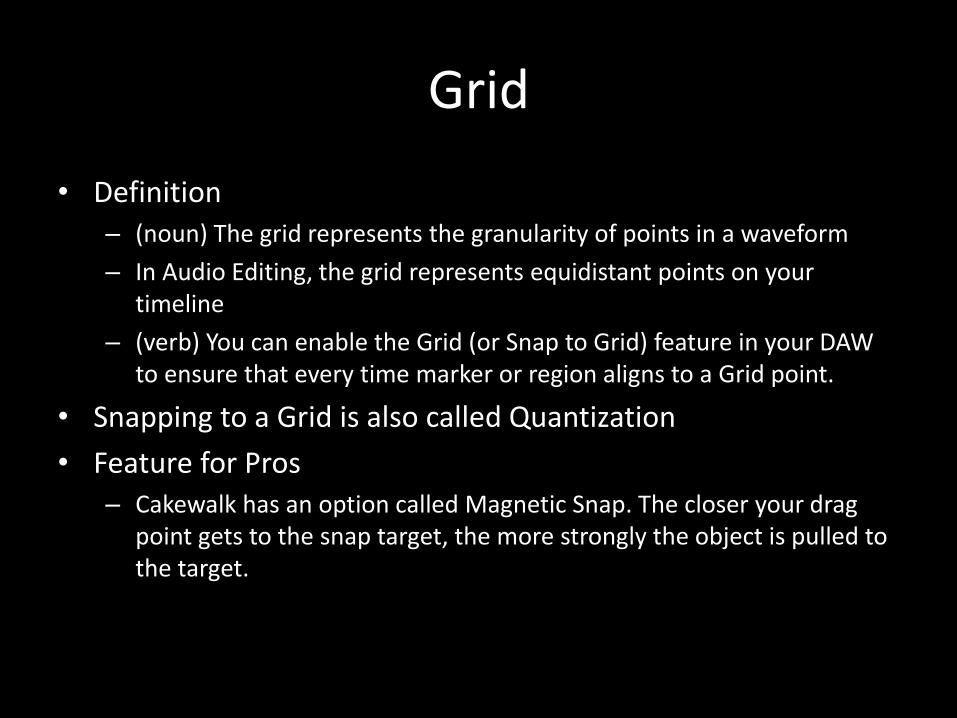
Grid
• Definition– (noun) The grid represents the granularity of points in a waveform
– In Audio Editing, the grid represents equidistant points on your timeline
– (verb) You can enable the Grid (or Snap to Grid) feature in your DAW to ensure that every time marker or region aligns to a Grid point.
• Snapping to a Grid is also called Quantization
• Feature for Pros– Cakewalk has an option called Magnetic Snap. The closer your drag
point gets to the snap target, the more strongly the object is pulled to the target.

GarageBand: Grid
Cycle
• Definition– Cycle mode can be used to repeatedly play a selected passage
• Uses– Composing a section of a project (e.g. verse or chorus)
– Practicing, before making a recording
– Recording individual tracks consecutively
– Editing events
– Recording multiple takes
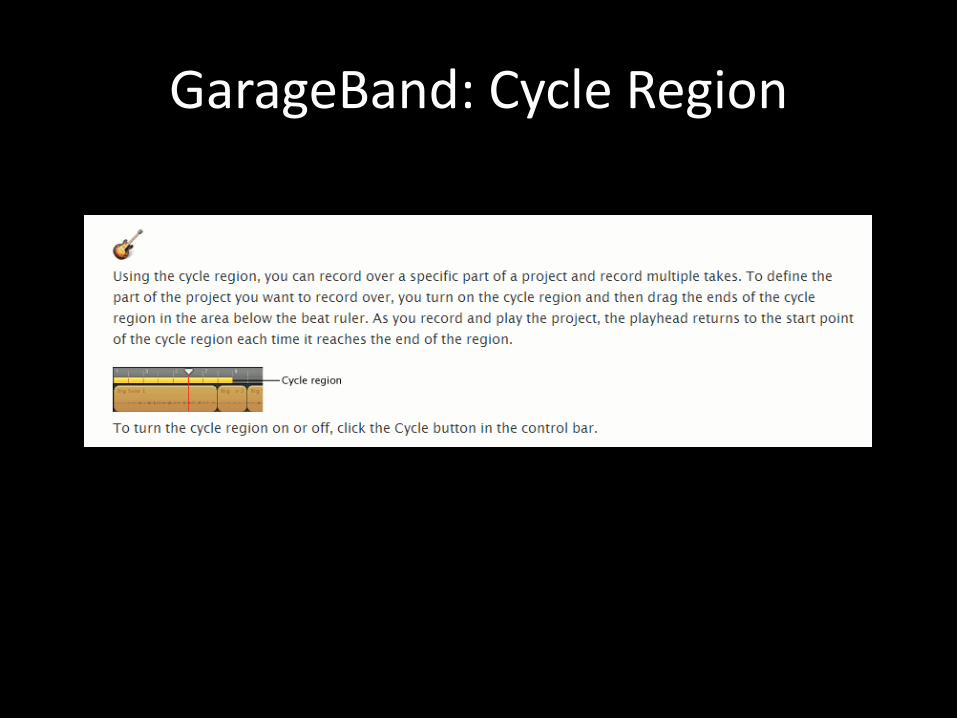
GarageBand: Cycle Region
Markers
• Definition(s)– Mark or label a specific time location in an editor window
– May also be referred to as a bookmark
• “While Regions define specific locations on a Track, Markers define meaningful locations in your Song”
• If Grid is enabled, markers snap to the nearest point
• Additional Note– Interpolation is a process to smooth out the waveform between start
and finish markers, often used to remove a pop or click.
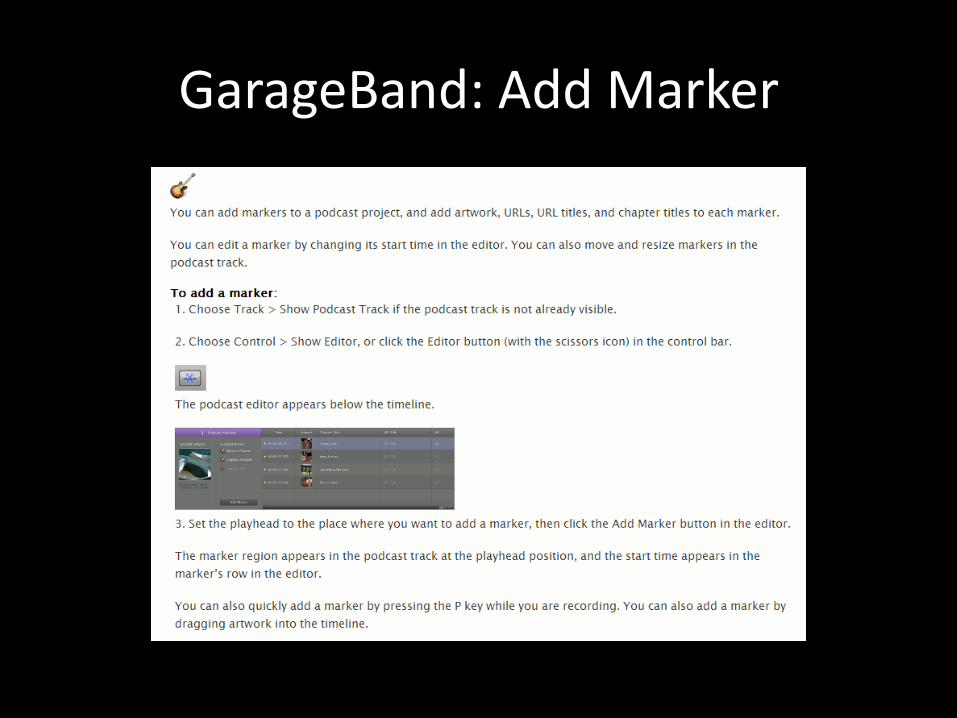
GarageBand: Add Marker
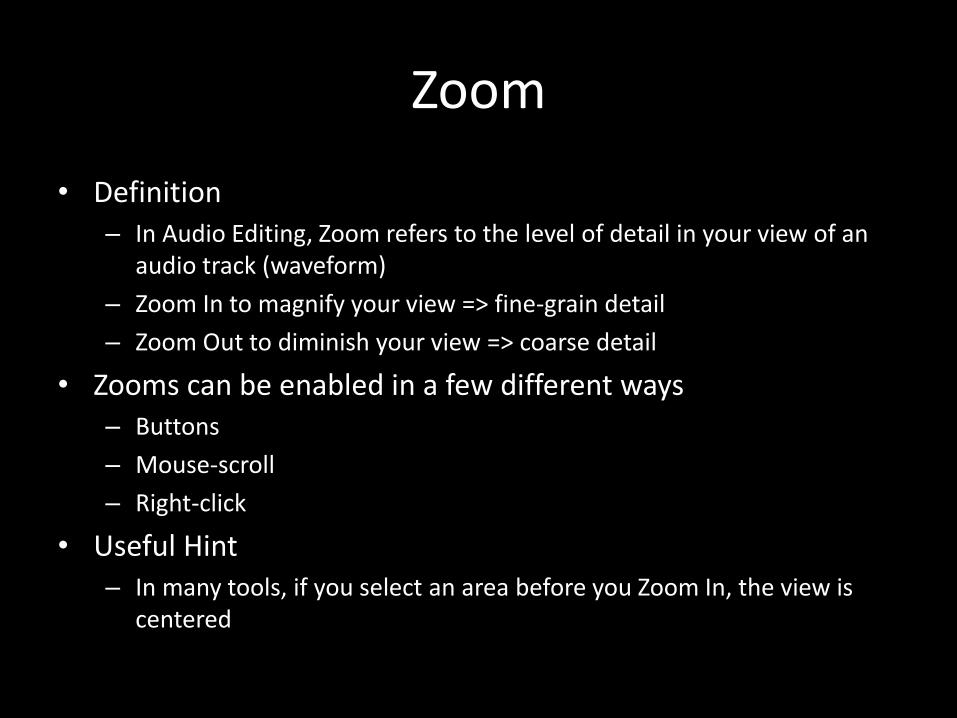
Zoom
• Definition– In Audio Editing, Zoom refers to the level of detail in your view of an
audio track (waveform)
– Zoom In to magnify your view => fine-grain detail
– Zoom Out to diminish your view => coarse detail
• Zooms can be enabled in a few different ways– Buttons
– Mouse-scroll
– Right-click
• Useful Hint– In many tools, if you select an area before you Zoom In, the view is
centered
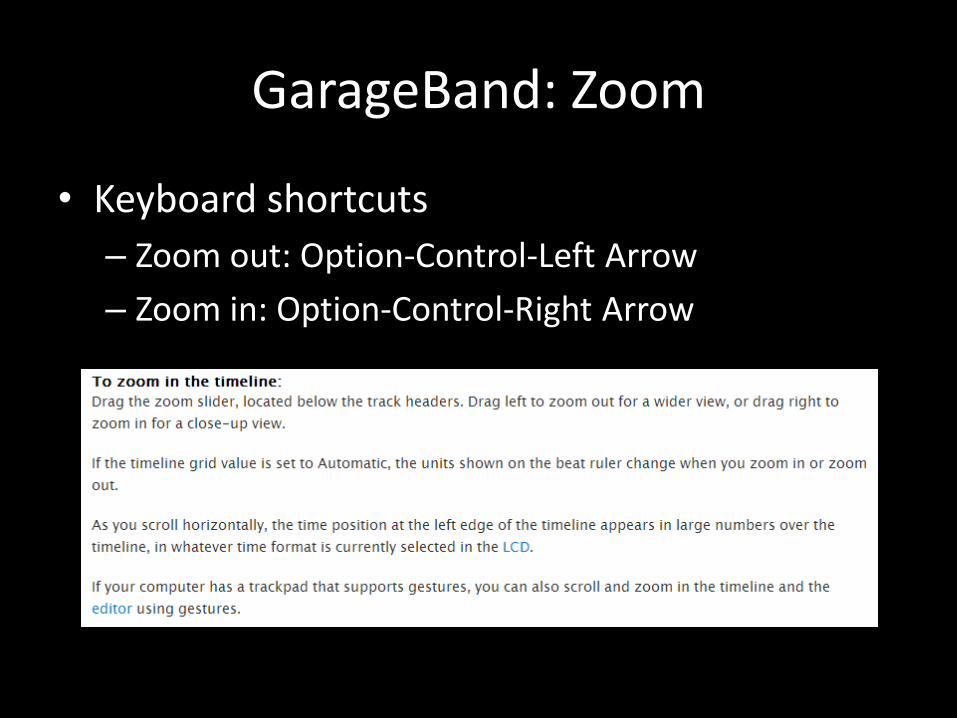
GarageBand: Zoom
• Keyboard shortcuts
– Zoom out: Option-Control-Left Arrow
– Zoom in: Option-Control-Right Arrow
Name & Color
• These have a similar function
• Definition– To distinguish between Regions of your recording, you can use Names
or Colors or both
• Use descriptive names instead of relying on names auto-generated by the DAW
• Ensure that adjacent Regions use contrasting colors
• You can also name & color your Markers

GarageBand: Name Region
• GarageBand does not support assignment of colors to individual tracks or regions

Bibliography
• GarageBand intro
• GarageBand Support
Reflection
• This was a pretty substantial lecture. I was planning to give a discourse on MIDI but decided instead to go with the more practical topic of working with GarageBand.
• I’m quite familiar with Powerpoint, so decided to stick with that for now. I plan to learn more about recording/editing for future assignments, e.g. short screen captures.
• I spent 3-4 hours on this, mostly coming up with crisp definitions for the terms and digging into GarageBand.
• I hope you, the reviewer, found this useful and learnt something new. Cheers!