Embed Size (px)
Citation preview
© 2013 Cisco and/or its affiliates. All rights reserved. This document is Cisco Public. Page 1 of 22
IT Essentials 5.0 5.2.2.5 Lab - Advanced Installation of Windows XP Introduction Print and complete this lab. In this lab, you will install a Windows XP operating system by using an answer file for automation. You will customize partition settings and create an administrative user and limited user.
Recommended Equipment The following equipment is required for this exercise:
• A computer with a new installation of Windows XP • Windows XP installation media • A blank, formatted floppy disk
Step 1
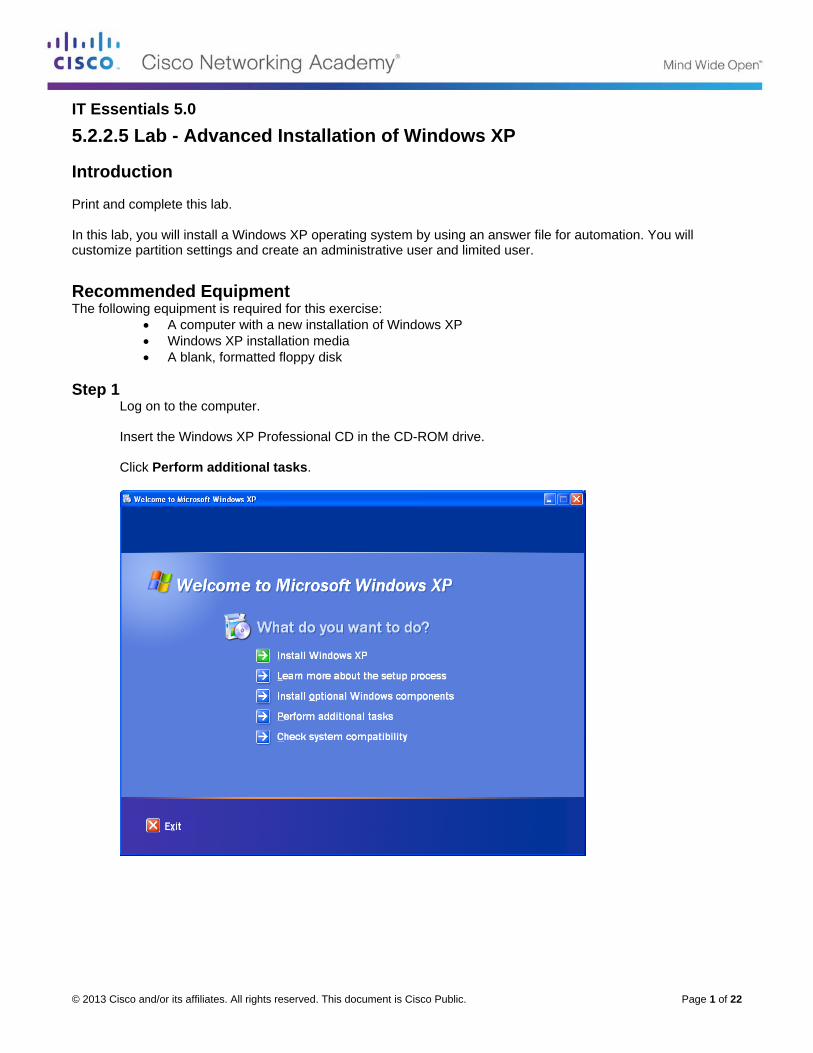
Log on to the computer. Insert the Windows XP Professional CD in the CD-ROM drive. Click Perform additional tasks.
IT Essentials Chapter 5 Lab
© 2013 Cisco and/or its affiliates. All rights reserved. This document is Cisco Public. Page 2 of 22
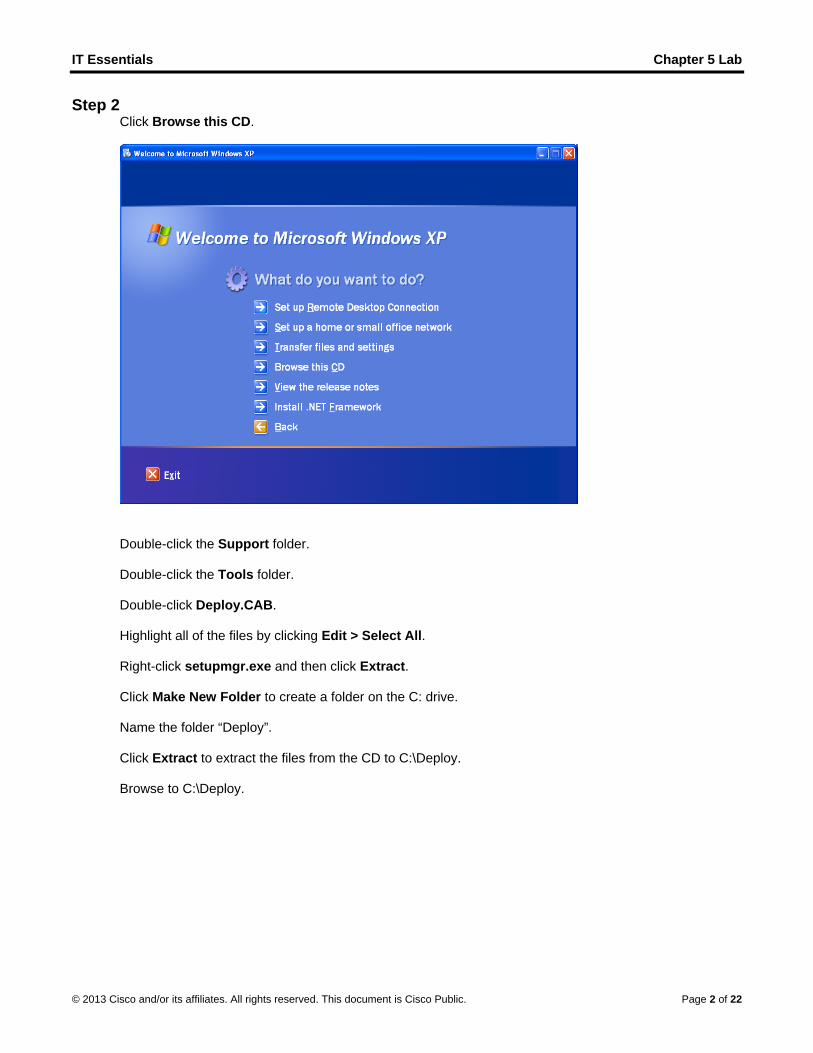
Step 2 Click Browse this CD.
Double-click the Support folder. Double-click the Tools folder. Double-click Deploy.CAB. Highlight all of the files by clicking Edit > Select All. Right-click setupmgr.exe and then click Extract. Click Make New Folder to create a folder on the C: drive. Name the folder “Deploy”. Click Extract to extract the files from the CD to C:\Deploy. Browse to C:\Deploy.
IT Essentials Chapter 5 Lab
© 2013 Cisco and/or its affiliates. All rights reserved. This document is Cisco Public. Page 3 of 22
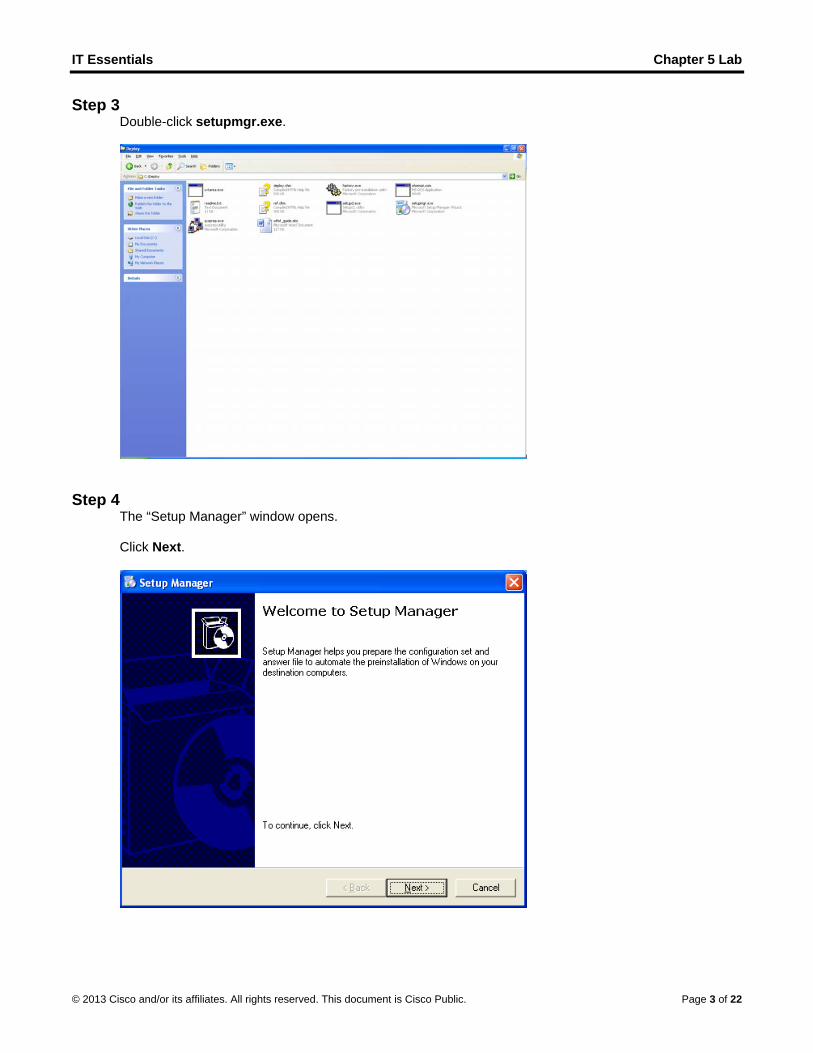
Step 3 Double-click setupmgr.exe.
Step 4 The “Setup Manager” window opens. Click Next.
IT Essentials Chapter 5 Lab
© 2013 Cisco and/or its affiliates. All rights reserved. This document is Cisco Public. Page 4 of 22
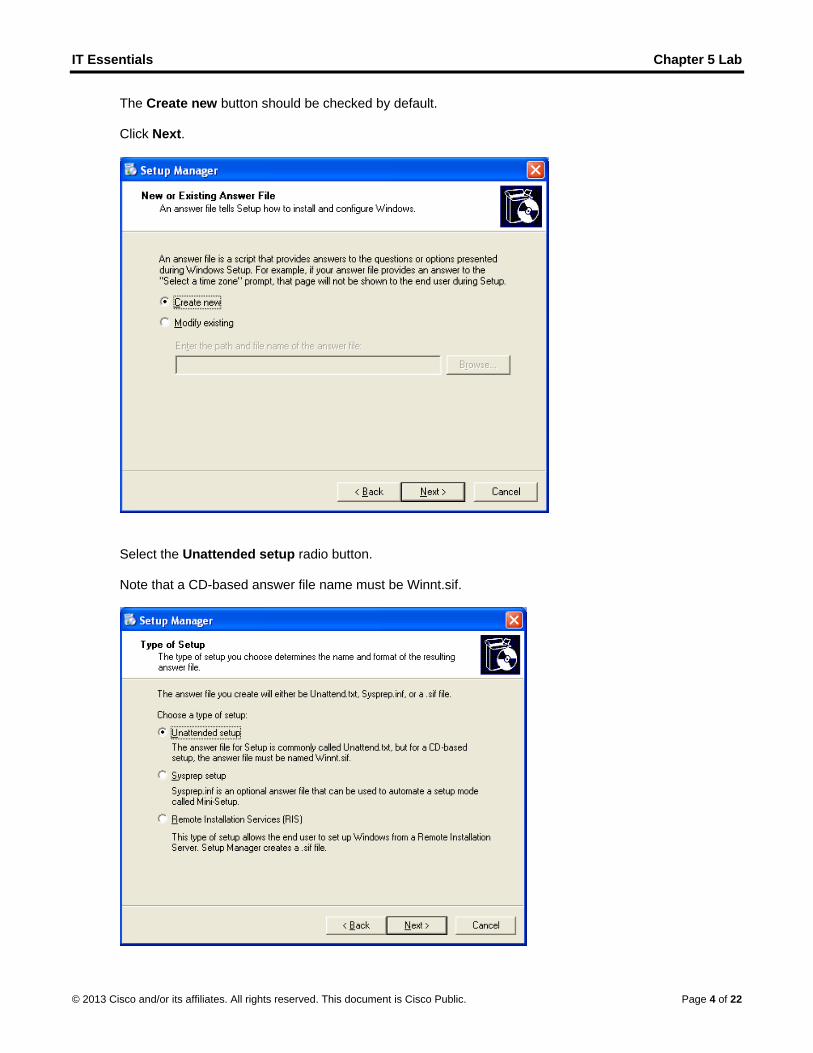
The Create new button should be checked by default. Click Next.
Select the Unattended setup radio button. Note that a CD-based answer file name must be Winnt.sif.
IT Essentials Chapter 5 Lab
© 2013 Cisco and/or its affiliates. All rights reserved. This document is Cisco Public. Page 5 of 22
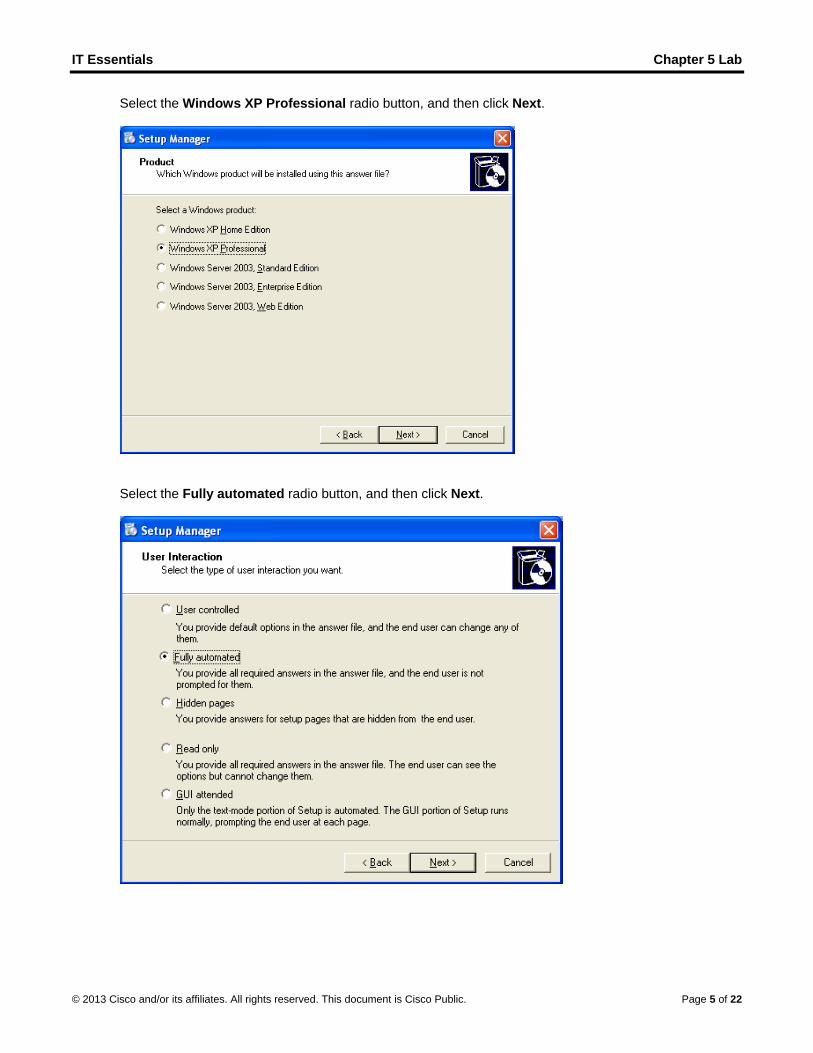
Select the Windows XP Professional radio button, and then click Next.
Select the Fully automated radio button, and then click Next.
IT Essentials Chapter 5 Lab
© 2013 Cisco and/or its affiliates. All rights reserved. This document is Cisco Public. Page 6 of 22
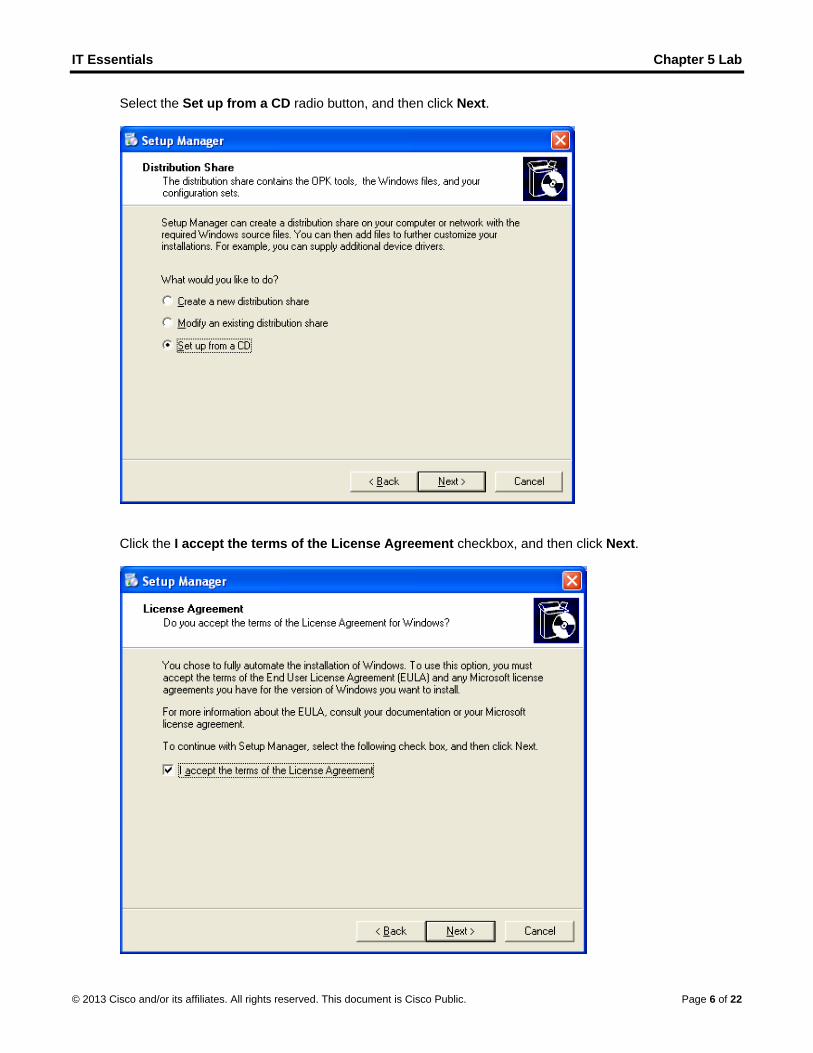
Select the Set up from a CD radio button, and then click Next.
Click the I accept the terms of the License Agreement checkbox, and then click Next.
IT Essentials Chapter 5 Lab
© 2013 Cisco and/or its affiliates. All rights reserved. This document is Cisco Public. Page 7 of 22
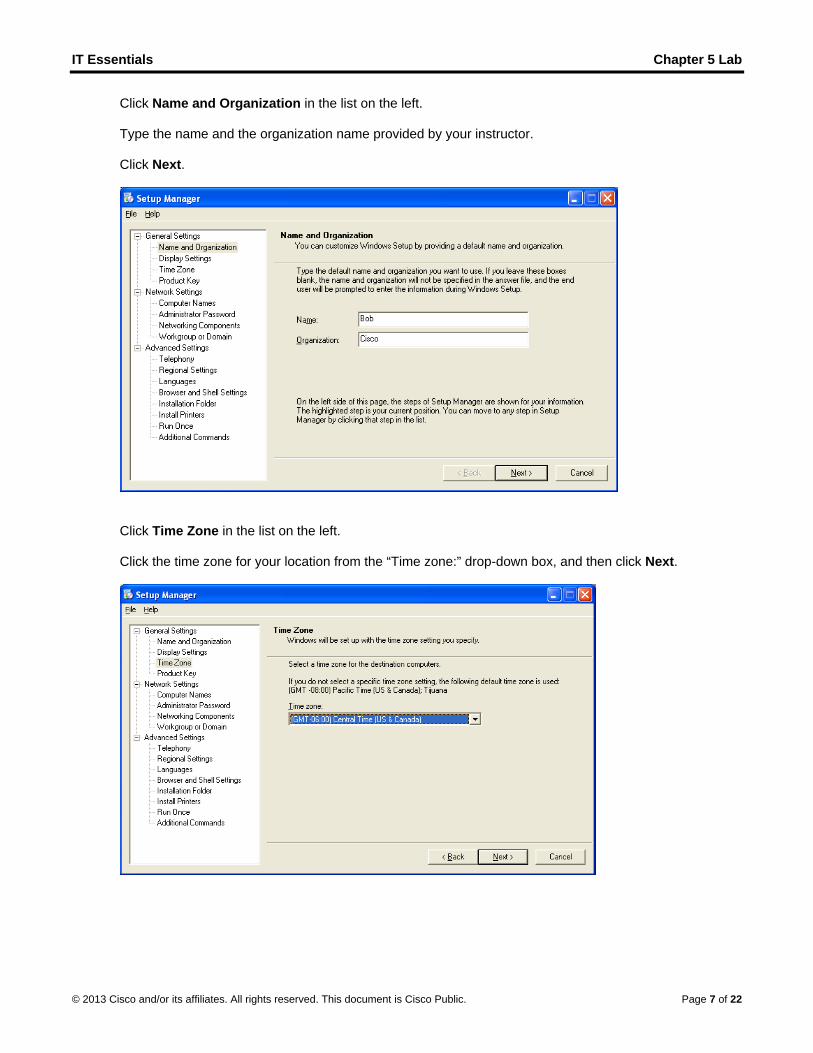
Click Name and Organization in the list on the left. Type the name and the organization name provided by your instructor. Click Next.
Click Time Zone in the list on the left. Click the time zone for your location from the “Time zone:” drop-down box, and then click Next.
IT Essentials Chapter 5 Lab
© 2013 Cisco and/or its affiliates. All rights reserved. This document is Cisco Public. Page 8 of 22
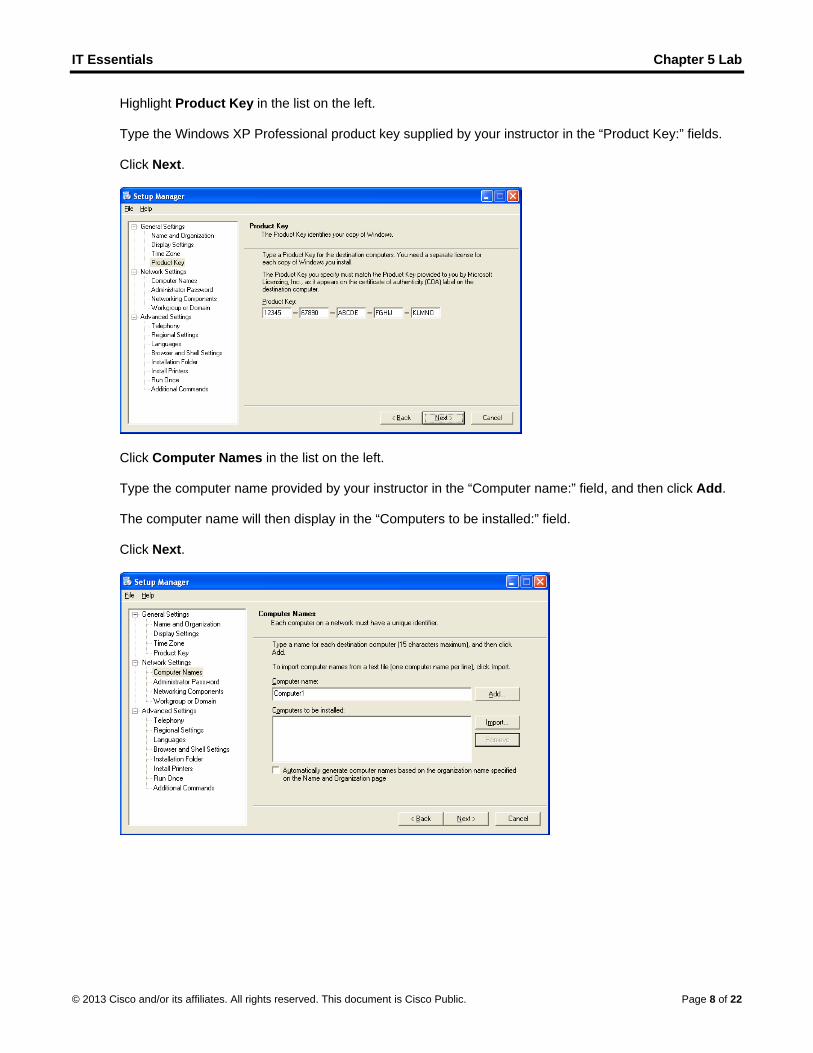
Highlight Product Key in the list on the left. Type the Windows XP Professional product key supplied by your instructor in the “Product Key:” fields. Click Next.
Click Computer Names in the list on the left. Type the computer name provided by your instructor in the “Computer name:” field, and then click Add. The computer name will then display in the “Computers to be installed:” field. Click Next.
IT Essentials Chapter 5 Lab
© 2013 Cisco and/or its affiliates. All rights reserved. This document is Cisco Public. Page 9 of 22
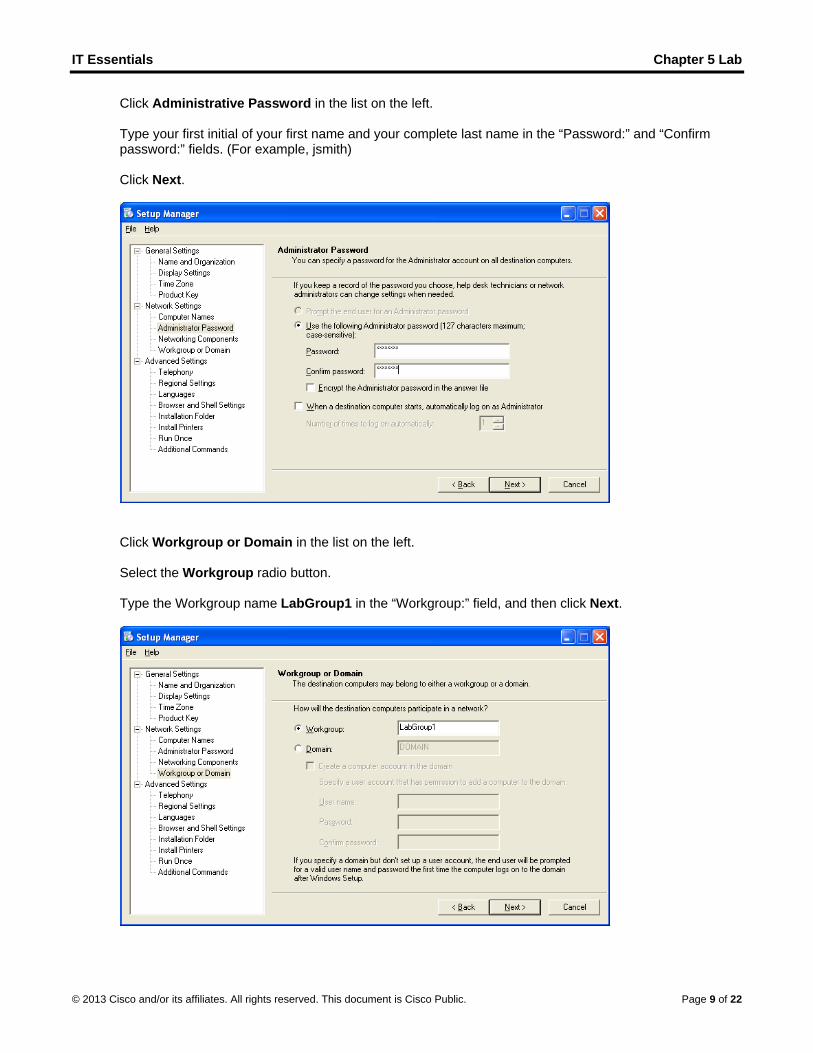
Click Administrative Password in the list on the left. Type your first initial of your first name and your complete last name in the “Password:” and “Confirm password:” fields. (For example, jsmith) Click Next.
Click Workgroup or Domain in the list on the left. Select the Workgroup radio button. Type the Workgroup name LabGroup1 in the “Workgroup:” field, and then click Next.

IT Essentials Chapter 5 Lab
© 2013 Cisco and/or its affiliates. All rights reserved. This document is Cisco Public. Page 10 of 22
Click Additional Commands in the list on the left, and then click Finish.
Type “C:\Deploy\unattend.txt” in the “Path and file name:” field if it is not already displayed. Click OK.

IT Essentials Chapter 5 Lab
© 2013 Cisco and/or its affiliates. All rights reserved. This document is Cisco Public. Page 11 of 22
Click File > Exit.
Step 5 Browse to “C:\Deploy”. Right-click unattend.txt, and then click copy. Browse to “A:\”. Click File > Paste. Right-click unattend.txt, and then click rename. Type Winnt.sif as the new file name, and press Enter. Copy unattend.bat to the floppy disk. Remove the floppy disk from the floppy drive. Click Start > Turn Off Computer. Click Restart.
IT Essentials Chapter 5 Lab
© 2013 Cisco and/or its affiliates. All rights reserved. This document is Cisco Public. Page 12 of 22
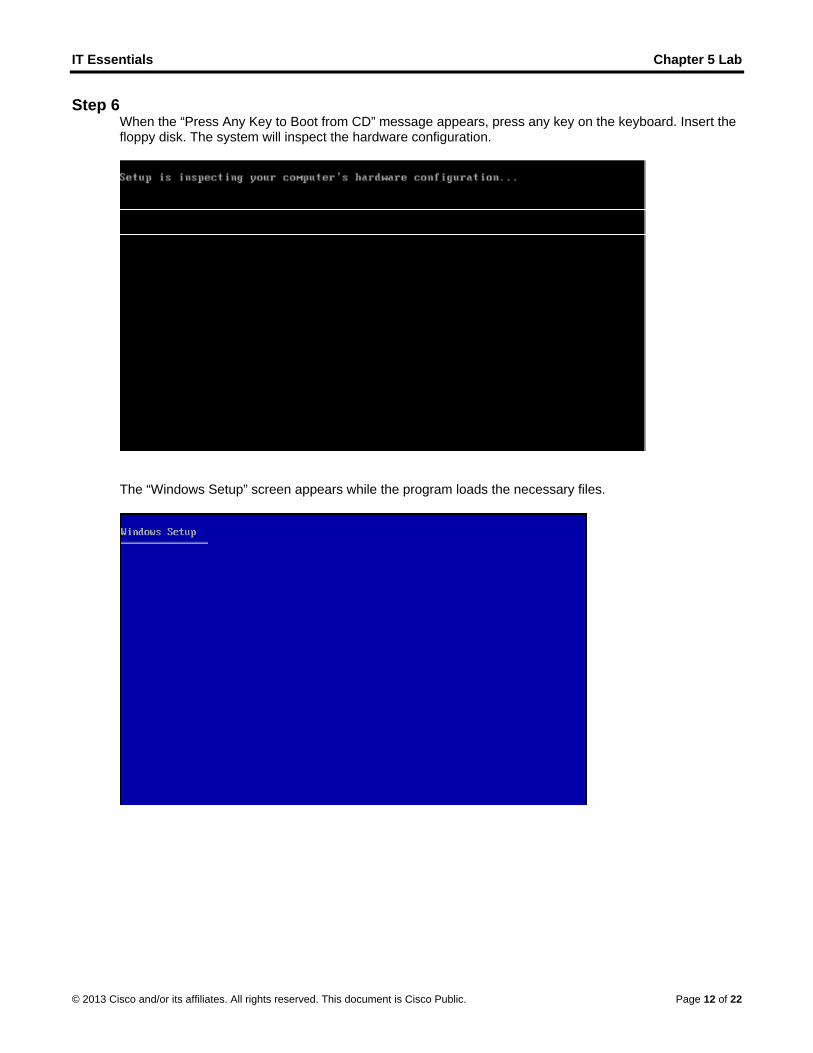
Step 6 When the “Press Any Key to Boot from CD” message appears, press any key on the keyboard. Insert the floppy disk. The system will inspect the hardware configuration.
The “Windows Setup” screen appears while the program loads the necessary files.
IT Essentials Chapter 5 Lab
© 2013 Cisco and/or its affiliates. All rights reserved. This document is Cisco Public. Page 13 of 22
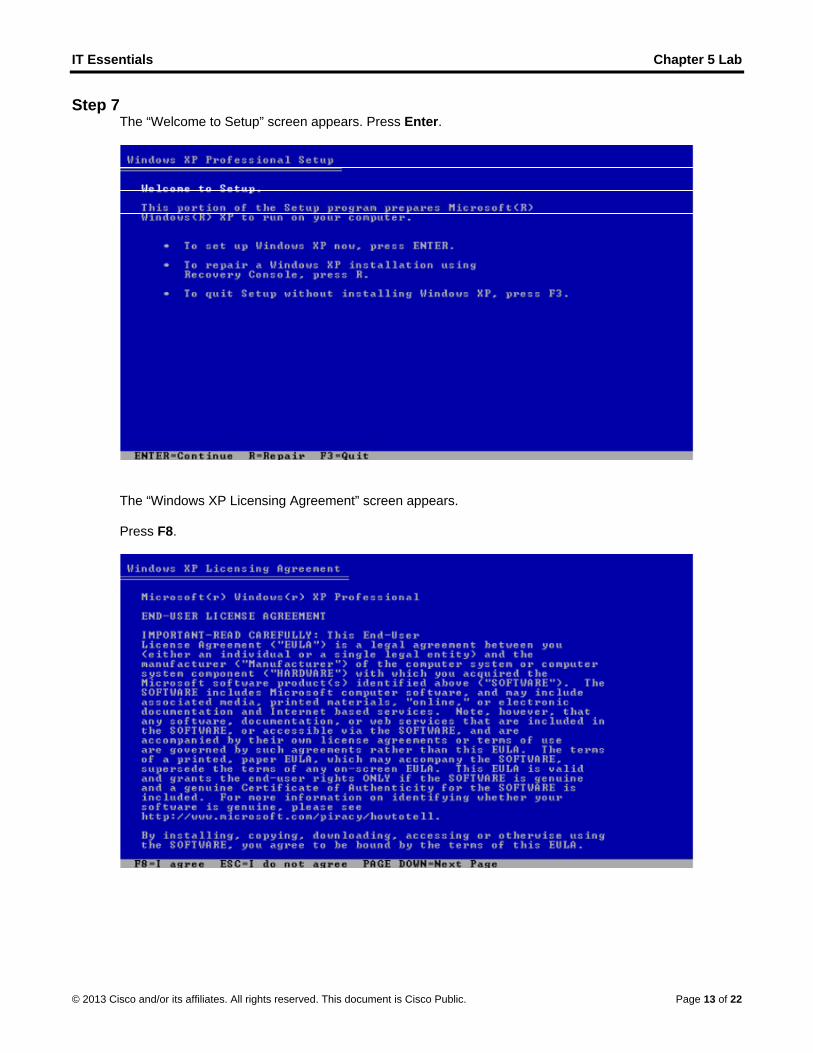
Step 7 The “Welcome to Setup” screen appears. Press Enter.
The “Windows XP Licensing Agreement” screen appears. Press F8.
IT Essentials Chapter 5 Lab
© 2013 Cisco and/or its affiliates. All rights reserved. This document is Cisco Public. Page 14 of 22
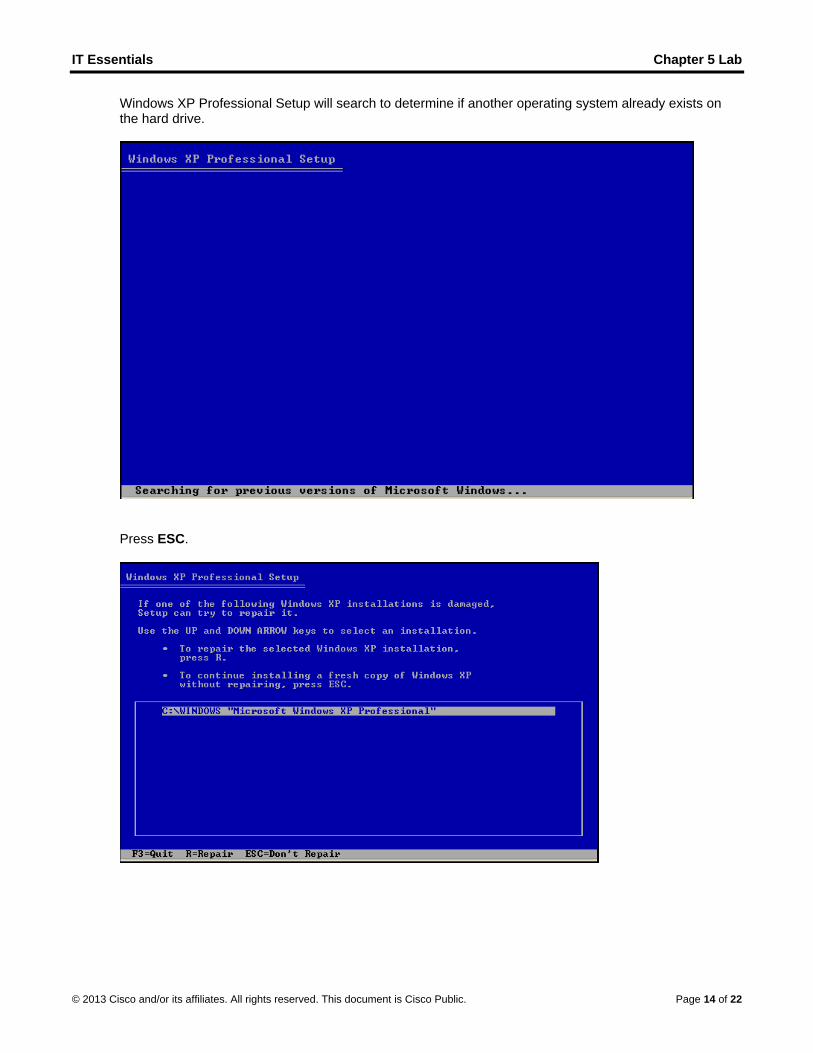
Windows XP Professional Setup will search to determine if another operating system already exists on the hard drive.
Press ESC.
IT Essentials Chapter 5 Lab
© 2013 Cisco and/or its affiliates. All rights reserved. This document is Cisco Public. Page 15 of 22
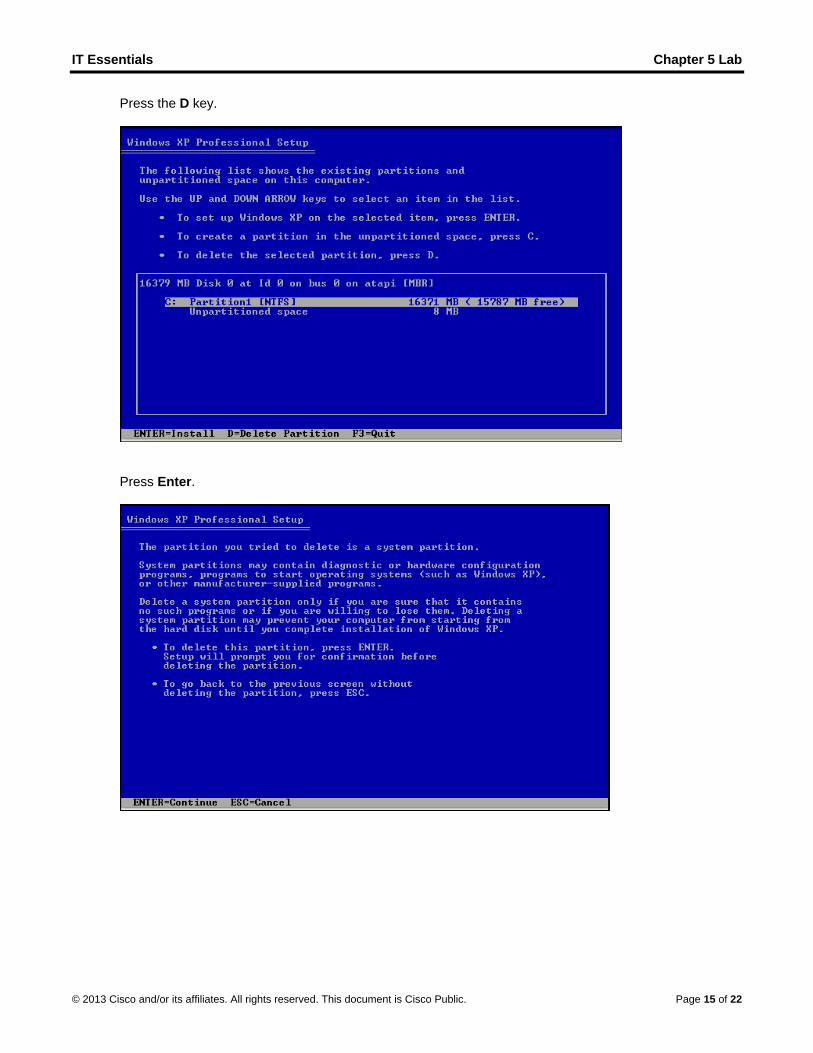
Press the D key.
Press Enter.
IT Essentials Chapter 5 Lab
© 2013 Cisco and/or its affiliates. All rights reserved. This document is Cisco Public. Page 16 of 22
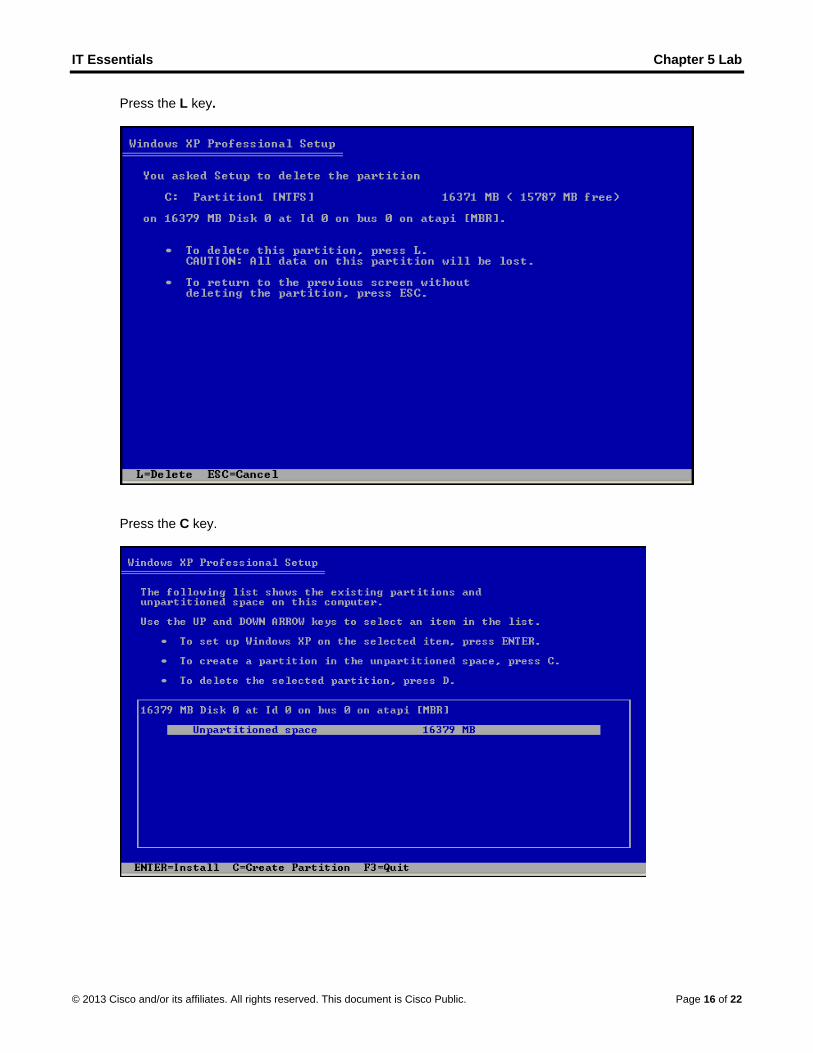
Press the L key.
Press the C key.

IT Essentials Chapter 5 Lab
© 2013 Cisco and/or its affiliates. All rights reserved. This document is Cisco Public. Page 17 of 22
Type 5000 in the “Create partition of size <in MB>:” field. Press the Enter key.
Press the down arrow key to select “Unpartitioned space”. Press the C key. Create another partition of 5000 MB. Repeat this process one more time. You will have three partitions of 5000 MB each.
IT Essentials Chapter 5 Lab
© 2013 Cisco and/or its affiliates. All rights reserved. This document is Cisco Public. Page 18 of 22
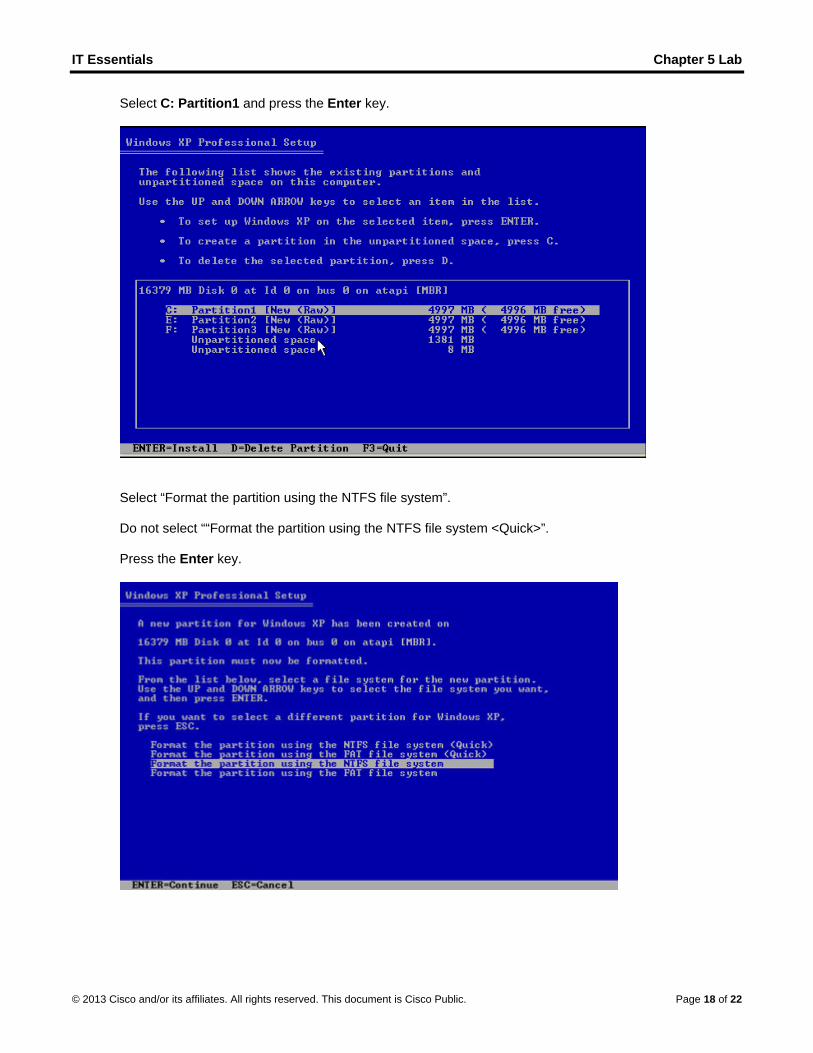
Select C: Partition1 and press the Enter key.
Select “Format the partition using the NTFS file system”. Do not select ““Format the partition using the NTFS file system <Quick>”. Press the Enter key.
IT Essentials Chapter 5 Lab
© 2013 Cisco and/or its affiliates. All rights reserved. This document is Cisco Public. Page 19 of 22
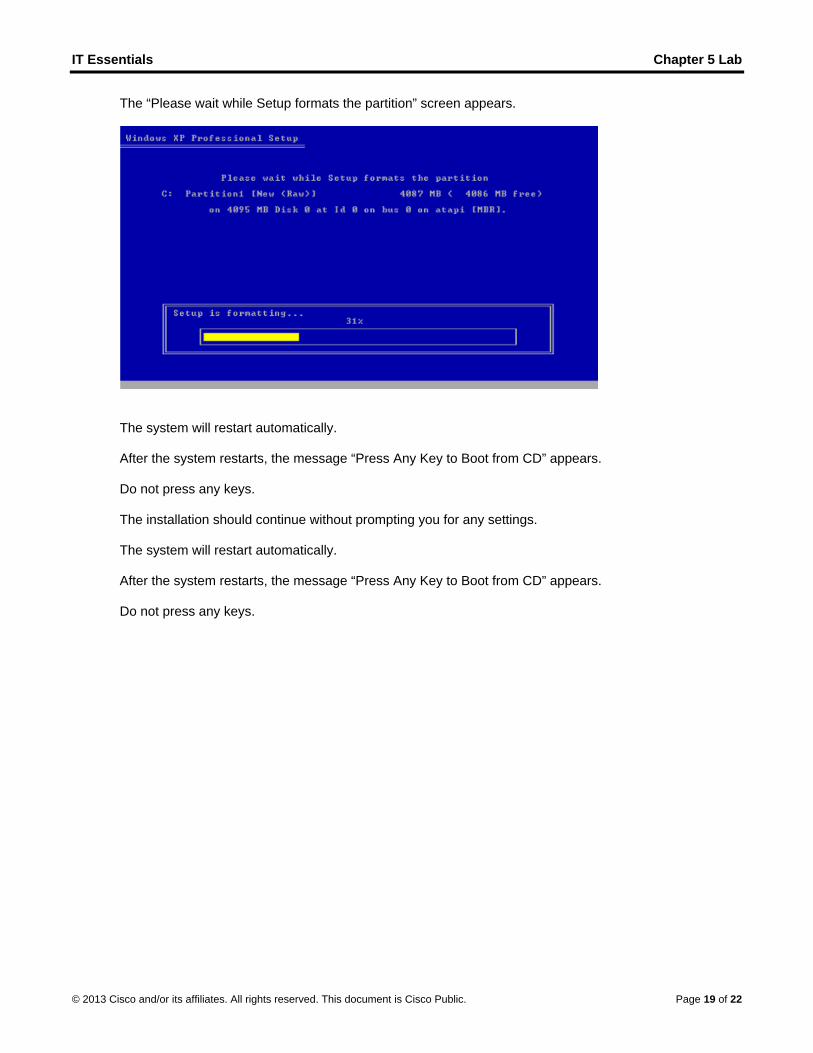
The “Please wait while Setup formats the partition” screen appears.
The system will restart automatically. After the system restarts, the message “Press Any Key to Boot from CD” appears. Do not press any keys. The installation should continue without prompting you for any settings. The system will restart automatically. After the system restarts, the message “Press Any Key to Boot from CD” appears. Do not press any keys.

IT Essentials Chapter 5 Lab
© 2013 Cisco and/or its affiliates. All rights reserved. This document is Cisco Public. Page 20 of 22
Step 8 The “Welcome to Microsoft Windows” screen appears. Click Next.
Select the Help protect my PC by turning on Automatic Updates now radio button. Click Next.
IT Essentials Chapter 5 Lab
© 2013 Cisco and/or its affiliates. All rights reserved. This document is Cisco Public. Page 21 of 22
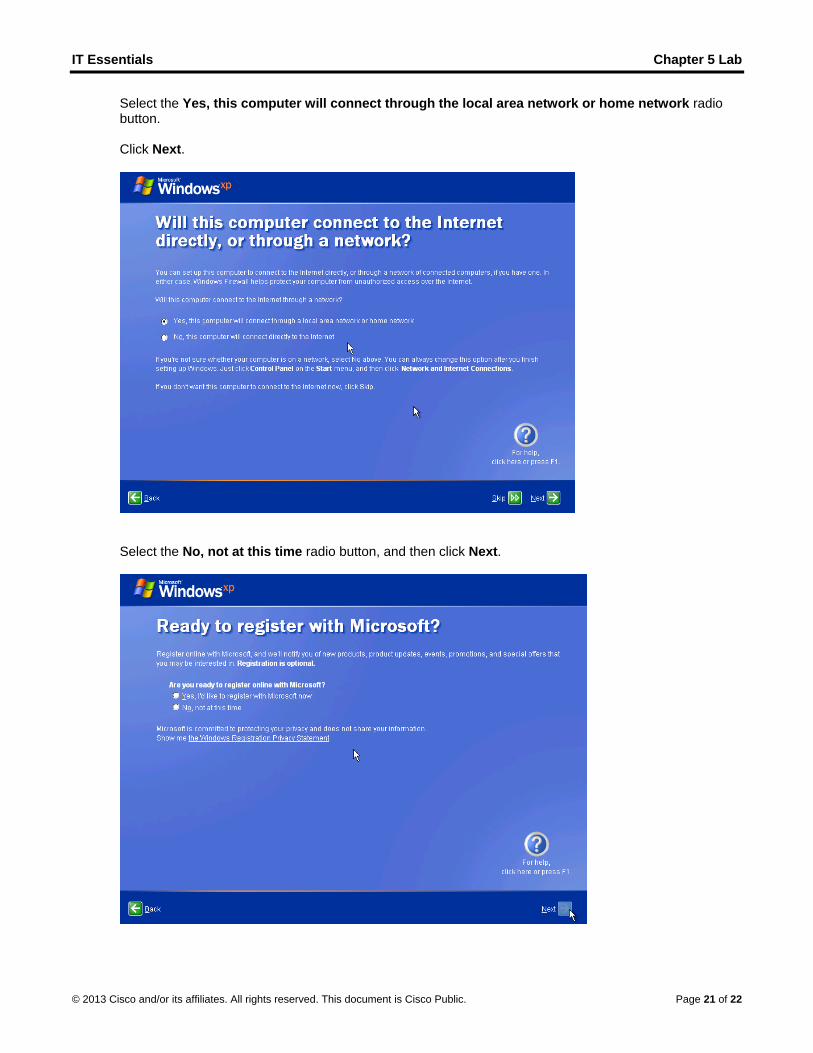
Select the Yes, this computer will connect through the local area network or home network radio button. Click Next.
Select the No, not at this time radio button, and then click Next.
IT Essentials Chapter 5 Lab
© 2013 Cisco and/or its affiliates. All rights reserved. This document is Cisco Public. Page 22 of 22
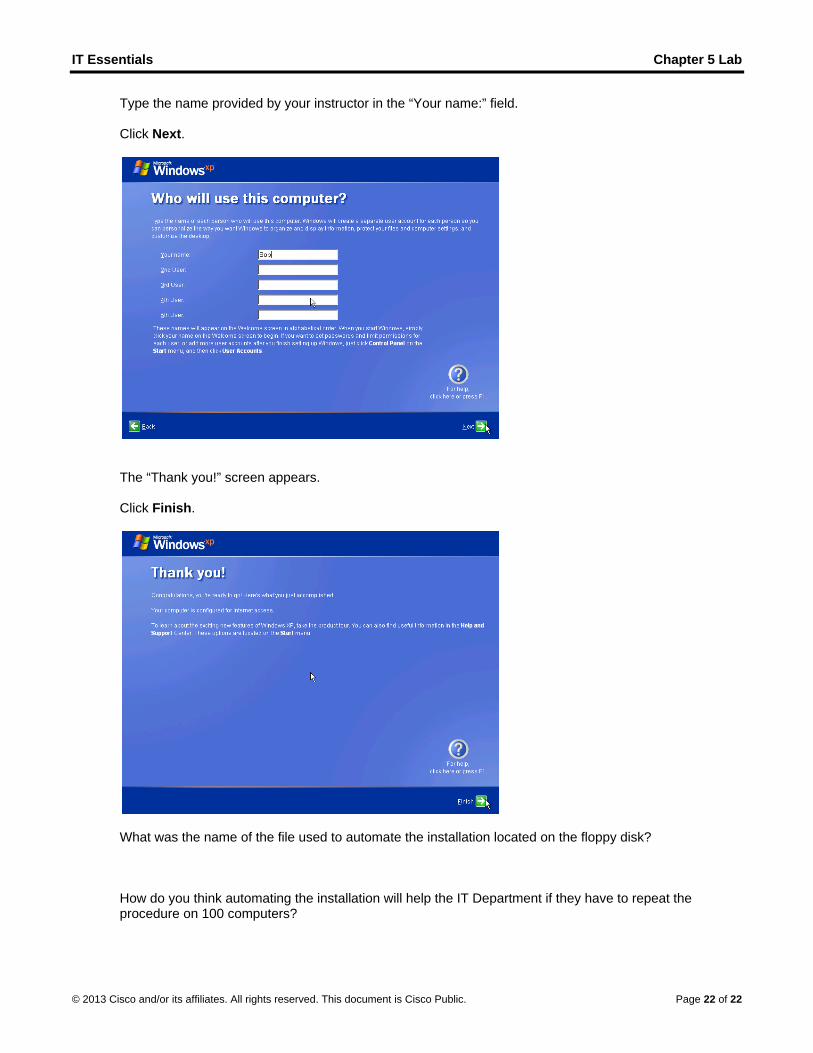
Type the name provided by your instructor in the “Your name:” field. Click Next.
The “Thank you!” screen appears. Click Finish.
What was the name of the file used to automate the installation located on the floppy disk? How do you think automating the installation will help the IT Department if they have to repeat the procedure on 100 computers?


![[XP Day Vietnam 2015] XP is not windows XP](https://img.pdfslide.net/doc/110x75/55a69cf71a28abd47d8b4735/xp-day-vietnam-2015-xp-is-not-windows-xp.jpg)