Embed Size (px)
Citation preview
Assessing Health StatusChapter 22
Objectives - Theory
1) Discuss the types of assessment used in various situations.
2) Demonstrate the techniques used during physical examination.
3) Describe how to gather information for a comprehensive database for a
patient.
Objectives – Skills & Steps
Skill 22.1 – Performing a Physical Examination
Skill 22.2 – Performing a basic physical examination on a patient
Steps 22.1 – Weighing the Adult With a Standing Balance Scale
Steps 22.2 – Testing Visual Acuity
Steps 22.3 – Basic Assessment of Heart Sounds
Steps 22.4 – Auscultating the Lungs
Data Collection and Assessment
Assessment is a vitally important nursing function – it is a continual
process for determining the patients’ condition and progress
Expected to:
Assess lung sounds properly
Abnormal heart sounds
Determine when something may be wrong in the abdomen
Monitor circulatory status
Detect neurologic changes
Note skin problems
Recognize signs and symptoms of problems in any body system
Page 375
Data Collection and Assessment
When an illness occurs, it is likely to affect more than one
body system
Staff nurse may not have the time to do a thorough physical
examination of each patient assigned, but a quick focused
assessment and a survey of all body systems are performed
for each patient at the beginning of each shift
Strong assessment skills can quickly identify new signs and
symptoms that indicate complications of an illness or adverse
side effects of medical therapy
Important in LTC or home health because the nurse is often the only
health professional who sees the patient at regular intervals
LVN charge nurse in LTC and home health acts as “eyes and ears” of PCP
Page 376
Data Collection and Assessment –Psychosocial and Cultural Assessment
An initial assessment is performed when a patient is admitted to the hospital, LTC, home care services, or other agencies
Assessment usually includes gathering a history and demographic data and performing a brief physical examination
In addition to physical examination, you are also expected to obtain some historical data concerning the patient’s past and present state of health
The health history and psychosocial data to provide pertinent information about the patient to assist in administering daily care
To care for the whole patient rather than just tend to an area of physical need, you must be aware of how the illness is affecting the patient’s life
Assess for cultural preferences and health beliefs so that an individualized plan of care can be formulated
Includes asking patient and family about preferences for food, bathing, and personal care; what they think about their illness and treatment; and who should be consulted about decisions – do not assume
Cultural considerations page 378
Page 376
Data Collection and Assessment Think of this data collection as an interview. Phrase questions in a positive,
non threatening way
Include: social data, marital status, occupation, visual/hearing deficits, dentures,
prostheses, allergies (food, medications, other), medications being taken
(including OTC and herbal)
Box 22.1 page 377
If the older adult has difficulty with memory, data may be gathered from a
family member or significant other
When patients are first encountered, observe their behavior and
appearance to begin to form an opinion about their health status
Detecting possible signs of abuse should be included in the assessment (Box 22.3
page 378)
Information gathered from the physical assessment can be used for a variety
of purposes
( Page 376 bullet points on last paragraph )
Page 376
When the patient is seen with a new illness or complaint, obtain a history
of that illness or complaint with the questions in Box 22.4 on page 379
Examination can be performed by physician, nurse, PA, NP, clinical nurse
specialist, or other clinician depending on the type of assessment its
purpose and the policies of the particular agency
In addition to using interviewing and communication skills, information is
obtained by using the senses
Sight – Inspection / Observation
Hearing – Auscultation
Smell – Olfaction
Touch – Palpation / Percussion
The most helpful of these senses is sight, closely followed by touch
Vocabulary Specific to Physical Assessment page 379
Data Collection and Assessment –Physical Examination Techniques
Page 378
Data Collection and Assessment –Physical Examination Techniques :
Inspection and Observation
Through the sense of sight, you are able to inspect the
various parts of the body and observe the patient’s
behavioral responses
When assessing physiological condition, use inspection
to make observations about the patient’s general
appearance, contours of the body, skin tone and color,
rashes, scars, and lesions, deformities or extremity
weakness, characteristics or movements and respirations
Page 378
Data Collection and Assessment –
Physical Examination Techniques :Palpation
The sense of touch can be used to obtain a great deal of clinical
information about patients
Palpation involves using the hands to feel various parts of the body
Can be used to detect the size, shape, and position of parts and
the texture, temperature and moisture of the skin
Used to ascertain:
Muscle spasms or rigidity
Pain, swelling, or a growth
Any restriction in movement of a body part
Skin temperature, turgor, and edema
Page 379
Data Collection and Assessment –
Physical Examination Techniques :Palpation
The back of the hands and fingers are used to investigate the
differences in skin temperature over an inflamed joint or a foot
with poor circulation
Skin is thinner in back of hand and more sensitive to changes in
temperature
Pads of the fingers are used to palpate the size, position and
consistency of various structures such as lymph nodes and breast
tissue
Palm of the hand used to detect vibration or tremors (involuntary
fine movement of body or limb)
Thumb and index fingers are used to check the skin turgor, joint
position, and the firmness of muscles and other tissues
Page 380
Data Collection and Assessment –
Physical Examination Techniques :Palpation
Palpate the abdomen lightly to identify painful or tender areas
or locate masses or abnormal collection of fluid
Pads of fingers are used in light palpation and pressure exerted
to indent the skin palpation about 1 to 2 cm (figure 22.1 page
380)
Deep palpation depresses skin 4 to 5 cm and can be done using
both hands
ALWAYS watch the patient’s face for signs of discomfort when
palpating and discontinue if pain occurs
Page 380
Data Collection and Assessment –
Physical Examination Techniques :Percussion
Involves light, quick tapping on the body surface to produce sounds
Variations in sounds reflect the characteristics of the organs or structures below the surface
Used primarily over the chest and abdomen to determine the size, location, and density of organs that lie within
Most common type of percussion consists of striking the middle finger of one hand with the index finger of another hand
When tapping, do not move the forearm; all force is generated by a quick snap of the wrist (figure 22.2 page 280)
Different sounds are emitted as the examiner moves from one resonant area to a less or more resonant
Sounds vary in in their intensity, pitch and duration depending on the presence of underlying air, fluid or solid organ
Resonant sound – things that are hollow, or full of gas/air such as bowl or healthy lung
Dull sound – things that are solid like liver tissue
https://www.bing.com/videos/search?q=Percussion+Assessment&&view=detail&mid=B78F31C4520D57E81DCFB78F31C4520D57E81DCF&&FORM=VRDGAR
Page 380
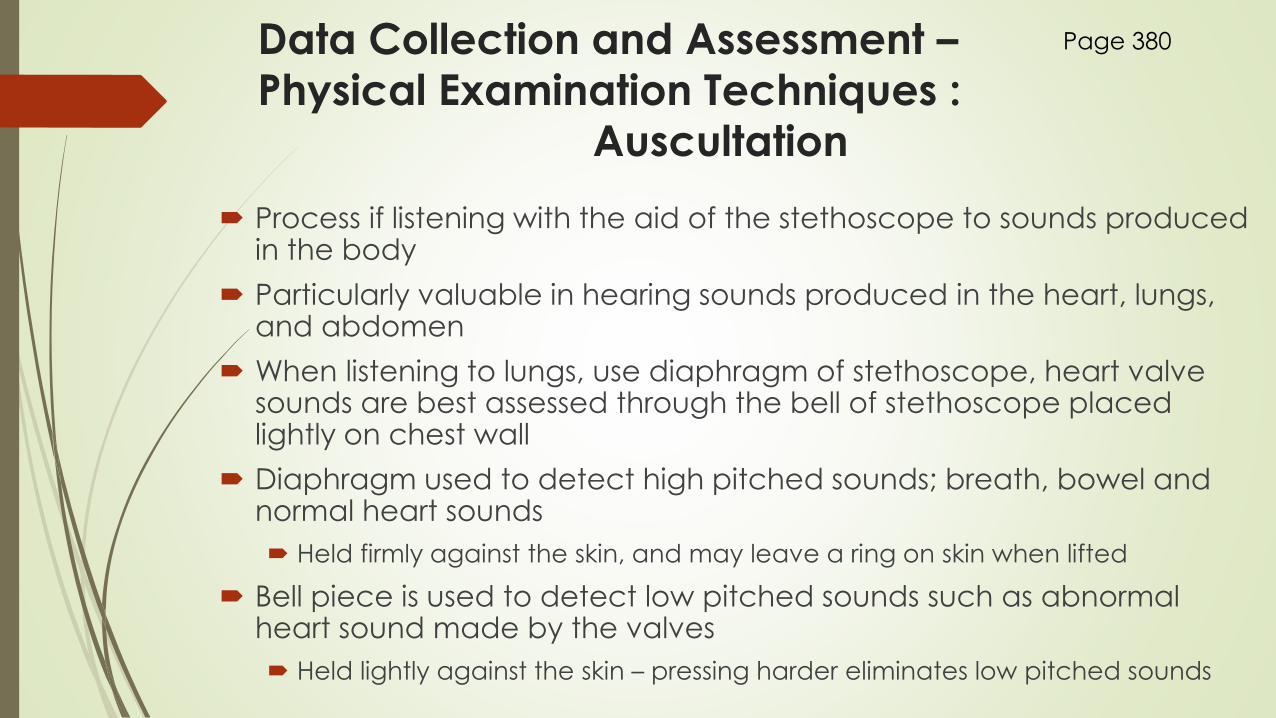
Data Collection and Assessment –
Physical Examination Techniques :Auscultation
Process if listening with the aid of the stethoscope to sounds produced in the body
Particularly valuable in hearing sounds produced in the heart, lungs, and abdomen
When listening to lungs, use diaphragm of stethoscope, heart valve sounds are best assessed through the bell of stethoscope placed lightly on chest wall
Diaphragm used to detect high pitched sounds; breath, bowel and normal heart sounds
Held firmly against the skin, and may leave a ring on skin when lifted
Bell piece is used to detect low pitched sounds such as abnormal heart sound made by the valves
Held lightly against the skin – pressing harder eliminates low pitched sounds
Page 380
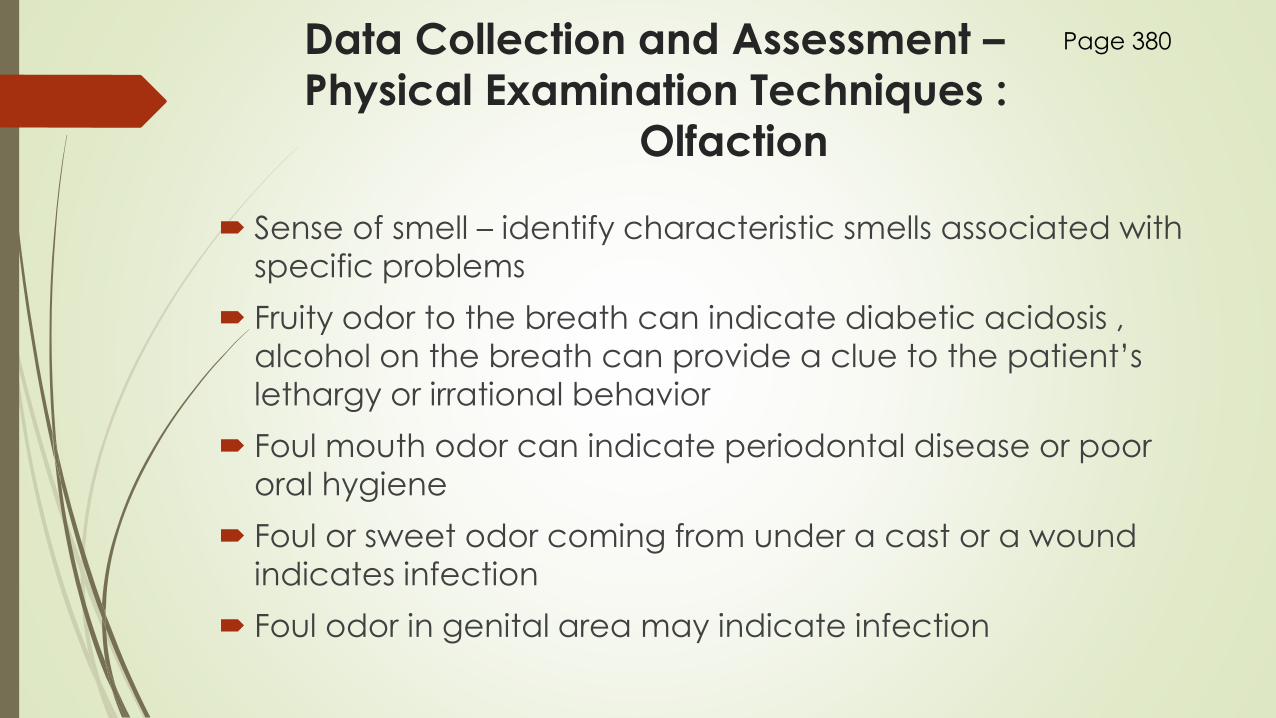
Data Collection and Assessment –
Physical Examination Techniques :Olfaction
Sense of smell – identify characteristic smells associated with
specific problems
Fruity odor to the breath can indicate diabetic acidosis ,
alcohol on the breath can provide a clue to the patient’s
lethargy or irrational behavior
Foul mouth odor can indicate periodontal disease or poor
oral hygiene
Foul or sweet odor coming from under a cast or a wound
indicates infection
Foul odor in genital area may indicate infection
Page 380
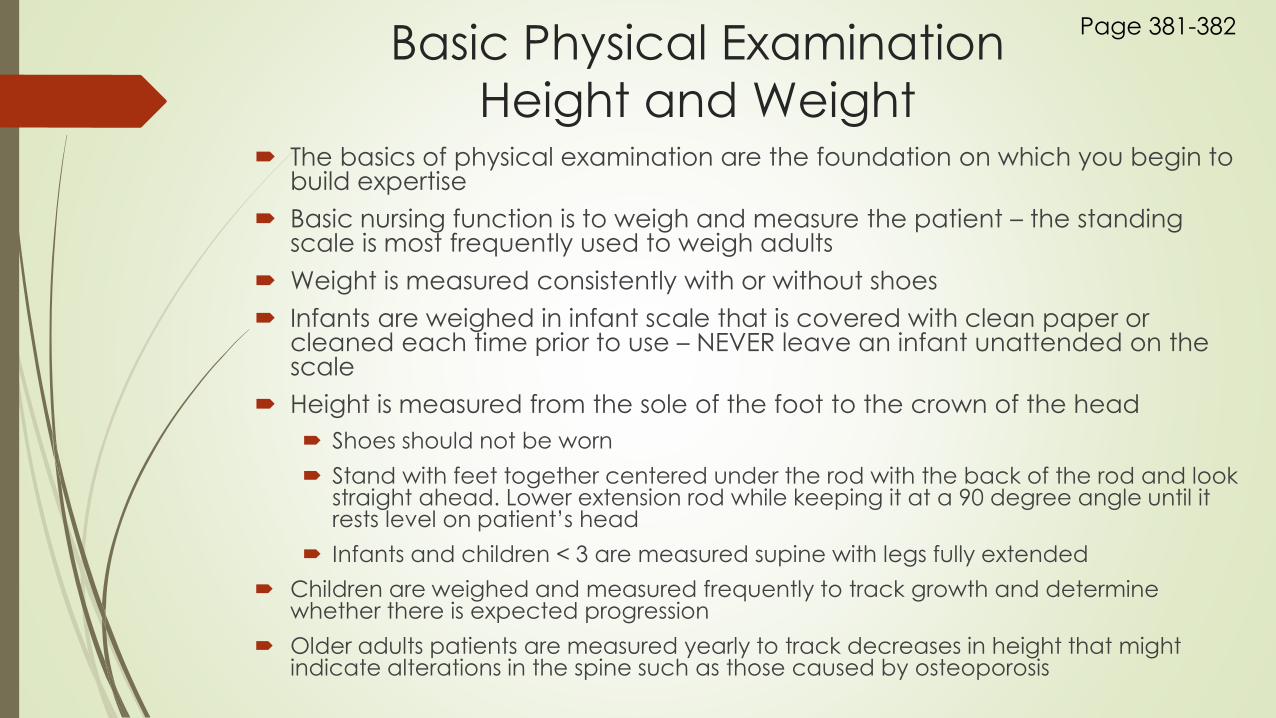
Basic Physical Examination
Height and Weight The basics of physical examination are the foundation on which you begin to
build expertise
Basic nursing function is to weigh and measure the patient – the standing scale is most frequently used to weigh adults
Weight is measured consistently with or without shoes
Infants are weighed in infant scale that is covered with clean paper or cleaned each time prior to use – NEVER leave an infant unattended on the scale
Height is measured from the sole of the foot to the crown of the head
Shoes should not be worn
Stand with feet together centered under the rod with the back of the rod and look straight ahead. Lower extension rod while keeping it at a 90 degree angle until it rests level on patient’s head
Infants and children < 3 are measured supine with legs fully extended
Children are weighed and measured frequently to track growth and determine whether there is expected progression
Older adults patients are measured yearly to track decreases in height that might indicate alterations in the spine such as those caused by osteoporosis
Page 381-382
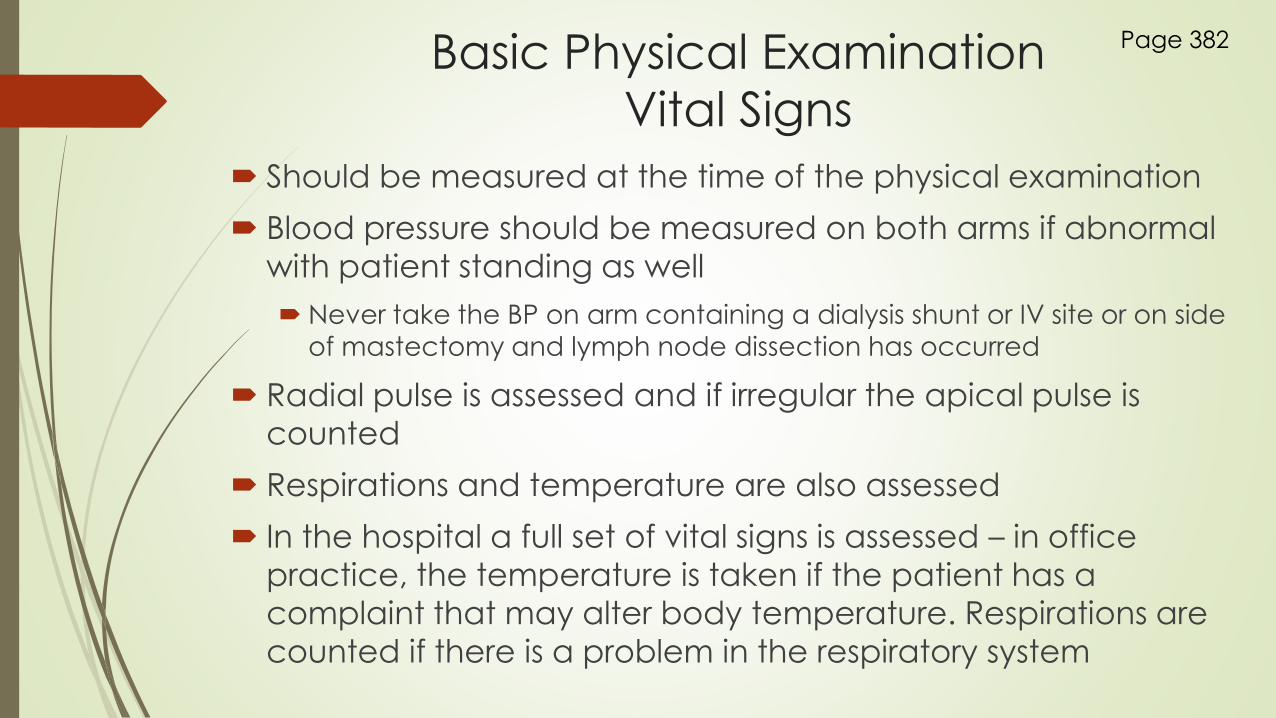
Basic Physical Examination
Vital Signs
Should be measured at the time of the physical examination
Blood pressure should be measured on both arms if abnormal
with patient standing as well
Never take the BP on arm containing a dialysis shunt or IV site or on side of mastectomy and lymph node dissection has occurred
Radial pulse is assessed and if irregular the apical pulse is
counted
Respirations and temperature are also assessed
In the hospital a full set of vital signs is assessed – in office
practice, the temperature is taken if the patient has a
complaint that may alter body temperature. Respirations are
counted if there is a problem in the respiratory system
Page 382
Review of Body Systems
Head and Neck
Assess the patient's general appearance, color, tone if skin and its condition. Assess the appearance of the eyes and condition of hair
Is the patient alert and oriented?
Does thinking seem logical?
Assess for JVD – jugular vein distention
Visible protrusion of the jugular veins when the patient is positioned sitting in bed at a 15-35 degree angle; assessed as a sign of heart failure or overhydration
Perform a visual acuity examination as described in Steps 22.2 (figure 22.6) page 383
Hearing can be tested quickly and easily using an audio scope (figure 22.7)
Each ear is tested with 4 frequencies
Page 382
Review of Body Systems
Chest, Heart, Lungs The chest should rise and fall with respiration symmetrically on both sides of the
body
Inspect the spine from the rear and the side
Should be midline with gentle concave and convex curves when viewed laterally
Shoulders should appear to be at equal height
Lordosis – exaggerated lumbar curve
Kyphosis – increased curve in the thoracic area
Scoliosis – pronounced lateral curvature of the spine
Inspect the anterior chest to see if there is a noticeable point of maximal impulse (PMI) of the heart
Located at or close to the 5th intercostal space left midclavicular line
S1 is the “lub” sound
Loudest at apex of heart in the mitral area
S2 is the “dub” sound
Loudest over the aortic area
Figure 22.8 page 384
Page 383
Review of Body Systems
Chest, Heart, Lungs Lung sounds are created by air moving through passageways of varying diameter
and length. Vary in pitch and duration depending on the area of auscultation
(figure 22.9) page 385
Sounds over the trachea are loud and coarse. Equal in length for inspiration and
expiration and have a slight pause between them
Sounds over bronchi are harsh and loud and are shorter on inspiration than
expiration. There is a slight pause between two sounds
Bronchovesicular sounds are those heard over the central chest or back. Normally
equal in length during inspiration and expiration and have no pause between
them. Medium in tonality and loudness
Vesicular sounds are soft, rustling sounds heard in the periphery of the lung fields.
Longer on inspiration than expiration and no pause between them
Adventitious sounds (abnormal lung sounds) page 385 table 22.1
Perform auscultation in a systemic manner according to a set pattern Figure 22.10
page 386 – perform on initial assessment and once per shift for all patients who are
on bed rest, who have respiratory problems, and who are at risk for these problems
Page 384
Review of Body Systems
Skin and Extremities
Inspect skin for any rashes or lesions - the assessment frequently includes
the Braden Scale for Predicting Pressure Sores
There should be no flaking or excessive dryness
Check turgor by gently pinching up a bit of skin on the arm or over the
sternum
if the skin is slow to return to a flat position, the patient is most likely dehydrated
if skin returns to the original position in less than 3 seconds, the turgor is “brisk”
Life Span Considerations page 385
Ask about changes in moles or other lesions
Check nails for discoloration or abnormal appearance – nail fungus may
cause changes. Abnormally shaped fingertips may indicate a cardiopulmonary problem
Page 385
Review of Body Systems
Skin and Extremities Check capillary refill time by observing the color of the nail bed and then
compressing the nail bed with the thumbnail or the distal end of a capped pen
Release the pressure and note how quickly the color returns to the nail bed. If color returns slowly, check again and count the seconds to estimate the number of seconds it takes for the color to return --- this is not a comprehensive assessment of circulation but it can be useful
Normal refill time is < 3 seconds
Compare peripheral pulses bilaterally.
It is most important to check the dorsalis pedis pulse because it is an indication of the quality of circulation in the lower extremities
Assess for generalized edema by checking for weigh gain over a short time
Ask about shoe and ring tightness and sock patterns left on the ankles when socks are removed. Look for eye and hand puffiness and abdominal fullness
To check for dependent edema, press fingers into the tissue over the tibia just above the ankle. If indentation remains pitting edema is present Figure 22.11 page 387
To describe edema you can use terms such as taut, tight, puffy, indented or pitting
Page 385
Review of Body Systems
The Abdomen
Assess bowel sounds on admission and once per shift for all patients
Bowel sounds are produced by the contractions of small and large intestine
Wave like clicks and gurgles that occur from 5 -30 times a minute; particularly active after eating; between meals, it is normal to hear only a few sounds
Hyperactive if they are very frequent
Hypoactive if there long periods of silence
Absent if no sound heard for 2-5 minutes in any of the four quadrants
With a patient in a supine position, lightly place the stethoscope over a quadrant (quarter) of the abdomen and listen; if no sound is heard, progress through the other quadrants until sounds are heard or listen for at least 2 minutes (figure 22.12)
If the patient has a gastrointestinal problem, percuss over each quadrant of the abdomen (figure 22.2) page 380
The sound will be dull over solid tissue and resonant over air filled areas. If several resonant areas are present, a large amount of gas is in the bowel
Page 385- 387
Review of Body Systems
The Abdomen
After auscultating and percussing, gently palpate each
quadrant of the abdomen looking for areas of tenderness,
pain, and abnormal masses
When documenting the findings, note the size of the
abdomen to establish a baseline for future comparison,
Sequence for assessing the abdomen :
Inspection
Auscultation
Percussion (if distended) – measure abdominal girth
Palpation
Page 387
Review of Body Systems
Genitalia, Anus and Rectum
Unless the patient has a specific complaint in these
areas, the nurse does not visually assess them.
They may be assessed however, when bathing a
patient, performing perineal care, or assisting with
toileting .
Ask the patient if she has any problems or concerns with
these areas
Page 388
Review of Body Systems In many instances, a nursing assessment of the areas of basic need is
more appropriate than a total physical assessment is. A systemic way to
perform such an assessment is to use the acronym RNS HOPE
Rest and activity
Nutrition, fluids, and electrolytes
Safety and security
Hygiene and grooming
Oxygenation and circulation needs
Psychosocial and learning
Elimination
The data to be covered for this assessment of psychosocial and
physiologic functioning are listed in box 22.6 page 389 – this data is gathered and a nursing care plan is prepared using the nursing process
Each patient should also be assessed at the beginning of each shift or
shortly after. This is a quick head to toe assessment to enable the nurse to
establish priorities of care and organize the work for the shift (Box 22.7)
Page 388
Assisting with a Physical Examination
You may be asked to do the initial screening of the patient before
the patient is seen by the examiner.
Obtain a brief history of any complaints, measure vital signs, and
prepare the patient for the examination.
Explain the examination, answer any questions and generally try to
put the patient at ease
Page 391
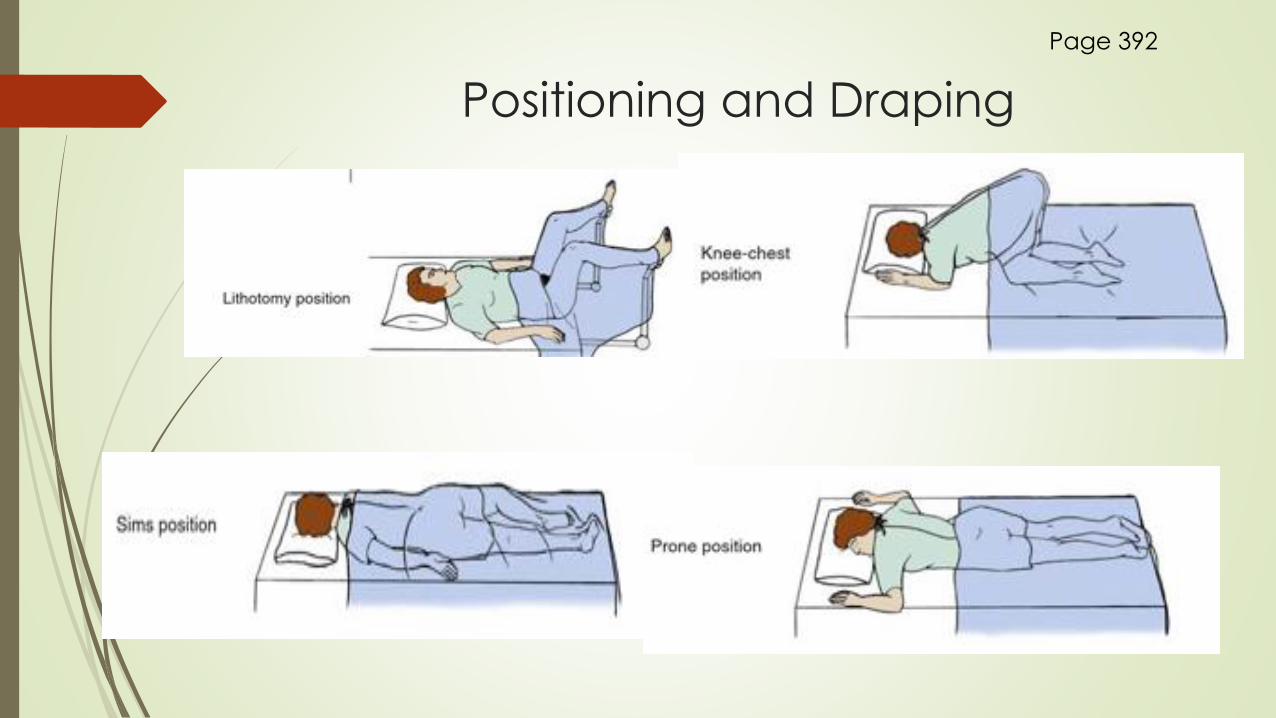
Positioning and Draping Most examiners begin with the patient in a gown, seated at the end of the
examination table with a drape over lap and legs
Patient then assume a supine position and the drape is pulled over the upper body to expose the chest and or abdomen
Lithotomy position – used to examine female genitalia and for the pelvic examination, stirrups hold patient’s feet in an elevated position
To drape, provide a draping sheet or a bath blanket turned so that one corner forms a triangle that falls between the leg. Patient’s buttocks is right at end of table
Knee- Chest position is sometimes used for a rectal examination
Lateral or Sim’s position is used for a flexible sigmoidoscopy examination of the lower colon
Prone position needed for the back examination or back of legs
The primary purpose of draping that patient is to prevent unnecessary exposure of the body during examination
A patient who feels exposed or embarrassed will be tense, restless, and less able to cooperate
Positions page 392 figure 22.13
Page 392
Positioning and Draping
Page 392
Elements of Physical Examination
Before a pelvic examination, the patient should empty the bladder.
If urine specimen is needed, it is obtained before the patient undresses for the
examination.
Ask patient to disrobe and don the examination gown.
Prepare examination table with fresh paper cover, provide drape and prepare
any equipment
A female nurse may be requested to be present in the room when a male health provider performs a pelvic or breast examination of a patient.
Page 393
Special Focused Examinations
At times you will need to perform a neurologic check
It is performed at regular intervals on patients who have
experienced a head injury or who have had brain surgery
It is done for any patient at risk of increasing intracranial
pressure.
A decrease in LOC is an indicator of neurologic deterioration
The pupil size is measured under normal/ dimmed light
conditions.
Pupils are usually round and equal in size.
A flash light is used to make pupils constrict – they should
constrict briskly when stimulated by light.
Page 394
Special Focused Examinations
Consensual Reflex- Both pupils should get smaller when either eye is stimulated by the light
Accommodation – Pupils constrict when looking at a near object and then dilate when viewing a far object
PERRLA - Pupils Equal, Round, Reactive to Light and Accommodation
Sluggish pupil can indicate increased ICP
Skill 22.2 Performing Neurological Check page 394-395
Page 394
Special Focused Examinations
Eye muscles are tested by checking the extraocular
movements (EOMS)
Ask patient to track your finger or an object as it moves to
six different positions.
Eyes usually move in coordinated matter.
Absence of movement or irregular movement may
indicate cranial nerve damage or neurological problem
Page 394
Special Focused Examinations
Glasgow Coma Scale is used in most hospitals to score the
neurologic examination for patients with decreased LOC
Provides baseline against which changes can be
evaluated.
Take vital signs at the time of the neurologic check
because diseases that increase intracranial pressure can
affect vital signs, although such changes often do not
occur until late, when circulation to the brain has been
impaired.
Table 22.3 – Glasgow Coma Scale
Page 394 -396
Key Points
Page 398