Embed Size (px)
Citation preview
© MHD Productions Ltd
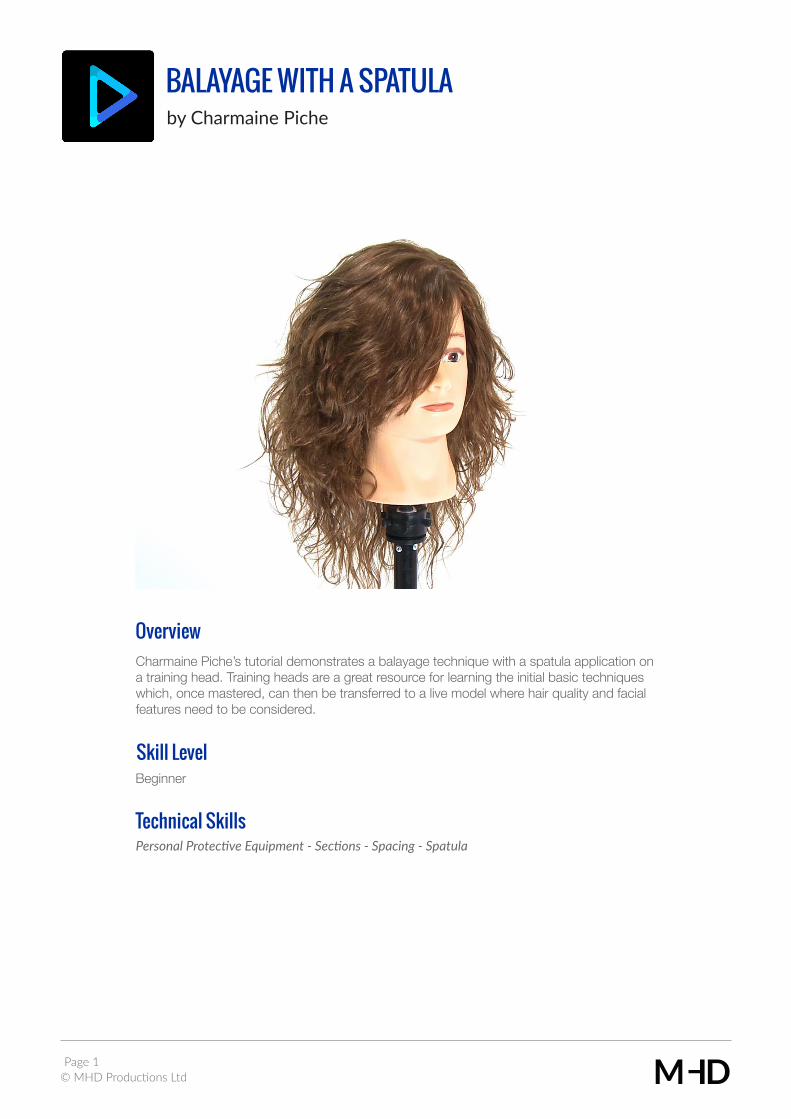
Charmaine Piche’s tutorial demonstrates a balayage technique with a spatula application on a training head. Training heads are a great resource for learning the initial basic techniques which, once mastered, can then be transferred to a live model where hair quality and facial features need to be considered.
Personal Protective Equipment - Sections - Spacing - Spatula
BALAYAGE WITH A SPATULAby Charmaine Piche
Page 1
Overview
Technical Skills
Skill LevelBeginner
© MHD Productions Ltd
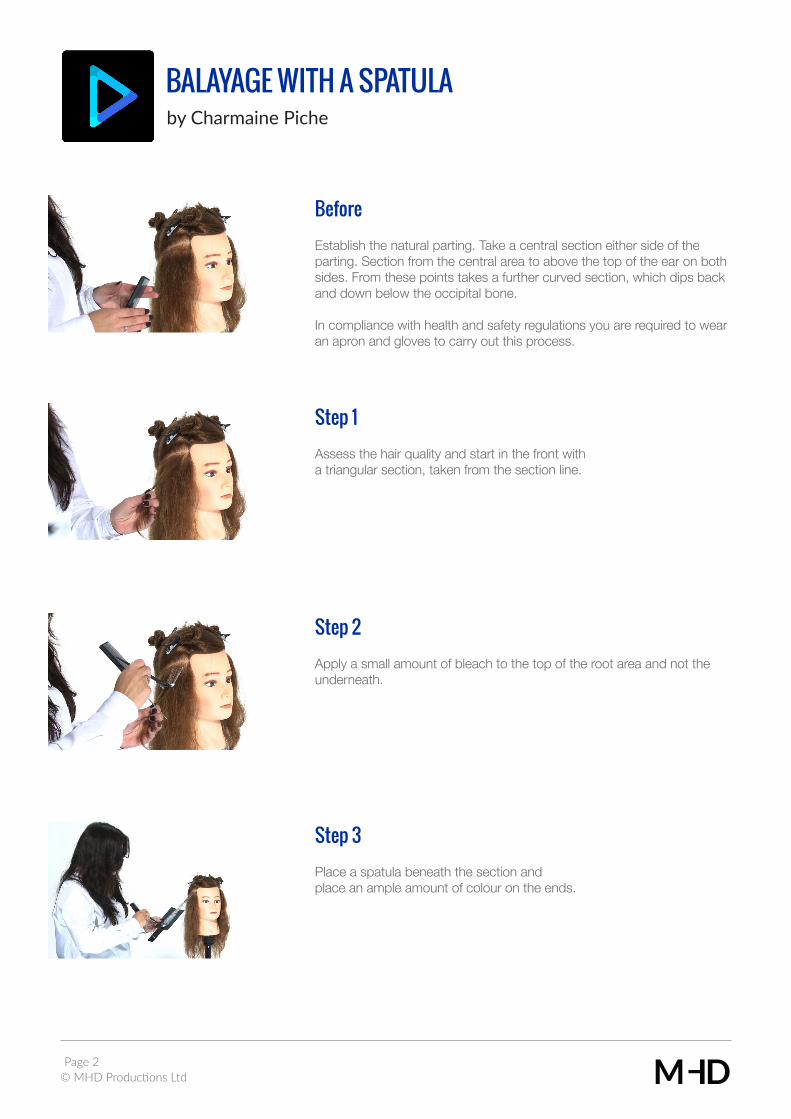
Before Establish the natural parting. Take a central section either side of the parting. Section from the central area to above the top of the ear on both sides. From these points takes a further curved section, which dips back and down below the occipital bone.
In compliance with health and safety regulations you are required to wear an apron and gloves to carry out this process.
Step 1 Assess the hair quality and start in the front with a triangular section, taken from the section line.
Step 2 Apply a small amount of bleach to the top of the root area and not the underneath.
Step 3Place a spatula beneath the section and place an ample amount of colour on the ends.
BALAYAGE WITH A SPATULAby Charmaine Piche
Page 2
© MHD Productions Ltd
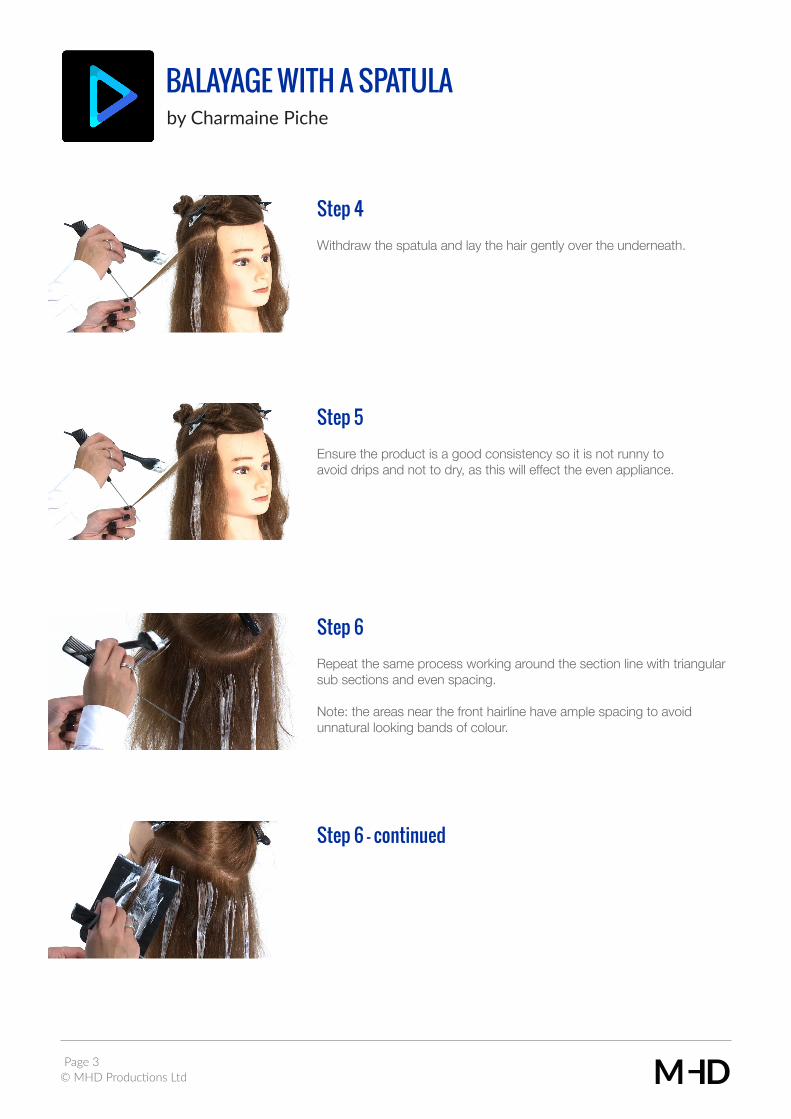
Step 4
Withdraw the spatula and lay the hair gently over the underneath.
Step 5
Ensure the product is a good consistency so it is not runny to avoid drips and not to dry, as this will effect the even appliance.
Step 6Repeat the same process working around the section line with triangular sub sections and even spacing.
Note: the areas near the front hairline have ample spacing to avoid unnatural looking bands of colour.
Step 6 - continued
BALAYAGE WITH A SPATULAby Charmaine Piche
Page 3
© MHD Productions Ltd
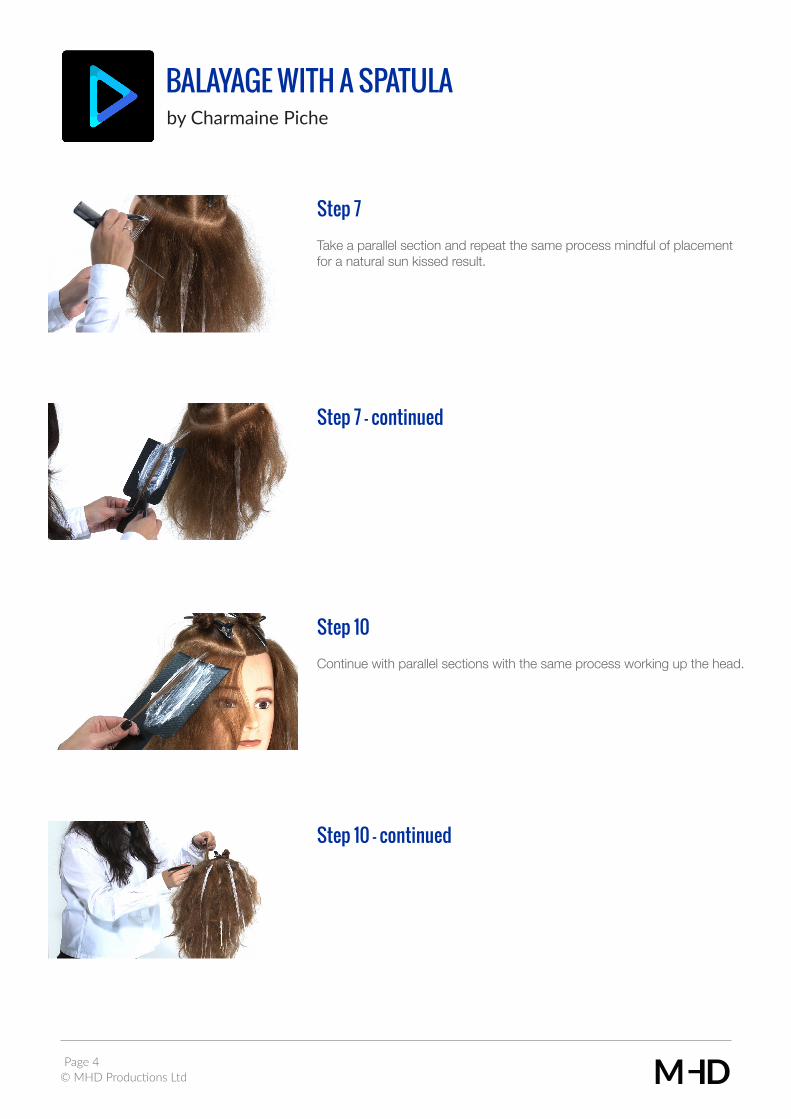
Step 7Take a parallel section and repeat the same process mindful of placement for a natural sun kissed result.
Step 7 - continued
Step 10Continue with parallel sections with the same process working up the head.
Step 10 - continued
BALAYAGE WITH A SPATULAby Charmaine Piche
Page 4
© MHD Productions Ltd
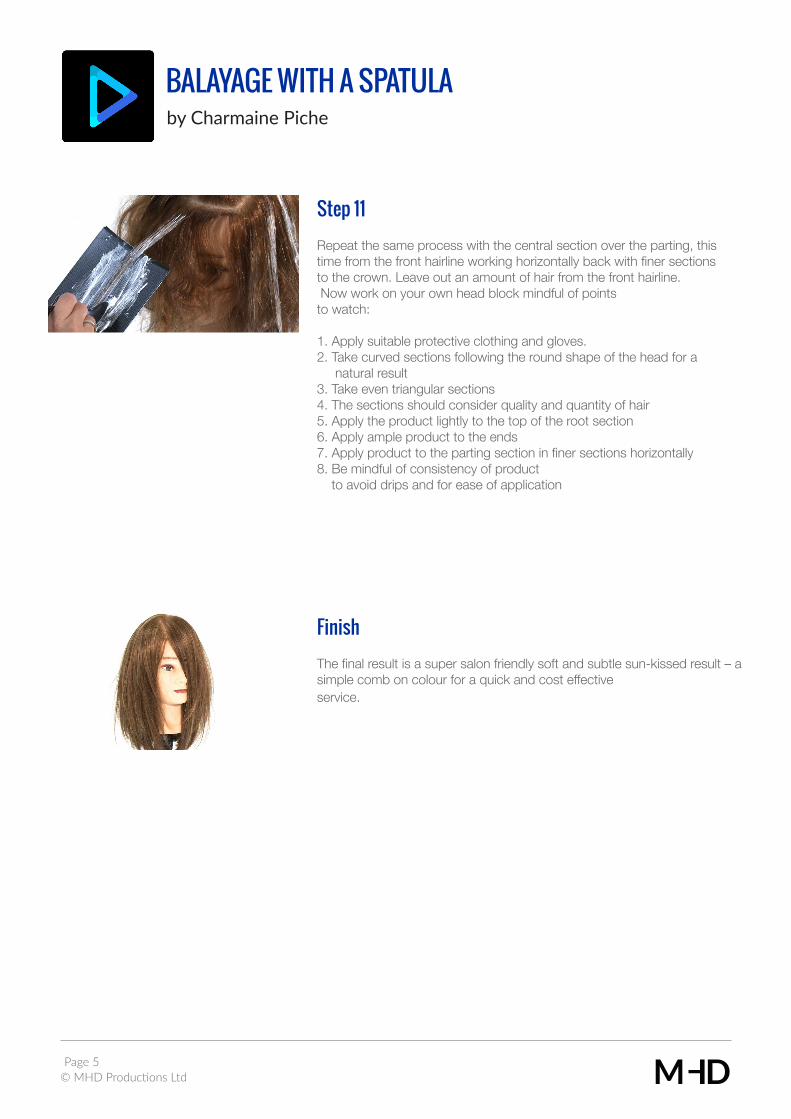
Step 11 Repeat the same process with the central section over the parting, this time from the front hairline working horizontally back with finer sections to the crown. Leave out an amount of hair from the front hairline. Now work on your own head block mindful of points to watch:
1. Apply suitable protective clothing and gloves.2. Take curved sections following the round shape of the head for a natural result3. Take even triangular sections4. The sections should consider quality and quantity of hair5. Apply the product lightly to the top of the root section6. Apply ample product to the ends7. Apply product to the parting section in finer sections horizontally8. Be mindful of consistency of product to avoid drips and for ease of application
FinishThe final result is a super salon friendly soft and subtle sun-kissed result – a simple comb on colour for a quick and cost effective service.
BALAYAGE WITH A SPATULAby Charmaine Piche
Page 5