Embed Size (px)
Citation preview
1
Biology 3451 Entomology
Insect Collection and Preservation Guide
© R. Aiken, 2012
2
BIOLOGY 3451 - INSECT COLLECTION AND PREPARATION GUIDE
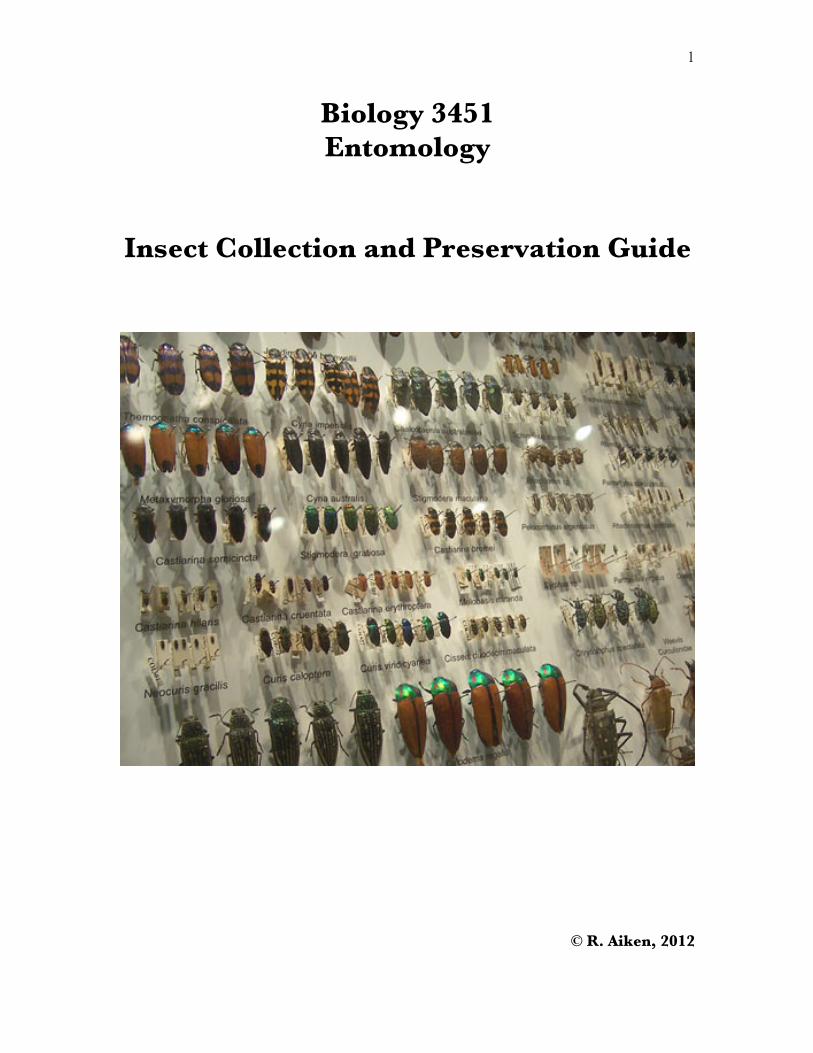
A very important part of the process of studying insects is proper collection, labelling and specimen preparation. Insects that are prepared and identified properly can last for many years in museum collections. (We are still using insects collected by Darwin on the HMS Beagle expedition for example). The purpose of this manual is to acquaint you with the proper techniques for developing a good insect collection. 1. FIELD COLLECTING. 1.1 Terrestrial Insects There are a many methods for collecting terrestrial insects and many are designed for specific kinds of insects. We will be using the most common method - the sweep net. The sweep net (Fig. 1) is what you would commonly think of as a "butterfly net". It is the most widely used method of collecting live insects.
Fig. 1 - A standard sweep net
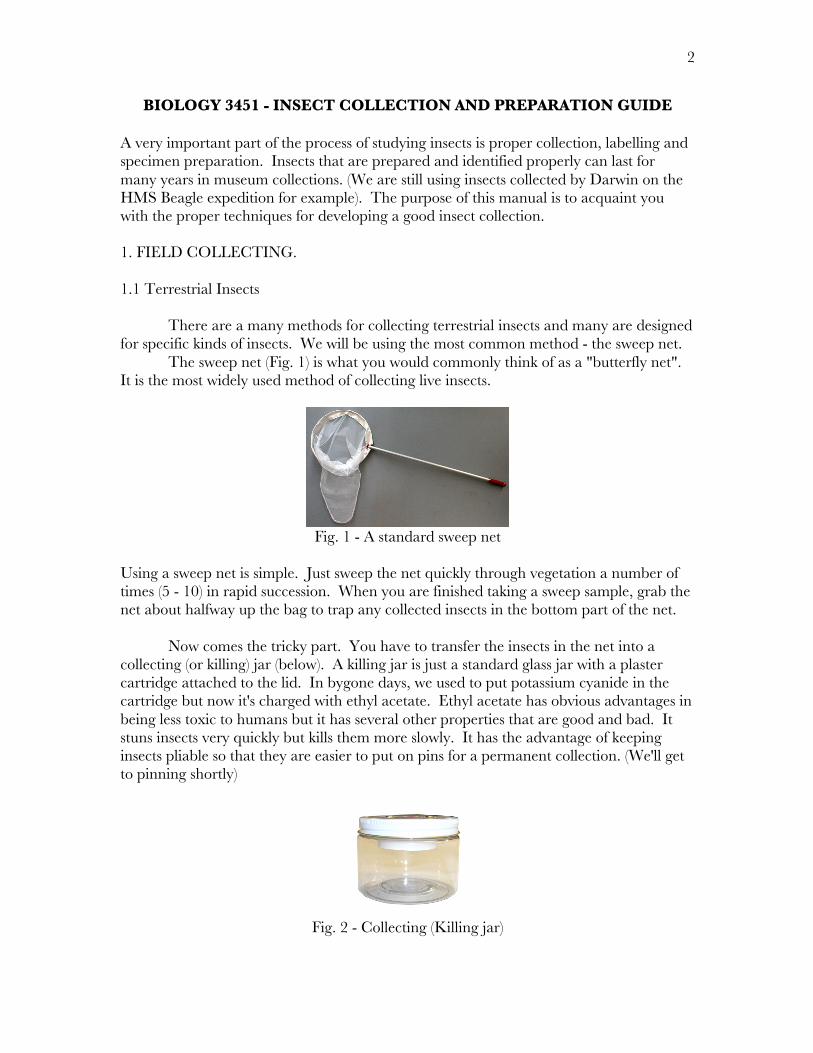
Using a sweep net is simple. Just sweep the net quickly through vegetation a number of times (5 - 10) in rapid succession. When you are finished taking a sweep sample, grab the net about halfway up the bag to trap any collected insects in the bottom part of the net. Now comes the tricky part. You have to transfer the insects in the net into a collecting (or killing) jar (below). A killing jar is just a standard glass jar with a plaster cartridge attached to the lid. In bygone days, we used to put potassium cyanide in the cartridge but now it's charged with ethyl acetate. Ethyl acetate has obvious advantages in being less toxic to humans but it has several other properties that are good and bad. It stuns insects very quickly but kills them more slowly. It has the advantage of keeping insects pliable so that they are easier to put on pins for a permanent collection. (We'll get to pinning shortly)
Fig. 2 - Collecting (Killing jar)
3
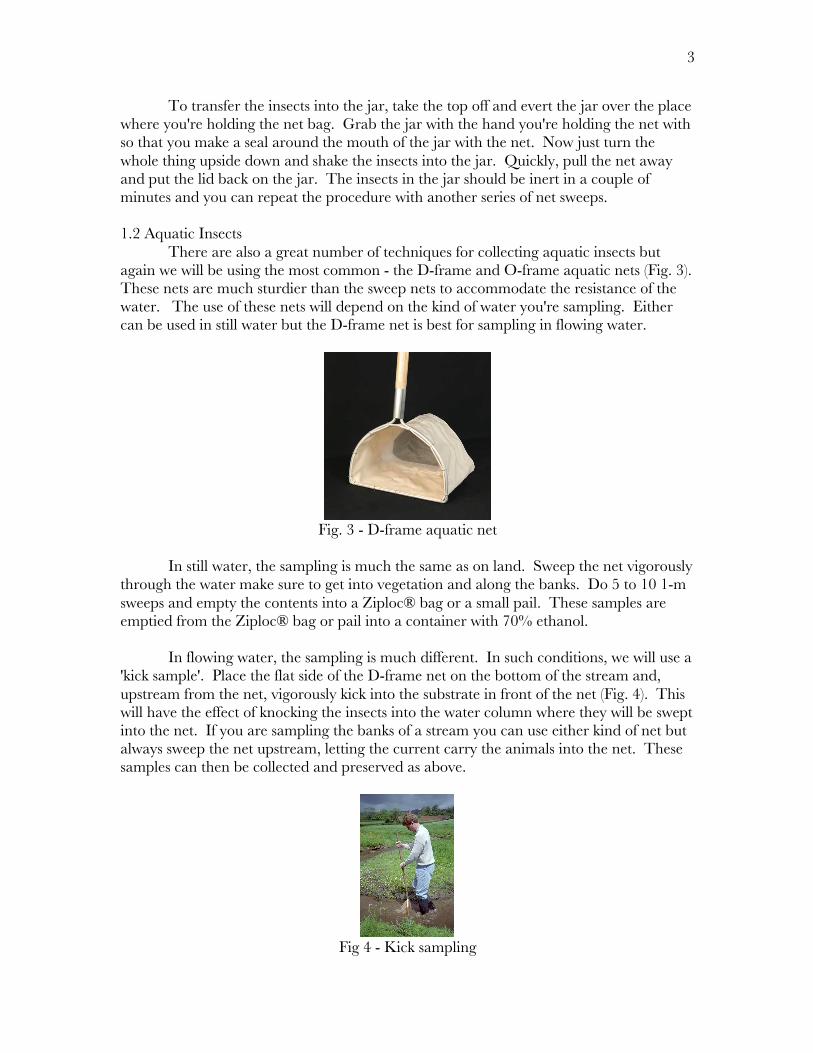
To transfer the insects into the jar, take the top off and evert the jar over the place where you're holding the net bag. Grab the jar with the hand you're holding the net with so that you make a seal around the mouth of the jar with the net. Now just turn the whole thing upside down and shake the insects into the jar. Quickly, pull the net away and put the lid back on the jar. The insects in the jar should be inert in a couple of minutes and you can repeat the procedure with another series of net sweeps. 1.2 Aquatic Insects There are also a great number of techniques for collecting aquatic insects but again we will be using the most common - the D-frame and O-frame aquatic nets (Fig. 3). These nets are much sturdier than the sweep nets to accommodate the resistance of the water. The use of these nets will depend on the kind of water you're sampling. Either can be used in still water but the D-frame net is best for sampling in flowing water.
Fig. 3 - D-frame aquatic net
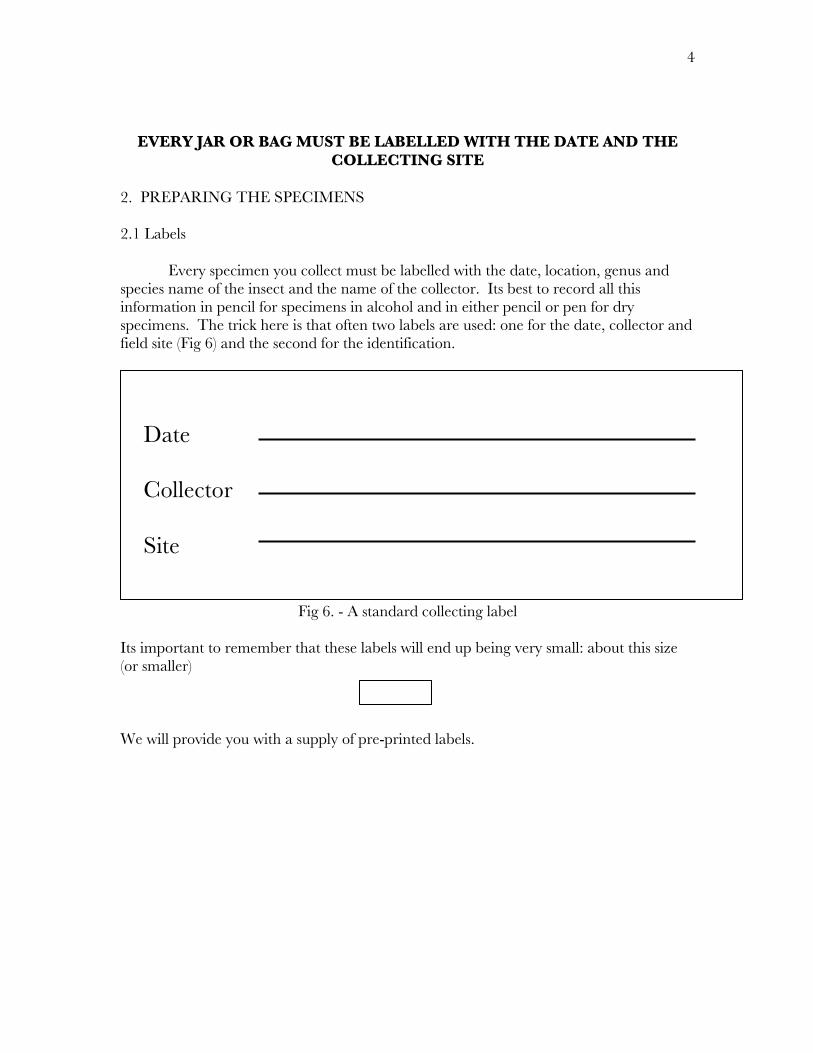
In still water, the sampling is much the same as on land. Sweep the net vigorously through the water make sure to get into vegetation and along the banks. Do 5 to 10 1-m sweeps and empty the contents into a Ziploc® bag or a small pail. These samples are emptied from the Ziploc® bag or pail into a container with 70% ethanol. In flowing water, the sampling is much different. In such conditions, we will use a 'kick sample'. Place the flat side of the D-frame net on the bottom of the stream and, upstream from the net, vigorously kick into the substrate in front of the net (Fig. 4). This will have the effect of knocking the insects into the water column where they will be swept into the net. If you are sampling the banks of a stream you can use either kind of net but always sweep the net upstream, letting the current carry the animals into the net. These samples can then be collected and preserved as above.
Fig 4 - Kick sampling
4
EVERY JAR OR BAG MUST BE LABELLED WITH THE DATE AND THE COLLECTING SITE
2. PREPARING THE SPECIMENS 2.1 Labels Every specimen you collect must be labelled with the date, location, genus and species name of the insect and the name of the collector. Its best to record all this information in pencil for specimens in alcohol and in either pencil or pen for dry specimens. The trick here is that often two labels are used: one for the date, collector and field site (Fig 6) and the second for the identification.
Fig 6. - A standard collecting label
Its important to remember that these labels will end up being very small: about this size (or smaller) We will provide you with a supply of pre-printed labels.
Date
Collector
Site
5
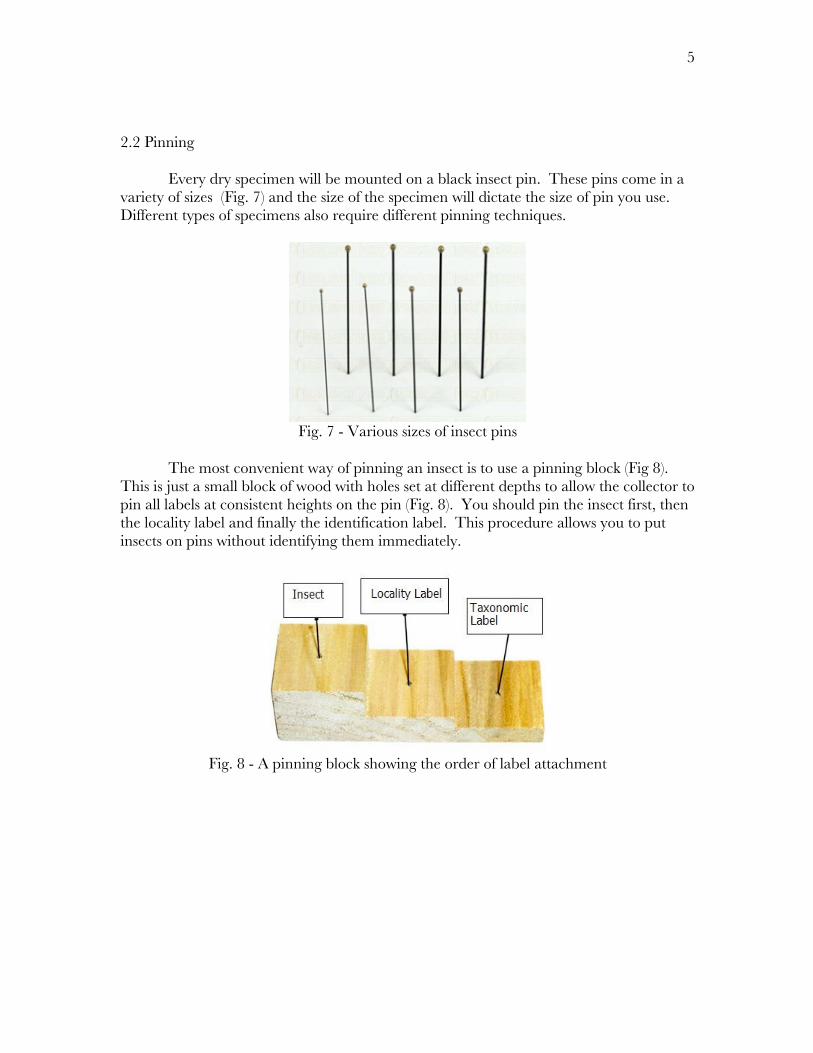
2.2 Pinning Every dry specimen will be mounted on a black insect pin. These pins come in a variety of sizes (Fig. 7) and the size of the specimen will dictate the size of pin you use. Different types of specimens also require different pinning techniques.
Fig. 7 - Various sizes of insect pins
The most convenient way of pinning an insect is to use a pinning block (Fig 8). This is just a small block of wood with holes set at different depths to allow the collector to pin all labels at consistent heights on the pin (Fig. 8). You should pin the insect first, then the locality label and finally the identification label. This procedure allows you to put insects on pins without identifying them immediately.
Fig. 8 - A pinning block showing the order of label attachment
6
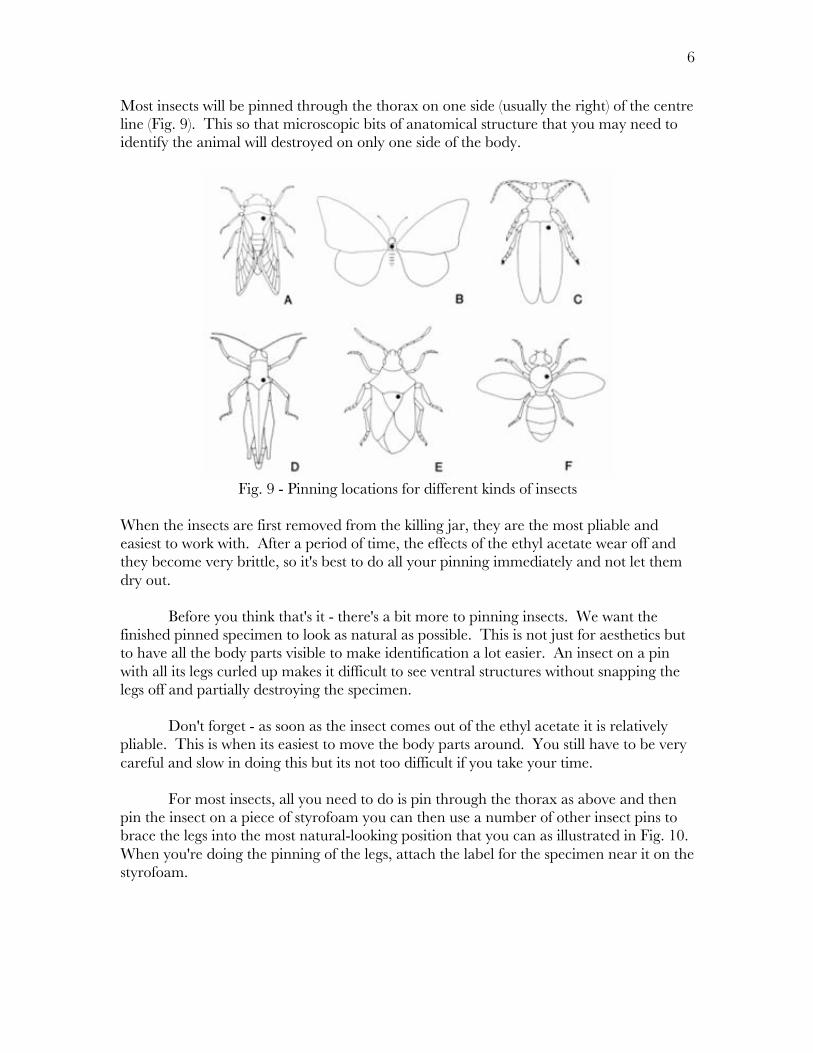
Most insects will be pinned through the thorax on one side (usually the right) of the centre line (Fig. 9). This so that microscopic bits of anatomical structure that you may need to identify the animal will destroyed on only one side of the body.
Fig. 9 - Pinning locations for different kinds of insects
When the insects are first removed from the killing jar, they are the most pliable and easiest to work with. After a period of time, the effects of the ethyl acetate wear off and they become very brittle, so it's best to do all your pinning immediately and not let them dry out. Before you think that's it - there's a bit more to pinning insects. We want the finished pinned specimen to look as natural as possible. This is not just for aesthetics but to have all the body parts visible to make identification a lot easier. An insect on a pin with all its legs curled up makes it difficult to see ventral structures without snapping the legs off and partially destroying the specimen. Don't forget - as soon as the insect comes out of the ethyl acetate it is relatively pliable. This is when its easiest to move the body parts around. You still have to be very careful and slow in doing this but its not too difficult if you take your time. For most insects, all you need to do is pin through the thorax as above and then pin the insect on a piece of styrofoam you can then use a number of other insect pins to brace the legs into the most natural-looking position that you can as illustrated in Fig. 10. When you're doing the pinning of the legs, attach the label for the specimen near it on the styrofoam.
7
Fig. 10 - Use of pins to position the legs of a specimen
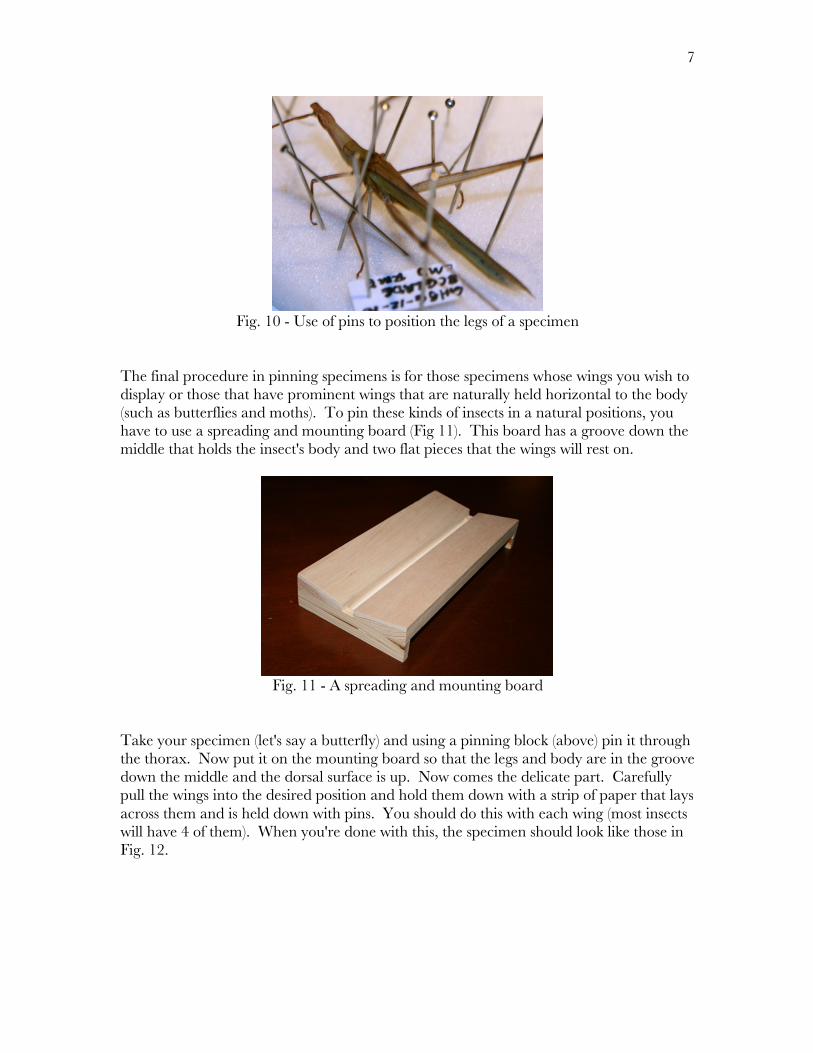
The final procedure in pinning specimens is for those specimens whose wings you wish to display or those that have prominent wings that are naturally held horizontal to the body (such as butterflies and moths). To pin these kinds of insects in a natural positions, you have to use a spreading and mounting board (Fig 11). This board has a groove down the middle that holds the insect's body and two flat pieces that the wings will rest on.
Fig. 11 - A spreading and mounting board
Take your specimen (let's say a butterfly) and using a pinning block (above) pin it through the thorax. Now put it on the mounting board so that the legs and body are in the groove down the middle and the dorsal surface is up. Now comes the delicate part. Carefully pull the wings into the desired position and hold them down with a strip of paper that lays across them and is held down with pins. You should do this with each wing (most insects will have 4 of them). When you're done with this, the specimen should look like those in Fig. 12.
8
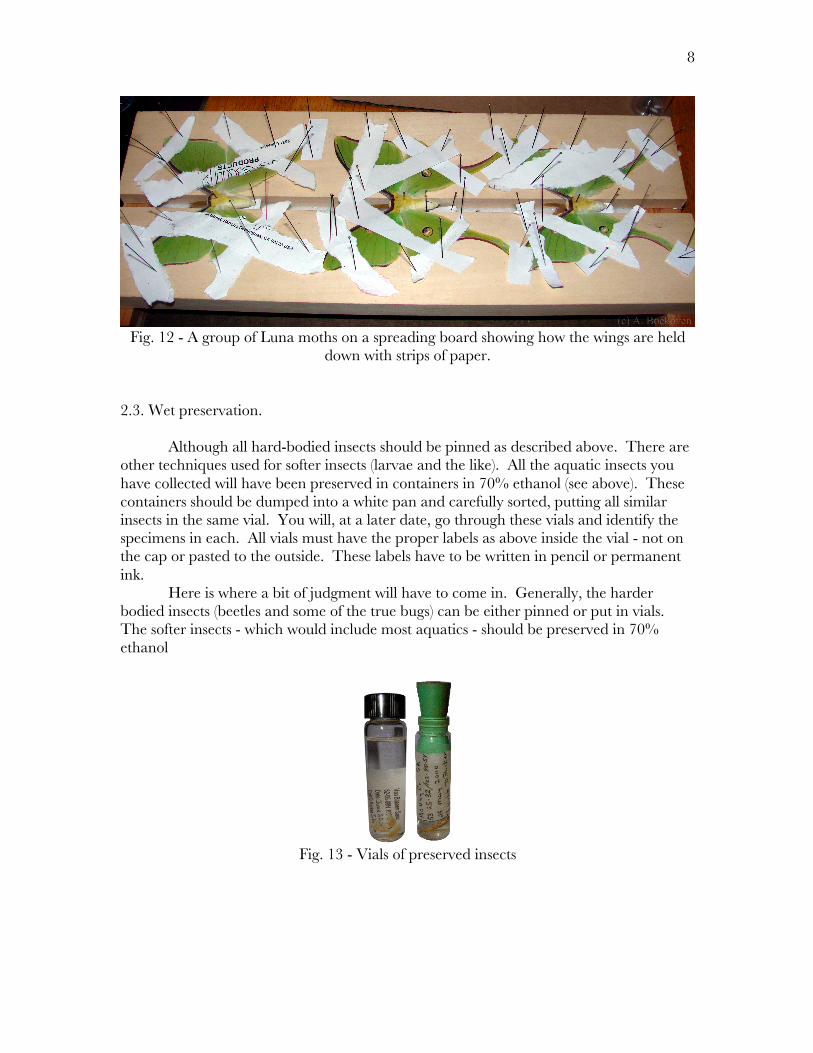
Fig. 12 - A group of Luna moths on a spreading board showing how the wings are held
down with strips of paper.
2.3. Wet preservation. Although all hard-bodied insects should be pinned as described above. There are other techniques used for softer insects (larvae and the like). All the aquatic insects you have collected will have been preserved in containers in 70% ethanol (see above). These containers should be dumped into a white pan and carefully sorted, putting all similar insects in the same vial. You will, at a later date, go through these vials and identify the specimens in each. All vials must have the proper labels as above inside the vial - not on the cap or pasted to the outside. These labels have to be written in pencil or permanent ink. Here is where a bit of judgment will have to come in. Generally, the harder bodied insects (beetles and some of the true bugs) can be either pinned or put in vials. The softer insects - which would include most aquatics - should be preserved in 70% ethanol
Fig. 13 - Vials of preserved insects