Embed Size (px)
Citation preview
University of Nebraska - LincolnDigitalCommons@University of Nebraska - LincolnHistorical Materials from University of Nebraska-Lincoln Extension Extension
4-1942
CC49 Drying and Brining Fruits and Vegetables
Follow this and additional works at: http://digitalcommons.unl.edu/extensionhist
This Article is brought to you for free and open access by the Extension at DigitalCommons@University of Nebraska - Lincoln. It has been accepted forinclusion in Historical Materials from University of Nebraska-Lincoln Extension by an authorized administrator of DigitalCommons@University ofNebraska - Lincoln.
"CC49 Drying and Brining Fruits and Vegetables" (1942). Historical Materials from University of Nebraska-Lincoln Extension. 3005.http://digitalcommons.unl.edu/extensionhist/3005
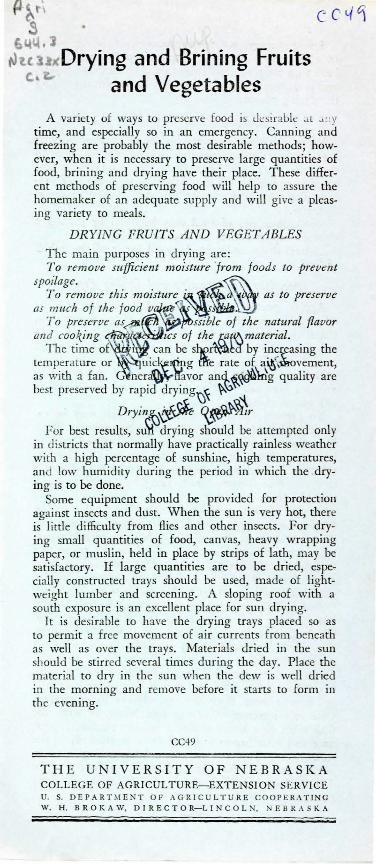
Drying and Brining Fruits and Vegetables
A variety of ways to preserve food i ~ Jes!ral>le .H c. :!y
time, and especially so in an emergency. Canning and freezing are probably the most desirable methods; however, when it is necessary to preserve large quantities of food, brining and drying have their place. These different methods of preserving food will help to assure the homemaker of an adequate supply and will give a pleasing variety to meals.
DRYIN G FRUITS AND VEGETABLES
The main purposes in drying are: To remove mfficient moistut·e fmm fo ods to prevent
spoilage. ~ To t·emove this moistut·e Vi~~~' as to p-reserve
as much of th e food v~w~~.l: To preserve as~~~/}bssible of the natural flavor
and cooking ~~~~tcs of the. FfM,material. The time of~ can be si)pi~~a by increasing the
temperature or uic:._¥:l{lpg &e rate of a1lt"~v~ment, as with a fan. nera~lravor and.~~~g quality are best preserved by rapid drying\)~ ~\:}
Dryin~~ ({._,~ . .'~11. For best results, su)i drying should be attempted only
in districts that normally have practically rainless weather with a high percentage of sunshine, high temperatures, and low humidity during the period in which the drying is to be done.
Some equipment should be provided for protection against insects and dust. \Vhen the sun is very hot, there is little difficulty from flies and other insects. For drying small quantities of food, canvas, heavy wrapping paper, or muslin, held in place by strips of lath, may be satisfactory. If large quantities are to be dried, especially constructed trays should be used, made of lightweight lumber and screening. A sloping roof with a south exposure is an excellent place for sun drying.
It is desirable to have the drying trays placed so as to permit a free movement of air currents from beneath as well as over the trays. Materials dried in the sun should be stirred several tin1es during the day. Place the material to dry in the sun when the dew is well dried in the morning and remove before it starts to form in the evening.
CC-19
THE UNIVERSITY OF NEBRASKA COLLEGE OF AGRICULTURE-EXTENSION SERVICE U. S. DEPART~!E"'T OF .I GR I CUL T URE COOPERAT ING W. H. B R 0 K A W, DIRECT 0 R-L INC 0 L N, NEB R .IS K 11.
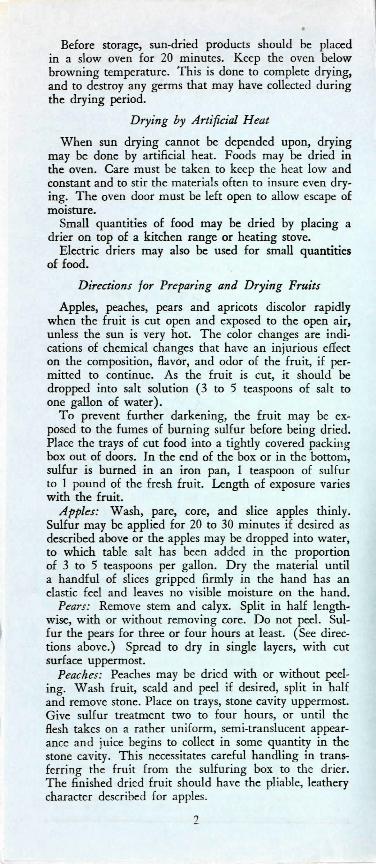
Before storage, sun-dried products should be placed in a slow oven for 20 minutes. Keep the oven below browning temperature. This is done to complete drying, and to destroy any germs that may have collected during the drying period.
Drying by Artificial Heat
When sun drying cannot be depended upon, drying may be done by artificial heat. Foods may be dried in the oven. Care must be taken to keep the heat low and constant and to stir the materials often to insure even drying. The oven door must be left open to allow escape of moisture.
Small quantities of food may be dried by placing a drier on top of a kitchen range or heating stove.
Electric driers may also be used for small quantities of food.
Directions for Preparing and Drying Fruits
Apples, peaches, pears and apricots discolor rapidly when the fruit is cut open and exposed to the open air, unless the sun is very hot. The color changes are indications of chemical changes that have an injurious effect on the composition, flavor, and odor of the fruit, if permitted to continue. As the fruit is cut, it should be dropped into salt solution (3 to 5 teaspoons of salt to one gallon of water).
To prevent further darkening, the fruit may be exposed to the fumes of burning sulfur before being dried. Place the trays of cut food into a tightly covered packing box out of doors. In the end of the box or in the bottom, sulfur is burned in an iron pan, 1 teaspoon of sulfur to I pound of the fresh fruit. Length of exposure varies with the fruit.
Apples: Wash, pare, core, and slice apples thinly. Sulfur may be applied for 20 to 30 minutes if desired as described above or the apples may be dropped into water, to which table salt has been added in the proportion of 3 to 5 teaspoons per gallon. Dry the material until a handful of slices gripped firmly in the hand has an elastic feel and leaves no visible moisture on the hand.
Pears: Remove stem and calyx. Split in half lengthwise, with or without removing core. Do not peel. Sulfur the pears for three or four hours at least. (See directions above.) Spread to dry in single layers, with cut surface uppermost.
Peaches: Peaches may be dried with or without peeling. Wash fruit, scald and peel if desired, split in half and remove stone. Place on trays, stone cavity uppermost. Give sulfur treatment two to four hours, or until the flesh takes on a rather uniform, semi-translucent appearance and juice begins to collect in some quantity in the stone cavity. This necessitates careful handling in transferring the fruit from the sulfuring box to the drier. The finished dried fruit should have the pliable, leathery character described for apples.
2
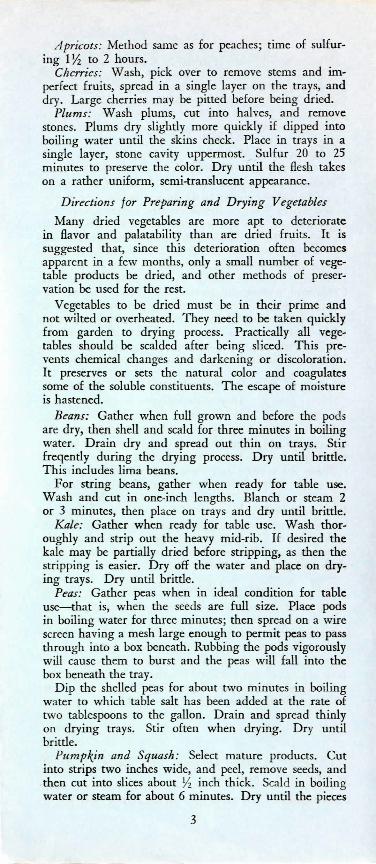
A pricots: Method same as for peaches; time of sulfuring 1 Yz to 2 hours.
Cherries: Wash, pick over to remove stems and imperfect fruits, spread in a single layer on the trays, and dry. Large cherries may be pitted before being dried.
Plums: Wash plums, cut into halves, and remove stones. Plums dry slightly more quickly if dipped into boiling water until the skins check. Place in trays in a single layer, stone cavity uppermost. Sulfur 20 to 25 minutes to preserve the color. Dry until the flesh takes on a rather uniform, semi-translucent appearance.
Directions for Preparing and Drying Vegetables
Many dried vegetables are more apt to deteriorate in flavor and palatability than are dried frui ts. It is suggested that, since this deterioration often becomes apparent in a few months, only a small number of vegetable products be dried, and other methods of preservation be used for the rest.
Vegetables to be dried must be in their prime and not wilted or overheated. They need to be taken quickly from garden to drying process. Practically all vegetables should be scalded after being sliced. This prevents chemical changes and darkening or discoloration. It preserves or sets the natural color and coagulates some of the soluble constituents. The escape of moisture is hastened.
Beans: Gather when full grown and before the pods are dry, then shell and scald for three minutes in boiling water. Drain dry and spread out thin on trays. Stir freqently during the drying process. Dry until brittle. This includes lima beans.
For string beans, gather when ready for table use. Wash and cut in one-inch lengths. Blanch or steam 2 or 3 minutes, then place on trays and dry until brittle.
Kale: Gather when ready for table use. Wash thoroughly and strip out the heavy mid-rib. If desired the kale may be partially dried before stripping, as then the stripping is easier. Dry off the water and place on drying trays. Dry until brittle.
Peas: Gather peas when in ideal condition for table use-that is, when the seeds are full size. Place pods in boiling water for three minutes; then spread on a wire screen having a mesh large enough to permit peas to pass through into a box beneath. Rubbing the pods vigorously will cause them to burst and the peas will fall into the box beneath the tray.
D ip the shelled peas for about two minutes in boiling water to which table salt has been added at the rate of two tablespoons to the gallon. Drain and spread thinly on drying trays. Stir often when drying. D ry until brittle.
Pu mpkin and Squash : Select mature products. Cut into strips two inches wide, and peel, remove seeds, and then cut into slices about Yz inch thick. Scald in boiling water or steam for about 6 minutes. Dry until the pieces
3
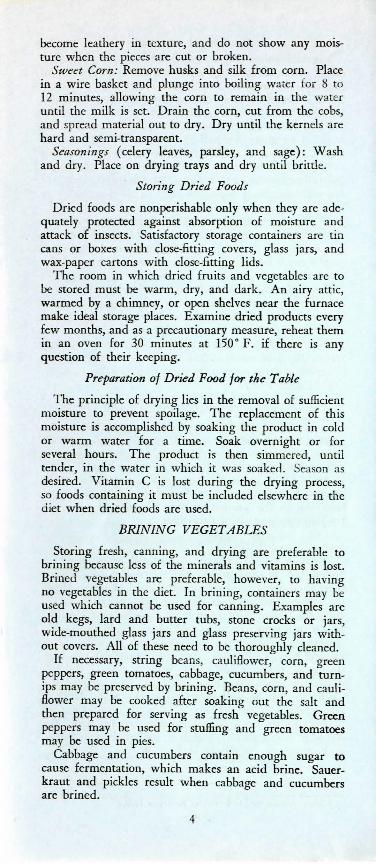
become leathery in texture, and do not show any mmsture when the pieces are cut or broken.
Sweet Com: Remove husks and silk from corn. Place in a wire basket and plunge into boiling water for 8 to 12 minutes, allowing the corn to remain in the water until the milk is set. Drain the corn, cut from the cobs, and spread material out to dry. Dry until the kernels are hard and semi-transparent.
Seasonings (celery leaves, parsley, and sage): Wash and dry. Place on drying trays and dry until brittle.
Storing Dried Foods
Dried foods are nonperishable only when they are adequately protected against absorption of moisture and attack of insects. Satisfactory storage containers are tin cans or boxes with close-fitti.."lg covers, glass jars, and wax-paper cartons with dose-fitting lids.
The room in which dried fruits and vegetables are to be stored must be warm, dry, and dark. An airy attic, warmed by a chimney, or open shelves near the furnace make ideal storage places. Examine dried products every few months, and as a precautionary measure, reheat them in an oven for 30 minutes at 150o F. if there is any question of their keeping.
Preparation of Dried Food for the Table
The principle of drying lies in the removal of sufficient moisture to prevent spoilage. The replacement of this moisture is accomplished by soaking t..~e product in cold or warm water for a time. Soak overnight or for several hours. The product is then simmered, until tender, in the water in which it was soaked. Season as desired. Vitamin C is lost during the drying process, so foods containing it must be included elsewhere in the diet when dried foods are used.
BRINING VEGETABLES
Storing fresh, canning, and drying are preferable to brining because less of the minerals and vitamins is lost. Brined vegetables are preferable, however, to having no vegetables in the diet. In brining, containers may be used which cannot be used for canning. Examples are old kegs, lard and butter tubs, stone crocks or jars, wide-mouthed glass jars and glass preserving jars without covers. All of these need to be thoroughly cleaned.
If necessary, string beans, cauliflower, corn, green peppers, green tomatoes, cabbage, cucumbers, and turnips may be preserved by brining. Beans, corn, and cauliflower may be cooked after soaking out the salt and then prepared for serving as fresh vegetables. Green peppers may be used for stuffing and green tomatoes may be used in pies.
Cabbage and cucumbers contain enough sugar to cause fermentation, which makes an acid brine. Sauerkraut and pickles result when cabbage and cucumbers are brined.
4
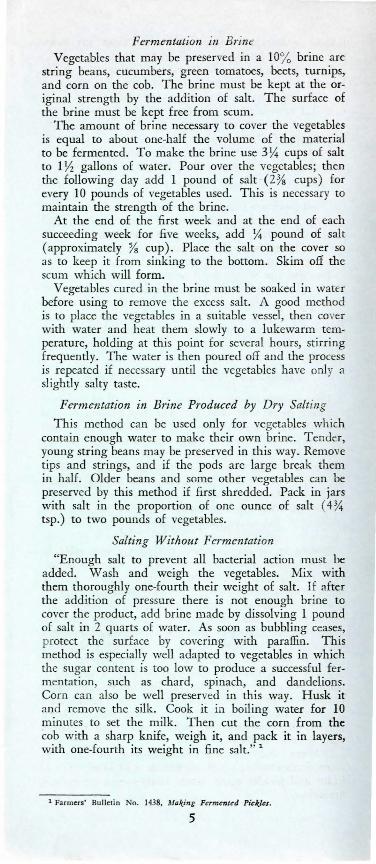
Fermentation in Brine Vegetables that may be preserved in a 10% brine are
string beans, cucumbers, green tomatoes, beets, turnips, and corn on the cob. The brine must be kept at the original strength by the addition of salt. The surface of the brine must be kept free from scum.
The amount of brine necessary to cover the vegetables is equal to about one-half the volume of the material to be fermented. To make the brine use 3 y.j cups of salt to 1 Yz gallons of water. Pour over the vegetables; then the following day add 1 pound of salt (2 Ys cups) for every 10 pounds of vegetables used. This is necessa ry to maintain the strength of the brine.
At the end of the firs t week and at the end of each succeeding week for five weeks, add y.j pound of salt (approximately Ys cup). Place the salt on the cover so as to keep it from sinking to the bottom. Skin1 off the scum which will form.
Vegetables cured in the brine must be soaked in water before using to remove the excess salt. A good method is to place the vegetables in a suitable vessel, then cover with water and heat them slowly to a lukewarm temperature, holding at thi s point for several hours, stirri ng frequently. The water is tl1en poured off and the process is repeated if necessary until the vegetables have only a slightly salty taste.
Fermentation in Brine Produced by Dry Salting
This method can be used only for vegetables which contain enough water to make their own brine. T ender, young string beans may be preserved in this way. Remove tips and strings, and if the pods are large break them in half. Older beans and some other vegetables can be preserved by this method if first shredded. Pack in jars with salt in the proportion of one ounce of salt ( 4% tsp.) to two pounds of vegetables.
Salting Without Fermentation
"Enough salt to prevent all bacterial action m ust be added. Wash and weigh the vegetables. Mix with them thoroughly one-fourth their weight of salt. If after the addition of pressure there is not enough brine to cover the product, add brine made by dissolving 1 pound of salt in 2 quarts of water. As soon as bubbling ceases, protect the surface by covering with paraffin. This method is especially well adapted to vegetables in which the sugar content is too low to produce a successful fermentation, such as chard, spinach, and dandelions. Corn can also be well preserved in this way. Husk it and remove the silk. Cook it in boiling water for 10 minutes to set the milk. Then cut the corn from the cob with a sharp knife, weigh it, and pack it in layers, with one-fourth its weight in fine salt." 1
1 Farm~rs· Bulletin No. 1438, Alak./ng Fermenud Pickles.
5
Canning Com With Salt
Husk and silk ears of corn, then cut corn from cob. To 8 pints of corn add 4 pints of water and boil 10 minutes. Add 1 pint of salt and boil 5 minutes more. Then can immediately. To prepare for table use, soak salt from corn.
Krauting Cabbage 10 pounds cabbage Y4 pound salt
Remove all damaged or dirty leaves. Quarter the heads and shred finely. Pack in a clean keg or earthenware crock. Small containers are recommended tor household use. Sprinkle a little salt in the container, put in a layer of 3 or 4 inches of shredded cabbage, then pack down with a wooden utensil such as a potato masher. Repeat with salt, cabbage, and packing until the cabbage is all used . Press the cabbage down as tightly as possible. Cover with a cloth and glazed plate. Place a weight on top of the plate. Use flint or granite. Skim off the film which forms when the fe rmentation starts. W he n bubbles cease to rise, sauerkraut may be canned as follows: Place in jars, make a part ial seal, process for 30 m inutes in a boiling water bath, remove and seal tight! ·.
Kt·auting Turnips
10 pounds turnips 5 !/3 oz. salt
Fall vanet1es of turnips make better sauerruben than spring ones. Medium~sized tmnips used as soon as possible after they are pulled give a good product.
Wash the turnips and rinse them in cold water; do not scrub them. Remove all the green part from the top. Do not peel. Then shred as for cabbage sauerkraut. Do not slice.
Shred 5 pounds of tmnips. Sprinkle them with 3 scant tablespoons or 2% ounces of salt. Shred another 5 pounds of turnips; add 3 scant tablespoons of salt. Cover with cloth and plate.
Care and Storage of Kraut
Keep shredded cabbage and turnips under the brine. Remove scum daily. Keep cloth clean. The best temperature for curing is between 75° and 85° F . This will require from ten days to three weeks. vVhen bubbles cease to rise, fermentation is complete. To seal kraut, pour a layer of hot paraffin over the surface. When the paraffin seal is broken the kraut should be used in a short tin1e or canned as described under sauerkraut.
(Prepared by Mabel Doremus, State Extension Agent in Foods and Nutrition .)
Distributed in fu rtherance of Acts of May 8 and June 30, 1914. 4-42-30M.
6