Embed Size (px)
Citation preview
Ver. 1 April 2, 2019
CM-6308-P1-I Release Notes
Firmware Version 20190226
ii CM-6308-P1-I FW v.20190226 Release Notes April 2, 2019
© 2018 FLIR Systems, Inc. All rights reserved worldwide. No parts of this document, in whole or in part, may be copied, photocopied, translated, or transmitted to any electronic medium or machine readable form without the prior written permission of FLIR Systems, Inc. Names and marks appearing on the products herein are either registered trademarks or trademarks of FLIR Systems, Inc. and/or its subsidiaries. All other trademarks, trade names, or company names referenced herein are used for identification only and are the property of their respective owners. This product is protected by patents, design patents, patents pending, or design patents pending. The contents of this document are subject to change. FLIR Systems, Inc. 6769 Hollister Avenue Goleta, California 93117 USA Phone: 888.747.FLIR (888.747.3547) International: +1.805.964.9797 For technical assistance, please call us at +1.888.388.3577 or visit the Service & Support page at www.flir.com/security. Document History Version Date Comment 1 April 2, 2019 GA release

Table of Contents
April 2, 2019 CM-6308-P1-I FW v.20190226 Release Notes iii
Table of Contents 1 Version Content ....................................................................................................................... 1
1.1 Version Details ................................................................................................................ 1
1.2 Firmware Version Location ............................................................................................. 1
2 Supported Products and Platforms ....................................................................................... 2
3 Key Features ............................................................................................................................ 4
3.1 Display Sequence ........................................................................................................... 4
3.2 270 Mode ........................................................................................................................ 4
3.3 Fifth Imager ..................................................................................................................... 5
3.4 Improved ONVIF Support ............................................................................................... 5
3.5 Firmware Verification ...................................................................................................... 5
4 Firmware Upgrade Procedure ................................................................................................ 7
4.1 Order of Upgrade ............................................................................................................ 7
4.2 Upgrading with DNA ....................................................................................................... 8
How to perform the firmware upgrade ..................................................................................... 8
4.3 Upgrading from the Camera’s Web Interface ................................................................. 8
How to perform the firmware upgrade ..................................................................................... 8
5 United VMS Compatibility ....................................................................................................... 9
6 Known Issues ......................................................................................................................... 10
Appendix ....................................................................................................................................... 12
A.1. Discovering and Configuring the Camera with DNA .................................................... 12

Version Content
April 2, 2019 CM-6308-P1-I FW v.20190226 Release Notes 1
1 Version Content
1.1 Version Details Full version details:
Model/Component Firmware Version
CM-6308-P1-I 20190226
FPGA 29171533
1.2 Firmware Version Location To download the Firmware:
1) Navigate to the FLIR Visible camera page: https://www.flir.com/browse/security/visible-security-
cameras/
2) Click on the camera of choice
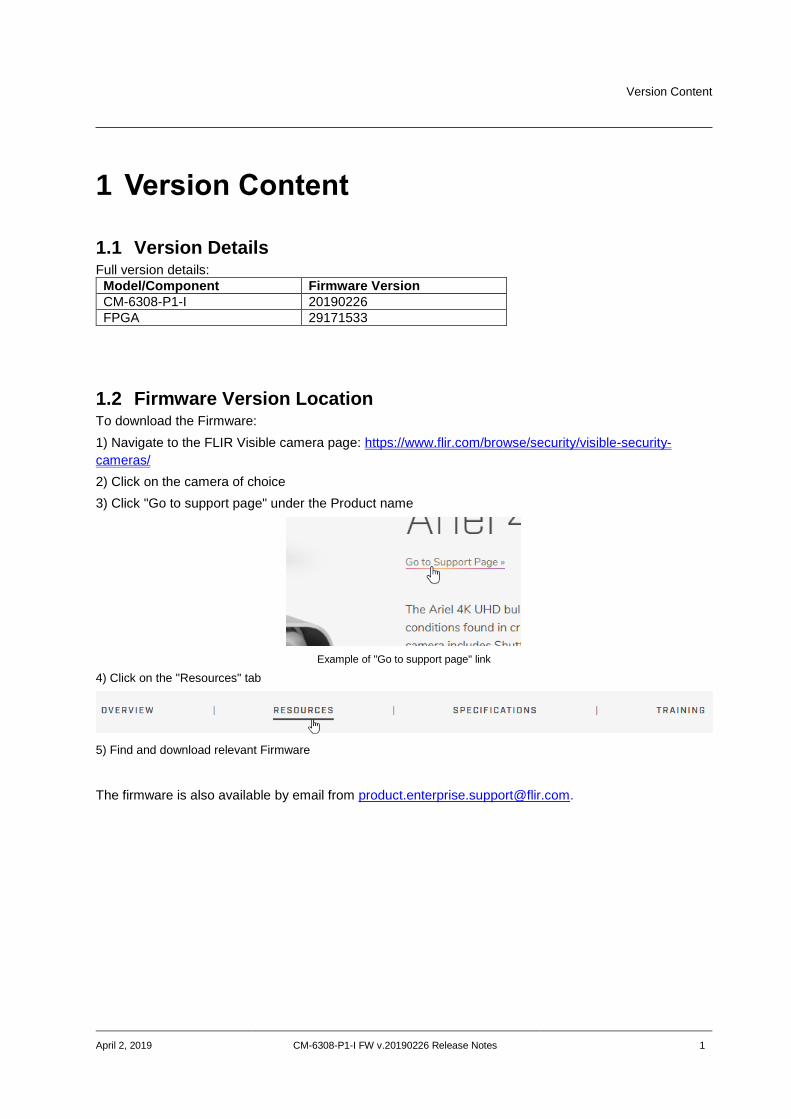
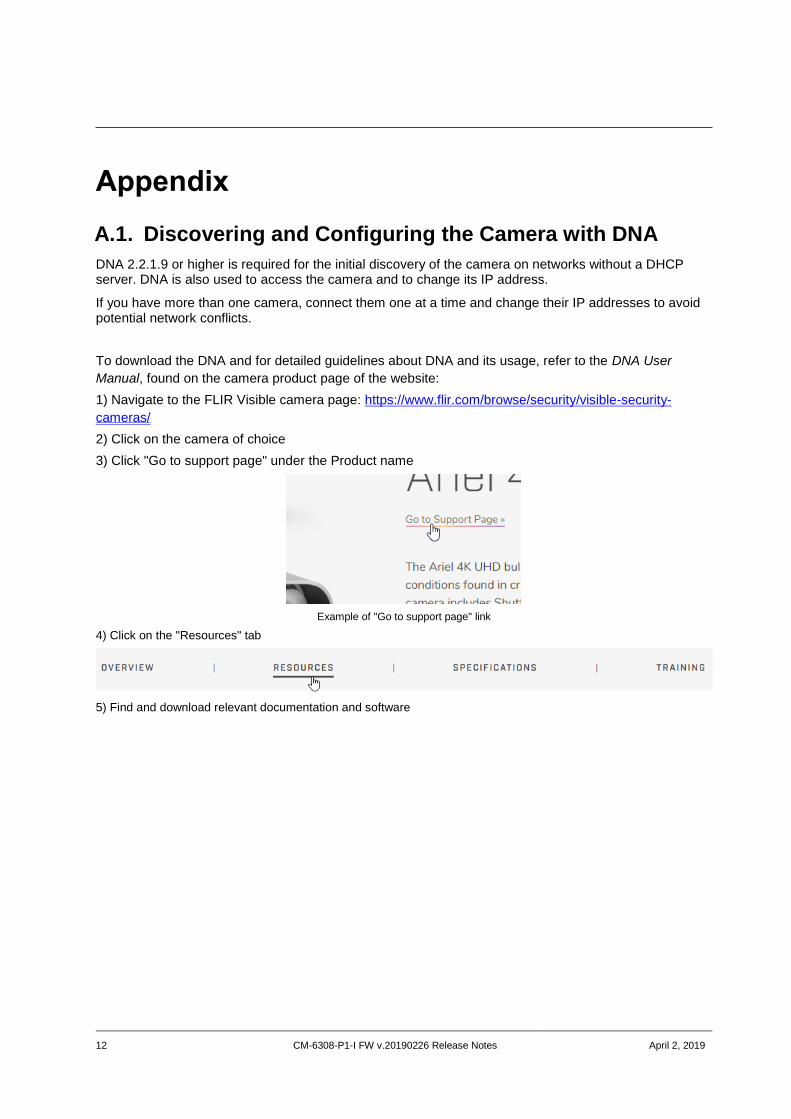
3) Click "Go to support page" under the Product name
Example of "Go to support page" link
4) Click on the "Resources" tab
5) Find and download relevant Firmware The firmware is also available by email from [email protected].
2 CM-6308-P1-I FW v.20190226 Release Notes April 2, 2019
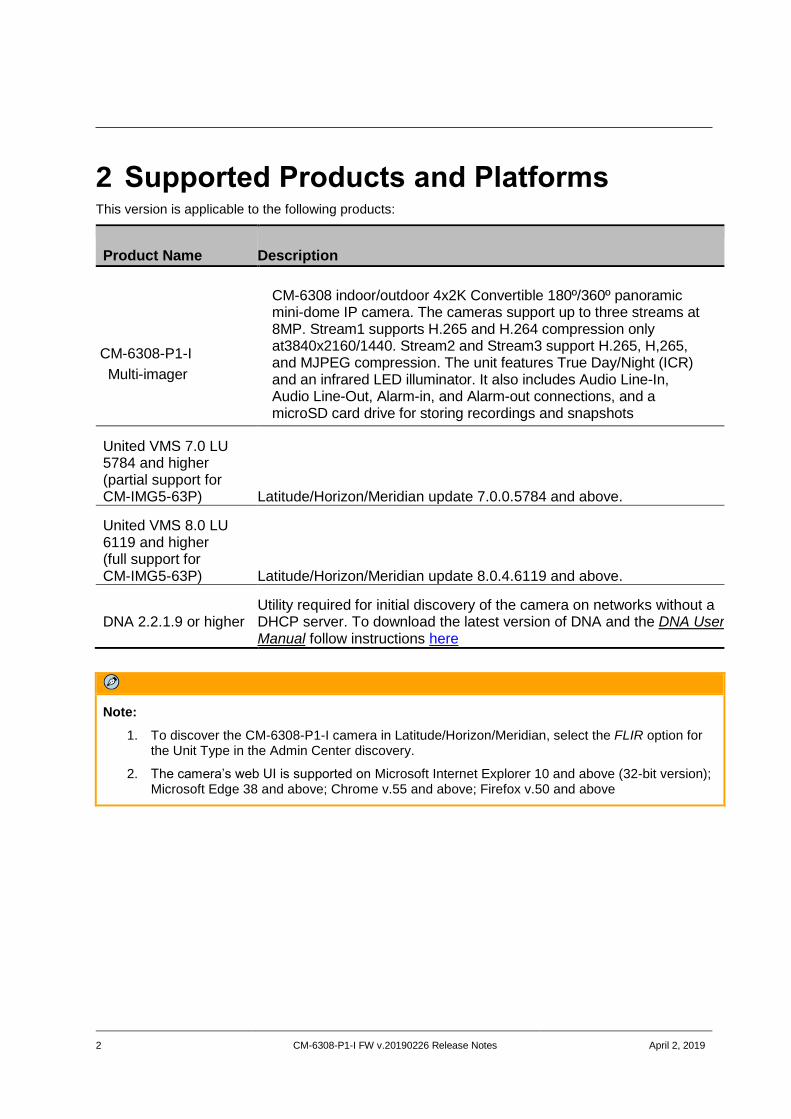
2 Supported Products and Platforms This version is applicable to the following products:
Product Name Description
CM-6308-P1-I
Multi-imager
CM-6308 indoor/outdoor 4x2K Convertible 180º/360º panoramic mini-dome IP camera. The cameras support up to three streams at 8MP. Stream1 supports H.265 and H.264 compression only at3840x2160/1440. Stream2 and Stream3 support H.265, H,265, and MJPEG compression. The unit features True Day/Night (ICR) and an infrared LED illuminator. It also includes Audio Line-In, Audio Line-Out, Alarm-in, and Alarm-out connections, and a microSD card drive for storing recordings and snapshots
United VMS 7.0 LU 5784 and higher (partial support for CM-IMG5-63P) Latitude/Horizon/Meridian update 7.0.0.5784 and above.
United VMS 8.0 LU 6119 and higher (full support for CM-IMG5-63P) Latitude/Horizon/Meridian update 8.0.4.6119 and above.
DNA 2.2.1.9 or higher Utility required for initial discovery of the camera on networks without a DHCP server. To download the latest version of DNA and the DNA User Manual follow instructions here
Note:
1. To discover the CM-6308-P1-I camera in Latitude/Horizon/Meridian, select the FLIR option for the Unit Type in the Admin Center discovery.
2. The camera’s web UI is supported on Microsoft Internet Explorer 10 and above (32-bit version); Microsoft Edge 38 and above; Chrome v.55 and above; Firefox v.50 and above

4 CM-6308-P1-I FW v.20190226 Release Notes April 2, 2019
3 Key Features
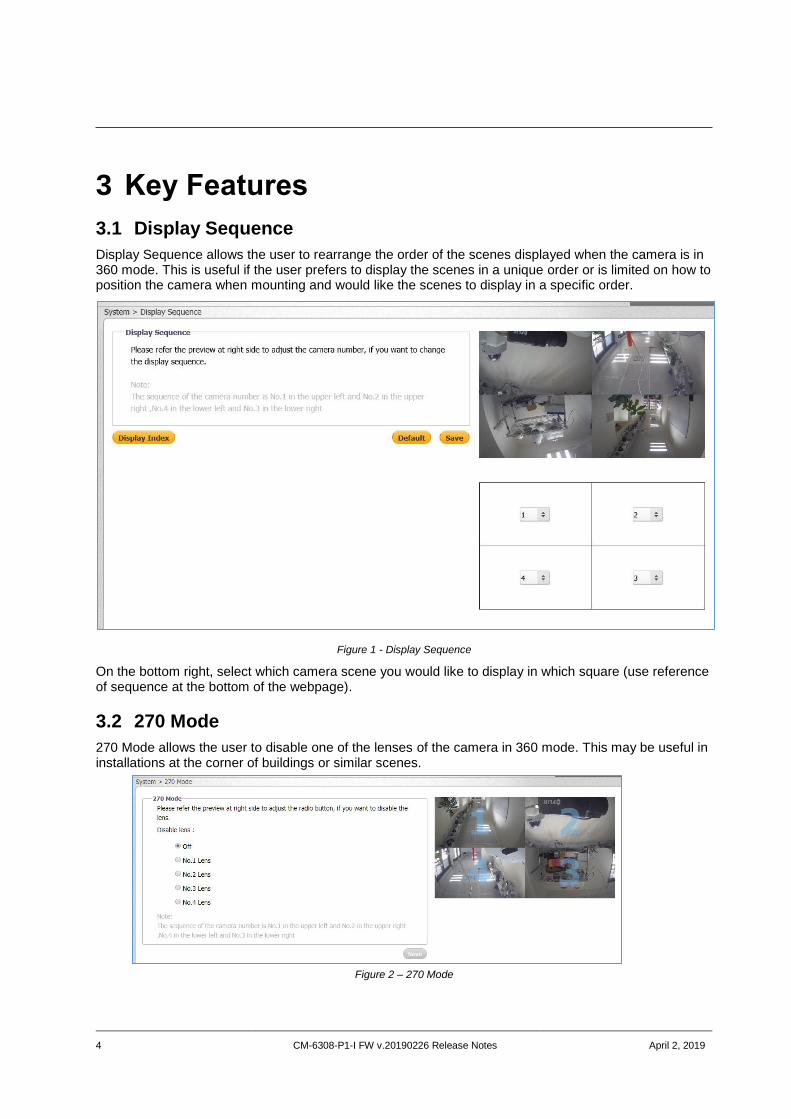
3.1 Display Sequence
Display Sequence allows the user to rearrange the order of the scenes displayed when the camera is in 360 mode. This is useful if the user prefers to display the scenes in a unique order or is limited on how to position the camera when mounting and would like the scenes to display in a specific order.
Figure 1 - Display Sequence
On the bottom right, select which camera scene you would like to display in which square (use reference of sequence at the bottom of the webpage).
3.2 270 Mode
270 Mode allows the user to disable one of the lenses of the camera in 360 mode. This may be useful in installations at the corner of buildings or similar scenes.
Figure 2 – 270 Mode
Key Features
April 2, 2019 CM-6308-P1-I FW v.20190226 Release Notes 5
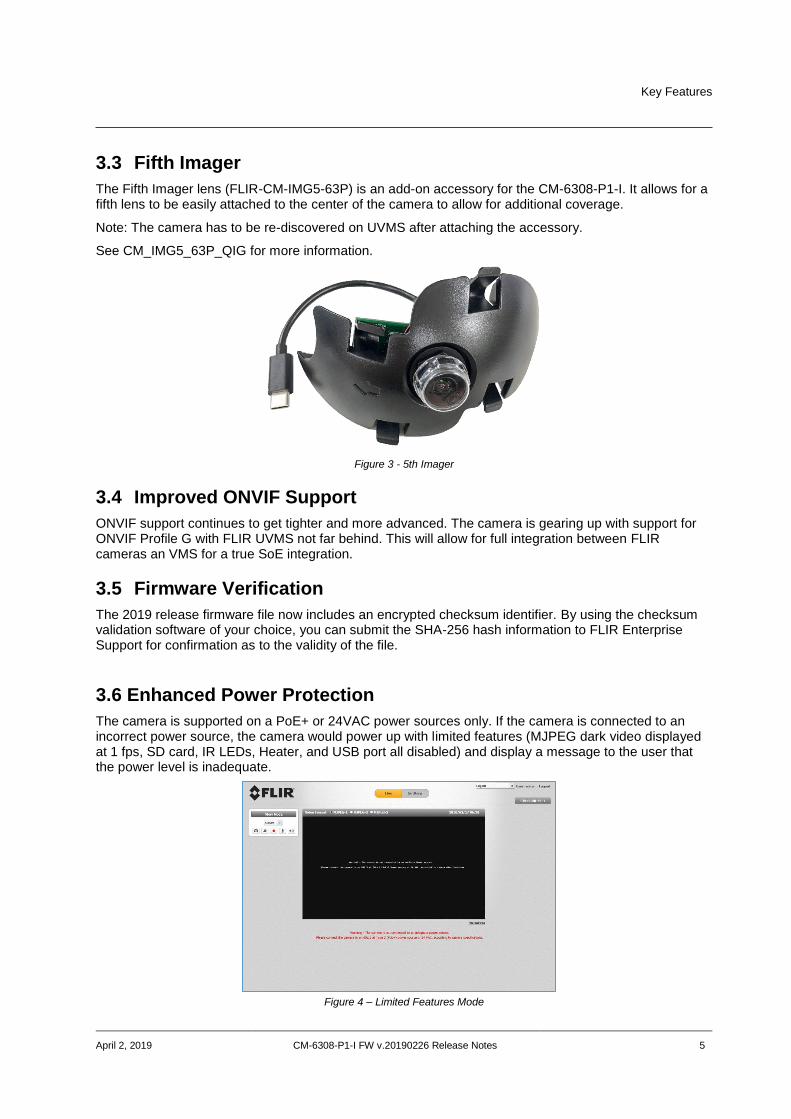
3.3 Fifth Imager
The Fifth Imager lens (FLIR-CM-IMG5-63P) is an add-on accessory for the CM-6308-P1-I. It allows for a fifth lens to be easily attached to the center of the camera to allow for additional coverage.
Note: The camera has to be re-discovered on UVMS after attaching the accessory.
See CM_IMG5_63P_QIG for more information.
Figure 3 - 5th Imager
3.4 Improved ONVIF Support
ONVIF support continues to get tighter and more advanced. The camera is gearing up with support for ONVIF Profile G with FLIR UVMS not far behind. This will allow for full integration between FLIR cameras an VMS for a true SoE integration.
3.5 Firmware Verification
The 2019 release firmware file now includes an encrypted checksum identifier. By using the checksum validation software of your choice, you can submit the SHA-256 hash information to FLIR Enterprise Support for confirmation as to the validity of the file.
3.6 Enhanced Power Protection
The camera is supported on a PoE+ or 24VAC power sources only. If the camera is connected to an incorrect power source, the camera would power up with limited features (MJPEG dark video displayed at 1 fps, SD card, IR LEDs, Heater, and USB port all disabled) and display a message to the user that the power level is inadequate.
Figure 4 – Limited Features Mode
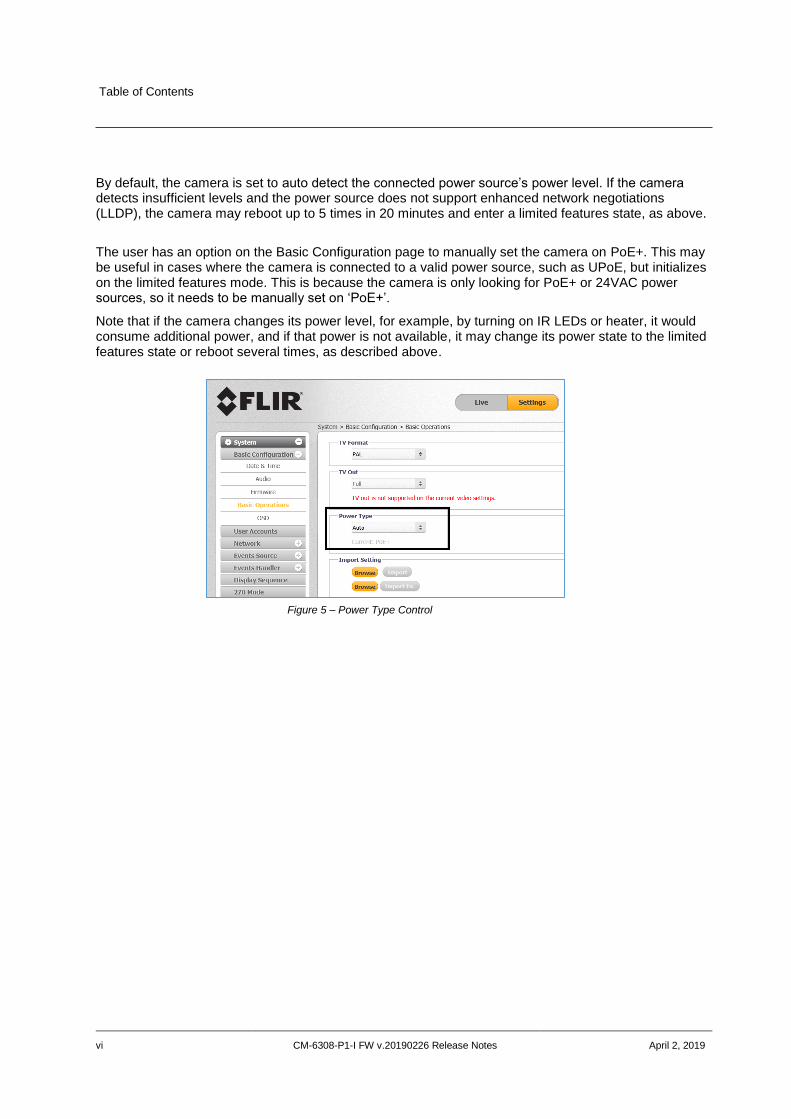
Table of Contents
vi CM-6308-P1-I FW v.20190226 Release Notes April 2, 2019
By default, the camera is set to auto detect the connected power source’s power level. If the camera detects insufficient levels and the power source does not support enhanced network negotiations (LLDP), the camera may reboot up to 5 times in 20 minutes and enter a limited features state, as above.
The user has an option on the Basic Configuration page to manually set the camera on PoE+. This may be useful in cases where the camera is connected to a valid power source, such as UPoE, but initializes on the limited features mode. This is because the camera is only looking for PoE+ or 24VAC power sources, so it needs to be manually set on ‘PoE+’.
Note that if the camera changes its power level, for example, by turning on IR LEDs or heater, it would consume additional power, and if that power is not available, it may change its power state to the limited features state or reboot several times, as described above.
Figure 5 – Power Type Control
Firmware Upgrade Procedure
April 2, 2019 CM-6308-P1-I FW v.20190226 Release Notes 7
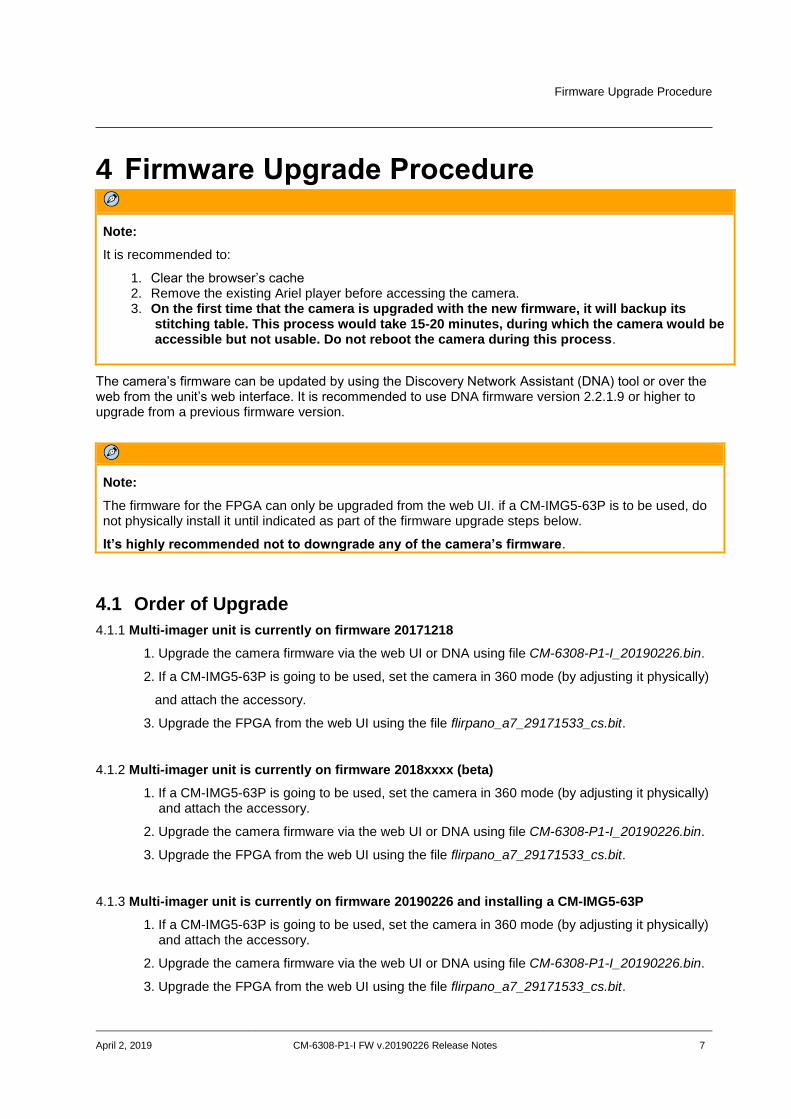
4 Firmware Upgrade Procedure
Note:
It is recommended to:
1. Clear the browser’s cache 2. Remove the existing Ariel player before accessing the camera. 3. On the first time that the camera is upgraded with the new firmware, it will backup its
stitching table. This process would take 15-20 minutes, during which the camera would be accessible but not usable. Do not reboot the camera during this process.
The camera’s firmware can be updated by using the Discovery Network Assistant (DNA) tool or over the web from the unit’s web interface. It is recommended to use DNA firmware version 2.2.1.9 or higher to upgrade from a previous firmware version.
Note:
The firmware for the FPGA can only be upgraded from the web UI. if a CM-IMG5-63P is to be used, do not physically install it until indicated as part of the firmware upgrade steps below.
It’s highly recommended not to downgrade any of the camera’s firmware.
4.1 Order of Upgrade
4.1.1 Multi-imager unit is currently on firmware 20171218
1. Upgrade the camera firmware via the web UI or DNA using file CM-6308-P1-I_20190226.bin.
2. If a CM-IMG5-63P is going to be used, set the camera in 360 mode (by adjusting it physically)
and attach the accessory.
3. Upgrade the FPGA from the web UI using the file flirpano_a7_29171533_cs.bit.
4.1.2 Multi-imager unit is currently on firmware 2018xxxx (beta)
1. If a CM-IMG5-63P is going to be used, set the camera in 360 mode (by adjusting it physically) and attach the accessory.
2. Upgrade the camera firmware via the web UI or DNA using file CM-6308-P1-I_20190226.bin.
3. Upgrade the FPGA from the web UI using the file flirpano_a7_29171533_cs.bit.
4.1.3 Multi-imager unit is currently on firmware 20190226 and installing a CM-IMG5-63P
1. If a CM-IMG5-63P is going to be used, set the camera in 360 mode (by adjusting it physically) and attach the accessory.
2. Upgrade the camera firmware via the web UI or DNA using file CM-6308-P1-I_20190226.bin.
3. Upgrade the FPGA from the web UI using the file flirpano_a7_29171533_cs.bit.
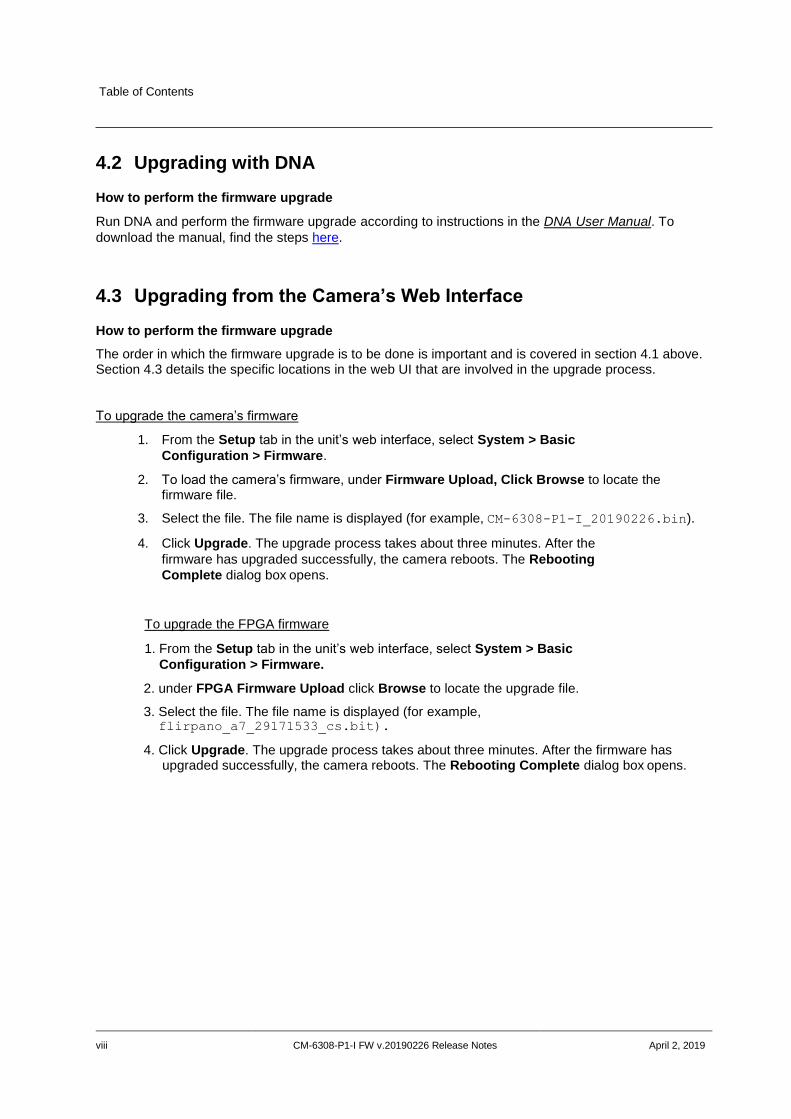
Table of Contents
viii CM-6308-P1-I FW v.20190226 Release Notes April 2, 2019
4.2 Upgrading with DNA
How to perform the firmware upgrade
Run DNA and perform the firmware upgrade according to instructions in the DNA User Manual. To
download the manual, find the steps here.
4.3 Upgrading from the Camera’s Web Interface
How to perform the firmware upgrade
The order in which the firmware upgrade is to be done is important and is covered in section 4.1 above. Section 4.3 details the specific locations in the web UI that are involved in the upgrade process.
To upgrade the camera’s firmware
1. From the Setup tab in the unit’s web interface, select System > Basic
Configuration > Firmware.
2. To load the camera’s firmware, under Firmware Upload, Click Browse to locate the firmware file.
3. Select the file. The file name is displayed (for example, CM-6308-P1-I_20190226.bin).
4. Click Upgrade. The upgrade process takes about three minutes. After the
firmware has upgraded successfully, the camera reboots. The Rebooting
Complete dialog box opens.
To upgrade the FPGA firmware
1. From the Setup tab in the unit’s web interface, select System > Basic
Configuration > Firmware.
2. under FPGA Firmware Upload click Browse to locate the upgrade file.
3. Select the file. The file name is displayed (for example, flirpano_a7_29171533_cs.bit).
4. Click Upgrade. The upgrade process takes about three minutes. After the firmware has upgraded successfully, the camera reboots. The Rebooting Complete dialog box opens.
United VMS Compatibility
April 2, 2019 CM-6308-P1-I FW v.20190226 Release Notes 9
5 United VMS Compatibility The firmware was approved for United VMS 7.0.0.5784 and United VMS 8.0.4.6119 or higher.
It is necessary to install an Update Patch for the unit to operate with United VMS 7.0 and United VMS 8.0. For additional details, please see the UVMS support documentation.
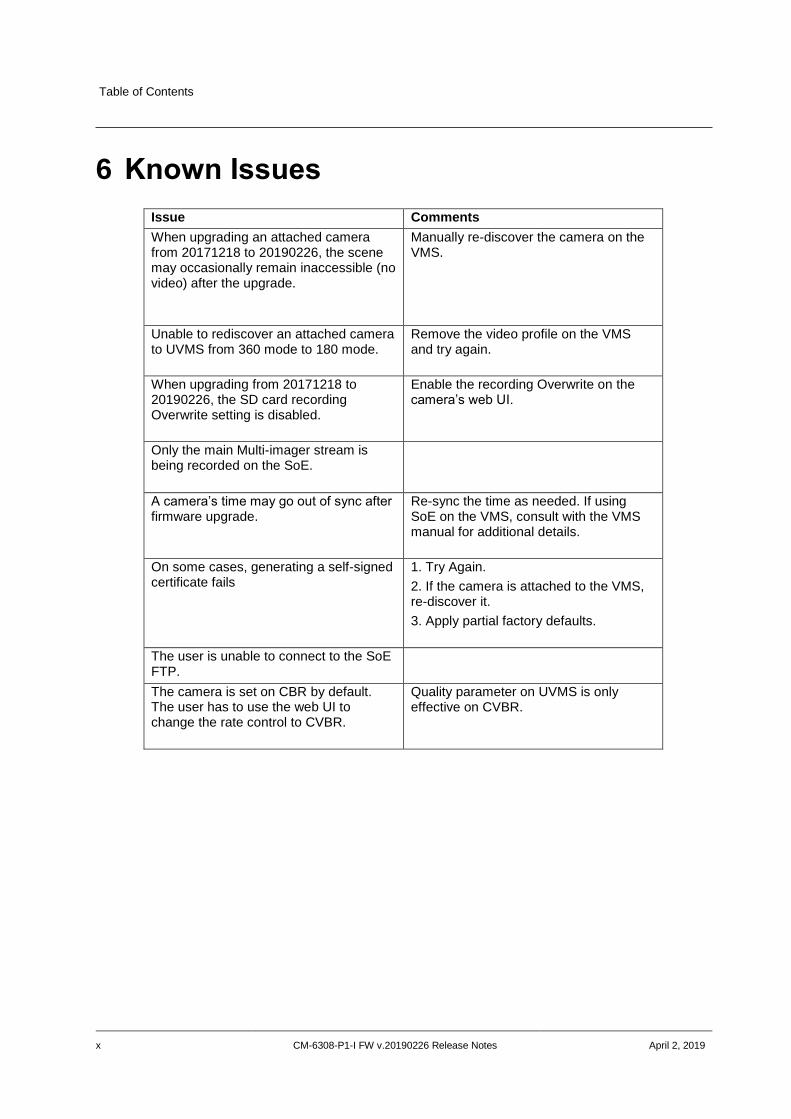
Table of Contents
x CM-6308-P1-I FW v.20190226 Release Notes April 2, 2019
6 Known Issues
Issue Comments
When upgrading an attached camera from 20171218 to 20190226, the scene may occasionally remain inaccessible (no video) after the upgrade.
Manually re-discover the camera on the VMS.
Unable to rediscover an attached camera to UVMS from 360 mode to 180 mode.
Remove the video profile on the VMS and try again.
When upgrading from 20171218 to 20190226, the SD card recording Overwrite setting is disabled.
Enable the recording Overwrite on the camera’s web UI.
Only the main Multi-imager stream is being recorded on the SoE.
A camera’s time may go out of sync after firmware upgrade.
Re-sync the time as needed. If using SoE on the VMS, consult with the VMS manual for additional details.
On some cases, generating a self-signed certificate fails
1. Try Again.
2. If the camera is attached to the VMS, re-discover it.
3. Apply partial factory defaults.
The user is unable to connect to the SoE FTP.
The camera is set on CBR by default. The user has to use the web UI to change the rate control to CVBR.
Quality parameter on UVMS is only effective on CVBR.

12 CM-6308-P1-I FW v.20190226 Release Notes April 2, 2019
Appendix
A.1. Discovering and Configuring the Camera with DNA
DNA 2.2.1.9 or higher is required for the initial discovery of the camera on networks without a DHCP server. DNA is also used to access the camera and to change its IP address.
If you have more than one camera, connect them one at a time and change their IP addresses to avoid potential network conflicts.
To download the DNA and for detailed guidelines about DNA and its usage, refer to the DNA User
Manual, found on the camera product page of the website:
1) Navigate to the FLIR Visible camera page: https://www.flir.com/browse/security/visible-security-
cameras/
2) Click on the camera of choice
3) Click "Go to support page" under the Product name
Example of "Go to support page" link
4) Click on the "Resources" tab
5) Find and download relevant documentation and software
FLIR Systems, Inc. 6769 Hollister Ave Goleta, CA 93117 USA PH: +1 805.964.9797 PH: +1 877.773.3547 (Sales) PH: +1 888.388-3577 (Support) FX: +1 805.685.2711 http://www.flir.com/security Corporate Headquarters FLIR Systems, Inc. 27700 SW Parkway Ave. Wilsonville, OR 97070 USA PH: +1 503.498.3547 FX: +1 503.498.3153
Document: CM-6308-P1-I FW v.20190226 Release Notes Version: 1 Date: April 2, 2019 Language: en-US


![FW: [Fwd: FW: Beautiful_TIBET]](https://img.pdfslide.net/doc/110x75/54b8dcf94a79592d6a8b4612/fw-fwd-fw-beautifultibet.jpg)

![FW: [Fwd: FW: LAS DESPENSAS DEL MUNDO]](https://img.pdfslide.net/doc/110x75/55abd98e1a28ab5a678b4721/fw-fwd-fw-las-despensas-del-mundo.jpg)