Embed Size (px)
DESCRIPTION
Creating Custom Controls. Overriding ToString Method. Every class you create in VB.Net is derived from a built-in class named object. Mscorlib/system/object The object class has a method named ToString method which returns a fully-qualified class name. This method is overridable. - PowerPoint PPT Presentation
Citation preview
Creating Custom Controls

Overriding ToString Method
• Every class you create in VB.Net is derived from a built-in class named object.– Mscorlib/system/object
• The object class has a method named ToString method which returns a fully-qualified class name.
• This method is overridable.

Code Example
Public Class Person
Public SSN As String
Public FirstName As String
Public LastName As String
Public BirthDate As Date
Public Overrides Function ToString() As String
toString = FirstName & " " & LastName & "'s birthday is " & BirthDate.ToString
End Function

Overriding and Overloading GetHashCode Method
Public Overloads Overrides Function GetHashCode() As Integer
GetHashCode = CInt(SSN.Substring(0, 3)) Mod 10
End Function
Public Overloads Function GetHashCode(ByVal M As Integer) As Integer
GetHashCode = CInt(SSN.Substring(0, 3)) Mod M
End Function
Code Example:
Dim myPerson As New Person()
myPerson.SSN = TextBox1.Text
TextBox2.Text = myPerson.GetHashCode
TextBox3.Text = myPerson.GetHashCode(100)
Creating Custom Controls
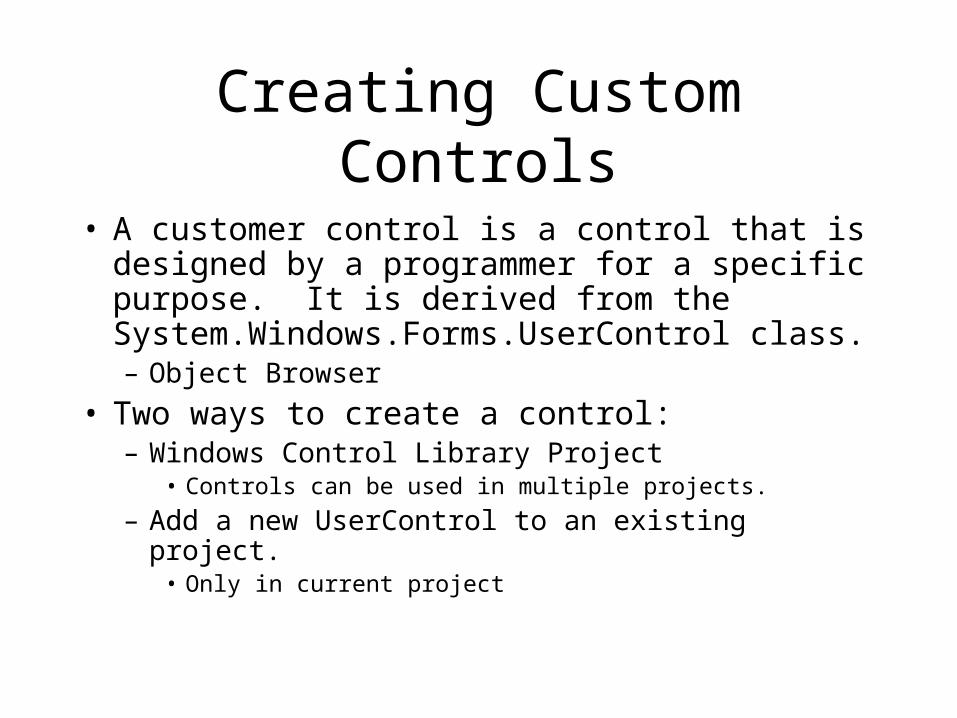
• A customer control is a control that is designed by a programmer for a specific purpose. It is derived from the System.Windows.Forms.UserControl class.– Object Browser
• Two ways to create a control:– Windows Control Library Project
• Controls can be used in multiple projects.
– Add a new UserControl to an existing project.• Only in current project
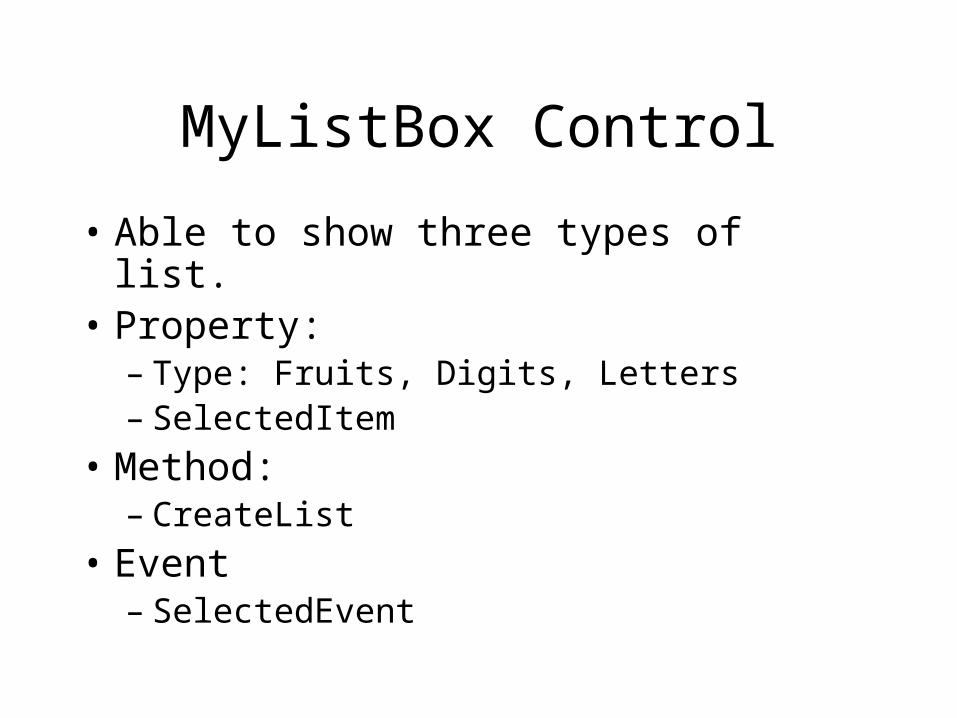
MyListBox Control
• Able to show three types of list.• Property:
– Type: Fruits, Digits, Letters– SelectedItem
• Method:– CreateList
• Event– SelectedEvent
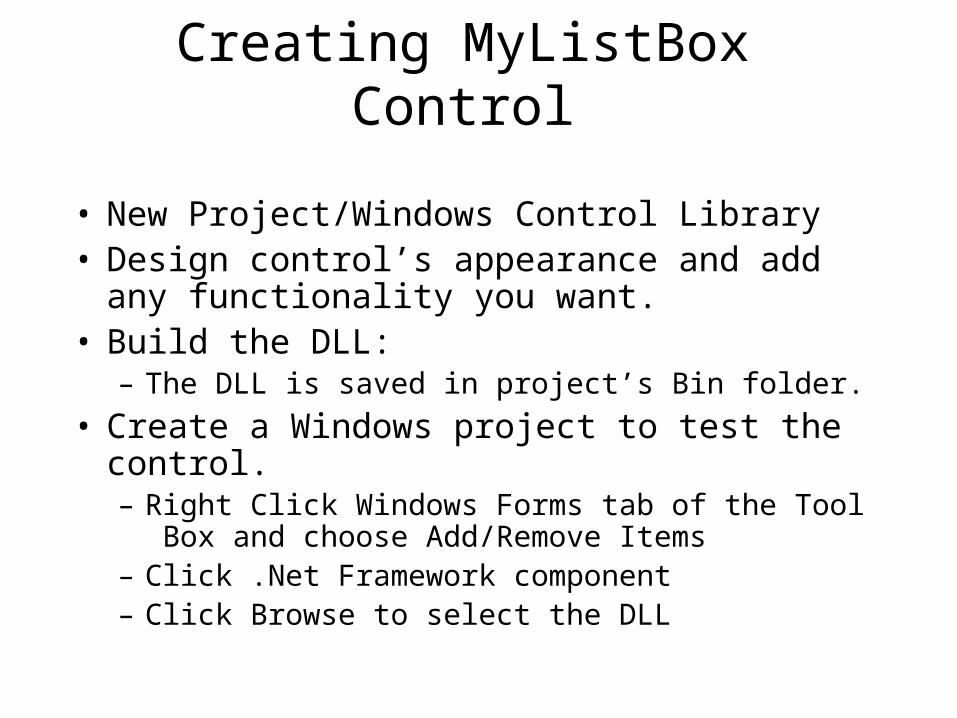
Creating MyListBox Control
• New Project/Windows Control Library• Design control’s appearance and add any
functionality you want.• Build the DLL:
– The DLL is saved in project’s Bin folder.
• Create a Windows project to test the control.– Right Click Windows Forms tab of the Tool Box and
choose Add/Remove Items– Click .Net Framework component– Click Browse to select the DLL
Testing Custom Controls
• Create and build the control.
• Keep the custom control project open, and go to Windows desktop to open a second Visual Studio window.
• In the second Visual Studio window, open a project to test the custom control.
Code Using MyListBox Control
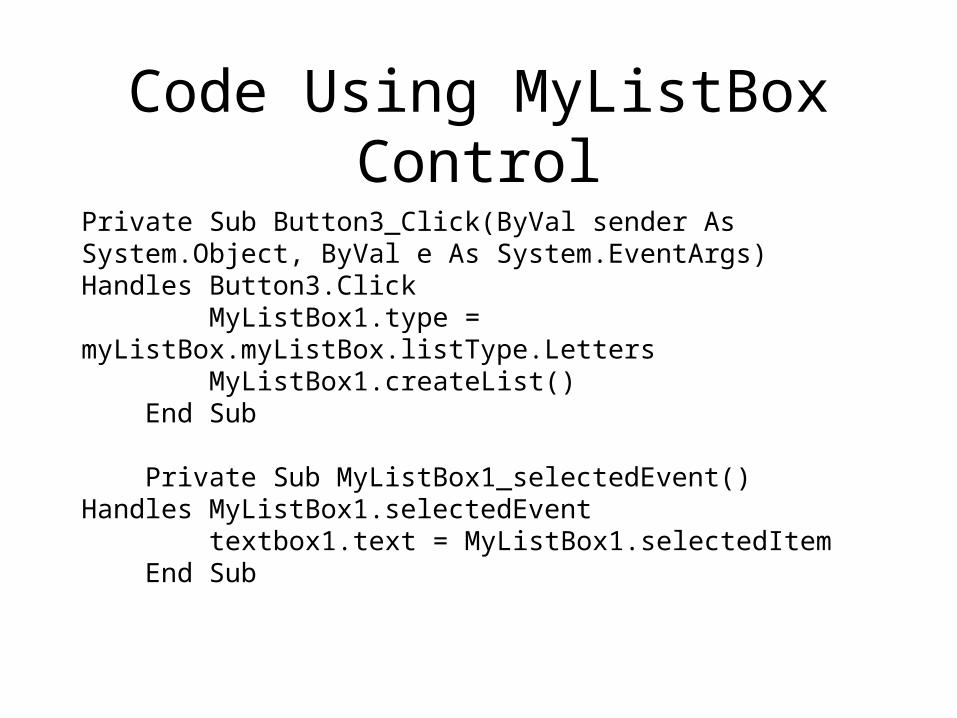
Private Sub Button3_Click(ByVal sender As System.Object, ByVal e As System.EventArgs) Handles Button3.Click MyListBox1.type = myListBox.myListBox.listType.Letters MyListBox1.createList() End Sub
Private Sub MyListBox1_selectedEvent() Handles MyListBox1.selectedEvent textbox1.text = MyListBox1.selectedItem End Sub
TimeZone Control
• A form that displays time in the four time zones.
• Property:– Zone
• Method:– ShowTime
• Demo: TestTimeZone/TimeZoneAsProj
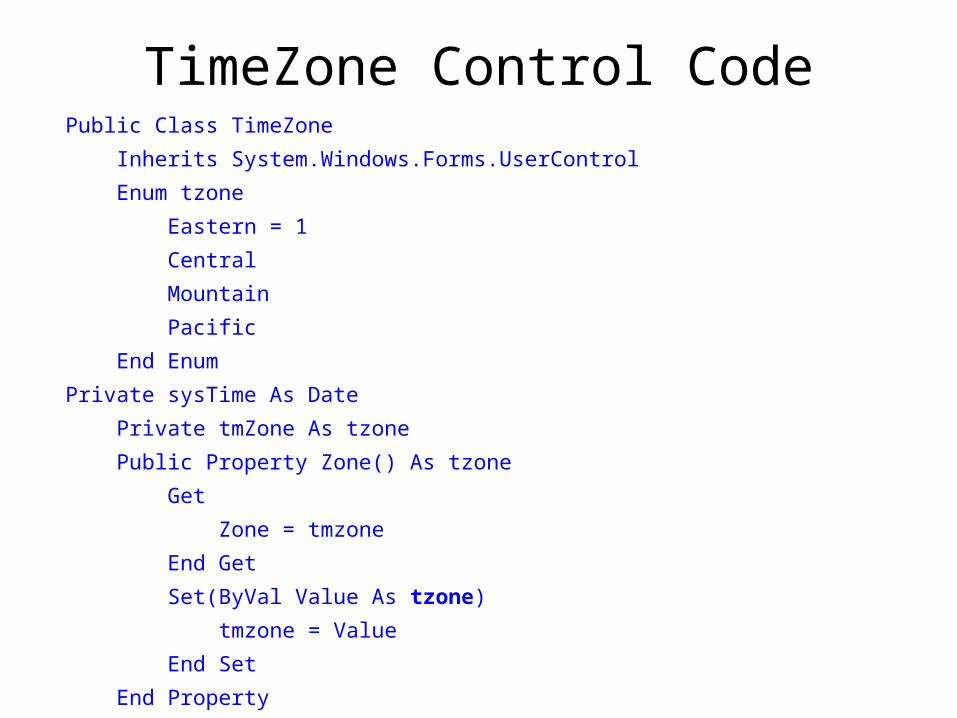
TimeZone Control CodePublic Class TimeZone
Inherits System.Windows.Forms.UserControl
Enum tzone
Eastern = 1
Central
Mountain
Pacific
End Enum
Private sysTime As Date
Private tmZone As tzone
Public Property Zone() As tzone
Get
Zone = tmzone
End Get
Set(ByVal Value As tzone)
tmzone = Value
End Set
End Property
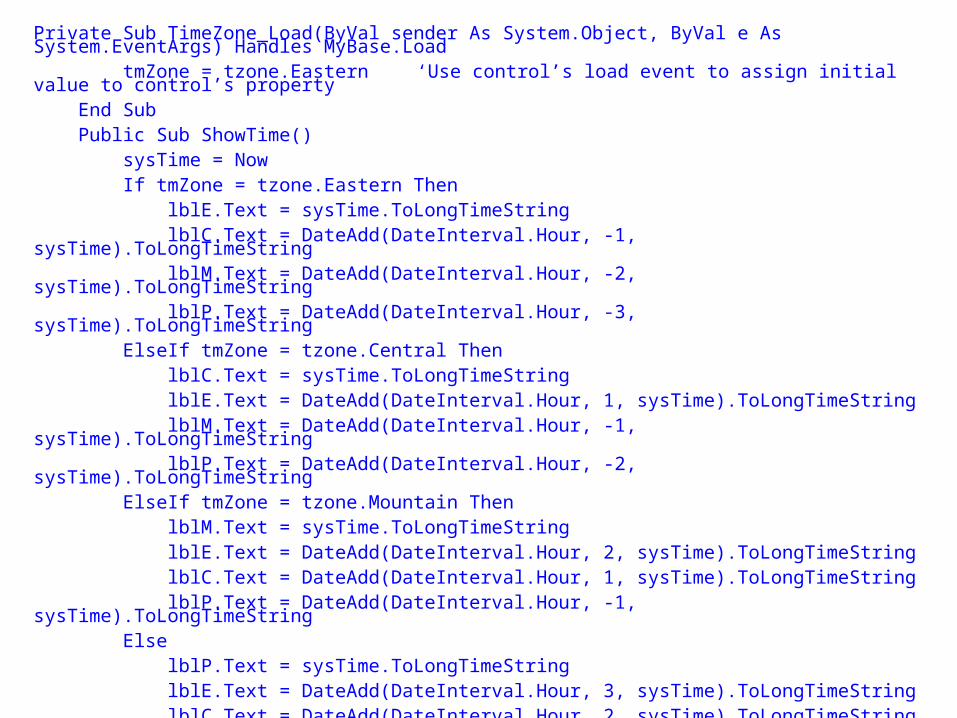
Private Sub TimeZone_Load(ByVal sender As System.Object, ByVal e As System.EventArgs) Handles MyBase.Load tmZone = tzone.Eastern ‘Use control’s load event to assign initial value to control’s property End Sub Public Sub ShowTime() sysTime = Now If tmZone = tzone.Eastern Then lblE.Text = sysTime.ToLongTimeString lblC.Text = DateAdd(DateInterval.Hour, -1, sysTime).ToLongTimeString lblM.Text = DateAdd(DateInterval.Hour, -2, sysTime).ToLongTimeString lblP.Text = DateAdd(DateInterval.Hour, -3, sysTime).ToLongTimeString ElseIf tmZone = tzone.Central Then lblC.Text = sysTime.ToLongTimeString lblE.Text = DateAdd(DateInterval.Hour, 1, sysTime).ToLongTimeString lblM.Text = DateAdd(DateInterval.Hour, -1, sysTime).ToLongTimeString lblP.Text = DateAdd(DateInterval.Hour, -2, sysTime).ToLongTimeString ElseIf tmZone = tzone.Mountain Then lblM.Text = sysTime.ToLongTimeString lblE.Text = DateAdd(DateInterval.Hour, 2, sysTime).ToLongTimeString lblC.Text = DateAdd(DateInterval.Hour, 1, sysTime).ToLongTimeString lblP.Text = DateAdd(DateInterval.Hour, -1, sysTime).ToLongTimeString Else lblP.Text = sysTime.ToLongTimeString lblE.Text = DateAdd(DateInterval.Hour, 3, sysTime).ToLongTimeString lblC.Text = DateAdd(DateInterval.Hour, 2, sysTime).ToLongTimeString lblM.Text = DateAdd(DateInterval.Hour, 1, sysTime).ToLongTimeString End If End SubEnd Class
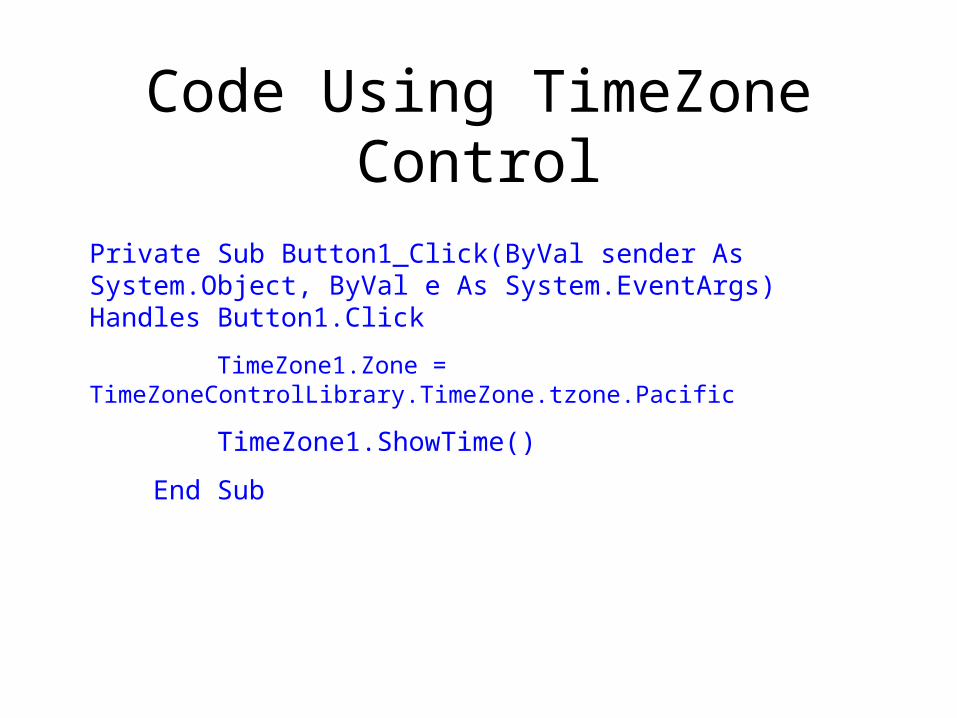
Code Using TimeZone Control
Private Sub Button1_Click(ByVal sender As System.Object, ByVal e As System.EventArgs) Handles Button1.Click
TimeZone1.Zone = TimeZoneControlLibrary.TimeZone.tzone.Pacific
TimeZone1.ShowTime()
End Sub

Create an Inherited User Control
• Create a user control from an existing control such as TextBox, Label, etc.
• Example: Create a control, called ValidDate, that looks exactly like a textbox, but it will validate the entry for a valid date.– Inherits from System.Windows.Forms.TextBox
– Properties: MaximumDate, MinimumDate with default value
– Event: InvalidDate event
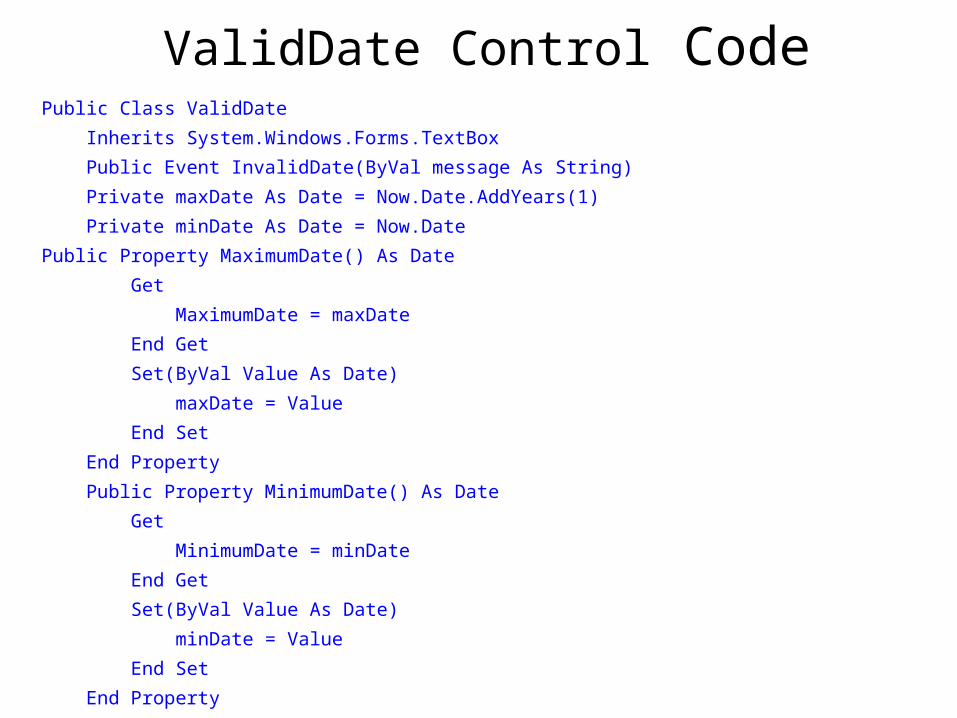
ValidDate Control CodePublic Class ValidDate
Inherits System.Windows.Forms.TextBox
Public Event InvalidDate(ByVal message As String)
Private maxDate As Date = Now.Date.AddYears(1)
Private minDate As Date = Now.Date
Public Property MaximumDate() As Date
Get
MaximumDate = maxDate
End Get
Set(ByVal Value As Date)
maxDate = Value
End Set
End Property
Public Property MinimumDate() As Date
Get
MinimumDate = minDate
End Get
Set(ByVal Value As Date)
minDate = Value
End Set
End Property
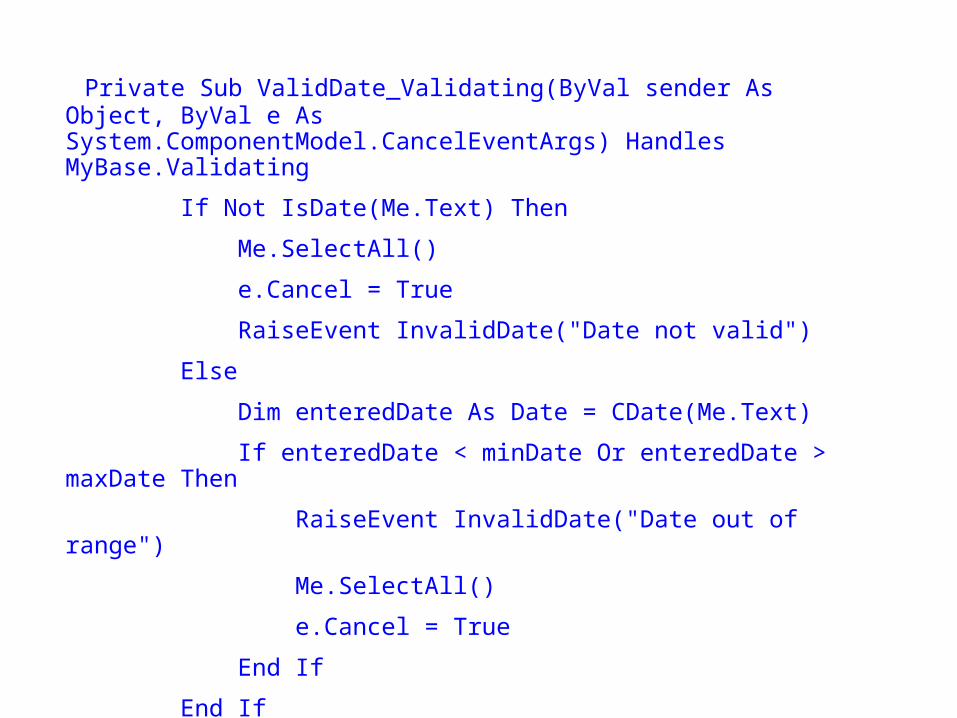
Private Sub ValidDate_Validating(ByVal sender As Object, ByVal e As System.ComponentModel.CancelEventArgs) Handles MyBase.Validating
If Not IsDate(Me.Text) Then
Me.SelectAll()
e.Cancel = True
RaiseEvent InvalidDate("Date not valid")
Else
Dim enteredDate As Date = CDate(Me.Text)
If enteredDate < minDate Or enteredDate > maxDate Then
RaiseEvent InvalidDate("Date out of range")
Me.SelectAll()
e.Cancel = True
End If
End If
End Sub
End Class
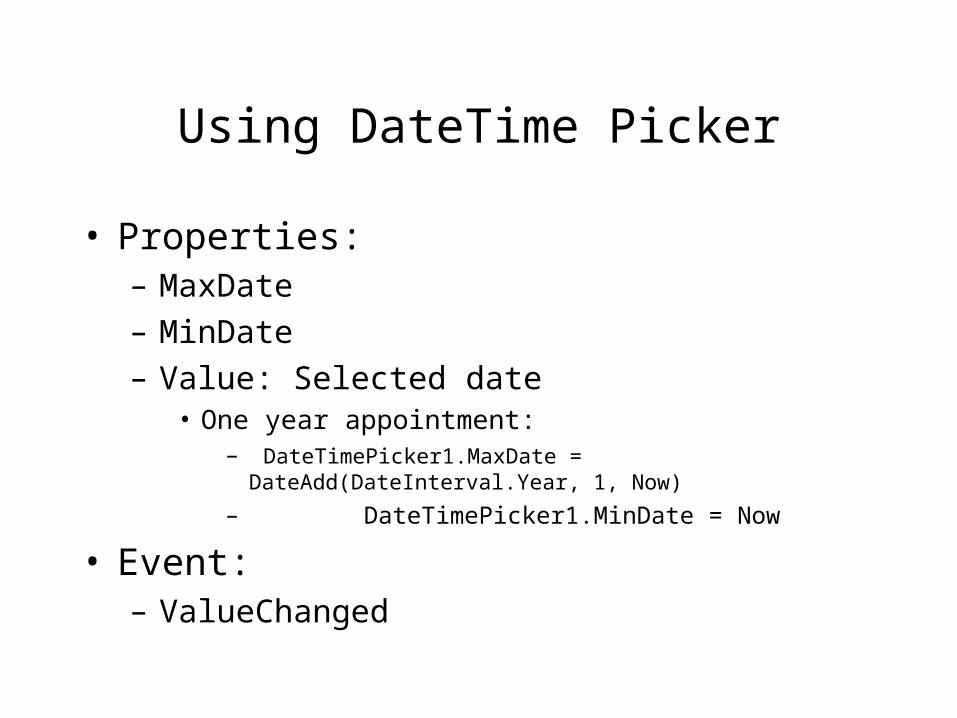
Using DateTime Picker
• Properties:– MaxDate
– MinDate
– Value: Selected date• One year appointment:
– DateTimePicker1.MaxDate = DateAdd(DateInterval.Year, 1, Now)
– DateTimePicker1.MinDate = Now
• Event:– ValueChanged
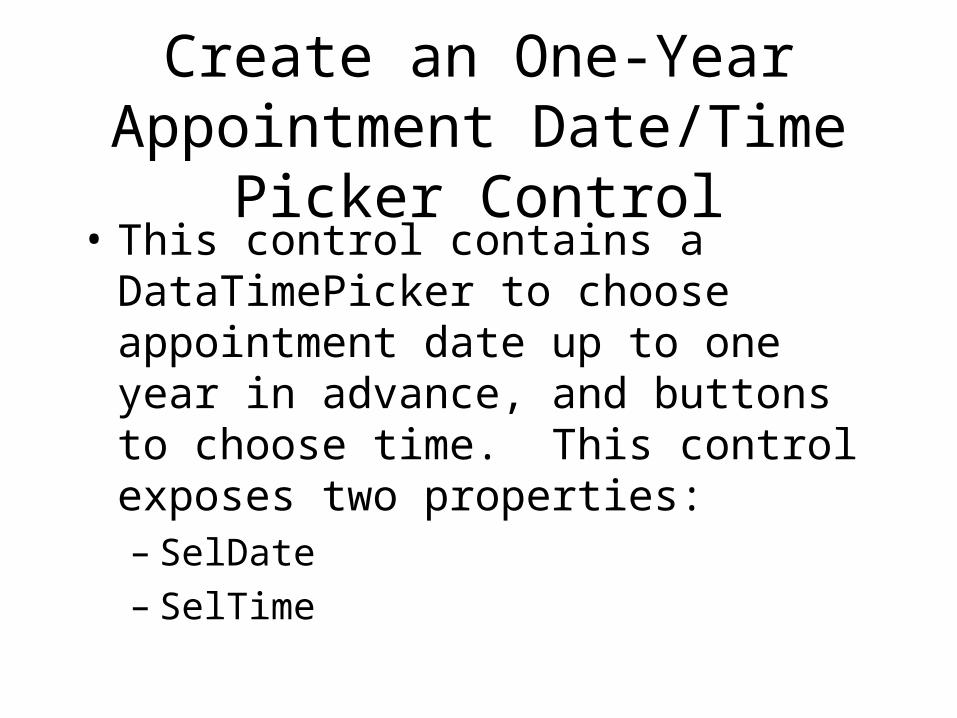
Create an One-Year Appointment Date/Time Picker Control
• This control contains a DataTimePicker to choose appointment date up to one year in advance, and buttons to choose time. This control exposes two properties:– SelDate– SelTime
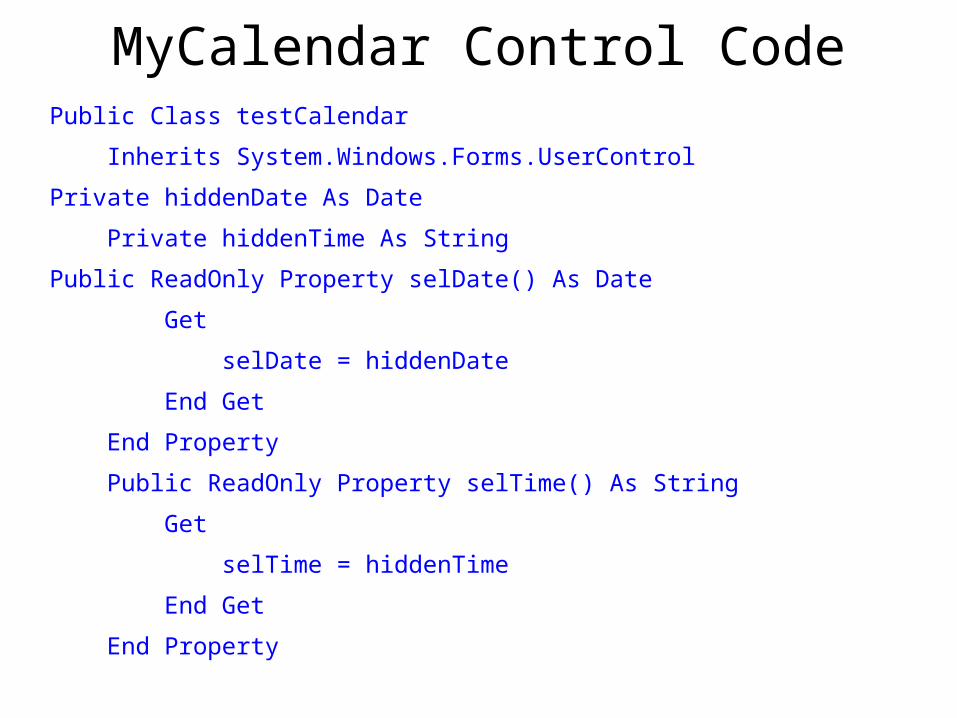
MyCalendar Control CodePublic Class testCalendar
Inherits System.Windows.Forms.UserControl
Private hiddenDate As Date
Private hiddenTime As String
Public ReadOnly Property selDate() As Date
Get
selDate = hiddenDate
End Get
End Property
Public ReadOnly Property selTime() As String
Get
selTime = hiddenTime
End Get
End Property
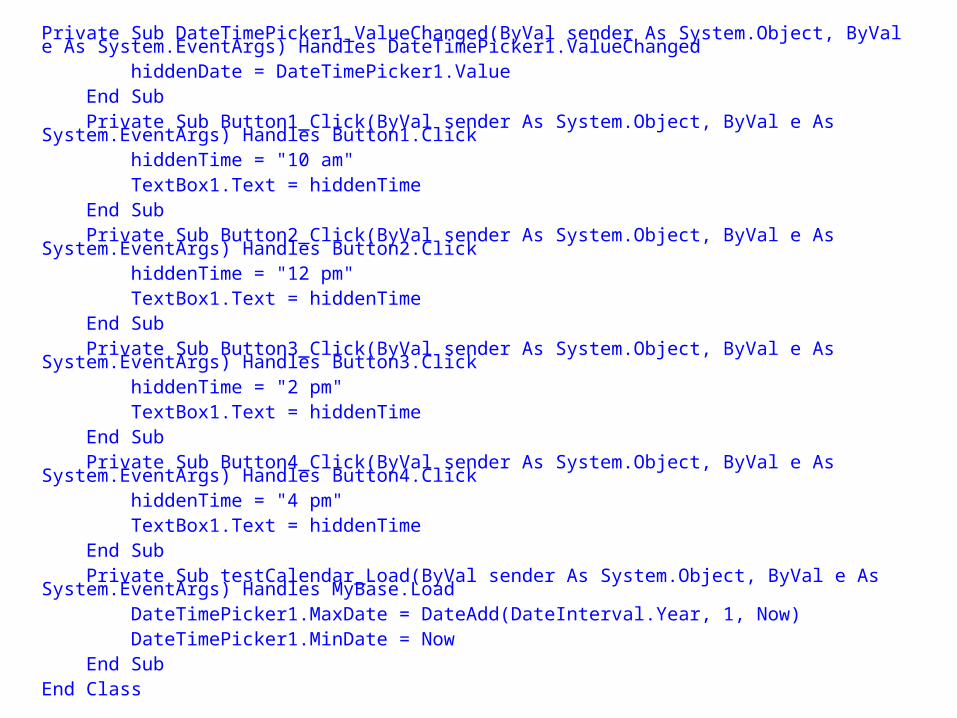
Private Sub DateTimePicker1_ValueChanged(ByVal sender As System.Object, ByVal e As System.EventArgs) Handles DateTimePicker1.ValueChanged hiddenDate = DateTimePicker1.Value End Sub Private Sub Button1_Click(ByVal sender As System.Object, ByVal e As System.EventArgs) Handles Button1.Click hiddenTime = "10 am" TextBox1.Text = hiddenTime End Sub Private Sub Button2_Click(ByVal sender As System.Object, ByVal e As System.EventArgs) Handles Button2.Click hiddenTime = "12 pm" TextBox1.Text = hiddenTime End Sub Private Sub Button3_Click(ByVal sender As System.Object, ByVal e As System.EventArgs) Handles Button3.Click hiddenTime = "2 pm" TextBox1.Text = hiddenTime End Sub Private Sub Button4_Click(ByVal sender As System.Object, ByVal e As System.EventArgs) Handles Button4.Click hiddenTime = "4 pm" TextBox1.Text = hiddenTime End Sub Private Sub testCalendar_Load(ByVal sender As System.Object, ByVal e As System.EventArgs) Handles MyBase.Load DateTimePicker1.MaxDate = DateAdd(DateInterval.Year, 1, Now) DateTimePicker1.MinDate = Now End SubEnd Class
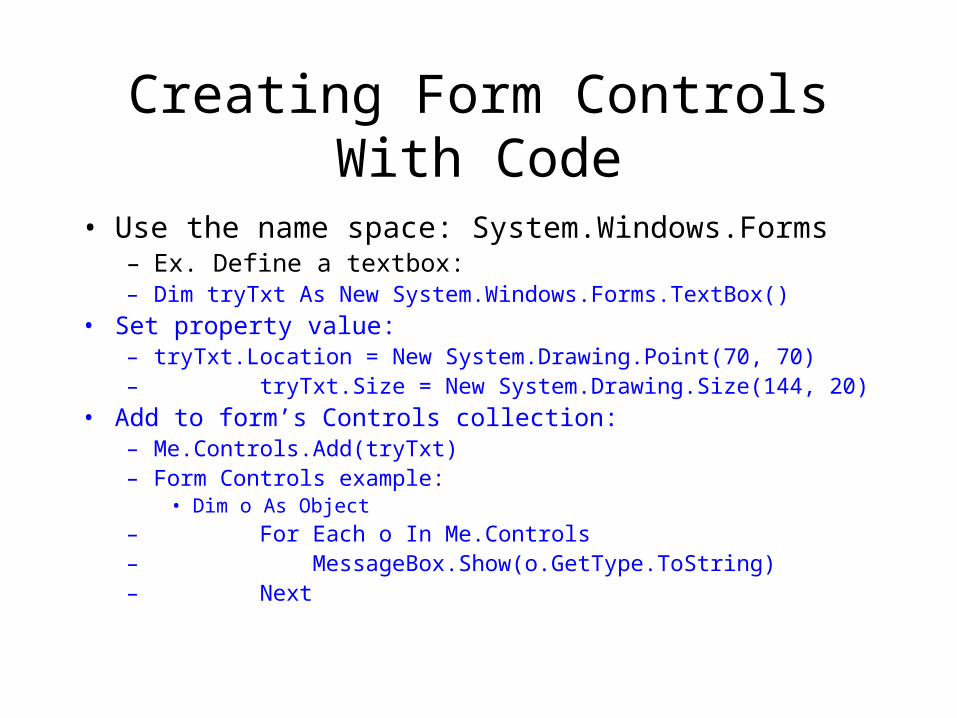
Creating Form Controls With Code
• Use the name space: System.Windows.Forms– Ex. Define a textbox:– Dim tryTxt As New System.Windows.Forms.TextBox()
• Set property value:– tryTxt.Location = New System.Drawing.Point(70, 70)– tryTxt.Size = New System.Drawing.Size(144, 20)
• Add to form’s Controls collection:– Me.Controls.Add(tryTxt)– Form Controls example:
• Dim o As Object
– For Each o In Me.Controls– MessageBox.Show(o.GetType.ToString)– Next
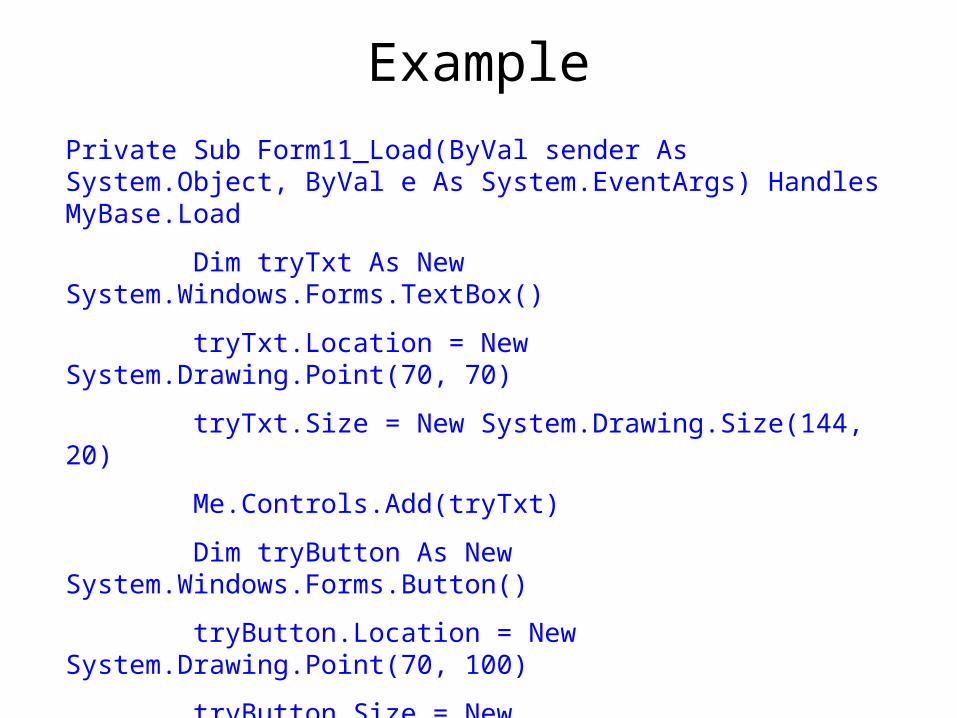
Example
Private Sub Form11_Load(ByVal sender As System.Object, ByVal e As System.EventArgs) Handles MyBase.Load
Dim tryTxt As New System.Windows.Forms.TextBox()
tryTxt.Location = New System.Drawing.Point(70, 70)
tryTxt.Size = New System.Drawing.Size(144, 20)
Me.Controls.Add(tryTxt)
Dim tryButton As New System.Windows.Forms.Button()
tryButton.Location = New System.Drawing.Point(70, 100)
tryButton.Size = New System.Drawing.Size(100, 20)
Me.Controls.Add(tryButton)
End Sub
Graphics Basics
• Create a graphics object.
• Create a Pen or Brush object to draw with.
• Call the drawing methods from the Graphics object to draw.
Form’s Paint Event
• Each time a form is displayed, resized, moved, maximized, restored, the form’s Paint event is triggered.
• Use the Paint event’s EventArg or a form’s CreateGraphics method to create a graphics object.
• Objects: Point, Size, Shape
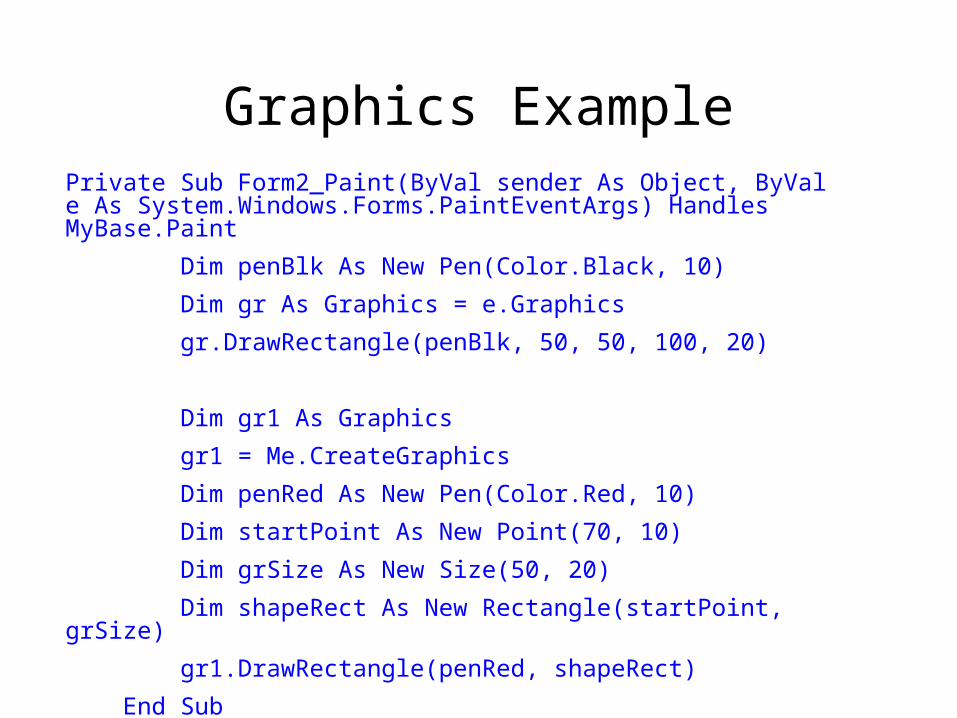
Graphics ExamplePrivate Sub Form2_Paint(ByVal sender As Object, ByVal e As System.Windows.Forms.PaintEventArgs) Handles MyBase.Paint
Dim penBlk As New Pen(Color.Black, 10)
Dim gr As Graphics = e.Graphics
gr.DrawRectangle(penBlk, 50, 50, 100, 20)
Dim gr1 As Graphics
gr1 = Me.CreateGraphics
Dim penRed As New Pen(Color.Red, 10)
Dim startPoint As New Point(70, 10)
Dim grSize As New Size(50, 20)
Dim shapeRect As New Rectangle(startPoint, grSize)
gr1.DrawRectangle(penRed, shapeRect)
End Sub
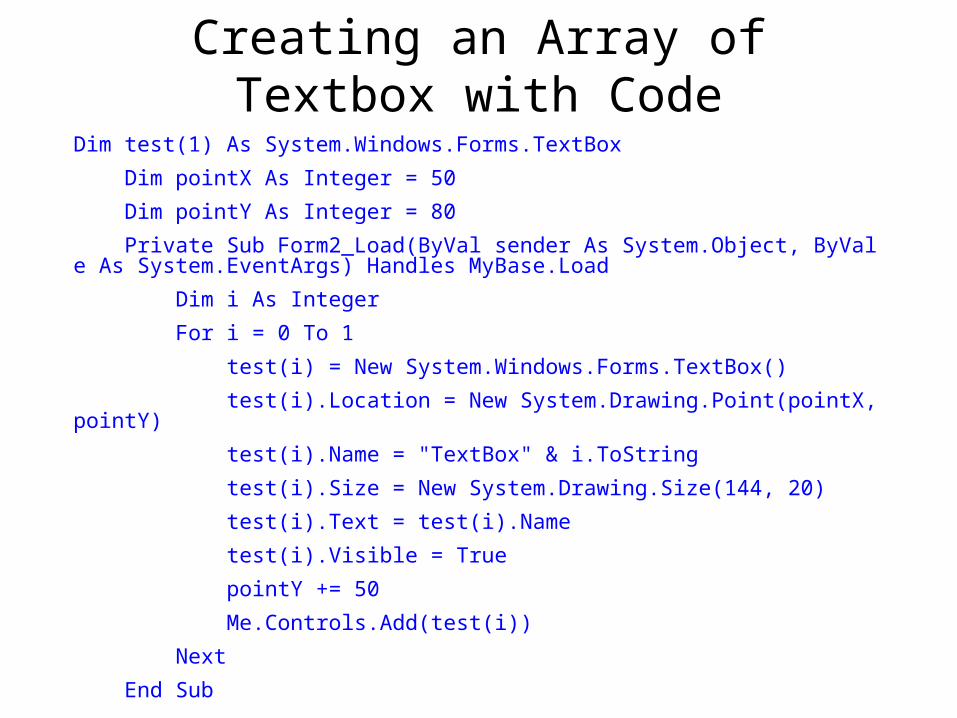
Creating an Array of Textbox with Code
Dim test(1) As System.Windows.Forms.TextBox
Dim pointX As Integer = 50
Dim pointY As Integer = 80
Private Sub Form2_Load(ByVal sender As System.Object, ByVal e As System.EventArgs) Handles MyBase.Load
Dim i As Integer
For i = 0 To 1
test(i) = New System.Windows.Forms.TextBox()
test(i).Location = New System.Drawing.Point(pointX, pointY)
test(i).Name = "TextBox" & i.ToString
test(i).Size = New System.Drawing.Size(144, 20)
test(i).Text = test(i).Name
test(i).Visible = True
pointY += 50
Me.Controls.Add(test(i))
Next
End Sub
Adding Events to Controls Created with Code
• AddHandler object.event, AddressOf eventhandler
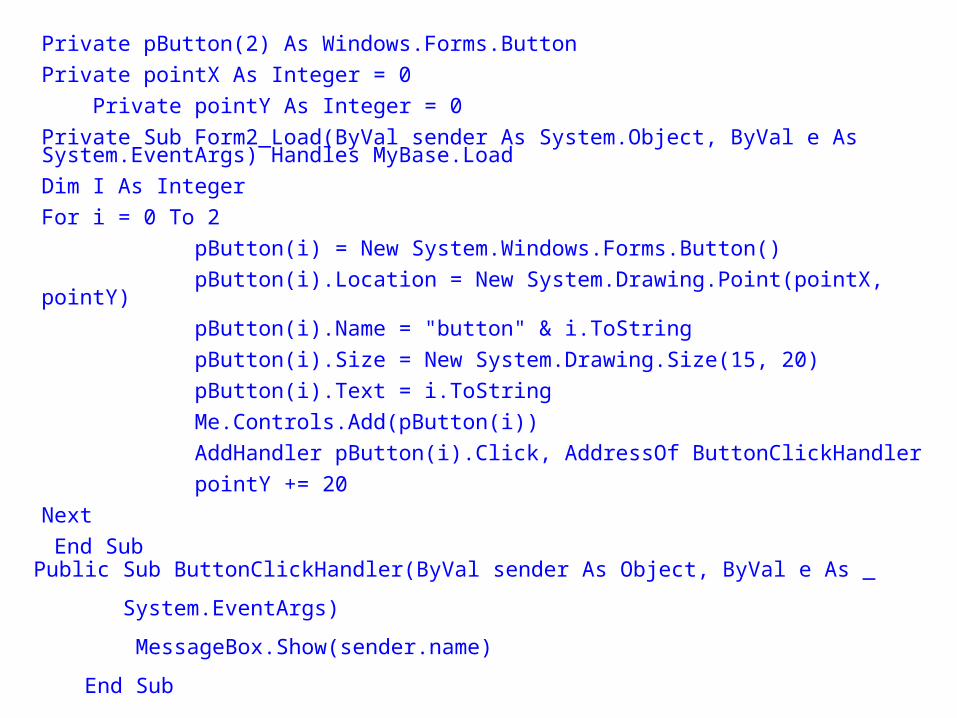
Private pButton(2) As Windows.Forms.Button
Private pointX As Integer = 0
Private pointY As Integer = 0
Private Sub Form2_Load(ByVal sender As System.Object, ByVal e As System.EventArgs) Handles MyBase.Load
Dim I As Integer
For i = 0 To 2
pButton(i) = New System.Windows.Forms.Button()
pButton(i).Location = New System.Drawing.Point(pointX, pointY)
pButton(i).Name = "button" & i.ToString
pButton(i).Size = New System.Drawing.Size(15, 20)
pButton(i).Text = i.ToString
Me.Controls.Add(pButton(i))
AddHandler pButton(i).Click, AddressOf ButtonClickHandler
pointY += 20
Next
End Sub
Public Sub ButtonClickHandler(ByVal sender As Object, ByVal e As _
System.EventArgs)
MessageBox.Show(sender.name)
End Sub
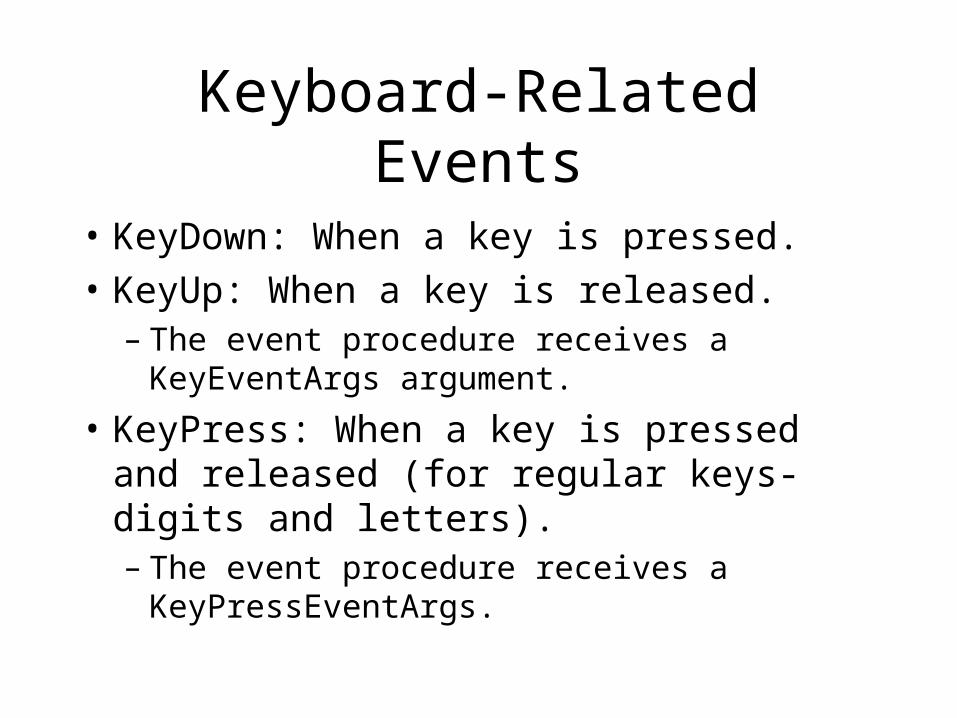
Keyboard-Related Events
• KeyDown: When a key is pressed.
• KeyUp: When a key is released.– The event procedure receives a KeyEventArgs
argument.
• KeyPress: When a key is pressed and released (for regular keys-digits and letters).– The event procedure receives a
KeyPressEventArgs.
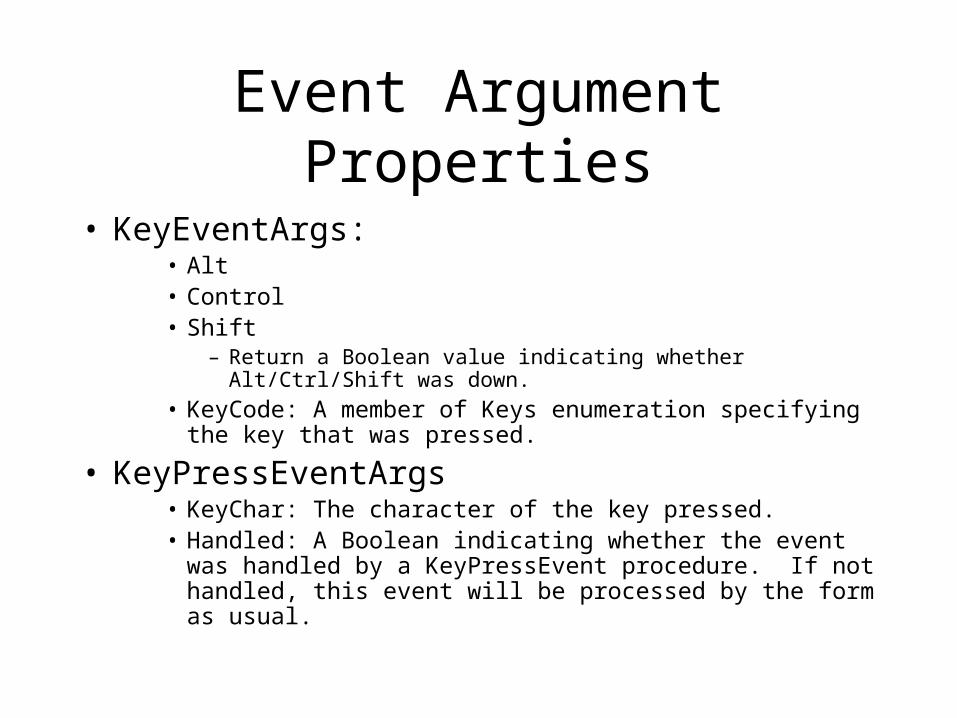
Event Argument Properties
• KeyEventArgs:• Alt• Control• Shift
– Return a Boolean value indicating whether Alt/Ctrl/Shift was down.
• KeyCode: A member of Keys enumeration specifying the key that was pressed.
• KeyPressEventArgs• KeyChar: The character of the key pressed.• Handled: A Boolean indicating whether the event was handled
by a KeyPressEvent procedure. If not handled, this event will be processed by the form as usual.
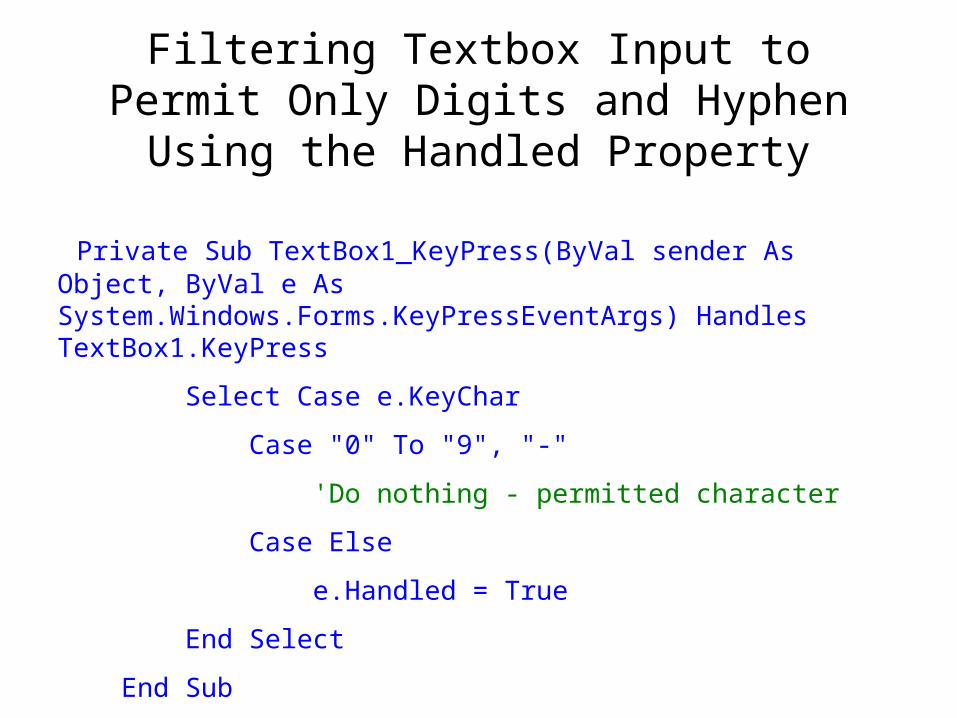
Filtering Textbox Input to Permit Only Digits and Hyphen Using the Handled Property
Private Sub TextBox1_KeyPress(ByVal sender As Object, ByVal e As System.Windows.Forms.KeyPressEventArgs) Handles TextBox1.KeyPress
Select Case e.KeyChar
Case "0" To "9", "-"
'Do nothing - permitted character
Case Else
e.Handled = True
End Select
End Sub
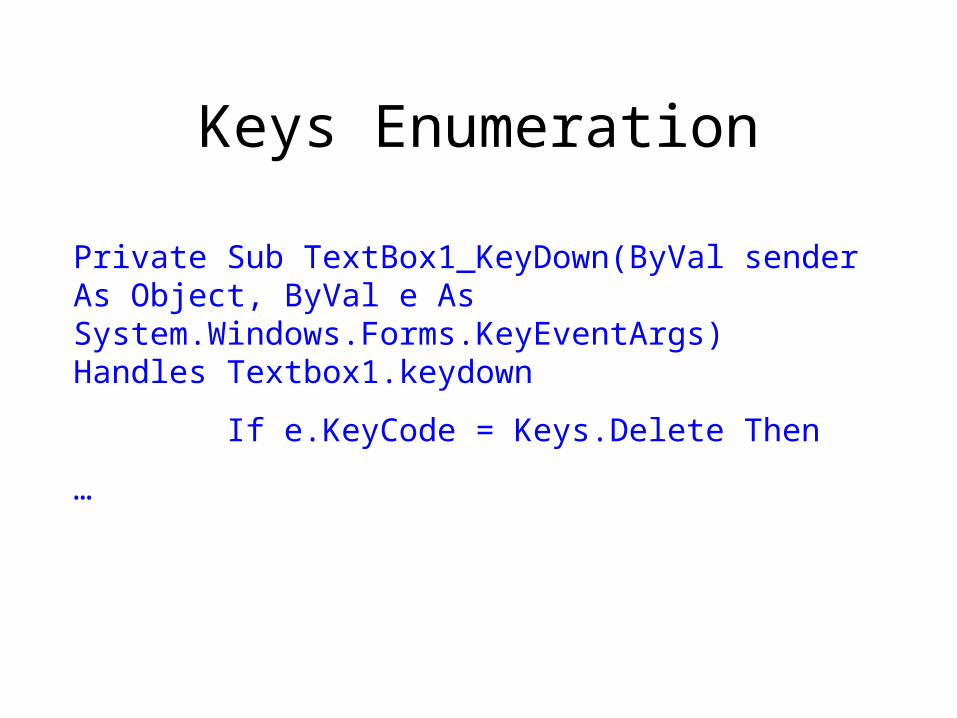
Keys Enumeration
Private Sub TextBox1_KeyDown(ByVal sender As Object, ByVal e As System.Windows.Forms.KeyEventArgs) Handles Textbox1.keydown
If e.KeyCode = Keys.Delete Then
…
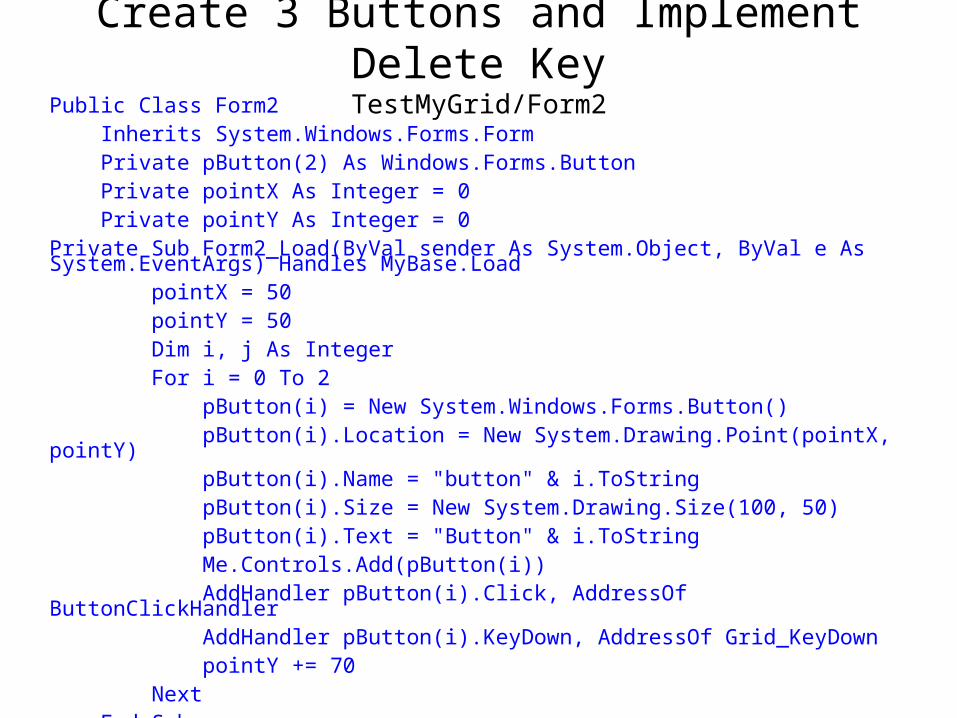
Create 3 Buttons and Implement Delete KeyTestMyGrid/Form2
Public Class Form2 Inherits System.Windows.Forms.Form Private pButton(2) As Windows.Forms.Button Private pointX As Integer = 0 Private pointY As Integer = 0Private Sub Form2_Load(ByVal sender As System.Object, ByVal e As System.EventArgs) Handles MyBase.Load pointX = 50 pointY = 50 Dim i, j As Integer For i = 0 To 2 pButton(i) = New System.Windows.Forms.Button() pButton(i).Location = New System.Drawing.Point(pointX, pointY) pButton(i).Name = "button" & i.ToString pButton(i).Size = New System.Drawing.Size(100, 50) pButton(i).Text = "Button" & i.ToString Me.Controls.Add(pButton(i)) AddHandler pButton(i).Click, AddressOf ButtonClickHandler AddHandler pButton(i).KeyDown, AddressOf Grid_KeyDown pointY += 70 Next End Sub
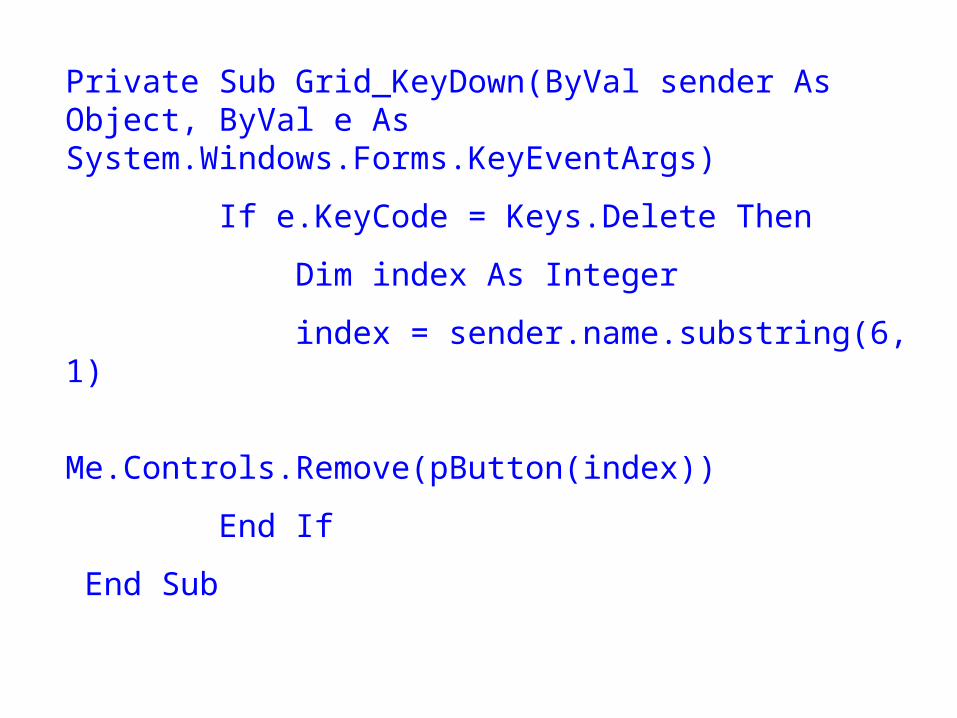
Private Sub Grid_KeyDown(ByVal sender As Object, ByVal e As System.Windows.Forms.KeyEventArgs)
If e.KeyCode = Keys.Delete Then
Dim index As Integer
index = sender.name.substring(6, 1)
Me.Controls.Remove(pButton(index))
End If
End Sub
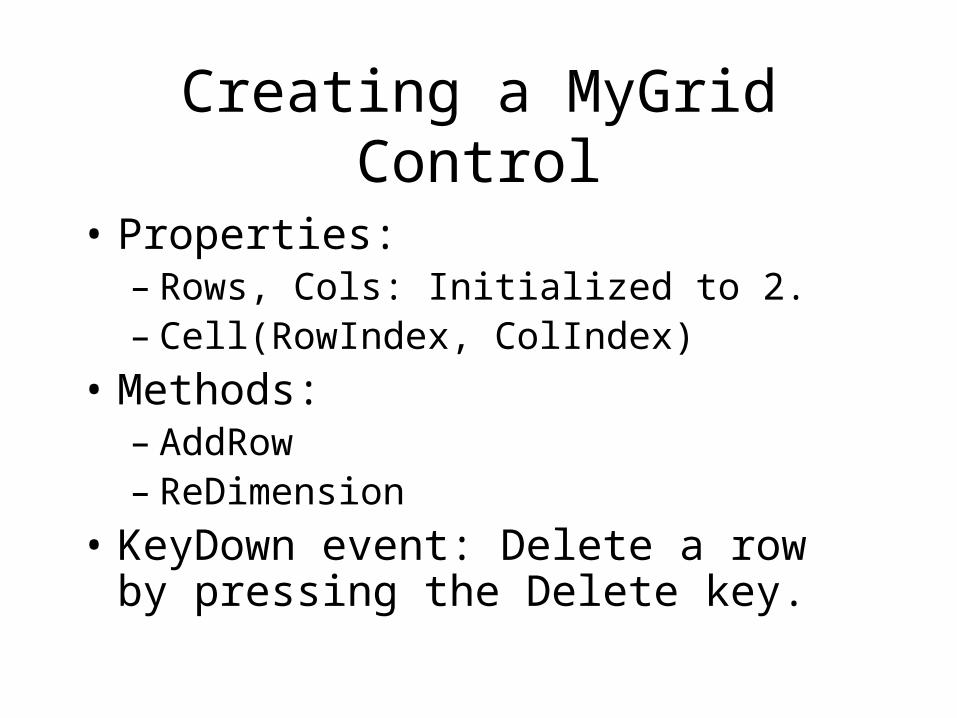
Creating a MyGrid Control
• Properties:– Rows, Cols: Initialized to 2.– Cell(RowIndex, ColIndex)
• Methods:– AddRow– ReDimension
• KeyDown event: Delete a row by pressing the Delete key.