Embed Size (px)
Citation preview
Copyright © Samsung Electronics, Co., Ltd. All rights reserved.
Creating Gear Companion Apps
4 August 2015
Creating Gear Companion Apps
Copyright © Samsung Electronics, Co., Ltd. All rights reserved. Page | 2
1. HOW TO CREATE GEAR WEB APPLICATION PROJECT ............................................................................................3
1.1. CREATING A WEB APPLICATION PROJECT............................................................................................................... 3
2. HOW TO USE SAMSUNG ACCESSORY SDK ............................................................................................................4
2.1. IMPORT NECESSARY LIBRARIES ............................................................................................................................... 4
2.2. ADD PERMISSIONS INTO ANDROIDMANIFEST.XML ................................................................................................ 5
3. HOW TO COMMUNICATE WITH GEAR WEB APPLICATION ....................................................................................6
3.1. ADD ATTRIBUTES INTO ANDROIDMANIFEST.XML .................................................................................................. 6
3.2. DEFINE ACCESSORY SERVICE PROFILE ..................................................................................................................... 7
4. HOW TO COMMUNICATE WITH ANDROID APPLICATION......................................................................................8
4.1. ADD ATTRIBUTES INTO CONFIG.XML ...................................................................................................................... 8
4.2. DEFINE ACCESSORY SERVICE PROFILE ..................................................................................................................... 8
5. USE CASES ..........................................................................................................................................................9
5.1. FINDING PEER AGENTS............................................................................................................................................ 9
5.2. SETTING UP SERVICE CONNECTION ...................................................................................................................... 10
5.3. SENDING AND RECEIVING DATA ........................................................................................................................... 12
5.4. CLOSING SERVICE CONNECTION ........................................................................................................................... 13
Table of Contents
Creating Gear Companion Apps
Copyright © Samsung Electronics, Co., Ltd. All rights reserved. Page | 3
1. How to Create Gear Web Application Project
1.1. Creating a Web Application Project
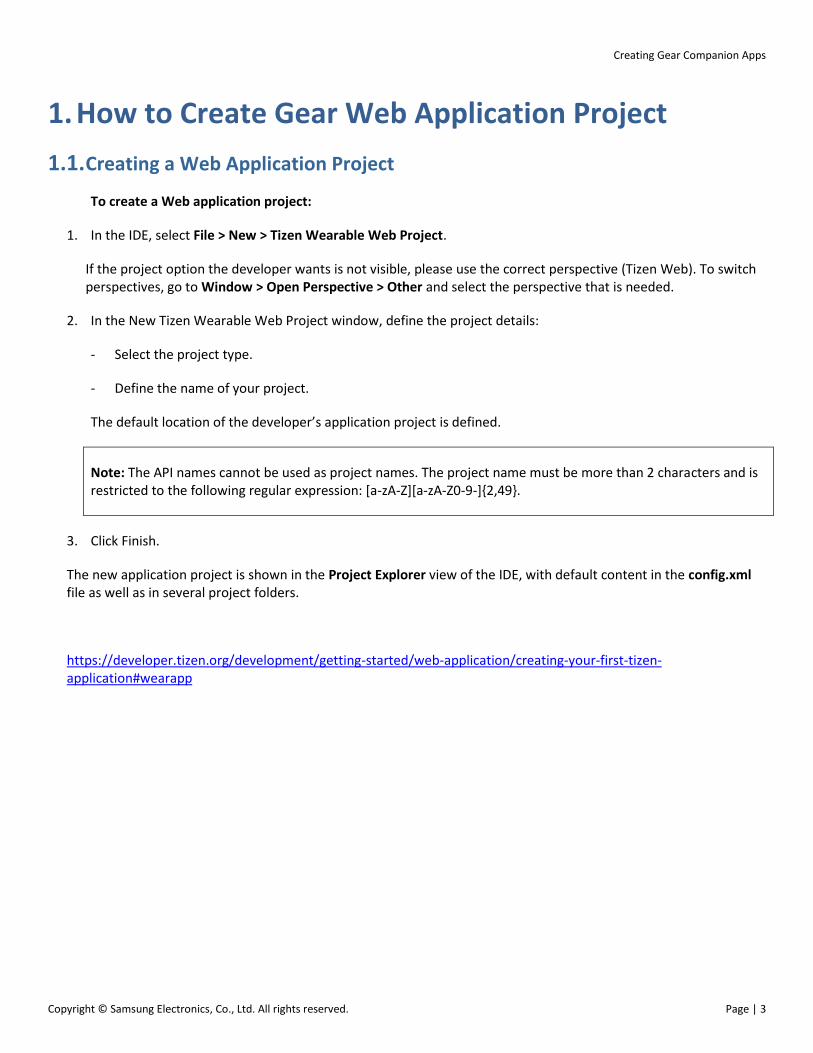
To create a Web application project:
1. In the IDE, select File > New > Tizen Wearable Web Project.
If the project option the developer wants is not visible, please use the correct perspective (Tizen Web). To switch perspectives, go to Window > Open Perspective > Other and select the perspective that is needed.
2. In the New Tizen Wearable Web Project window, define the project details:
- Select the project type.
- Define the name of your project.
The default location of the developer’s application project is defined.
Note: The API names cannot be used as project names. The project name must be more than 2 characters and is restricted to the following regular expression: [a-zA-Z][a-zA-Z0-9-]{2,49}.
3. Click Finish.
The new application project is shown in the Project Explorer view of the IDE, with default content in the config.xml file as well as in several project folders.
https://developer.tizen.org/development/getting-started/web-application/creating-your-first-tizen-application#wearapp
Creating Gear Companion Apps
Copyright © Samsung Electronics, Co., Ltd. All rights reserved. Page | 4
2. How to use Samsung Accessory SDK
2.1. Import necessary libraries
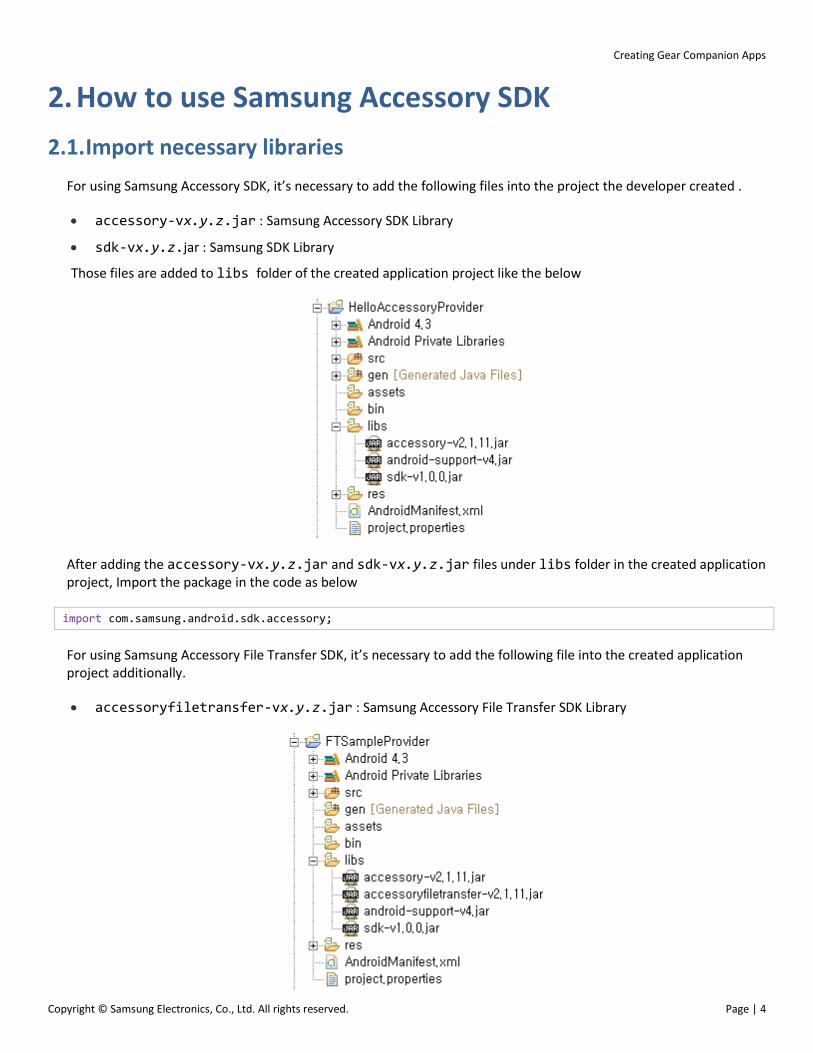
For using Samsung Accessory SDK, it’s necessary to add the following files into the project the developer created .
accessory-vx.y.z.jar : Samsung Accessory SDK Library
sdk-vx.y.z.jar : Samsung SDK Library
Those files are added to libs folder of the created application project like the below
After adding the accessory-vx.y.z.jar and sdk-vx.y.z.jar files under libs folder in the created application project, Import the package in the code as below
import com.samsung.android.sdk.accessory;
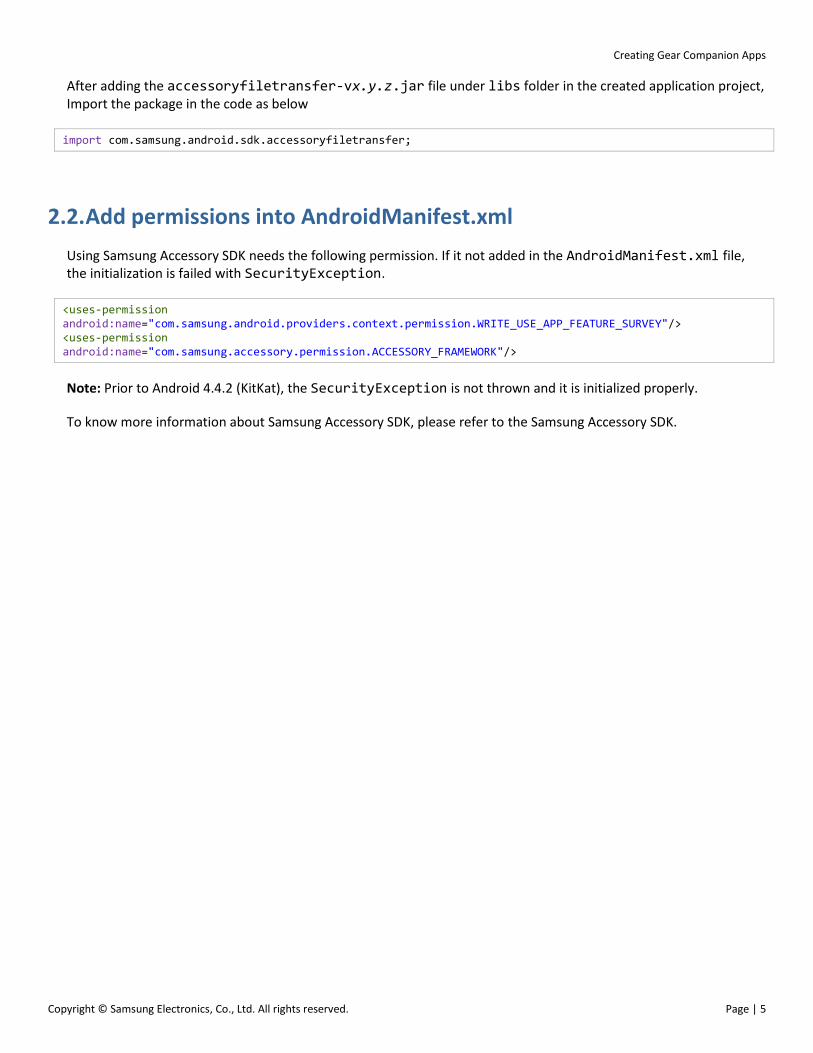
For using Samsung Accessory File Transfer SDK, it’s necessary to add the following file into the created application project additionally.
accessoryfiletransfer-vx.y.z.jar : Samsung Accessory File Transfer SDK Library
Creating Gear Companion Apps
Copyright © Samsung Electronics, Co., Ltd. All rights reserved. Page | 5
After adding the accessoryfiletransfer-vx.y.z.jar file under libs folder in the created application project, Import the package in the code as below
import com.samsung.android.sdk.accessoryfiletransfer;
2.2. Add permissions into AndroidManifest.xml
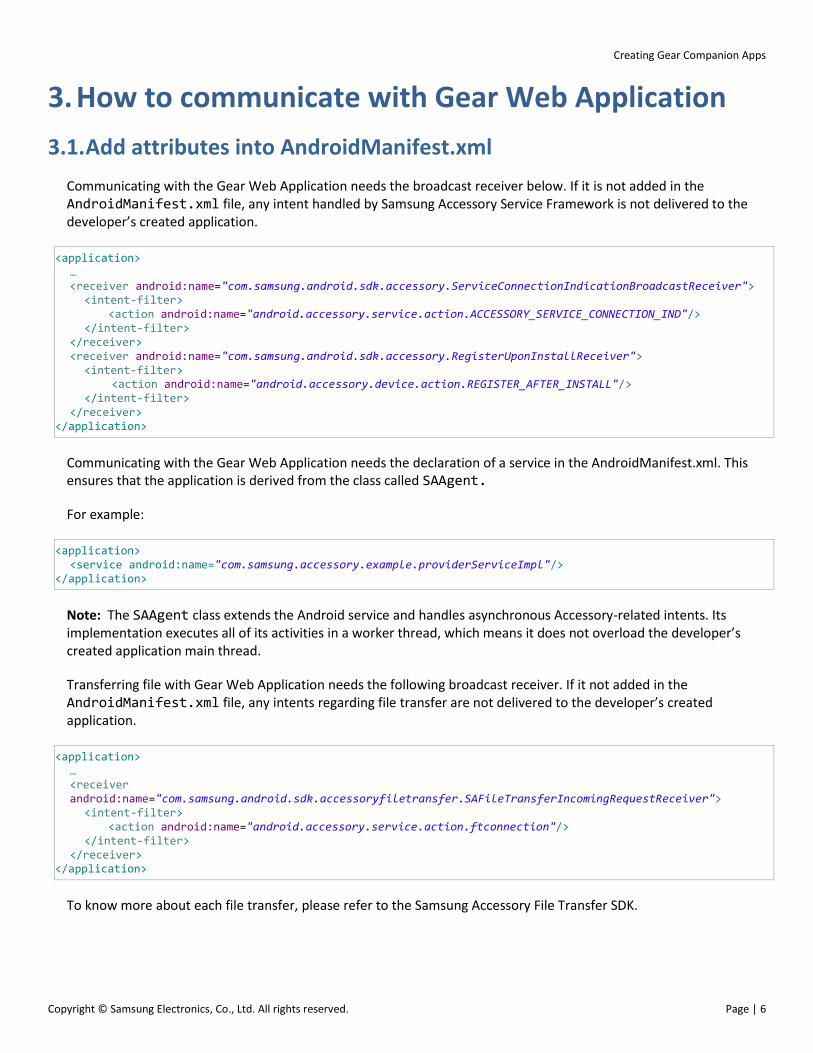
Using Samsung Accessory SDK needs the following permission. If it not added in the AndroidManifest.xml file, the initialization is failed with SecurityException.
<uses-permission android:name="com.samsung.android.providers.context.permission.WRITE_USE_APP_FEATURE_SURVEY"/> <uses-permission android:name="com.samsung.accessory.permission.ACCESSORY_FRAMEWORK"/>
Note: Prior to Android 4.4.2 (KitKat), the SecurityException is not thrown and it is initialized properly.
To know more information about Samsung Accessory SDK, please refer to the Samsung Accessory SDK.
Creating Gear Companion Apps
Copyright © Samsung Electronics, Co., Ltd. All rights reserved. Page | 6
3. How to communicate with Gear Web Application
3.1. Add attributes into AndroidManifest.xml
Communicating with the Gear Web Application needs the broadcast receiver below. If it is not added in the AndroidManifest.xml file, any intent handled by Samsung Accessory Service Framework is not delivered to the developer’s created application.
<application> … <receiver android:name="com.samsung.android.sdk.accessory.ServiceConnectionIndicationBroadcastReceiver">
<intent-filter> <action android:name="android.accessory.service.action.ACCESSORY_SERVICE_CONNECTION_IND"/>
</intent-filter> </receiver> <receiver android:name="com.samsung.android.sdk.accessory.RegisterUponInstallReceiver">
<intent-filter> <action android:name="android.accessory.device.action.REGISTER_AFTER_INSTALL"/>
</intent-filter> </receiver>
</application>
Communicating with the Gear Web Application needs the declaration of a service in the AndroidManifest.xml. This ensures that the application is derived from the class called SAAgent.
For example:
<application> <service android:name="com.samsung.accessory.example.providerServiceImpl"/>
</application>
Note: The SAAgent class extends the Android service and handles asynchronous Accessory-related intents. Its implementation executes all of its activities in a worker thread, which means it does not overload the developer’s created application main thread.
Transferring file with Gear Web Application needs the following broadcast receiver. If it not added in the AndroidManifest.xml file, any intents regarding file transfer are not delivered to the developer’s created application.
<application> … <receiver android:name="com.samsung.android.sdk.accessoryfiletransfer.SAFileTransferIncomingRequestReceiver">
<intent-filter> <action android:name="android.accessory.service.action.ftconnection"/>
</intent-filter> </receiver>
</application>
To know more about each file transfer, please refer to the Samsung Accessory File Transfer SDK.
Creating Gear Companion Apps
Copyright © Samsung Electronics, Co., Ltd. All rights reserved. Page | 7
3.2. Define Accessory Service Profile
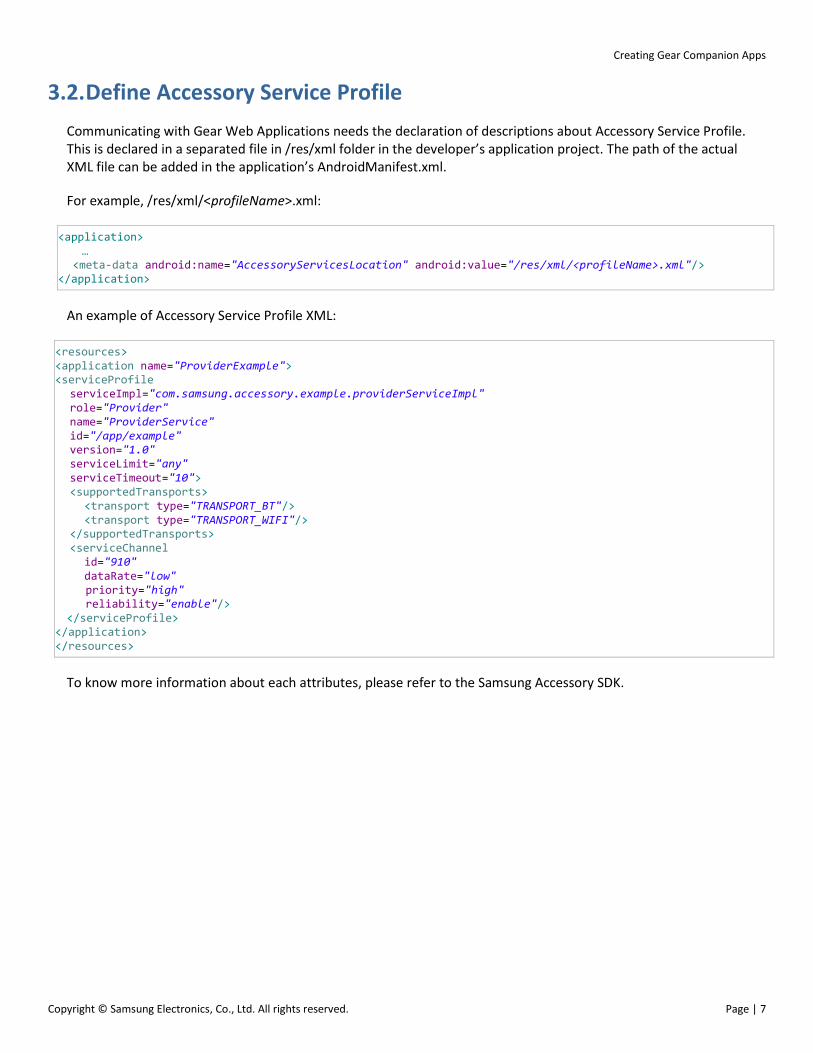
Communicating with Gear Web Applications needs the declaration of descriptions about Accessory Service Profile. This is declared in a separated file in /res/xml folder in the developer’s application project. The path of the actual XML file can be added in the application’s AndroidManifest.xml.
For example, /res/xml/<profileName>.xml:
<application> …
<meta-data android:name="AccessoryServicesLocation" android:value="/res/xml/<profileName>.xml"/> </application>
An example of Accessory Service Profile XML:
<resources> <application name="ProviderExample"> <serviceProfile
serviceImpl="com.samsung.accessory.example.providerServiceImpl" role="Provider" name="ProviderService" id="/app/example" version="1.0" serviceLimit="any" serviceTimeout="10"> <supportedTransports>
<transport type="TRANSPORT_BT"/> <transport type="TRANSPORT_WIFI"/>
</supportedTransports> <serviceChannel
id="910" dataRate="low" priority="high" reliability="enable"/>
</serviceProfile> </application> </resources>
To know more information about each attributes, please refer to the Samsung Accessory SDK.
Creating Gear Companion Apps
Copyright © Samsung Electronics, Co., Ltd. All rights reserved. Page | 8
4. How to communicate with Android Application
4.1. Add attributes into Config.xml
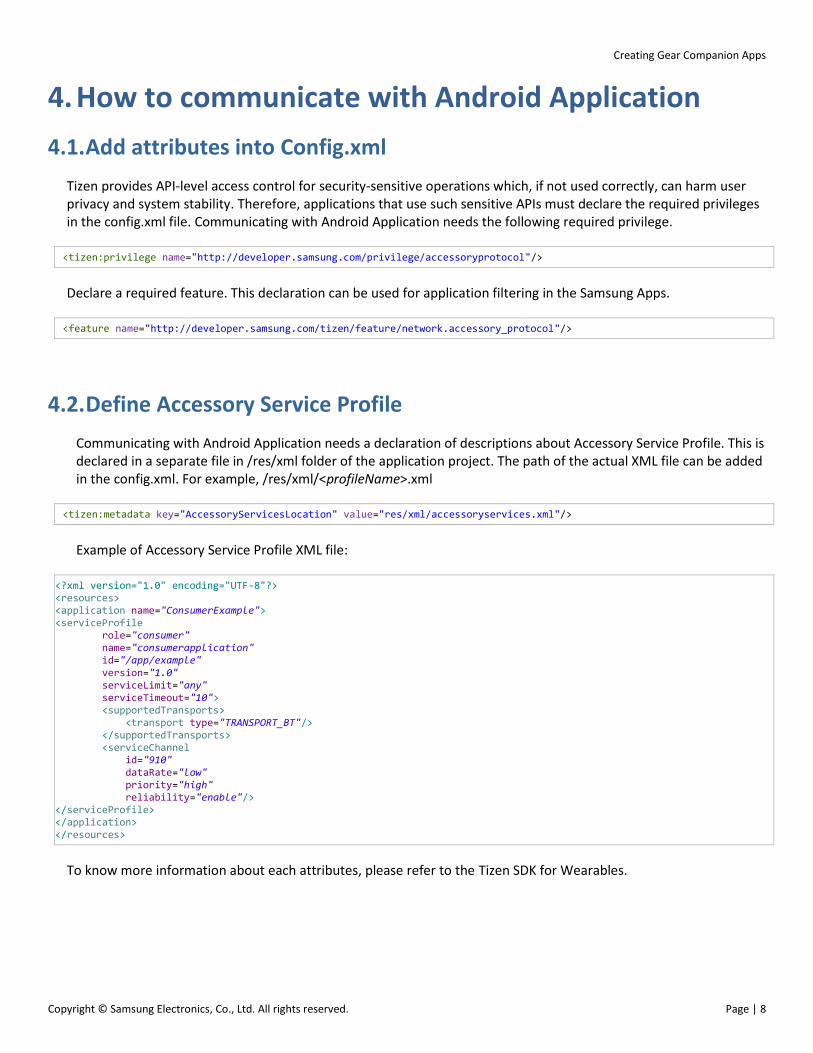
Tizen provides API-level access control for security-sensitive operations which, if not used correctly, can harm user privacy and system stability. Therefore, applications that use such sensitive APIs must declare the required privileges in the config.xml file. Communicating with Android Application needs the following required privilege.
<tizen:privilege name="http://developer.samsung.com/privilege/accessoryprotocol"/>
Declare a required feature. This declaration can be used for application filtering in the Samsung Apps.
<feature name="http://developer.samsung.com/tizen/feature/network.accessory_protocol"/>
4.2. Define Accessory Service Profile
Communicating with Android Application needs a declaration of descriptions about Accessory Service Profile. This is declared in a separate file in /res/xml folder of the application project. The path of the actual XML file can be added in the config.xml. For example, /res/xml/<profileName>.xml
<tizen:metadata key="AccessoryServicesLocation" value="res/xml/accessoryservices.xml"/>
Example of Accessory Service Profile XML file:
<?xml version="1.0" encoding="UTF-8"?> <resources> <application name="ConsumerExample"> <serviceProfile role="consumer" name="consumerapplication" id="/app/example" version="1.0" serviceLimit="any" serviceTimeout="10"> <supportedTransports> <transport type="TRANSPORT_BT"/> </supportedTransports> <serviceChannel id="910" dataRate="low" priority="high" reliability="enable"/> </serviceProfile> </application> </resources>
To know more information about each attributes, please refer to the Tizen SDK for Wearables.
Creating Gear Companion Apps
Copyright © Samsung Electronics, Co., Ltd. All rights reserved. Page | 9
5. Use Cases {List the useful use cases up as many possible with each sequence diagram.}
- Finding peer agents
- Setting up service connection
- Sending and receiving data
- Closing service connection
5.1. Finding peer agents
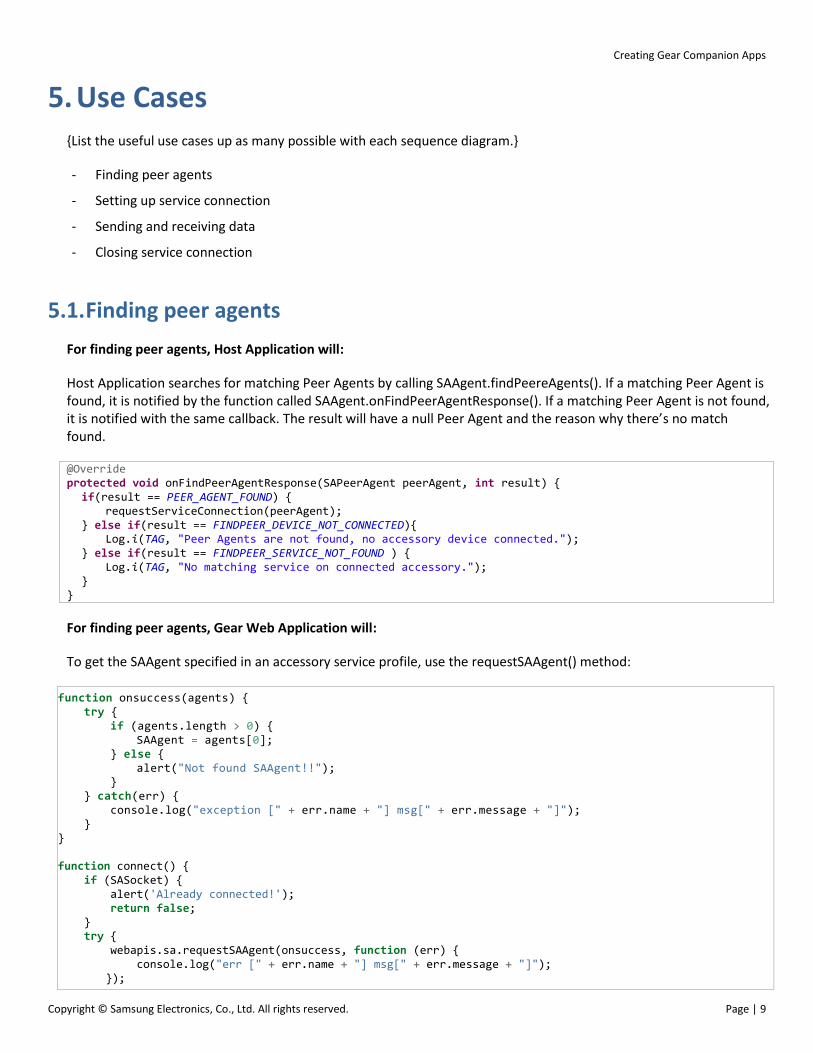
For finding peer agents, Host Application will:
Host Application searches for matching Peer Agents by calling SAAgent.findPeereAgents(). If a matching Peer Agent is found, it is notified by the function called SAAgent.onFindPeerAgentResponse(). If a matching Peer Agent is not found, it is notified with the same callback. The result will have a null Peer Agent and the reason why there’s no match found.
@Override protected void onFindPeerAgentResponse(SAPeerAgent peerAgent, int result) {
if(result == PEER_AGENT_FOUND) { requestServiceConnection(peerAgent);
} else if(result == FINDPEER_DEVICE_NOT_CONNECTED){ Log.i(TAG, "Peer Agents are not found, no accessory device connected.");
} else if(result == FINDPEER_SERVICE_NOT_FOUND ) { Log.i(TAG, "No matching service on connected accessory.");
} }
For finding peer agents, Gear Web Application will:
To get the SAAgent specified in an accessory service profile, use the requestSAAgent() method:
function onsuccess(agents) { try { if (agents.length > 0) { SAAgent = agents[0]; } else { alert("Not found SAAgent!!"); } } catch(err) { console.log("exception [" + err.name + "] msg[" + err.message + "]"); } } function connect() { if (SASocket) { alert('Already connected!'); return false; } try { webapis.sa.requestSAAgent(onsuccess, function (err) { console.log("err [" + err.name + "] msg[" + err.message + "]");
});
Creating Gear Companion Apps
Copyright © Samsung Electronics, Co., Ltd. All rights reserved. Page | 10
} catch(err) { console.log("exception [" + err.name + "] msg[" + err.message + "]");
} }
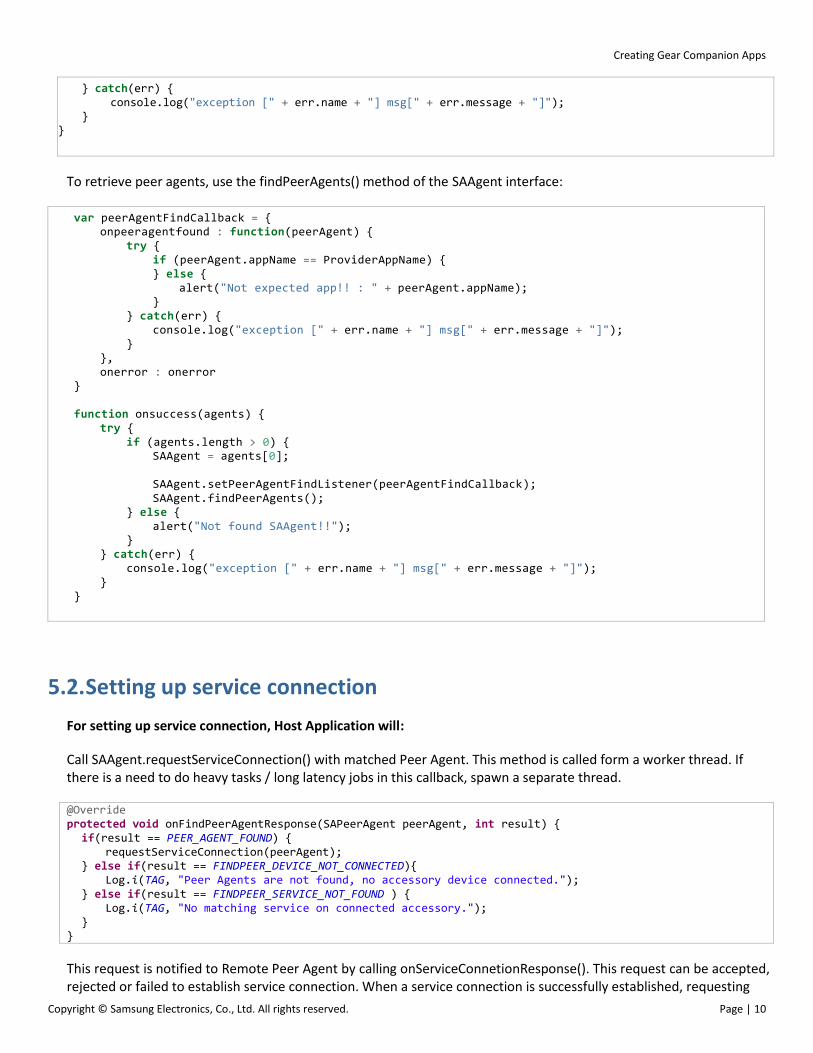
To retrieve peer agents, use the findPeerAgents() method of the SAAgent interface:
var peerAgentFindCallback = { onpeeragentfound : function(peerAgent) { try { if (peerAgent.appName == ProviderAppName) { } else { alert("Not expected app!! : " + peerAgent.appName); } } catch(err) { console.log("exception [" + err.name + "] msg[" + err.message + "]"); } }, onerror : onerror } function onsuccess(agents) { try { if (agents.length > 0) { SAAgent = agents[0]; SAAgent.setPeerAgentFindListener(peerAgentFindCallback); SAAgent.findPeerAgents(); } else { alert("Not found SAAgent!!"); } } catch(err) { console.log("exception [" + err.name + "] msg[" + err.message + "]"); } }
5.2. Setting up service connection
For setting up service connection, Host Application will:
Call SAAgent.requestServiceConnection() with matched Peer Agent. This method is called form a worker thread. If there is a need to do heavy tasks / long latency jobs in this callback, spawn a separate thread.
@Override protected void onFindPeerAgentResponse(SAPeerAgent peerAgent, int result) {
if(result == PEER_AGENT_FOUND) { requestServiceConnection(peerAgent);
} else if(result == FINDPEER_DEVICE_NOT_CONNECTED){ Log.i(TAG, "Peer Agents are not found, no accessory device connected.");
} else if(result == FINDPEER_SERVICE_NOT_FOUND ) { Log.i(TAG, "No matching service on connected accessory.");
} }
This request is notified to Remote Peer Agent by calling onServiceConnetionResponse(). This request can be accepted, rejected or failed to establish service connection. When a service connection is successfully established, requesting
Creating Gear Companion Apps
Copyright © Samsung Electronics, Co., Ltd. All rights reserved. Page | 11
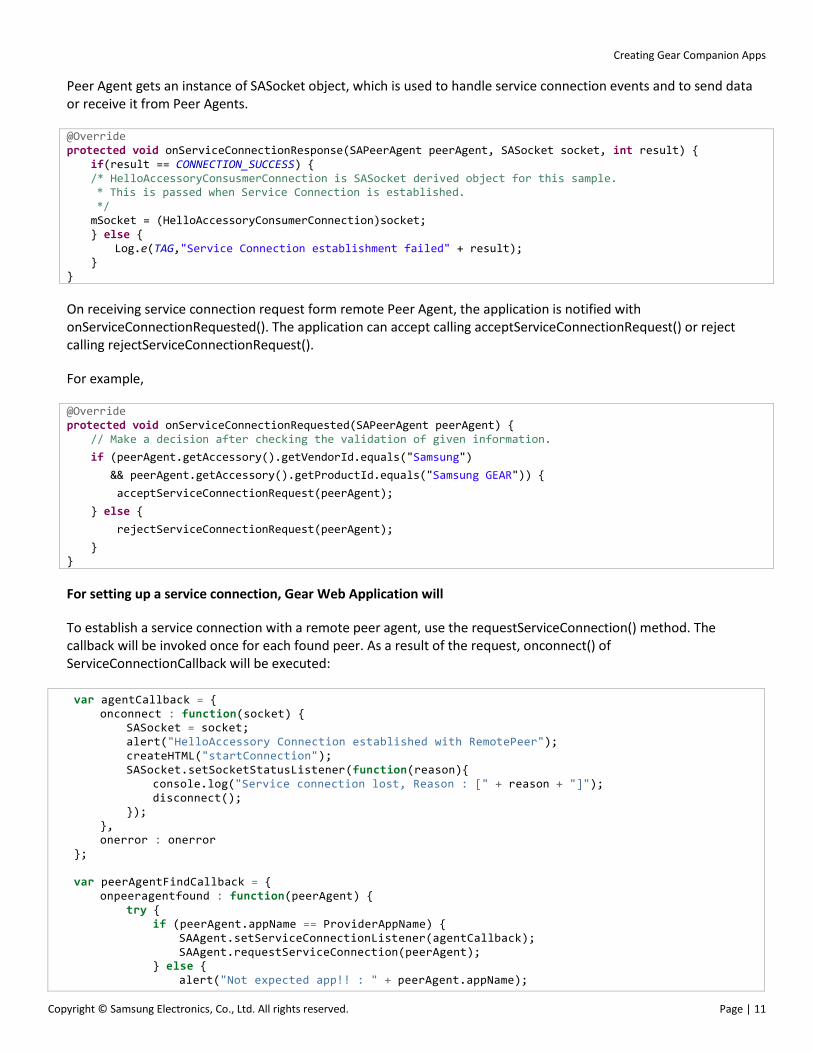
Peer Agent gets an instance of SASocket object, which is used to handle service connection events and to send data or receive it from Peer Agents.
@Override protected void onServiceConnectionResponse(SAPeerAgent peerAgent, SASocket socket, int result) {
if(result == CONNECTION_SUCCESS) { /* HelloAccessoryConsusmerConnection is SASocket derived object for this sample. * This is passed when Service Connection is established. */ mSocket = (HelloAccessoryConsumerConnection)socket; } else {
Log.e(TAG,"Service Connection establishment failed" + result); }
}
On receiving service connection request form remote Peer Agent, the application is notified with onServiceConnectionRequested(). The application can accept calling acceptServiceConnectionRequest() or reject calling rejectServiceConnectionRequest().
For example,
@Override protected void onServiceConnectionRequested(SAPeerAgent peerAgent) {
// Make a decision after checking the validation of given information.
if (peerAgent.getAccessory().getVendorId.equals("Samsung")
&& peerAgent.getAccessory().getProductId.equals("Samsung GEAR")) {
acceptServiceConnectionRequest(peerAgent);
} else {
rejectServiceConnectionRequest(peerAgent);
} }
For setting up a service connection, Gear Web Application will
To establish a service connection with a remote peer agent, use the requestServiceConnection() method. The callback will be invoked once for each found peer. As a result of the request, onconnect() of ServiceConnectionCallback will be executed:
var agentCallback = { onconnect : function(socket) { SASocket = socket; alert("HelloAccessory Connection established with RemotePeer"); createHTML("startConnection"); SASocket.setSocketStatusListener(function(reason){ console.log("Service connection lost, Reason : [" + reason + "]"); disconnect(); }); }, onerror : onerror }; var peerAgentFindCallback = { onpeeragentfound : function(peerAgent) { try { if (peerAgent.appName == ProviderAppName) { SAAgent.setServiceConnectionListener(agentCallback); SAAgent.requestServiceConnection(peerAgent); } else { alert("Not expected app!! : " + peerAgent.appName);
Creating Gear Companion Apps
Copyright © Samsung Electronics, Co., Ltd. All rights reserved. Page | 12
} } catch(err) { console.log("exception [" + err.name + "] msg[" + err.message + "]"); } }, onerror : onerror }
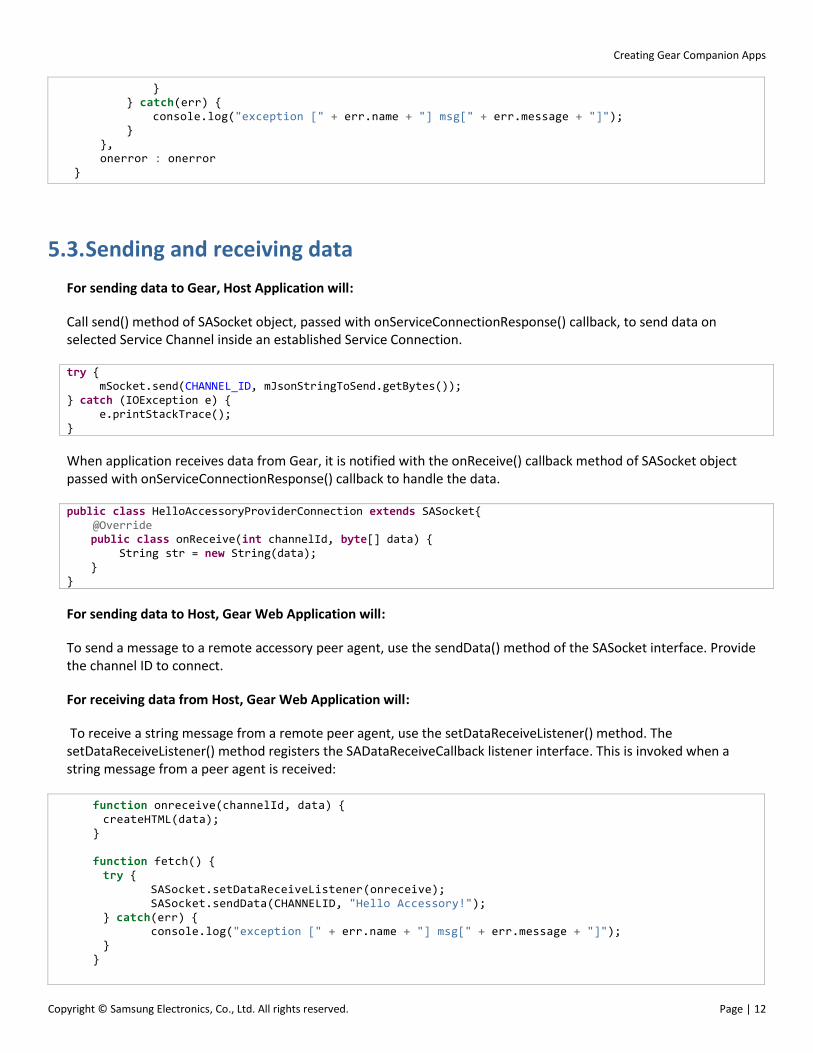
5.3. Sending and receiving data
For sending data to Gear, Host Application will:
Call send() method of SASocket object, passed with onServiceConnectionResponse() callback, to send data on selected Service Channel inside an established Service Connection.
try { mSocket.send(CHANNEL_ID, mJsonStringToSend.getBytes()); } catch (IOException e) { e.printStackTrace(); }
When application receives data from Gear, it is notified with the onReceive() callback method of SASocket object passed with onServiceConnectionResponse() callback to handle the data.
public class HelloAccessoryProviderConnection extends SASocket{ @Override
public class onReceive(int channelId, byte[] data) { String str = new String(data);
} }
For sending data to Host, Gear Web Application will:
To send a message to a remote accessory peer agent, use the sendData() method of the SASocket interface. Provide the channel ID to connect.
For receiving data from Host, Gear Web Application will:
To receive a string message from a remote peer agent, use the setDataReceiveListener() method. The setDataReceiveListener() method registers the SADataReceiveCallback listener interface. This is invoked when a string message from a peer agent is received:
function onreceive(channelId, data) { createHTML(data); } function fetch() { try { SASocket.setDataReceiveListener(onreceive); SASocket.sendData(CHANNELID, "Hello Accessory!"); } catch(err) { console.log("exception [" + err.name + "] msg[" + err.message + "]"); } }
Creating Gear Companion Apps
Copyright © Samsung Electronics, Co., Ltd. All rights reserved. Page | 13
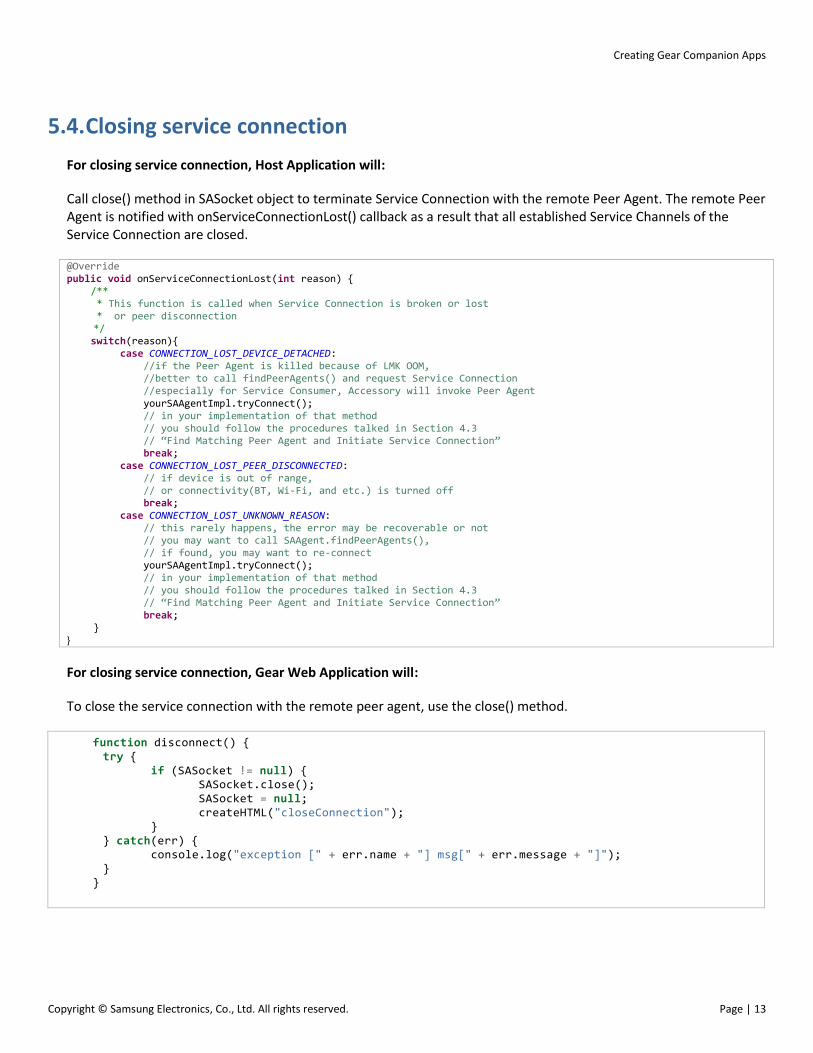
5.4. Closing service connection
For closing service connection, Host Application will:
Call close() method in SASocket object to terminate Service Connection with the remote Peer Agent. The remote Peer Agent is notified with onServiceConnectionLost() callback as a result that all established Service Channels of the Service Connection are closed.
@Override public void onServiceConnectionLost(int reason) {
/** * This function is called when Service Connection is broken or lost * or peer disconnection */ switch(reason){ case CONNECTION_LOST_DEVICE_DETACHED: //if the Peer Agent is killed because of LMK OOM, //better to call findPeerAgents() and request Service Connection //especially for Service Consumer, Accessory will invoke Peer Agent yourSAAgentImpl.tryConnect(); // in your implementation of that method // you should follow the procedures talked in Section 4.3 // “Find Matching Peer Agent and Initiate Service Connection” break; case CONNECTION_LOST_PEER_DISCONNECTED: // if device is out of range, // or connectivity(BT, Wi-Fi, and etc.) is turned off break; case CONNECTION_LOST_UNKNOWN_REASON: // this rarely happens, the error may be recoverable or not // you may want to call SAAgent.findPeerAgents(), // if found, you may want to re-connect yourSAAgentImpl.tryConnect(); // in your implementation of that method // you should follow the procedures talked in Section 4.3 // “Find Matching Peer Agent and Initiate Service Connection” break; }
}
For closing service connection, Gear Web Application will:
To close the service connection with the remote peer agent, use the close() method.
function disconnect() { try { if (SASocket != null) { SASocket.close(); SASocket = null; createHTML("closeConnection"); } } catch(err) { console.log("exception [" + err.name + "] msg[" + err.message + "]"); } }