Embed Size (px)
DESCRIPTION
Dancing Dazzling Beads Lesson Plan
Citation preview
1
The Museum’s Rural Arts Initiative
The Rural Arts Initiative began in 2003 with the Museum’s first traveling exhibit Snow Country Prison: Interned in North Dakota. The Museum, recognizing the difficulty of bringing children to Grand Forks from the far eastern edge of the state, has made its goal to bring exhibits to rural communities. We invite each hosting community and its schools within a 50 mile radius to participate by attending the exhibition, holding related events, and using the exhibit as a source of learning. Dancing, Dazzling Beads is the seventh traveling exhibit from Grand Forks. Previous exhibits included Snow Country Prison: Interned in North Dakota, Shelterbelts, Artists’ Self Portraits, Jim Dow: Marking the Land, Animals: Them and Us, Fantastic and Winged Shadows: Life Among Birds. Mary Lucier’s video installation, Plains of Sweet Regret and Into the Tussock, an Icelandic exhibit also have traveled throughout North Dakota. To find more about the Rural Arts program visit www.ndmoa.com or call 701-777-4195.
About this Exhibit Dancing, Dazzling Beads is an exhibition that opened in the spring of 2013 at the North Dakota Museum of Art in Grand Forks and is now traveling throughout North Dakota as part of the Rural Arts Program. It brings together works by several different bead artists. It invites the viewer to see traditional beads and beading techniques as well as how the art of beading and bead making has changed to become more than just adornment, but instead, statements about contemporary issues as well.
Before Your Visit to the Museum Teachers are urged to prepare students by reading through the following materials, using the practice activities and vocabulary, and then introducing them in your classrooms. Discussion can be generated by employing Visual Thinking Strategies, a non-intimidating way in which many museums teach children to approach and question a piece of art. A Visual Thinking Guide, some of which addresses experiences with this exhibit, can be found at the end of these materials. It is meant to work with all visual art experiences.
While at the Exhibit You might want to meet as a group at one image to discuss it. Please help the Museum and your community by taking part in the evaluation at the exhibit and by signing the guest book. Taking photographs without a flash is permitted.
After you Visit to the Exhibit These materials are general and designed for elementary grade levels. They may be altered to fit different grades. General curriculum standards are listed at the end of each activity. You are welcome to duplicate any of the activities. If you would like further assistance or want to know more about any part of the exhibit or lesson plans please contact the Museum’s Education Department.
2
TABLE OF CONTENTS
About Beads and Bead Making 3 Beads and Design: Principles and Elements of Design 4-5 Activity 1: Identifying Elements of Design 6 Activity 2: Finding Repetition and Patterns 7 Activity 3: Making Patterns Using Nature and Imagination 8 Activity 4: Making Beads: Paper and Clay 9 Activity 5: Clay Tiles and Sculptures 10 Activity 6: Pattern Game 11 Activity 7: Weaving with Beads 12 Activity 8: Patterns in Poetry 13-16 Visual Thinking Strategies Guide 17
3
ABOUT BEADS AND BEAD MAKING
What is it about beads that makes people want to spend so much time and effort into making something with them? Did you know that beads have been found to exist 43,000 years ago in the Mediterranean region, and that they probably were being used well before that time? Mediterranean beads were made out of shells and animal teeth, and we think they were some of the first beads that were actually re-designed by hand or used to make decorative items. These beads showed wealth and status, they were used to trade for other items and they were used as friendship offerings. Some were used as religious items and relics, some as talismans, and they were used as money. Once early people discovered that beads had many purposes they began making more and more. It must have been a little like the beginning of mass production. There are many artists today who create with beads in a variety of ways. As well as making jewelry or purses, some more contemporary artists (artists living today) create in new fun ways. Evelyn Letfus’s Monarch Migrations Through Manhattan necklaces are an example. Others employ beads by designing and decorating shoes (Kent Monkman’s Beaded Moccasins), making wall hangings (Shawn Major) and even creating dolls, teapots and rocking horses! Bead artists sort and organize. Doing this is a basic function of beading. In fact sorting and organizing are basic functions in life. “To organize is to create capabilities by intentionally imposing order and structure. Organizing is such a common activity that we often do it without thinking much about it. We organize the shoes in our closet, the books on our book shelves, the spices in our kitchen and the folders into which we file information for taxes and other purposes.” (From The Discipline of Organizing, University of California, Berkeley)
4
BEADS AND DESIGN
Elements and Principles of Design are the basic “alphabet” used to make art. They are the important vocabulary needed to making a drawing or painting, a sculpture, jewelry or bead work, a dress or house design, and anything that is in our visual experience. Some of design principles even can translate into music and language. The following are exercises, points of discussion, vocabulary and activities that can be used in conjunction with the traveling exhibit Dancing, Dazzling Beads. At the end of each activity the curriculum standards that fit closest are listed. Since beading and bead making relies first of all upon organizing and also upon the principles and elements of design, mostly balance and repetition, activities 1-7 are presented to help students understand how all art can be related to basic design practices in the visual arts. Activity 8 stretches the understanding of pattern and repetition by looking at those principles also found in poetry. Teachers may find other standards that fit their particular class activities. Principles of Design are the General structures, while Elements of Design are “tools” that artists use to make art. Various sources categorize these differently, however, it is agreed they are the “skeleton” upon which art is built.
Principles
Balance: Formal or Symmetrical - This means things are centered or may be a mirror image, that is
that the right side is the same as the left side. (Burial mask of Tutankhamun or an Egyptian sarcophagus) Informal or Asymmetrical - This means the two sides of a composition do not look like each other, but give the illusion of having the same weight or balance. (examples can be seen with Vermeer: Woman Holding a Balance or Hokusai’s The Great Wave)
Repetition/ Pattern: Repetition in a piece of artwork acts as a way to unify the work. When a form, shape, or a color is repeated in different parts of a composition it helps us to connect to make it more harmonious. Movement: Movement is the way your eye is guided around a piece. Emphasis: This is how our eye is drawn to the most important part of a composition. It can be with
line, shape, color, size or other means. Scale: Size if something is big, little, or medium. Scale is how big or small something is in relation
to something else. A skyscraper next to a person would be an example of scale. The building is much bigger than the person, but if the person was standing alone with nothing around him, there would be no way to measure scale, that is, nothing to relate to that person.
Contrast: Similar to the difference between size and scale, contrast is the difference between light and
dark. Unity/Variety: Unity is what makes a piece seem whole or belonging together. Variety is the difference
that makes things interesting.
5
Elements
Color: This is the hue. Examples are red, blue, purple or any other colors. Value: This is the lightness or darkness of a color. Form: This is the shape of an object, often called mass – implied or real, often a word used when
we are looking at 3-dimensional objects or 2-dimensional objects in which the artist is trying to render it to look real.
Line: This is what defines edges by various ways. It can be wide or narrow, wavy, straight and
even invisible, which is called an “implied” line. Shape: This is usually two-dimensional, though not always. It defines the form. Space: There is illusion and actual space.
Illusion space is used when an artist tries to make a picture seem like it has depth. For instance a drawing of a house and a background. It is not really space one can enter into, but feels as if one could. Actual space, is a sculpture or a ceramic vase that takes up space and that one can walk around.
Texture: Texture is the roughness or smoothness in a composition or the implied feeling of those surfaces. In beading, some of the elements and principles are more significant than others. We will investigate and experiment with some in the following activities.
6
ACTIVITY 1
IDENTIFYING ELEMENTS OF DESIGN Activity best to use before or after attending the exhibit
Since beading relies very much upon repetition, sequencing, and balance (symmetry) these pre-exhibition visit sources may help you for practice-looking and for discussion. A short related art activity is included. Suggested artwork examples to look at where pattern, shape, texture and repetition are evident. Kent Monkman. Beaded Moccasins (this example will be found in the exhibit) Mary Cassatt. The Boating Party Designs on masks from Pacific Northwest Coast Indians Designs on Plains Indians headdresses and clothing Navajo rug designs Pablo Picasso. Guernica Paul Cézanne. Still Life with Peppermint Bottle Georges Seurat. A Sunday Afternoon at the Island of La Grande Jatte
FOR DISCUSSION:
Identify the things that are repeated. Color? Shape? Texture? Lines? Dome shapes? Triangles? Vertical or horizontal patterns? Why did the artist repeat shapes? How does the artist keep your eyes from wandering off the item or page? (Are there things such as lines or shapes that make you want to keep your eyes looking at the art?) Can we see how the shapes help balance the artwork? Does it feel like what you are looking at is going to tip over or is heavier on one side than another? Try turning the art on its side or upside down. Does it still feel “balanced?”
PRACTICE:
Teachers may set up one or more still life arrangements for children to draw that has many shapes repeated in it. An example might be one with primarily round or oval shapes such as eggs, onions, apples, oranges and a vase with a round bottom or flower buds or petals. Once the child has drawn the composition from careful looking, hopefully drawing shapes that they identify are repeated in the piece, encourage them to repeat colors as well by guiding them to use, for instance, three blues, three purples and three oranges. Finish by using a permanent marker to emphasize the shapes by outlining them.
Curriculum Standards: Visual Arts
Standard 1: Students understand and apply visual art media, techniques and processes. Standard 2: Students understand how works of art are structured and how visual art has a variety of functions.
7
ACTIVITY 2:
FINDING REPETITION AND PATTERNS At the Exhibit
Choose two beaded pieces at the art exhibit. Point out an example of pattern-making or repetition in each work. Compare the works. Which is more interesting to you? Explain why you think so. Point out two examples of repetition: One of the beading itself (A line of beads for instance) One example of shape (that is repeated 2 or more times) Point out one example of color that is repeated. When you visit Dancing, Dazzling Beads ask yourself: What are some of the characteristics of beading? What do you see in common with all the beadwork in this exhibit? Why do you think the artists used beads instead of other materials? What things does a bead artist have to think about when they are making an art object with beads?
Curriculum Standards: Visual Arts
Standard 1: Students understand and apply visual art media, techniques and processes. Standard 2: Students understand how works of art are structured and how visual art has a variety of functions.
8
ACTIVITY 3:
MAKING PATTERNS USING NATURE AND IMAGINATION After your Exhibit Visit From Nature:
Collect items from outdoors and nature, things that have a pattern in them, such as a leaf or flower, or collect something from nature that you feel you can make into an art piece that shows repetition and pattern.
From these you may: Place some on a piece of paper and color or paint over them, leaving a negative shape (uncolored) area that is the shape of the item. This is called a stencil. You may place some less fragile items underneath a thin piece of paper to color or press over it to leave an embossed image.
You may copy the shape (or trace it) onto heavier tag board, then cut the shape out, leaving the outer part together, so that the actual shape is a cut out shape. Use this shape as a stencil to fill in and to “print” repetitively.
You may want to stylize the shape. An elm leaf for instance makes a shape similar to a lemon. Simplify and repeat of each of the different shapes you have collected. Try to make them all similar in size. Then with glue, design a quilt or composition using pattern and repetition. Remember to vary the colors as well.
Curriculum Standards: Visual Arts
Standard 1: Students understand and apply visual art media, techniques and processes. Standard 2: Students understand how works of art are structured and how visual art has a variety of functions.
9
ACTIVITY 4:
MAKING BEADS: PAPER AND CLAY After your Exhibit Visit
For Paper Beads you will need: * Magazines Glue Narrow sticks, pencils or dowels (3/8”) around 6 inches long Scissors Toothpicks or small brushes Spool of heavy or waxed beading thread or wire about 16” for each student if they are making a necklace or more for other projects Jewelry clasps (optional) Tear or cut pages out of the magazines. Cut crosswise across the magazine pages (horizontal direction), making a spear shape with the narrow end coming to a point and the wide end about ½” at most about 6 to 8” long. Begin by rolling the wide end of the spear around the end of the dowel or pencil until you have rolled it to about 1/2” from the point. With a toothpick, glue stick or tool apply glue to the last ½” and continue to roll. Carefully slide the bead off the stick and begin again. When done string them or make a dimensional design-like tapestry or picture by gluing them on to a board or stiff backing. For Clay beads you will need * Spool of heavy or waxed beading thread or wire about 16” for each student if they are making a necklace or more for other projects. Jewelry clasps (optional) that fit the size of string or wire. There are various kinds. Good quality tempera or acrylic paints. Clay – a 25lb bag of ceramic clay should make many beads. (Self drying clay gets too dry and cracks too easily.) Plastic sealable sandwich bags to keep clay wet. Small paint brushes. Wooden skewers or something similar (you can remove point for smaller children.) Roll the clay into small marble-sized circles. You can keep them round in shape or play with making slightly squished or flattened shapes. Be aware the thinner the clay the more likely it will break once dried. With a thin tool make a hole through the clay for the string. Let dry slowly, probably overnight, then paint and string. * You can also use buttons, seeds, and other things to “dress up” your creation.
Curriculum Standards: Visual Arts
Standard 1: Students understand and apply visual art media, techniques and processes. Standard 2: Students understand how works of art are structured and how visual art has a variety of functions.
10
ACTIVITY 5
CLAY TILES AND SCULPTURES After your Exhibit Visit
Materials: Clay Rolling Pin Dull knife or tool to cut shapes into wet clay Beads, buttons, or seeds and kernels The best clay for this activity would be ceramic clay which can be bought through Micheal’s or Dick Blick Art Supplies. Self-Drying clay tends to dry too fast and then cracks when dry. A versatile firing clay would be better and can be dried slowly for firmness without having to be fired at all. A 25lb block would serve a classroom of many children (about 1 cup each). For Flat form/Tile Using a clay roller or rolling pin roll the clay out onto a piece of canvas or non-sticking surface to about 3/8” thick. Trim sides into a square tile about 5 x 5 inches, or have children make a shape such as a leaf. The shape should be large without many details (no thin arms or stems). Press beads into the surface firmly but not too deep as to go through the wet clay. Emphasize making a pattern or design with their beads. Press a paperclip securely into the back near the top of the clay. This will be the hook in order to hang it later. Allow tile to dry slowly overnight or for a couple days, flipping as it dries so as not to curl. Another way to prevent curling is to lay a piece of wood or heavy flat item on top. Once the clay is completely dry, with a small brush and good tempera or acrylic paint, you can paint areas that are not covered by beads if you want. If some beads fall off they can be glued on with white glue or hot glue. For Clay sculptures With a small amount of clay, children can design an animal, bug or other object. While wet press beads, buttons, or seeds into the clay until they are well embedded. Let the sculpture dry slowly. Beads that may disengage, can be glued on with white or hot glue after the sculpture has dried. It can also be painted once it is dry.
Curriculum Standards: Visual Arts
Standard 1: Students understand and apply visual art media, techniques and processes. Standard 2: Students understand how works of art are structured and how visual art has a variety of functions.
11
ACTIVITY 6
PATTERN GAME 1 After your Exhibit Visit
Patterns, Sequences
Using a chalkboard, white board, piece of cardboard, large paper, or tagboard draw a grid with equal squares about 6 x 6 inches up to maybe 64 or 144 squares. Cut out a number of colored shapes, making about 12 or more each. For instance 12 yellow oak leaf shapes, 12 red diamond shapes, 12 black triangles, etc. For older children to make the choosing process more challenging you might want to vary colors with each shape. For instance, make 6 yellow lemons, 3 red lemons, 3 orange lemons = 12 shapes and then 6 green squares, 4 black squares and 2 blue squares = 12 shapes, etc. Mix the shapes up and have children pick, or you hand out, an equal number of squares for each child. Take turns putting down one colored shape in a grid square. Follow with the next person. Soon you will find that a pattern begins to develop – you might want to talk children through the process of repetition, using symmetry, balance, etc. General considerations for discussion.
• Dark or cool/muted colors often recede while bright colors seem to advance. • Large or dark colors tend to feel heavier or carry more weight, which effects the “balance” of an
artwork. • Repetition (repeating a shape) does not always mean one must have the exact shape repeated.
Sometimes the suggestion of a shape is enough. Refer to Seurat’s, A Sunday Afternoon at the Island of La Grande Jatte, here there are circles and half circles and dome shapes that are parts of clothing, shadows, and other forms, but they balance well because the shapes are similar.
When the gridded piece is done, have the children talk about what they considered to create the piece. Designing a “quilt”: Using what we have learned about pattern making, on a heavy piece of paper, design a quilt or wall hanging. You may simply color or paint the gridded shapes, or add buttons, beads or cut-out shapes.
Curriculum Standards: Visual Arts
Standard 1: Students understand and apply visual art media, techniques and processes. Standard 2: Students understand how works of art are structured and how visual art has a variety of functions. Standard 3: Students understand the characteristics and merit of one’s own work of art and works of others Areas also addressed: Sequencing (Math)
12
ACTIVITY 7 WEAVING WITH BEADS Cut matboard or cardboard into rectangles about 6” x 8.” We will call this the “loom.” Across the two short edges cut a number of evenly placed slits about ½” long. Have children (or the teacher) “string” the loom. Beginning on the first slit at the top, leaving about 2 to 3 inches of yarn, slide the yarn into the first slit then down around the first slit on the bottom coming back up to the second slit, down to the second slit on the bottom and so forth. When all the slits are strung you can tie the two ends that are loose together. The place where the yarn is tied will be the back of your loom. Have children use a skein of yarn and begin at the top or bottom stringing yarn over and under the vertical strings of yarn, then returning back and going under and over, etc. If one wants to use a different color, leaving a long strand, cut the yarn and begin with another color. At any point a child can add beads or buttons while weaving. Tie off when done. If you want to remove the finished weaving from the loom, carefully cut each end and tie off, leaving a fringe of yarn at both ends.
Curriculum Standards: Visual Arts
Standard 1: Students understand and apply visual art media, techniques and processes. Standard 2: Students understand how works of art are structured and how visual art has a variety of functions.

13
ACTIVITY 8
LANGUAGE PATTERN GAME 2 Investigating Rhythm and Patterns in Poetry and writing your own poem
Read aloud some poetry which has a definite beat pattern such as a nursery rhyme limerick, poem from Lewis Carroll, Mary Had a Little Lamb, a Dr. Seuss poem, or Hickory Dickory Dock. Together as a class make rhythm marks to emphasize the words or use a sample as below. Point out how rhythm happens everywhere in the world, and is a way to organize ourselves. This is definitely important in the making of many bead works, the repetitions and the visual rhythm. Find the patterns in The Walrus and the Carpenter (The first verse is done for you) A pattern to the accent - da DUM, a repeated rhythm or beat, and repeated sounds (rhyming) at the end of a line The Walrus and the Carpenter from Through the Looking-Glass by Lewis Carroll The sun was shining on the sea da dum da dum da dum da dum Shining with all its might dum da da dum da dum He did his very best to make da dum da dum da dum da dum The billows smooth and bright- da dum da dum da dum– And this was very odd because da dum da dum da dum da dum It was the middle of the night da dum da dum da dum da dum It’s almost like a beating of a drum. Rhythm and patterns happen in music and in language as well as in art. Now try finding the beat to the second verse. The moon was shining sulkily, Because she thought the sun Had got no business to be there After the day was done – “It’s very rude of him,” she said, “To come and spoil the fun.
14
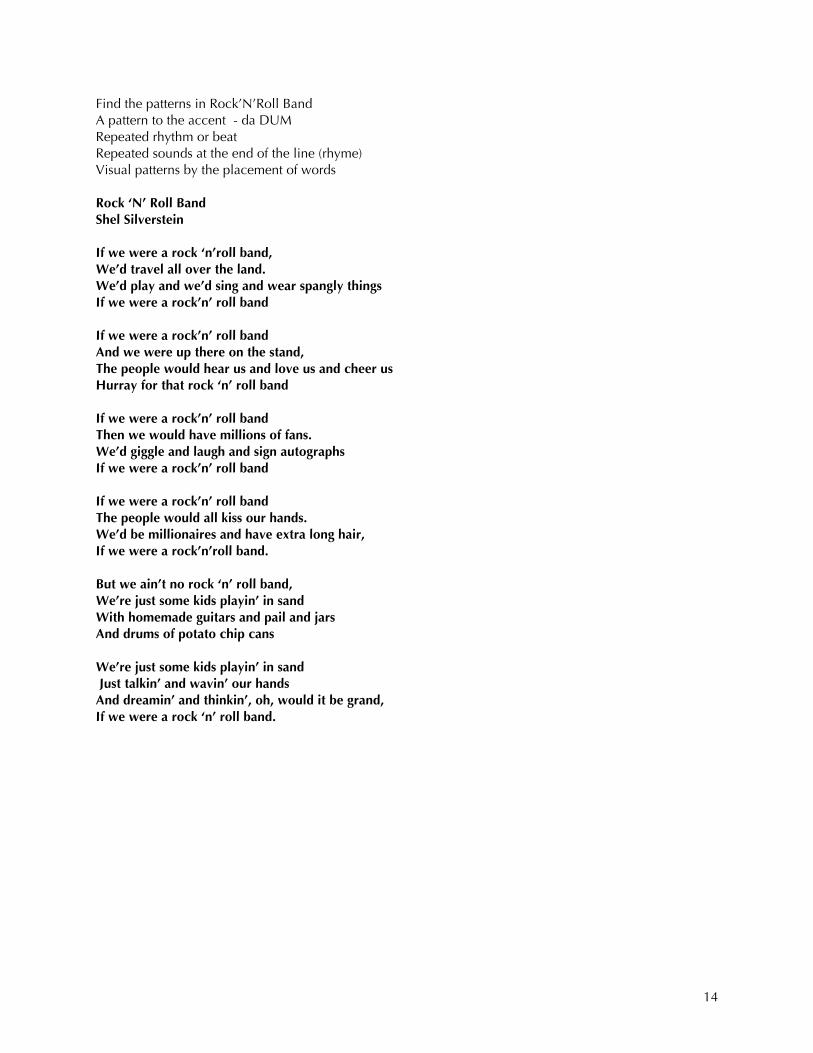
Find the patterns in Rock’N’Roll Band A pattern to the accent - da DUM Repeated rhythm or beat Repeated sounds at the end of the line (rhyme) Visual patterns by the placement of words Rock ‘N’ Roll Band Shel Silverstein If we were a rock ‘n’roll band, We’d travel all over the land. We’d play and we’d sing and wear spangly things If we were a rock’n’ roll band If we were a rock’n’ roll band And we were up there on the stand, The people would hear us and love us and cheer us Hurray for that rock ‘n’ roll band If we were a rock’n’ roll band Then we would have millions of fans. We’d giggle and laugh and sign autographs If we were a rock’n’ roll band If we were a rock’n’ roll band The people would all kiss our hands. We’d be millionaires and have extra long hair, If we were a rock’n’roll band. But we ain’t no rock ‘n’ roll band, We’re just some kids playin’ in sand With homemade guitars and pail and jars And drums of potato chip cans We’re just some kids playin’ in sand Just talkin’ and wavin’ our hands And dreamin’ and thinkin’, oh, would it be grand, If we were a rock ‘n’ roll band.
15
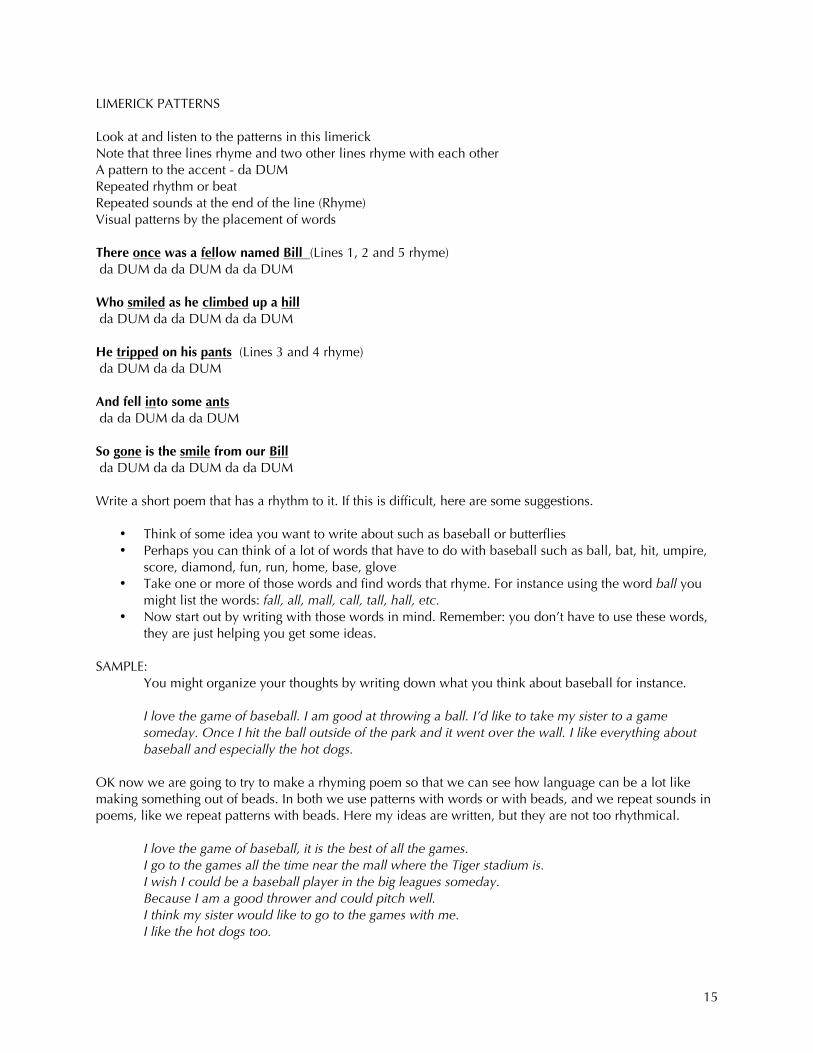
LIMERICK PATTERNS Look at and listen to the patterns in this limerick Note that three lines rhyme and two other lines rhyme with each other A pattern to the accent - da DUM Repeated rhythm or beat Repeated sounds at the end of the line (Rhyme) Visual patterns by the placement of words There once was a fellow named Bill (Lines 1, 2 and 5 rhyme) da DUM da da DUM da da DUM Who smiled as he climbed up a hill da DUM da da DUM da da DUM He tripped on his pants (Lines 3 and 4 rhyme) da DUM da da DUM And fell into some ants da da DUM da da DUM So gone is the smile from our Bill da DUM da da DUM da da DUM Write a short poem that has a rhythm to it. If this is difficult, here are some suggestions.
• Think of some idea you want to write about such as baseball or butterflies • Perhaps you can think of a lot of words that have to do with baseball such as ball, bat, hit, umpire,
score, diamond, fun, run, home, base, glove • Take one or more of those words and find words that rhyme. For instance using the word ball you
might list the words: fall, all, mall, call, tall, hall, etc. • Now start out by writing with those words in mind. Remember: you don’t have to use these words,
they are just helping you get some ideas. SAMPLE: You might organize your thoughts by writing down what you think about baseball for instance. I love the game of baseball. I am good at throwing a ball. I’d like to take my sister to a game someday. Once I hit the ball outside of the park and it went over the wall. I like everything about baseball and especially the hot dogs. OK now we are going to try to make a rhyming poem so that we can see how language can be a lot like making something out of beads. In both we use patterns with words or with beads, and we repeat sounds in poems, like we repeat patterns with beads. Here my ideas are written, but they are not too rhythmical. I love the game of baseball, it is the best of all the games. I go to the games all the time near the mall where the Tiger stadium is. I wish I could be a baseball player in the big leagues someday. Because I am a good thrower and could pitch well. I think my sister would like to go to the games with me. I like the hot dogs too.
16
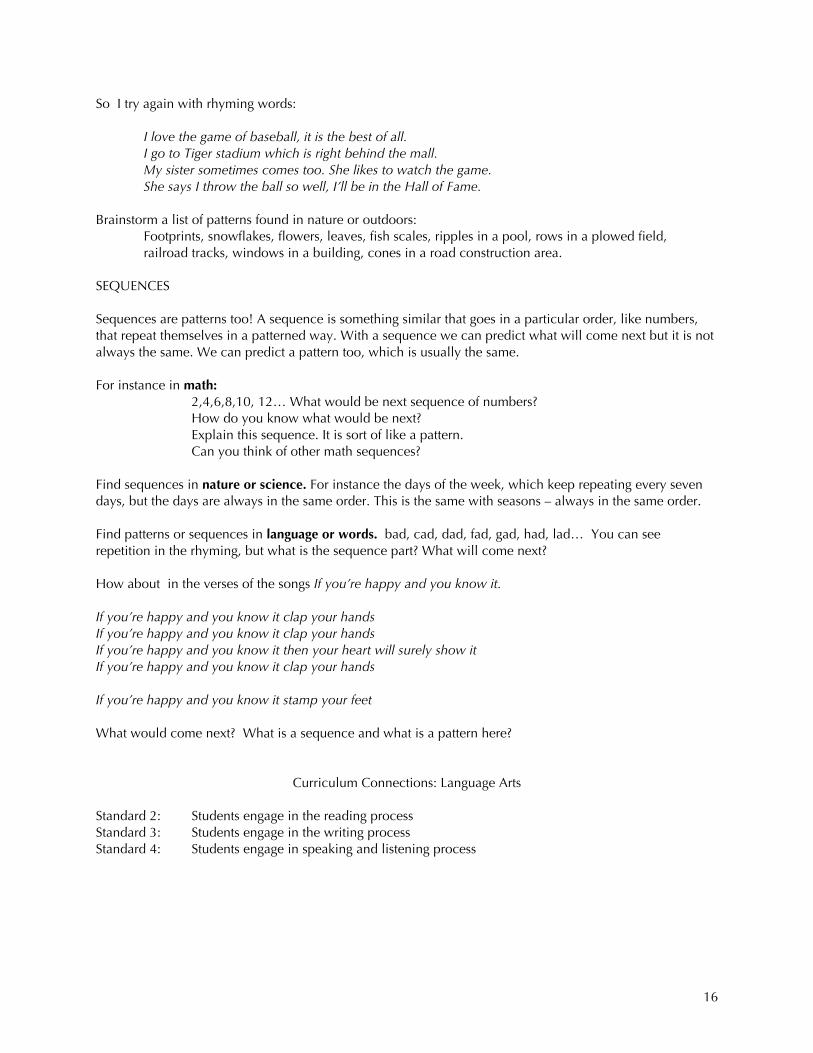
So I try again with rhyming words: I love the game of baseball, it is the best of all. I go to Tiger stadium which is right behind the mall. My sister sometimes comes too. She likes to watch the game. She says I throw the ball so well, I’ll be in the Hall of Fame. Brainstorm a list of patterns found in nature or outdoors: Footprints, snowflakes, flowers, leaves, fish scales, ripples in a pool, rows in a plowed field, railroad tracks, windows in a building, cones in a road construction area. SEQUENCES Sequences are patterns too! A sequence is something similar that goes in a particular order, like numbers, that repeat themselves in a patterned way. With a sequence we can predict what will come next but it is not always the same. We can predict a pattern too, which is usually the same. For instance in math: 2,4,6,8,10, 12… What would be next sequence of numbers? How do you know what would be next? Explain this sequence. It is sort of like a pattern. Can you think of other math sequences? Find sequences in nature or science. For instance the days of the week, which keep repeating every seven days, but the days are always in the same order. This is the same with seasons – always in the same order. Find patterns or sequences in language or words. bad, cad, dad, fad, gad, had, lad… You can see repetition in the rhyming, but what is the sequence part? What will come next? How about in the verses of the songs If you’re happy and you know it. If you’re happy and you know it clap your hands If you’re happy and you know it clap your hands If you’re happy and you know it then your heart will surely show it If you’re happy and you know it clap your hands If you’re happy and you know it stamp your feet What would come next? What is a sequence and what is a pattern here?
Curriculum Connections: Language Arts Standard 2: Students engage in the reading process Standard 3: Students engage in the writing process Standard 4: Students engage in speaking and listening process
17
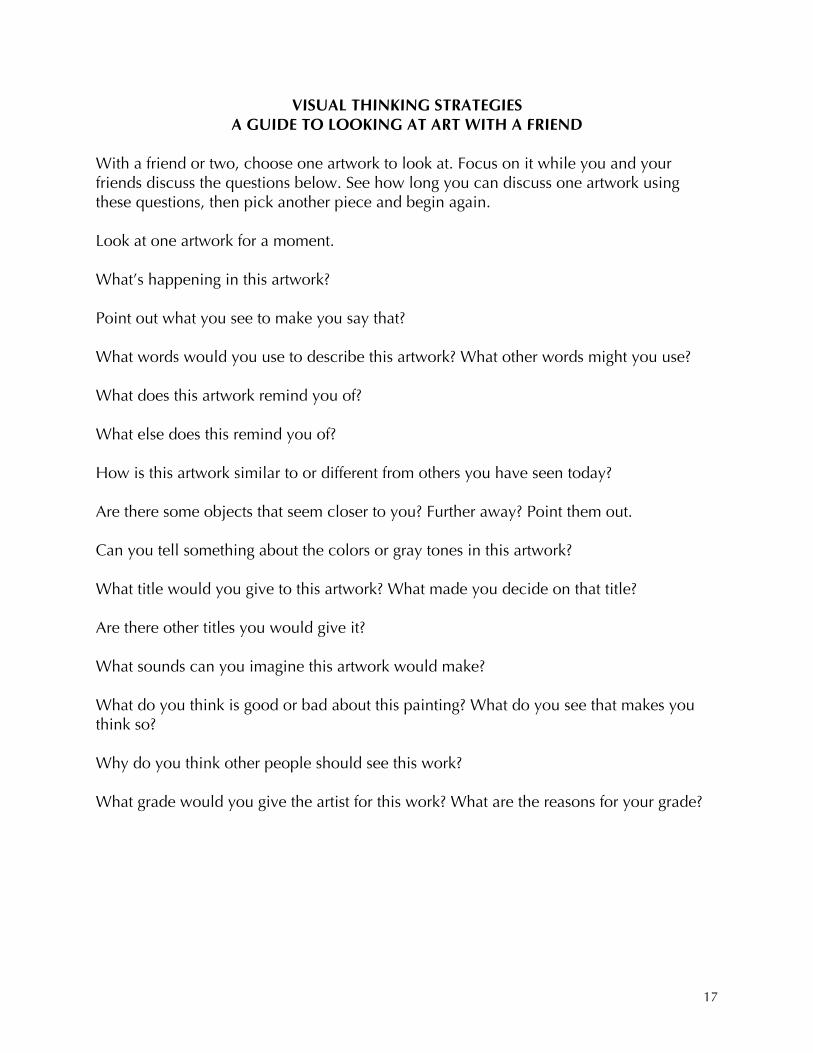
VISUAL THINKING STRATEGIES A GUIDE TO LOOKING AT ART WITH A FRIEND
With a friend or two, choose one artwork to look at. Focus on it while you and your friends discuss the questions below. See how long you can discuss one artwork using these questions, then pick another piece and begin again. Look at one artwork for a moment. What’s happening in this artwork? Point out what you see to make you say that? What words would you use to describe this artwork? What other words might you use? What does this artwork remind you of? What else does this remind you of? How is this artwork similar to or different from others you have seen today? Are there some objects that seem closer to you? Further away? Point them out. Can you tell something about the colors or gray tones in this artwork? What title would you give to this artwork? What made you decide on that title? Are there other titles you would give it? What sounds can you imagine this artwork would make? What do you think is good or bad about this painting? What do you see that makes you think so? Why do you think other people should see this work? What grade would you give the artist for this work? What are the reasons for your grade?