Embed Size (px)
Citation preview

DreamweaverDreamweaver
By Abbey Salmansand Michelle Smith

Dreamweaver 3
Dreamweaver is a professional visual editor for creating and managing web sites and pages.
Dreamweaver System Requirements Intel Pentium processor or equivalent, 120 MHz
or faster running Windows 95 or above 32 MB of RAM plus 20 MB of available disk space A color monitor with 800 x 600 resolution CD ROM drive
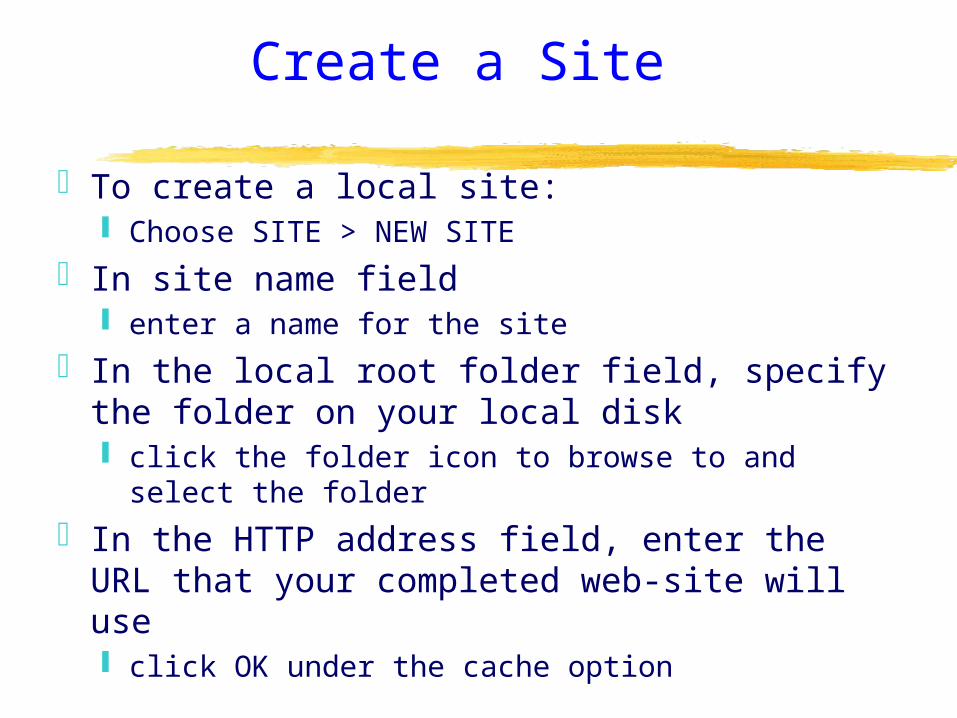
Create a Site
To create a local site: Choose SITE > NEW SITE
In site name field enter a name for the site
In the local root folder field, specify the folder on your local disk click the folder icon to browse to and select
the folder
In the HTTP address field, enter the URL that your completed web-site will use click OK under the cache option
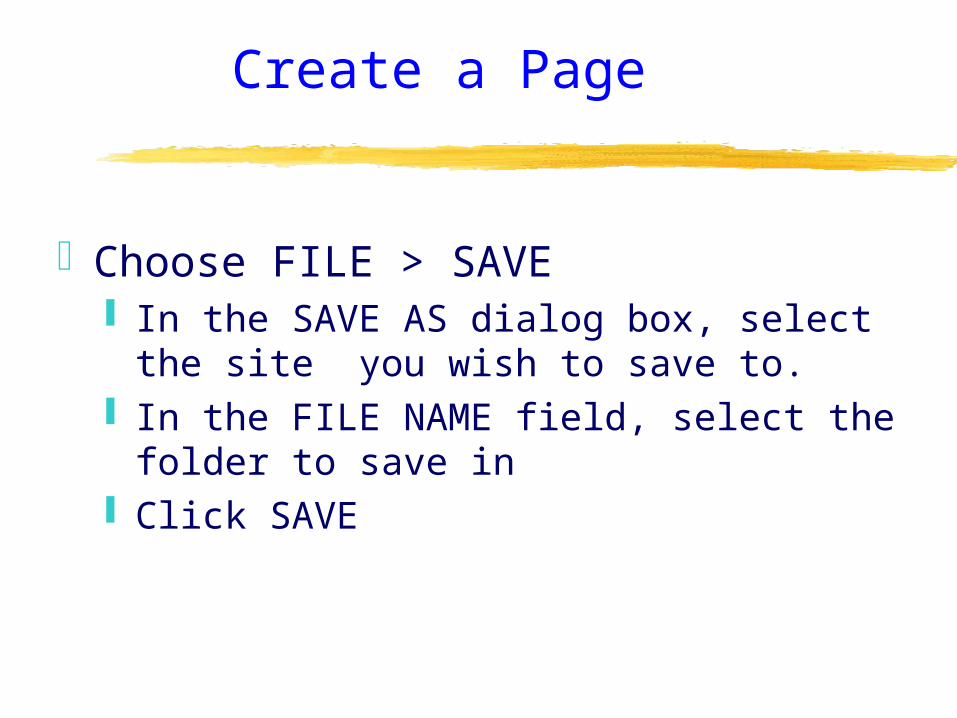
Create a Page
Choose FILE > SAVE In the SAVE AS dialog box, select the
site you wish to save to. In the FILE NAME field, select the folder
to save in Click SAVE
Change a Page Title
Choose MODIFY > PAGE PROPERTIESEnter the title for the page in the
TITLE boxclick OK
Creating Layers
To insert a layer place the insertion point in the
Document Window where you want to position the layer
Choose INSERT > LAYER If layer markers aren’t visible, choose
VIEW > IVISABLE ELEMENTS
Creating A Frameset
Choose MODIFY > FRAMESET >SPLIT FRAME LEFT OR RIGHT OR UP OR DOWN
TO DELETE A FRAMESET Drag the frame border all the way of
the page
Creating a Nested Frame
Place the insertion point in the frame where you want to insert a nested frame
Choose MODIFY > FRAMESET > SPLIT FRAME you must save a frameset file and all
associated files before you can preview the page in a browser.

Specifying frame sizes
Click frame border to select the frameset.
When the cursor turns into a vertical arrow, then left click and move the frame.
Setting Frame Borders
Select the frame by clicking the frame in the Frame Inspector
Set the following options in the property inspector borders controls the border of the
current frames border color sets a border as a color
Page Color
Choose MODIFY > PAGE PROPERTIESSet a background image and/or page
color: click the BROWSE button to select the
image to choose a color, use the eyedropper to
select a color from the swatch palette
Adding Text
Type directly into the document window
Copy text from another application, using EDIT > PASTE
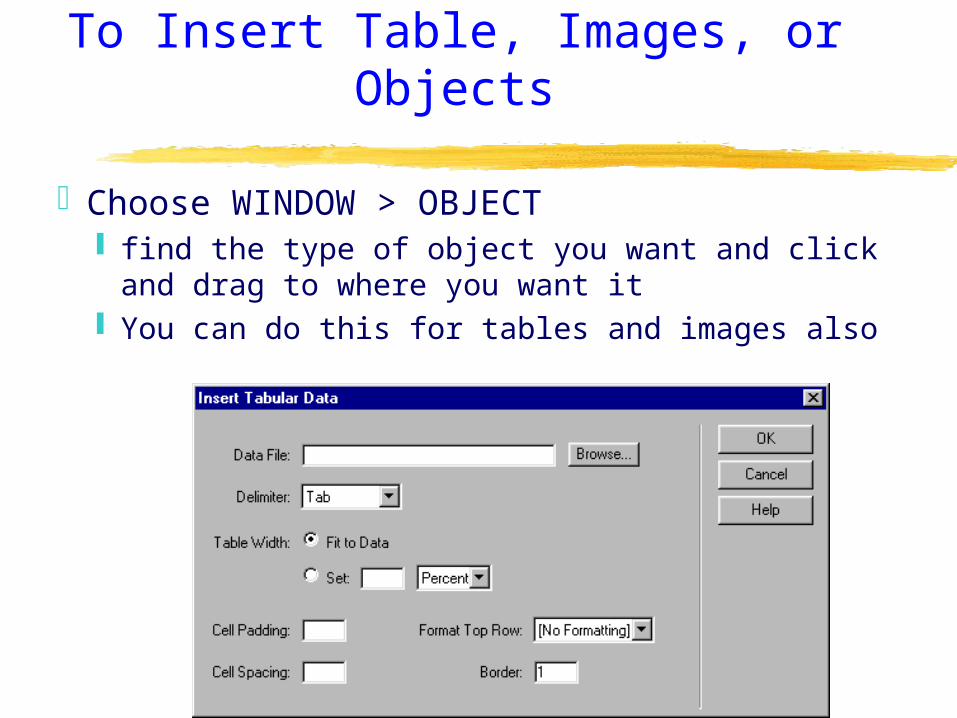
To Insert Table, Images, or Objects
Choose WINDOW > OBJECT find the type of object you want and click
and drag to where you want it You can do this for tables and images also
Aligning Text
Select the text you want to align choose TEXT > ALIGNMENT
Creating Lists
Place the insertion point where you want to add a list of new items
Choose TEXT > LIST and select the type of list desired
To complete the list, press ENTER twice
To Change Font
Select the textChoose a font combination from the
property inspector
To undo changes Choose EDIT > UNDO
Editable Regions
Editable regions are the part of the template that change.
Non-editable regions are areas that remain constant, such as letterhead or logo
Create a Template
To create a new, blank template Choose WINDOWS > TEMPLATES Click the contest menu button, then
select NEW TEMPLATEa new untitled template is added
While template is still selected, enter a name for the template
Defining a Template’s Editable Regions
In the template select the text or content you want to make editable choose MODIFY > TEMPLATES > MARK
SELECTION AS EDITABLE In the NEW EDITABLE REGION template
box, enter a name for the region.
Linking to a document
Select text or an image in the Document Window Open the Property Inspector (WINDOW > PROPERTIES)
Click the folder icon to the right of the Link field to browse to select a file
The path to the linked document appears in the URL field.
Use the Relative To pop-up menu in the Select HTML File dialog box
To Link the document to your site, Enter a document-relative or root-relative path.
To Link a document outside your site Enter an absolute path including the protocol (http://)
Select a location where your document will open
Linking to an Anchor
In the document window, place the insertion point where you want the named anchor.
Choose INSERT > NAMED ANCHORIn the Insert Named Anchor dialog
box, type a name for the anchor
Linking to E-mail
Choose INSERT > E-MAIL LINKIn the e-mail field, type the e-mail
address
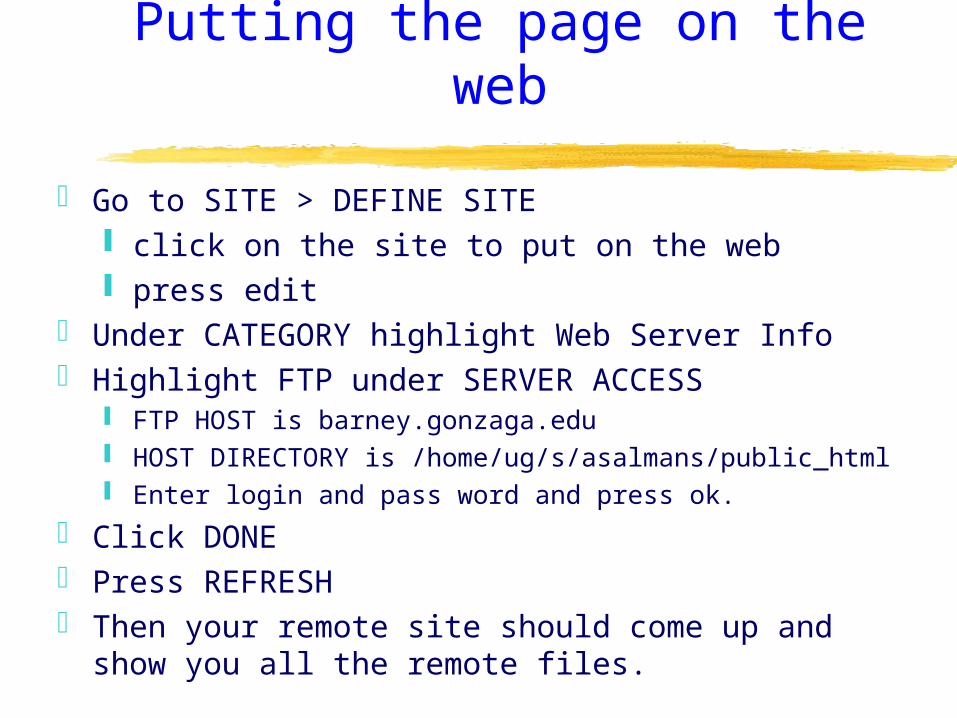
Putting the page on the web
Go to SITE > DEFINE SITE click on the site to put on the web press edit
Under CATEGORY highlight Web Server Info Highlight FTP under SERVER ACCESS
FTP HOST is barney.gonzaga.edu HOST DIRECTORY is /home/ug/s/asalmans/public_html Enter login and pass word and press ok.
Click DONE Press REFRESH Then your remote site should come up and show
you all the remote files.
Our personal opinions
Dreamweaver is beneficial to the experienced web page designer it is user friendly because it is equipped
with a graphical user interface it is quick to compile an entire uniform
siteeasy to insert graphics and background
colors
… continued
However, we do not recommend Dreamweaver to the inexperienced web designer because the designer will not be familiar
with the physical structure.