Embed Size (px)
Citation preview
C l a s s i C a l C o n v e r s a t i o n s . C o m 3
SAMPLEPreScriptsC u r s i v e s e n t e n C e s a n d a r t L e s s o n s
Medieval to Modern World History
C l a s s i C a l C o n v e r s a t i o n s . C o m 4
SAMPLEPreScriptsC u r s i v e s e n t e n C e s a n d a r t L e s s o n s
Medieval to Modern World History
C l a s s i C a l C o n v e r s a t i o n s . C o m 5
SAMPLEPreScripts Cursive Sentences and Art Lessons: Medieval to Modern World History
Created by Courtney Sanford and Jennifer GreenholtIllustrations by Kelly Digges
©2013 by Classical Conversations® MultiMediaAll rights reserved.
No part of this publication may be reproduced, stored in a retrieval system, or transmitted in any form or by any means—electronic, mechanical, photocopy, recording, or any other—without the
prior permission of the publisher, except as follows: permission is granted for copies of reproducible pages to be made for use within your own family.
Published in the U.S.A. by Classical Conversations, Inc.P.O. Box 909
West End, NC 27376
ISBN: 978-0-9884965-2-1
For ordering information, visit www.ClassicalConversationsBooks.com.Printed in the United States of America
C lassicalonversations®
MULTIMEDIA
C l a s s i C a l C o n v e r s a t i o n s . C o m 6
SAMPLE
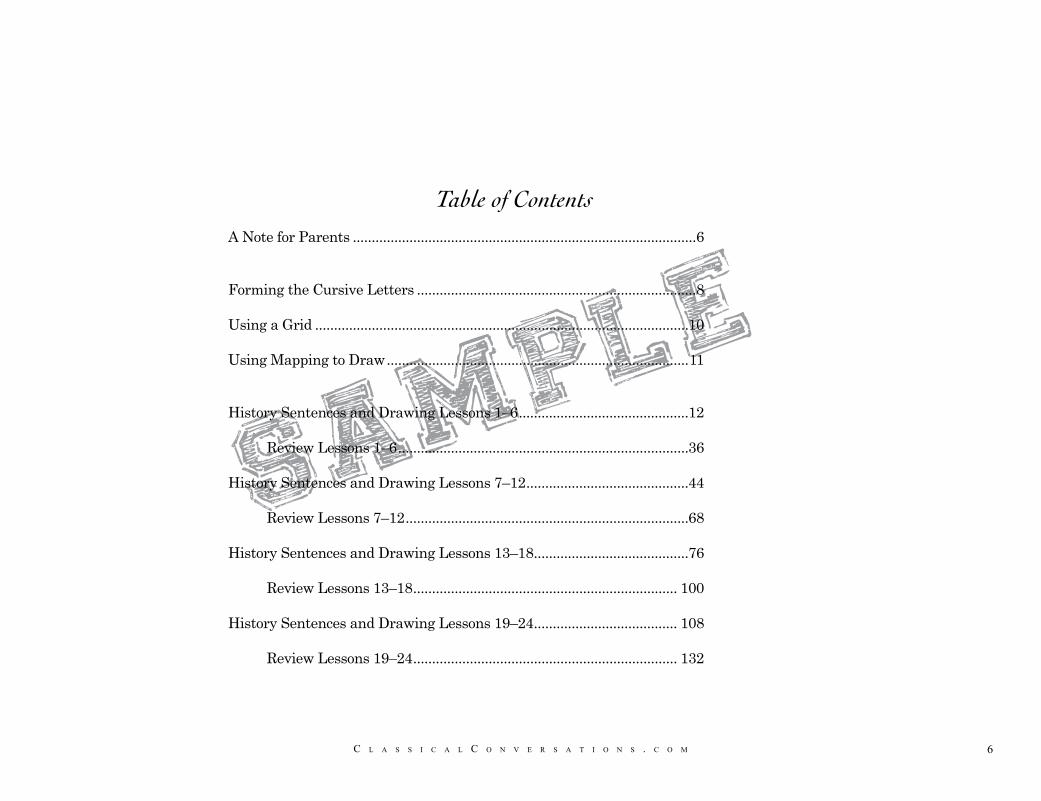
Table of ContentsA Note for Parents ...........................................................................................6
Forming the Cursive Letters ..........................................................................8
Using a Grid ...................................................................................................10
Using Mapping to Draw ................................................................................11
History Sentences and Drawing Lessons 1–6 .............................................12
Review Lessons 1–6 .............................................................................36
History Sentences and Drawing Lessons 7–12 ...........................................44
Review Lessons 7–12 ...........................................................................68 History Sentences and Drawing Lessons 13–18 .........................................76
Review Lessons 13–18 ...................................................................... 100
History Sentences and Drawing Lessons 19–24 ...................................... 108
Review Lessons 19–24 ...................................................................... 132
C l a s s i C a l C o n v e r s a t i o n s . C o m 7
SAMPLE
IntroductionThe word “prescript” comes from the Latin words prae (meaning “before” or “in front of”) plus scribere (meaning “to write”). The PreScripts series from Classical Conversations MultiMedia is designed to precede—to come before—writing. Just as we learn to speak by mimicking our parents’ words, we can learn to write well by copying the words that others have written. Even though coloring, drawing, tracing, and copying are simple tasks from an adult perspective, imitation is at the heart of a classical education. In order to learn how to write, children must first acquire fine motor skills and learn to sit still and follow instructions. They do so with the help of simple tasks like these. Rather than resorting to mindless busywork that isolates our youngest children from their family’s educa-tion, the PreScripts series is designed to initiate young learners into the world of knowledge they will inhabit as they mature. Each book in the PreScripts series combines a functional design with ex-cellent content. The goal of PreScripts Cursive Sentences and Art Lessons is to take the building blocks of cursive writing (letters, words, and simple sentences) and funnel them into longer sentences and more writing prac-tice. As they gain confidence and skill, your students will first trace each sentence and then write it, keeping the model nearby. Our job as classical educators is to teach students to make the effort to be neat, but preferably to aim higher by teaching them to write beauti-fully. Many schools no longer teach cursive writing, claiming that it is too difficult for young children to master. Teaching a child to write in cursive does require diligence and patience, but it has a number of compelling benefits. Research suggests that cursive writing more effectively devel-ops manual skill and dexterity. Cursive may also aid students struggling with dyslexia or dysgraphia because (1) capital and lowercase letters are distinct; (2) each word is one fluid movement, so the child’s rhythm is not disrupted by frequent pauses; and (3) letters like “b” and “d” are more dif-ficult to reverse.
While they master the manual skill of writing, students will also rein-force writing and reading rules. They will begin to notice unusual punctu-ation—for example, hyphenated words at the end of a line or an ellipsis
[…] to show that part of a quote has been eliminated—and will be less likely to stumble when they encounter these practices in other books. When your child becomes curious, take a moment to explain these rules. As a result, writing correctly will come more naturally to them when they compose their own sentences.
How to Use This BookWhen children are learning to read and write, the ‘what’ matters as much as the ‘how.’ Parents are more likely to give up on cursive when the con-tent seems frivolous, so Classical Conversations is pleased to offer cursive writing books that give the student plenty of practice using rich, mean-ingful content. With PreScripts cursive writing books, your student can become a confident writer while learning or reviewing important subject matter, such as history sentences, passages of literature, and proverbs.
In this book, students will copy sentences about medieval and world his-tory. The book is divided into four sets of six history notes each, so upon completion, your child will have had the opportunity to master twenty-four history notes about Charlemagne, the Magna Carta, and the Hun-dred Years’ War, among other topics. After every set, we have included a review section to ensure that your child not only masters the cursive letters and words but also retains the historical content.
To provide some variety for your child, drawing lessons are sprinkled throughout the book. Drawing will also help children develop the fine mo-tor skills necessary for writing and provide practice in working indepen-dently. This book focuses on elements of design and composition, such as depth, point of view, and light and shadow.
Your child will enjoy experimenting with different drawing techniques, such as grids and mapping. A basic pencil and eraser will be sufficient to complete these drawing lessons, but you may find it helpful to have a soft pencil (HB or 2B) and a hard pencil (2H), as well as a blending stump and a soft Art Gum eraser. The exercises are simple enough for your child to do independently and will appeal to different senses and learning styles while continuing to reinforce the content of the history sentences.
A Note for Parents: Tools for the Journey

C l a s s i C a l C o n v e r s a t i o n s . C o m 8
SAMPLE
Although variety is important, the key to mastering cursive is to practice every day. For best results, set aside a specific time each day for cursive practice. You choose the pace appropriate for your child. You can assign one page a day to a beginning student or assign two to four pages a day to an older or more experienced student. A very young student, or one who struggles with writing, might even do half a page a day until his or her fine motor skills become stronger, working up to a page or two a day. The pace is completely up to the parent. If you choose to do one page a day, you should have enough pages for a complete school year, completing approximately four or five pages a week. If you participate in a Classical Conversations community, you can do four pages a week while your community meets and five pages a week the rest of the school year. Older children might do two pages a day and complete two books a year. If you would like your child to memorize the history sentences in this book, you can read through the sentences weekly to review or have your student do the same book twice. The second time through, have your student write the sentences into a notebook and draw in a sketch book.
The Journey in PerspectiveThe key to good writing is daily practice. The key to a heart that seeks truth, beauty, and goodness is providing quality content to copy. We hope you will find both in Prescripts Cursive Sentences and Art Lessons. The goal of the PreScripts series is for children to master the skills of copying and writing in the context of a biblical worldview, building on a second meaning of the word “prescript.” A prescript can also mean a com-mand, rule, or moral guideline. The Bible instructs parents to remember the commandments of God and teach them to their children. Deuteronomy 6:6–9 (NIV) reads, “And these words which I command you today shall be in your heart. You shall teach them diligently to your chil-dren, and shall talk of them when you sit in your house, when you walk by the way, when you lie down, and when you rise up. You shall bind them as a sign on your hand, and they shall be as frontlets between your eyes. You shall write them on the doorposts of your house and on your gates.” As this Scripture reminds us, writing, memorizing, and reciting are all forms of worship that we model for our children.
Let’s get started!
C l a s s i C a l C o n v e r s a t i o n s . C o m 9
SAMPLE
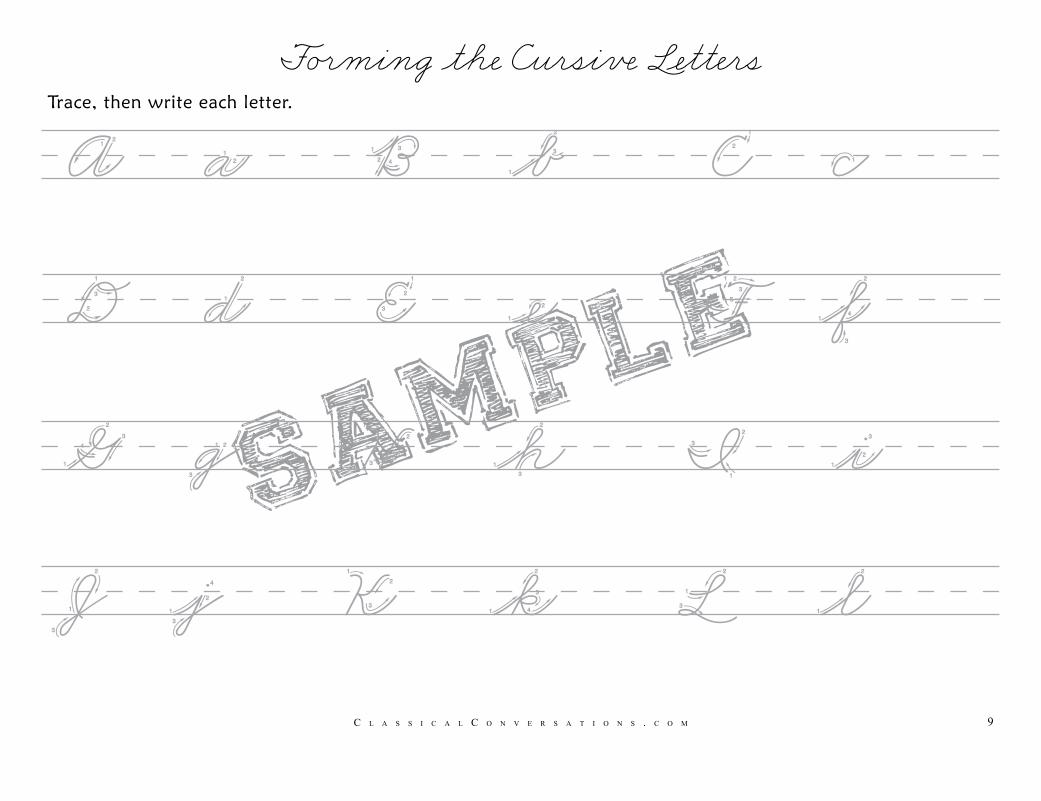
A a B b C c
D d E e F f
G g H h I i
J j K k L l
Trace, then write each letter.
Forming the Cursive Letters
C l a s s i C a l C o n v e r s a t i o n s . C o m 10
SAMPLE
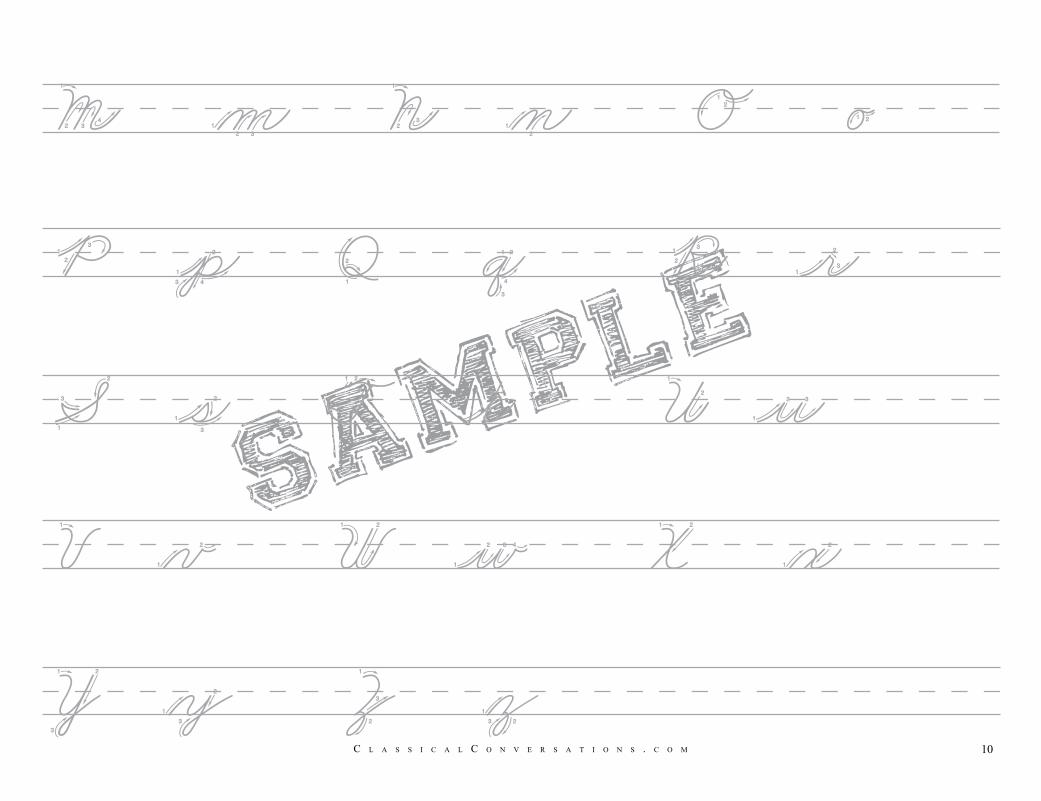
M m N n O o
P p Q q R r
S s T t U u
V v W w X x
Y y Z z
C l a s s i C a l C o n v e r s a t i o n s . C o m 11
SAMPLE
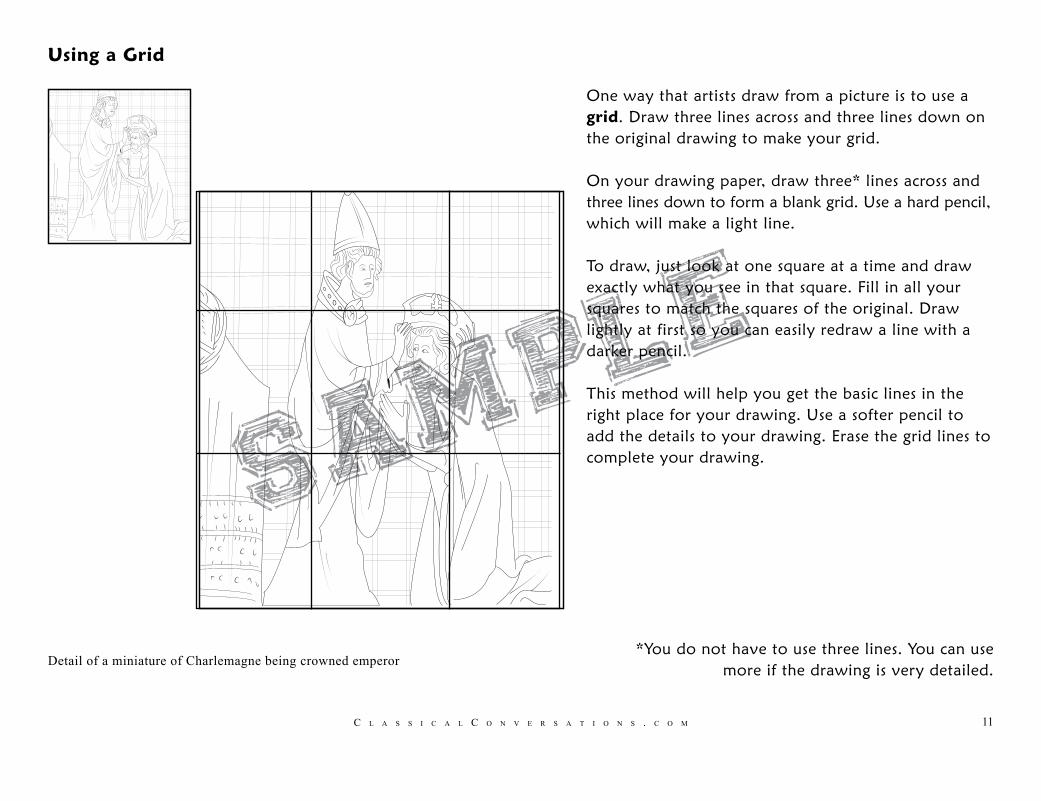
One way that artists draw from a picture is to use a grid. Draw three lines across and three lines down on the original drawing to make your grid.
On your drawing paper, draw three* lines across and three lines down to form a blank grid. Use a hard pencil, which will make a light line.
To draw, just look at one square at a time and draw exactly what you see in that square. Fill in all your squares to match the squares of the original. Draw lightly at first so you can easily redraw a line with a darker pencil.
This method will help you get the basic lines in the right place for your drawing. Use a softer pencil to add the details to your drawing. Erase the grid lines to complete your drawing.
*You do not have to use three lines. You can use more if the drawing is very detailed.
Using a Grid
Detail of a miniature of Charlemagne being crowned emperor
C l a s s i C a l C o n v e r s a t i o n s . C o m 12
SAMPLE
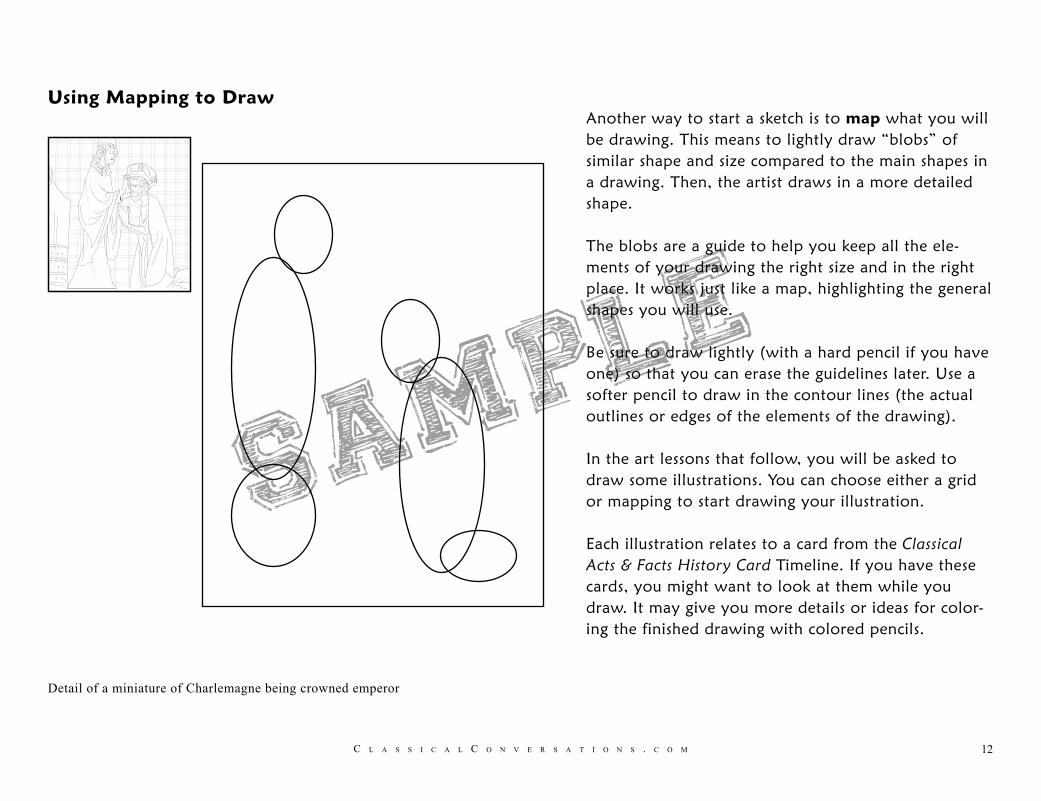
Another way to start a sketch is to map what you will be drawing. This means to lightly draw “blobs” of similar shape and size compared to the main shapes in a drawing. Then, the artist draws in a more detailed shape.
The blobs are a guide to help you keep all the ele-ments of your drawing the right size and in the right place. It works just like a map, highlighting the general shapes you will use.
Be sure to draw lightly (with a hard pencil if you have one) so that you can erase the guidelines later. Use a softer pencil to draw in the contour lines (the actual outlines or edges of the elements of the drawing).
In the art lessons that follow, you will be asked to draw some illustrations. You can choose either a grid or mapping to start drawing your illustration.
Each illustration relates to a card from the Classical Acts & Facts History Card Timeline. If you have these cards, you might want to look at them while you draw. It may give you more details or ideas for color-ing the finished drawing with colored pencils.
Using Mapping to Draw
Detail of a miniature of Charlemagne being crowned emperor
C l a s s i C a l C o n v e r s a t i o n s . C o m 13
SAMPLE
History Note 1(a) Trace, then write the sentence.
In 800 AD, during the medieval period,
Pope Leo III crowned Charlemagne Holy Roman
Emperor of Europe.
C l a s s i C a l C o n v e r s a t i o n s . C o m 14
SAMPLE
History Note 1(b) Trace, then write the sentence.
In 800 AD, during the medieval period,
Pope Leo III crowned Charlemagne Holy Roman
Emperor of Europe.
C l a s s i C a l C o n v e r s a t i o n s . C o m 15
SAMPLE
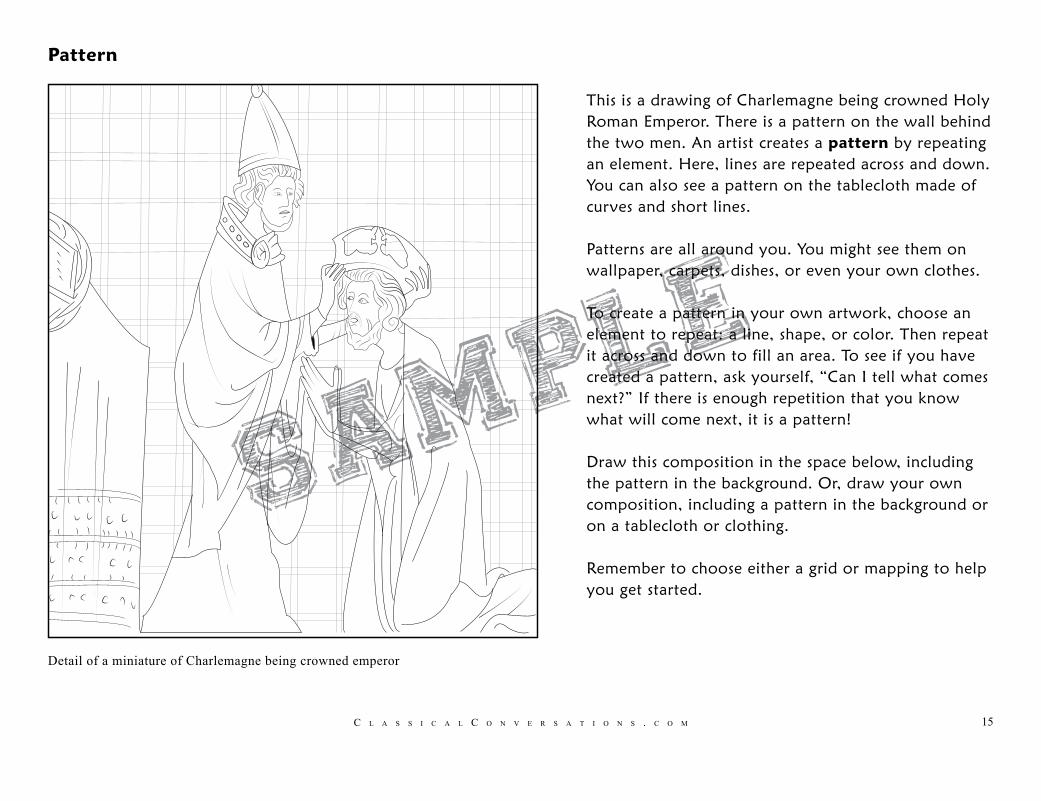
This is a drawing of Charlemagne being crowned Holy Roman Emperor. There is a pattern on the wall behind the two men. An artist creates a pattern by repeating an element. Here, lines are repeated across and down. You can also see a pattern on the tablecloth made of curves and short lines.
Patterns are all around you. You might see them on wallpaper, carpets, dishes, or even your own clothes.
To create a pattern in your own artwork, choose an element to repeat: a line, shape, or color. Then repeat it across and down to fill an area. To see if you have created a pattern, ask yourself, “Can I tell what comes next?” If there is enough repetition that you know what will come next, it is a pattern!
Draw this composition in the space below, including the pattern in the background. Or, draw your own composition, including a pattern in the background or on a tablecloth or clothing.
Remember to choose either a grid or mapping to help you get started.
Pattern
Detail of a miniature of Charlemagne being crowned emperor

C l a s s i C a l C o n v e r s a t i o n s . C o m 16
SAMPLE
Your drawing:
C l a s s i C a l C o n v e r s a t i o n s . C o m 17
SAMPLE
History Note 2(a) Trace, then write the sentence.
After the church split into Roman Catholic
and Eastern Orthodox, William the Conqueror
defeated King Harold of England in 1066 and
started feudalism.
C l a s s i C a l C o n v e r s a t i o n s . C o m 18
SAMPLE
History Note 2(b) Trace, then write the sentence.
After the church split into Roman Catholic
and Eastern Orthodox, William the Conqueror
defeated King Harold of England in 1066 and
started feudalism.
C l a s s i C a l C o n v e r s a t i o n s . C o m 19
SAMPLE
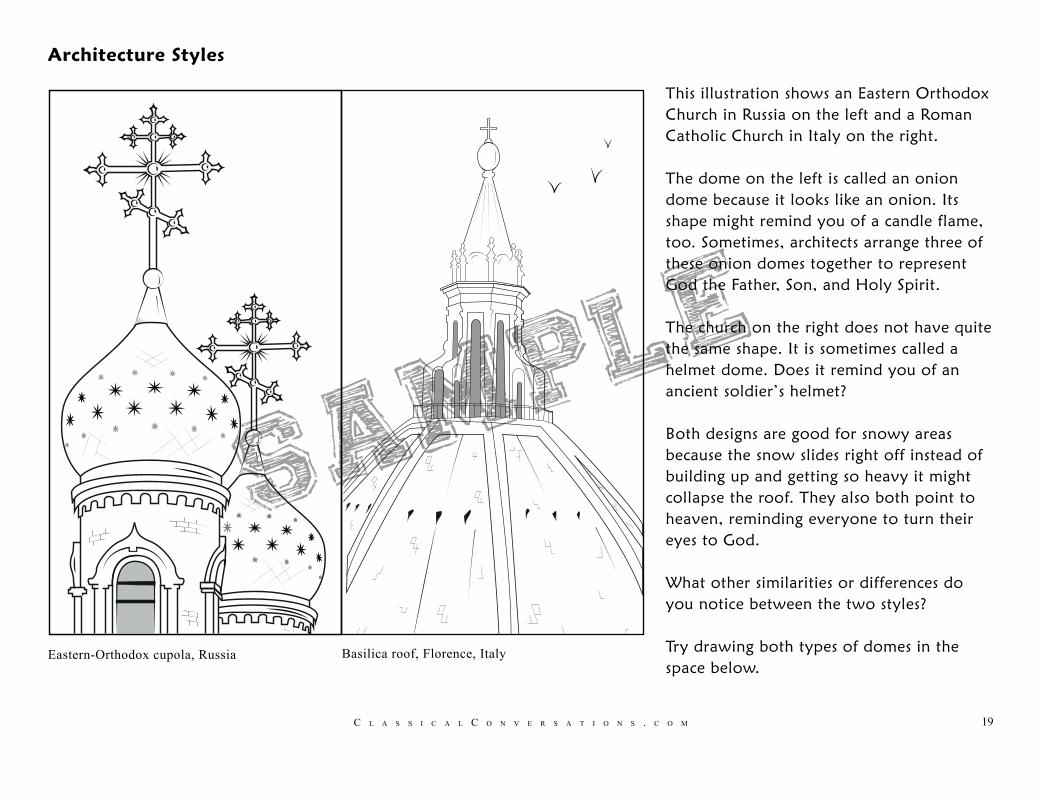
This illustration shows an Eastern Orthodox Church in Russia on the left and a Roman Catholic Church in Italy on the right.
The dome on the left is called an onion dome because it looks like an onion. Its shape might remind you of a candle flame, too. Sometimes, architects arrange three of these onion domes together to represent God the Father, Son, and Holy Spirit.
The church on the right does not have quite the same shape. It is sometimes called a helmet dome. Does it remind you of an ancient soldier’s helmet?
Both designs are good for snowy areas because the snow slides right off instead of building up and getting so heavy it might collapse the roof. They also both point to heaven, reminding everyone to turn their eyes to God.
What other similarities or differences do you notice between the two styles?
Try drawing both types of domes in the space below.
Architecture Styles
Eastern-Orthodox cupola, Russia Basilica roof, Florence, Italy


![msc2010final-Aug10msc2010.org/msc2010final-Aug10.pdf · MSC2010 03B25 Decidability of theories and sets of sentences [See also11U05 ,12L05 20F10] 03B30 Foundations of classical theories](https://img.pdfslide.net/doc/110x75/5f0ccbc37e708231d4372c0e/msc2010final-msc2010-03b25-decidability-of-theories-and-sets-of-sentences-see.jpg)