Embed Size (px)
Citation preview
Editing is when you choose the best shots to tell your story and remove mistakes. Here is a quick editing guide to help get you started:
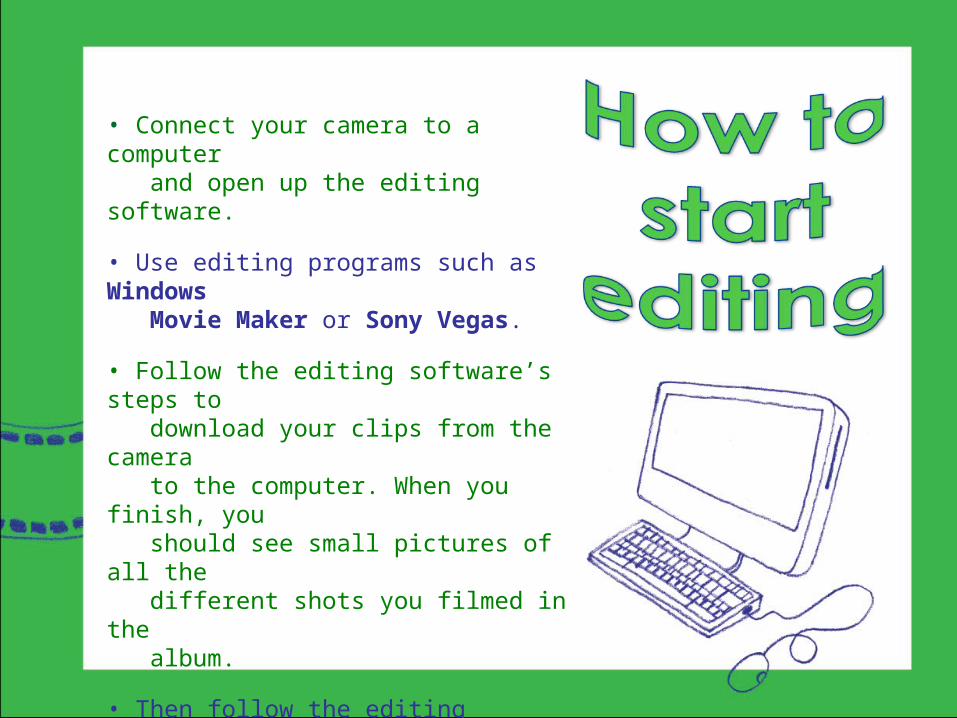
• Connect your camera to a computer and open up the editing software.
• Use editing programs such as Windows Movie Maker or Sony Vegas.
• Follow the editing software’s steps to download your clips from the camera to the computer. When you finish, you should see small pictures of all the different shots you filmed in the album.
• Then follow the editing software’s instructions and help guide to edit your film.
• Remember to SAVE YOUR WORK REGULARLY so that you don’t lose it!
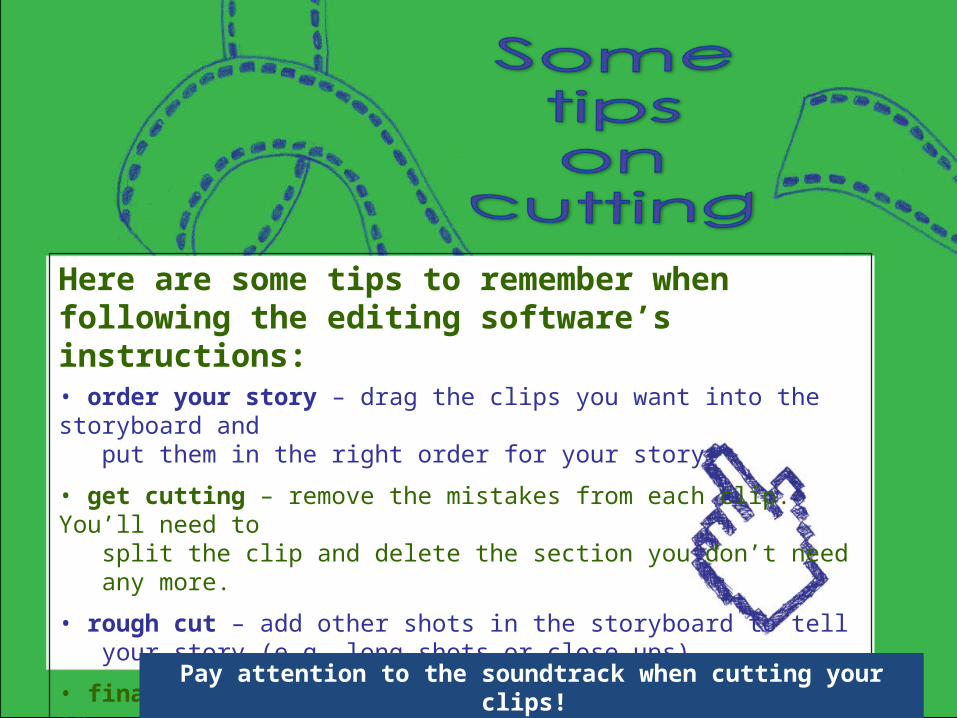
Here are some tips to remember when following the editing software’s instructions:• order your story – drag the clips you want into the storyboard and put them in the right order for your story.
• get cutting – remove the mistakes from each clip. You’ll need to split the clip and delete the section you don’t need any more.
• rough cut – add other shots in the storyboard to tell your story (e.g. long shots or close ups).
• final cut – you can make some shots slightly longer or shorter to make them look smoother.
Pay attention to the soundtrack when cutting your clips!
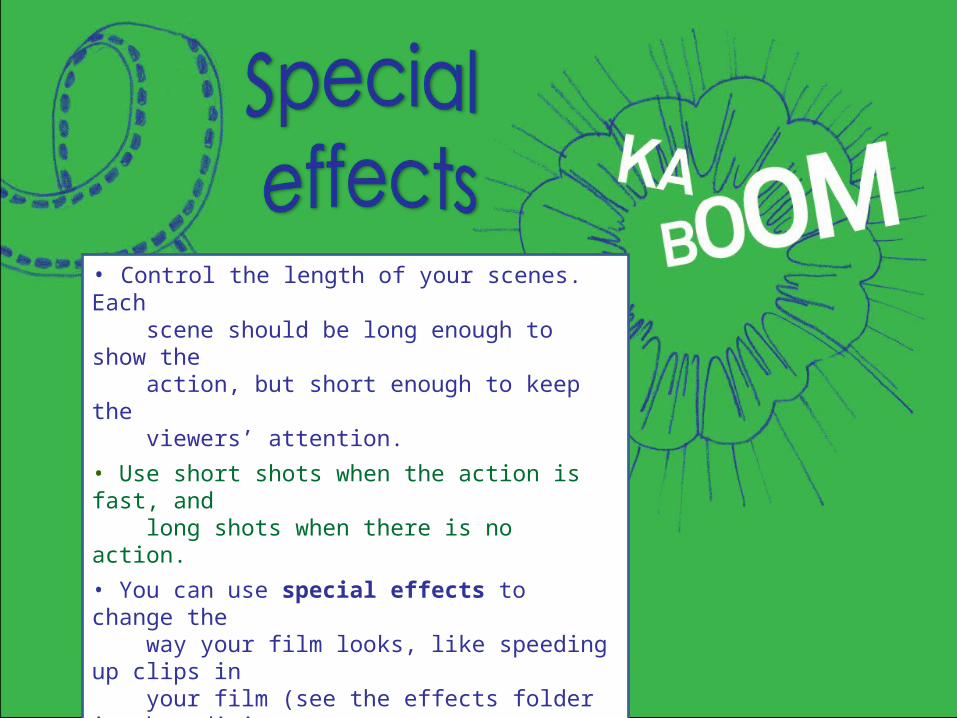
• Control the length of your scenes. Each scene should be long enough to show the action, but short enough to keep the viewers’ attention.
• Use short shots when the action is fast, and long shots when there is no action.
• You can use special effects to change the way your film looks, like speeding up clips in your film (see the effects folder in the editing software).
•You can also change the way one clip links to another (see the transitions folder in the editing software). Use fades and dissolves, but avoid using too many effects, as less is more!
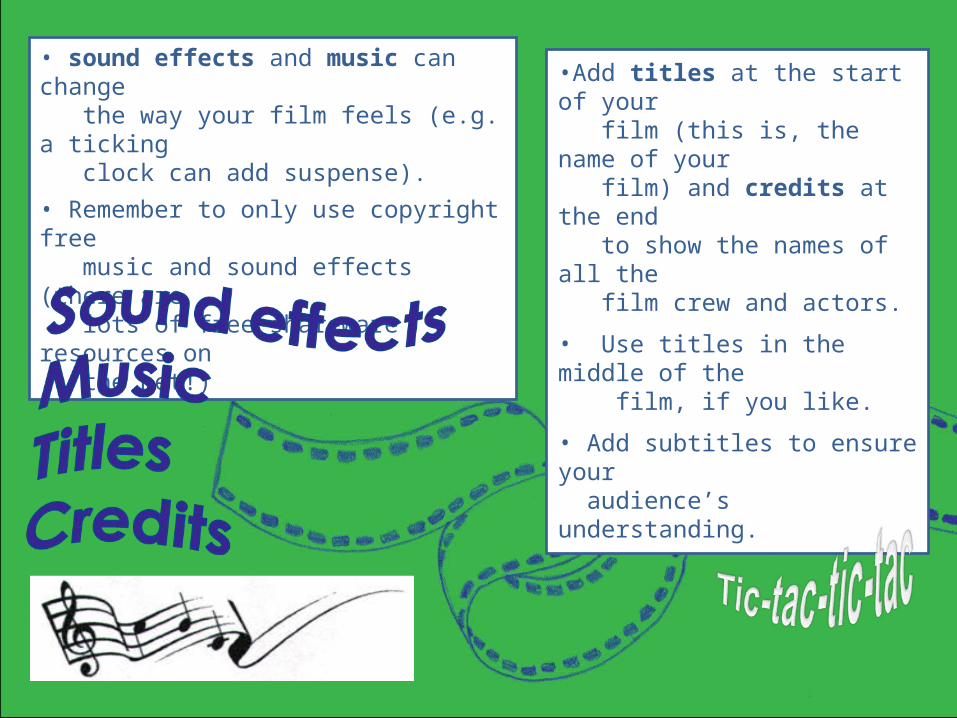
• sound effects and music can change the way your film feels (e.g. a ticking clock can add suspense).
• Remember to only use copyright free music and sound effects (there are lots of free shareware resources on the net!)
•Add titles at the start of your film (this is, the name of your film) and credits at the end to show the names of all the film crew and actors.
• Use titles in the middle of the film, if you like.
• Add subtitles to ensure your audience’s understanding.
• When you think your video is finished, watch it carefully, form the beginning to the end.• Make sure everything is OK. Make any changes you
like to improve it.• When you are finished, click the “MAKE VIDEO”
option.
Congratulations!
If you have enjoyed the task, welcome to
the video-makers community. Keep on
creating your own materials!