Embed Size (px)
Citation preview
7/27/2019 FS Quick Installation Guide
http://slidepdf.com/reader/full/fs-quick-installation-guide 1/2
QFSE-E-A11
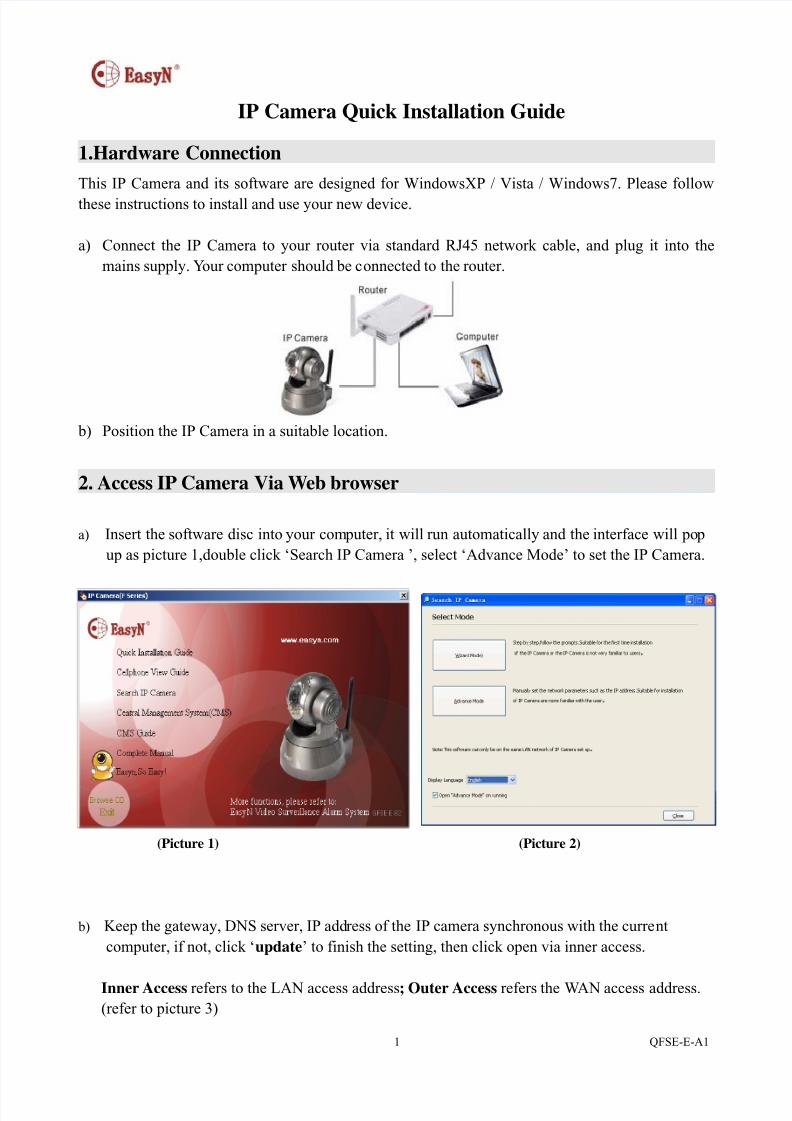
IP Camera Quick Installation Guide
1.Hardware Connection
This IP Camera and its software are designed for WindowsXP / Vista / Windows7. Please follow
these instructions to install and use your new device.
a) Connect the IP Camera to your router via standard RJ45 network cable, and plug it into the
mains supply. Your computer should be connected to the router.
b) Position the IP Camera in a suitable location.
2. Access IP Camera Via Web browser
a) Insert the software disc into your computer, it will run automatically and the interface will pop
up as picture 1,double click ‘Search IP Camera ’, select ‘Advance Mode’ to set the IP Camera.
(Picture 1) (Picture 2)
b) Keep the gateway, DNS server, IP address of the IP camera synchronous with the current
computer, if not, click ‘update’ to finish the setting, then click open via inner access.
Inner Access refers to the LAN access address; Outer Access refers the WAN access address.
(refer to picture 3)
7/27/2019 FS Quick Installation Guide
http://slidepdf.com/reader/full/fs-quick-installation-guide 2/2
QFSE-E-A12
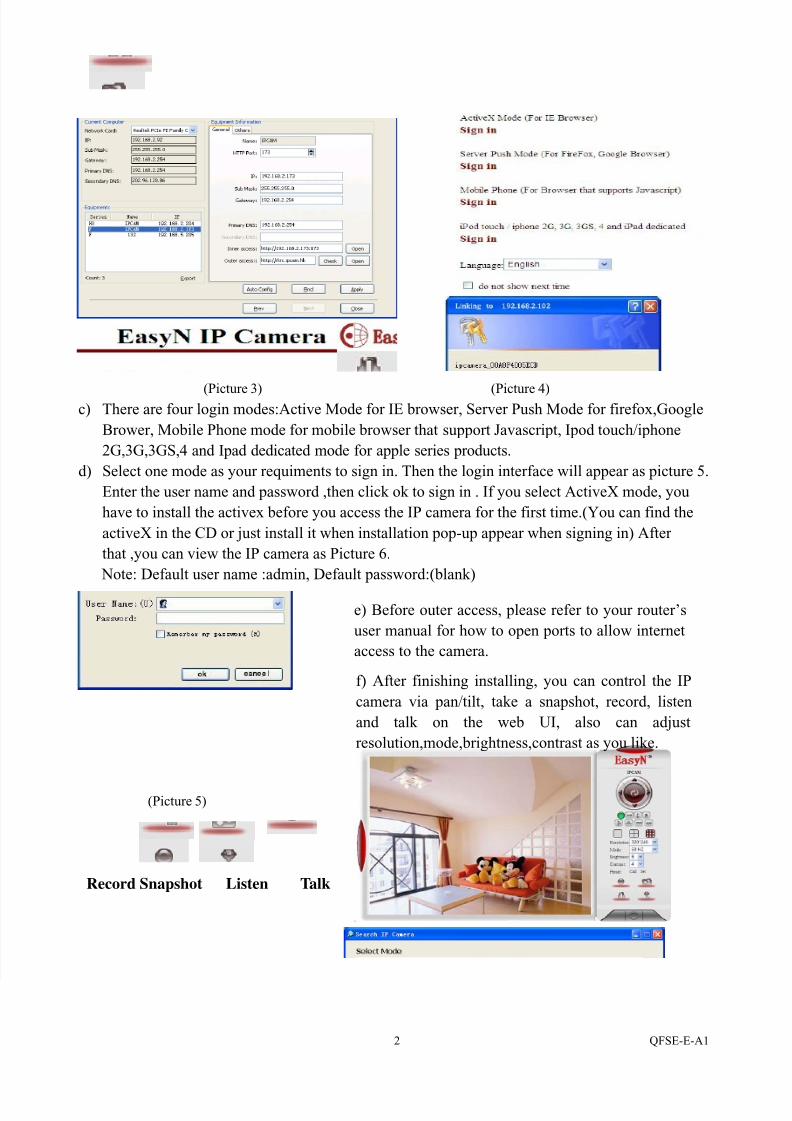
(Picture 3) (Picture 4)c) There are four login modes:Active Mode for IE browser, Server Push Mode for firefox,Google
Brower, Mobile Phone mode for mobile browser that support Javascript, Ipod touch/iphone
2G,3G,3GS,4 and Ipad dedicated mode for apple series products.
d) Select one mode as your requiments to sign in. Then the login interface will appear as picture 5.
Enter the user name and password ,then click ok to sign in . If you select ActiveX mode, you
have to install the activex before you access the IP camera for the first time.(You can find the
activeX in the CD or just install it when installation pop-up appear when signing in) After
that ,you can view the IP camera as Picture 6.
Note: Default user name :admin, Default password:(blank)
(Picture 5)
Record Snapshot Listen Talk
e) Before outer access, please refer to your router’s
user manual for how to open ports to allow internet
access to the camera.
f) After finishing installing, you can control the IP
camera via pan/tilt, take a snapshot, record, listen
and talk on the web UI, also can adjust
resolution,mode,brightness,contrast as you like.