Embed Size (px)
Citation preview
High Speed Triggering and No Light Photography
Bob Stevens and Jim Kay
Different than Landscape or Portrait Photography
• The problem is that you can not reliably trigger your camera on the subject
• Too fast
• Noncooperative
• Too dark
• Fast moving nature objects like small birds in flight
• Nature objects at night - owls
• High speed controlled objects – milk drops
• Very high speed controlled objects - bullets
Bob’s Focus is Small Birds and Saw Whet Owls in flight plus a few fun things
• First requirement is a device to process sensor outputs/inputs and trigger a camera and/or flash
• Second requirement is sensors – they depend on what you want to do
• Laser source and sensor
• Infrared motion sensor
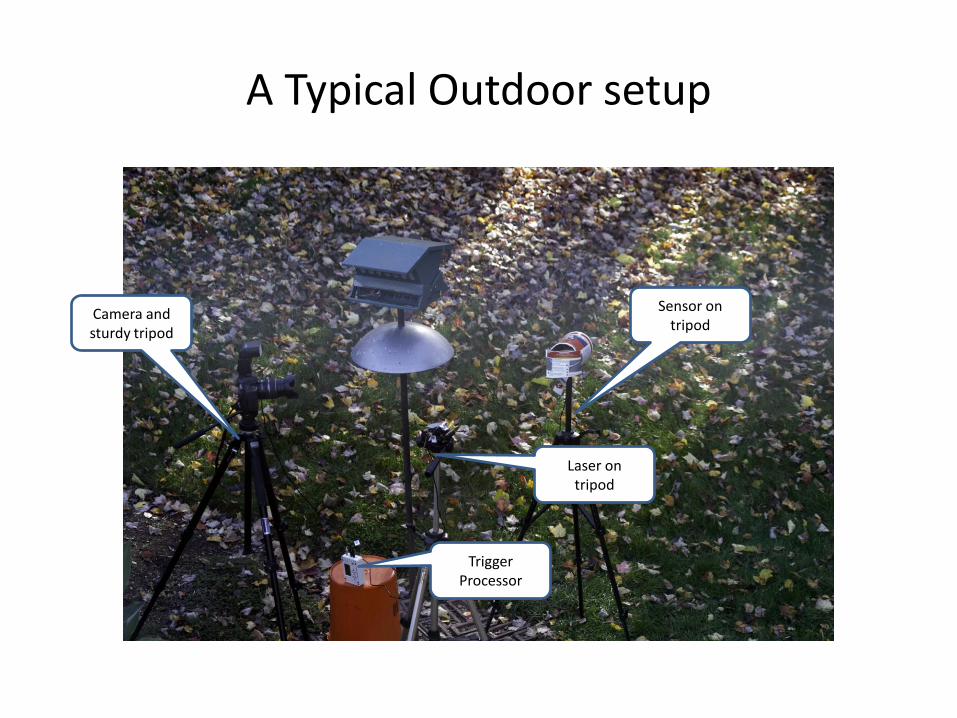
A Typical Outdoor setup
Camera and sturdy tripod
Sensor on tripod
Laser on tripod
Trigger Processor

Sequence of Events
• Sensor provides output signal
• Laser beam broken
• IR sensor detects change
• Sensor output sent to trigger processor
• Sensor Processor
• Detects change in sensor output
• Initiates firing of camera and/or flash
• Adds delay if required
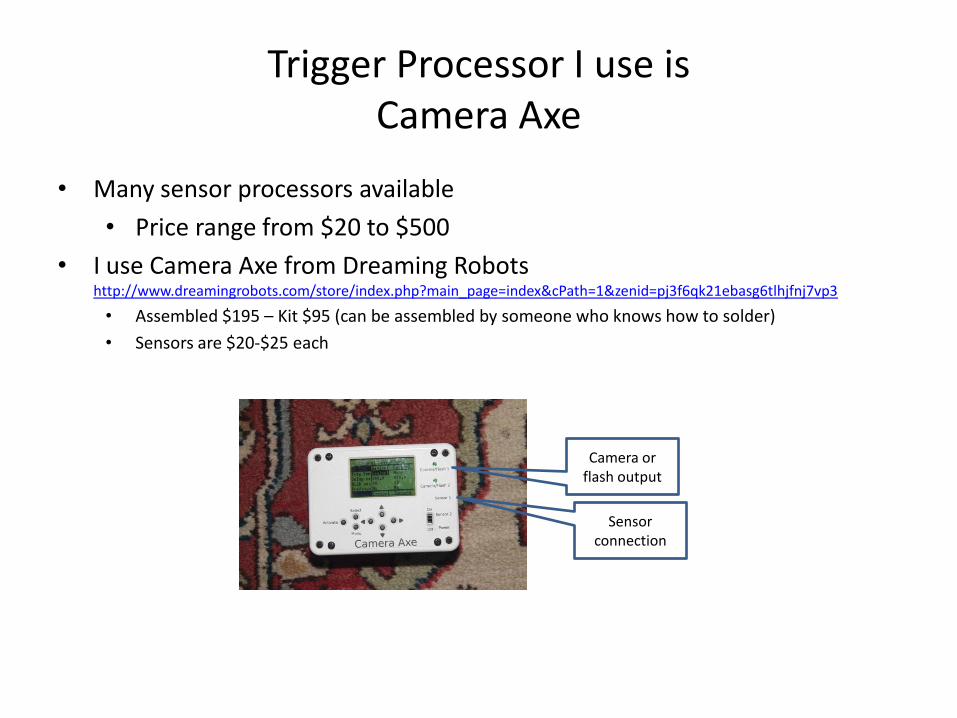
Trigger Processor I use is Camera Axe
• Many sensor processors available
• Price range from $20 to $500
• I use Camera Axe from Dreaming Robots http://www.dreamingrobots.com/store/index.php?main_page=index&cPath=1&zenid=pj3f6qk21ebasg6tlhjfnj7vp3
• Assembled $195 – Kit $95 (can be assembled by someone who knows how to solder)
• Sensors are $20-$25 each
Camera or flash output
Sensor connection
Settings for Typical shot
• Camera in Manual Mode or Shutter Priority (Tv)
• ISO 800 or higher
• Shutter Speed – 1/2000 second
• F 10
• Flash
• Make sure you have high speed sync enabled
• Note – background will come out dark unless there is a lot of light
Some things to know• Camera shutter lag (time from electronic trigger to shutter release)
• DSLR lag is 50 to 100 msec
• http://www.impulseadventure.com/photo/shutter-lag.html
• For remote photography, the camera and flash must be on continuously
• Camera manual and flash manual will tell you how to keep camera and flash from going to sleep
• Bring extra batteries
• Cold weather is death on batteries – bring even more
• Sensors and processor have hair trigger
• Small motions will trigger IR motion sensor
• I had to shield back of IR sensor to keep from triggering on me
• I had to shield laser sensor to keep from saturating on sunlight
• Turn off auto focus and image stabilization – they add to shutter lag time
• Estimate distance to where subject will be and hope
Things to remember
• There is a significant learning curve
• Each sensor is different
• Each camera is different
• Each box of electronics is different
• Each subject is different
• These photographs require changing the “standard” settings of your camera – remember to change them back
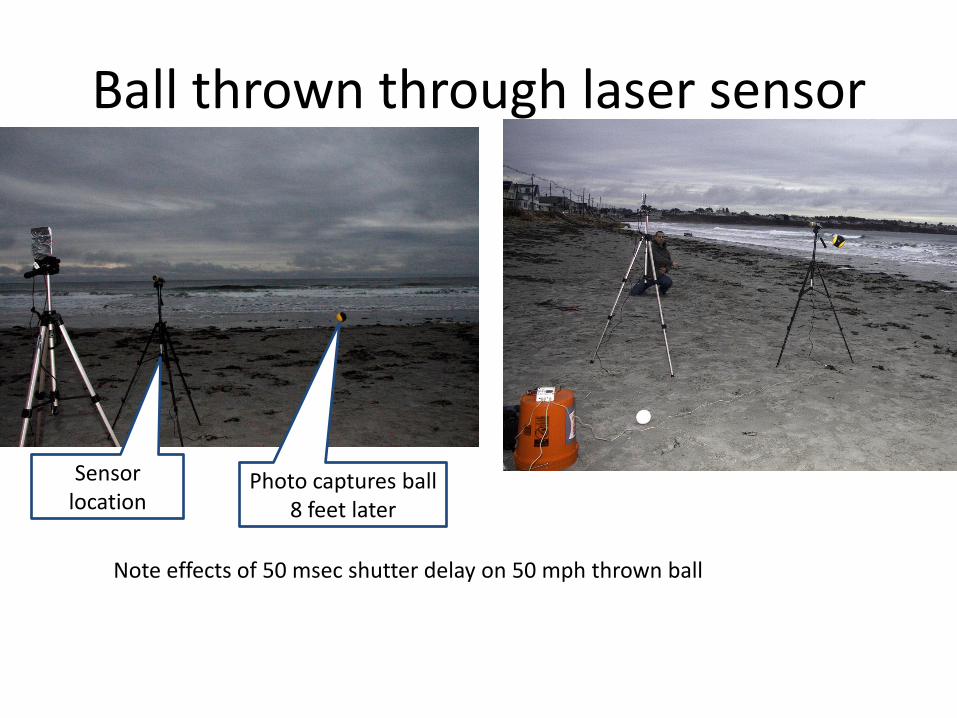
Ball thrown through laser sensor
Note effects of 50 msec shutter delay on 50 mph thrown ball
Sensor location
Photo captures ball 8 feet later
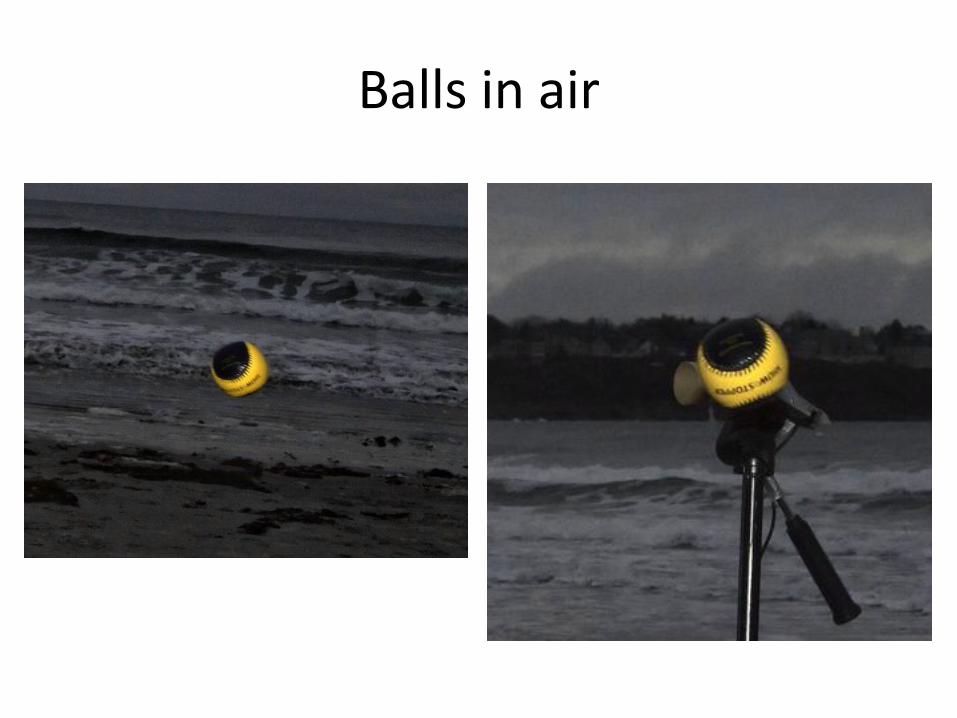
Balls in air
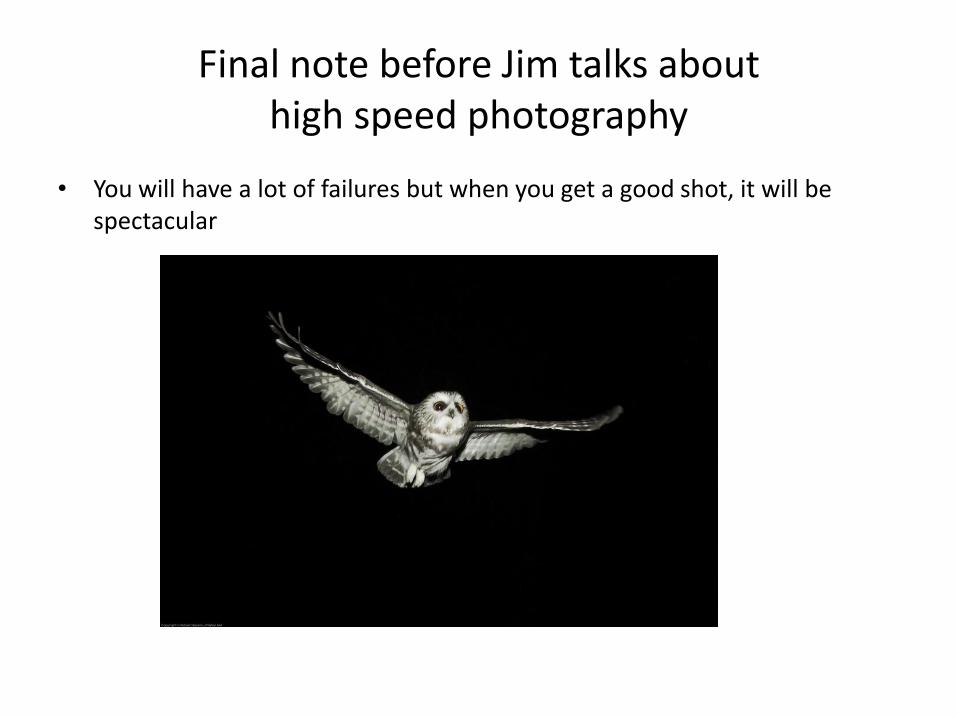
Final note before Jim talks about high speed photography
• You will have a lot of failures but when you get a good shot, it will be spectacular
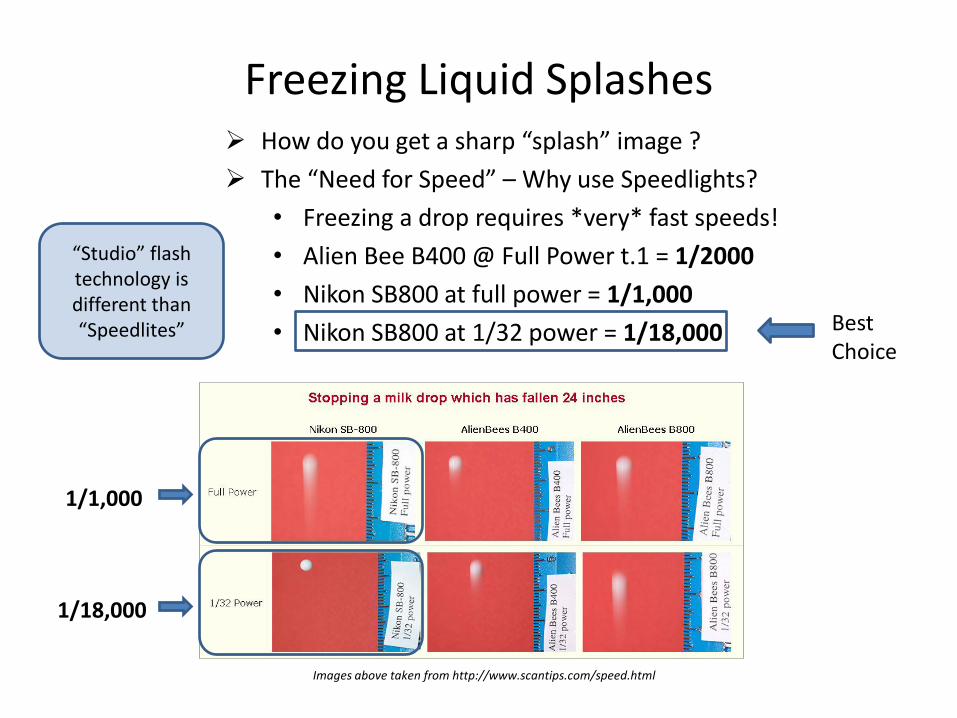
Freezing Liquid Splashes How do you get a sharp “splash” image ?
The “Need for Speed” – Why use Speedlights?
• Freezing a drop requires *very* fast speeds!
• Alien Bee B400 @ Full Power t.1 = 1/2000
• Nikon SB800 at full power = 1/1,000
• Nikon SB800 at 1/32 power = 1/18,000
Images above taken from http://www.scantips.com/speed.html
“Studio” flash technology is different than “Speedlites” Best
Choice
1/1,000
1/18,000
Equipment and Lighting Technique
Can be accomplished with just a speedlight if your timing is good…but keeper rate tends to be low
Increasing “Keeper”rate (can be done cheaply if you’re handy)
• Triggering Device (Schmitt Trigger/Delay)
http://www.hiviz.com/kits/spg-du.htm (kit about $20)
• Motion sensor and variable delay – tune with your eye first
• This trigger used to trigger flash, not camera! (need PC port)
• Use bulb mode and a dark room, can ignore shutter speed.
Lighting technique for a Transparent (water) drop
• Not lighting the water, but what it reflects
• Reflectors from behind work well to add dimension/depth
• Use a colored reflector for variety, be creative!
Lighting technique for an opaque drop
• Standard techniques, lights like a normal object
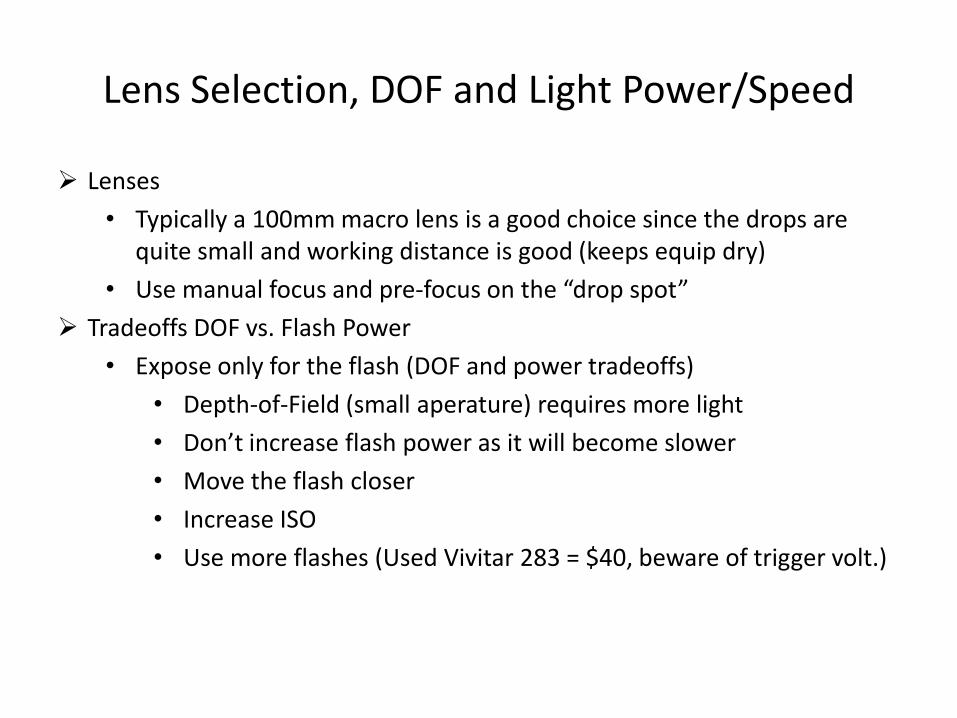
Lens Selection, DOF and Light Power/Speed
Lenses
• Typically a 100mm macro lens is a good choice since the drops are quite small and working distance is good (keeps equip dry)
• Use manual focus and pre-focus on the “drop spot”
Tradeoffs DOF vs. Flash Power
• Expose only for the flash (DOF and power tradeoffs)
• Depth-of-Field (small aperature) requires more light
• Don’t increase flash power as it will become slower
• Move the flash closer
• Increase ISO
• Use more flashes (Used Vivitar 283 = $40, beware of trigger volt.)
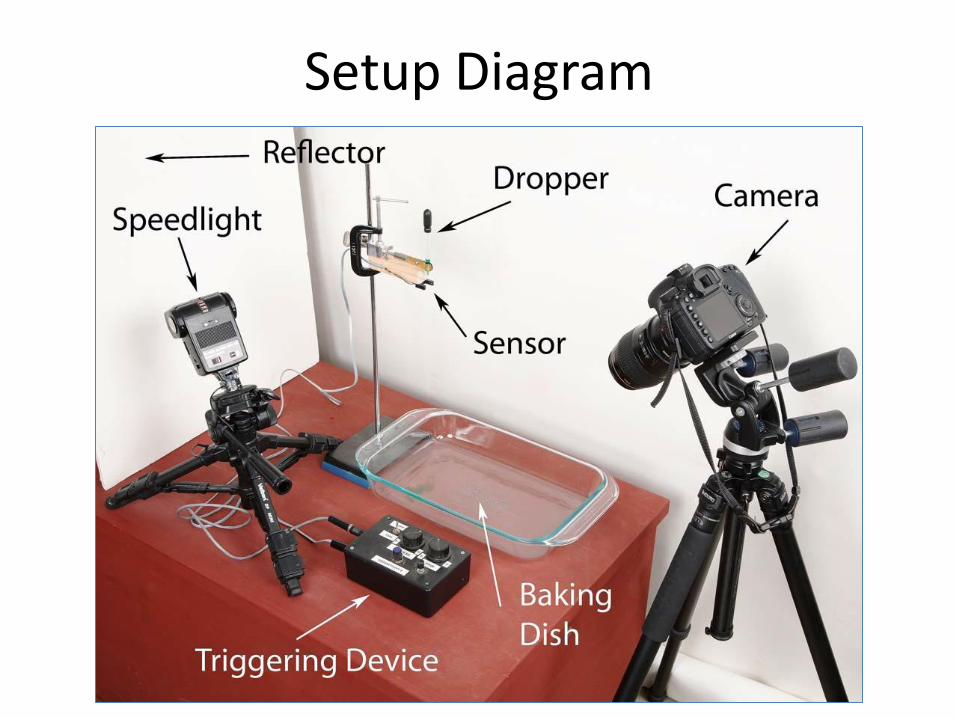
Setup Diagram

Creating Variety Different types of drops
• Medium used
• Viscosity affects drop look (oil/milk/water/alcohol)
• Transparent/Opaque
• Try food coloring, be creative!
• Splashing into a bowl of liquid vs. hard surface
• Change splash surface (mirror, colored plastic)
• Timing (changing trigger delay)
Some Related Links
Martin Waugh• http://www.liquidsculpture.com/fine_art/index.htm• http://www.liquidsculpture.com/the_process.htm
Hi Viz• http://hiviz.com/
Edgerton Center• http://web.mit.edu/edgerton/main.html
You Tube Video (PhotoGavin)•http://www.youtube.com/watch?v=fwExpFDUC9Y
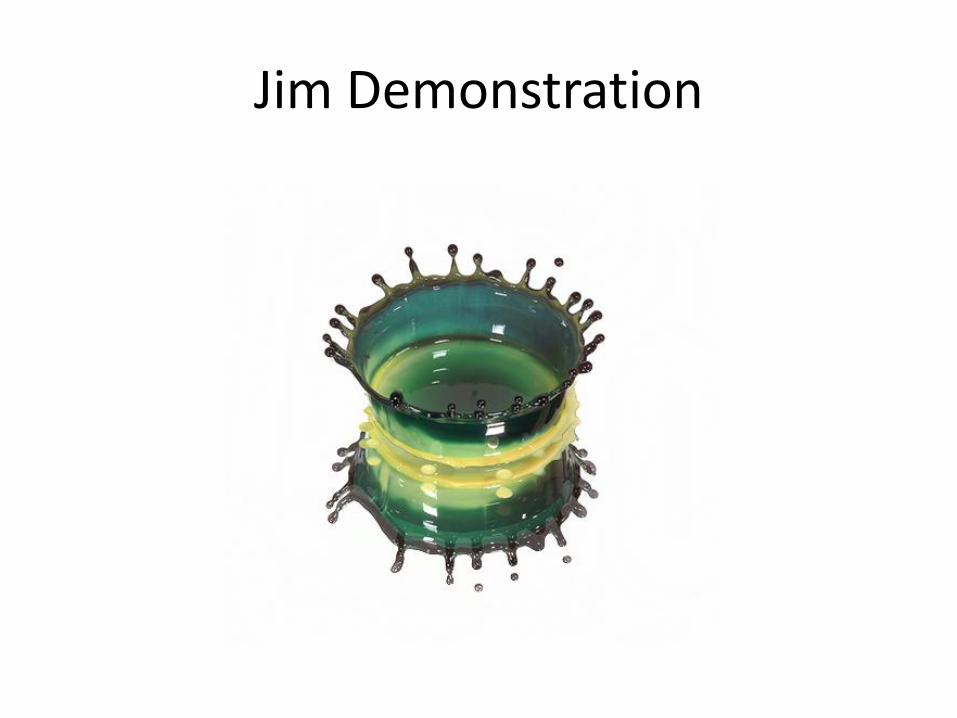
Jim Demonstration
Bob Demonstration
• Laser triggering using “soft” baseball
• Throwing baseball through laser beam
• Low light triggering using “soft” baseball