Embed Size (px)
Citation preview
Graphic
Design
Personal Illustrations
with Mrs. Hurd
Proje
ct G
oal:
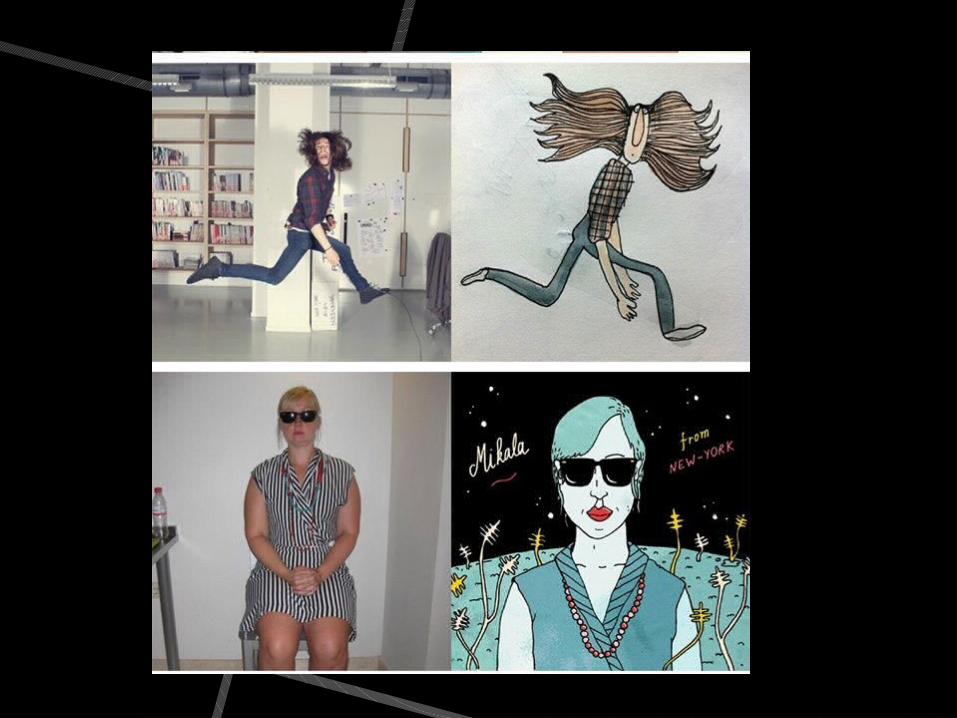
Create a unique illustration using someone close to you
as a reference… It is important that it is
someone who is significant to you.
The portrait needs to
be expressive & evoke
an emotion from the
viewer.
What
is a
n
illust
rati
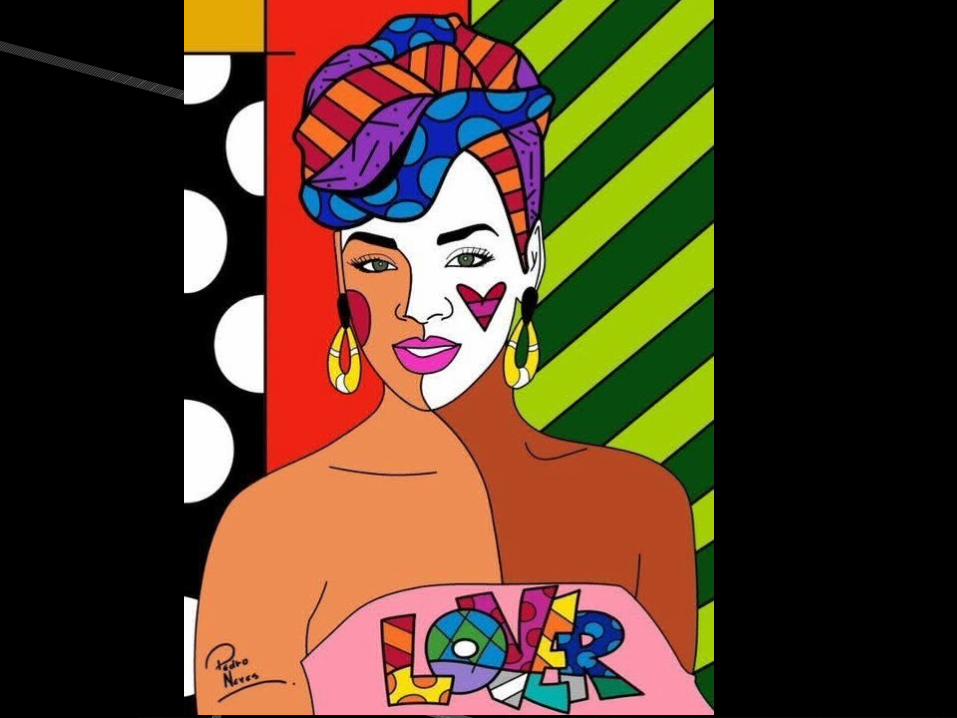
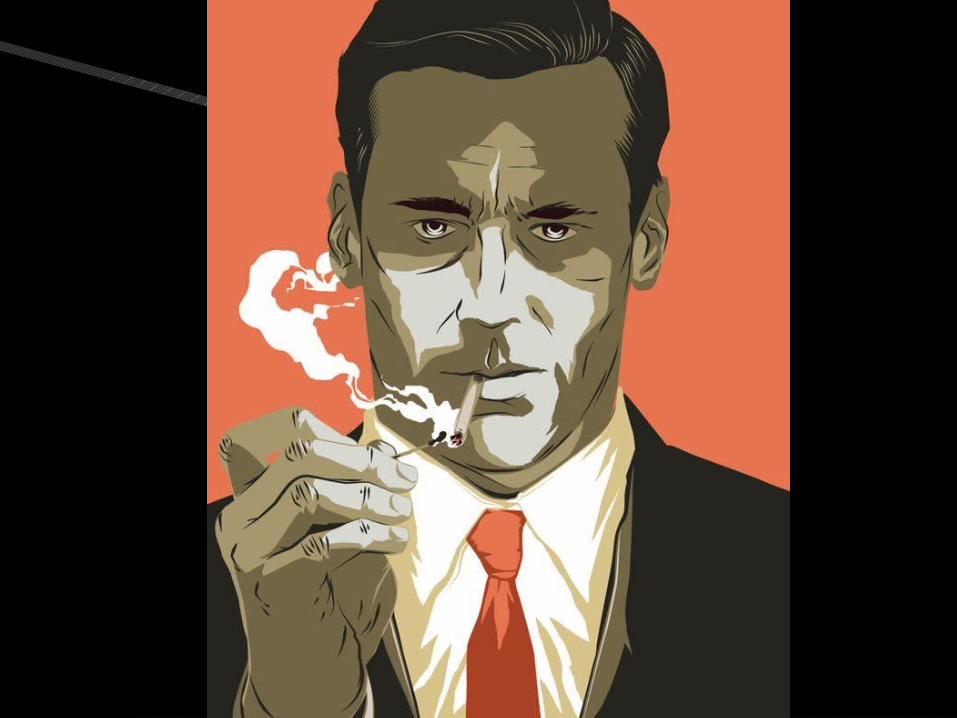
on? Graphics, drawings, or
pictures that are composed using simple lines and strong colors.
Em
oti
ons
that
can b
e e
voke
d…
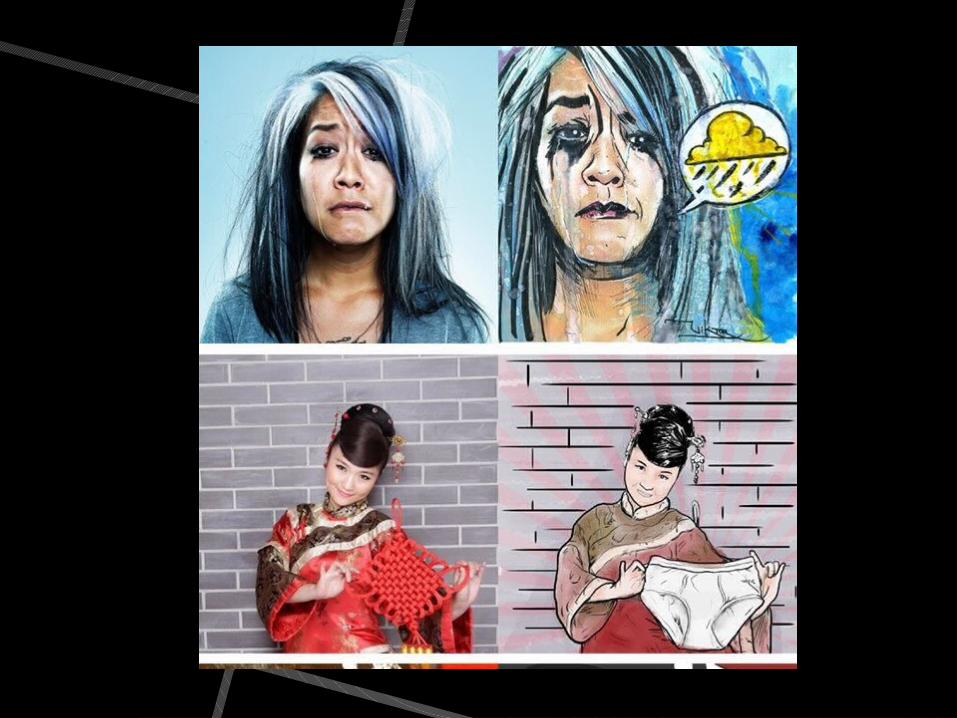
The possibilities are endless! Emotion depends on
colors used.-See the effect of color
- As well as line quality
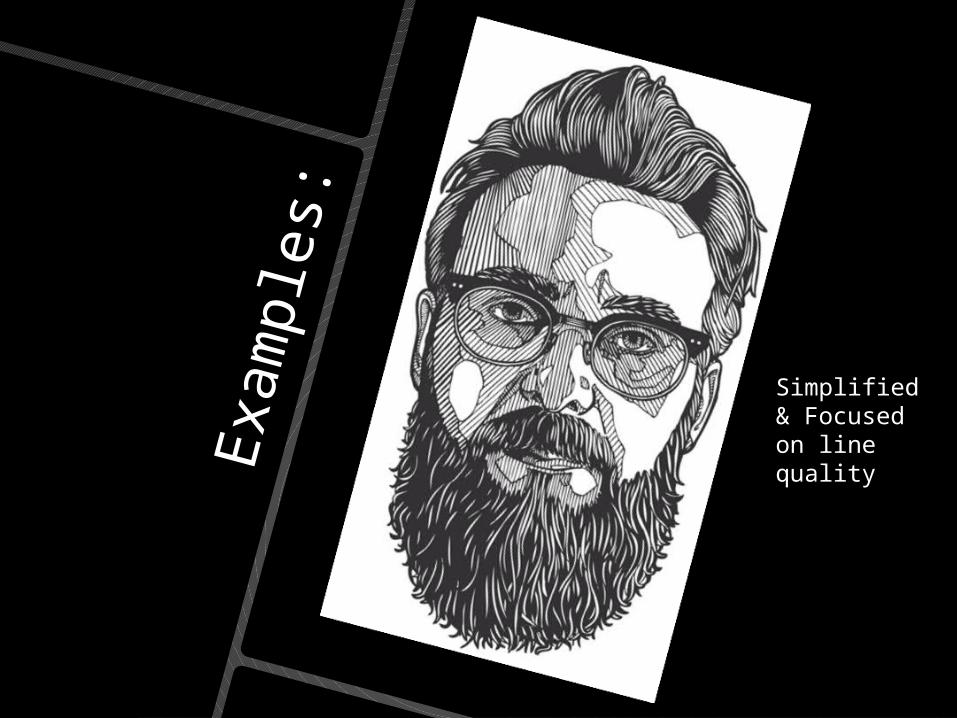
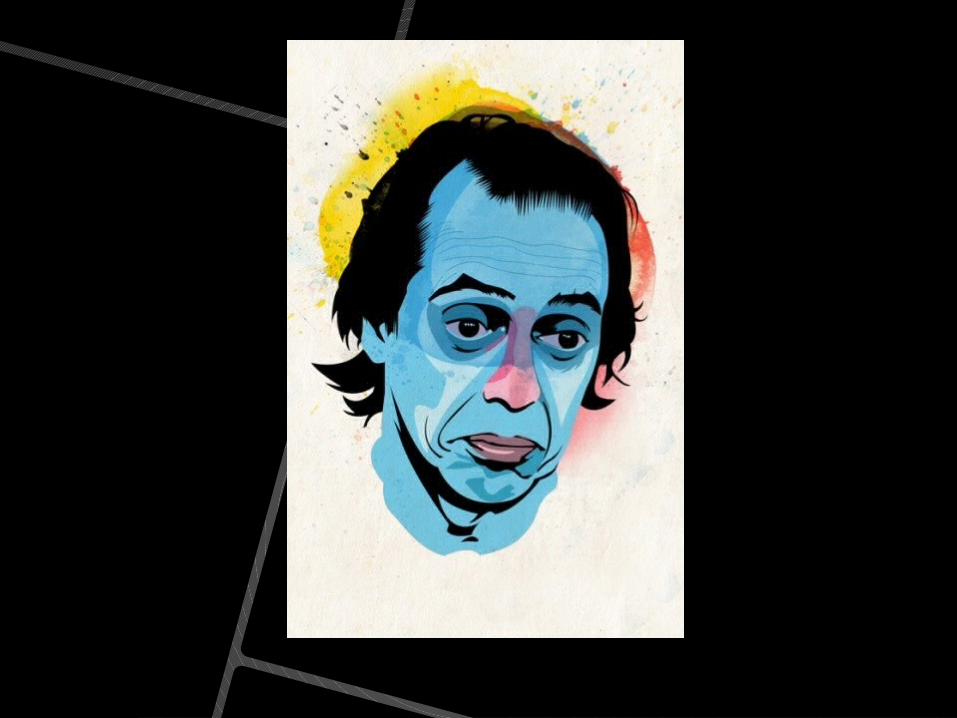
Exa
mple
s:Simplified & Focused on line quality
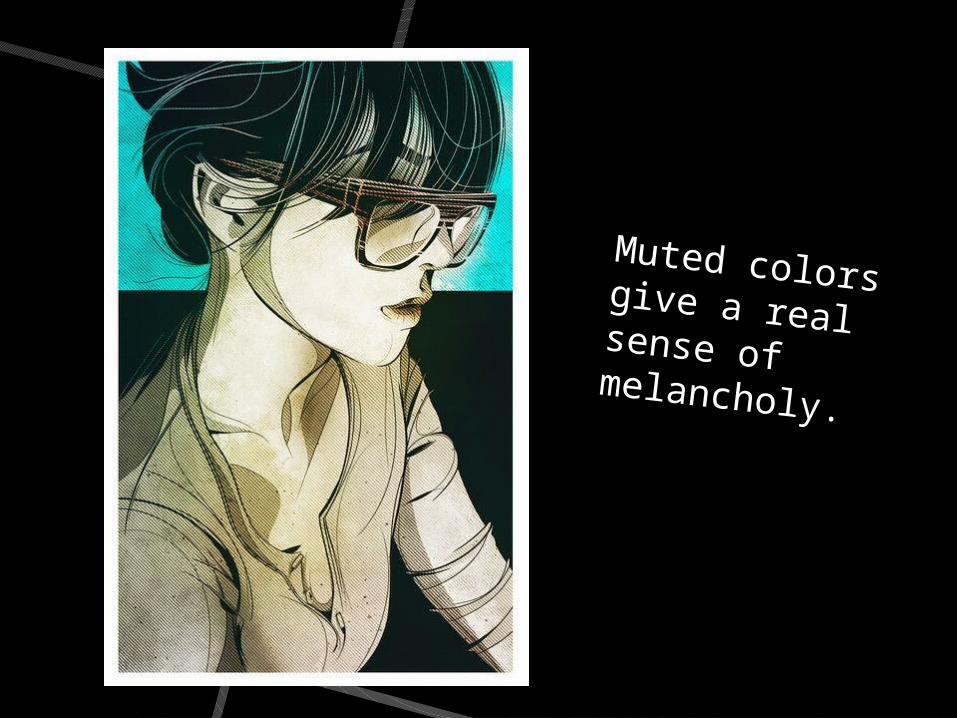
Muted colors give a real sense of melancholy.
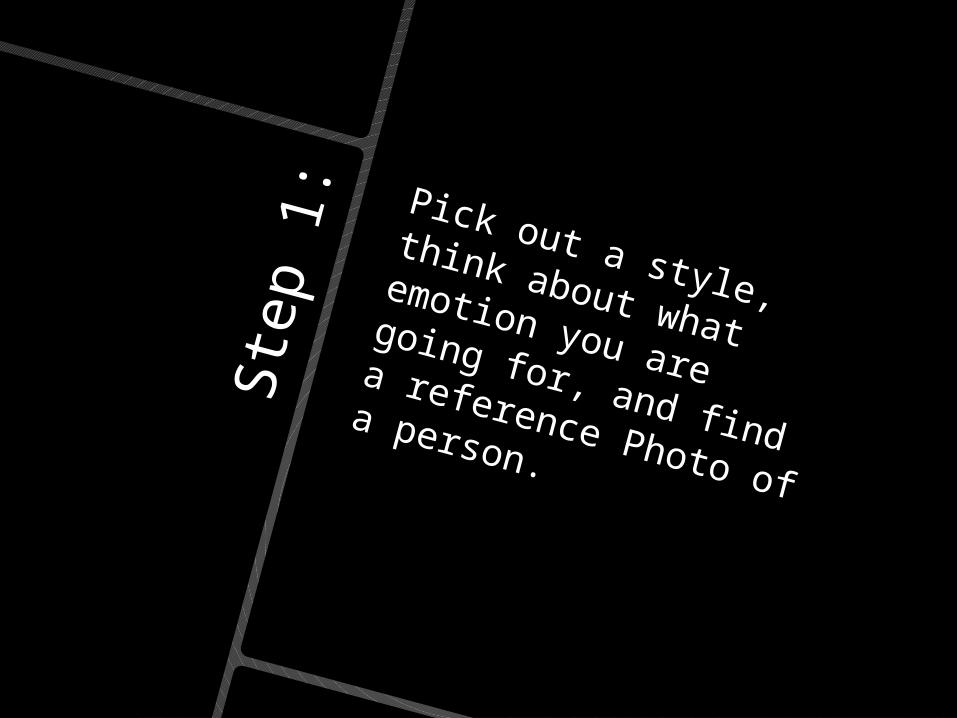
Ste
p 1
:
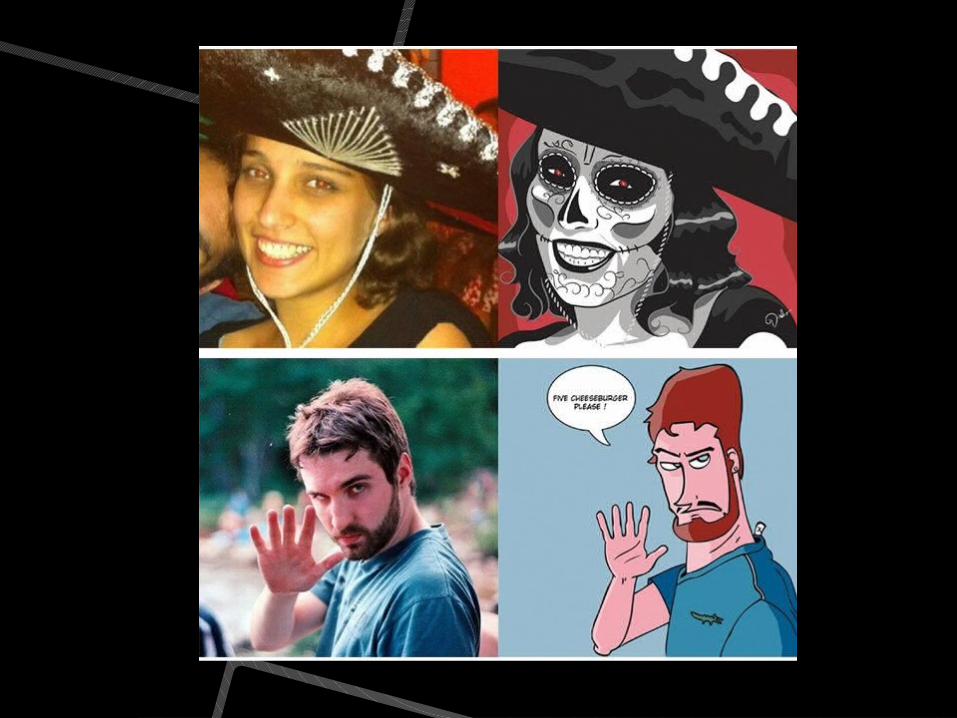
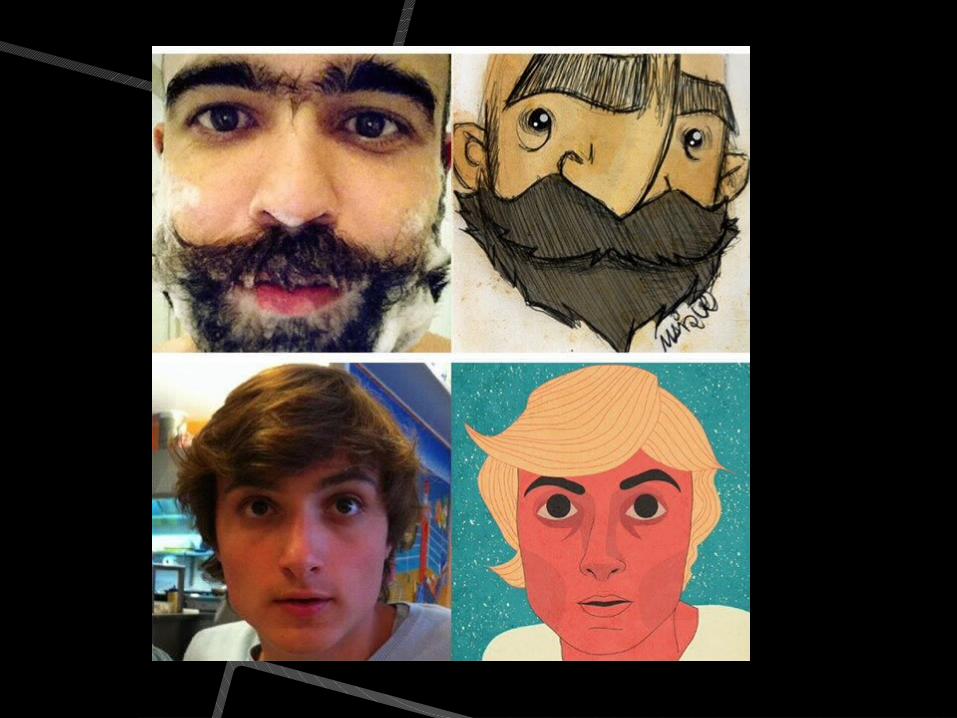
Pick out a style, think
about what emotion you
are going for, and find a
reference Photo of a
person.

Ste
p 2
:
Open photo in PS & Crop
out everything in the
background….use whatever it takes….Magic EraserQuick Selection
Magic WandEraser
Ste
p 3
:
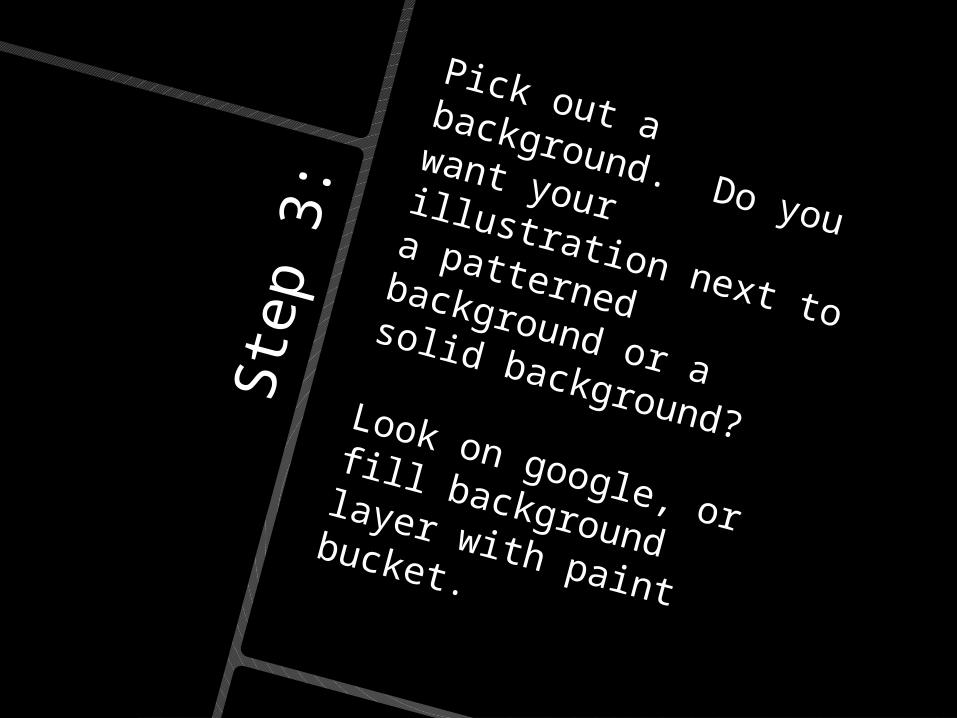
Pick out a background.
Do you want your illustration next to a
patterned background or
a solid background?Look on google, or fill
background layer with
paint bucket.
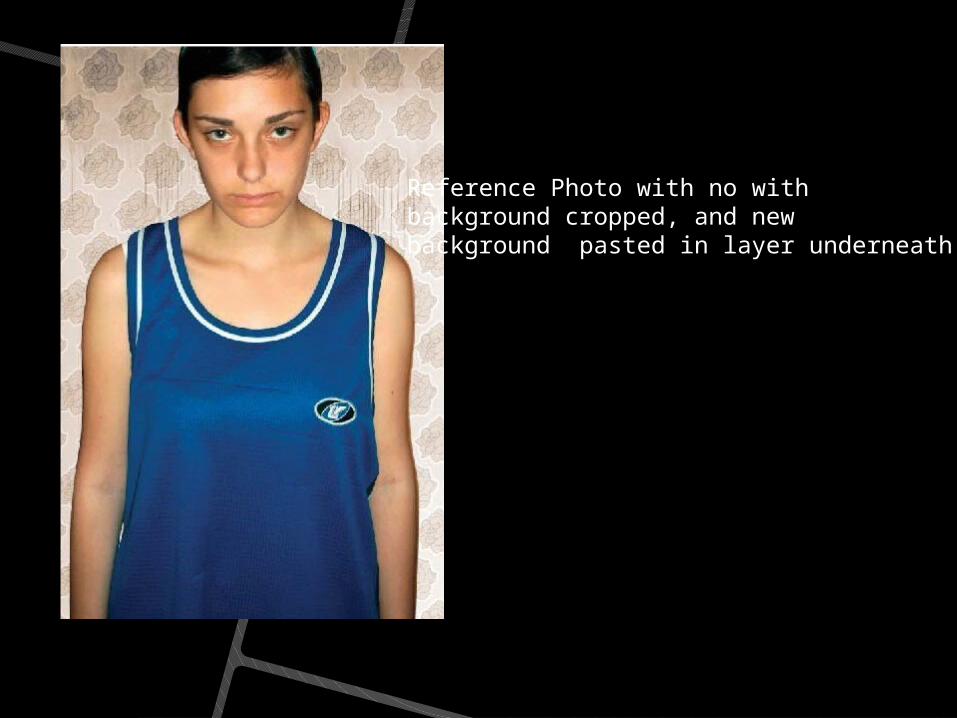
Reference Photo with no with background cropped, and new background pasted in layer underneath.

Ste
p 4
: Create a path using the
pen tool and outline the
face/body area. Name this path skin.Name the layer skin.
Fill the skin path/layer
with skin tone.

We’ll build up the portrait by creating blocks of skin, then adding in linework, clothing and the details. First, create a new layer in the Layers panel and call it ‘Skin’.
Select a color for the skin –create a vector outline around the body´s contour. Don’t include any clothing or hair that extends beyond the shape of the body, they will be covered with others layers later.
Next, fill the shape with the skin colour. Open the Paths panel and click on the Fill path with the foreground color button at the bottom. Hide this layer, so we can use the photo to create the linework.
Ste
p 5
:
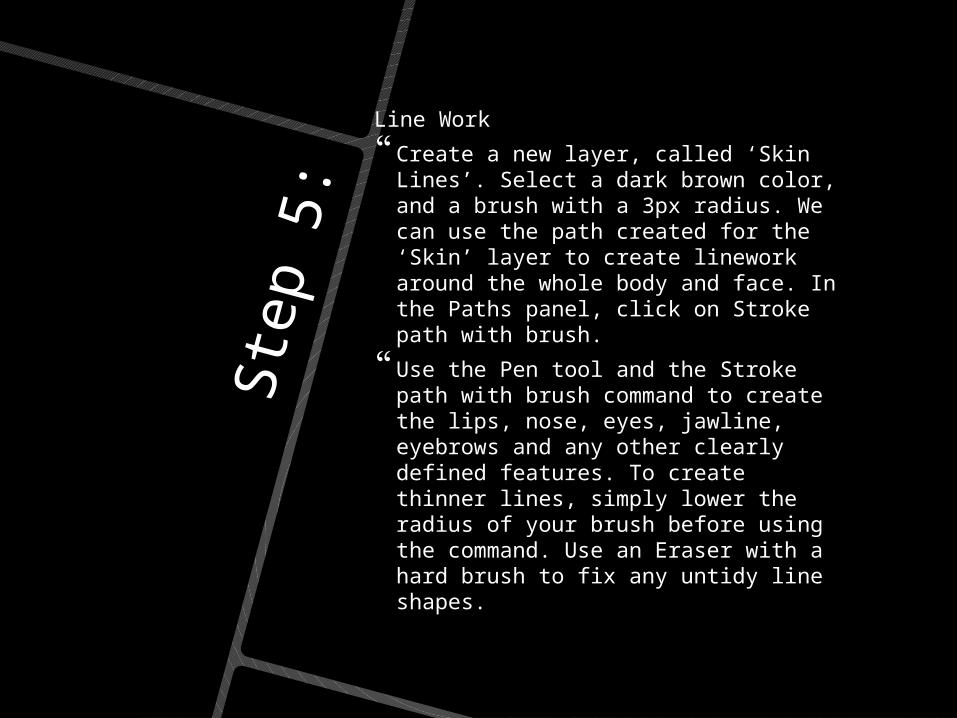
Line Work
Create a new layer, called ‘Skin Lines’. Select a dark brown color, and a brush with a 3px radius. We can use the path created for the ‘Skin’ layer to create linework around the whole body and face. In the Paths panel, click on Stroke path with brush.
Use the Pen tool and the Stroke path with brush command to create the lips, nose, eyes, jawline, eyebrows and any other clearly defined features. To create thinner lines, simply lower the radius of your brush before using the command. Use an Eraser with a hard brush to fix any untidy line shapes.

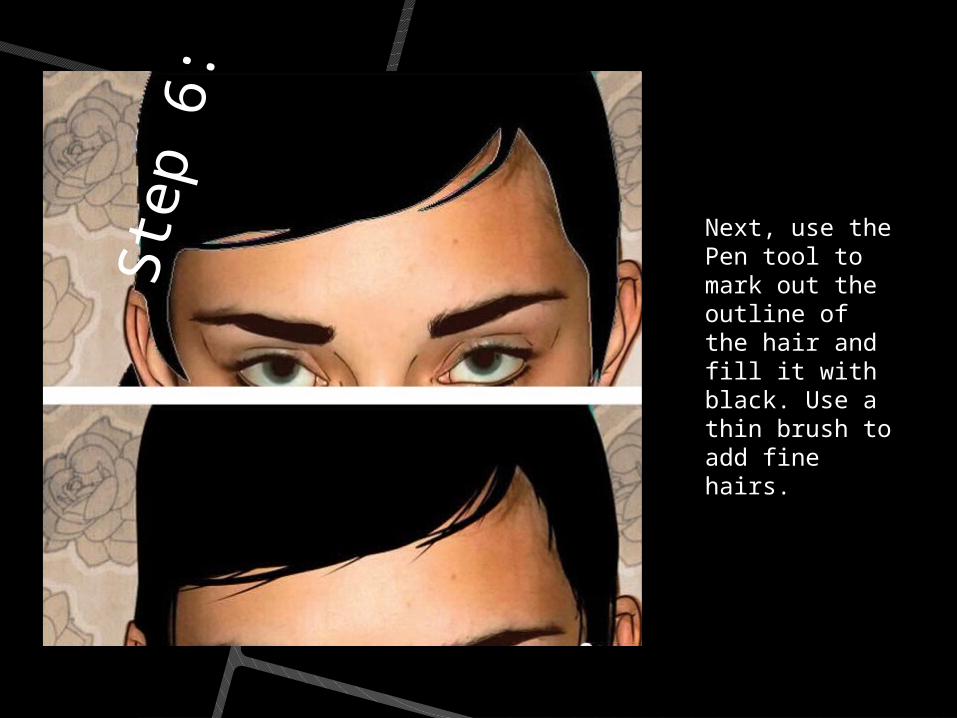
Next, use the Pen tool to mark out the outline of the hair and fill it with black. Use a thin brush to add fine hairs.
Ste
p 6
: