Embed Size (px)
Citation preview
INFECTION PREVENTION,BLOODBORNE PATHOGENS AND
SAFETYFaculty and Student Orientation
1
Infection Prevention, Bloodborne Pathogens, and Isolation
Precautions
2
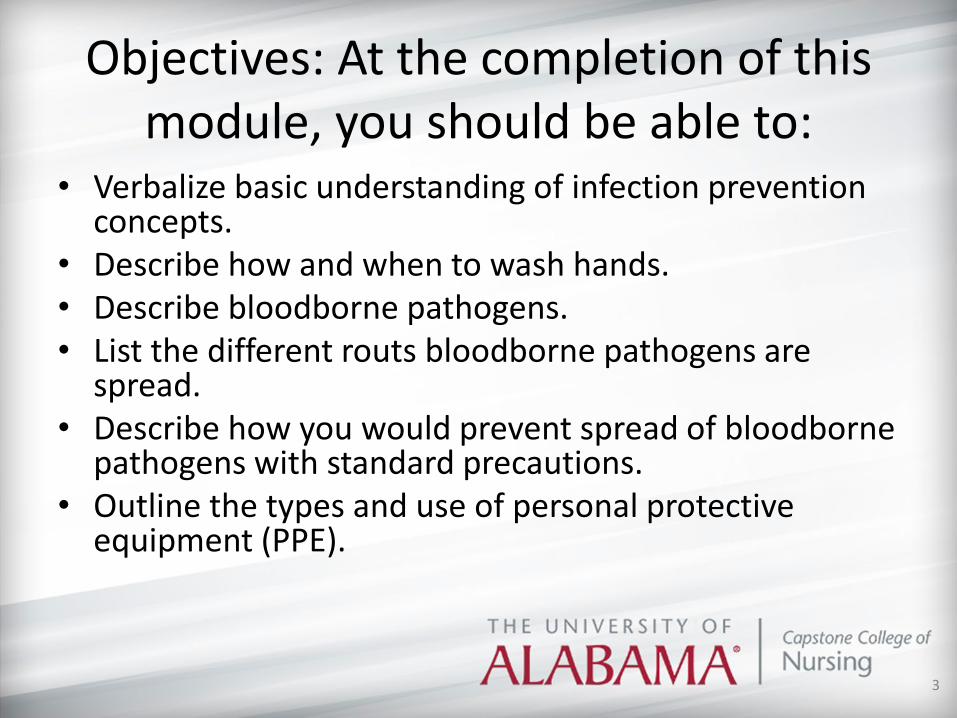
Objectives: At the completion of this module, you should be able to:
• Verbalize basic understanding of infection prevention concepts.
• Describe how and when to wash hands.• Describe bloodborne pathogens.• List the different routs bloodborne pathogens are
spread.• Describe how you would prevent spread of bloodborne
pathogens with standard precautions.• Outline the types and use of personal protective
equipment (PPE).
3

Objectives, continued:
• Describe the action you would take if you had a bloodborne pathogen exposure.
• Identify different types of isolation and PPE to be worn.
• Describe how to don (put on) and remove PPE.• Identify infectious waste and hazardous
pharmaceutical waste.• Identify patient safety concerns.• Recognize role in assuring patient safety.
4
Reminder:
• When reading this module, please know that you are accountable for understanding the information that is presented and if you have any questions, you will need to talk to your instructor/school/facility and find out the answer before going any further.
5
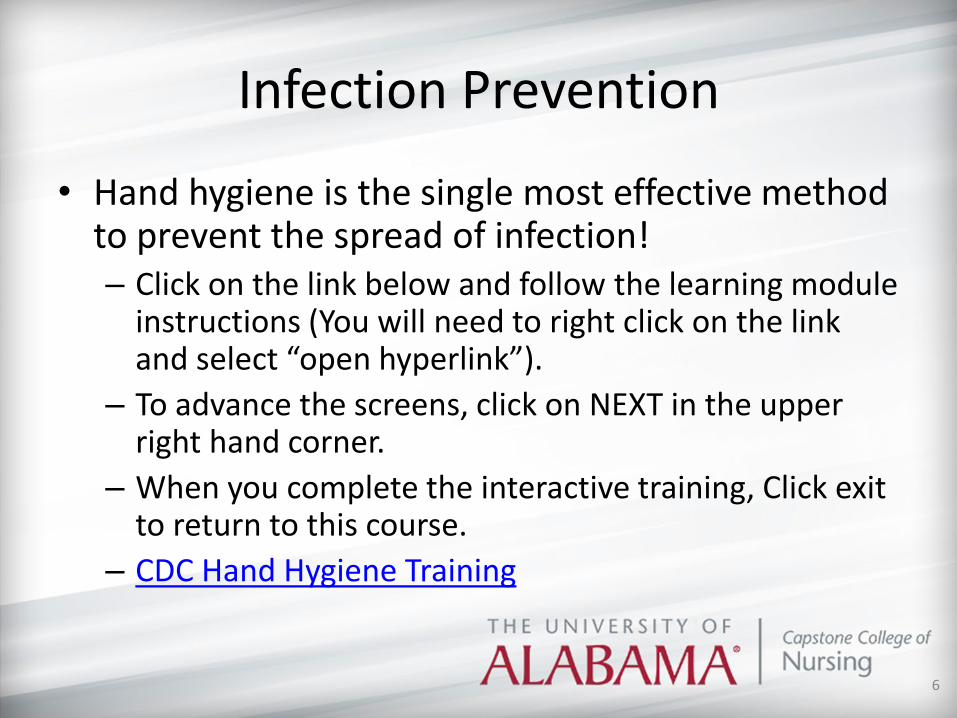
Infection Prevention
• Hand hygiene is the single most effective method to prevent the spread of infection!– Click on the link below and follow the learning module
instructions (You will need to right click on the link and select “open hyperlink”).
– To advance the screens, click on NEXT in the upper right hand corner.
– When you complete the interactive training, Click exit to return to this course.
– CDC Hand Hygiene Training
6
Infection Prevention: Key Point #1
• Use soap and water:– When hands are visibly soiled or contaminated
with blood/body fluids.– After using the restroom.– For 20 seconds.– After using the alcohol-based gel/foam
approximately 5-10 times due to residue of gel ingredients.
– After caring for patients that have C-Diff.
7

Infection Prevention: Key Point #2 • Use an alcohol based, waterless gel or foam:
– For routine cleansing of hands.– Before and after your work shift.– Before and after patient contact.– Before and after using gloves.– Before preparing or administering medication (if applicable
to role).– After blowing nose or covering a sneeze (if visibly soiled,
wash with soap and water).– After contact with body fluids as long as not visibly soiled.– After contact with items used for patient care.
8
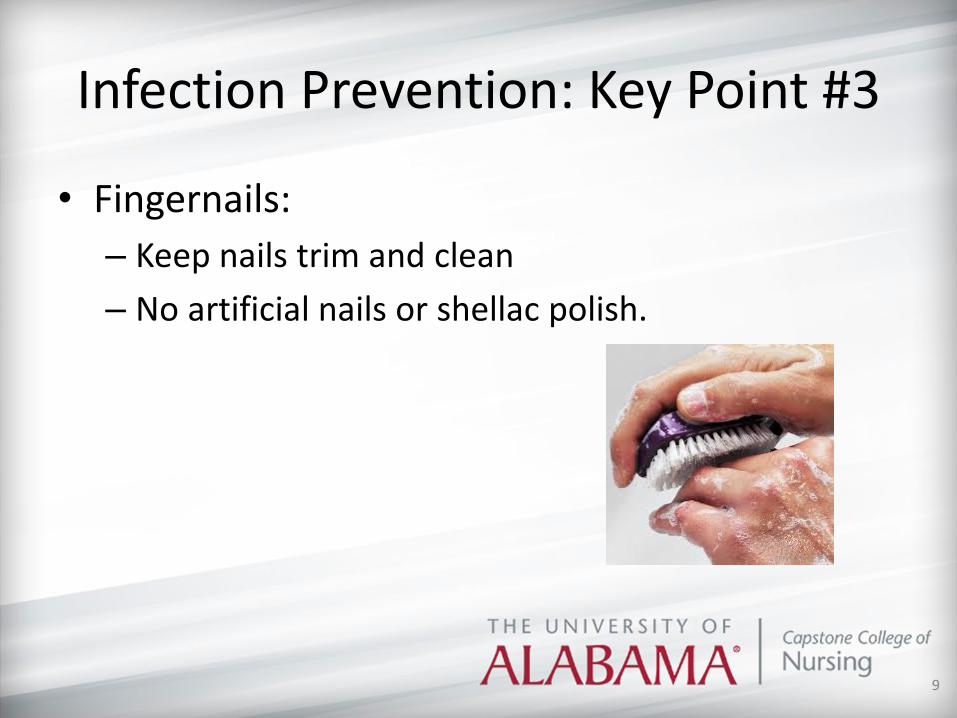
Infection Prevention: Key Point #3
• Fingernails:– Keep nails trim and clean– No artificial nails or shellac polish.
9
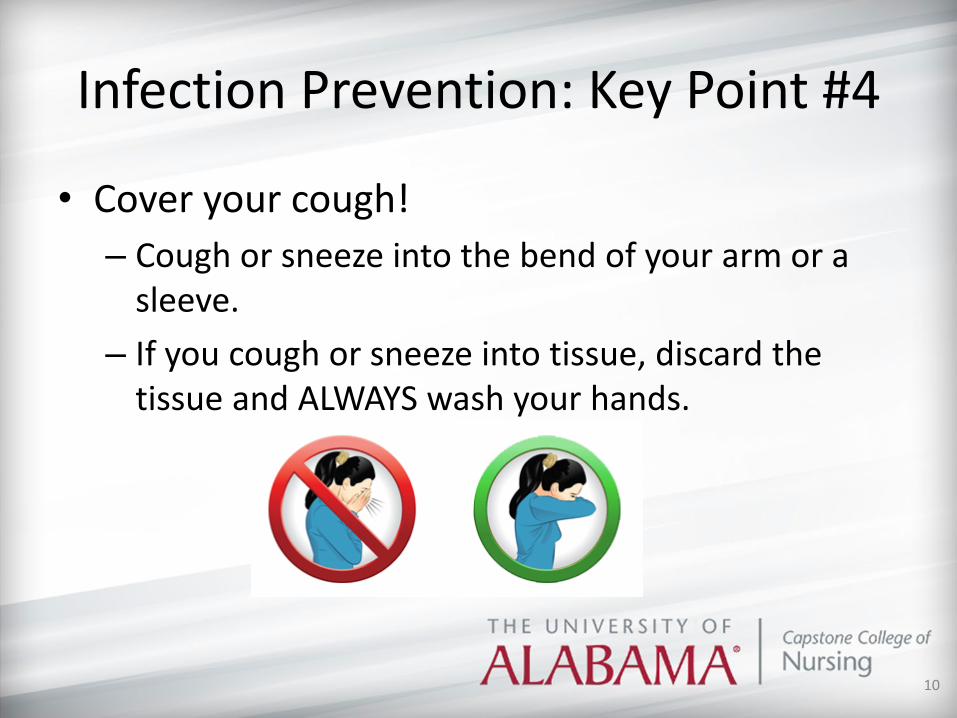
Infection Prevention: Key Point #4
• Cover your cough!– Cough or sneeze into the bend of your arm or a
sleeve.– If you cough or sneeze into tissue, discard the
tissue and ALWAYS wash your hands.
10
Infection Prevention: Standard Precautions
• ANY patient may be potentially infectious.• Protect yourself.• Use Standard Precautions with every patient.• Standard Precautions include wearing
protective items such as gloves, gown or face protection when in contact with any bodily fluid or blood.
11
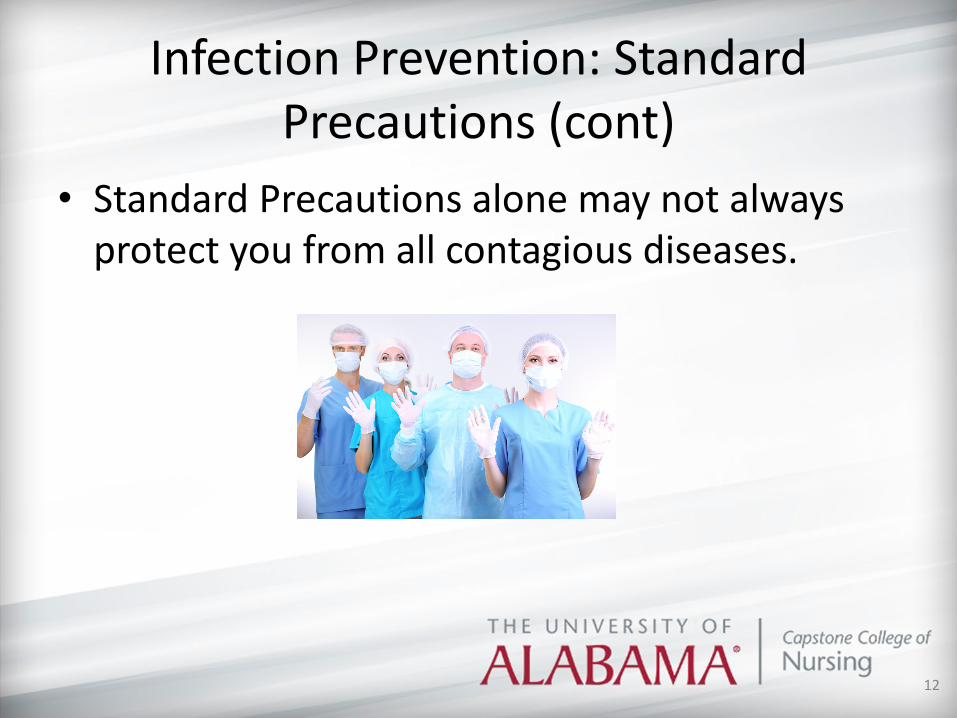
Infection Prevention: Standard Precautions (cont)
• Standard Precautions alone may not always protect you from all contagious diseases.
12
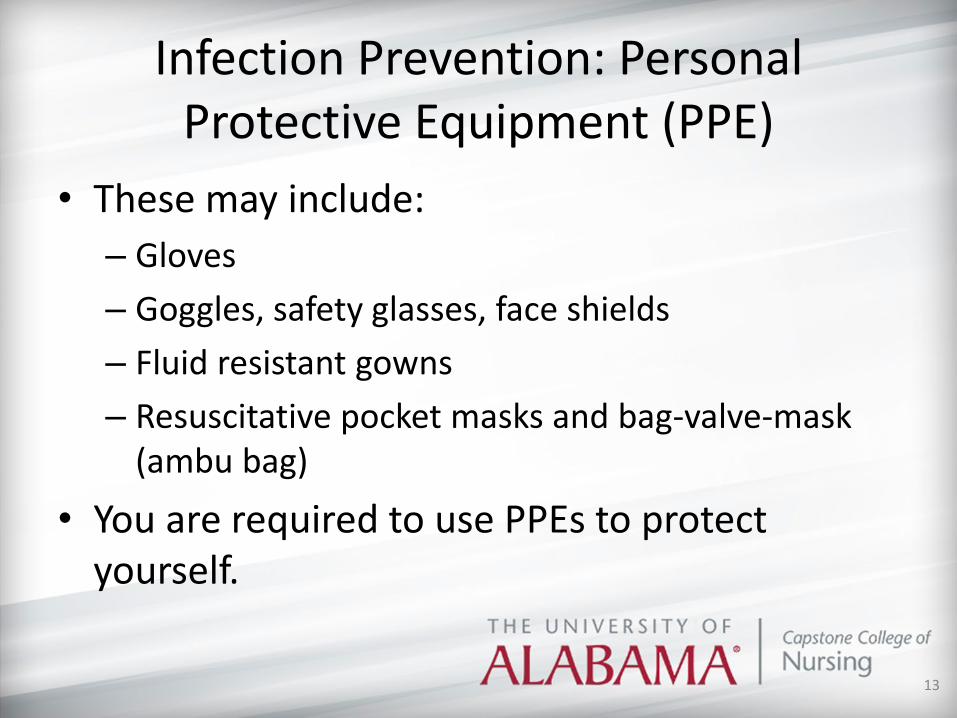
Infection Prevention: Personal Protective Equipment (PPE)
• These may include:– Gloves– Goggles, safety glasses, face shields– Fluid resistant gowns– Resuscitative pocket masks and bag-valve-mask
(ambu bag)
• You are required to use PPEs to protect yourself.
13

Infection Prevention: PPE
• If you anticipate any spraying, splashing, or flaking of body fluids, you should use the correct PPE to protect yourself.
14
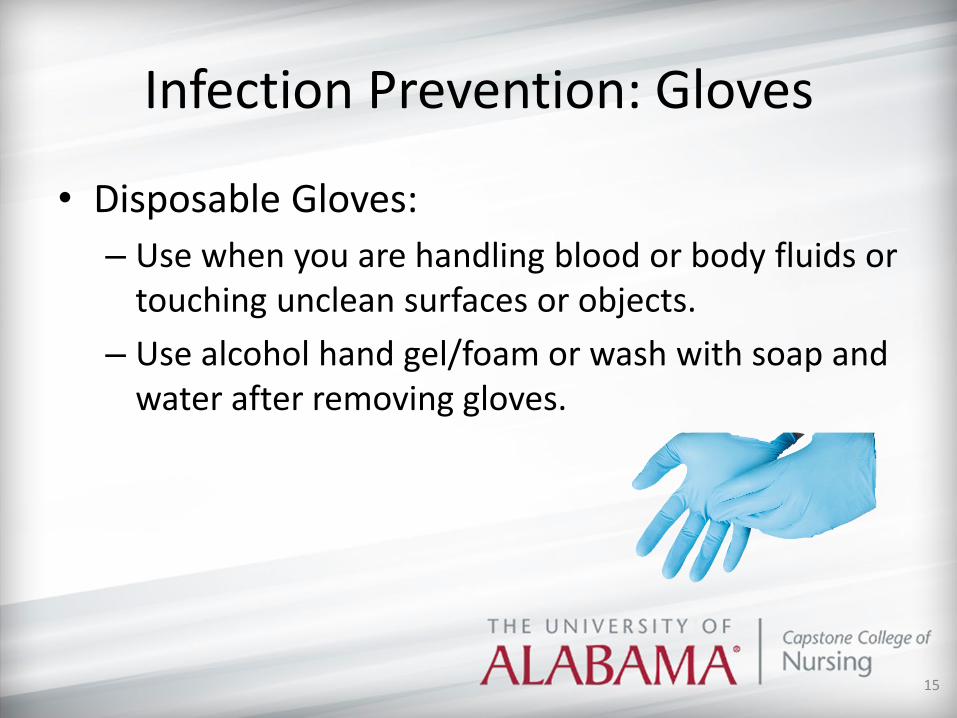
Infection Prevention: Gloves
• Disposable Gloves:– Use when you are handling blood or body fluids or
touching unclean surfaces or objects.– Use alcohol hand gel/foam or wash with soap and
water after removing gloves.
15
Infection Prevention: Sharps
• You can prevent injury while handling sharp medical instruments by:– Using facility approved safety devices.– Always activating safety devices before disposal.– NEVER recapping a used needle.– Following facility policy when administering
medications that require a needle.– Immediately disposing of sharps into a sharps
container.
16
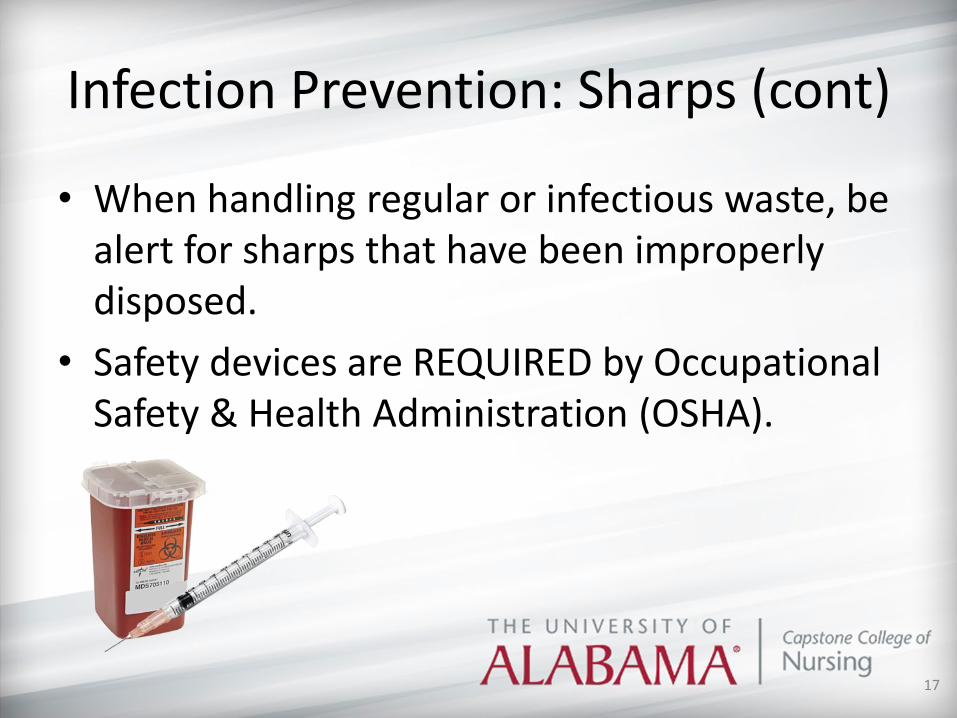
Infection Prevention: Sharps (cont)
• When handling regular or infectious waste, be alert for sharps that have been improperly disposed.
• Safety devices are REQUIRED by Occupational Safety & Health Administration (OSHA).
17

Infection Prevention Policies
• Refer also to facility policies related to infection prevention…look at policy manuals or on-line at facility.
18

Bloodborne Pathogens #1
• Bloodborne pathogens are microorganisms such as viruses or bacteria that are carried in blood and can cause disease in people.
• There are many different bloodborne pathogens including malaria, syphilis, brucellosis, Hepatitis, and HIV.
19

Bloodborne Pathogens #2
• Bloodborne diseases spread basically three ways:
– Blood to blood contact– Sexually– From infected mother to infant (probably at birth)
20

Bloodborne Pathogens #3• ALL blood and bodily fluids are potentially infectious and
can cause the spread of the following serious diseases:– HIV (the virus that causes AIDS)– Hepatitis B– Hepatitis C
• Hepatitis B vaccine is recommended for all students or healthcare workforce members who may be exposed to blood or bodily fluids.– (contact your school or health department for additional
information.)
21
Bloodborne Pathogens #4
• To reduce your risk of exposure to bloodborne pathogens (as well as other diseases), there are several measures you can take.
22
Bloodborne Pathogens #5
1. Effective use of good infection prevention and work practices:
• Hand hygiene• Use of safety devices (e.g.., self-sheathing needles)• Proper handling and disposal of sharps• Appropriate use of PPE
2. Use of Standard Precautions every time you have the possibility of exposure to diseases, blood, or body fluids.
23
Blood Exposure #1
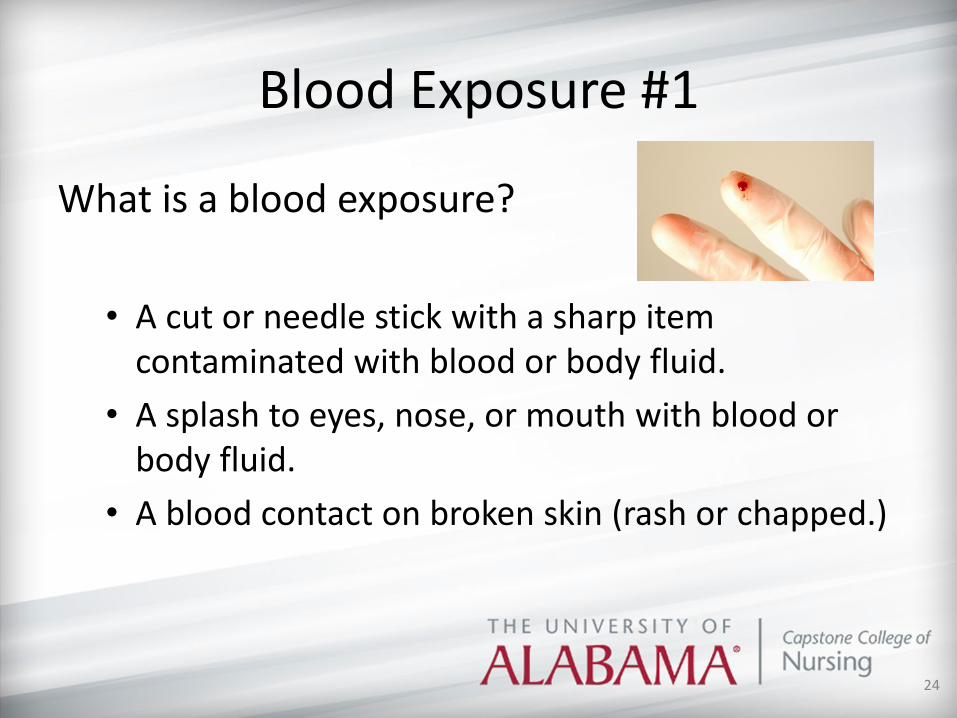
What is a blood exposure?
• A cut or needle stick with a sharp item contaminated with blood or body fluid.
• A splash to eyes, nose, or mouth with blood or body fluid.
• A blood contact on broken skin (rash or chapped.)
24
Blood Exposure #2• What if you are
exposed to the blood or body fluids of a patient?
• What should you do?
Immediately following an exposure to blood*:• Wash needle sticks and cuts
with soap and water.• Flush splashes to the nose,
mouth, or skin with water.• Irrigate eyes with clean
water, saline, or sterile irrigates.
*No scientific evidence shows that using antiseptics or squeezing the would will reduce the risks of transmission of a bloodborne pathogen. Using a caustic agent such as bleach is not recommended. (CDC, 2003)
25
Blood Exposure #3
• Report the exposure promptly to your instructor, the department supervisor, employee health, or infection preventionist at the facility.
• Follow facility and school policies regarding reporting, documentation, and follow-up.
26
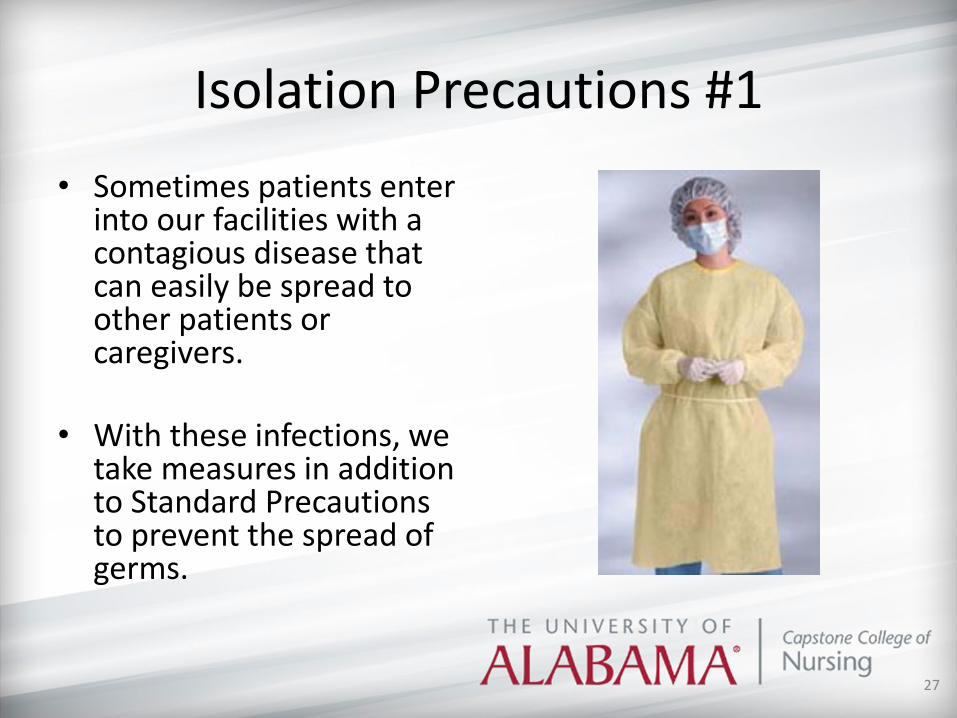
Isolation Precautions #1• Sometimes patients enter
into our facilities with a contagious disease that can easily be spread to other patients or caregivers.
• With these infections, we take measures in addition to Standard Precautions to prevent the spread of germs.
27
Isolation Precautions #2• There are three kinds of isolation precautions:
– Contact– Droplet– Airborne
• Review the facility’s isolation/infection prevention policies for more site specific information.
• Each facility will provide instructions to remind you what PPE to put on (based on the precaution) prior to entering the room.
28
Isolation Precautions #3: Contact• Contact precautions prevent the transmission of germs that
can be spread by direct or indirect patient contact or on environmental surfaces.– Example: Wound with uncontaminated drainage.
• Disposable gloves and gowns are worn for Contact precautions.
• Some facilities will place patients with resistant organism in isolation.– Example: Methicillin-resistant Staphylococcus Aureus (MRSA); or
Carbapenem-resistant Enterobacteriaceae (CRE).– Refer to each facility for guidance.
29

Isolation Precautions #4: Contact PPE
• Before entering the room:– Put on isolation gown: tie at neck and waist– Put on gloves: should cover cuffs of gown
• Before leaving the room:– Remove gloves: discard in wastebasket– Untie waste– Untie neck– Remove gown and discard in wastebasket– Sanitize hands with alcohol hand rub or wash with soap
and water if visibly soiled
30
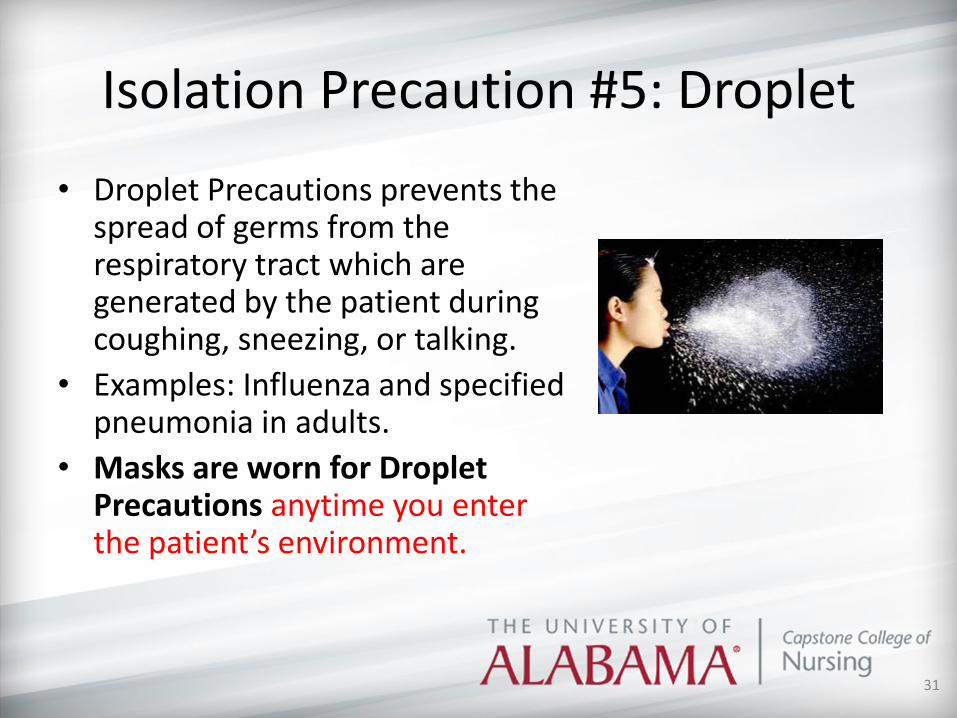
Isolation Precaution #5: Droplet• Droplet Precautions prevents the
spread of germs from the respiratory tract which are generated by the patient during coughing, sneezing, or talking.
• Examples: Influenza and specified pneumonia in adults.
• Masks are worn for Droplet Precautions anytime you enter the patient’s environment.
31
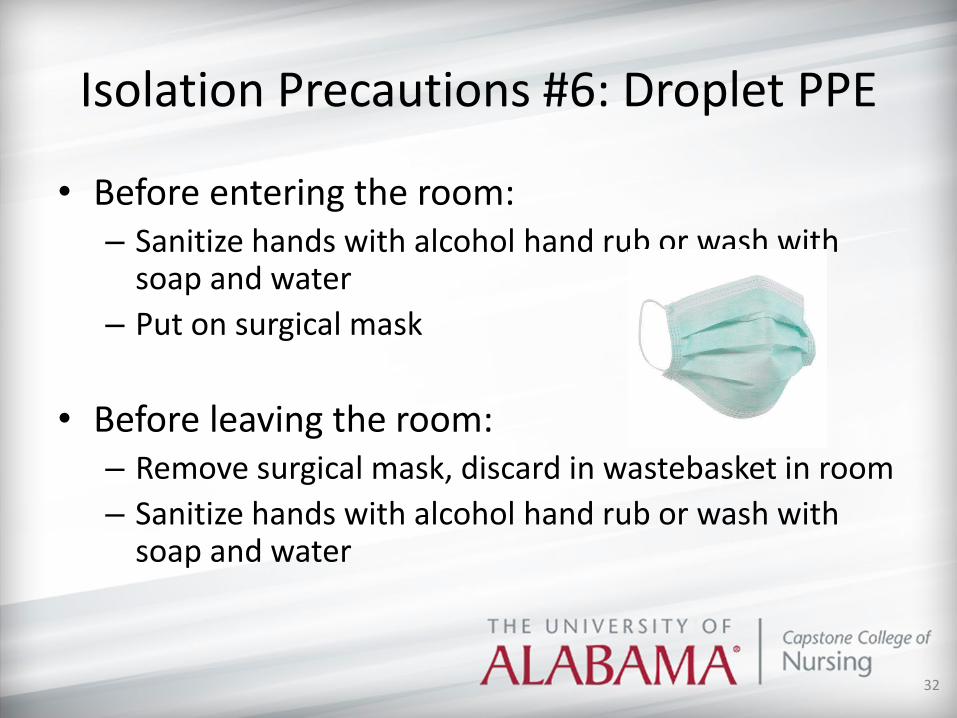
Isolation Precautions #6: Droplet PPE
• Before entering the room:– Sanitize hands with alcohol hand rub or wash with
soap and water– Put on surgical mask
• Before leaving the room:– Remove surgical mask, discard in wastebasket in room– Sanitize hands with alcohol hand rub or wash with
soap and water
32
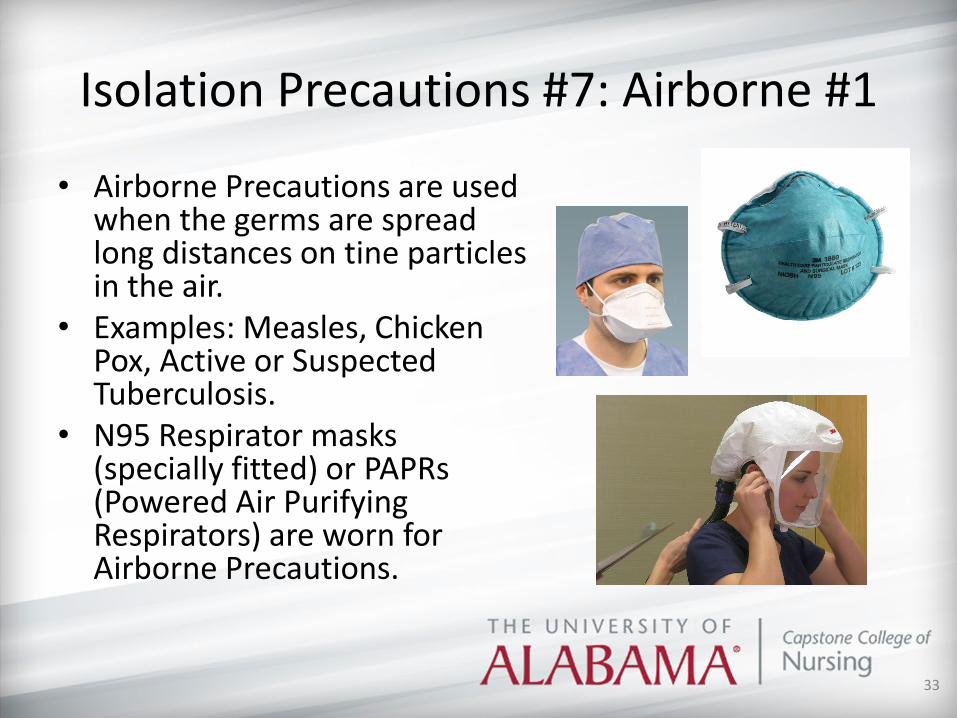
Isolation Precautions #7: Airborne #1
• Airborne Precautions are used when the germs are spread long distances on tine particles in the air.
• Examples: Measles, Chicken Pox, Active or Suspected Tuberculosis.
• N95 Respirator masks (specially fitted) or PAPRs (Powered Air Purifying Respirators) are worn for Airborne Precautions.
33
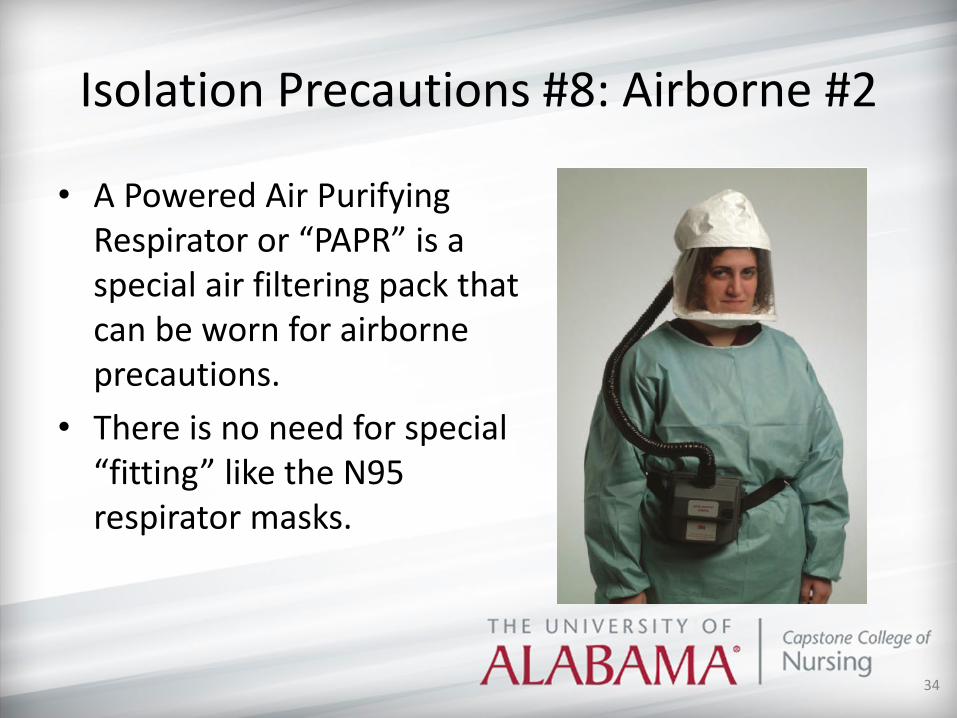
Isolation Precautions #8: Airborne #2
• A Powered Air Purifying Respirator or “PAPR” is a special air filtering pack that can be worn for airborne precautions.
• There is no need for special “fitting” like the N95 respirator masks.
34
Isolation Precautions #9: Airborne #3
• A patient with suspected or confirmed TB or other airborne disease must be placed in a negative pressure room.
• You cannot go into a negative pressure room without a special respirator.
• Students may or may not be assigned to patients in Negative Pressure Rooms – check with the facility.
35
Isolation Precautions #10• Some patients may have an increased chance of acquiring
infections.
• Good hand washing is critical.
• Standard Precautions are used.– Example: A chemotherapy patient may have low immunity to disease.– Using excellent standard precautions and hand washing will help
prevent transmission of illness.
Check with facility policies and/or websites for additional information.
36
SEQUENCE FOR PUTTING ON & REMOVING PERSONAL PROTECTIVE
EQUIPMENTCDC Recommendations
37
Sequence for Putting on Personal Protective Equipment (PPE)
The type of PPE used will vary based on the level of precautions required, such as standard and contact, droplet or airborne infection isolation precautions. The procedure for putting on and removing PPE should be tailored to five specific type of PPE.
38

Sequence for Putting on Personal Protective Equipment (PPE) #1
• Gown– Fully cover torso from neck to knees, arms to
end of wrists, and wrap around the back– Fasten in back of neck and waist
39

Sequence for Putting on Personal Protective Equipment (PPE) #2
• Mask or respirator– Secure ties or elastic bands at middle of head
and neck– Fit flexible band to nose bridge– Fit snug to face and below chin– Fit-check respirator
40
Sequence for Putting on Personal Protective Equipment (PPE) #3
• Goggles or face shield– Place over face and eyes, and adjust to fit
• Gloves– Extend to cover wrist of isolation gown
41
Sequence for Putting on Personal Protective Equipment (PPE) #4
Use safe work practices to protect yourself, and limit the spread of contamination.• Keep hands away from face• Limit surfaces touched• Change gloves when torn or heavily contaminated• Perform hand hygiene
42
Sequence for Removing Personal Protective Equipment (PPE)
Except for respirator, remove PPE at doorway or in anteroom. Remove respirator after leaving patient room and closing door.
43
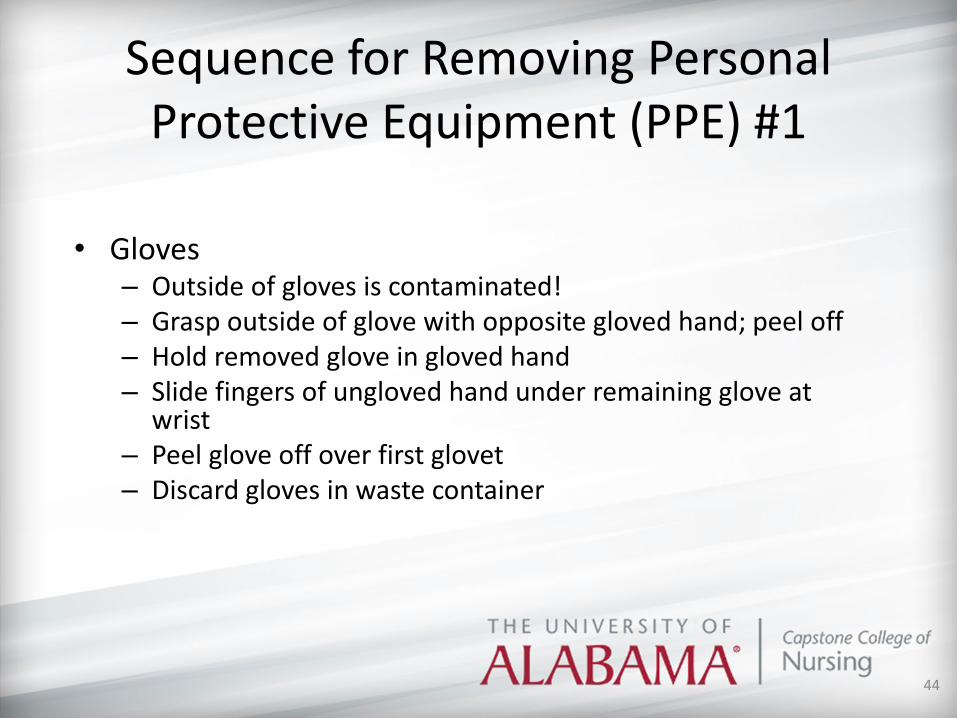
Sequence for Removing Personal Protective Equipment (PPE) #1
• Gloves– Outside of gloves is contaminated!– Grasp outside of glove with opposite gloved hand; peel off– Hold removed glove in gloved hand– Slide fingers of ungloved hand under remaining glove at
wrist– Peel glove off over first glovet– Discard gloves in waste container
44
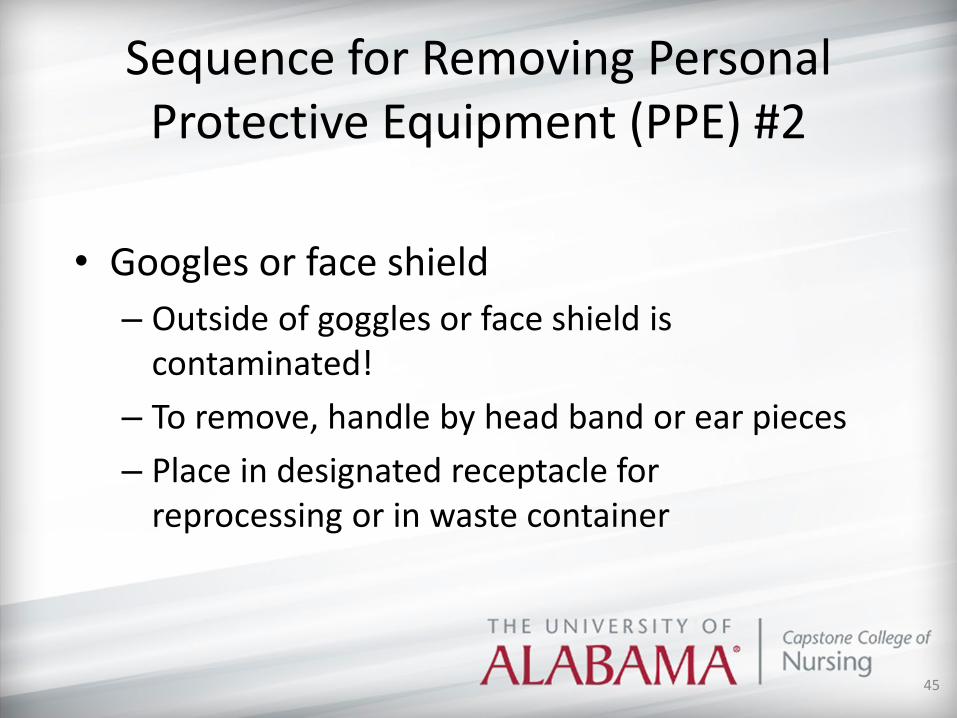
Sequence for Removing Personal Protective Equipment (PPE) #2
• Googles or face shield– Outside of goggles or face shield is
contaminated!– To remove, handle by head band or ear pieces– Place in designated receptacle for
reprocessing or in waste container
45
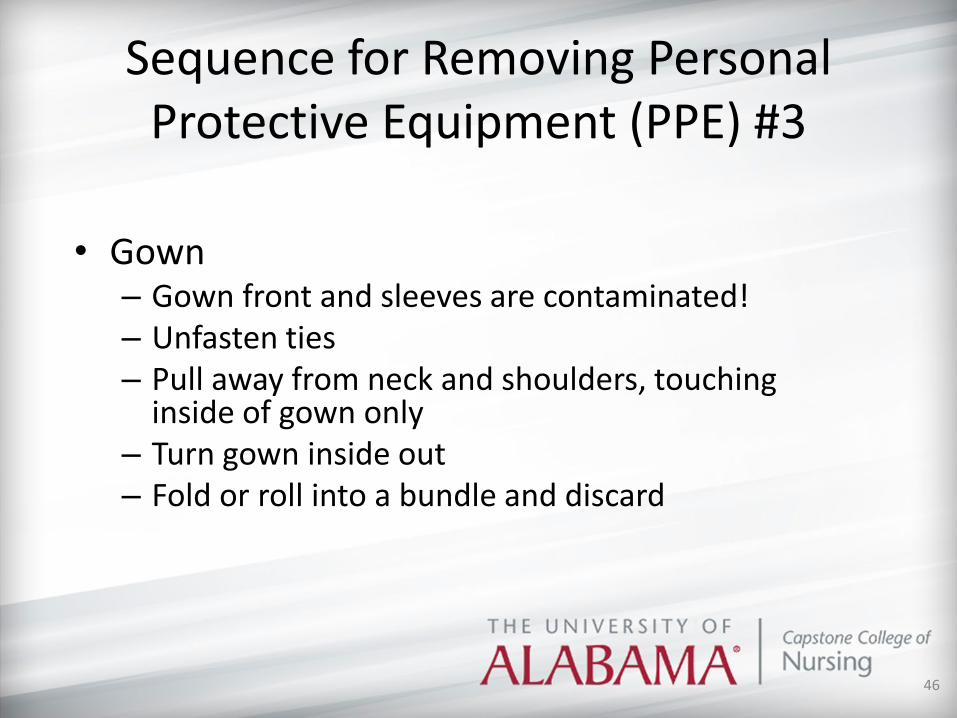
Sequence for Removing Personal Protective Equipment (PPE) #3
• Gown– Gown front and sleeves are contaminated!– Unfasten ties– Pull away from neck and shoulders, touching
inside of gown only– Turn gown inside out– Fold or roll into a bundle and discard
46
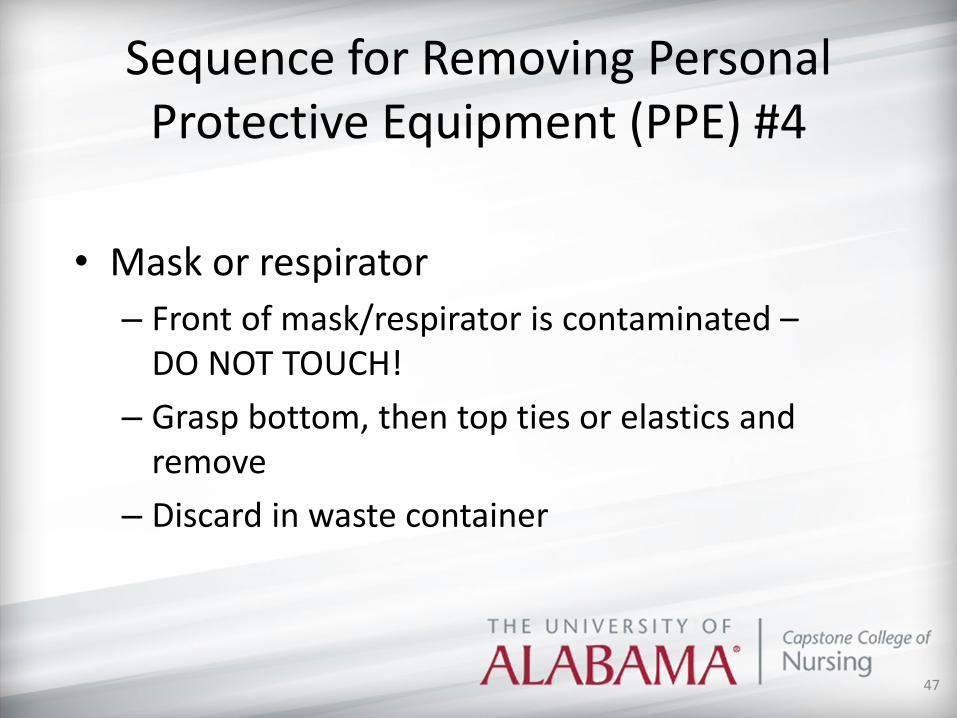
Sequence for Removing Personal Protective Equipment (PPE) #4
• Mask or respirator– Front of mask/respirator is contaminated –
DO NOT TOUCH!– Grasp bottom, then top ties or elastics and
remove– Discard in waste container
47
Sequence for Removing Personal Protective Equipment (PPE) #5
Perform hand hygiene between steps if hands become contaminated, and immediately after removing all PPE.
48
PPE Key Tips
• Putting PPE on:– Be sure to wrap gown fully around body.– Always tie in BACK, not in front.– Pull gloves over cuffs of gown.– Check the fit of mask or respirator.
49
PPE Key Tips (cont)
*Remember, the outside of gloves, gowns, masks, or goggles are contaminated!
• Taking PPE off:– Start with gloves, goggles/shield, gown, then masks or
respirator.– When removing gloves, peel glove off over first glove.– When pulling away gown, do not touch outside of gown.
• Remove by folding inward, turning inside out, and roll into a ball or bundle.
50
INFECTIOUS & HAZARDOUS PHARMACEUTICAL WASTE
51
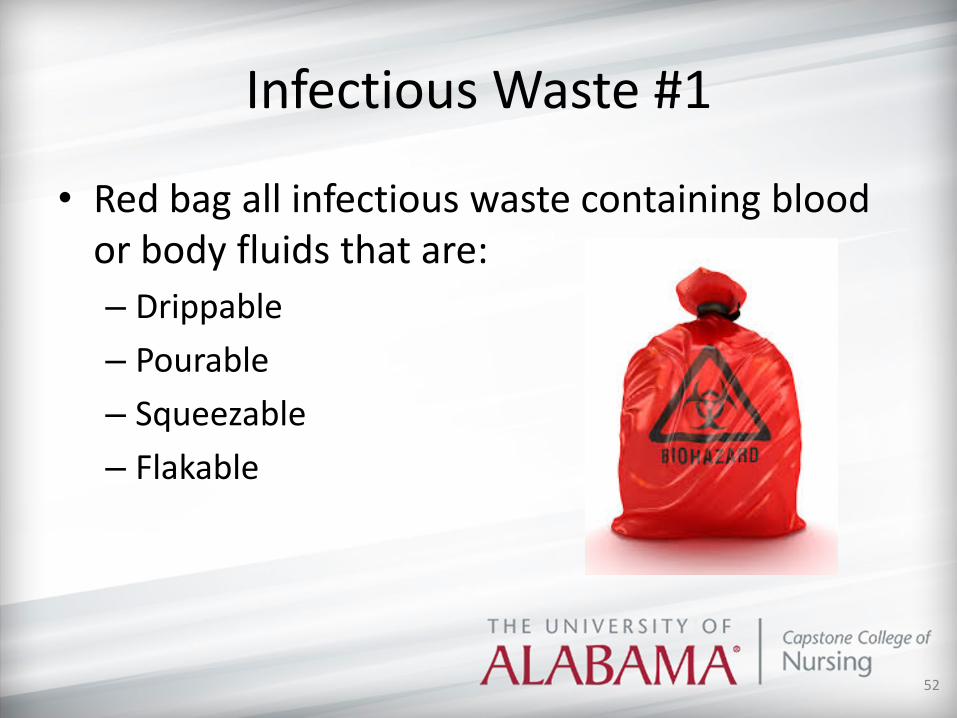
Infectious Waste #1
• Red bag all infectious waste containing blood or body fluids that are:– Drippable– Pourable– Squeezable– Flakable
52
Infectious Waste #2
• High-risk body fluids include:– Blood– Semen– Vaginal secretions– Pleural fluid– Amniotic fluid– Spinal fluid
53
Infectious Waste #3These items DO NOT belong in Red Bag
• IV Bags and lines without visible blood
• Syringes without blood and needles
• PPE without blood• Packaging materials• Empty bedpans, emesis
basins, wash basins and urinals
• Empty medication vials• Stool blood cards• Paper toweling• Exam table paper• Diapers and underpads
only spotted with blood• Dressings and bandages
only spotted with blood
54

Infectious Waste #4
Remember……..Only blood or body fluids that are:
– Drippable – Pourable– Squeezable– Flakable
Go into the infectious waste containers or Red Bags.
55
Hazardous Pharmaceutical Waste #1
• Products used in the health care industry, such as chemotherapy drugs, some pharmaceuticals (drugs/medications), etc., can harm the environment and human health if they are not disposed of properly.
• For many years, flushing excess amounts of chemicals down the drain has been a common practice.
56

Hazardous Pharmaceutical Waste #2
• Recent studies indicate that some of these chemicals are passing through wastewater treatment systems and entering our waterways.
• May affect drinking water supplies for local municipalities.
57
Hazardous Pharmaceutical Waste #3
• Detectable levels of hormones, antibiotics, antidepressants and other chemicals have been found in fish and aquatic life.
• Fish are beginning to show signs of becoming “feminized” or are sterile.
58
Hazardous Pharmaceutical Waste #4
Some of these chemicals are classified as:– Human mutagens (alter genes)– Carcinogens (cancer causing)– Teratagens (harm embryo or fetus)
59
Hazardous Pharmaceutical Waste #5
• The EPA and DNR are beginning to impose fines on facilities who do not dispose of pharmaceutical waste properly.
• Check with facility policies and procedures on how to dispose of any hazardous pharmaceutical wastes.
60
PATIENT SAFETY
61

Patient Safety #1
Why is patient safety so important?– Healthcare nationwide causes more preventable harm
to people than most industries today.– The harm caused is equivalent to TEN 747 jets
crashing every week!– In addition, the costs for preventable harm are in the
billions, taxing an already fragile healthcare system.– Safety goals are created to help healthcare workers
become more aware of practices intended to keep patients safe.
62
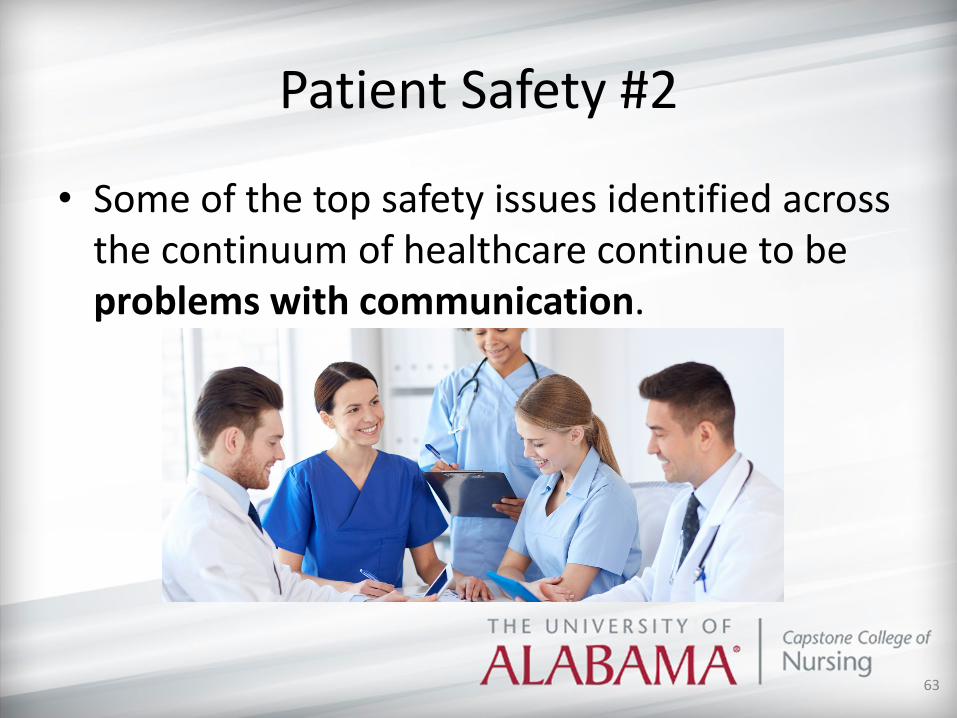
Patient Safety #2
• Some of the top safety issues identified across the continuum of healthcare continue to be problems with communication.
63
Patient Safety #3
• Examples of Safety Concerns include:– Not always correctly identifying patients.– Not communicating important information
between facilities, providers and/or departments.– Incomplete documentation.– Performing the wrong procedure, or giving the
wrong medication to the wrong patient.(Just to name a few….)
64
Patient Safety #4
Other patient safety concerns or risks include:– Risk for falls– Risk for skin breakdown– Risk for infection caused by healthcare workers– Risk for the wrong dose of medication
We all need to work toward preventing these safety risks.
65
Patient Safety #5
• There is a nationwide movement to improve patient safety.
• Agencies such as The Joint Commission, (an accrediting agency) have identified safety goals that will help protect patients.
66
Patient Safety #6
• The Joint Commission has identified several “National Patient Safety Goals.”
• The following slide has a link to safety goals identified in a variety of patient care settings.
• Patient safety is a significant concern for all healthcare workforce members!
67
Patient Safety #7
• Click on the following link: National Patient Safety Goals
• Find the type of healthcare setting where you will be doing clinicals, and review the appropriate patient safety goals.
68