Embed Size (px)
Citation preview
ISIS/Draw "Quick Start"
Click to print, or click
Drawing Molecules* Basic Strategy 5.1* Drawing Structures with Template tools and template pages 5.2* Drawing bonds and chains 5.3* Drawing atoms 5.4* Selecting and deselecting atoms, bonds, and structures 5.5* Deleting atoms, bonds, and structures 5.6* Editing atoms, bonds, and structures 5.7* Resizing or scaling structures 5.8* Moving atoms, bonds, and structures 5.9* Drawing with the keyboard 5.10* Drawing structures for presentation graphics 5.11
Recovering From Problems 5.12Changing ISIS/Draw Settings 5.13Drawing Reactions
* Basic strategy 5.14* Editing a reaction 5.15
Working with Text 5.16Specifying Query Features for an ISIS/Base Search 5.17Transferring Queries From ISIS/Draw Back to ISIS/Base 5.18
document, click the Printer icon at the top of the screen.
basic concepts that you need to know to quickly learn ISIS/Draw. For additional information, see the ISIS/Draw Table of Contents, or click Search to use the Help system index.
We assume that you know how to move and scroll windows, select objects, and choose menu commands. We also assume that you know how to use Copy and Paste and how to edit text.
Note: This document does not discuss how to draw ISIS/Base forms. For more information, see Creating and Editing
Forms in the ISIS/Base Table of Contents.
Drawing Molecules
5.1 Basic StrategyTo draw molecules, do the following:
1. Draw the basic framework with template tools, templates from a template page, and drawing tools.
2. Edit atoms, bonds, and molecules as necessary. All atoms are carbons unless you specify otherwise.
3. (Optional) Use Chem Inspector to ensure that the molecule’s chemistry is correct before you register or use the molecule to search in ISIS/Base. For more information, see Verifying the Chemistry of Sketches in the ISIS/Draw Table of Contents.
4. (Optional) To ensure that a molecule has uniform bond lengths and angles, select the molecule, and then choose Object > Clean Molecule.
5.2 Drawing structures with template tools and template pages
structures. A template tool allows you to use one specific structure, whereas a template page contains many structures from which to choose.
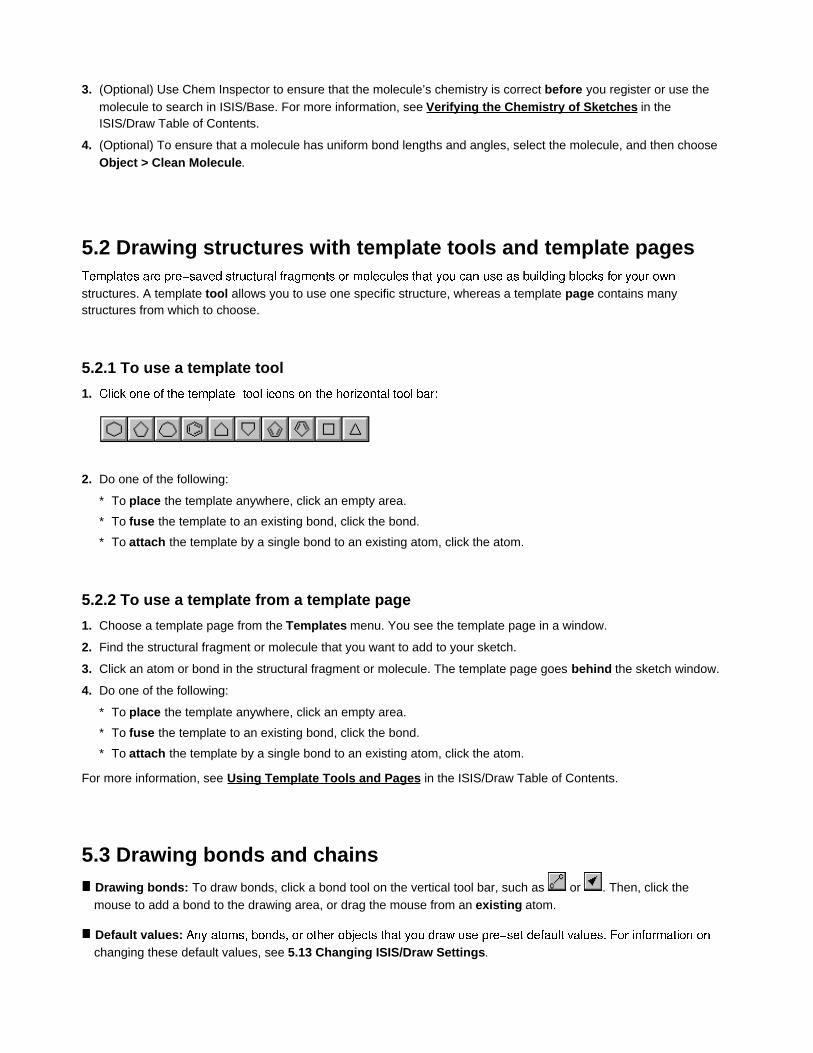
5.2.1 To use a template tool
1.
2. Do one of the following:
* To place the template anywhere, click an empty area.
* To fuse the template to an existing bond, click the bond.
* To attach the template by a single bond to an existing atom, click the atom.
5.2.2 To use a template from a template page
1. Choose a template page from the Templates menu. You see the template page in a window.
2. Find the structural fragment or molecule that you want to add to your sketch.
3. Click an atom or bond in the structural fragment or molecule. The template page goes behind the sketch window.
4. Do one of the following:
* To place the template anywhere, click an empty area.
* To fuse the template to an existing bond, click the bond.
* To attach the template by a single bond to an existing atom, click the atom.
For more information, see Using Template Tools and Pages in the ISIS/Draw Table of Contents.
5.3 Drawing bonds and chainsDrawing bonds: To draw bonds, click a bond tool on the vertical tool bar, such as or . Then, click the mouse to add a bond to the drawing area, or drag the mouse from an existing atom.
Default values:changing these default values, see 5.13 Changing ISIS/Draw Settings.
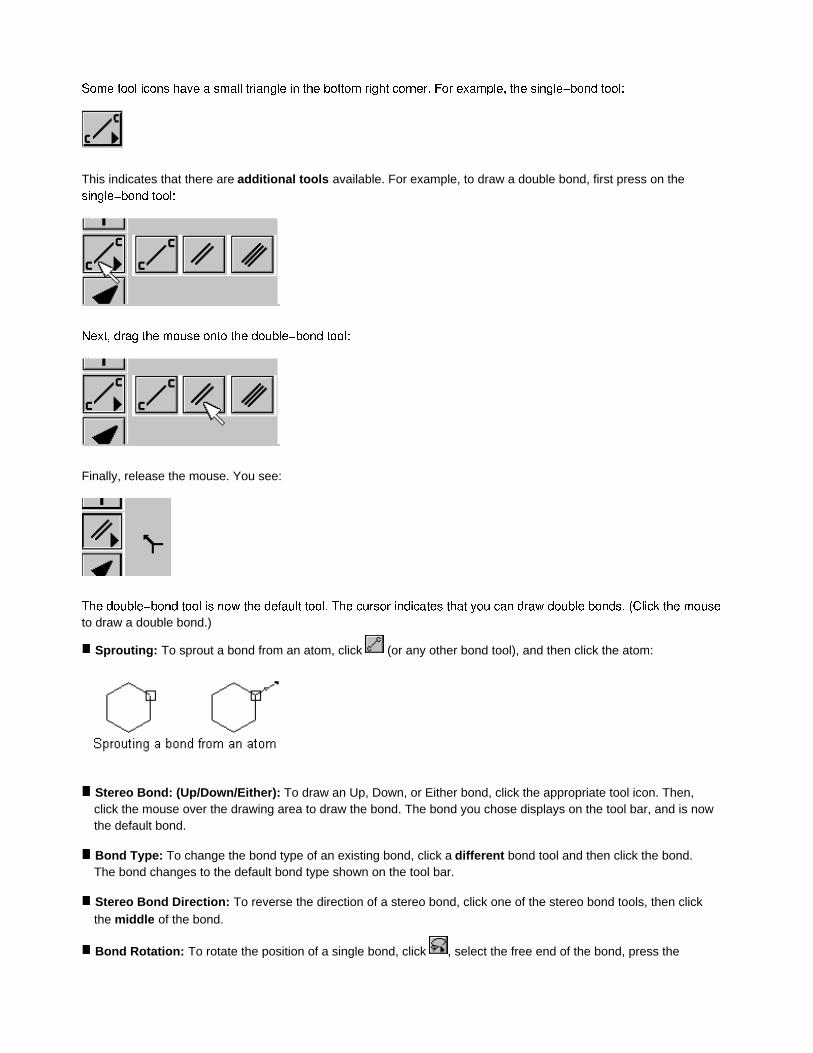
This indicates that there are additional tools available. For example, to draw a double bond, first press on the
Finally, release the mouse. You see:
to draw a double bond.)
Sprouting: To sprout a bond from an atom, click (or any other bond tool), and then click the atom:
Stereo Bond: (Up/Down/Either): To draw an Up, Down, or Either bond, click the appropriate tool icon. Then, click the mouse over the drawing area to draw the bond. The bond you chose displays on the tool bar, and is now the default bond.
Bond Type: To change the bond type of an existing bond, click a different bond tool and then click the bond. The bond changes to the default bond type shown on the tool bar.
Stereo Bond Direction: To reverse the direction of a stereo bond, click one of the stereo bond tools, then click the middle of the bond.
Bond Rotation: To rotate the position of a single bond, click , select the free end of the bond, press the
mouse and drag to the desired position and length.
Standard Bond Length: To change the standard bond length, choose Options > Settings, and then click the Chemical Drawing tab. Click the Standard bond/grid length box, and enter or choose a bond length. Then, choose the unit of measure. For more information on changing default values, see 5.13 Changing ISIS/Draw Settings.
Drawing Chains: To draw chains in one direction, click and then press and drag the mouse. To draw
continuous bonds that follow the position of your mouse, click and then press and drag the mouse in the desired direction. You can draw rings and other molecules of specific shapes with this tool.
Other Objects: You draw other objects, such as lines, boxes, arrows, and polygons as follows: Click the appropriate tool, and then press and drag the mouse to draw the object.
Help on Tools: To see help information for any of the tools on the horizontal or vertical tool bars, move the cursor over the tool, and then press the mouse. To turn this help on or off, choose Options > Settings, click the General tab, and set Show toolbar help messages. You can also find more information in Tools on the ISIS/Draw Table of Contents.
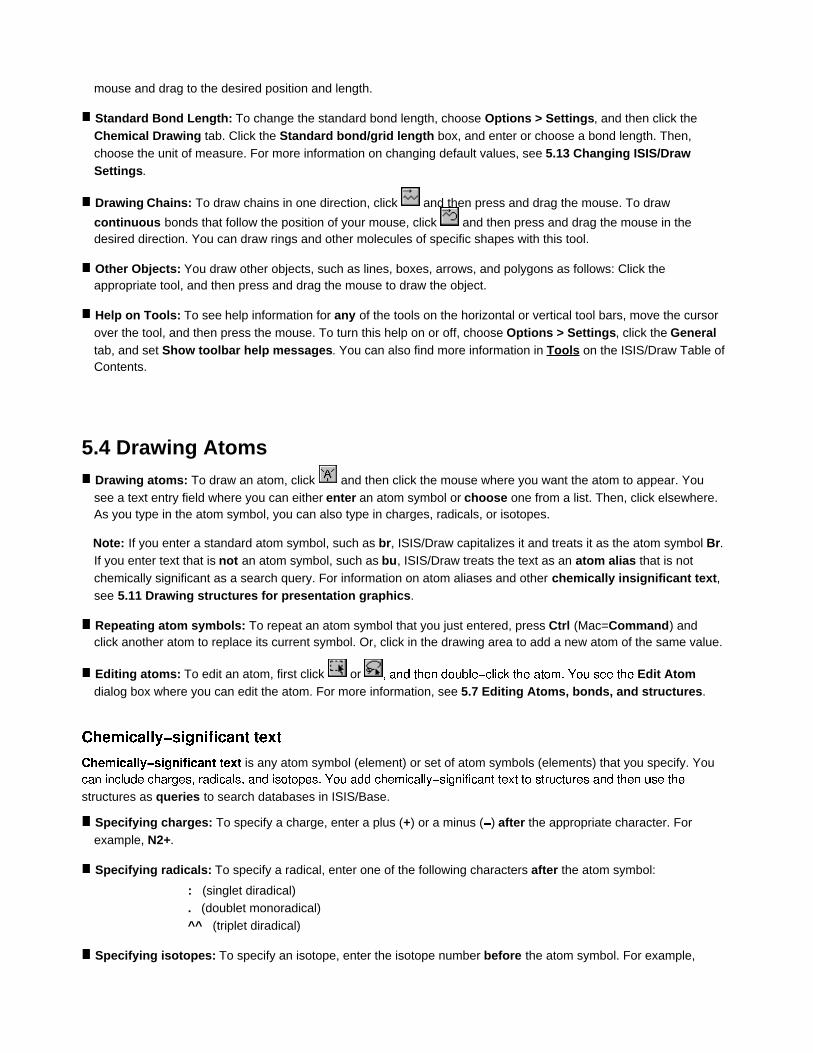
5.4 Drawing AtomsDrawing atoms: To draw an atom, click and then click the mouse where you want the atom to appear. You see a text entry field where you can either enter an atom symbol or choose one from a list. Then, click elsewhere. As you type in the atom symbol, you can also type in charges, radicals, or isotopes.
Note: If you enter a standard atom symbol, such as br, ISIS/Draw capitalizes it and treats it as the atom symbol Br. If you enter text that is not an atom symbol, such as bu, ISIS/Draw treats the text as an atom alias that is not chemically significant as a search query. For information on atom aliases and other chemically insignificant text, see 5.11 Drawing structures for presentation graphics.
Repeating atom symbols: To repeat an atom symbol that you just entered, press Ctrl (Mac=Command) and click another atom to replace its current symbol. Or, click in the drawing area to add a new atom of the same value.
Editing atoms: To edit an atom, first click or Edit Atom dialog box where you can edit the atom. For more information, see 5.7 Editing Atoms, bonds, and structures.
is any atom symbol (element) or set of atom symbols (elements) that you specify. You
structures as queries to search databases in ISIS/Base.
Specifying charges: To specify a charge, enter a plus (+) or a minus ( ) after the appropriate character. For example, N2+.
Specifying radicals: To specify a radical, enter one of the following characters after the atom symbol:
: (singlet diradical). (doublet monoradical)^^ (triplet diradical)
Specifying isotopes: To specify an isotope, enter the isotope number before the atom symbol. For example,
16O.
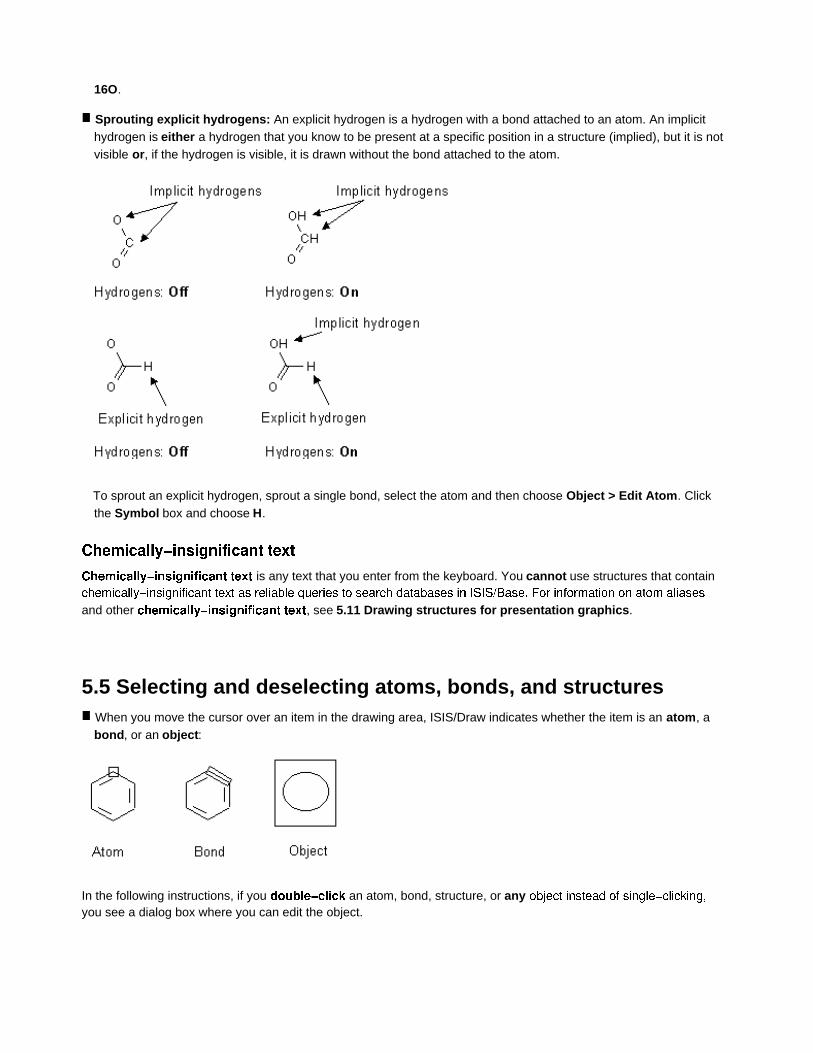
Sprouting explicit hydrogens: An explicit hydrogen is a hydrogen with a bond attached to an atom. An implicit hydrogen is either a hydrogen that you know to be present at a specific position in a structure (implied), but it is not visible or, if the hydrogen is visible, it is drawn without the bond attached to the atom.
To sprout an explicit hydrogen, sprout a single bond, select the atom and then choose Object > Edit Atom. Click the Symbol box and choose H.
is any text that you enter from the keyboard. You cannot use structures that contain
and other , see 5.11 Drawing structures for presentation graphics.
5.5 Selecting and deselecting atoms, bonds, and structuresWhen you move the cursor over an item in the drawing area, ISIS/Draw indicates whether the item is an atom, a bond, or an object:
In the following instructions, if you an atom, bond, structure, or anyyou see a dialog box where you can edit the object.
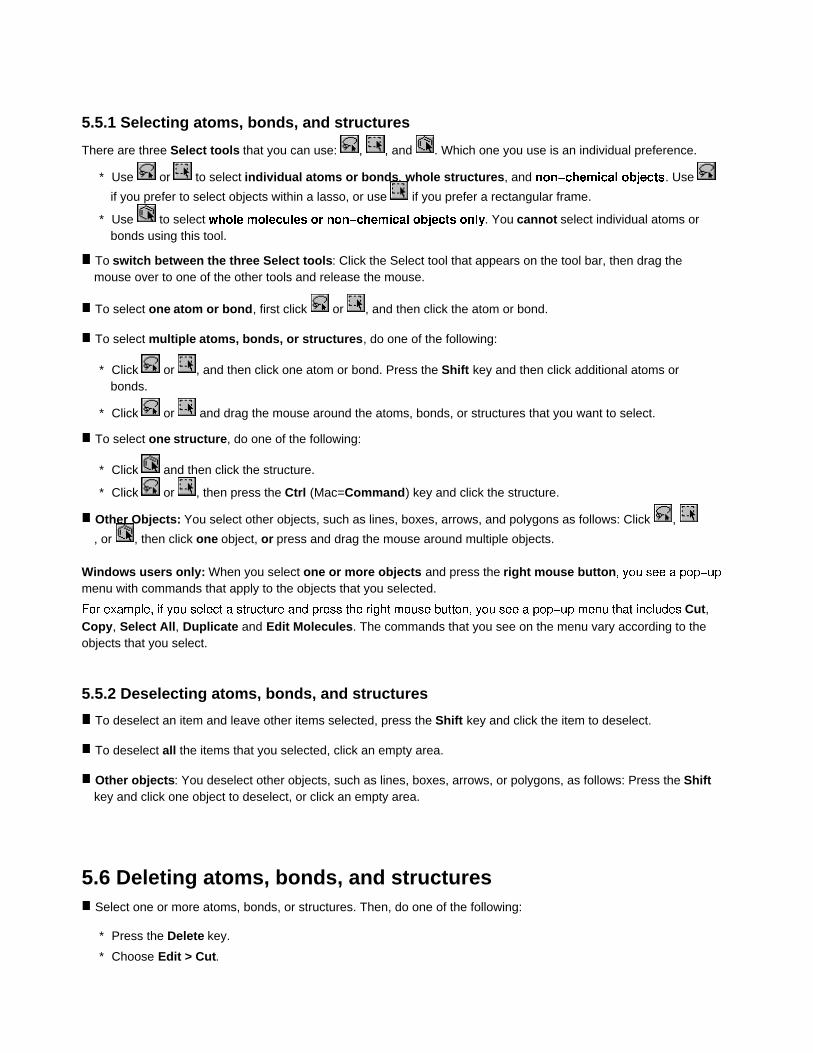
5.5.1 Selecting atoms, bonds, and structures
There are three Select tools that you can use: , , and . Which one you use is an individual preference.
* Use or to select individual atoms or bonds, whole structures, and . Use
if you prefer to select objects within a lasso, or use if you prefer a rectangular frame.
* Use to select . You cannot select individual atoms or bonds using this tool.
To switch between the three Select tools: Click the Select tool that appears on the tool bar, then drag the mouse over to one of the other tools and release the mouse.
To select one atom or bond, first click or , and then click the atom or bond.
To select multiple atoms, bonds, or structures, do one of the following:
* Click or , and then click one atom or bond. Press the Shift key and then click additional atoms or bonds.
* Click or and drag the mouse around the atoms, bonds, or structures that you want to select.
To select one structure, do one of the following:
* Click and then click the structure.
* Click or , then press the Ctrl (Mac=Command) key and click the structure.
Other Objects: You select other objects, such as lines, boxes, arrows, and polygons as follows: Click ,
, or , then click one object, or press and drag the mouse around multiple objects.
Windows users only: When you select one or more objects and press the right mouse buttonmenu with commands that apply to the objects that you selected.
Cut, Copy, Select All, Duplicate and Edit Molecules. The commands that you see on the menu vary according to the objects that you select.
5.5.2 Deselecting atoms, bonds, and structures
To deselect an item and leave other items selected, press the Shift key and click the item to deselect.
To deselect all the items that you selected, click an empty area.
Other objects: You deselect other objects, such as lines, boxes, arrows, or polygons, as follows: Press the Shift key and click one object to deselect, or click an empty area.
5.6 Deleting atoms, bonds, and structuresSelect one or more atoms, bonds, or structures. Then, do one of the following:
* Press the Delete key.
* Choose Edit > Cut.
To delete atoms or bonds one at a time, click , then click an atom or bond.
Note: When you delete an atom, any bonds attached to that atom are also deleted.
Other objects: You delete other types of objects, such as lines, arrows, boxes, Rgroup labels, and so on, as
follows: Click and then click an object; or select the objects and press the Delete key or choose Edit > Cut.
Deleting all objects in the drawing area: To delete all of the objects in the drawing area, first choose Edit > Select All, and then press the Delete key or choose Edit > Cut.
5.7 Editing atoms, bonds, and structuresYou can edit an atom, bond, or structure. This can include such things as changing the atom symbols, adding a charge, or changing a bond from a double to a triple bond.
To edit atoms, bonds, or structures, do the following:
1. Click or . Click if you want to edit an entire structure, not individual atoms or bonds.
2. Select the atoms, bonds, or structures to edit.
3. Do one of the following:
*
* Choose Object > Edit.
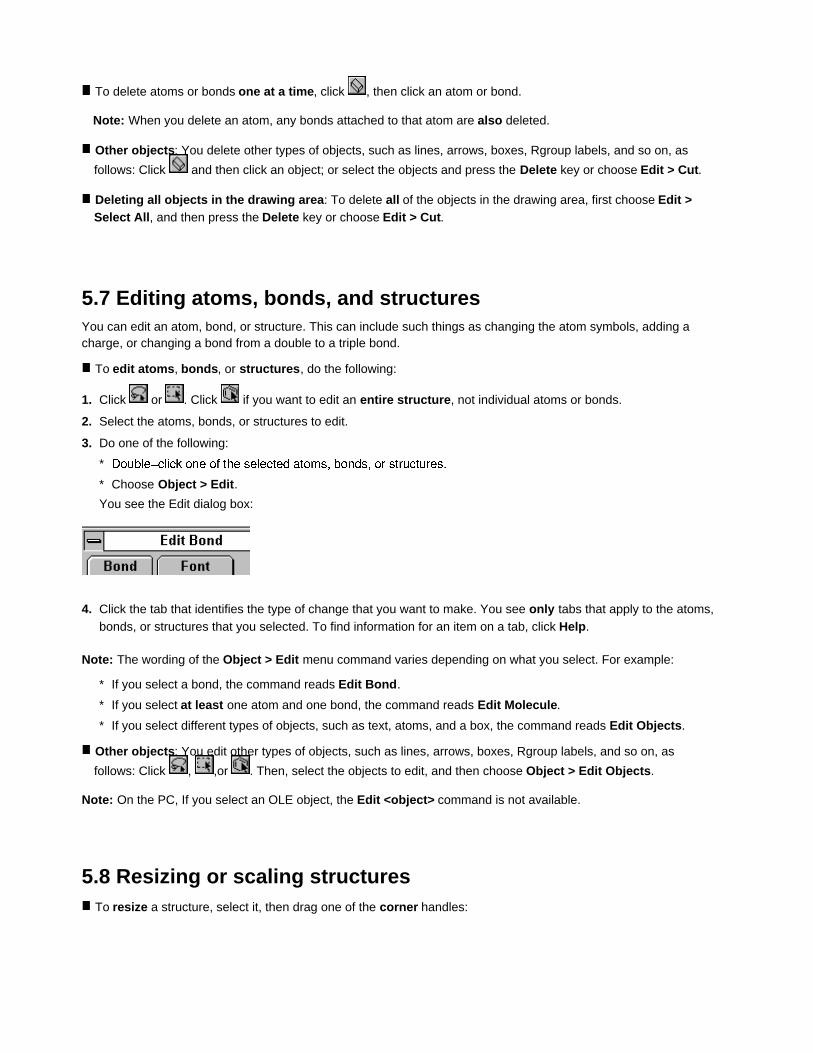
You see the Edit dialog box:
4. Click the tab that identifies the type of change that you want to make. You see only tabs that apply to the atoms, bonds, or structures that you selected. To find information for an item on a tab, click Help.
Note: The wording of the Object > Edit menu command varies depending on what you select. For example:
* If you select a bond, the command reads Edit Bond.
* If you select at least one atom and one bond, the command reads Edit Molecule.
* If you select different types of objects, such as text, atoms, and a box, the command reads Edit Objects.
Other objects: You edit other types of objects, such as lines, arrows, boxes, Rgroup labels, and so on, as
follows: Click , ,or . Then, select the objects to edit, and then choose Object > Edit Objects.
Note: On the PC, If you select an OLE object, the Edit <object> command is not available.
5.8 Resizing or scaling structuresTo resize a structure, select it, then drag one of the corner handles:
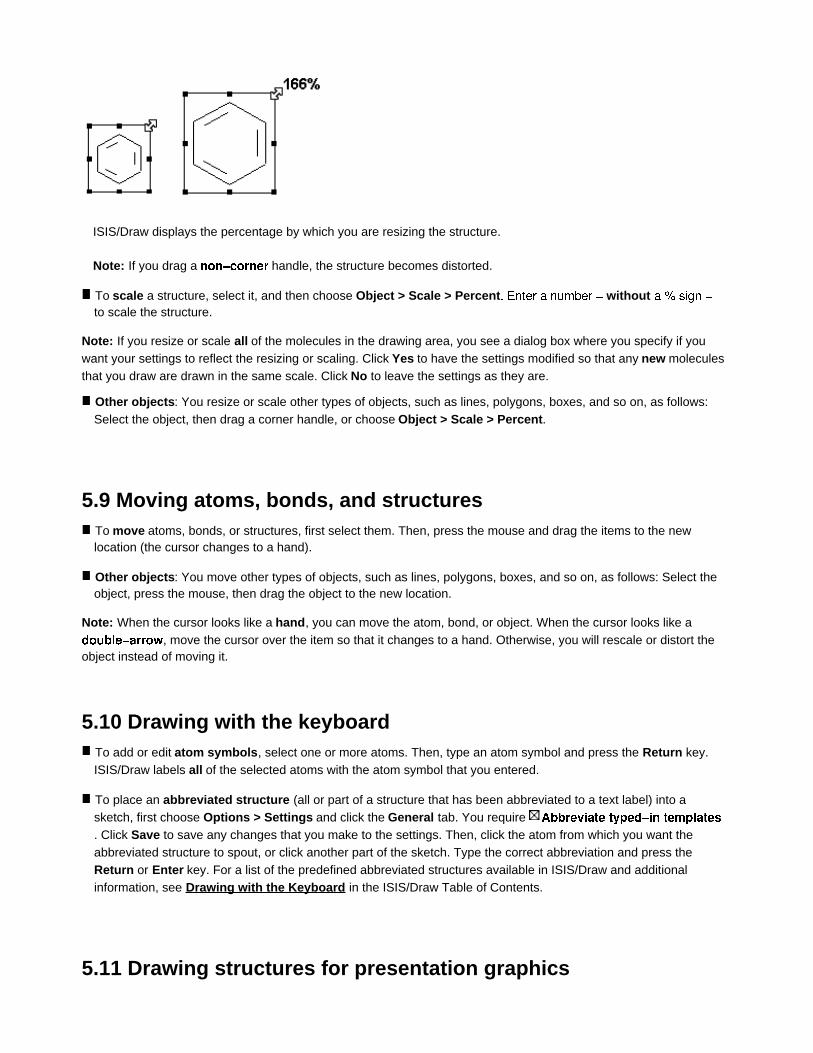
ISIS/Draw displays the percentage by which you are resizing the structure.
Note: If you drag a handle, the structure becomes distorted.
To scale a structure, select it, and then choose Object > Scale > Percent withoutto scale the structure.
Note: If you resize or scale all of the molecules in the drawing area, you see a dialog box where you specify if you want your settings to reflect the resizing or scaling. Click Yes to have the settings modified so that any new moleculesthat you draw are drawn in the same scale. Click No to leave the settings as they are.
Other objects: You resize or scale other types of objects, such as lines, polygons, boxes, and so on, as follows: Select the object, then drag a corner handle, or choose Object > Scale > Percent.
5.9 Moving atoms, bonds, and structuresTo move atoms, bonds, or structures, first select them. Then, press the mouse and drag the items to the new location (the cursor changes to a hand).
Other objects: You move other types of objects, such as lines, polygons, boxes, and so on, as follows: Select the object, press the mouse, then drag the object to the new location.
Note: When the cursor looks like a hand, you can move the atom, bond, or object. When the cursor looks like a , move the cursor over the item so that it changes to a hand. Otherwise, you will rescale or distort the
object instead of moving it.
5.10 Drawing with the keyboardTo add or edit atom symbols, select one or more atoms. Then, type an atom symbol and press the Return key. ISIS/Draw labels all of the selected atoms with the atom symbol that you entered.
To place an abbreviated structure (all or part of a structure that has been abbreviated to a text label) into a sketch, first choose Options > Settings and click the General tab. You require . Click Save to save any changes that you make to the settings. Then, click the atom from which you want the abbreviated structure to spout, or click another part of the sketch. Type the correct abbreviation and press the Return or Enter key. For a list of the predefined abbreviated structures available in ISIS/Draw and additional information, see Drawing with the Keyboard in the ISIS/Draw Table of Contents.
5.11 Drawing structures for presentation graphics
You can draw structures for use as presentation graphics, and you can draw structures that contain atom aliases.
An atom alias is text that you attach to an atom that is not chemically significant for use as a search query in ISIS/Base. The atom alias hides the existing atom but does not replace it. The chemical significance of the atom underneath does not change in any way. An atom alias can be any text or numerical value. You can register a structure with an atom alias into a database using ISIS, but you cannot search for the atom alias as data.
Creating atom aliases: To create an atom alias do one of the following:
* To specify an atom alias by itself, click and then click where you want the alias to appear. Enter the atom alias text into the text entry field, then click elsewhere.
* To add an atom alias to an existing structure, click and then click the atom to which you want to attach the atom alias. Enter the atom alias text into the text entry field, then click elsewhere. Do not use all uppercase letters when you type in the atom symbol.
Note: If you use all uppercase letters when you type in the atom alias, ISIS/Draw might add an abbreviated structure to the sketch instead of the atom alias. In addition, when you create an atom alias, numerical values are automatically subscripted.
To enter letters or numerical values that are superscript, enter \S before and after the letter or number. You must use a capital S.
For example: To specify , enter \S32\SPO4.
To enter letters that are subscript, enter \s before and after the letter. You must use a lower case s.
To enter numerical values that are not subscripts, enter \n before and after the number. You must use a lower case n.
Positioning atom charges within an alias: To place a charge at the left of an atom, click , click the atom, and then enter the charge and atom alias text. Click elsewhere.
For example, to specify , enter \S+\SPO.
Editing or deleting atom aliases: To edit or delete an atom alias, click and then click the atom containing the atom alias. Delete or edit the text in the text entry field, then click elsewhere.
Displaying hydrogen labels: To display hydrogen labels, choose Options > Settings and then click the Chemical Drawing tab. Click the Show hydrogen labels box and choose the types of atoms on which to display hydrogen labels: Off, On Hetero, On Hetero or Terminal, and On All.
Positioning hydrogen attachments: To specify the position of hydrogens on an atom, click or and Atom tab and then click the Hydrogens box and choose where you want the
hydrogens to appear.
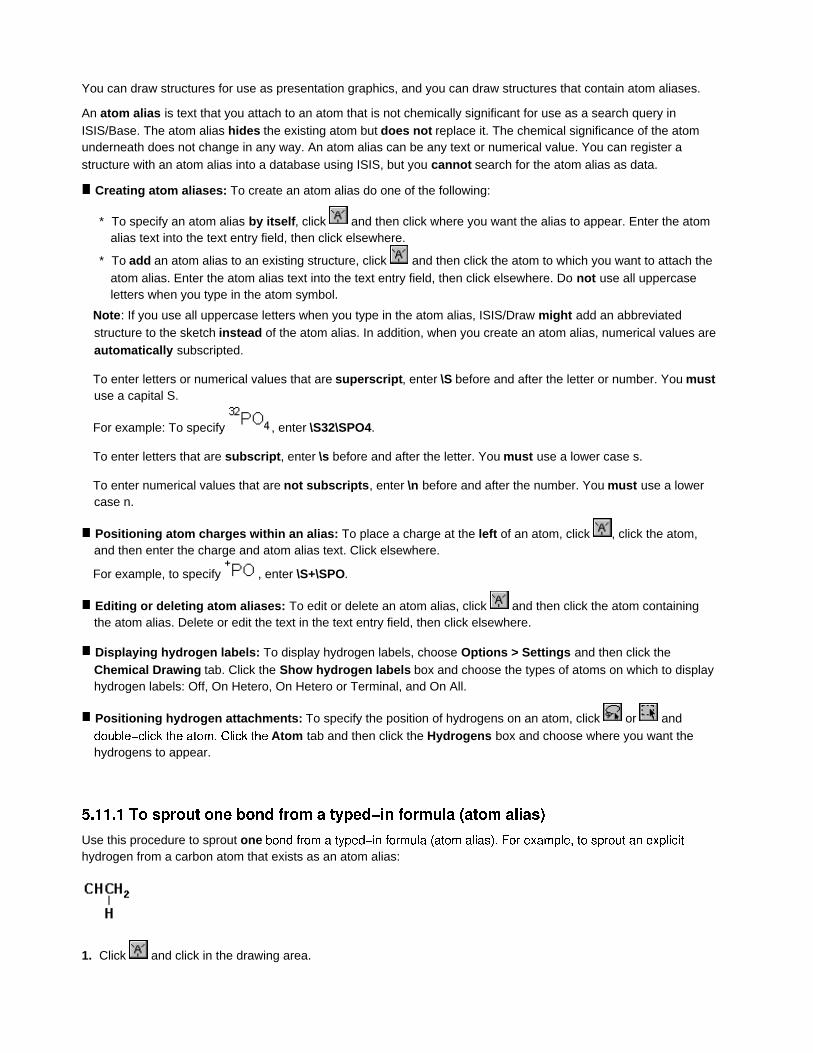
Use this procedure to sprout onehydrogen from a carbon atom that exists as an atom alias:
1. Click and click in the drawing area.

2. Enter the formula. Include a caret (^) before the character you want the bond to be attached to. For example, enter CH^CH2 to have the attachment point be at the second carbon.
Note: You can include only one caret for one attachment point.
3. Click one of the bond tools.
4. Draw a bond under the text string. The bond attaches itself to the correct site.
5. Click .
6. Click the end of the bond and enter the atom label H.
Note: When you use this procedure, the numerical values that you enter are automatically subscripted, and the text string and bond are automatically grouped.
Use this procedure to sprout two or moremore explicit hydrogens from different carbon atoms that exist as atom aliases:
1. Click
2. Enter the formula, such as CHCH2.
3. (Optional) If the formula contains numerical values that should be subscripted, select the formula and choose Text > Formula.
4. Click
5. Draw the bonds. The bonds are the standard bond length.
6. (Optional) Click and enter any atom labels, such as an explicit H, that you want to be attached to the bonds.
7. To keep the objects together, select all of the objects and choose Object > Group.
5.11.3 To draw a ring that contains an aromatic designation
Use this procedure to draw a ring with an aromatic designation, such as benzene:
Note: This ring cannot be used as a query to search databases in ISIS/Base.
1. Use a template tool to draw the ring of your choice.
2. Click
3. Press the Shift key as you draw a circle that is smaller than the ring.
4. Select the circle and move it inside the ring.
5. To keep the objects together, select all of the objects and choose Object > Group.
5.11.4 To draw charged aromatic rings
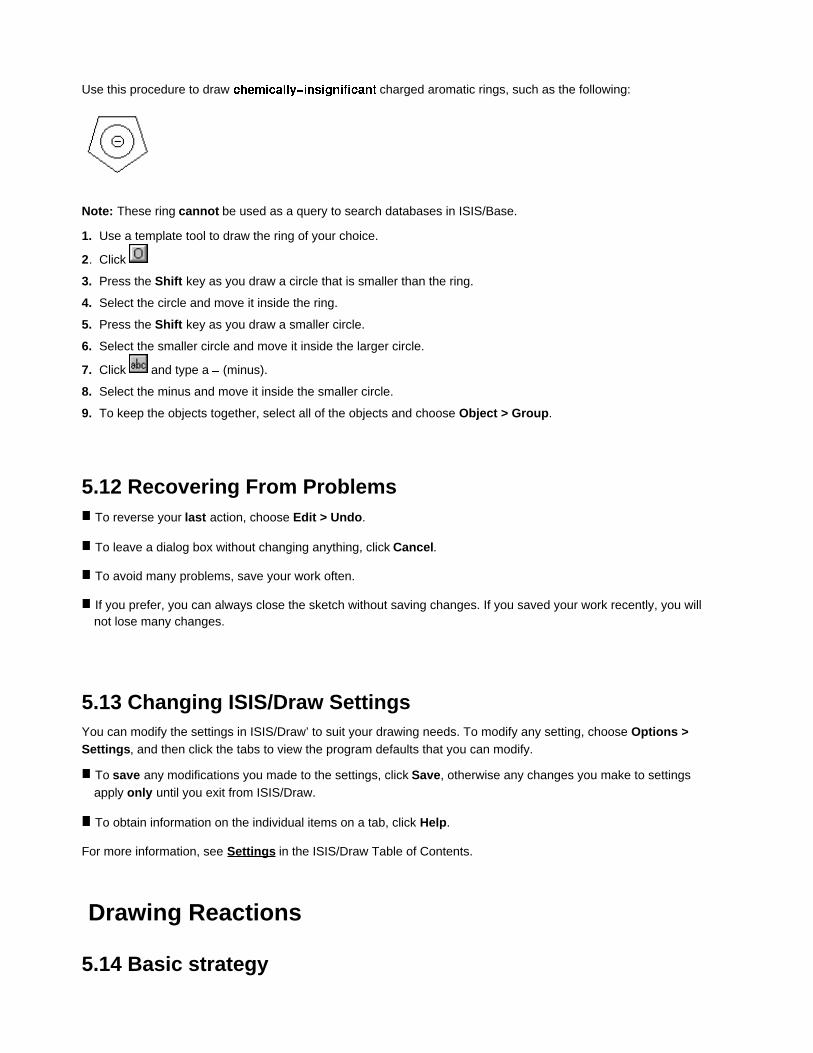
Use this procedure to draw charged aromatic rings, such as the following:
Note: These ring cannot be used as a query to search databases in ISIS/Base.
1. Use a template tool to draw the ring of your choice.
2. Click
3. Press the Shift key as you draw a circle that is smaller than the ring.
4. Select the circle and move it inside the ring.
5. Press the Shift key as you draw a smaller circle.
6. Select the smaller circle and move it inside the larger circle.
7. Click and type a (minus).
8. Select the minus and move it inside the smaller circle.
9. To keep the objects together, select all of the objects and choose Object > Group.
5.12 Recovering From ProblemsTo reverse your last action, choose Edit > Undo.
To leave a dialog box without changing anything, click Cancel.
To avoid many problems, save your work often.
If you prefer, you can always close the sketch without saving changes. If you saved your work recently, you will not lose many changes.
5.13 Changing ISIS/Draw SettingsYou can modify the settings in ISIS/Draw’ to suit your drawing needs. To modify any setting, choose Options > Settings, and then click the tabs to view the program defaults that you can modify.
To save any modifications you made to the settings, click Save, otherwise any changes you make to settings apply only until you exit from ISIS/Draw.
To obtain information on the individual items on a tab, click Help.
For more information, see Settings in the ISIS/Draw Table of Contents.
Drawing Reactions
5.14 Basic strategy

1. Draw the molecule components of the reaction with template tools, template pages, and/or drawing tools. (See Drawing Molecules for more information.)
2. Use the tool to add arrows. Use the tool to add a plus, or click and type a plus at the cursor position of your choice.
Note: For presentation graphics, you can use any arrow. To use the reaction in ISIS/Base, you must use one of the arrow types labeled Valid for ISIS/Base Reactions in the toolbar help.
3. (Optional) To add reaction conditions to the reaction, click , enter the conditions, and place them at the position of your choice.
For example, to add above an arrow, click and enter the degree symbol as a lower case, superscripted "o".
Note: Reaction conditions are for display only and cannot be used for searching or exporting purposes.
4. (Optional) Use Chem Inspector to ensure that the reaction is chemically significant before you use the reaction to search in ISIS/Base. For more information, see Verifying the Chemistry of Sketches in the ISIS/Draw Table of Contents.
Note: For searching and registration into ISIS/Base, you can only use one
5.15 Editing a reactionAdd, edit, delete, or move reaction elements as necessary.
To align an entire reaction, including arrow and plus signs, select the reaction and choose Object > Align. Use the Alignment Options dialog to specify how to align the reaction.
To align a reaction by molecular components only, first select one atom from each component. Then, choose Object > Align and specify how to align the reaction.
If you do not like the way the reaction is aligned, choose Edit > Undo.
(Optional) Use Chem Inspector to ensure that the reaction’s chemistry is correct before you use the reaction to search in ISIS/Base. For more information, see Verifying the Chemistry of Sketches in the ISIS/Draw Table of Contents.
5.16 Working with TextTo enter text, click , and then click where you want the text to appear. Now, enter the text. Alternatively, you can enter text by pasting it in from the Clipboard.
To edit text, click , click the text, and then edit it as you would with a word processor.
To reformat text, click
To change text properties, such as making text bold, select the text and do one of the following:
* Choose Object > Edit Text.
*
* Choose one of the commands on the Text menu.
To set text defaults, choose Options > Settings, and then click the Font tab. To save any modifications you made to the settings, click Save, otherwise any changes you make to settings apply only until you exit from ISIS/Draw.
* If this is a new sketch, the new font settings are applied to any new text you enter.
* If this sketch contains existing text, a dialog asks if you want to apply the new font settings to the existing text.
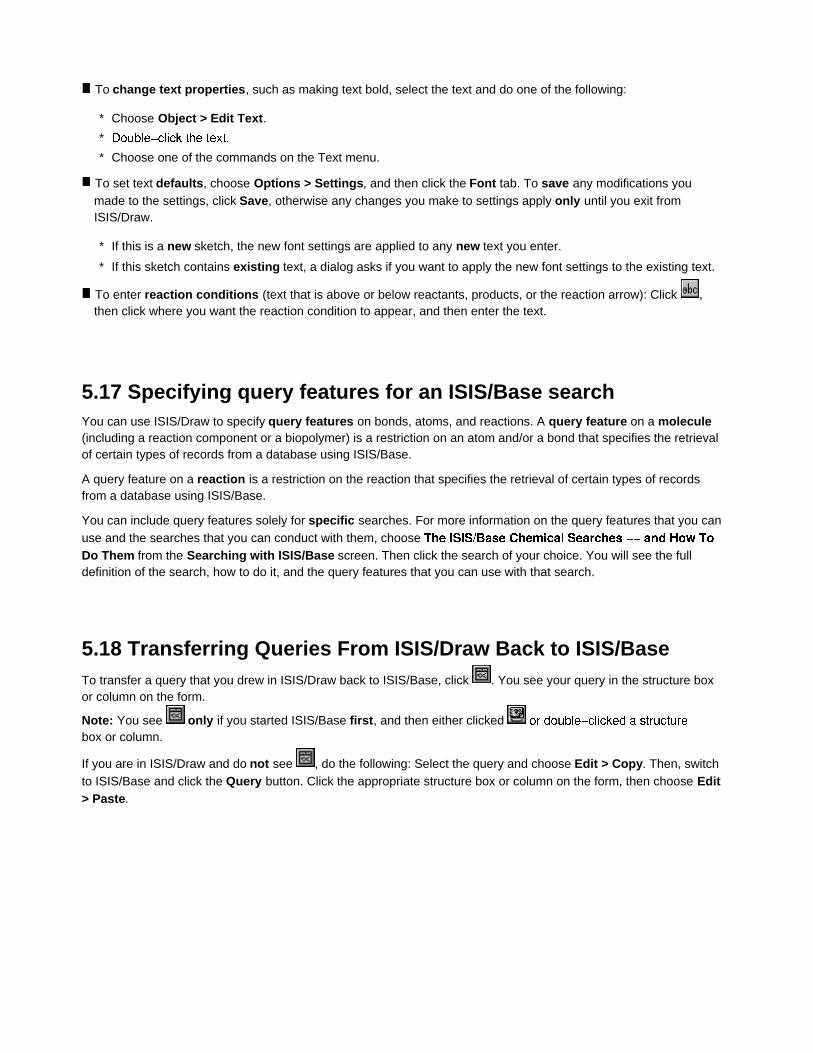
To enter reaction conditions (text that is above or below reactants, products, or the reaction arrow): Click , then click where you want the reaction condition to appear, and then enter the text.
5.17 Specifying query features for an ISIS/Base searchYou can use ISIS/Draw to specify query features on bonds, atoms, and reactions. A query feature on a molecule (including a reaction component or a biopolymer) is a restriction on an atom and/or a bond that specifies the retrieval of certain types of records from a database using ISIS/Base.
A query feature on a reaction is a restriction on the reaction that specifies the retrieval of certain types of records from a database using ISIS/Base.
You can include query features solely for specific searches. For more information on the query features that you can use and the searches that you can conduct with them, choose Do Them from the Searching with ISIS/Base screen. Then click the search of your choice. You will see the full definition of the search, how to do it, and the query features that you can use with that search.
5.18 Transferring Queries From ISIS/Draw Back to ISIS/BaseTo transfer a query that you drew in ISIS/Draw back to ISIS/Base, click . You see your query in the structure box or column on the form.
Note: You see only if you started ISIS/Base first, and then either clicked box or column.
If you are in ISIS/Draw and do not see , do the following: Select the query and choose Edit > Copy. Then, switch to ISIS/Base and click the Query button. Click the appropriate structure box or column on the form, then choose Edit > Paste.