Embed Size (px)
Citation preview
Making a Book Report in Alice
by Jenna HayesUnder the direction of Professor Susan Rodger
Duke University, June 2010
Making a Book Report in Alice
By using Alice, you can make a fun and interesting book report that is more like an animated tour than a report. I will take you through the steps to make a great book report in Alice, using “Charlotte’s Web” as my example book. You can use any book you choose, and follow these steps using that book.
The Parts of a Book Report
Every teacher will have different requirements for a book report, but I will include these basic ones: describing the main characters, describing the setting, and writing a summary. I will also include a scene from the book, which I will animate in Alice. If your teacher requires other things also, you can certainly add those into your own book report.
Introduction to the Report
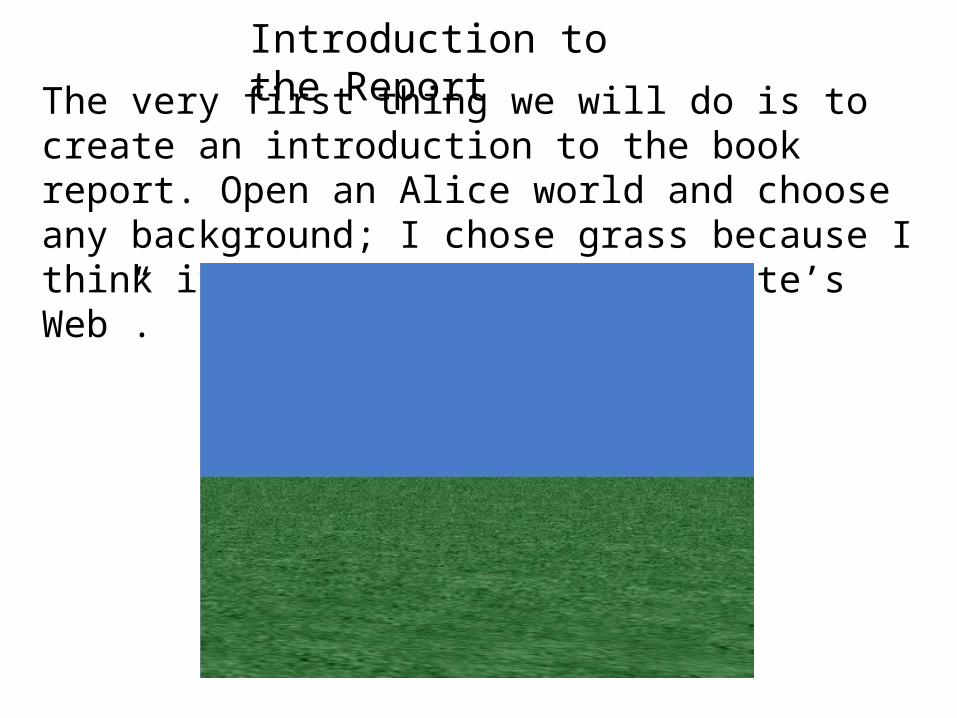
The very first thing we will do is to create an introduction to the book report. Open an Alice world and choose any background; I chose grass because I think it fits well with “Charlotte’s Web”.
Introduction to the Report
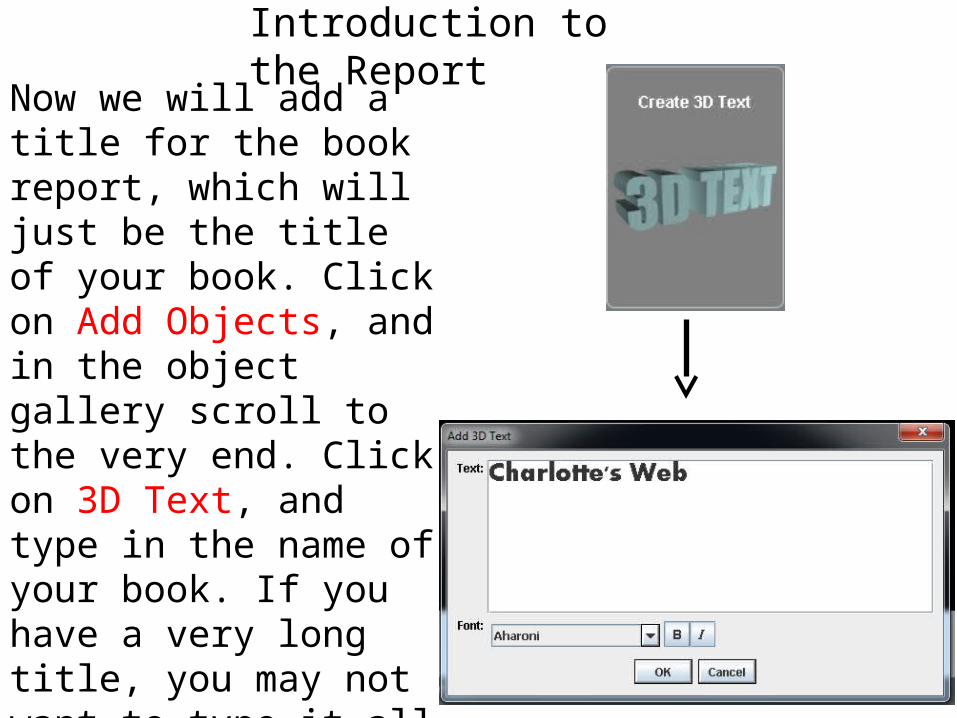
Now we will add a title for the book report, which will just be the title of your book. Click on Add Objects, and in the object gallery scroll to the very end. Click on 3D Text, and type in the name of your book. If you have a very long title, you may not want to type it all in one line, but spread it over several lines, or break it up into text objects of 2-3 words each.
Introduction to the Report
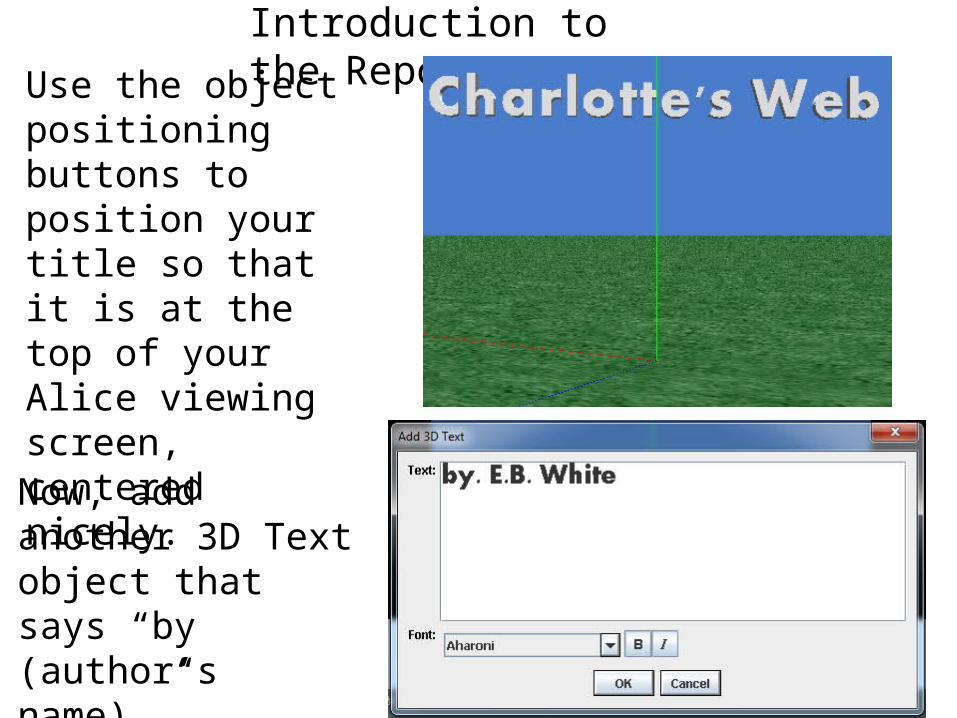
Use the object positioning buttons to position your title so that it is at the top of your Alice viewing screen, centered nicely.
Now, add another 3D Text object that says “by (author’s name).” Position it underneath the title.
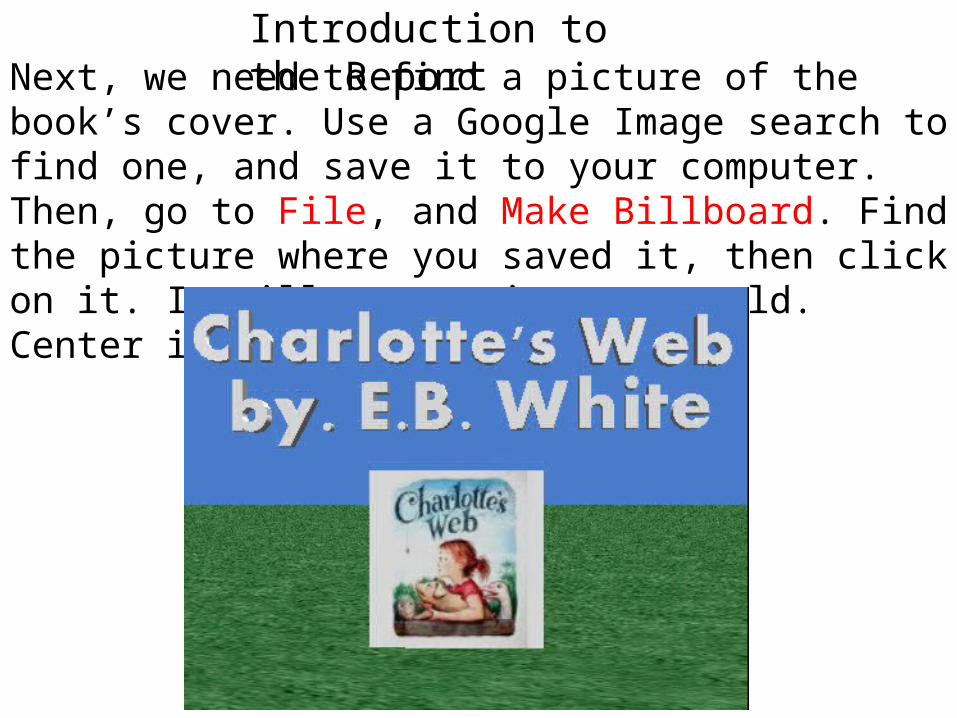
Introduction to the ReportNext, we need to find a picture of the book’s cover. Use a Google Image search to find one, and save it to your computer. Then, go to File, and Make Billboard. Find the picture where you saved it, then click on it. It will appear in your world. Center it underneath your title.
Introduction to the Report
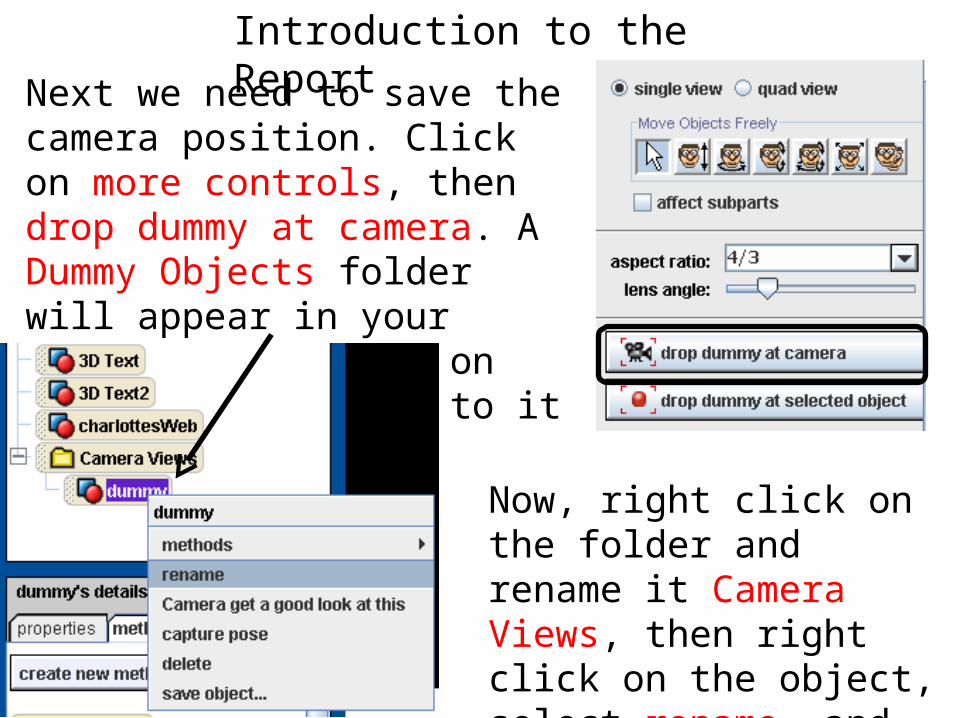
Next we need to save the camera position. Click on more controls, then drop dummy at camera. A Dummy Objects folder will appear in your object tree. Click on the plus sign next to it to see the object.
Now, right click on the folder and rename it Camera Views, then right click on the object, select rename, and name it introView.
Introduction to the Report
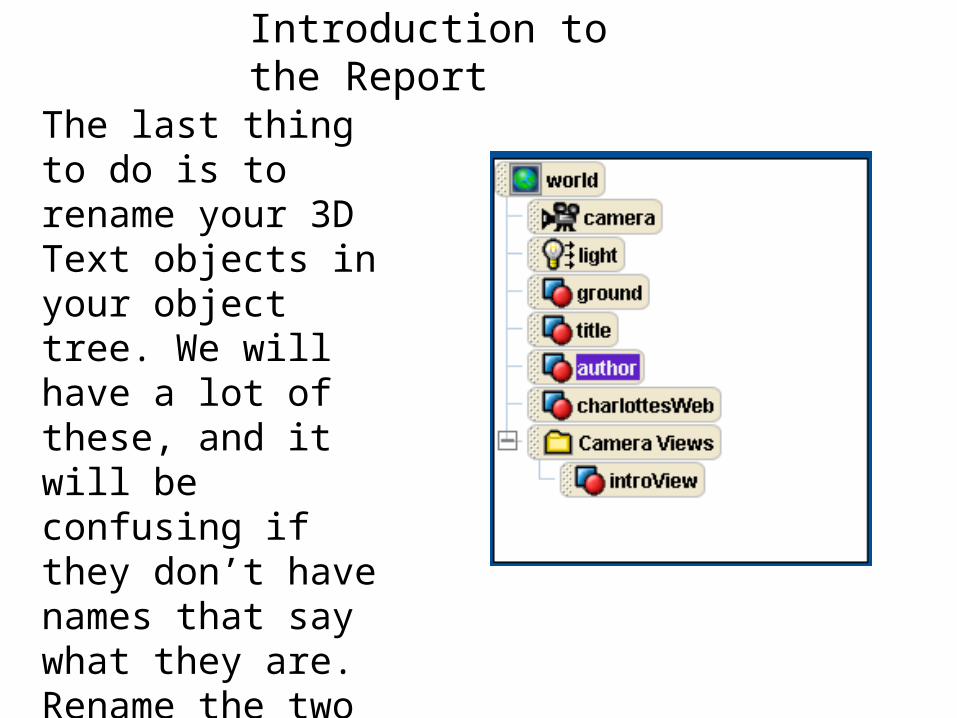
The last thing to do is to rename your 3D Text objects in your object tree. We will have a lot of these, and it will be confusing if they don’t have names that say what they are. Rename the two 3D Texts to title, and author.
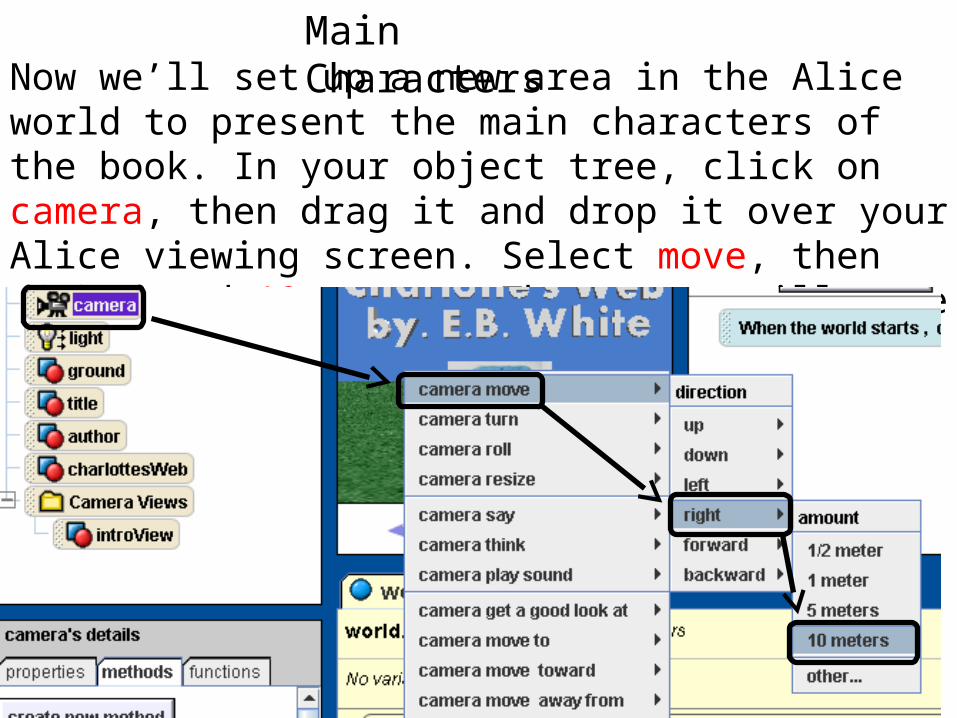
Main CharactersNow we’ll set up a new area in the Alice world to present the main characters of the book. In your object tree, click on camera, then drag it and drop it over your Alice viewing screen. Select move, then right, and 10 meters. The camera will move to a new and empty area in the Alice world.
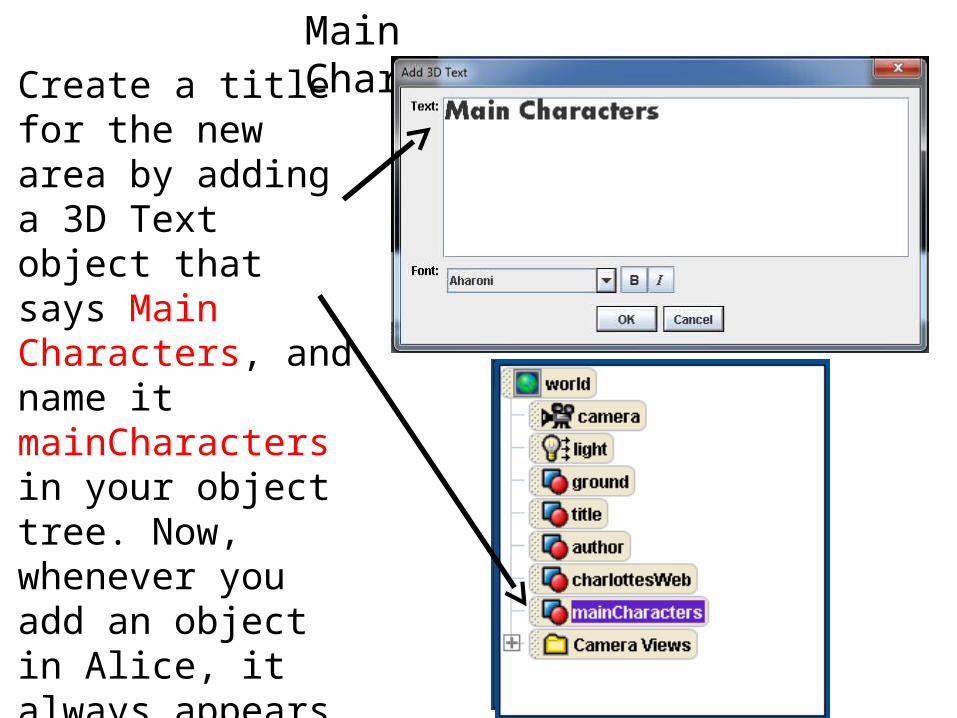
Main CharactersCreate a title for the new area by adding a 3D Text object that says Main Characters, and name it mainCharacters in your object tree. Now, whenever you add an object in Alice, it always appears in the same place, so you have to move it to the new area where your camera is.
Main Characters
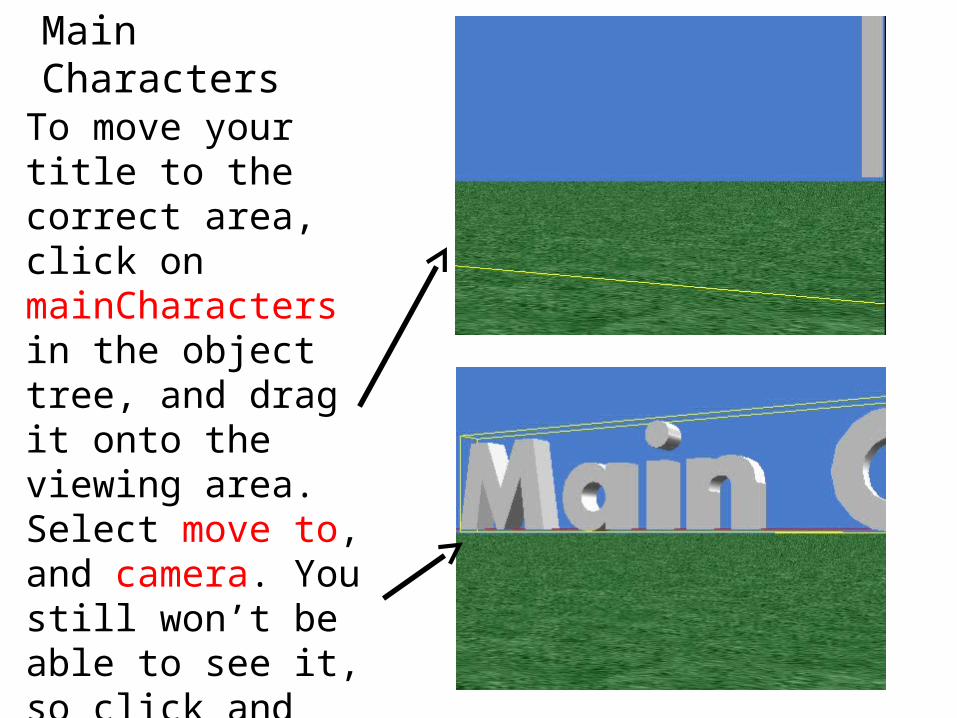
To move your title to the correct area, click on mainCharacters in the object tree, and drag it onto the viewing area. Select move to, and camera. You still won’t be able to see it, so click and drag mainCharacters again, this time selecting move, backward, and 5 meters.
Main Characters
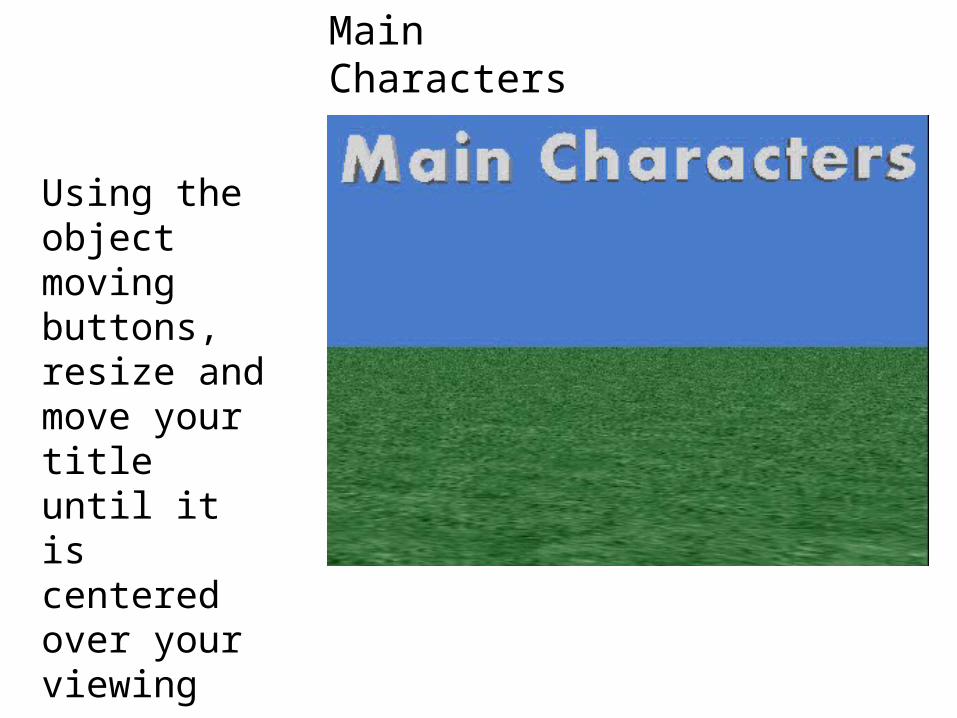
Using the object moving buttons, resize and move your title until it is centered over your viewing screen.
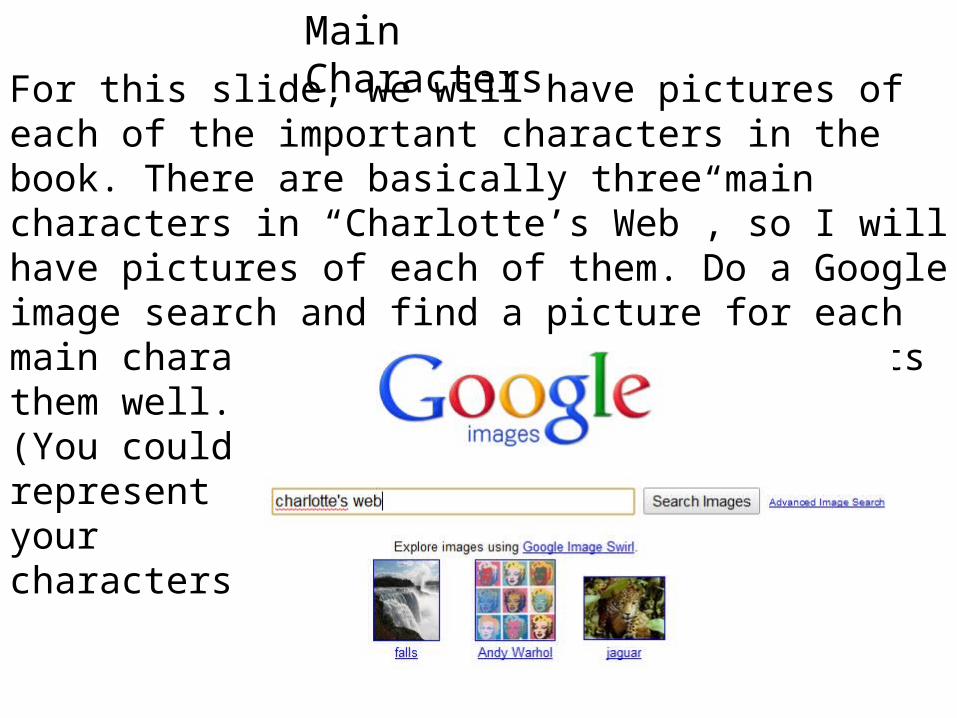
Main CharactersFor this slide, we will have pictures of each of the important characters in the book. There are basically three main characters in “Charlotte’s Web”, so I will have pictures of each of them. Do a Google image search and find a picture for each main character, that you think represents them well. Save them on your computer. (You could also use Alice objects to representyour characters).
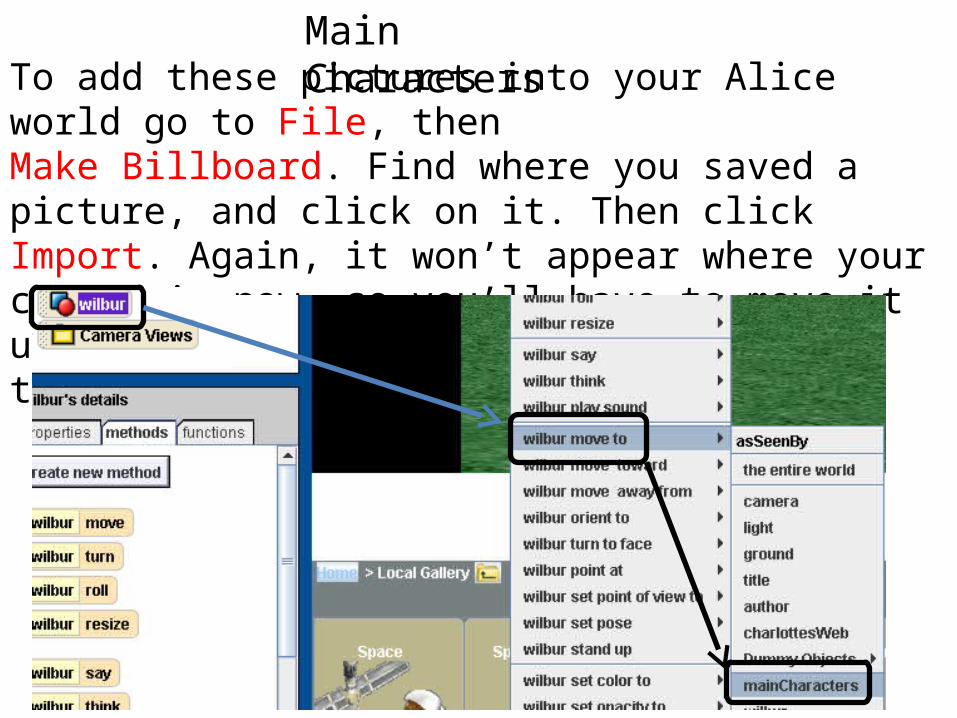
Main CharactersTo add these pictures into your Alice world go to File, then Make Billboard. Find where you saved a picture, and click on it. Then click Import. Again, it won’t appear where your camera is now, so you’ll have to move it using move to. You can move it to the title, and then adjust it from there.
Main Characters
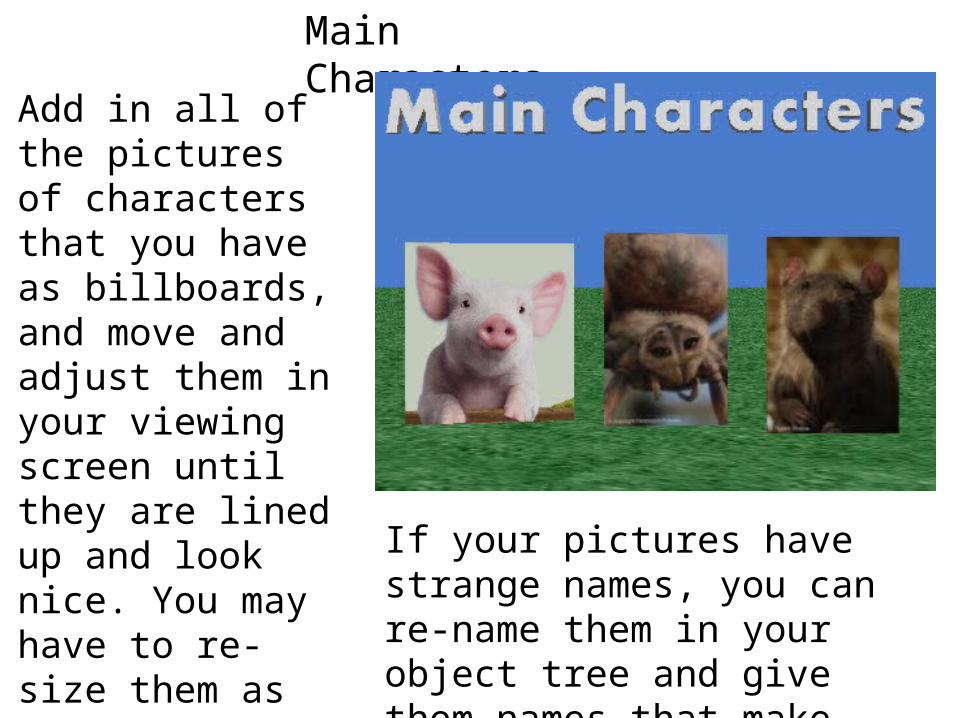
Add in all of the pictures of characters that you have as billboards, and move and adjust them in your viewing screen until they are lined up and look nice. You may have to re-size them as well. Keep using move to to get them into your viewing area.
If your pictures have strange names, you can re-name them in your object tree and give them names that make them easier to identify.
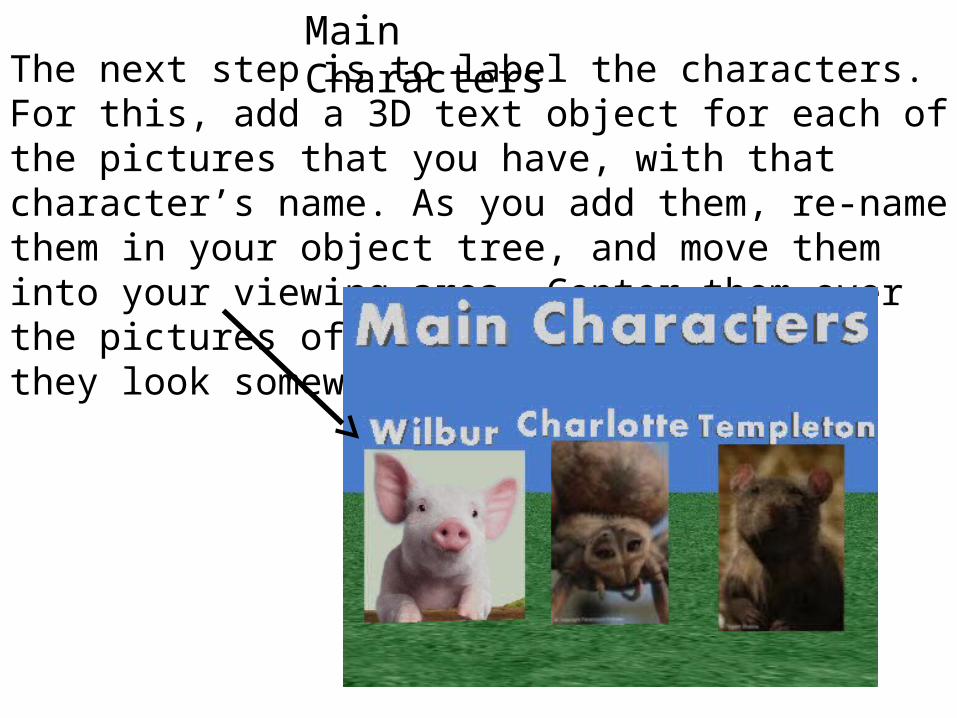
Main CharactersThe next step is to label the characters. For this, add a 3D text object for each of the pictures that you have, with that character’s name. As you add them, re-name them in your object tree, and move them into your viewing area. Center them over the pictures of your characters so that they look somewhat like mine.
Main Characters
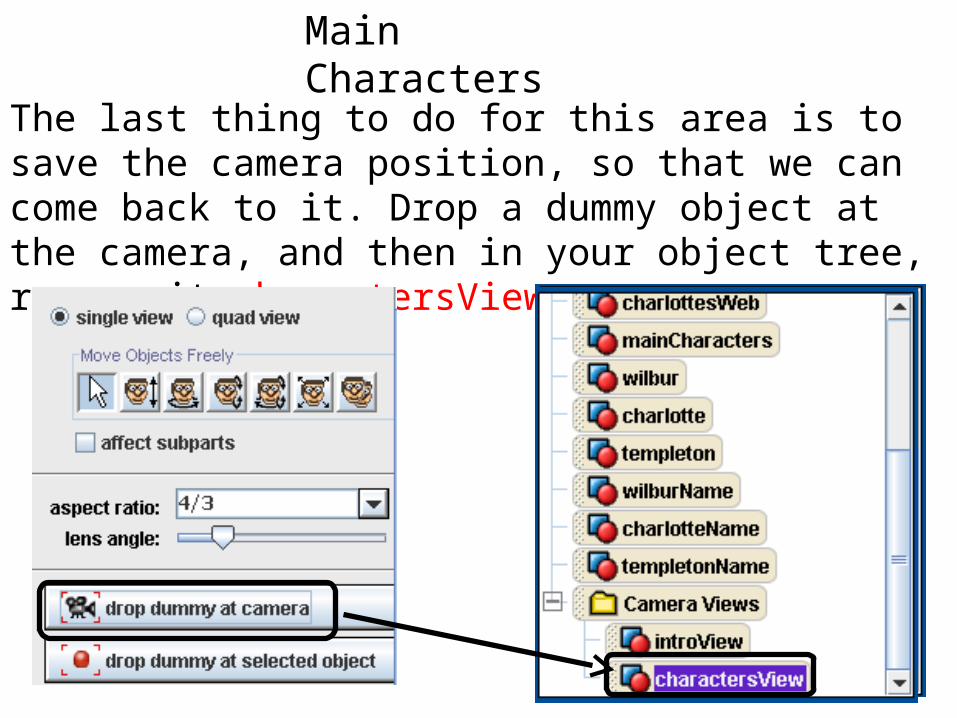
The last thing to do for this area is to save the camera position, so that we can come back to it. Drop a dummy object at the camera, and then in your object tree, rename it charactersView.
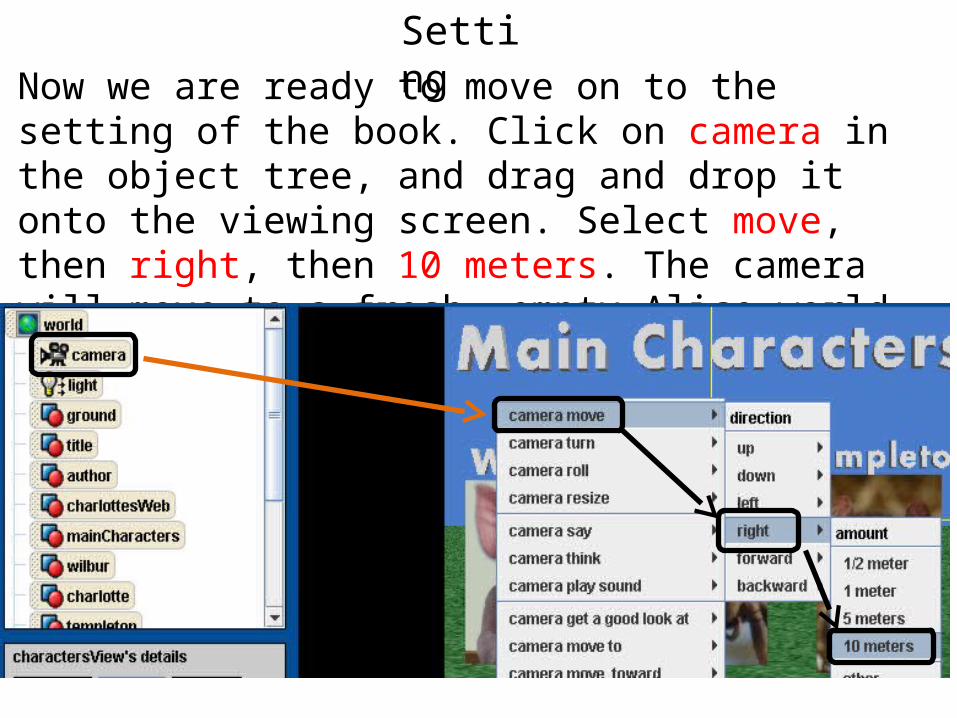
SettingNow we are ready to move on to the setting of the book. Click on camera in the object tree, and drag and drop it onto the viewing screen. Select move, then right, then 10 meters. The camera will move to a fresh, empty Alice world area.
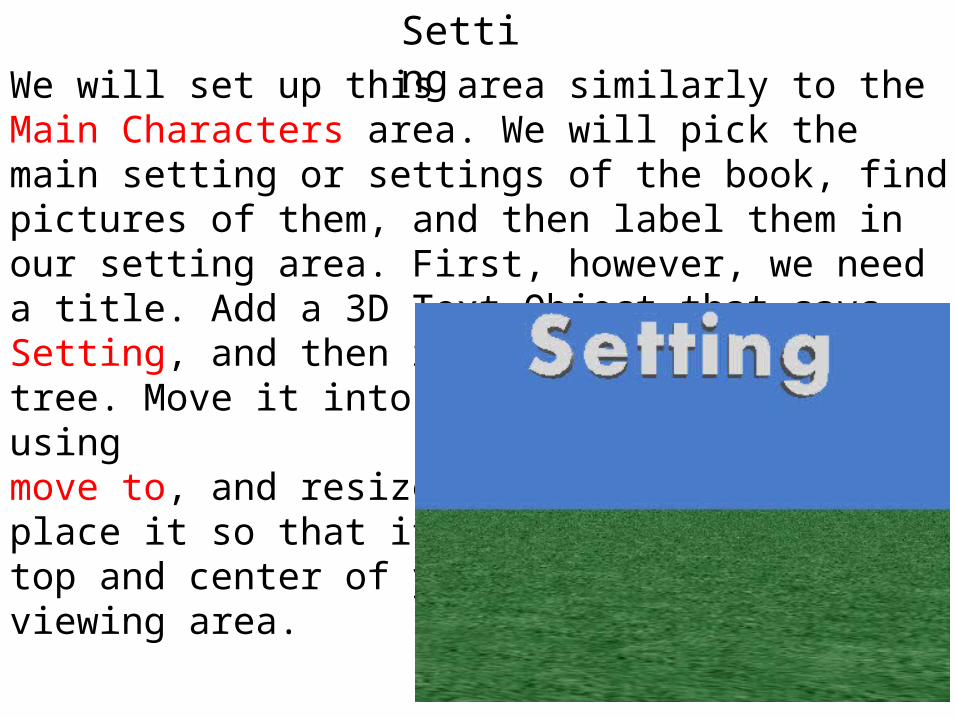
SettingWe will set up this area similarly to the Main Characters area. We will pick the main setting or settings of the book, find pictures of them, and then label them in our setting area. First, however, we need a title. Add a 3D Text Object that says Setting, and then rename it in your object tree. Move it into the viewing area by using move to, and resize and place it so that it is at the top and center of your viewing area.
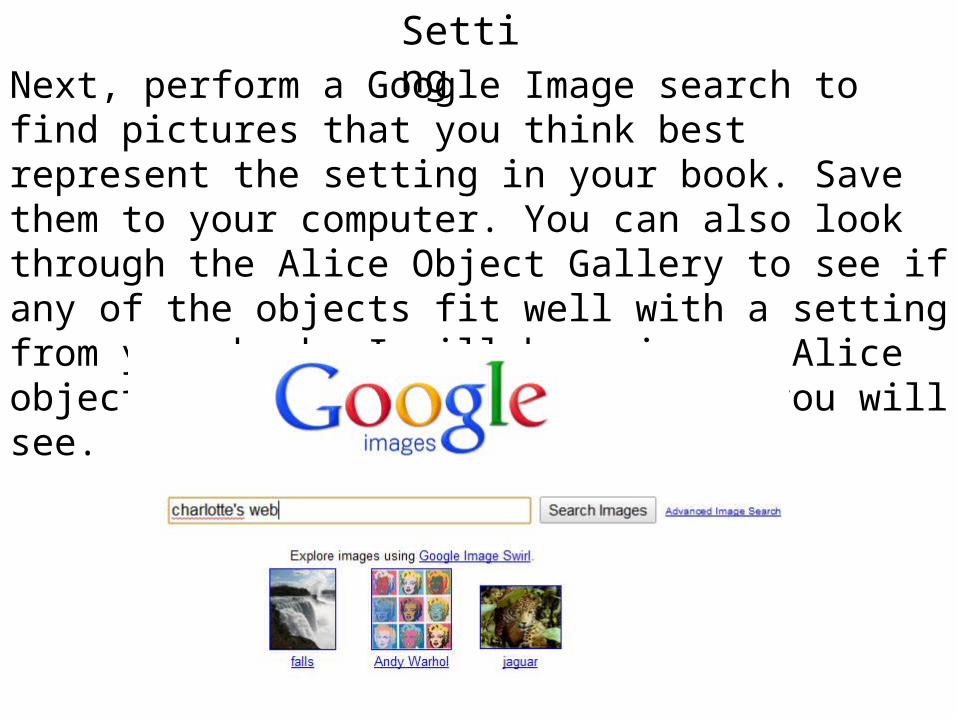
SettingNext, perform a Google Image search to find pictures that you think best represent the setting in your book. Save them to your computer. You can also look through the Alice Object Gallery to see if any of the objects fit well with a setting from your book. I will be using an Alice object for one of my settings, as you will see.
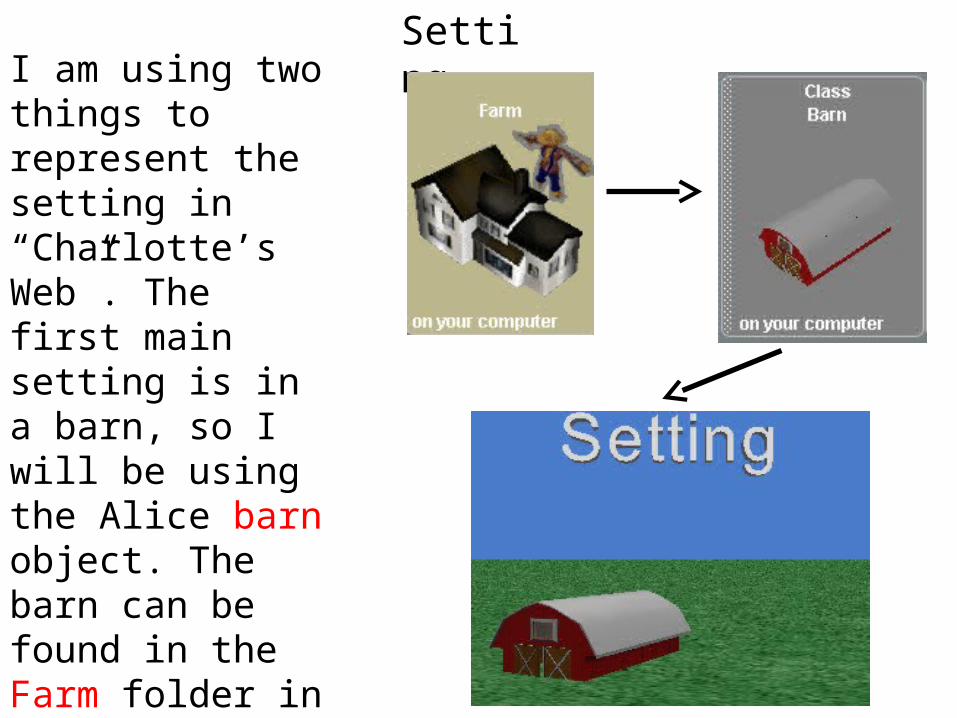
SettingI am using two things to represent the setting in “Charlotte’s Web”. The first main setting is in a barn, so I will be using the Alice barn object. The barn can be found in the Farm folder in the object gallery. I will add the barn into the world, move it to my viewing area, and resize and position it.
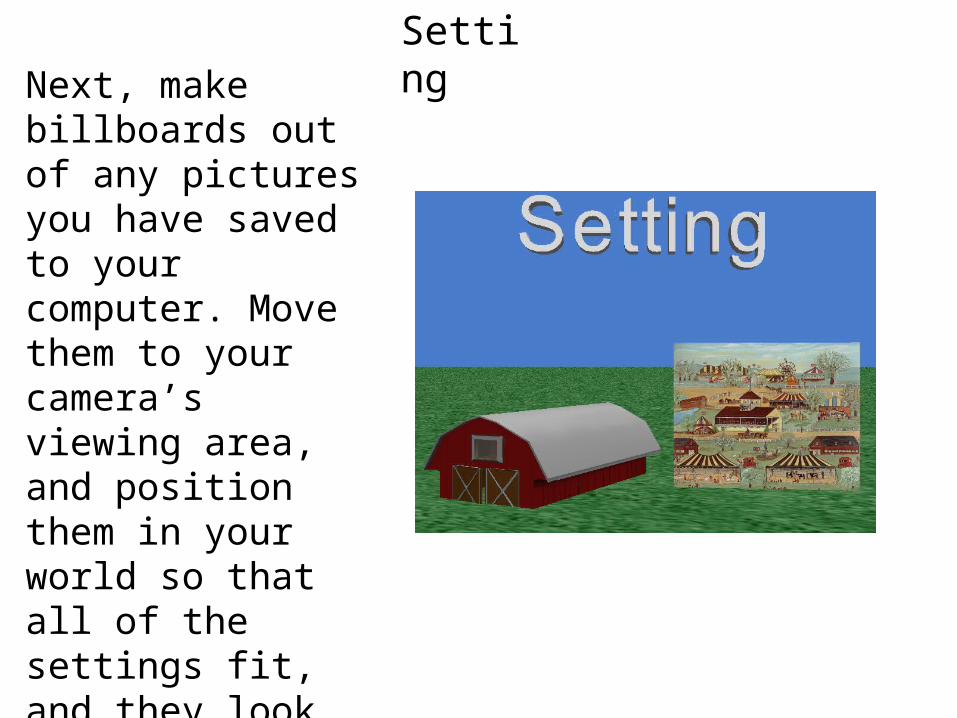
SettingNext, make billboards out of any pictures you have saved to your computer. Move them to your camera’s viewing area, and position them in your world so that all of the settings fit, and they look nice and neat. I am adding in a picture of a county fair, which is a setting in “Charlotte’s Web”.
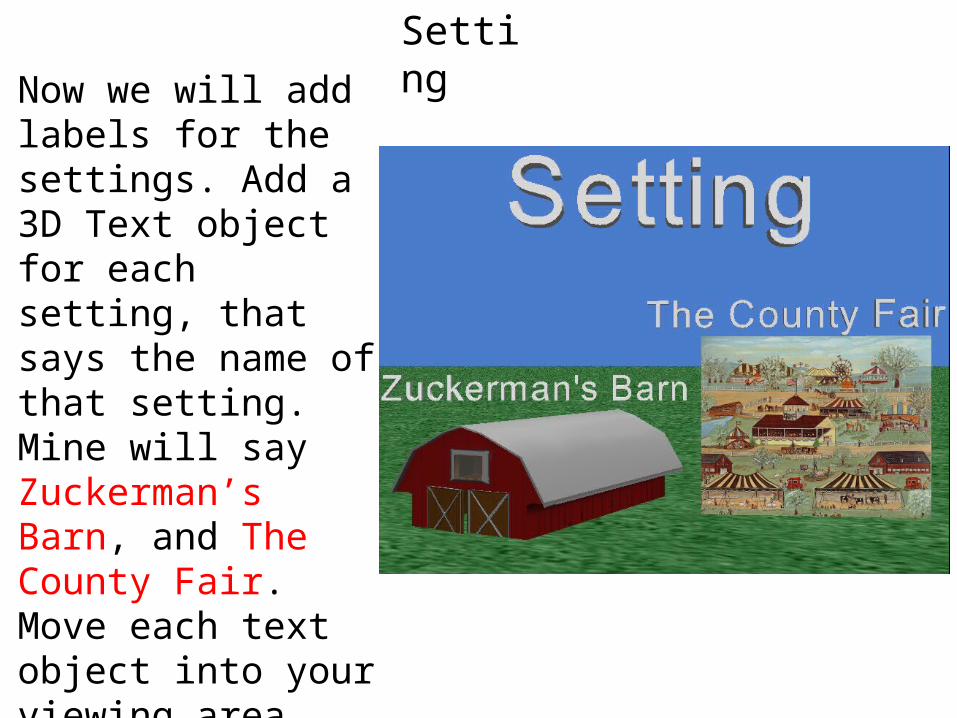
SettingNow we will add labels for the settings. Add a 3D Text object for each setting, that says the name of that setting. Mine will say Zuckerman’s Barn, and The County Fair. Move each text object into your viewing area, and center them over each setting. Be sure to re-name them in your object tree.
Setting
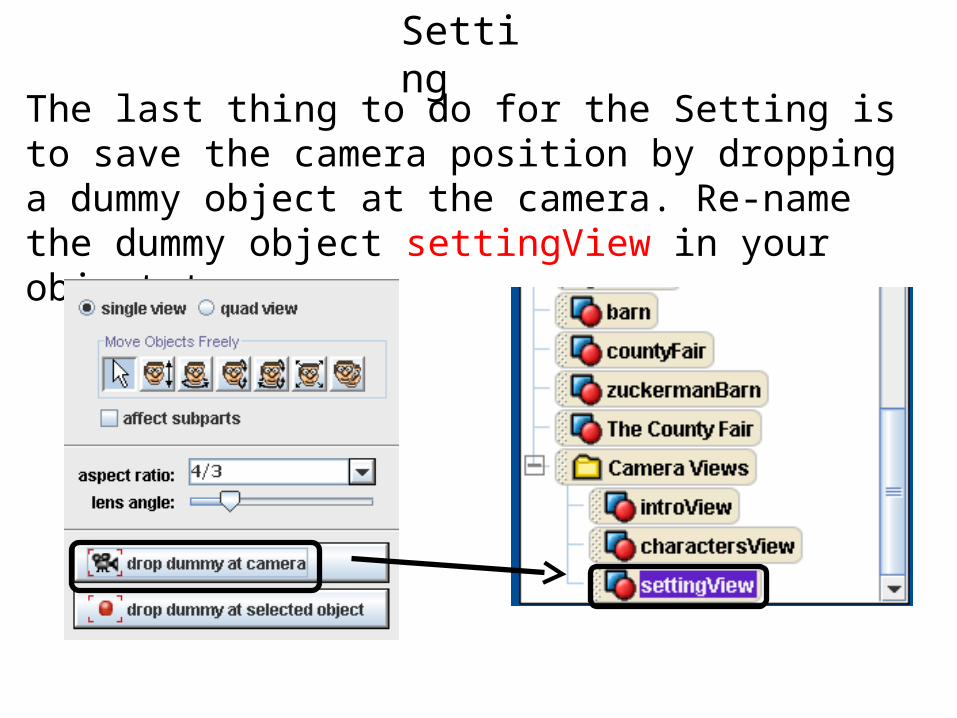
The last thing to do for the Setting is to save the camera position by dropping a dummy object at the camera. Re-name the dummy object settingView in your object tree.
Summary
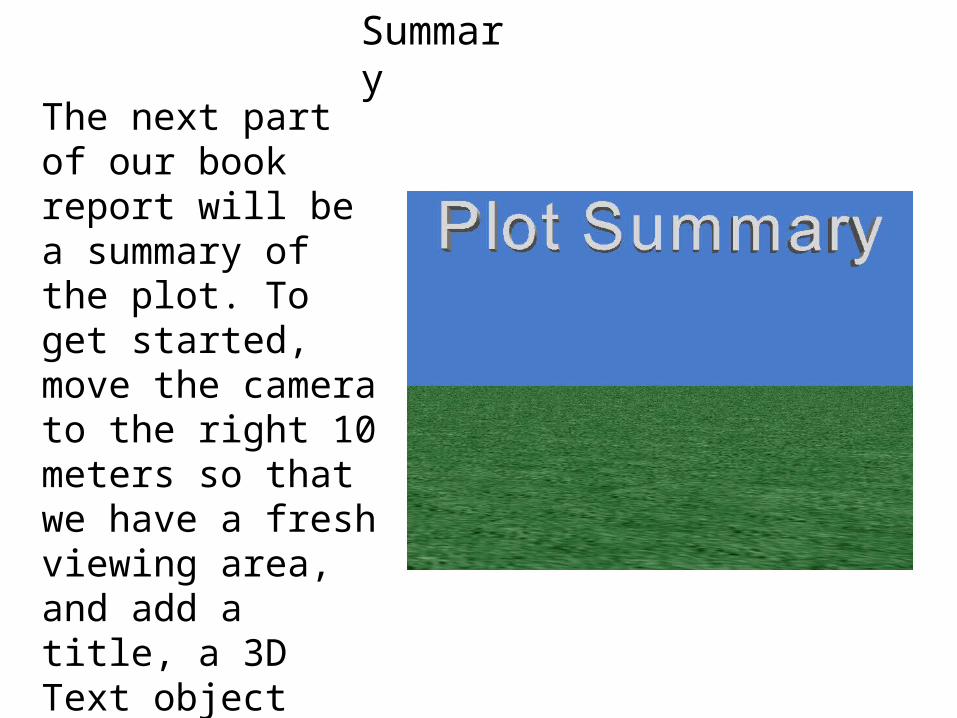
The next part of our book report will be a summary of the plot. To get started, move the camera to the right 10 meters so that we have a fresh viewing area, and add a title, a 3D Text object that says Plot Summary. Move it to your viewing area and center it.
Summary
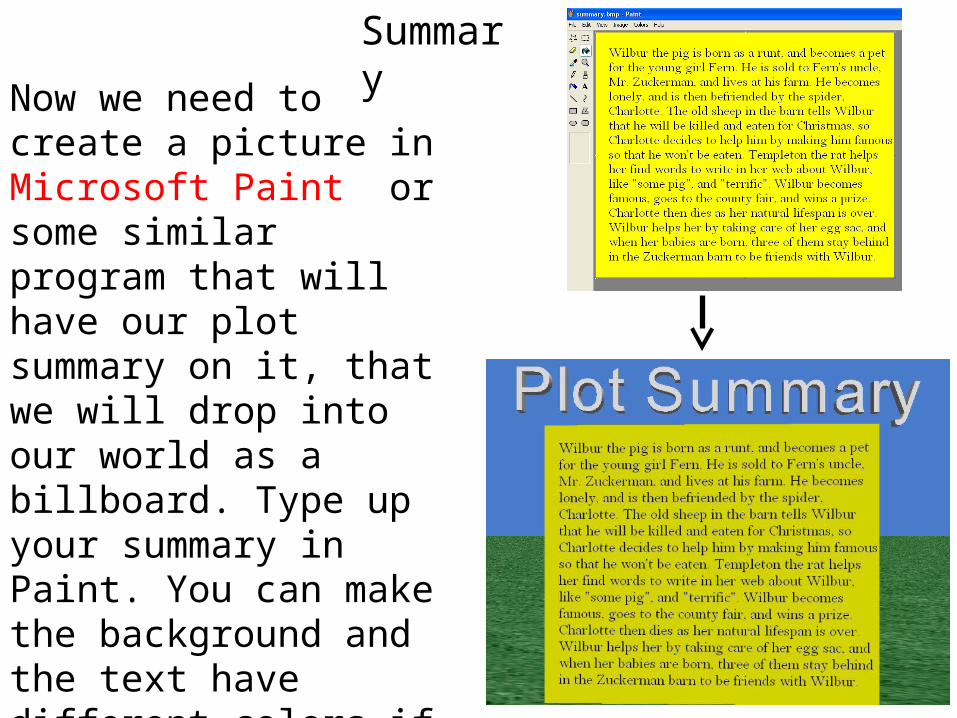
Now we need to create a picture in Microsoft Paint or some similar program that will have our plot summary on it, that we will drop into our world as a billboard. Type up your summary in Paint. You can make the background and the text have different colors if you want to. Then, save what you have, and put it into your Alice world by making it a billboard.
Summary
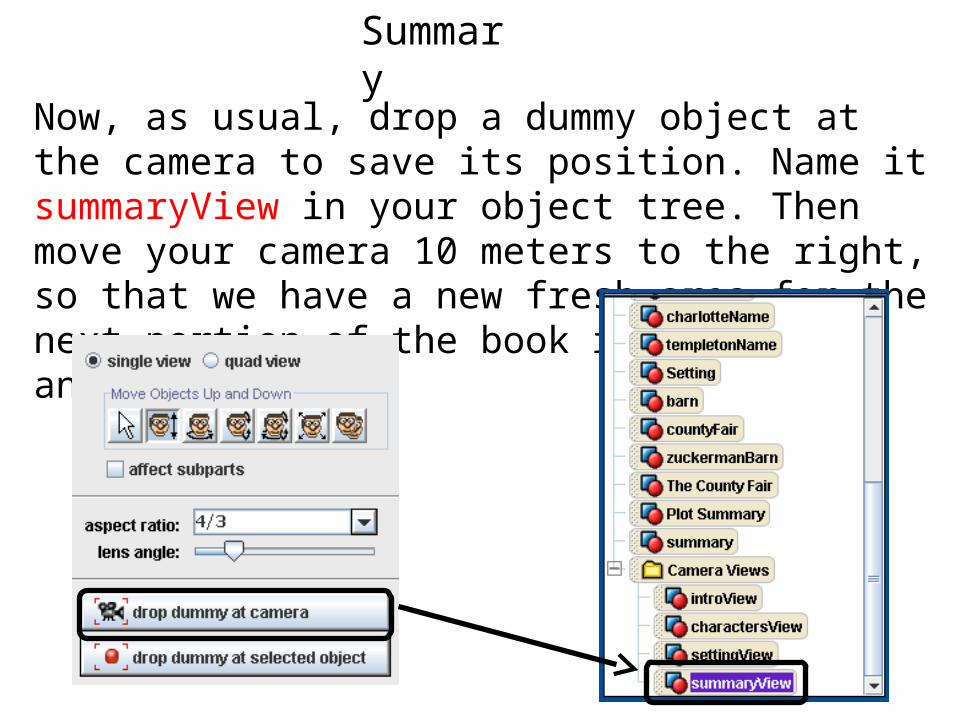
Now, as usual, drop a dummy object at the camera to save its position. Name it summaryView in your object tree. Then move your camera 10 meters to the right, so that we have a new fresh area for the next portion of the book report: the animated scene.
Animated Scene
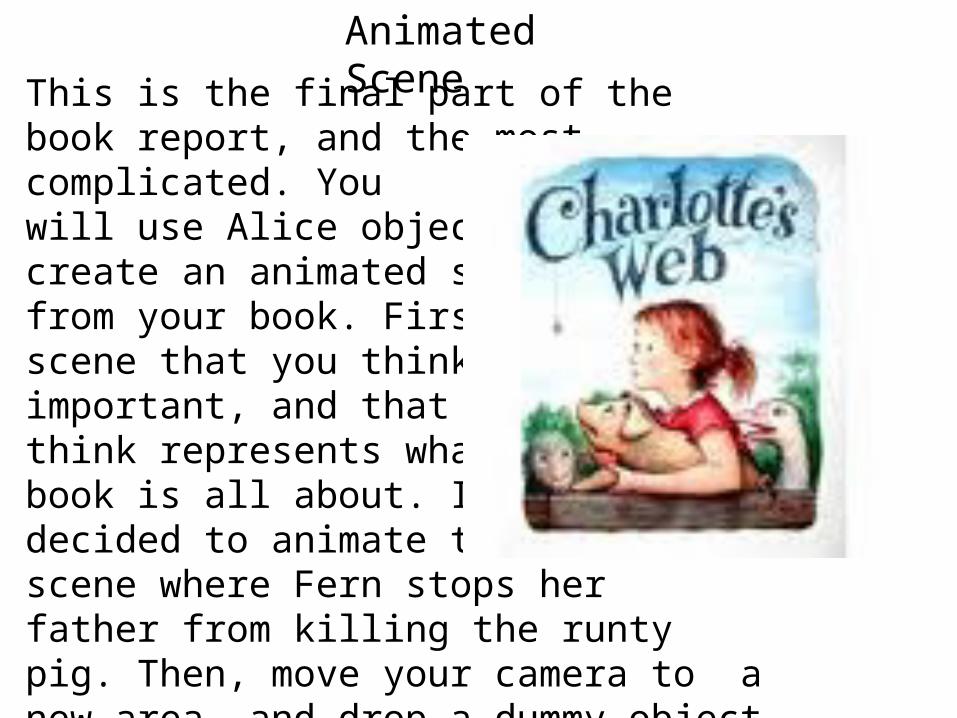
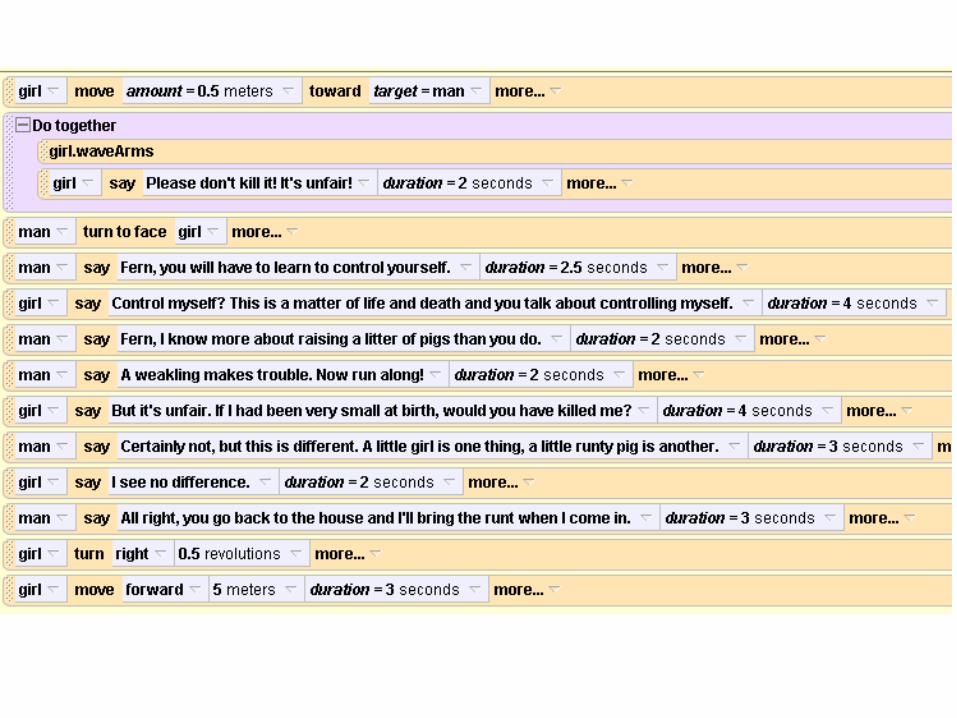
This is the final part of the book report, and the most complicated. You will use Alice objects to create an animated scene from your book. First, pick a scene that you think is important, and that you think represents what your book is all about. I have decided to animate the scene where Fern stops her father from killing the runty pig. Then, move your camera to a new area, and drop a dummy object at your camera to save your view.

Animated SceneThe next thing to do is to decide if the Alice world background is right for your scene. If not, use a Google Image search to find a picture that would be suitable as a background, save it, and import it asa billboard into your Alice world. Then move it to your viewing area, and resize it so that it takes up the entire screen. I am using a farm pictureas the background for my scene.
Animated Scene
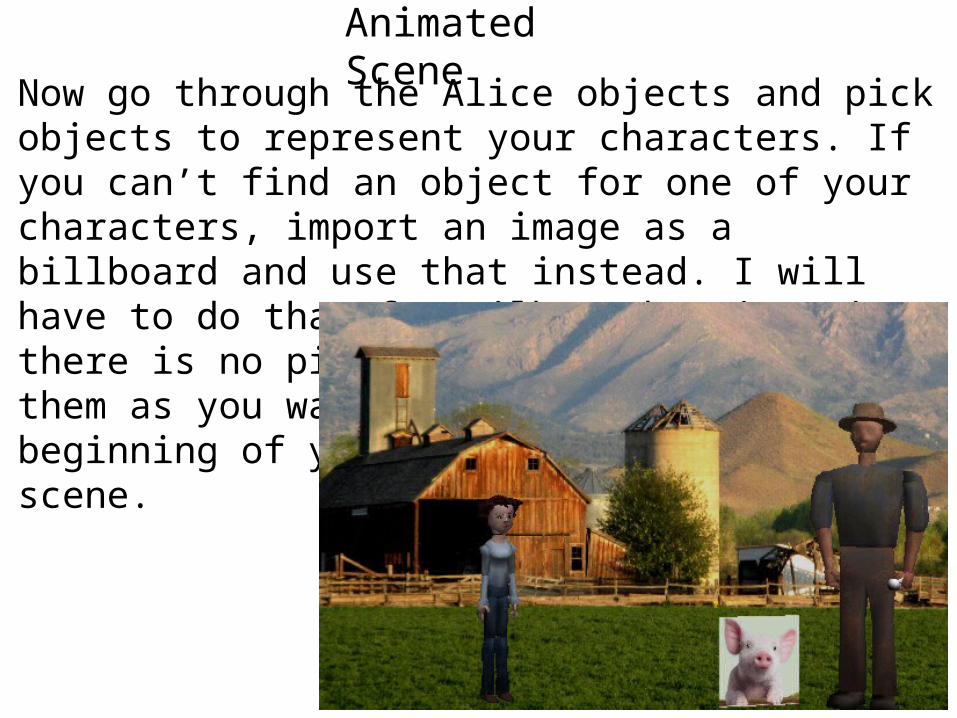
Now go through the Alice objects and pick objects to represent your characters. If you can’t find an object for one of your characters, import an image as a billboard and use that instead. I will have to do that for Wilbur the pig, since there is no pig object in Alice. Arrange them as you want them to look at thebeginning of your scene.
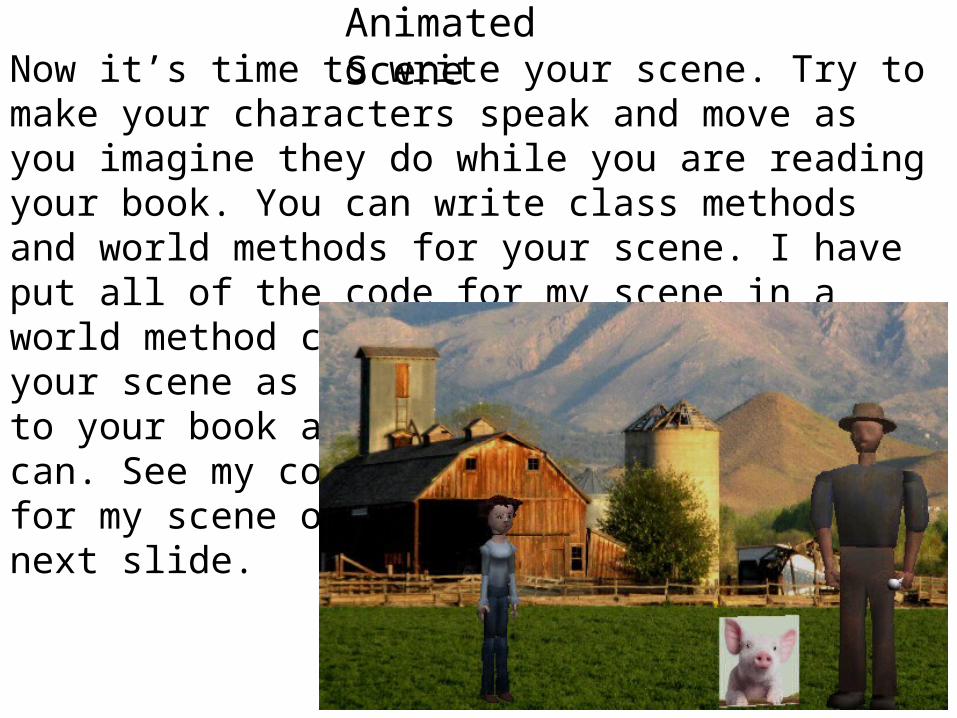
Animated SceneNow it’s time to write your scene. Try to make your characters speak and move as you imagine they do while you are reading your book. You can write class methods and world methods for your scene. I have put all of the code for my scene in a world method called sceneFromBook. Make your scene as true to your book as you can. See my code for my scene on thenext slide.
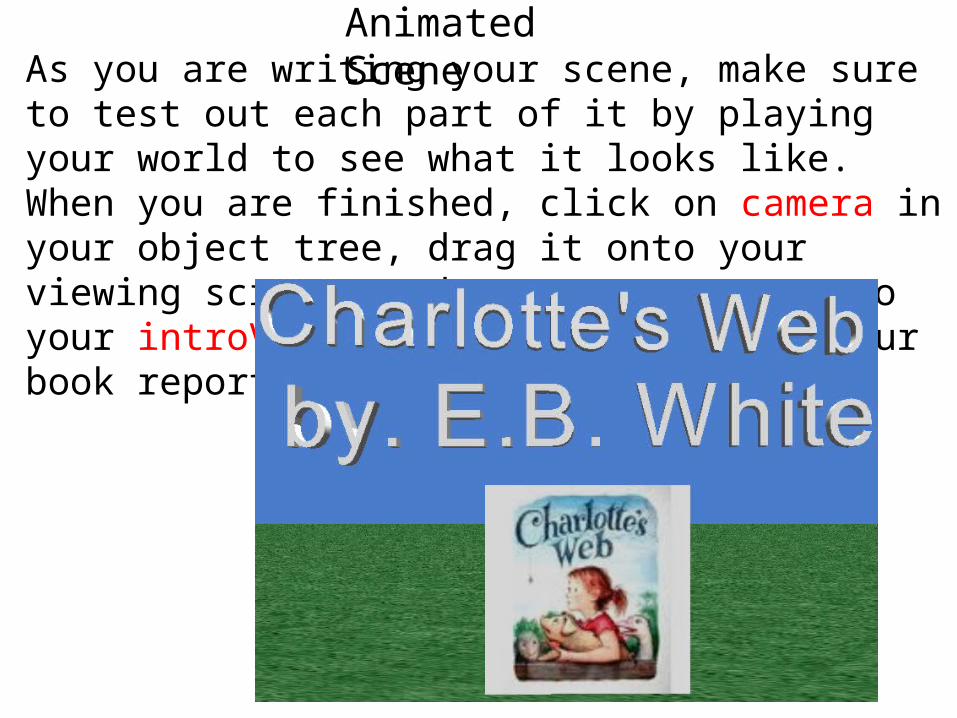
Animated SceneAs you are writing your scene, make sure to test out each part of it by playing your world to see what it looks like. When you are finished, click on camera in your object tree, drag it onto your viewing screen, and move your camera to your introView. We now need to pull your book report together.
Creating Events For Your Report
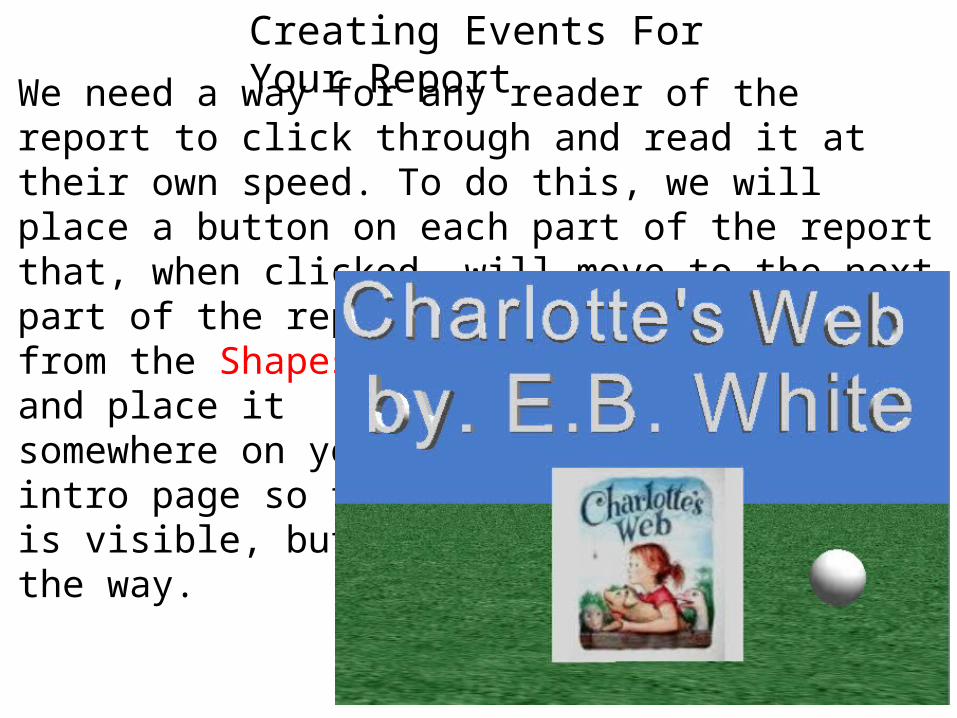
We need a way for any reader of the report to click through and read it at their own speed. To do this, we will place a button on each part of the report that, when clicked, will move to the next part of the report. First, add a sphere from the Shapes folder and place it somewhere on your intro page so that it is visible, but not in the way.
Creating Events For Your Report
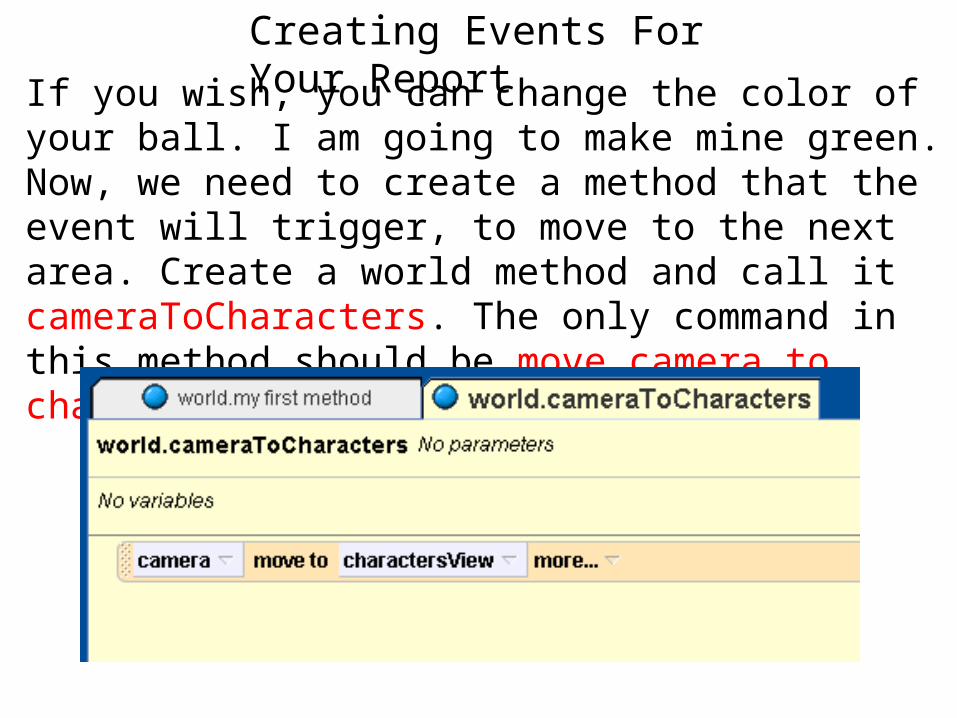
If you wish, you can change the color of your ball. I am going to make mine green. Now, we need to create a method that the event will trigger, to move to the next area. Create a world method and call it cameraToCharacters. The only command in this method should be move camera to characersView.
Creating Events For Your Report
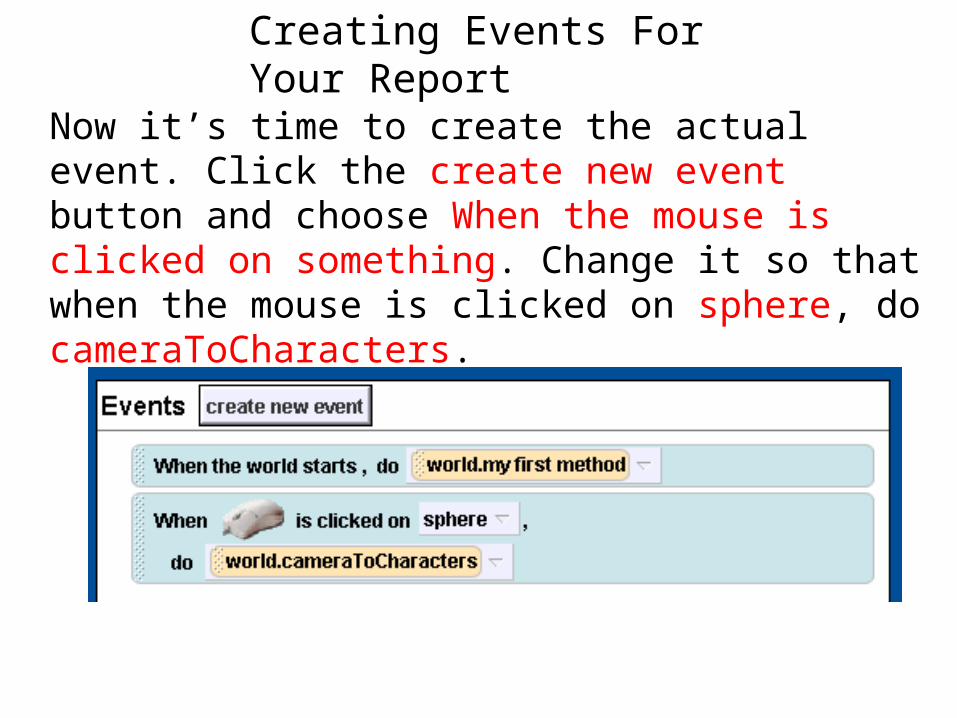
Now it’s time to create the actual event. Click the create new event button and choose When the mouse is clicked on something. Change it so that when the mouse is clicked on sphere, do cameraToCharacters.
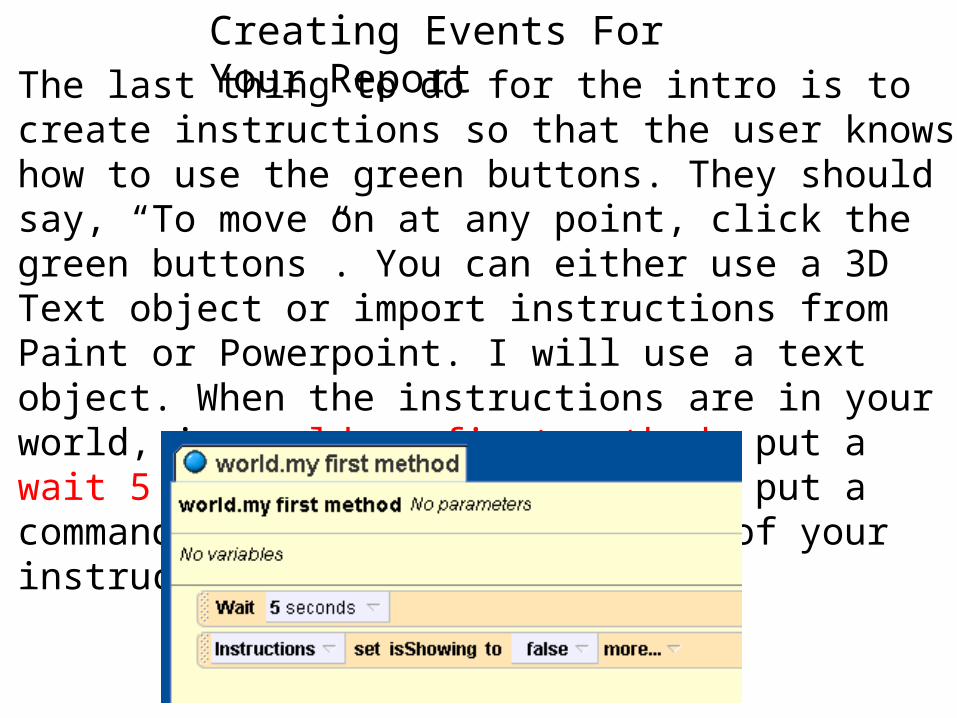
Creating Events For Your ReportThe last thing to do for the intro is to create instructions so that the user knows how to use the green buttons. They should say, “To move on at any point, click the green buttons”. You can either use a 3D Text object or import instructions from Paint or Powerpoint. I will use a text object. When the instructions are in your world, in world.my first method, put a wait 5 seconds command, and then put a command that sets the isShowing of your instructions to false.
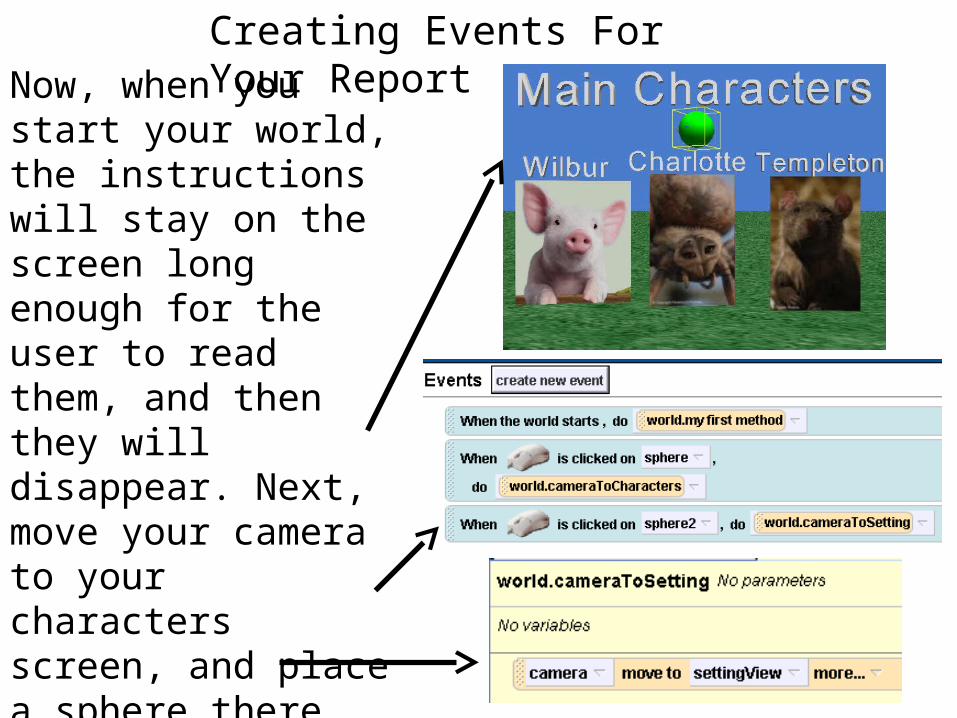
Creating Events For Your ReportNow, when you start your world, the instructions will stay on the screen long enough for the user to read them, and then they will disappear. Next, move your camera to your characters screen, and place a sphere there. Follow the steps from the last few slides, except name your new method cameraToSetting.

Creating Events For Your Report
Follow these steps for each part of your book report until there is a sphere in each area, which has an event tied to that sphere that will make the camera move to the next area. The last sphere, in the animated scene area, should start the animated scene when clicked on.
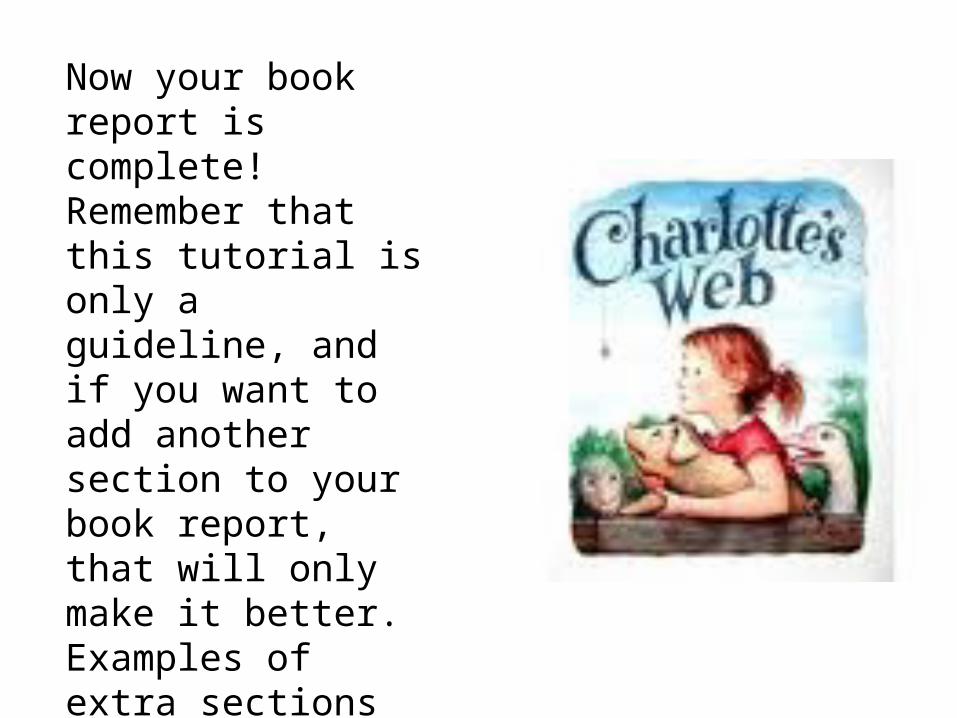
Now your book report is complete! Remember that this tutorial is only a guideline, and if you want to add another section to your book report, that will only make it better. Examples of extra sections you could add are Themes, Motifs, Conflicts, and Your Opinion About the Book.