Embed Size (px)
Citation preview
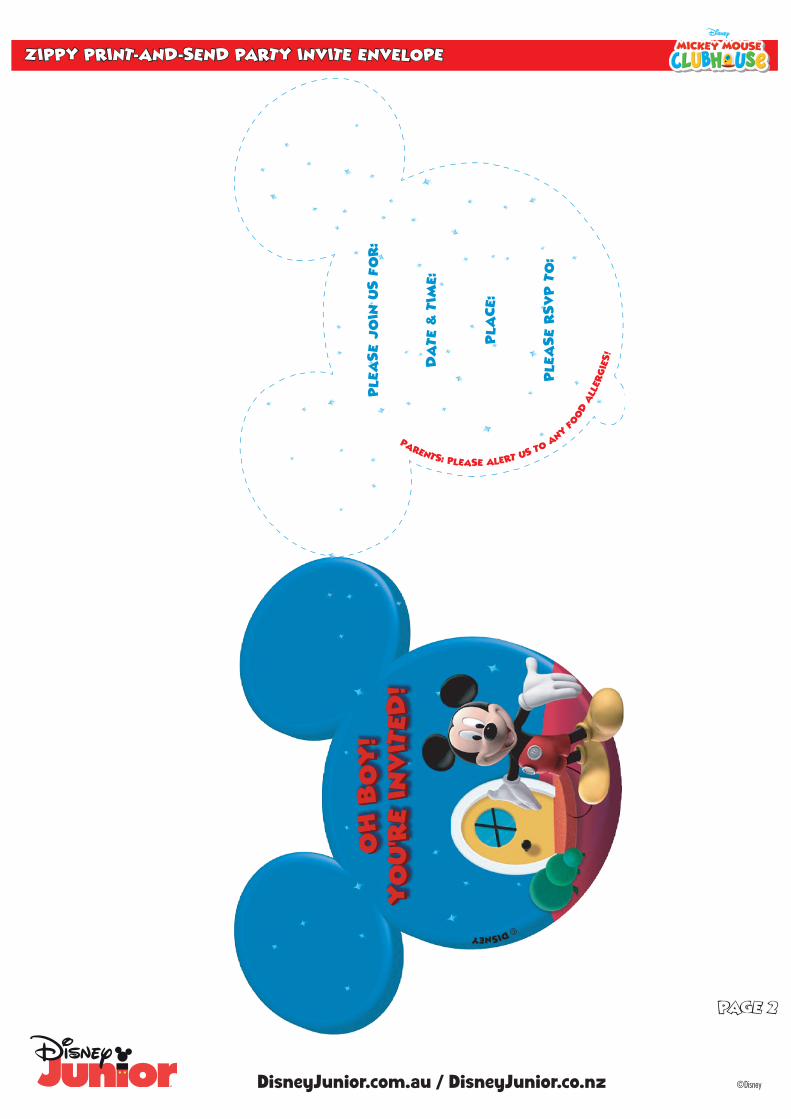
ZIPPY PRINT-AND-SEND PARTY INVITE ENVELOPE
© DISNEY
1. Type in the address and return address in the customisable fields of the envelope PDF. Type in essential party information in the customisable fields of the invitation PDF.
2. Print and allow to dry.
3. NOTE: Always seek the help of an adult when using cutting tools. Using scissors or a cutting tool and cutting mat, cut out the invitations and envelopes along the lines.
4. Fold and glue together the front and back of the invitation.
5. Crease the folds of the envelope, and then glue the flaps to the inside of the back of the envelope.
6. Allow to dry.
7. Place invitation in the envelope, seal, stamp, and deliver.
PAGE 1
©DisneyDisneyJunior.com.au / DisneyJunior.co.nz
ZIPPY PRINT-AND-SEND PARTY INVITE ENVELOPE
© DISNEY
PAGE 2
PARENTS: PLEASE ALERT US TO A
NY
FOOD A
LLERGIE
S!
©DisneyDisneyJunior.com.au / DisneyJunior.co.nz
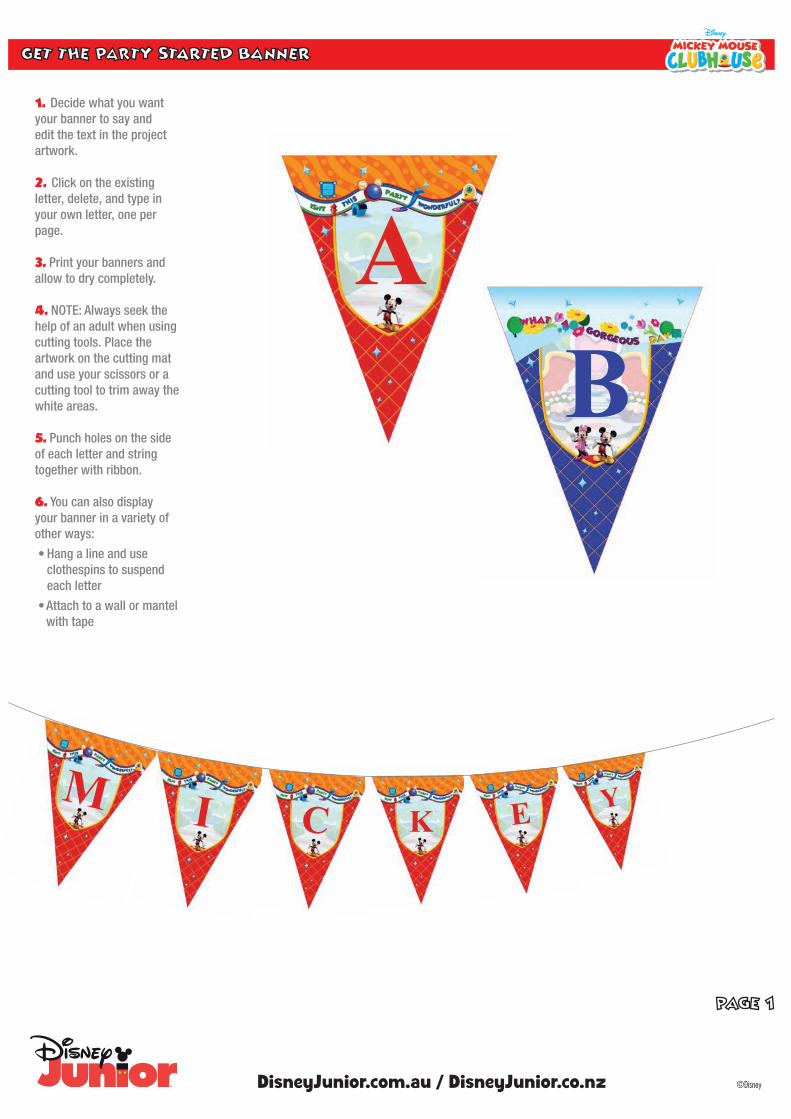
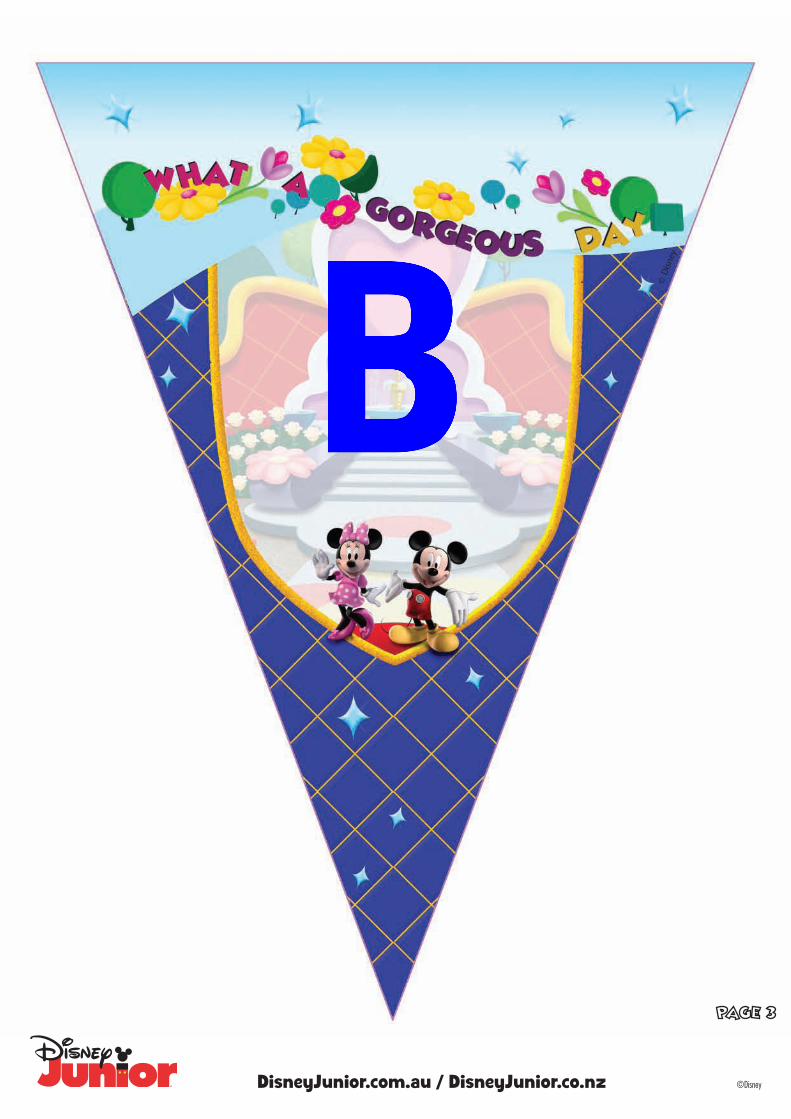
1. Decide what you want your banner to say and edit the text in the project artwork.
2. Click on the existing letter, delete, and type in your own letter, one per page.
3. Print your banners and allow to dry completely.
4. NOTE: Always seek the help of an adult when using cutting tools. Place the artwork on the cutting mat and use your scissors or a cutting tool to trim away the white areas.
5. Punch holes on the side of each letter and string together with ribbon.
6. You can also display your banner in a variety of other ways:
• Hang a line and use clothespins to suspend each letter
• Attach to a wall or mantel with tape
M I C K E Y
AB
©DisneyDisneyJunior.com.au / DisneyJunior.co.nz

© Di
sney
©DisneyDisneyJunior.com.au / DisneyJunior.co.nz
© D
isney
©DisneyDisneyJunior.com.au / DisneyJunior.co.nz
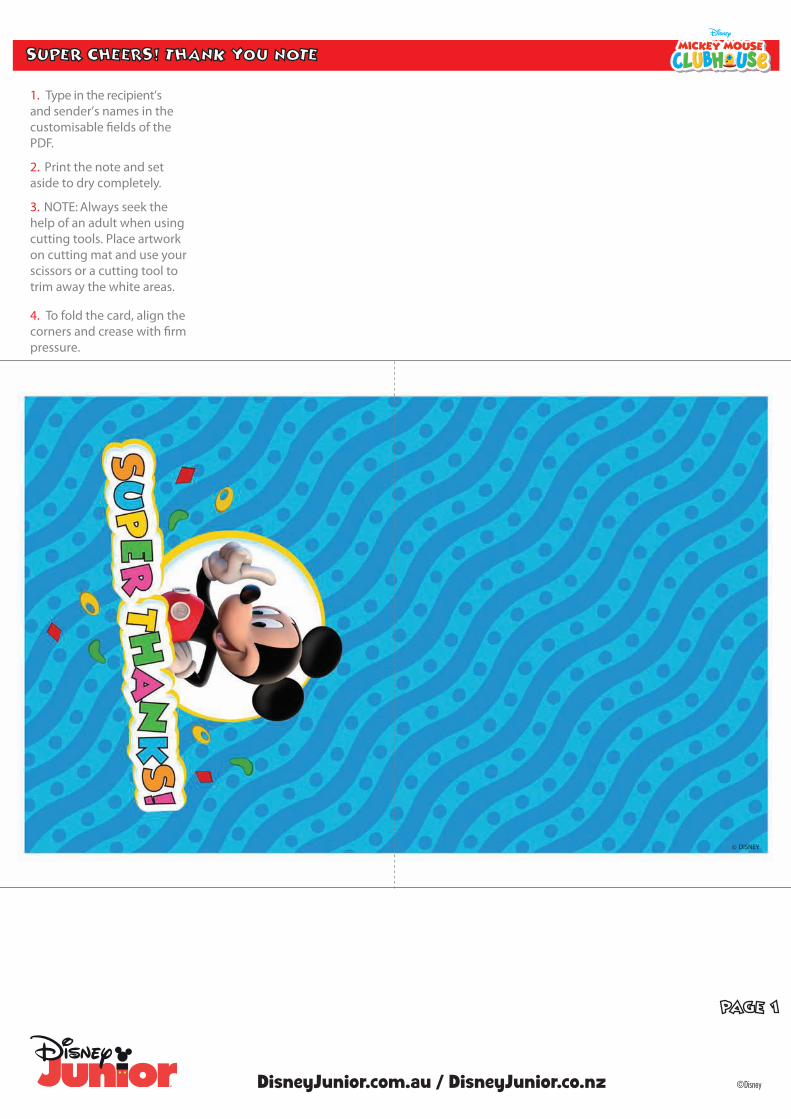
1. Type in the recipient’s and sender’s names in the customisable fields of the PDF.
2. Print the note and set aside to dry completely.
3. NOTE: Always seek the help of an adult when using cutting tools. Place artwork on cutting mat and use your scissors or a cutting tool to trim away the white areas.
4. To fold the card, align the corners and crease with firm pressure.
© DISNEY
©DisneyDisneyJunior.com.au / DisneyJunior.co.nz
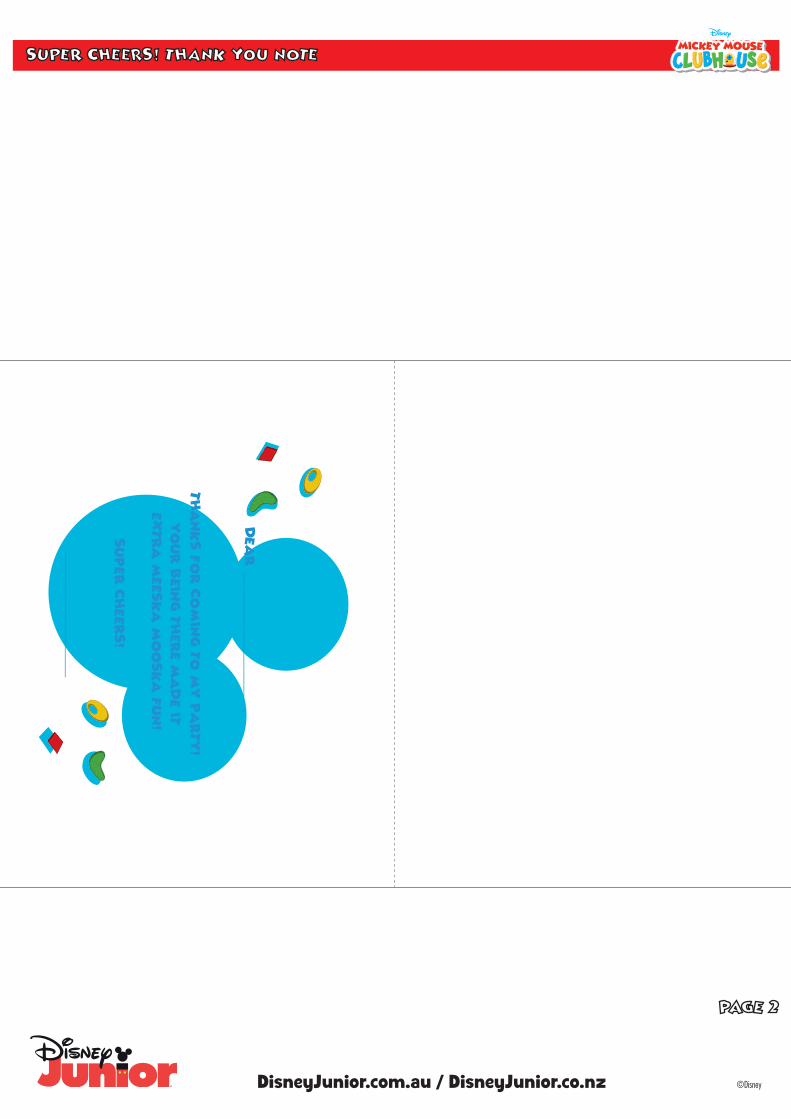
DEA
R ___________________
,
TH
AN
KS F
OR C
OM
ING T
O M
Y P
ARTY
!
YO
UR B
EIN
G T
HERE M
AD
E IT
EX
TRA
MEESKA
MO
OSKA
FU
N!
SU
PER C
HEERS!
___________________
©DisneyDisneyJunior.com.au / DisneyJunior.co.nz
©Disney
DisneyJunior.com.au / DisneyJunior.co.nz