Embed Size (px)
DESCRIPTION
A magazine devoted to photography and creative Photoshop techniques published and edited by Jim Zuckerman.
Citation preview

1
P H O T O I N S I G H T S Jim Zuckerman’s
• On safari• Workflow• New eBook• The amazing clone tool• Fun with fisheye lenses• Photo tours• Student showcase
May 2013
2
T a b l e o f C o n t e n t s
4. On safari12. Workflow14. New eBook16. Clone tool20. What’s wrong with this picture?22. Short and sweet24. Ask Jim26. Fisheye lenses30. Student showcase33. Back issues
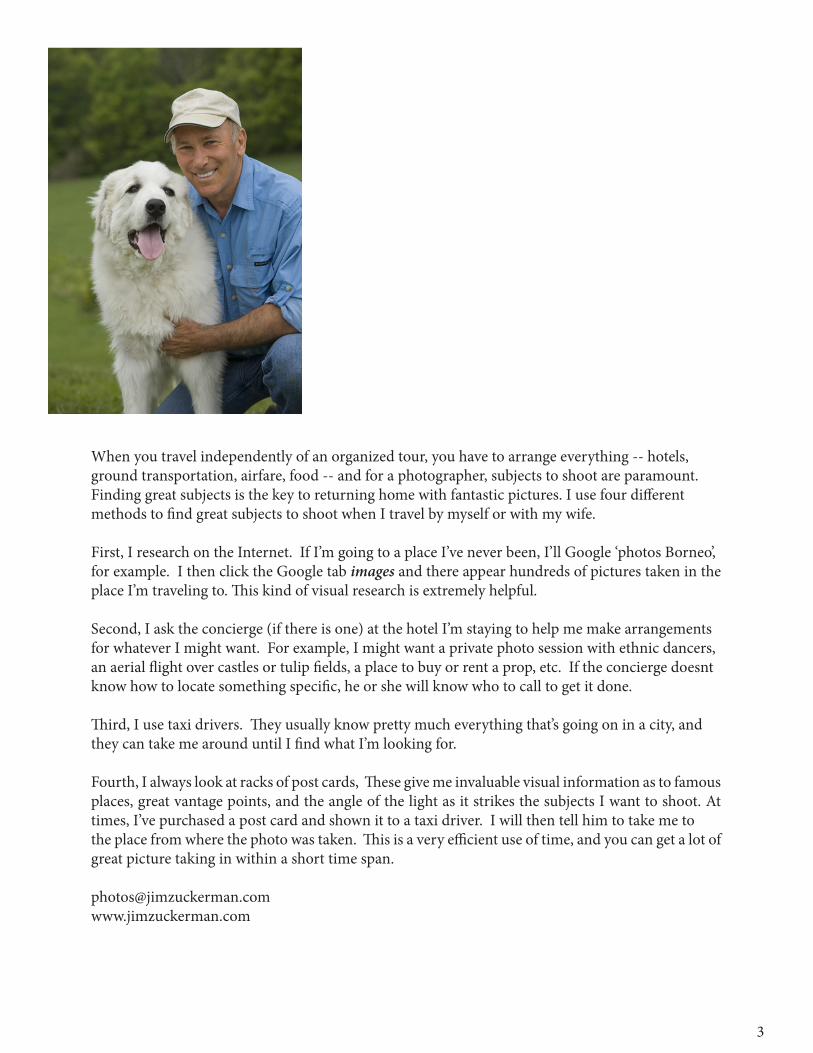
When you travel independently of an organized tour, you have to arrange everything -- hotels,ground transportation, airfare, food -- and for a photographer, subjects to shoot are paramount.Finding great subjects is the key to returning home with fantastic pictures. I use four differentmethods to find great subjects to shoot when I travel by myself or with my wife.
First, I research on the Internet. If I’m going to a place I’ve never been, I’ll Google ‘photos Borneo’,for example. I then click the Google tab images and there appear hundreds of pictures taken in the place I’m traveling to. This kind of visual research is extremely helpful.
Second, I ask the concierge (if there is one) at the hotel I’m staying to help me make arrangementsfor whatever I might want. For example, I might want a private photo session with ethnic dancers,an aerial flight over castles or tulip fields, a place to buy or rent a prop, etc. If the concierge doesnt know how to locate something specific, he or she will know who to call to get it done.
Third, I use taxi drivers. They usually know pretty much everything that’s going on in a city, and they can take me around until I find what I’m looking for.
Fourth, I always look at racks of post cards, These give me invaluable visual information as to famousplaces, great vantage points, and the angle of the light as it strikes the subjects I want to shoot. At times, I’ve purchased a post card and shown it to a taxi driver. I will then tell him to take me tothe place from where the photo was taken. This is a very efficient use of time, and you can get a lot ofgreat picture taking in within a short time span.
3
4
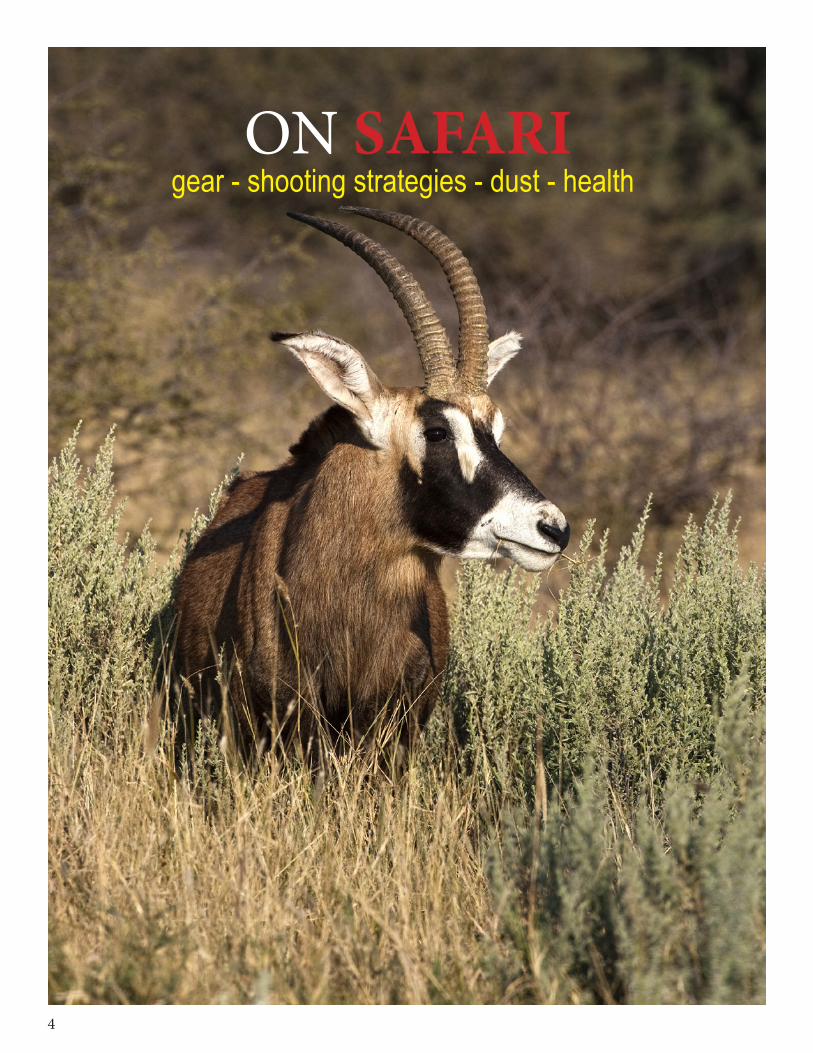
ON SAFARI gear - shooting strategies - dust - health
5
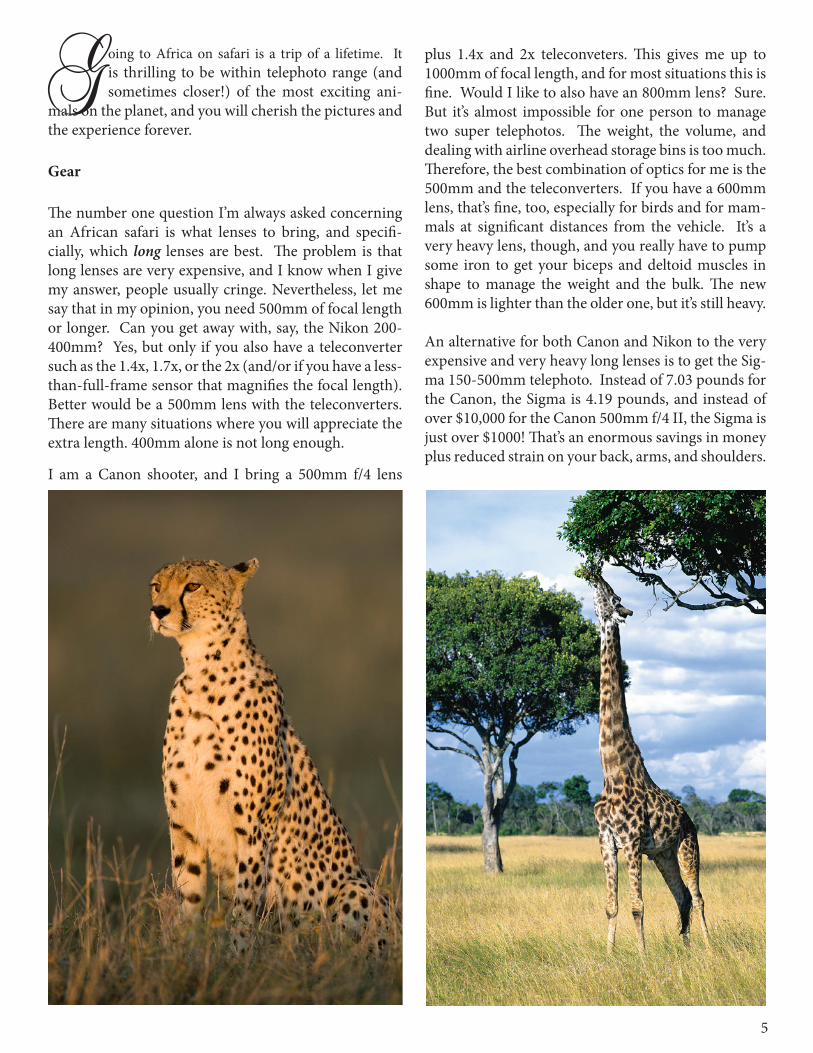
plus 1.4x and 2x teleconveters. This gives me up to 1000mm of focal length, and for most situations this is fine. Would I like to also have an 800mm lens? Sure. But it’s almost impossible for one person to manage two super telephotos. The weight, the volume, and dealing with airline overhead storage bins is too much. Therefore, the best combination of optics for me is the 500mm and the teleconverters. If you have a 600mm lens, that’s fine, too, especially for birds and for mam-mals at significant distances from the vehicle. It’s a very heavy lens, though, and you really have to pump some iron to get your biceps and deltoid muscles in shape to manage the weight and the bulk. The new 600mm is lighter than the older one, but it’s still heavy.
An alternative for both Canon and Nikon to the very expensive and very heavy long lenses is to get the Sig-ma 150-500mm telephoto. Instead of 7.03 pounds for the Canon, the Sigma is 4.19 pounds, and instead of over $10,000 for the Canon 500mm f/4 II, the Sigma is just over $1000! That’s an enormous savings in money plus reduced strain on your back, arms, and shoulders.
Going to Africa on safari is a trip of a lifetime. It is thrilling to be within telephoto range (and sometimes closer!) of the most exciting ani-
mals on the planet, and you will cherish the pictures and the experience forever.
Gear
The number one question I’m always asked concerning an African safari is what lenses to bring, and specifi-cially, which long lenses are best. The problem is that long lenses are very expensive, and I know when I give my answer, people usually cringe. Nevertheless, let me say that in my opinion, you need 500mm of focal length or longer. Can you get away with, say, the Nikon 200-400mm? Yes, but only if you also have a teleconverter such as the 1.4x, 1.7x, or the 2x (and/or if you have a less-than-full-frame sensor that magnifies the focal length). Better would be a 500mm lens with the teleconverters. There are many situations where you will appreciate the extra length. 400mm alone is not long enough.
I am a Canon shooter, and I bring a 500mm f/4 lens

While the Canon and Nikon 500mm lenses are f/4, the Sigma’s maximum lens aperture is f/5 - 6.3 (it is f/6.3 when zoomed out to 500mm). This is a one and one third f/stop difference. However, with the newer cameras able to handle digital noise very well, and with noise reducing software like Nik’s Dfine 2.0, a super fast lens isn’t as crucial as it used to be. In other words, by raising the ISO from, say, 200 to 500, the playing field is leveled between the Sigma and the name brand lenses. In addition, the Sigma lens is very sharp and the autofocus is fast.
You should plan on bringing a backup camera body, too. On one of my photography tours to Kenya, a man brought three bodies and two of them failed! If you don’t have two bodies, rent one to take with you. The last thing you want is to go halfway around the world to take the best pictures of your life and then be stuck without a camera body.
You should have a medium telephoto lens, too, for those instances when elephants, rhinos, giraffes and other large animals are too close to the vehicle for the long lens. I have the Canon 70-200mm f/2.8, but any
lens in a similar range will work.
I also recommend a wide angle lens to capture landscapes, dramatic skies, and even tribal portraits where you want an unusual composition such as the large photo below of the Masai warrior.
Bring more flash cards than you think you’ll need. I use 32 gig cards, and I don’t reformat them until I get home and transfer all of the digital files onto my main hard drive. That means that I use the flash cards as one of my backup methods.
Bring a tripod, but in most instances you’ll be shooting from the vehicle. This means that in East Africa, where most of the photography is done from a vans, below, you will need a bean bag. This is what everyone uses in lieu of a tripod within the van. You can bring the bag to Africa empty and fill it with beans or rice when you get there to
7
save on weight and volume in transit.
In southern Africa, the vehicles, below, are open and the side panels are low -- about waist level when you are seated. That means that using a bean bag is very awk-ward. Instead. a monopod is more useful because you can rest it on the floor or even on your seat as you are turned to shoot sideways. The camera can then be raised to eye-level.
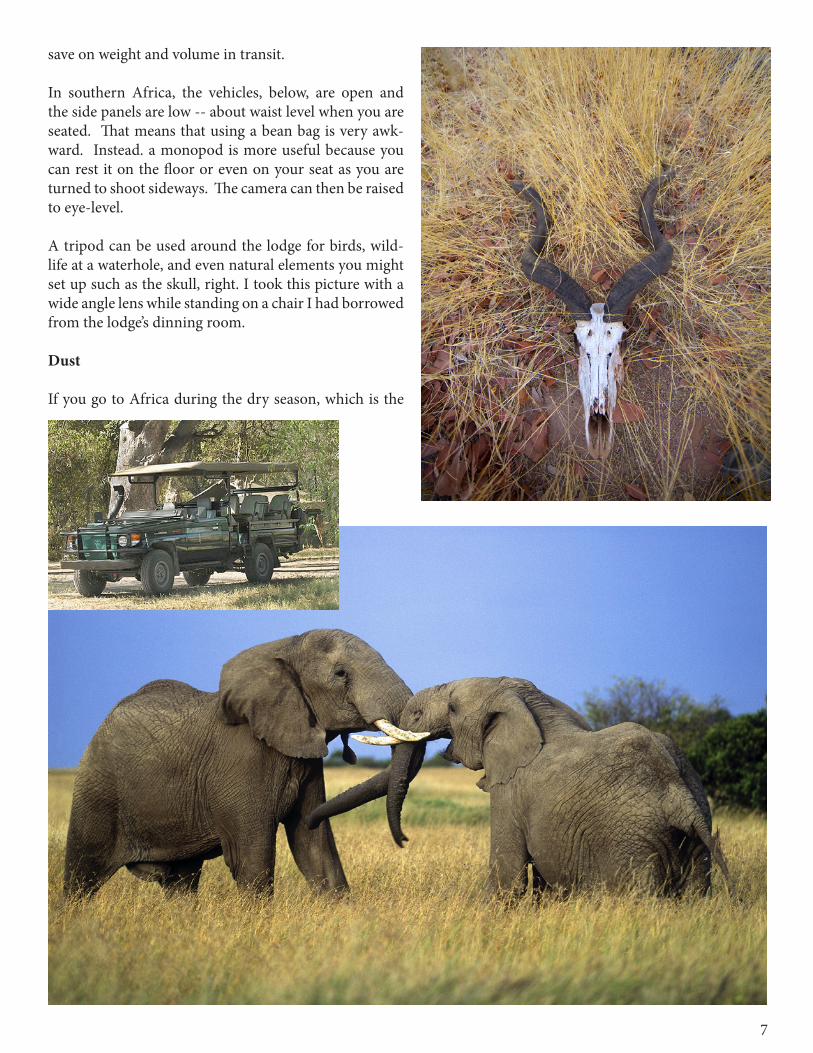
A tripod can be used around the lodge for birds, wild-life at a waterhole, and even natural elements you might set up such as the skull, right. I took this picture with a wide angle lens while standing on a chair I had borrowed from the lodge’s dinning room.
Dust
If you go to Africa during the dry season, which is the
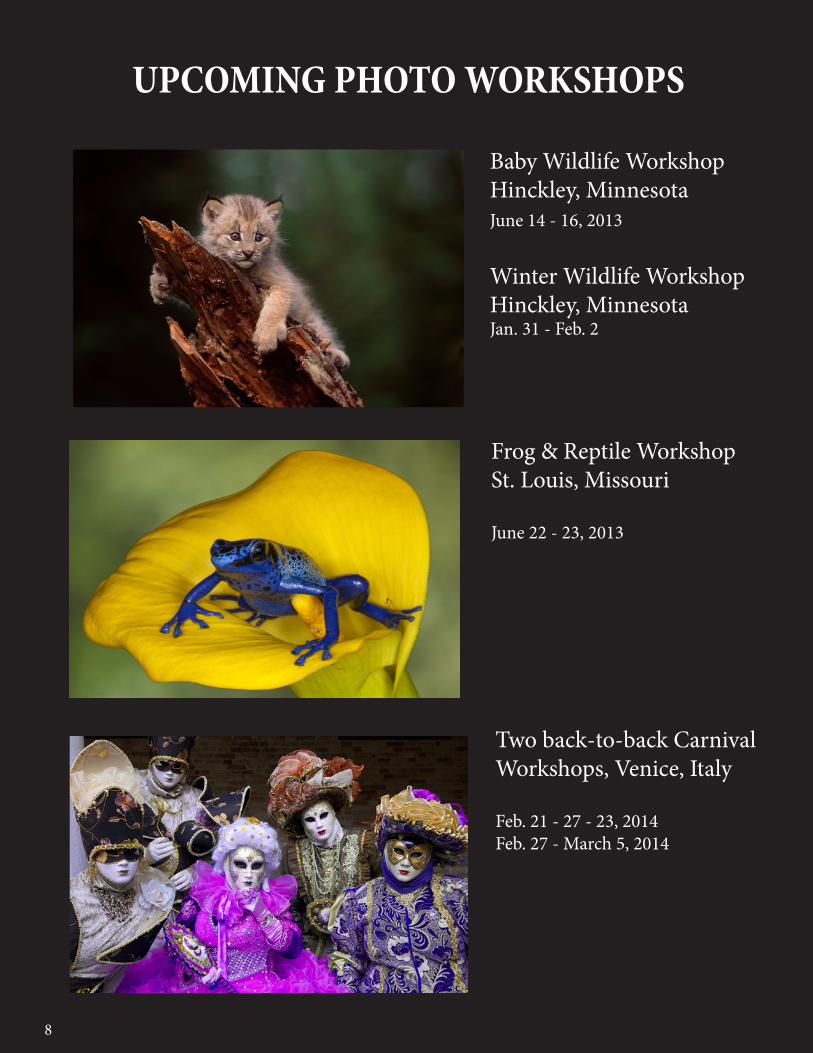
UPCOMING PHOTO WORKSHOPS
Baby Wildlife WorkshopHinckley, MinnesotaJune 14 - 16, 2013
Winter Wildlife WorkshopHinckley, MinnesotaJan. 31 - Feb. 2
Frog & Reptile WorkshopSt. Louis, Missouri
June 22 - 23, 2013
Two back-to-back Carnival Workshops, Venice, Italy
Feb. 21 - 27 - 23, 2014Feb. 27 - March 5, 2014
8
9
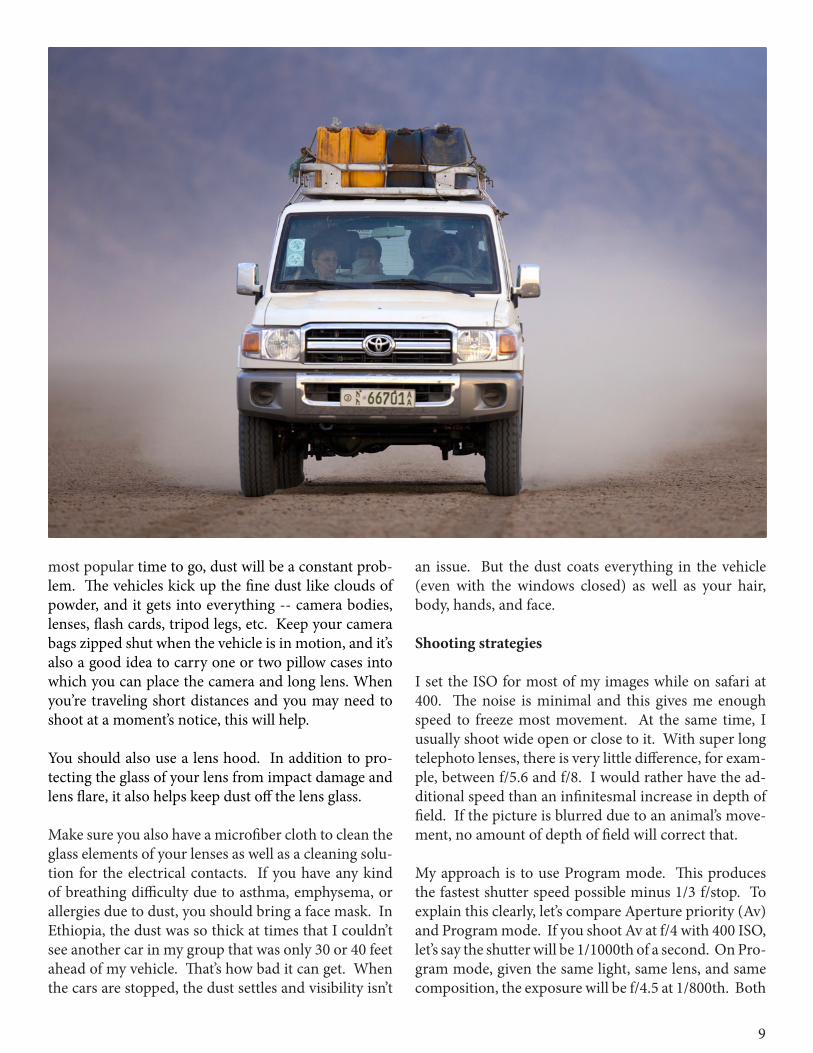
most popular time to go, dust will be a constant prob-lem. The vehicles kick up the fine dust like clouds of powder, and it gets into everything -- camera bodies, lenses, flash cards, tripod legs, etc. Keep your camera bags zipped shut when the vehicle is in motion, and it’s also a good idea to carry one or two pillow cases into which you can place the camera and long lens. When you’re traveling short distances and you may need to shoot at a moment’s notice, this will help.
You should also use a lens hood. In addition to pro-tecting the glass of your lens from impact damage and lens flare, it also helps keep dust off the lens glass.
Make sure you also have a microfiber cloth to clean the glass elements of your lenses as well as a cleaning solu-tion for the electrical contacts. If you have any kind of breathing difficulty due to asthma, emphysema, or allergies due to dust, you should bring a face mask. In Ethiopia, the dust was so thick at times that I couldn’t see another car in my group that was only 30 or 40 feet ahead of my vehicle. That’s how bad it can get. When the cars are stopped, the dust settles and visibility isn’t
an issue. But the dust coats everything in the vehicle (even with the windows closed) as well as your hair, body, hands, and face.
Shooting strategies
I set the ISO for most of my images while on safari at 400. The noise is minimal and this gives me enough speed to freeze most movement. At the same time, I usually shoot wide open or close to it. With super long telephoto lenses, there is very little difference, for exam-ple, between f/5.6 and f/8. I would rather have the ad-ditional speed than an infinitesmal increase in depth of field. If the picture is blurred due to an animal’s move-ment, no amount of depth of field will correct that.
My approach is to use Program mode. This produces the fastest shutter speed possible minus 1/3 f/stop. To explain this clearly, let’s compare Aperture priority (Av) and Program mode. If you shoot Av at f/4 with 400 ISO, let’s say the shutter will be 1/1000th of a second. On Pro-gram mode, given the same light, same lens, and same composition, the exposure will be f/4.5 at 1/800th. Both
10
Aperture priorty and Program mode will produce the same image. As the light level falls, you have to watch very carefully what’s happening to the shutter speed. If it drops below an acceptable level for sharp pictures, then the ISO must be raised.
The general rule for shutter speeds versus telephoto lenses is this: the shutter should be the reciprocal of the focal length of the lens or faster. In other words, if the lens is a 500mm, the shutter should be, ideally, 1/500th of a second or faster. This guideline is de-signed to insure sharp pictures. Sometimes photog-raphers use a slower speed than the ideal in an effort to gain depth of field or use a lower ISO, and if the subject isn’t moving and the lens is stable, the pictures will probably be sharp. But -- it’s risky.
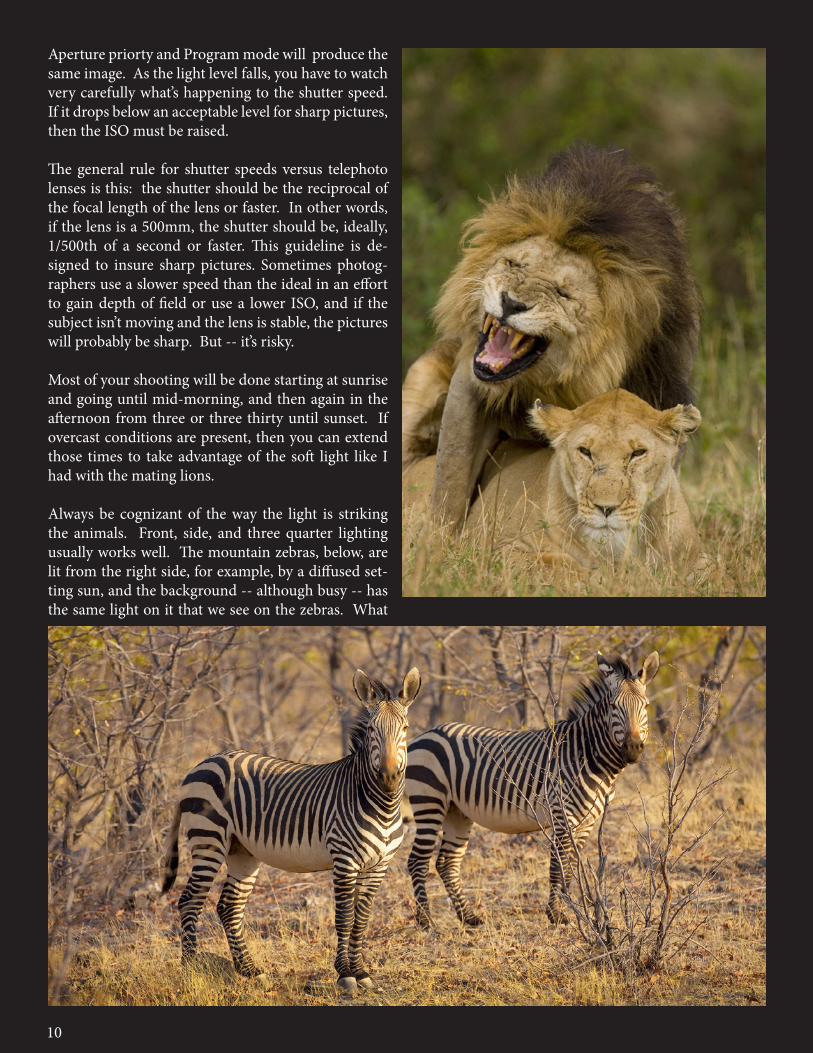
Most of your shooting will be done starting at sunrise and going until mid-morning, and then again in the afternoon from three or three thirty until sunset. If overcast conditions are present, then you can extend those times to take advantage of the soft light like I had with the mating lions.
Always be cognizant of the way the light is striking the animals. Front, side, and three quarter lighting usually works well. The mountain zebras, below, are lit from the right side, for example, by a diffused set-ting sun, and the background -- although busy -- has the same light on it that we see on the zebras. What
11
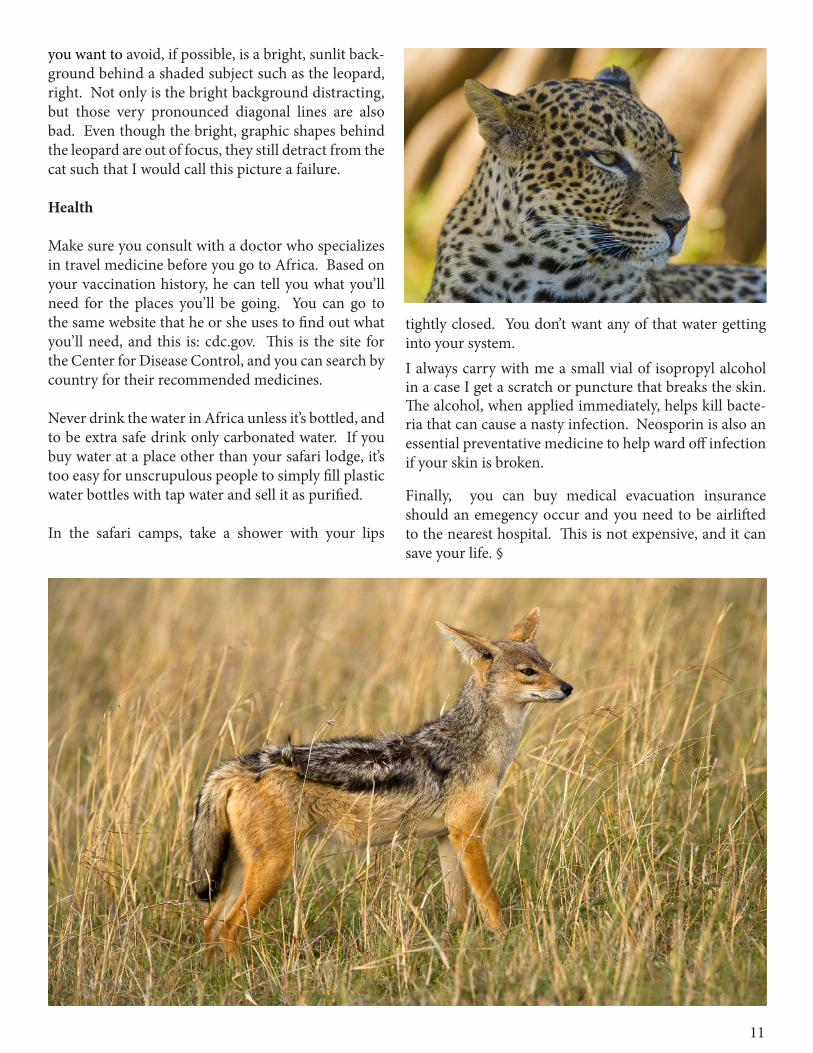
you want to avoid, if possible, is a bright, sunlit back-ground behind a shaded subject such as the leopard, right. Not only is the bright background distracting, but those very pronounced diagonal lines are also bad. Even though the bright, graphic shapes behind the leopard are out of focus, they still detract from the cat such that I would call this picture a failure.
Health
Make sure you consult with a doctor who specializes in travel medicine before you go to Africa. Based on your vaccination history, he can tell you what you’ll need for the places you’ll be going. You can go to the same website that he or she uses to find out what you’ll need, and this is: cdc.gov. This is the site for the Center for Disease Control, and you can search by country for their recommended medicines.
Never drink the water in Africa unless it’s bottled, and to be extra safe drink only carbonated water. If you buy water at a place other than your safari lodge, it’s too easy for unscrupulous people to simply fill plastic water bottles with tap water and sell it as purified.
In the safari camps, take a shower with your lips
tightly closed. You don’t want any of that water getting into your system. I always carry with me a small vial of isopropyl alcohol in a case I get a scratch or puncture that breaks the skin. The alcohol, when applied immediately, helps kill bacte-ria that can cause a nasty infection. Neosporin is also an essential preventative medicine to help ward off infection if your skin is broken.
Finally, you can buy medical evacuation insurance should an emegency occur and you need to be airlifted to the nearest hospital. This is not expensive, and it can save your life. §
12
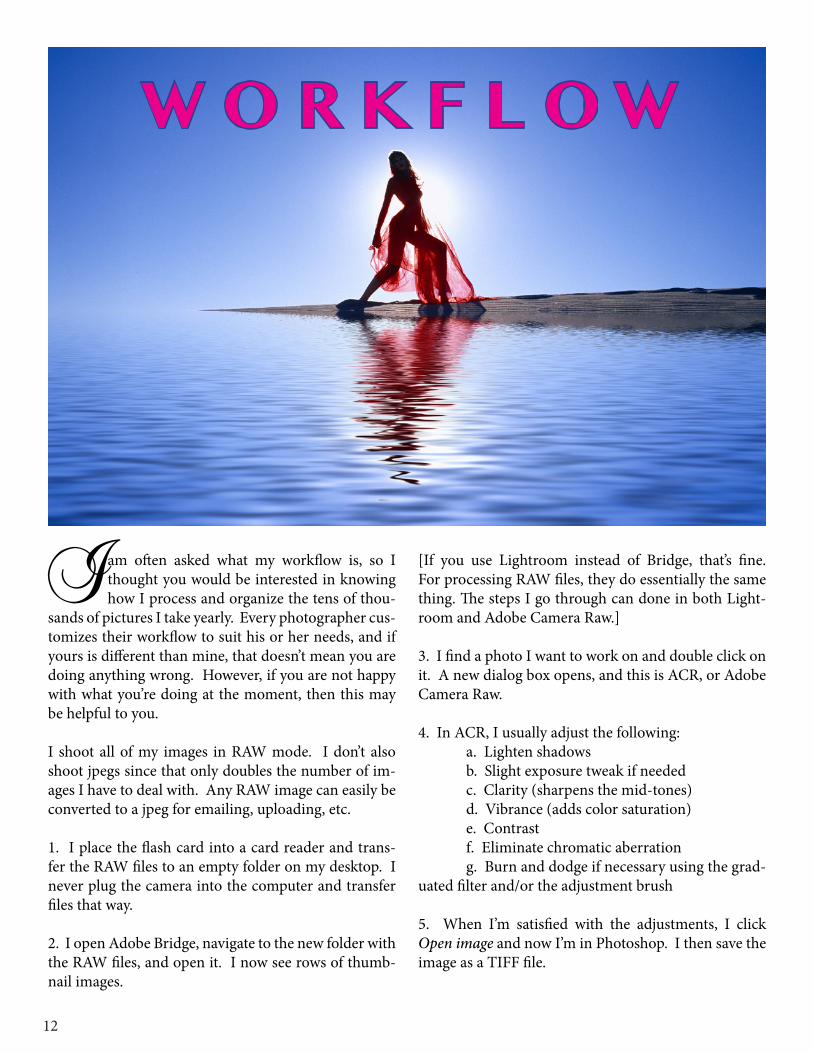
W O R K F L O W
I am often asked what my workflow is, so I thought you would be interested in knowing how I process and organize the tens of thou-
sands of pictures I take yearly. Every photographer cus-tomizes their workflow to suit his or her needs, and if yours is different than mine, that doesn’t mean you are doing anything wrong. However, if you are not happy with what you’re doing at the moment, then this may be helpful to you.
I shoot all of my images in RAW mode. I don’t also shoot jpegs since that only doubles the number of im-ages I have to deal with. Any RAW image can easily be converted to a jpeg for emailing, uploading, etc.
1. I place the flash card into a card reader and trans-fer the RAW files to an empty folder on my desktop. I never plug the camera into the computer and transfer files that way.
2. I open Adobe Bridge, navigate to the new folder with the RAW files, and open it. I now see rows of thumb-nail images.
[If you use Lightroom instead of Bridge, that’s fine. For processing RAW files, they do essentially the same thing. The steps I go through can done in both Light-room and Adobe Camera Raw.]
3. I find a photo I want to work on and double click on it. A new dialog box opens, and this is ACR, or Adobe Camera Raw.
4. In ACR, I usually adjust the following: a. Lighten shadows b. Slight exposure tweak if needed c. Clarity (sharpens the mid-tones) d. Vibrance (adds color saturation) e. Contrast f. Eliminate chromatic aberration g. Burn and dodge if necessary using the grad-uated filter and/or the adjustment brush
5. When I’m satisfied with the adjustments, I click Open image and now I’m in Photoshop. I then save the image as a TIFF file.
13
6. I give the image a number and put it in the appro-priate folder so I can easily find it again. For example, the folder might be lions or roses. I don’t keyword my images. I decided years ago that while I sell my pictures, I’m not a stock agency. I don’t want to spend the endless hours it would take to seriously keyword thousands of pictures every time I return home from a trip. Therefore, I use a system that works for me.
I have a hierarchy of folders. My main categories such as Americana, Travel, and Nature have subfold-ers, and those subfolders have more subfolders within them. If I want to find my pictures of Balinese danc-ers, here is the route I take:
Travel > Asia > Indonesia > Bali > dancers
If I want to find a South Carolina lighthouse, my search route is:
Americana > Lighthouses > South Carolina
For my images of carnival participants in a palace in Venice, Italy:
Travel > Europe > Italy > Venice > carnival > palace
To locate pictures of poodle puppies, I use:
Nature > animals > domestic > puppies > poodles
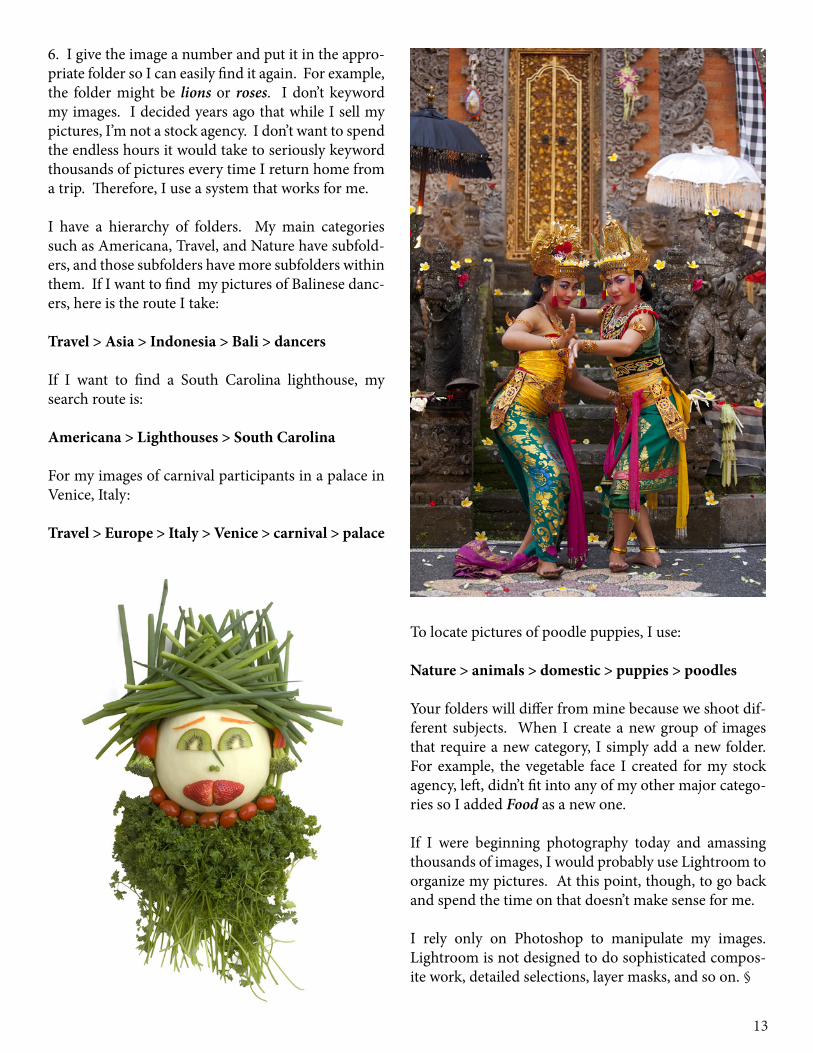
Your folders will differ from mine because we shoot dif-ferent subjects. When I create a new group of images that require a new category, I simply add a new folder. For example, the vegetable face I created for my stock agency, left, didn’t fit into any of my other major catego-ries so I added Food as a new one.
If I were beginning photography today and amassing thousands of images, I would probably use Lightroom to organize my pictures. At this point, though, to go back and spend the time on that doesn’t make sense for me.
I rely only on Photoshop to manipulate my images. Lightroom is not designed to do sophisticated compos-ite work, detailed selections, layer masks, and so on. §
14
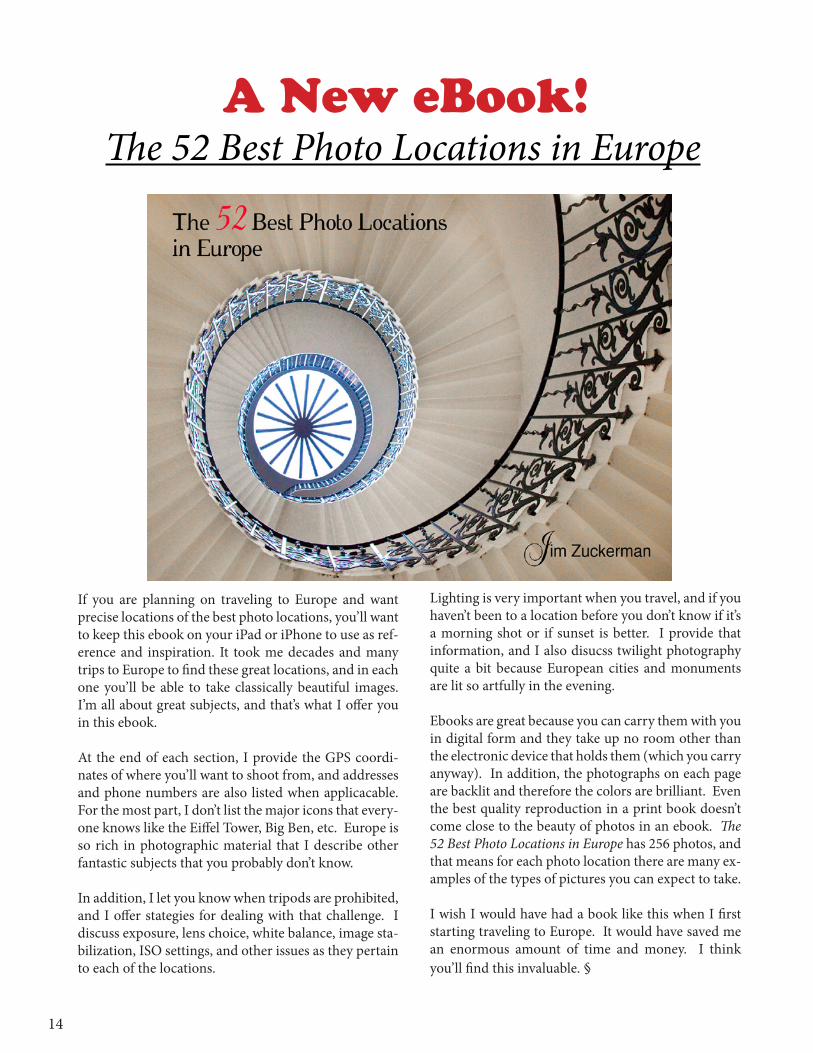
A New eBook! The 52 Best Photo Locations in Europe
If you are planning on traveling to Europe and want precise locations of the best photo locations, you’ll want to keep this ebook on your iPad or iPhone to use as ref-erence and inspiration. It took me decades and many trips to Europe to find these great locations, and in each one you’ll be able to take classically beautiful images. I’m all about great subjects, and that’s what I offer you in this ebook.
At the end of each section, I provide the GPS coordi-nates of where you’ll want to shoot from, and addresses and phone numbers are also listed when applicacable. For the most part, I don’t list the major icons that every-one knows like the Eiffel Tower, Big Ben, etc. Europe is so rich in photographic material that I describe other fantastic subjects that you probably don’t know.
In addition, I let you know when tripods are prohibited, and I offer stategies for dealing with that challenge. I discuss exposure, lens choice, white balance, image sta-bilization, ISO settings, and other issues as they pertain to each of the locations.
Lighting is very important when you travel, and if you haven’t been to a location before you don’t know if it’s a morning shot or if sunset is better. I provide that information, and I also disucss twilight photography quite a bit because European cities and monuments are lit so artfully in the evening.
Ebooks are great because you can carry them with you in digital form and they take up no room other than the electronic device that holds them (which you carry anyway). In addition, the photographs on each page are backlit and therefore the colors are brilliant. Even the best quality reproduction in a print book doesn’t come close to the beauty of photos in an ebook. The 52 Best Photo Locations in Europe has 256 photos, and that means for each photo location there are many ex-amples of the types of pictures you can expect to take.
I wish I would have had a book like this when I first starting traveling to Europe. It would have saved me an enormous amount of time and money. I think you’ll find this invaluable. §
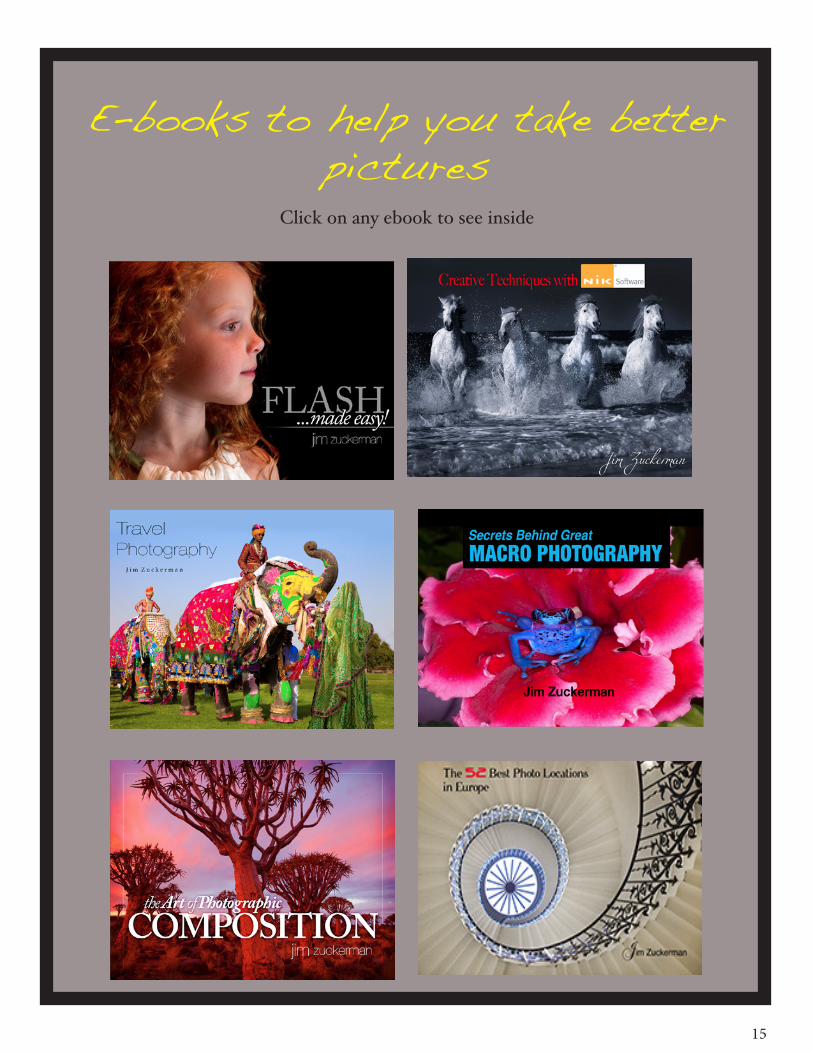
E-books to help you take better pictures
Click on any ebook to see inside
15
16 16
The Amazing Clone Tool
When a friend of mine introduced me to Pho-toshop for the first time in 1990, I asked him ‘What can it do?’ The first thing he
showed me was the clone tool. He eliminated a blem-ish on a model’s face and I thought that was pretty cool.
I have since learned that the clone tool can do so much more.
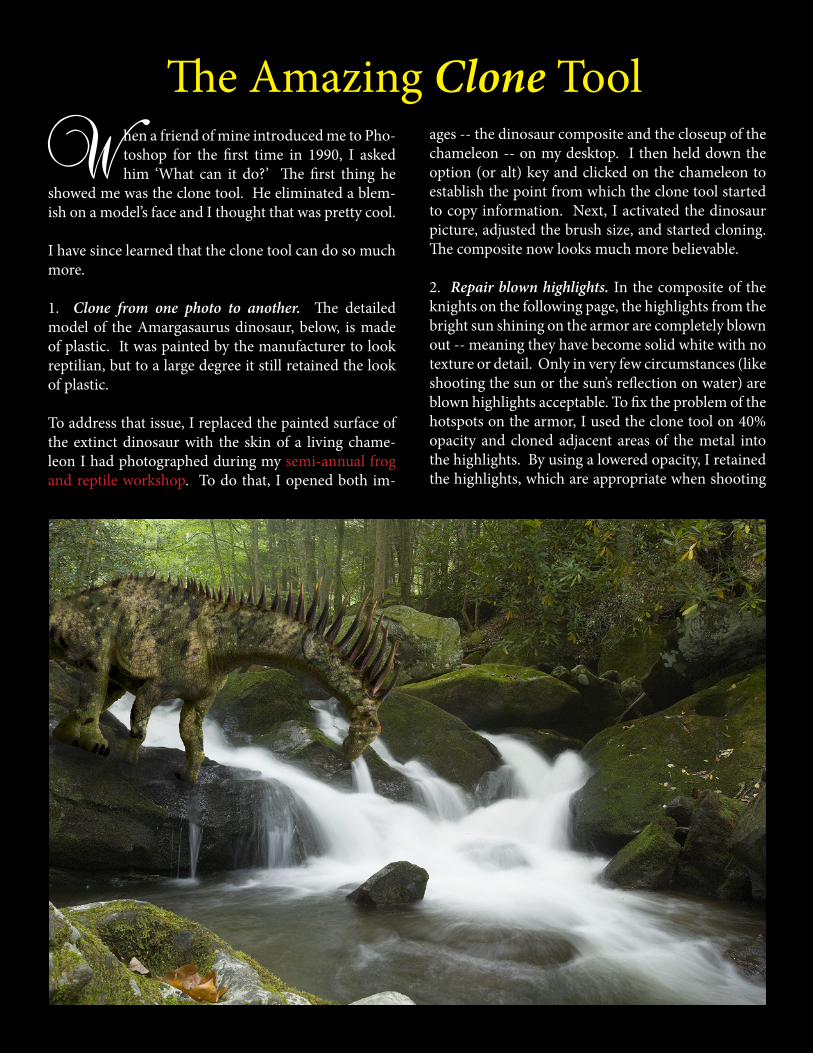
1. Clone from one photo to another. The detailed model of the Amargasaurus dinosaur, below, is made of plastic. It was painted by the manufacturer to look reptilian, but to a large degree it still retained the look of plastic.
To address that issue, I replaced the painted surface of the extinct dinosaur with the skin of a living chame-leon I had photographed during my semi-annual frog and reptile workshop. To do that, I opened both im-
ages -- the dinosaur composite and the closeup of the chameleon -- on my desktop. I then held down the option (or alt) key and clicked on the chameleon to establish the point from which the clone tool started to copy information. Next, I activated the dinosaur picture, adjusted the brush size, and started cloning. The composite now looks much more believable.
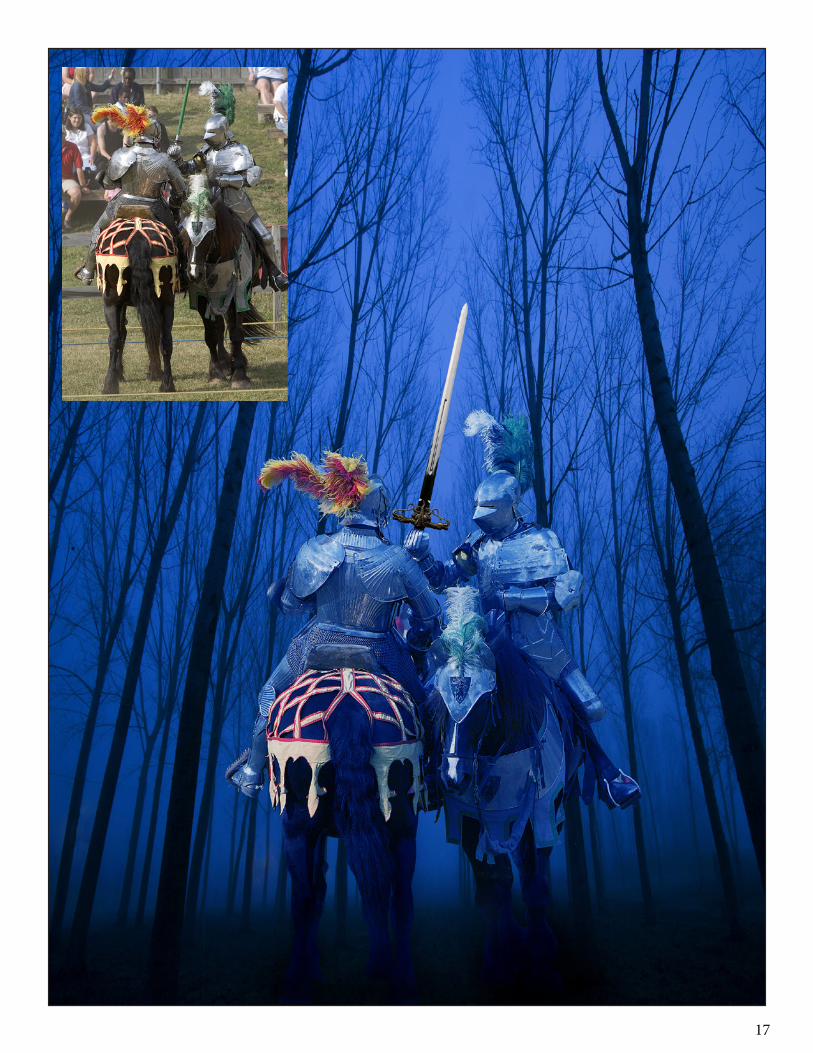
2. Repair blown highlights. In the composite of the knights on the following page, the highlights from the bright sun shining on the armor are completely blown out -- meaning they have become solid white with no texture or detail. Only in very few circumstances (like shooting the sun or the sun’s reflection on water) are blown highlights acceptable. To fix the problem of the hotspots on the armor, I used the clone tool on 40% opacity and cloned adjacent areas of the metal into the highlights. By using a lowered opacity, I retained the highlights, which are appropriate when shooting
17
18
metalic surfaces, and the reintroduced texture made the armor look like it was originally photographed in the soft and diffused light of the foggy forest.
I replaced the broken wooden lance in the original photo with a sword I purchased online for $35.
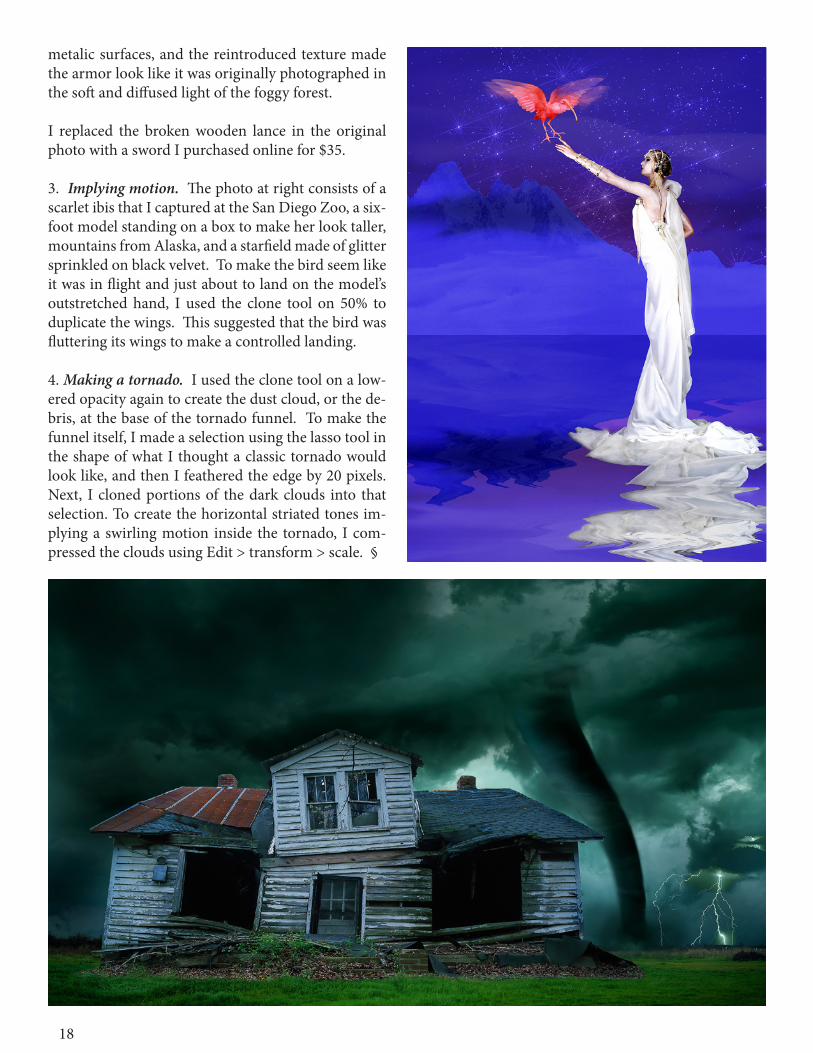
3. Implying motion. The photo at right consists of a scarlet ibis that I captured at the San Diego Zoo, a six-foot model standing on a box to make her look taller, mountains from Alaska, and a starfield made of glitter sprinkled on black velvet. To make the bird seem like it was in flight and just about to land on the model’s outstretched hand, I used the clone tool on 50% to duplicate the wings. This suggested that the bird was fluttering its wings to make a controlled landing.
4. Making a tornado. I used the clone tool on a low-ered opacity again to create the dust cloud, or the de-bris, at the base of the tornado funnel. To make the funnel itself, I made a selection using the lasso tool in the shape of what I thought a classic tornado would look like, and then I feathered the edge by 20 pixels. Next, I cloned portions of the dark clouds into that selection. To create the horizontal striated tones im-plying a swirling motion inside the tornado, I com-pressed the clouds using Edit > transform > scale. §
19
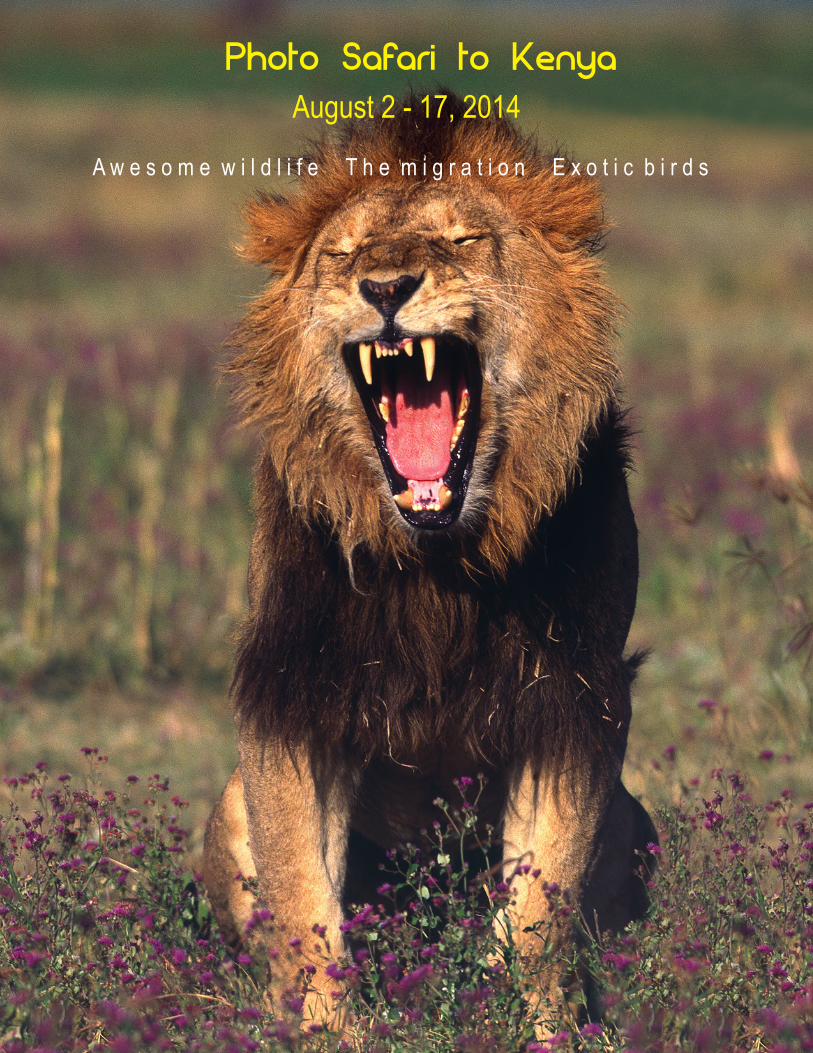
Photo Safari to Kenya August 2 - 17, 2014
A w e s o m e w i l d l i f e T h e m i g r a t i o n E x o t i c b i r d s
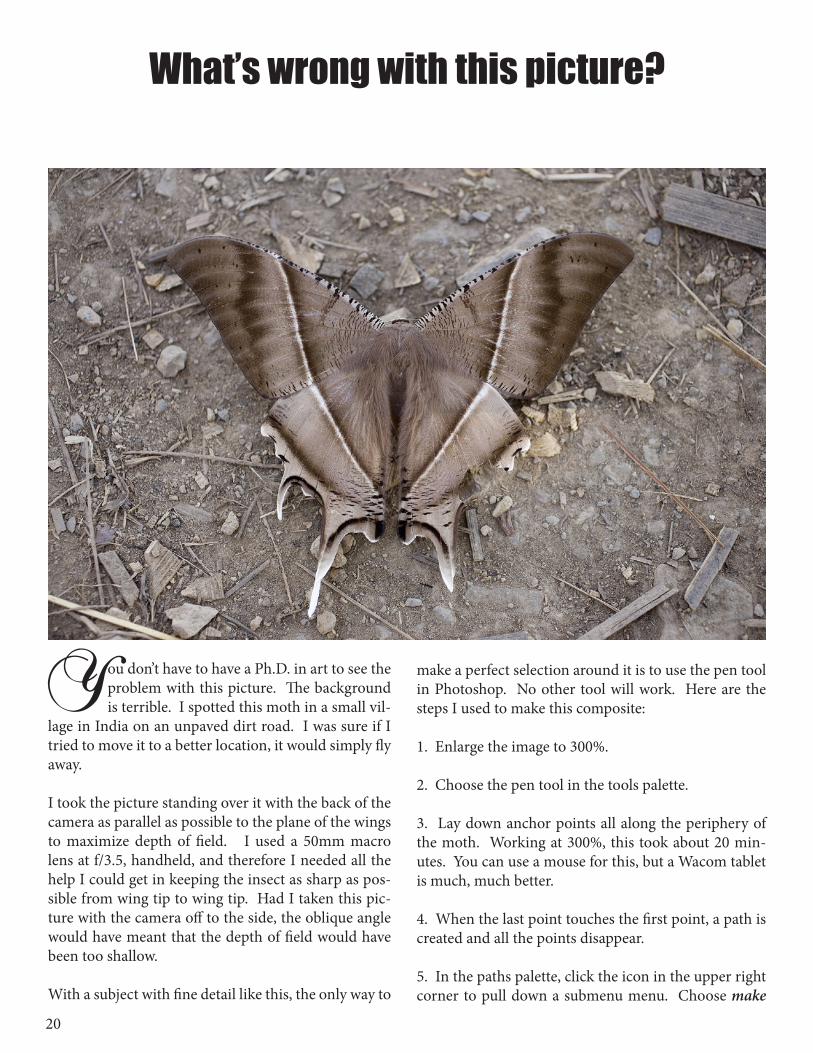
What’s wrong with this picture?
20
Y ou don’t have to have a Ph.D. in art to see the problem with this picture. The background is terrible. I spotted this moth in a small vil-
lage in India on an unpaved dirt road. I was sure if I tried to move it to a better location, it would simply fly away.
I took the picture standing over it with the back of the camera as parallel as possible to the plane of the wings to maximize depth of field. I used a 50mm macro lens at f/3.5, handheld, and therefore I needed all the help I could get in keeping the insect as sharp as pos-sible from wing tip to wing tip. Had I taken this pic-ture with the camera off to the side, the oblique angle would have meant that the depth of field would have been too shallow.
With a subject with fine detail like this, the only way to
make a perfect selection around it is to use the pen tool in Photoshop. No other tool will work. Here are the steps I used to make this composite:
1. Enlarge the image to 300%.
2. Choose the pen tool in the tools palette.
3. Lay down anchor points all along the periphery of the moth. Working at 300%, this took about 20 min-utes. You can use a mouse for this, but a Wacom tablet is much, much better.
4. When the last point touches the first point, a path is created and all the points disappear.
5. In the paths palette, click the icon in the upper right corner to pull down a submenu menu. Choose make

21
selection. In the dialog box that opens, choose one pixel, and then click OK. The path is now a selection.
6. Choose Select > modify > contract. In the dialog box, choose one pixel. This contracts the selection slightly to eliminate any color from the original back-ground.
7. Choose Select > modify > feather. In the dialog box, type in one pixel. This softens the edge of the selection.8. Choose Select > save selection to permanently re-tain the selection for future use.
9. Choose Select > inverse. This selects everything ex-cept the moth, i.e. the background.
10. Open the background photo -- in the photo above I used a rock texture similar in coloration to the moth
-- and choose Select > all, then Edit > copy.
11. Click the photo of the moth and then choose Edit > paste special > paste into. The background has now been pasted behind the moth.
12. To repair the broken tail, I made another selection of the left tail using the pen tool, copied it to the clip-board with Edit > copy, and then chose Edit > paste.This pasted the small tail section into the photo.
13. I flipped the tail section horizontally with Edit > transform > horizontal, and moved it into place using the move tool. Now the two tail sections were equal in length.
14. Choose File > save as, name the new picture, and click the save button.
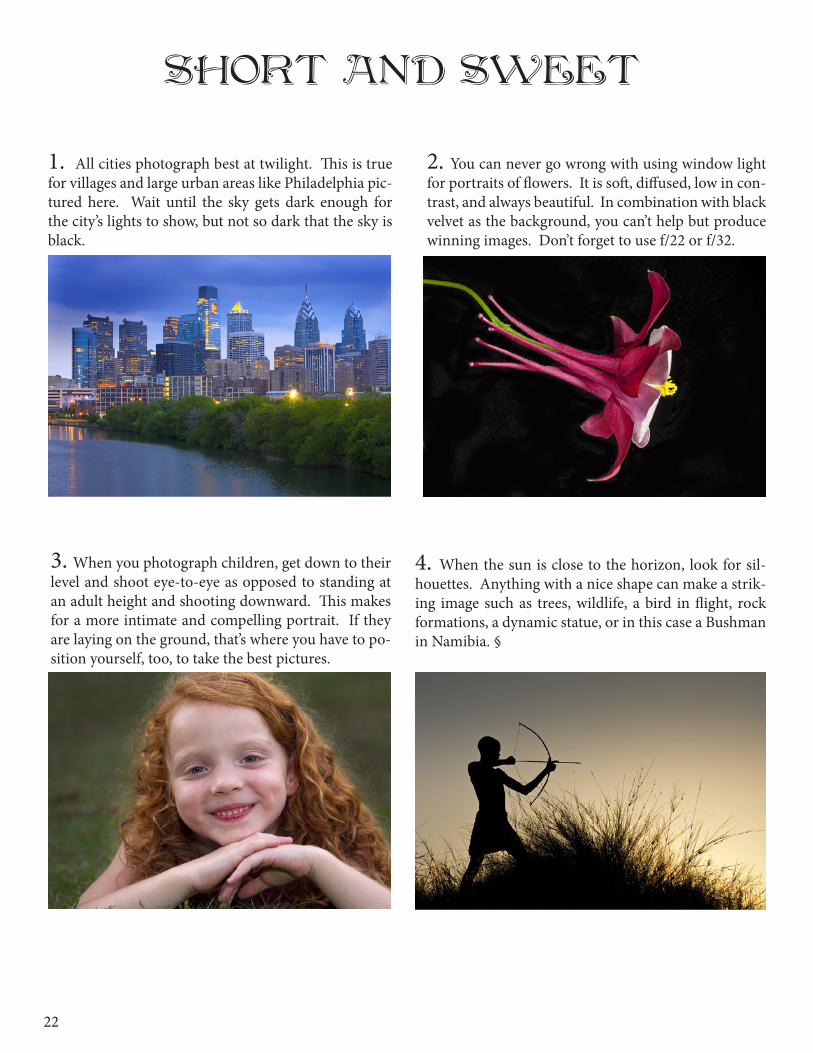
SHORT AND SWEET
1. All cities photograph best at twilight. This is true for villages and large urban areas like Philadelphia pic-tured here. Wait until the sky gets dark enough for the city’s lights to show, but not so dark that the sky is black.
3. When you photograph children, get down to their level and shoot eye-to-eye as opposed to standing at an adult height and shooting downward. This makes for a more intimate and compelling portrait. If they are laying on the ground, that’s where you have to po-sition yourself, too, to take the best pictures.
2. You can never go wrong with using window light for portraits of flowers. It is soft, diffused, low in con-trast, and always beautiful. In combination with black velvet as the background, you can’t help but produce winning images. Don’t forget to use f/22 or f/32.
4. When the sun is close to the horizon, look for sil-houettes. Anything with a nice shape can make a strik-ing image such as trees, wildlife, a bird in flight, rock formations, a dynamic statue, or in this case a Bushman in Namibia. §
22
18
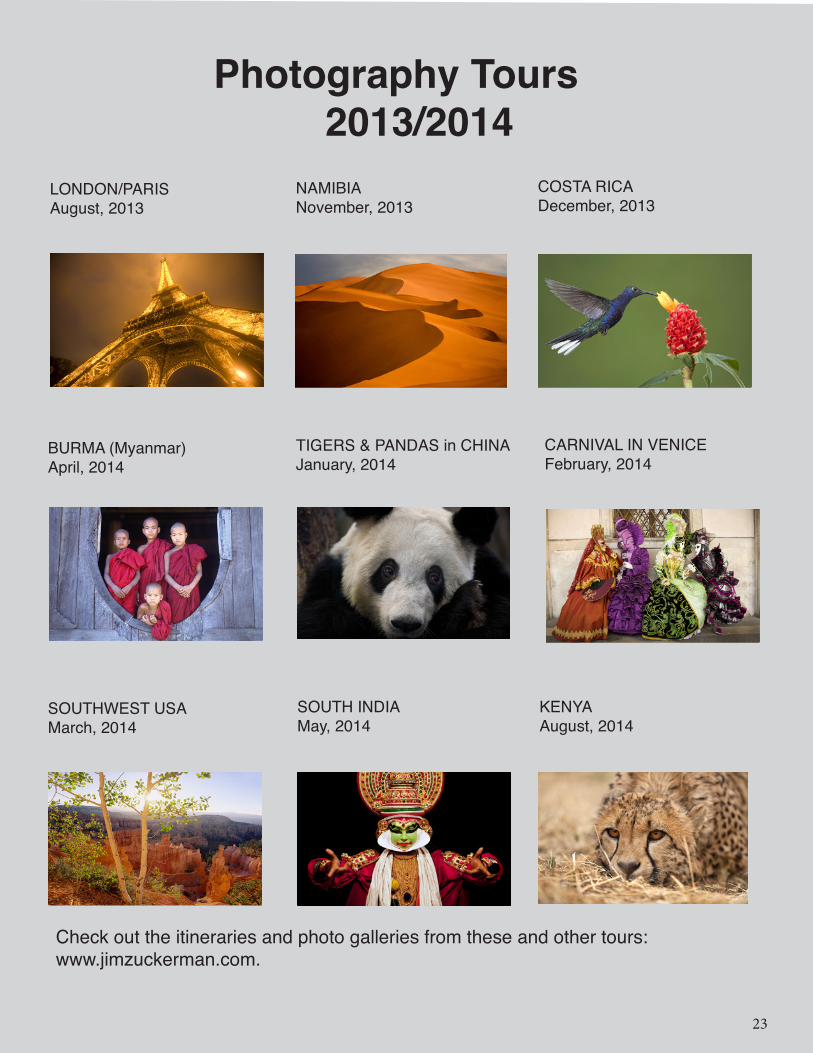
Photography Tours 2013/2014LONDON/PARISAugust, 2013
NAMIBIANovember, 2013
COSTA RICADecember, 2013
TIGERS & PANDAS in CHINAJanuary, 2014
SOUTHWEST USAMarch, 2014
SOUTH INDIAMay, 2014
KENYAAugust, 2014
Check out the itineraries and photo galleries from these and other tours:www.jimzuckerman.com.
23
CARNIVAL IN VENICEFebruary, 2014
BURMA (Myanmar)April, 2014
24
ASK JIM Every month Jim will answer a question from his online students, from people who participate in his tours and workshops, or from subscribers to this magazine. If you have a question you’d like Jim to answer, please drop him a note at [email protected].
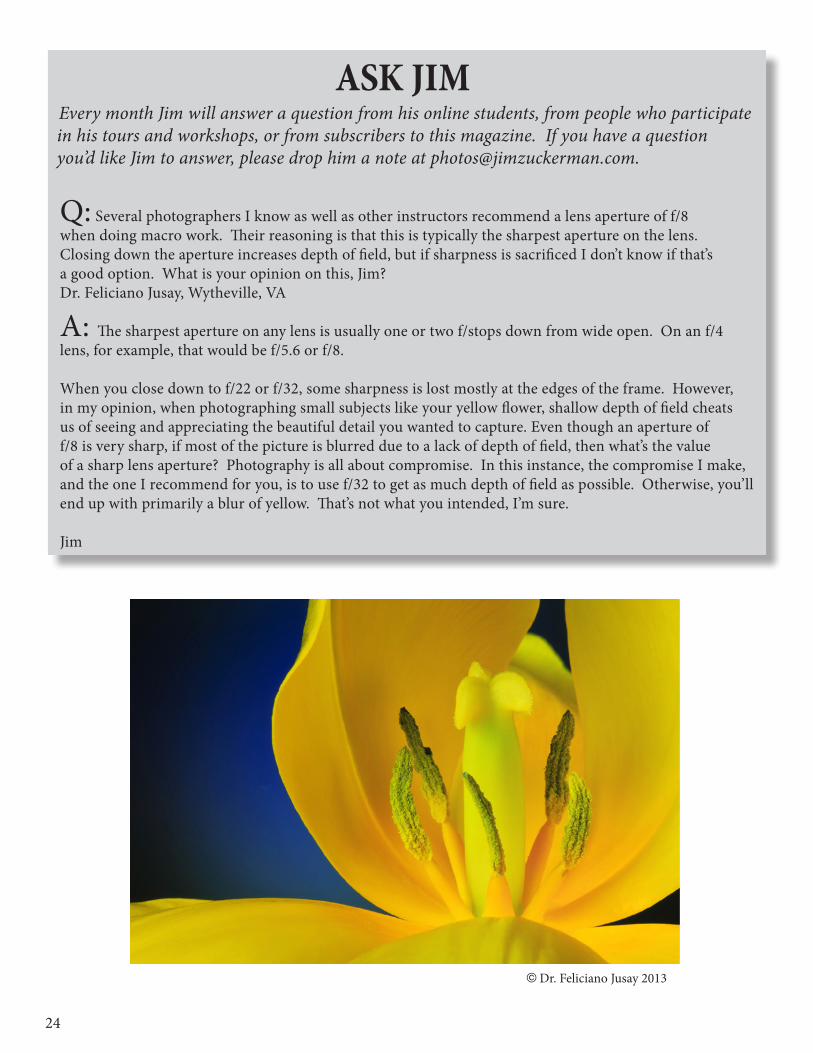
Q: Several photographers I know as well as other instructors recommend a lens aperture of f/8when doing macro work. Their reasoning is that this is typically the sharpest aperture on the lens. Closing down the aperture increases depth of field, but if sharpness is sacrificed I don’t know if that’sa good option. What is your opinion on this, Jim?Dr. Feliciano Jusay, Wytheville, VA
A: The sharpest aperture on any lens is usually one or two f/stops down from wide open. On an f/4lens, for example, that would be f/5.6 or f/8.
When you close down to f/22 or f/32, some sharpness is lost mostly at the edges of the frame. However,in my opinion, when photographing small subjects like your yellow flower, shallow depth of field cheatsus of seeing and appreciating the beautiful detail you wanted to capture. Even though an aperture off/8 is very sharp, if most of the picture is blurred due to a lack of depth of field, then what’s the value of a sharp lens aperture? Photography is all about compromise. In this instance, the compromise I make,and the one I recommend for you, is to use f/32 to get as much depth of field as possible. Otherwise, you’llend up with primarily a blur of yellow. That’s not what you intended, I’m sure.
Jim
© Dr. Feliciano Jusay 2013
19
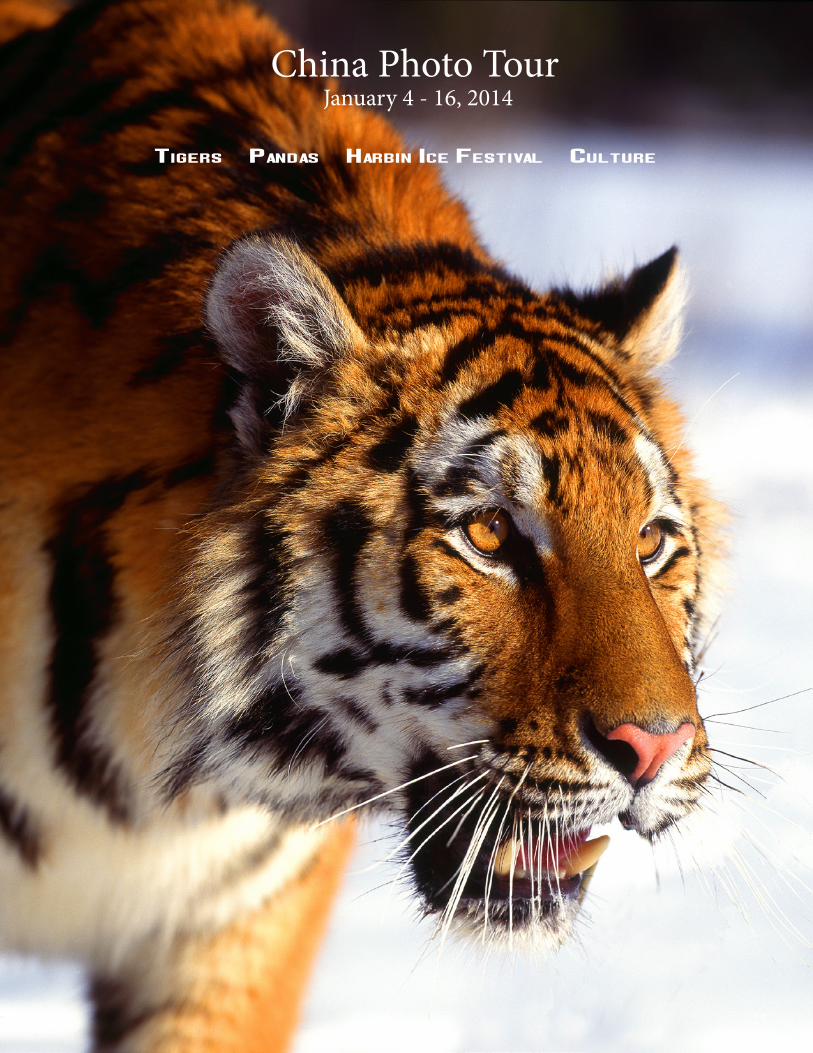
China Photo Tour January 4 - 16, 2014
Tigers Pandas Harbin Ice Festival Culture
25

26
Fun w
ith a fi sheye lens
Fu
n with a f sheye lens
Fisheye lenses have limited use, but they cer-tainly introduce a new way of seeing things. At the extreme end of the spectrum, an
8mm focal length (for example the Canon 8 - 15mm fisheye) covers 180 degrees and produces a round im-age on a black background as you can see in the photo above.
The 15mm focal length covers the entire frame, and I usually prefer this way of using the lens. The images have a unique look without losing half the frame to blackness.
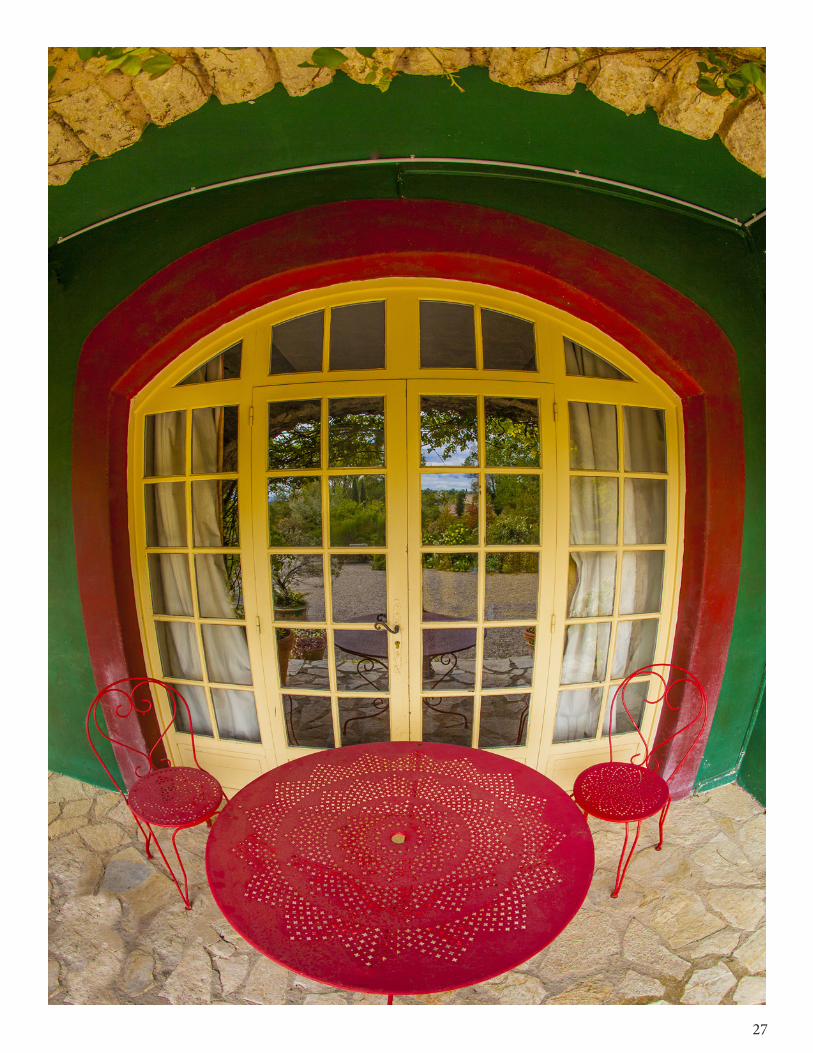
With fisheyes, the closer you get to a subject, the more distortion you’ll see in the pictures. For exam-ple, I photographed a framed Venetian mask, right, with a 15mm focal length from only 10 inches away. The face of the mask bulges out, and the curved verti-cal lines are bowed significantly. In the photograph on the following page, I was about six feet from the double doors and three feet to the front edge of the red table. You can see distortion in all of the vertical
and horizontal lines, but it is not as dramatic as when the subject - camera distance is very small.
What is particularly interesting with a fisheye is that if you shoot something round, there is no apparent distor-tion. After all, how can you make curved lines look more curved? I’ve used a fisheye lens to photograph many of the dramatic domes around the world, and it’s a great way to capture them because of the extreme wide coverage of
26a
27
24
oosF
28
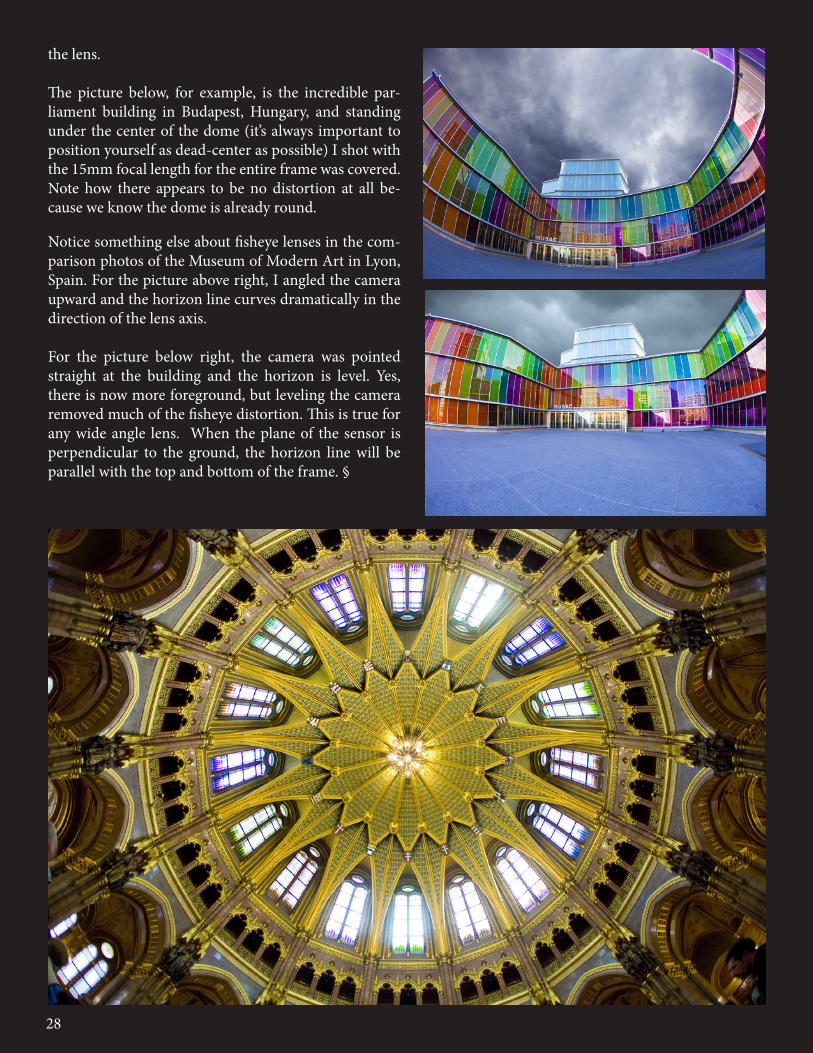
the lens.
The picture below, for example, is the incredible par-liament building in Budapest, Hungary, and standing under the center of the dome (it’s always important to position yourself as dead-center as possible) I shot with the 15mm focal length for the entire frame was covered. Note how there appears to be no distortion at all be-cause we know the dome is already round.
Notice something else about fisheye lenses in the com-parison photos of the Museum of Modern Art in Lyon, Spain. For the picture above right, I angled the camera upward and the horizon line curves dramatically in the direction of the lens axis.
For the picture below right, the camera was pointed straight at the building and the horizon is level. Yes, there is now more foreground, but leveling the camera removed much of the fisheye distortion. This is true for any wide angle lens. When the plane of the sensor is perpendicular to the ground, the horizon line will be parallel with the top and bottom of the frame. §
Get professional critiques of your work with Jim’s online courses
Betterphoto.com
20
Get professional critiques of your work with Jim’s online courses
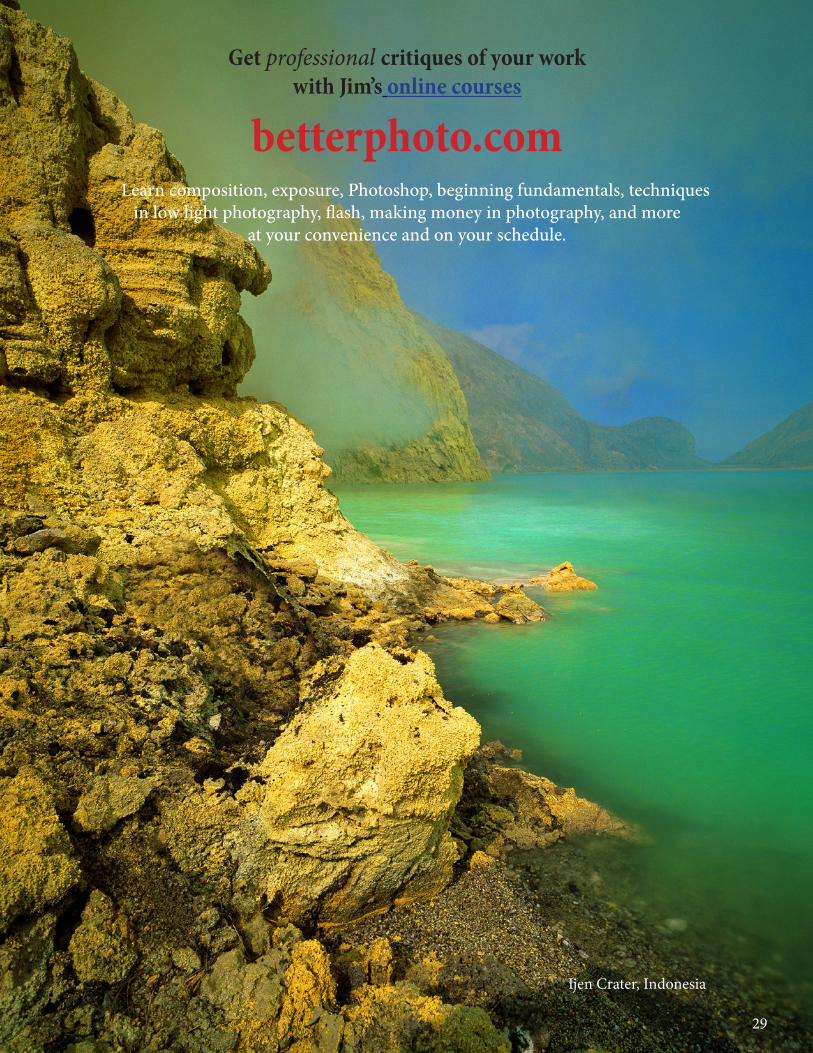
betterphoto.com Learn composition, exposure, Photoshop, beginning fundamentals, techniques
in low light photography, flash, making money in photography, and moreat your convenience and on your schedule.
Ijen Crater, Indonesia
29
30
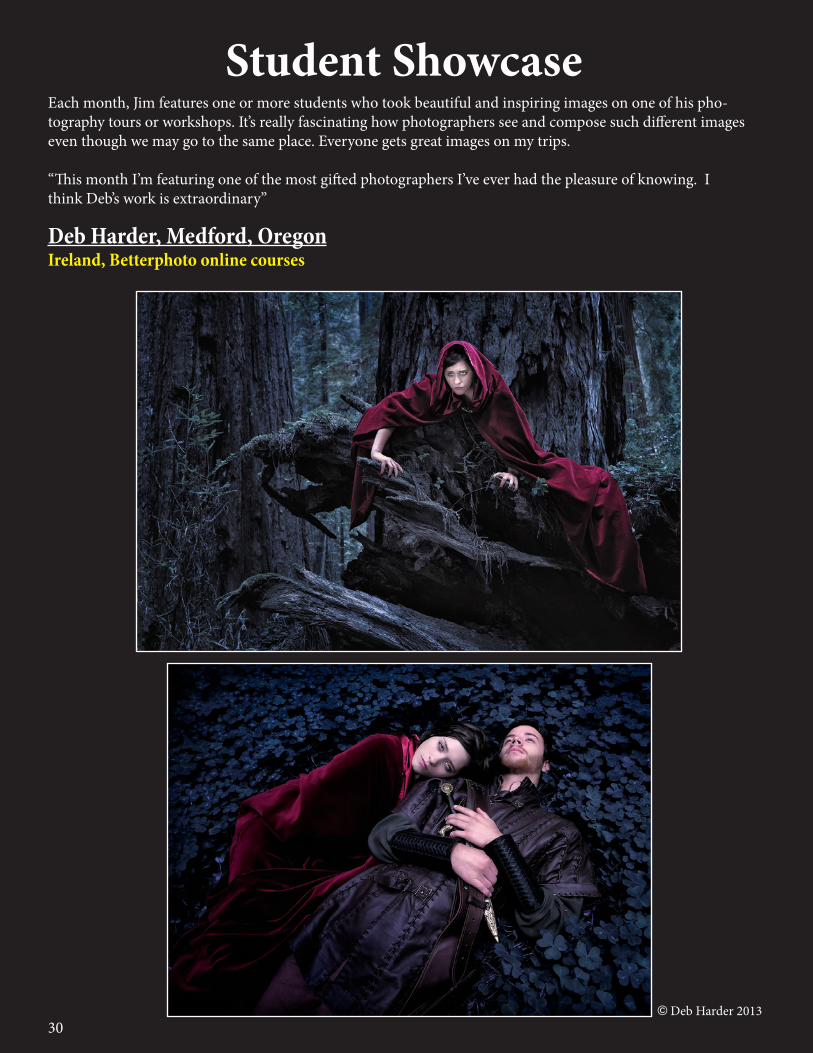
Student ShowcaseEach month, Jim features one or more students who took beautiful and inspiring images on one of his pho-tography tours or workshops. It’s really fascinating how photographers see and compose such different images even though we may go to the same place. Everyone gets great images on my trips.
“This month I’m featuring one of the most gifted photographers I’ve ever had the pleasure of knowing. I think Deb’s work is extraordinary”
Deb Harder, Medford, OregonIreland, Betterphoto online courses
30© Deb Harder 2013
3131
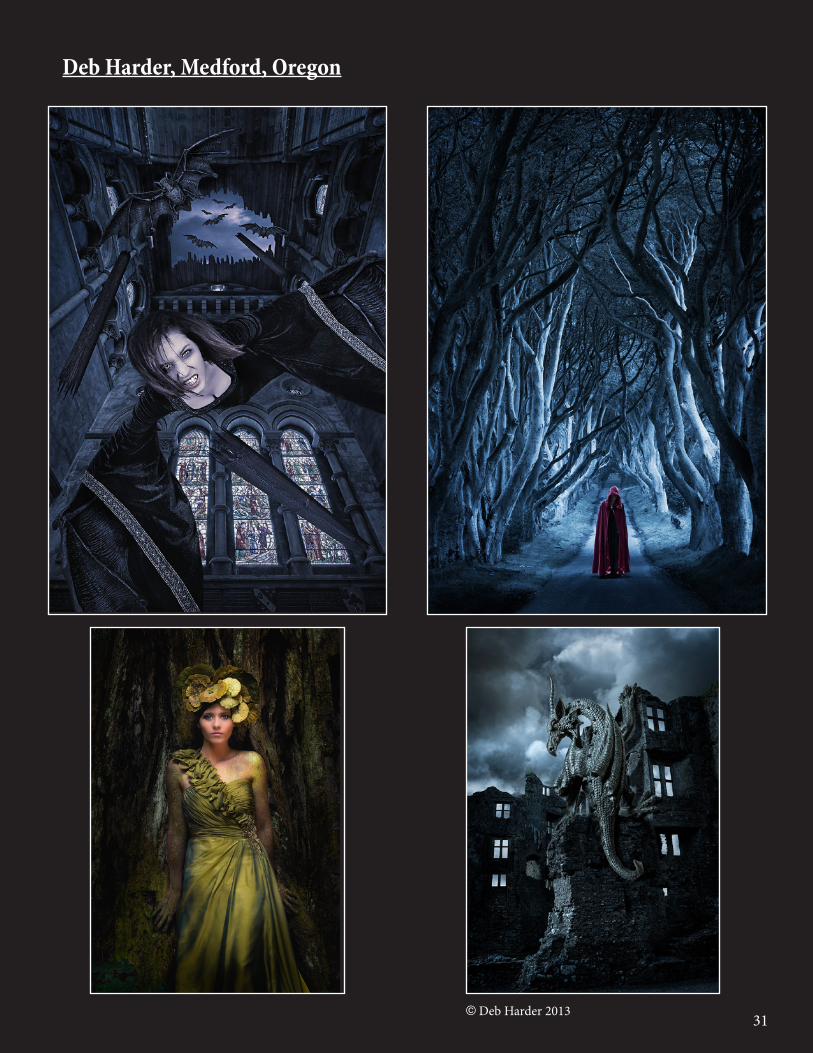
Deb Harder, Medford, Oregon
© Deb Harder 2013
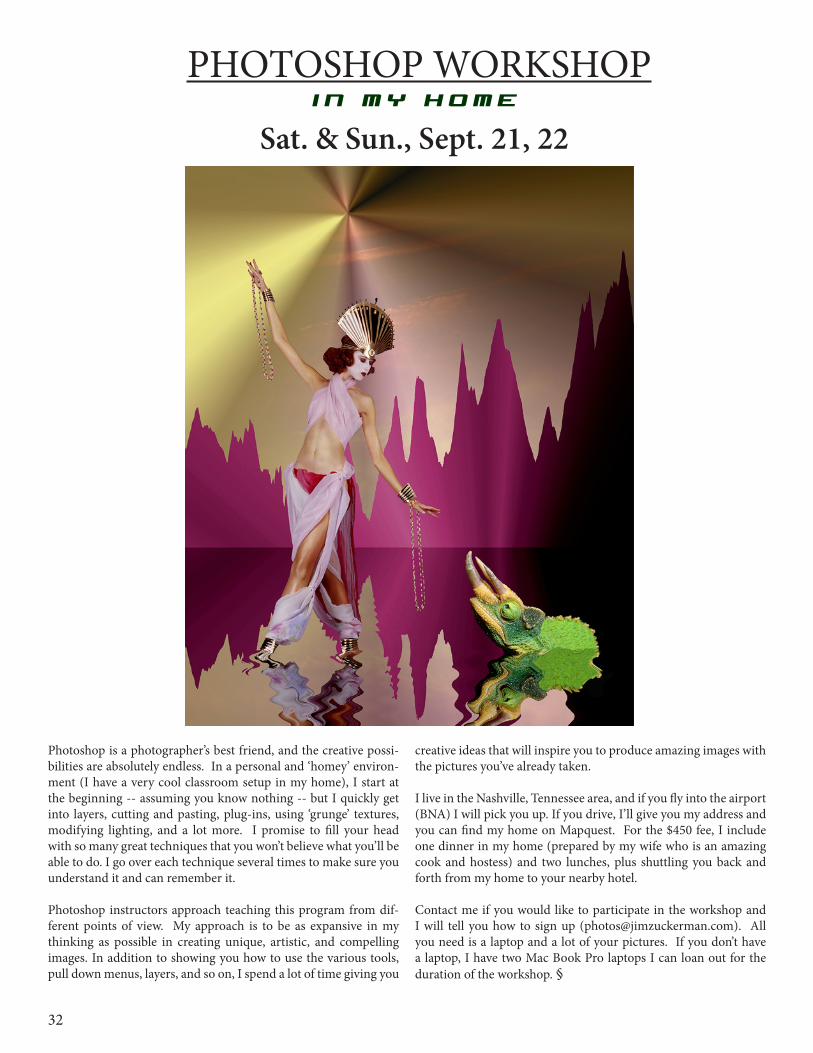
PHOTOSHOP WORKSHOP Sat. & Sun., Sept. 21, 22
Photoshop is a photographer’s best friend, and the creative possi-bilities are absolutely endless. In a personal and ‘homey’ environ-ment (I have a very cool classroom setup in my home), I start at the beginning -- assuming you know nothing -- but I quickly get into layers, cutting and pasting, plug-ins, using ‘grunge’ textures, modifying lighting, and a lot more. I promise to fill your head with so many great techniques that you won’t believe what you’ll be able to do. I go over each technique several times to make sure you understand it and can remember it.
Photoshop instructors approach teaching this program from dif-ferent points of view. My approach is to be as expansive in my thinking as possible in creating unique, artistic, and compelling images. In addition to showing you how to use the various tools, pull down menus, layers, and so on, I spend a lot of time giving you
creative ideas that will inspire you to produce amazing images with the pictures you’ve already taken.
I live in the Nashville, Tennessee area, and if you fly into the airport (BNA) I will pick you up. If you drive, I’ll give you my address and you can find my home on Mapquest. For the $450 fee, I include one dinner in my home (prepared by my wife who is an amazing cook and hostess) and two lunches, plus shuttling you back and forth from my home to your nearby hotel.
Contact me if you would like to participate in the workshop and I will tell you how to sign up ([email protected]). All you need is a laptop and a lot of your pictures. If you don’t have a laptop, I have two Mac Book Pro laptops I can loan out for the duration of the workshop. §
32
i n m y h o m e

Nov. ‘12 Dec. ‘12 Jan. ‘13
Click on the past issues of P H O T O I N S I G H T S
you would like to read.
Feb. ‘13
33
Mar. ‘13
Apr. ‘13 May. ‘13
34
PHOTO INSIGHTS®published by Jim Zuckerman, all rights reserved
© Jim Zuckerman 2013 email: [email protected]
physical address: P.O. Box 7, Arrington, TN 37014
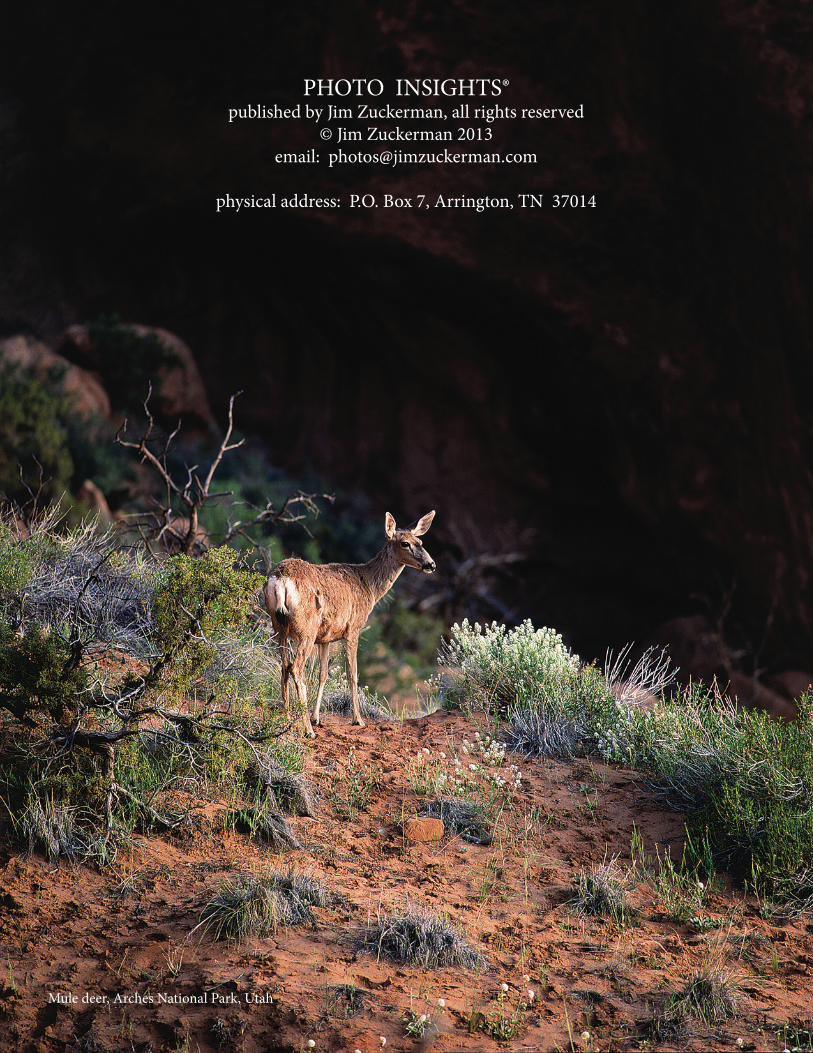
Mule deer, Arches National Park, Utah