Embed Size (px)
Citation preview
Private cloud setup using eucalyptus and xen
Setup a private cloud using open source eucalyptus on Ubuntu 9.04 jaunty OS. I used 'xen 3.0' instead of
default package 'kvm' for Ubuntu 9.04.
This Private cloud setup uses 'STATIC' mode and list of IPs and machine address are provided to the
Eucalyptus installation to be used, because I was using the existing subnet and pick the available IPs from
the subnet.
Contents
Cloud - setup private cloud
Technical background
Front end setup
Back end setup
Cloud integration
ec2 or euca2ools setup
Create guest machine
Creating EMIs
Run instance
Troubleshoot
more Link
CitationEmailPrint FavoriteCollect this page
Cloud - setup private cloud
My interest in cloud computing started when I worked on a project, to deploy application on Amazon cloud and setup the clusters for MySql, Apache and other technologies to load balance. While working on Amazon cloud I
got some insights of the cloud computing and various underlying technologies.
Here I am going to illustrate all the steps that I have followed to setup cloud. I will be describing the cloud
packages, how to setup front end and back end setup, cloud implementation, ec2 or euca2ools setup, creating
xen-supported guest machine, creating EMIs for eucalyptus, run/stop instances and some xen/eucalyptus/ec2
useful command.
Technical background
When I start on cloud setup, I was sure I will go for XEN rather than KVM. Then came the Ubuntu jaunty as
this version was built for the virtualization and designed with built-in support. I used eucalyptus, an opensource
tool that provide Amazon like features and is EC2 tools compliance. So I starts researching the contents on all
these technologies. The more I study, the more I got confident to use these technologies for cloud setup.
Though, Ubuntu prefers KVM for the visualization support and has added to the default packages. But
limitation of KVM to run only virtualization extensions (Intel VT or AMD-V) processors
only(see http://www.linux-kvm.org/page/Main_Page), makes my decision to use XEN for virtualization.
Xen, is the underlaying technology used by eucalyptus. Xen hypervisor allows several guest operating systems
to be executed on the same computer hardware concurrently. Xen partitions a single physical machine into multiple virtual machines, to provide server consolidation and utility computing. Existing applications and
binaries run unmodified. The hypervisor controls the MMU, CPU scheduling, and interrupt controller,
presenting a virtual machine to guests.
The first guest operating system, called in Xen terminology "domain 0" (dom0), is booted automatically when
the hypervisor boots and given special management privileges and direct access to all physical hardware by
default. The system administrator can log into dom0 in order to manage any further guest operating systems,
called "domain U" (domU) in Xen terminology.
Eucalyptus has 3 major packages.
Cluster Controller: provides support for the virtual network overlay
Cloud Controller: includes the front-end services and the Walrus storage system. Node Controller: that interacts with XEN to manage individual VMs.
The basic architecture how client, cloud controller, cluster controller and node controllers communicate with
each other in a eucalyptus setup.
----> eucalyptus-nc
|
|
Client ---> eucalyptus-cloud ----> eucalyptus-cc ------> eucalyptus-nc
|
| ----> eucalyptus-nc
Packages provided by Ubuntu are: eucalyptus-cloud, eucalyptus-cc and eucalyptus-nc.
In my private cloud setup, the front end runs both eucalyptus-cloud and eucalyptus-cc and 3 machines act as
node controller and run eucalyptus-nc.
Front end setup
I have setup a Dell machine as front end. Front end runs both eucalyptus-cloud and eucalyptus-cc. So I install both packages on this machine. Follow the steps for installing the front end:
Step 1: Prepare a raw ubuntu OS system.
Install Ubuntu 9.04 on a machine. Select ssh server to be installed on the machine by default, so We can
connect to machine remotely.
Step 2: Install postfix.
Postfix is a mail server. Eucalyptus send mails to users that are added by admin on eucalyptus web interface. So we install postfix that eucalyptus will use as mail server.
Steps to install postfix and to setup configurations and testing successful Postfix installation
command# apt-get install postfix
Set configurations
command# sudo dpkg-reconfigure postfix
Set following parameters with given values. General type of mail configuration: Internet Site
NONE doesn't appear to be requested in current config
System mail name: server1.example.com
Root and postmaster mail recipient: <admin_user_name> (Optional)
Other destinations for mail: server1.example.com, example.com, localhost.example.com, localhost
Force synchronous updates on mail queue?: No
Local networks: 127.0.0.0/8
Yes doesn't appear to be requested in current config
Mialbox size limit (bytes): 0
Local address extension character: +
Internet protocols to use: all
Test postfix installation
command# EHLO localhost
mail from: root@localhost
rcpt to: [email protected]
data
subject: your sub (press enter twice)
Type your message and finish with "." then Enter
Finish with "Quit"
Check your mail (if received your mail is working)
Step 3 Install Cloud and Cluster controller
Install the packages provided by Ubuntu, all the dependencies will be installed automatically by package
manager.
command# apt-get install eucalyptus-cloud eucalyptus-cc
Step 4 Install dhcp server
Install the DHCP server which is used by eucalyptus for assigning the IPs to instances. DHCP server
should not be in running state and set the DHCP server not to run when system is booted up again.
command# apt-get install dhcp3-server
command# /etc/init.d/dhcdbd stop
command# update-rc.d -f dhcdbd remove
Set the DHCP server path in the eucalyptus config file '/etc/eucalyptus/eucalyptus.conf' VNET_DHCPDAEMON="/usr/sbin/dhcpd3"
Step 5 Eucalyptus configuration
Set the static mode for eucalyptus so that eucalyptus uses IP's from the pool of IP's provided in the config
file and use the machine addresses provided along with IPs.
Configuration file for eucalyptus is '/etc/eucalyptus/eucalyptus.conf'
open /etc/eucalyptus/eucalyptus.conf and set the following parameters
VNET_INTERFACE="peth0"
VNET_BRIDGE="eth0"
Locate 'kvm' and replace to 'xen'
locate VNET_MODE="SYSTEM" and disable it
locate VNET_MODE="STATIC" and enable it
Add machine and IPs for instances to be used and change the netowork setting to current network settings
VNET_MODE="STATIC"
VNET_SUBNET="192.168.145.0"
VNET_NETMASK="255.255.255.0"
VNET_BROADCAST="192.168.145.255"
VNET_ROUTER="192.168.145.1"
VNET_DNS="192.168.150.42"
VNET_MACMAP="AA:DD:11:CE:FF:ED=192.168.145.73 AA:DD:11:CE:FF:EE=192.168.145.75
AA:DD:11:CE:FF:EF=192.168.145.77"
Step 6 Other configurations
Edit : /usr/share/eucalyptus/gen_libvirt_xml
Locate all 'sda' to 'xvda'
Edit : /etc/xen/xend-config.sxp
(xend-http-server yes)
gateway = 192.168.145.1
netmask = 255.255.255.0
broadcast = 192.168.145.255
Step 7 Rebbot the system to take effect
Step 8 Cloud configuarions
Once eucalyptus front end has been installed, we can use the eucalyptus web interface and setup cluster and
set other parameters.
Eucalyptus cloud web URL: https://<front end ip>:8443/
Under configuration tab add cluster name
Set host to 'localhost'
Create kernel and ramdisk images and set in eucalyptus site. (Procedure to create images will be described
later in the page)
Restart the eucalyptus daemon to take effects
Back end setup
On the systems where we want to run instances, we will install node controller and XEN 3.0. Since I used the
XEN as virtualization package, I install the node controller package eucalyptus-nc manually. I installed
required dependencies using the package manager apt-get, but the eucalyptus-nc was installed by donwloading and manually installing bypassing dependencies list.
Step 1 Hardware compatibility
eucalyptus-nc requires 'libvirt-bin' package. Libvirt is a C toolkit to interact with the virtualization capabilities of recent versions of Linux (and other OSes). More info can be found at: http://libvirt.org/
To install 'libvirt-bin' package, certain flags should be supported by CPU.
command# egrep '(vmx|svm)' /proc/cpuinfo
[if no print], libvirt-bin cant be installed
Stop the apparmor for Ubuntu System
command# /etc/init.d/apparmor stop
command# update-rc.d -f apparmor remove
Step 2 Install XEN package
I am using the XEN virtualization package instead of Ubuntu's default KVM, I install the eucalyptus-nc
dependencies manually.
command# apt-get install iproute iptables module-init-tools python2.5 python2.6
command# apt-get install xen-utils
command# apt-get install ubuntu-xen-server
Step 3 Install libvirt-bin package
eucalyptus-nc requires 'libvirt-bin' package. Libvirt is a C toolkit to interact with the virtualization capabilities of recent versions of Linux (and other OSes). More info can be found at: http://libvirt.org/
command# apt-get install adduser bridge-utils dnsmasq-base iptables libsasl2-2 libxen3 logrotate
command# apt-get install netcat-openbsd libavahi-client3 libavahi-common3 libc6 libdbus-1-3
command# apt-get install libgcrypt11 libgnutls26 libhal1 libpolkit-dbus2 libpolkit2 libreadline5
libselinux1
command# apt-get install libtasn1-3 libvirt0 libxml2 zlib1g policykit
Download the libvirt-bin package from URL: http://packages.ubuntu.com/jaunty/libvirt-bin
I used i386 package, http://mirrors.kernel.org/ubuntu/pool/main/libv/libvirt/libvirt-bin_0.6.1-
0ubuntu5_i386.deb
Install lib-virt
command# dpkg -i libvirt-bin_0.6.1-0ubuntu5_i386.deb
command# sudo adduser $USER libvirtd
Step 4 Install eucalyptus node package
command# apt-get install apache2 eucalyptus-common eucalyptus-gl libapache2-mod-axis2c
command# apt-get install libaxis2c0 librampart0 dhcp3-server vlan aoetools
command# apt-get install libc6 libcurl3-gnutls libvirt0 zlib1g
Download eucalyptus-nc package from Ubuntu package repository.
eucalyptus-nc package URL: http://packages.ubuntu.com/jaunty/eucalyptus-nc
Download the i386 package from URL:
http://mirrors.kernel.org/ubuntu/pool/universe/e/eucalyptus/eucalyptus-nc_1.5~bzr266-
0ubuntu2_i386.deb
command# dpkg -i eucalyptus<version>
Step 5 Grub loader for Xen Kernel
Setup grub menus and load xen images to boot into XEN kernel.
Download the modules and image from URLs:
wget http://ftp.debian.org/debian/pool/main/l/linux-2.6/linux-modules-2.6.26-2-xen-686_2.6.26-
15_i386.deb wget http://ftp.debian.org/debian/pool/main/l/linux-2.6/linux-image-2.6.26-2-xen-686_2.6.26-15_i386.deb
command# sudo dpkg -i linux-modules-2.6.26-2-xen-686_2.6.26-15_i386.deb command# sudo dpkg -i linux-image-2.6.26-2-xen-686_2.6.26-15_i386.deb
Step 6 Eucalyptus Configuerations
Stop the eucalyptus daemon and set the configuration depending upon your installation.
command# /etc/init.d/eucalytpus-nc stop
Edit : /etc/sysctl.conf
(uncomment net.ipv4.ip_forward=1)
Edit : /etc/eucalyptus/eucalyptus.conf
(set)
VNET_BRIDGE="eth0"
VNET_INTERFACE="peth0"
HYPERVISOR="xen"
VNET_MODE="STATIC"
Edit : /usr/share/eucalyptus/gen_libvirt_xml locate 'sda' s and replace to 'xvda' s
for static ips
Edit : /etc/xen-tools/xen-tools.conf
gateway 192.168.145.1
broadcast 192.168.145.255
netmask 255.255.255.0
(xend-http-server yes)
(xend-unix-server yes)
command# /etc/init.d/eucalyptus-nc start
Cloud integration
Now, we have front controller and node controllers ready. We have to setup now the communication
between cluster controller and node controllers. We will add the nodes list to the cloud, so cloud know about the
available node.
command# sudo euca_conf -addnode <node ip> <node ip> <node ip>
This will add nodes to cloud config file and replicates the permission and certificate files to the nodes to be
able to have password-less communication between nodes and cloud.
To check the cloud installation, and node communication, you can run 'euca-describe-availability-zones
verbose' command and check if all the nodes are listed in output.
ec2 or euca2ools setup
Euca2ools setup
Install dependencies
command# apt-get install curl libopenssl-ruby ruby
Download the appropriate tarball from http://open.eucalyptus.com/downloads
Steps
command# tar zxvf euca2ools-1.0-*.tar.gz
command# cd euca2ools-1.0-* (Replace this with the actual directory name)
command# sudo -s
command# echo deb file://${PWD} ./ >> /etc/apt/sources.list
command# apt-get update
command# apt-get install euca2ools
WARNING: The following packages cannot be authenticated!
...
Install these packages without verification [y/N]? y
ec2 tools Setup
Eucalyptus supports ec2-ami-tools-1.3-26357 and ec2-api-tools-1.3-30349 versions of ec2 tools.
Install dependencies
Install jdk1.6.0_12 java version.
Steps Download ec2-ami-tools-1.3-26357 and ec2-api-tools-1.3-30349.
unzip these archives
Copy the 'lib' and 'bin' folders under ~/.euca folder.
Export parameters
export EC2_HOME=~/.euca
export JAVA_HOME=<directory>/jdk1.6.0_12
export PATH=$PATH:<directory>/jdk1.6.0_12/bin
export PATH=$PATH:~/.euca/bin
Set URL and credentials
Download 'euca2-admin-x509.zip' file from cloud site at https://<front end ip>:8443/.
Unzip this archive under ~/.euca folder and export the eucarc file.
command# source ~/.eucarc
Create guest machine
I create my image using vmbuilder.
More info on vmbuilder can be found on: https://help.ubuntu.com/8.04/serverguide/C/ubuntu-vm-
builder.html
Steps
Select a directory where all files will be stored. I used '/usr/akash/cloud'
Create a 'part' file under directory.
The content of 'part' is following:
root 400
/mnt/ephemeral 0 /dev/sda2
swap 1 /dev/sda3
Create 'firstboot' file, which is run first time, instance boots up.
apt-get -y install openssh-server
Create the image.
command# vmbuilder xen ubuntu --firstboot ./firstboot --mirror=http://192.168.152.87:9999/ubuntu --
addpkg ssh --rootsize=4096 --arch i386 --verbose --debug
It creates the image file that i used for creating emi. You can found the image under 'ubuntu-xen' folder.
This image can be tested, if its compatible to xen. Use xm create command.
command# xm create /usr/akash/cloud/ubuntu-xen/xen.cfg
Check the status of emi using xm list command.
command# xm list
If you see your emi ID in the output, your image can be run with XEN.
Creating EMIs
Now, cloud is setup, we should create images that can be run using eucalyptus. We will create emis for
kernel, ramdisk and instance.
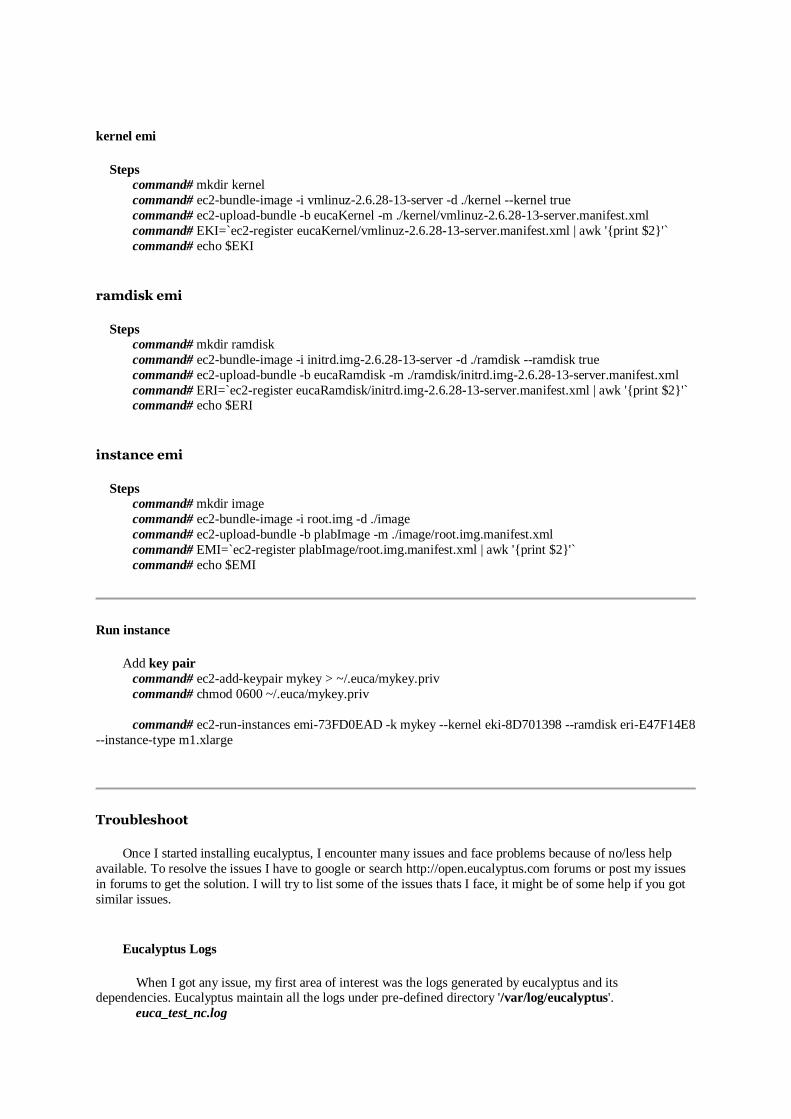
kernel emi
Steps command# mkdir kernel
command# ec2-bundle-image -i vmlinuz-2.6.28-13-server -d ./kernel --kernel true
command# ec2-upload-bundle -b eucaKernel -m ./kernel/vmlinuz-2.6.28-13-server.manifest.xml
command# EKI=`ec2-register eucaKernel/vmlinuz-2.6.28-13-server.manifest.xml | awk '{print $2}'`
command# echo $EKI
ramdisk emi
Steps command# mkdir ramdisk
command# ec2-bundle-image -i initrd.img-2.6.28-13-server -d ./ramdisk --ramdisk true
command# ec2-upload-bundle -b eucaRamdisk -m ./ramdisk/initrd.img-2.6.28-13-server.manifest.xml
command# ERI=`ec2-register eucaRamdisk/initrd.img-2.6.28-13-server.manifest.xml | awk '{print $2}'` command# echo $ERI
instance emi
Steps command# mkdir image
command# ec2-bundle-image -i root.img -d ./image
command# ec2-upload-bundle -b plabImage -m ./image/root.img.manifest.xml
command# EMI=`ec2-register plabImage/root.img.manifest.xml | awk '{print $2}'`
command# echo $EMI
Run instance
Add key pair
command# ec2-add-keypair mykey > ~/.euca/mykey.priv
command# chmod 0600 ~/.euca/mykey.priv
command# ec2-run-instances emi-73FD0EAD -k mykey --kernel eki-8D701398 --ramdisk eri-E47F14E8
--instance-type m1.xlarge
Troubleshoot
Once I started installing eucalyptus, I encounter many issues and face problems because of no/less help
available. To resolve the issues I have to google or search http://open.eucalyptus.com forums or post my issues
in forums to get the solution. I will try to list some of the issues thats I face, it might be of some help if you got
similar issues.
Eucalyptus Logs
When I got any issue, my first area of interest was the logs generated by eucalyptus and its dependencies. Eucalyptus maintain all the logs under pre-defined directory '/var/log/eucalyptus'.
euca_test_nc.log
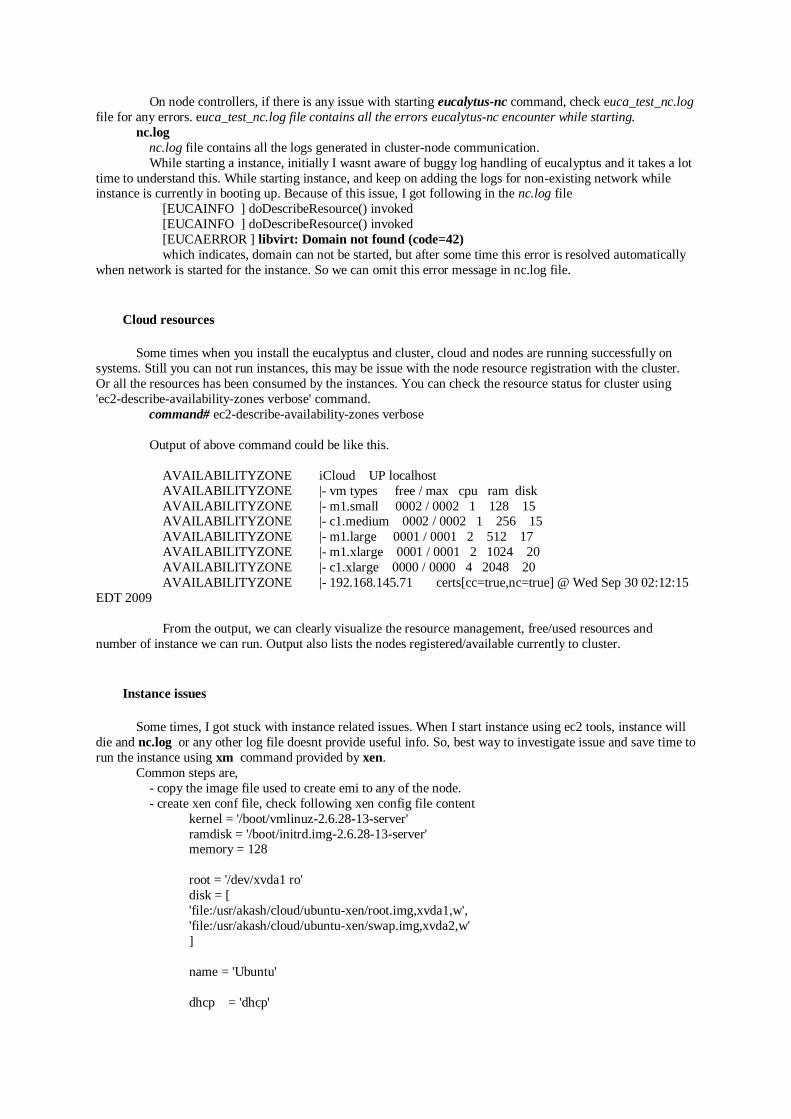
On node controllers, if there is any issue with starting eucalytus-nc command, check euca_test_nc.log
file for any errors. euca_test_nc.log file contains all the errors eucalytus-nc encounter while starting.
nc.log
nc.log file contains all the logs generated in cluster-node communication.
While starting a instance, initially I wasnt aware of buggy log handling of eucalyptus and it takes a lot
time to understand this. While starting instance, and keep on adding the logs for non-existing network while instance is currently in booting up. Because of this issue, I got following in the nc.log file
[EUCAINFO ] doDescribeResource() invoked
[EUCAINFO ] doDescribeResource() invoked
[EUCAERROR ] libvirt: Domain not found (code=42)
which indicates, domain can not be started, but after some time this error is resolved automatically
when network is started for the instance. So we can omit this error message in nc.log file.
Cloud resources
Some times when you install the eucalyptus and cluster, cloud and nodes are running successfully on
systems. Still you can not run instances, this may be issue with the node resource registration with the cluster.
Or all the resources has been consumed by the instances. You can check the resource status for cluster using
'ec2-describe-availability-zones verbose' command.
command# ec2-describe-availability-zones verbose
Output of above command could be like this.
AVAILABILITYZONE iCloud UP localhost
AVAILABILITYZONE |- vm types free / max cpu ram disk
AVAILABILITYZONE |- m1.small 0002 / 0002 1 128 15 AVAILABILITYZONE |- c1.medium 0002 / 0002 1 256 15
AVAILABILITYZONE |- m1.large 0001 / 0001 2 512 17
AVAILABILITYZONE |- m1.xlarge 0001 / 0001 2 1024 20
AVAILABILITYZONE |- c1.xlarge 0000 / 0000 4 2048 20
AVAILABILITYZONE |- 192.168.145.71 certs[cc=true,nc=true] @ Wed Sep 30 02:12:15
EDT 2009
From the output, we can clearly visualize the resource management, free/used resources and
number of instance we can run. Output also lists the nodes registered/available currently to cluster.
Instance issues
Some times, I got stuck with instance related issues. When I start instance using ec2 tools, instance will
die and nc.log or any other log file doesnt provide useful info. So, best way to investigate issue and save time to
run the instance using xm command provided by xen.
Common steps are,
- copy the image file used to create emi to any of the node.
- create xen conf file, check following xen config file content
kernel = '/boot/vmlinuz-2.6.28-13-server'
ramdisk = '/boot/initrd.img-2.6.28-13-server' memory = 128
root = '/dev/xvda1 ro'
disk = [
'file:/usr/akash/cloud/ubuntu-xen/root.img,xvda1,w',
'file:/usr/akash/cloud/ubuntu-xen/swap.img,xvda2,w'
]
name = 'Ubuntu'
dhcp = 'dhcp'
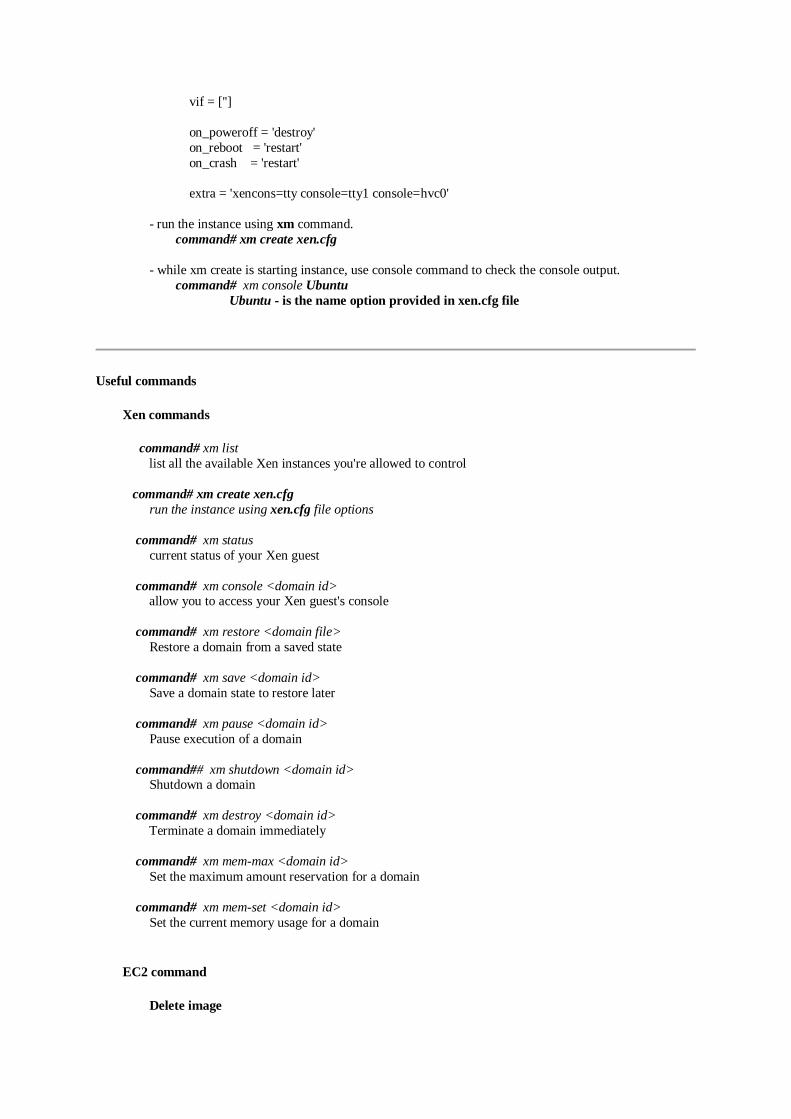
vif = ['']
on_poweroff = 'destroy'
on_reboot = 'restart'
on_crash = 'restart'
extra = 'xencons=tty console=tty1 console=hvc0'
- run the instance using xm command.
command# xm create xen.cfg
- while xm create is starting instance, use console command to check the console output.
command# xm console Ubuntu
Ubuntu - is the name option provided in xen.cfg file
Useful commands
Xen commands
command# xm list
list all the available Xen instances you're allowed to control
command# xm create xen.cfg
run the instance using xen.cfg file options
command# xm status
current status of your Xen guest
command# xm console <domain id> allow you to access your Xen guest's console
command# xm restore <domain file>
Restore a domain from a saved state
command# xm save <domain id>
Save a domain state to restore later
command# xm pause <domain id>
Pause execution of a domain
command## xm shutdown <domain id> Shutdown a domain
command# xm destroy <domain id>
Terminate a domain immediately
command# xm mem-max <domain id>
Set the maximum amount reservation for a domain
command# xm mem-set <domain id>
Set the current memory usage for a domain
EC2 command
Delete image
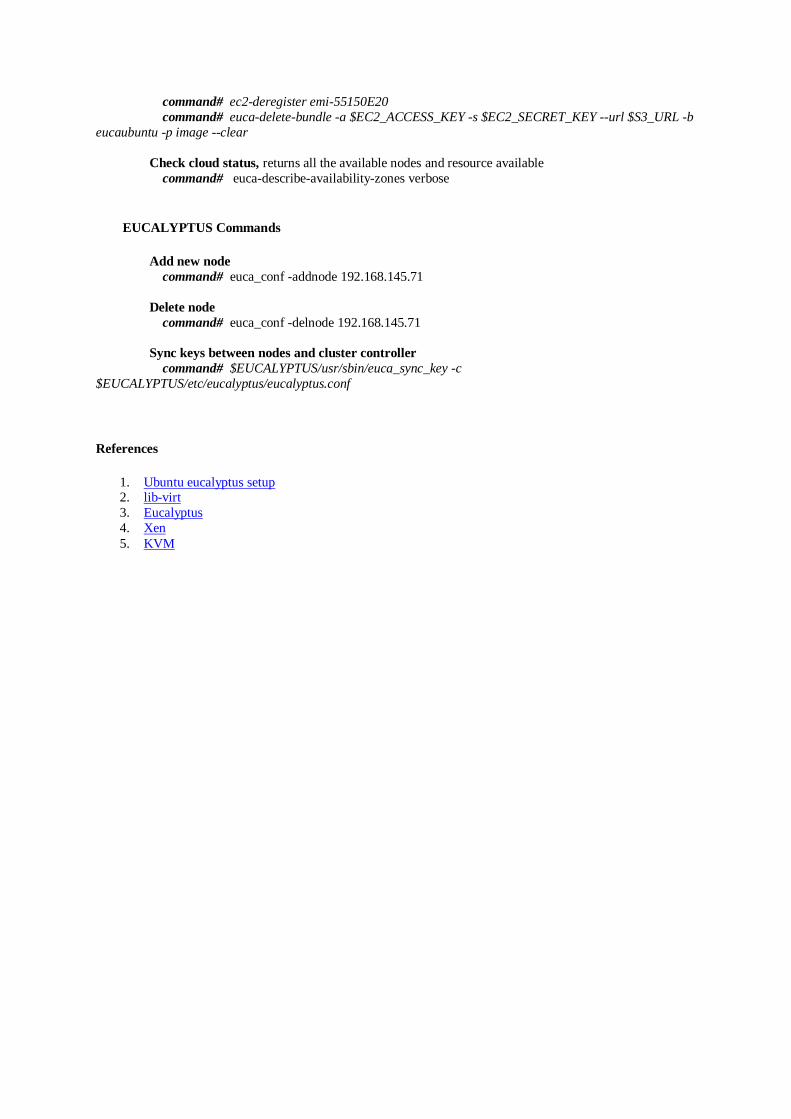
command# ec2-deregister emi-55150E20
command# euca-delete-bundle -a $EC2_ACCESS_KEY -s $EC2_SECRET_KEY --url $S3_URL -b
eucaubuntu -p image --clear
Check cloud status, returns all the available nodes and resource available
command# euca-describe-availability-zones verbose
EUCALYPTUS Commands
Add new node
command# euca_conf -addnode 192.168.145.71
Delete node
command# euca_conf -delnode 192.168.145.71
Sync keys between nodes and cluster controller
command# $EUCALYPTUS/usr/sbin/euca_sync_key -c
$EUCALYPTUS/etc/eucalyptus/eucalyptus.conf
References
1. Ubuntu eucalyptus setup 2. lib-virt
3. Eucalyptus
4. Xen
5. KVM