Embed Size (px)
Citation preview
Processing the Crime Scene
The Steps and How-to’s
Steps for Processing the C.S.} 1. Secure the CS} 2. Separate the witnesses} 3. Scan/Observe the CS} 4. Document the CS} 5. Sketch the CS} 6. Search for evidence} 7. Secure and collect the evidence
Why are there steps to this? } Locard’s Exchange Principle
} The exchange of materials between two objects whenever the objects come in contact with each other
} When you walk into an area you bring trace evidence in with you and when you leave an area you take trace evidence with you
} So what is TRACE EVIDENCE? } trace evidence is small bits of evidence } small in size and/or quantity
} hair} fibers} soil} blood} fingerprints
Ways to Minimize this idea… } secure the area – keep unnecessary people out} wear appropriate clothing
} clothes just for crime scene work} gloves
} change clothes when appropriate} handle evidence as little as possible} collect and package evidence correctly} clean work surface / equipment} work in an area with minimal disturbances
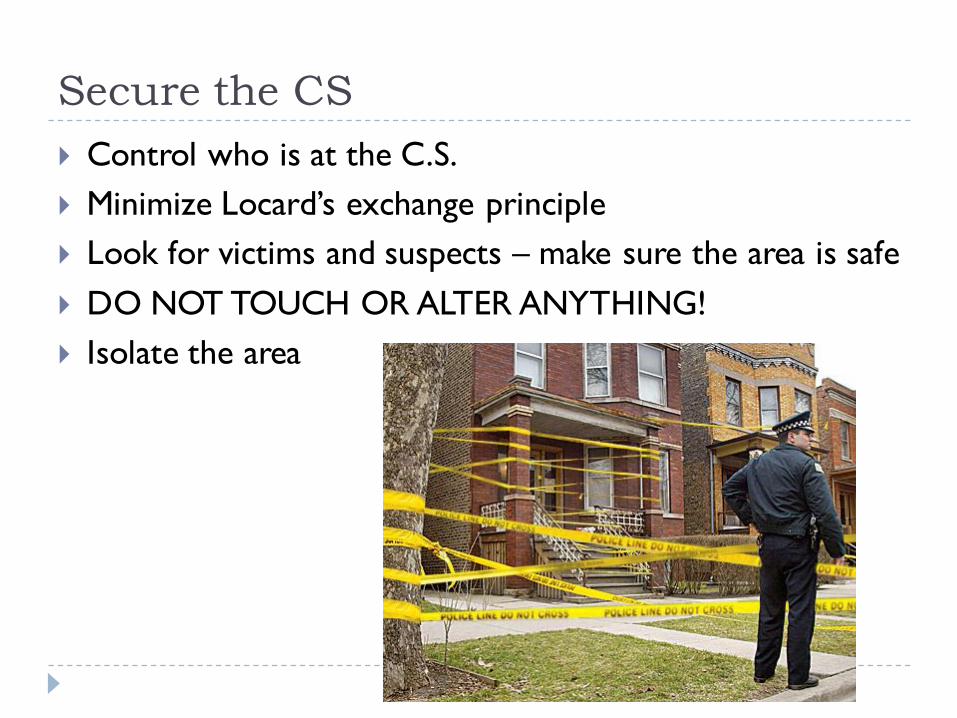
Secure the CS} Control who is at the C.S. } Minimize Locard’s exchange principle} Look for victims and suspects – make sure the area is safe} DO NOT TOUCH OR ALTER ANYTHING!} Isolate the area
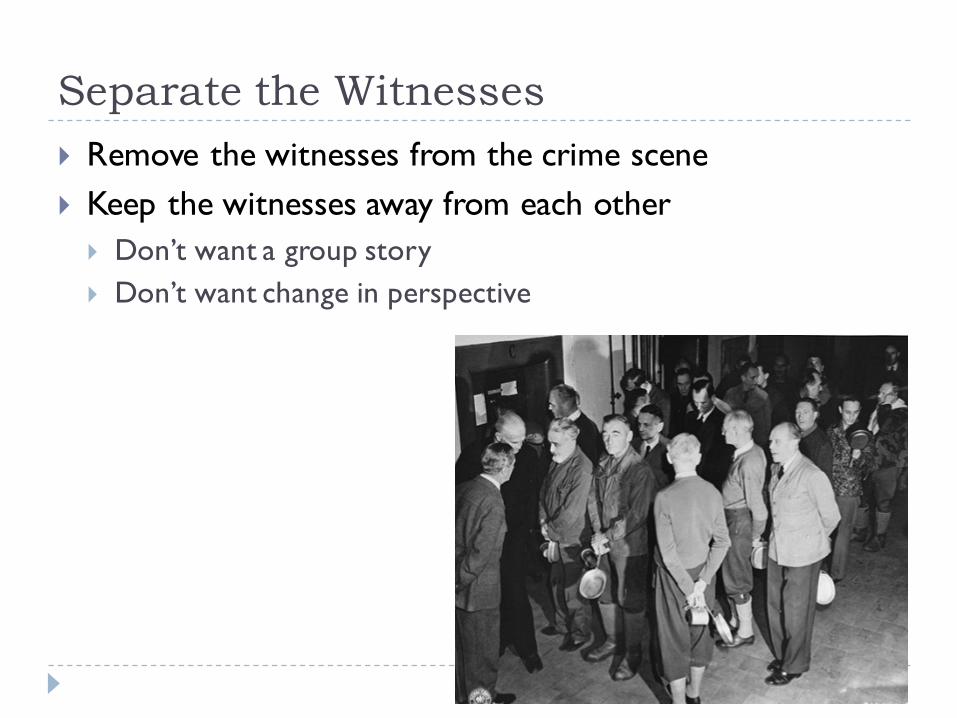
Separate the Witnesses} Remove the witnesses from the crime scene} Keep the witnesses away from each other
} Don’t want a group story} Don’t want change in perspective
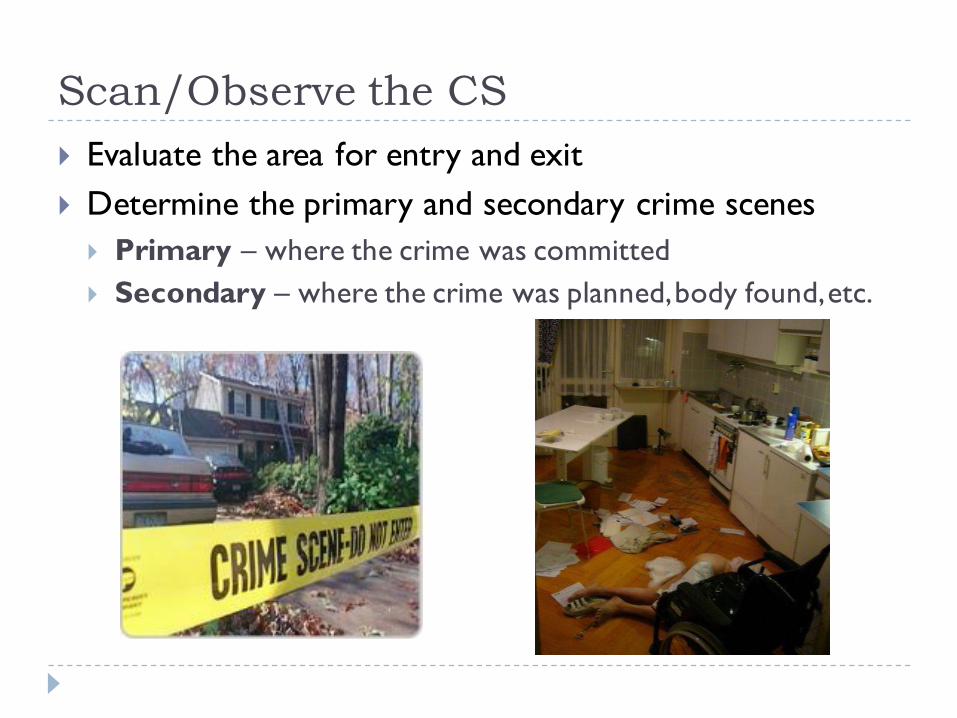
Scan/Observe the CS} Evaluate the area for entry and exit} Determine the primary and secondary crime scenes
} Primary – where the crime was committed} Secondary – where the crime was planned, body found, etc.

Document the CS} Take photos from every possible angle} Video if possible} Get a complete RECREATION before moving anything} Use something in the photos for scale
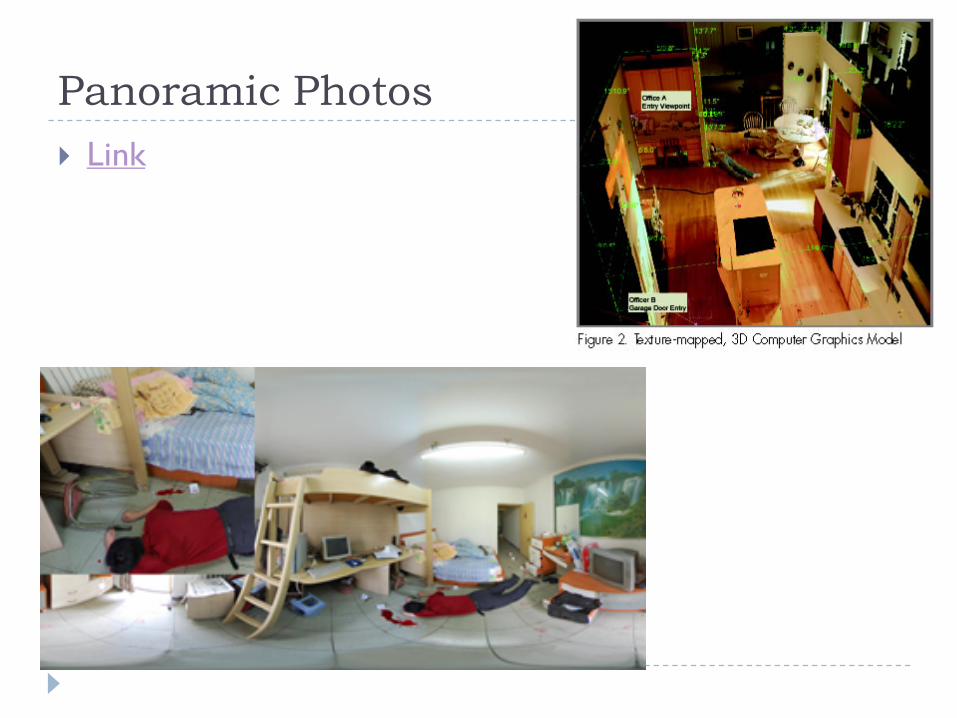
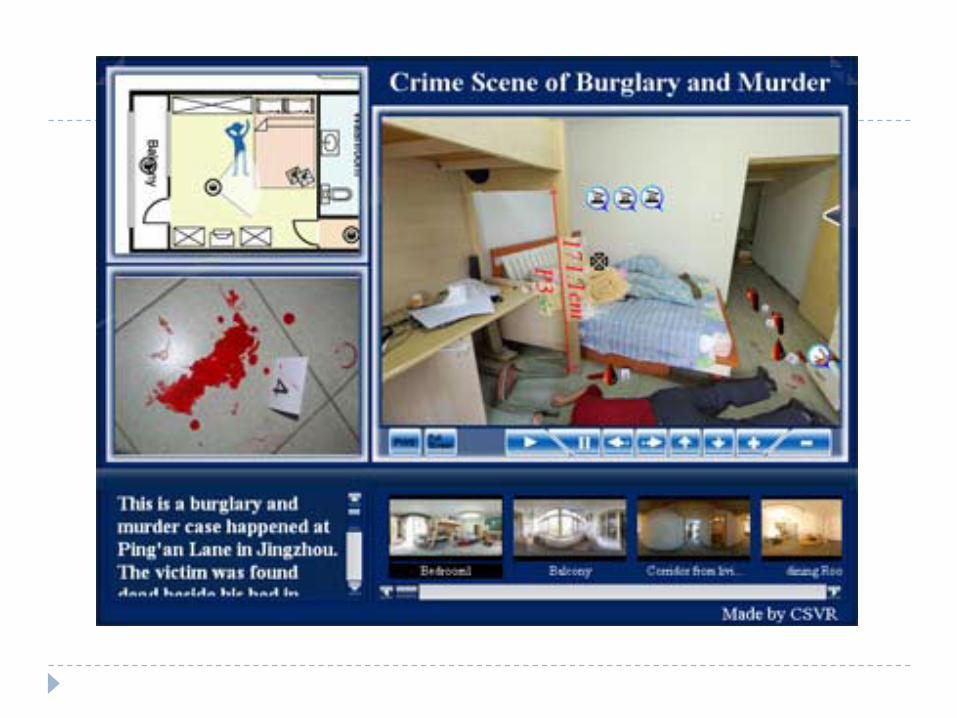
Panoramic Photos} Link
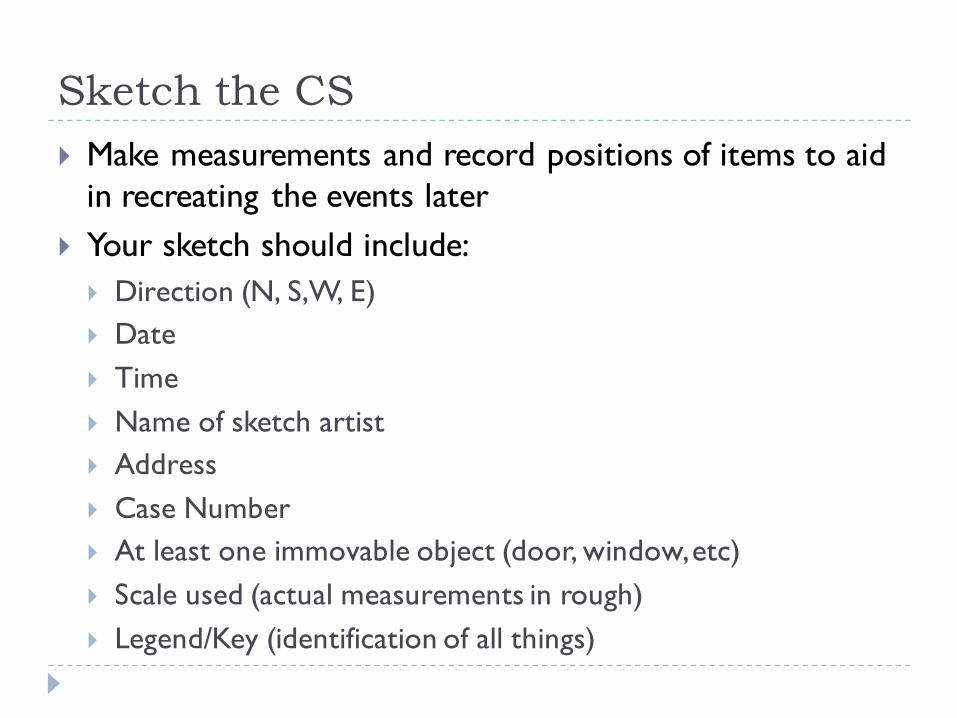
Sketch the CS} Make measurements and record positions of items to aid
in recreating the events later} Your sketch should include:
} Direction (N, S, W, E)} Date } Time} Name of sketch artist} Address} Case Number} At least one immovable object (door, window, etc)} Scale used (actual measurements in rough)} Legend/Key (identification of all things)
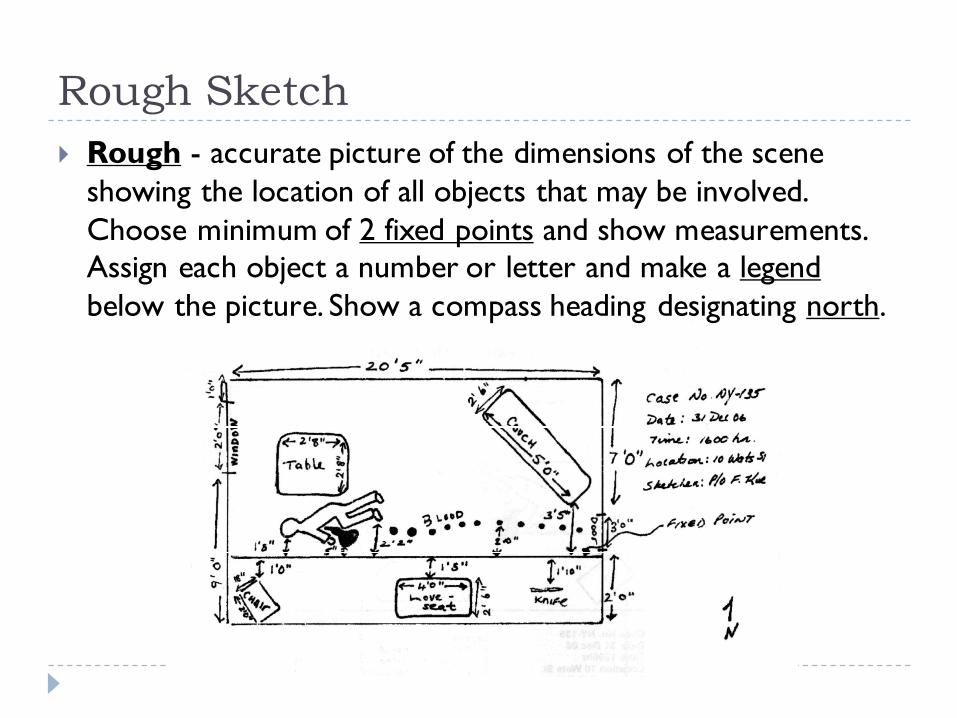
Rough Sketch} Rough - accurate picture of the dimensions of the scene
showing the location of all objects that may be involved. Choose minimum of 2 fixed points and show measurements. Assign each object a number or letter and make a legendbelow the picture. Show a compass heading designating north.
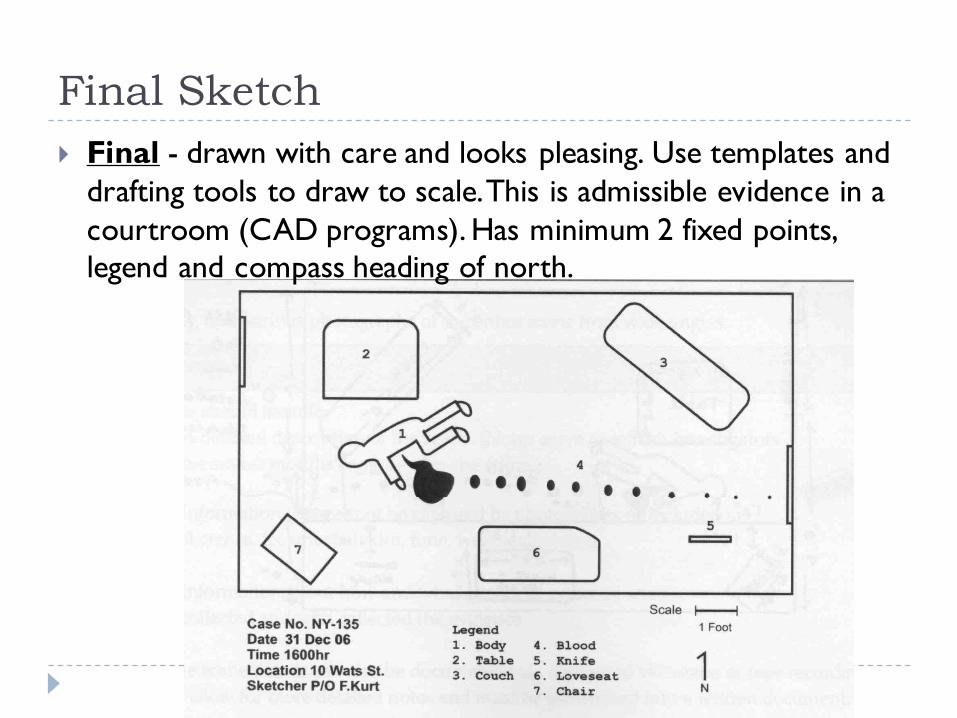
Final Sketch} Final - drawn with care and looks pleasing. Use templates and
drafting tools to draw to scale. This is admissible evidence in a courtroom (CAD programs). Has minimum 2 fixed points, legend and compass heading of north.
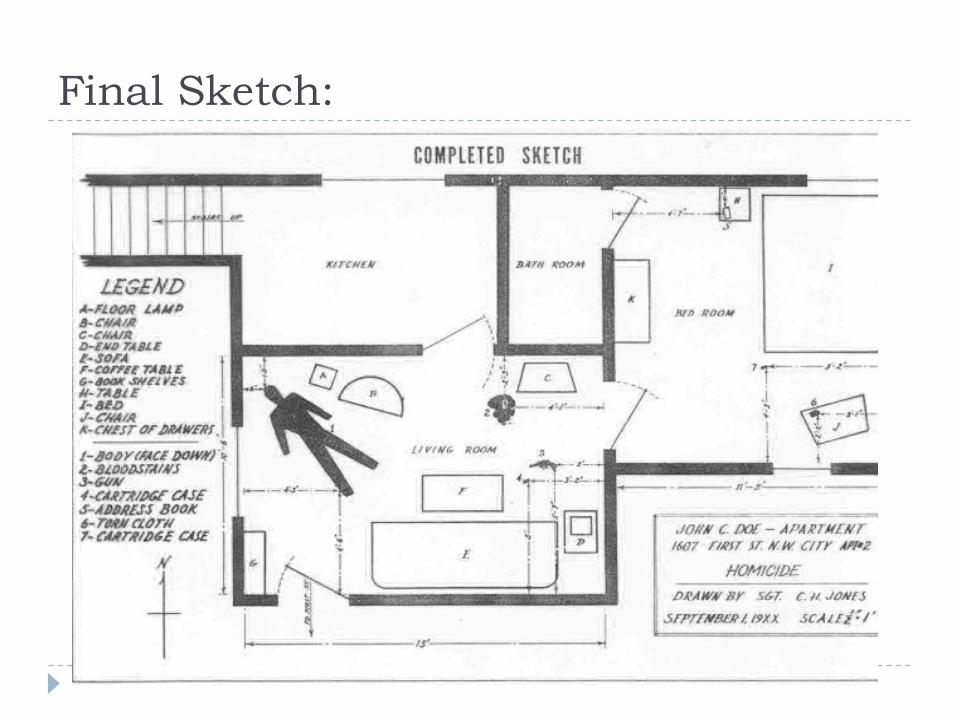
Final Sketch:
Search for Evidence} Thorough and systematic} Choose a search pattern- 4 types} Pattern selected depends on size and location of the
scene, and number of collectors participating in the search
} What to search for depends on the particular circumstances of the crime
} Look for physical evidence- microscopic traces to large objects (blood, tissue, hair, fibers, impressions, paint, broken glass, bullet)
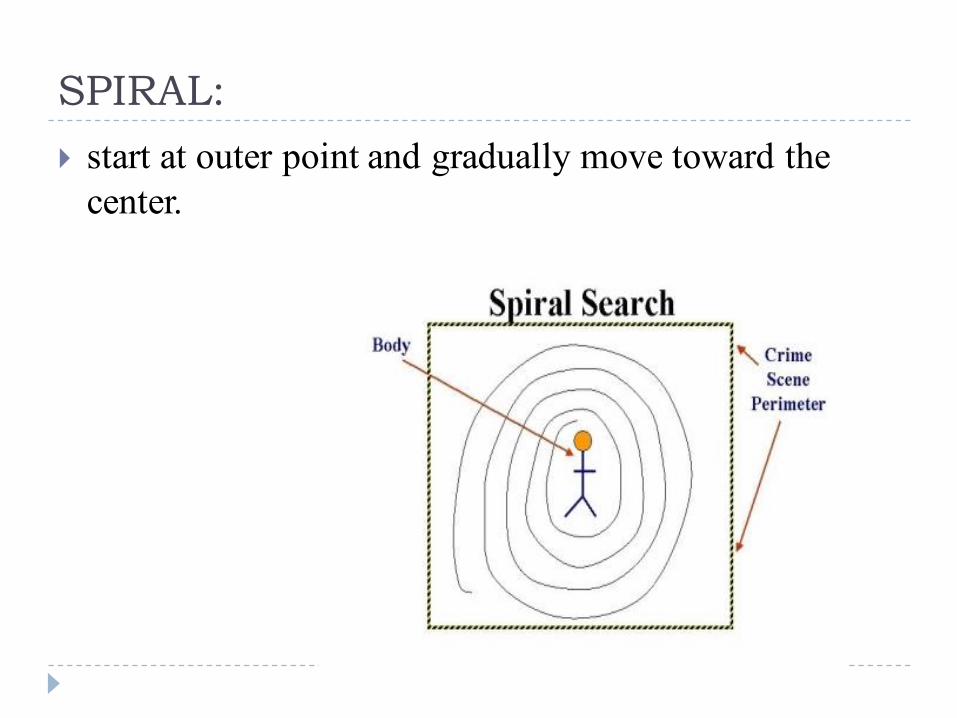
SPIRAL:} start at outer point and gradually move toward the
center.
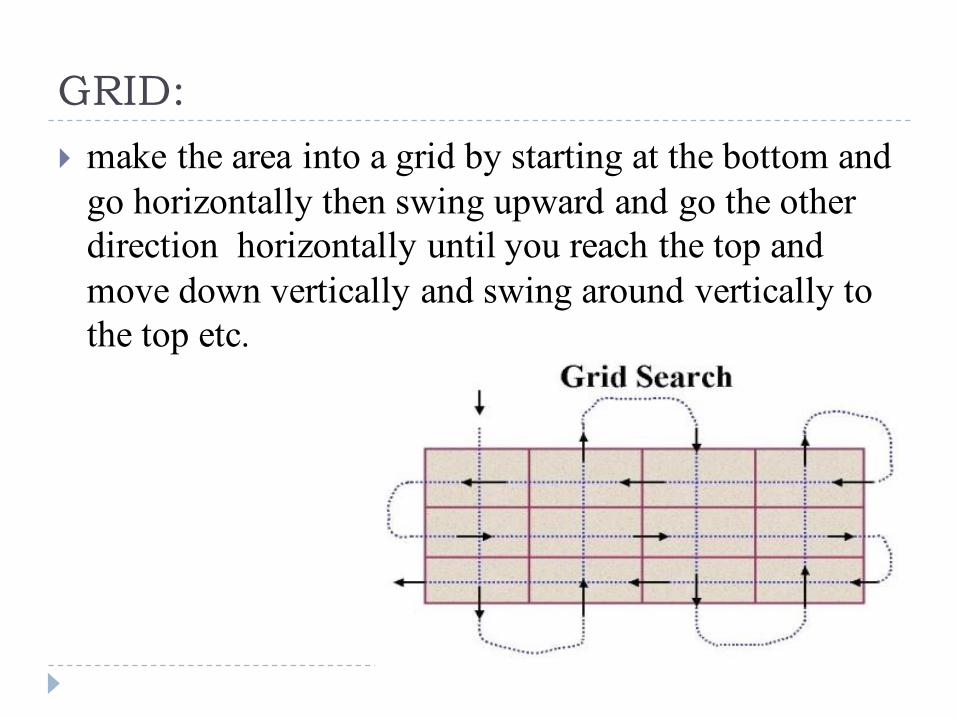
GRID:} make the area into a grid by starting at the bottom and
go horizontally then swing upward and go the other direction horizontally until you reach the top and move down vertically and swing around vertically to the top etc.
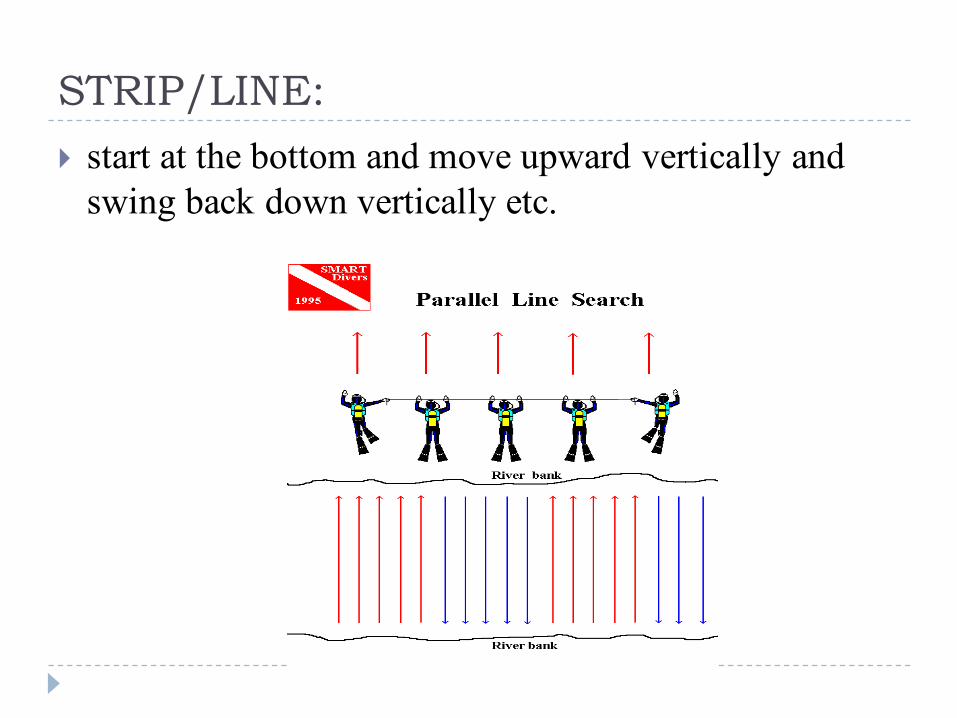
STRIP/LINE:} start at the bottom and move upward vertically and
swing back down vertically etc.
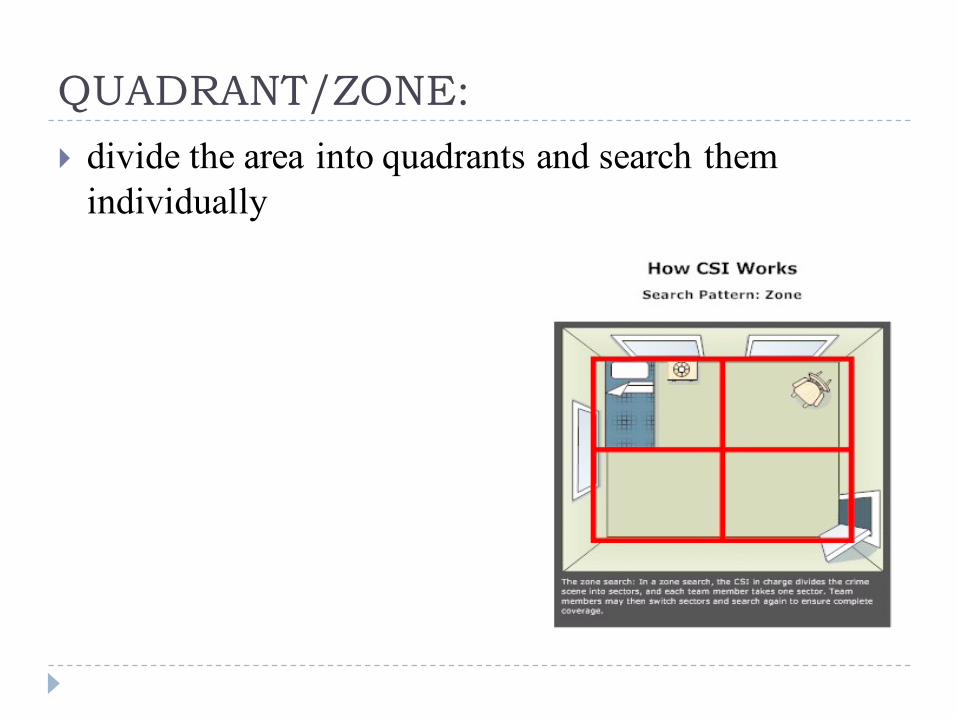
QUADRANT/ZONE:} divide the area into quadrants and search them
individually
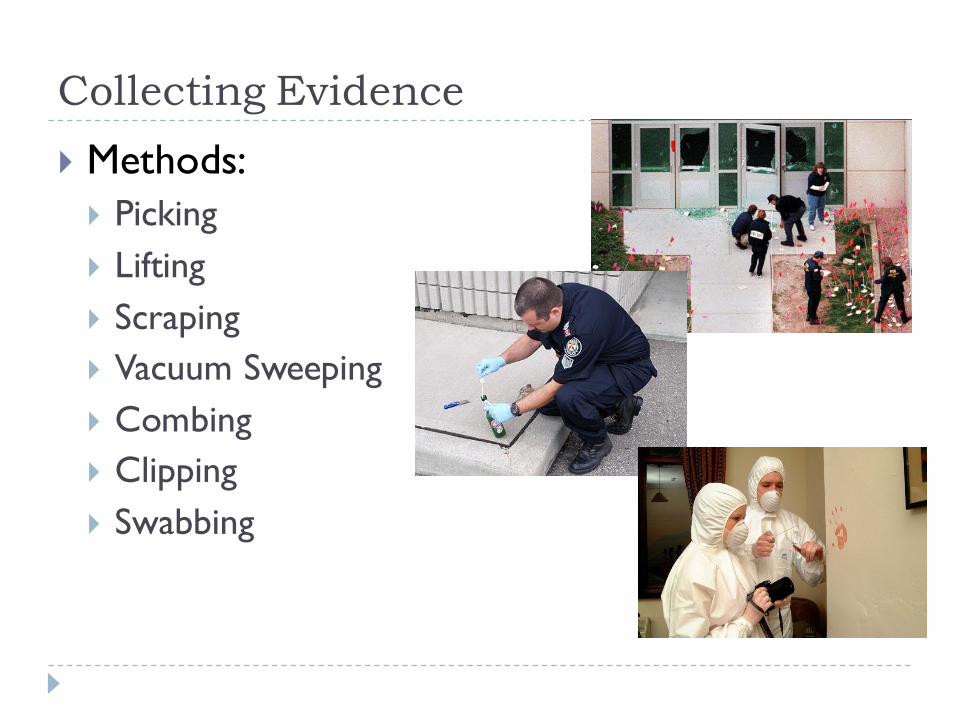
Collecting Evidence} Methods:
} Picking } Lifting } Scraping} Vacuum Sweeping} Combing} Clipping} Swabbing

Picking} uses forceps or similar tool} appropriate for collecting one item at a time} used for hair, fibers, glass fragments, etc.
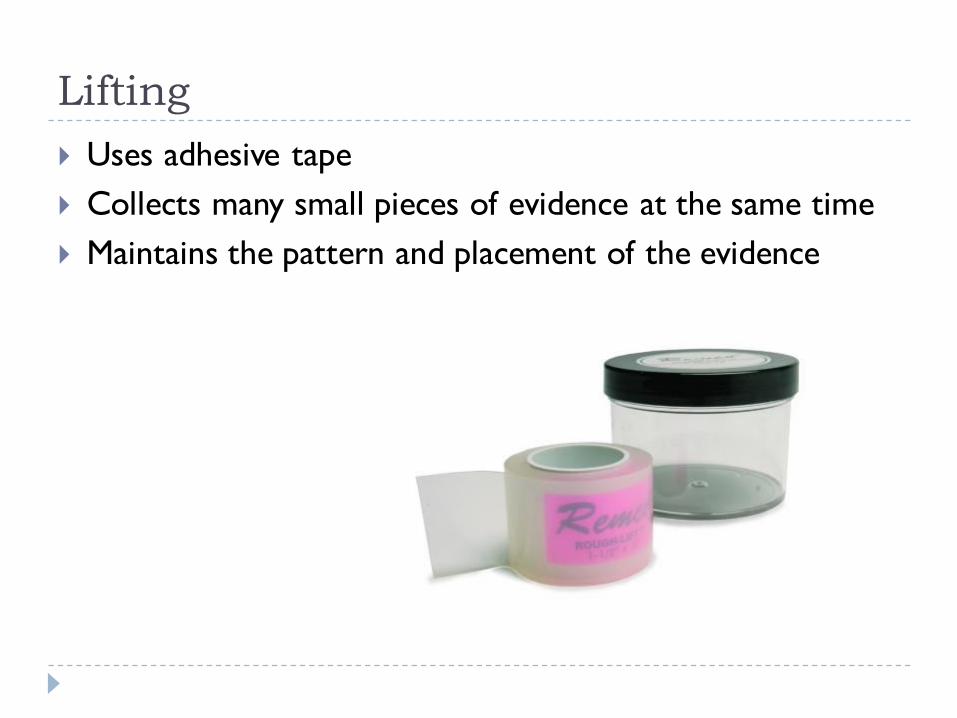
Lifting} Uses adhesive tape} Collects many small pieces of evidence at the same time} Maintains the pattern and placement of the evidence
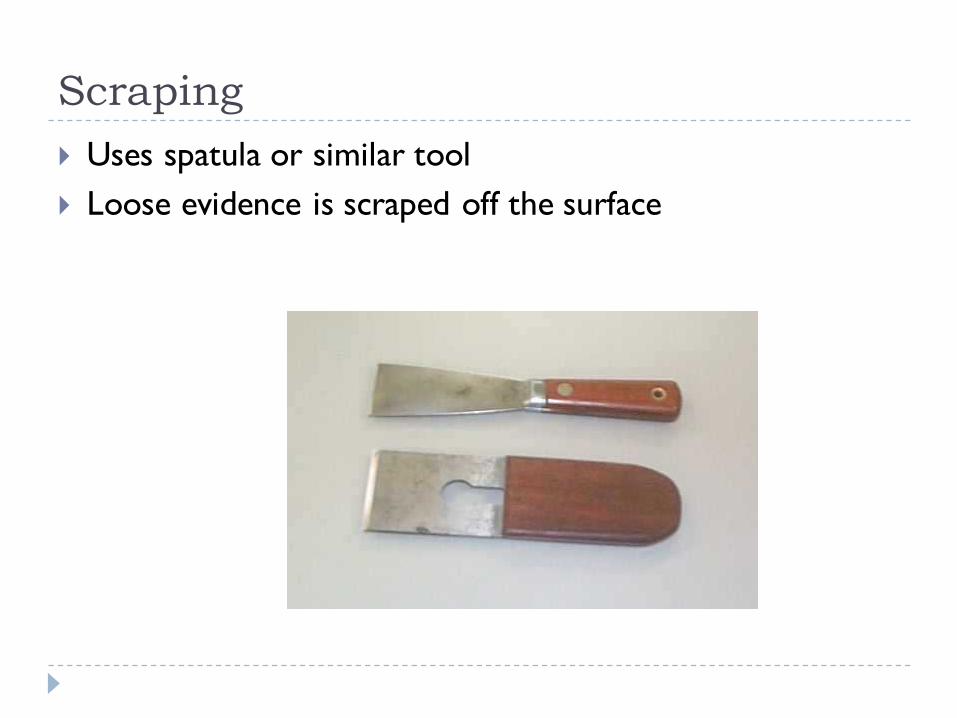
Scraping} Uses spatula or similar tool} Loose evidence is scraped off the surface

Vacuum Sweeping} Uses a vacuum with specialized filters} Cleans a large area quickly} May collect evidence too small to see and/or separate
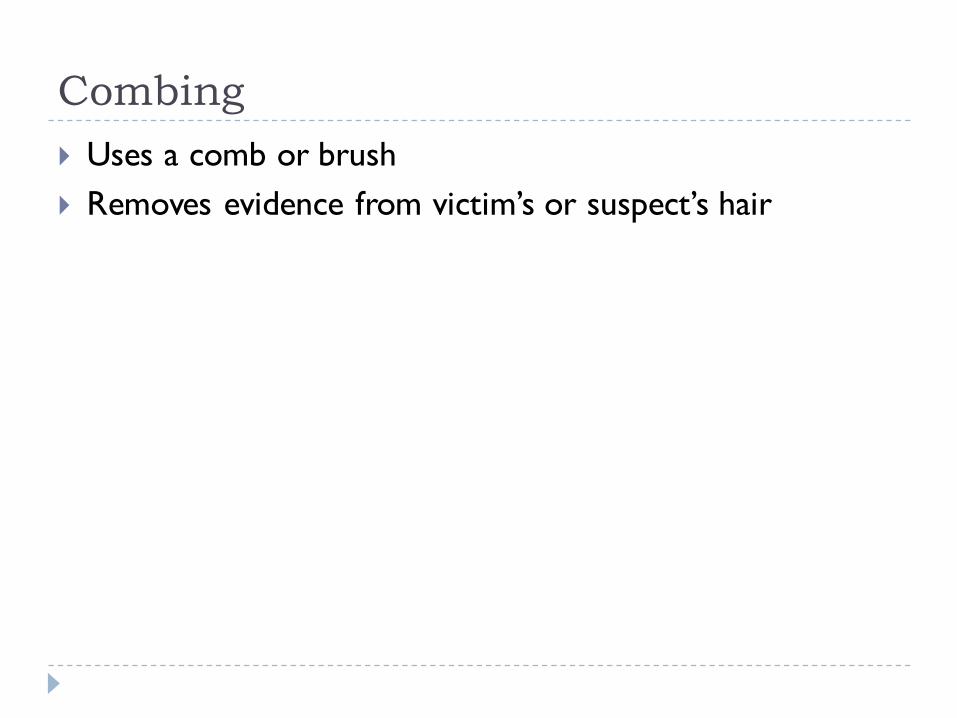
Combing} Uses a comb or brush} Removes evidence from victim’s or suspect’s hair

Clipping} Uses scissors or clippers} Removes a piece of large evidence} Clip fingernails of victim or suspect
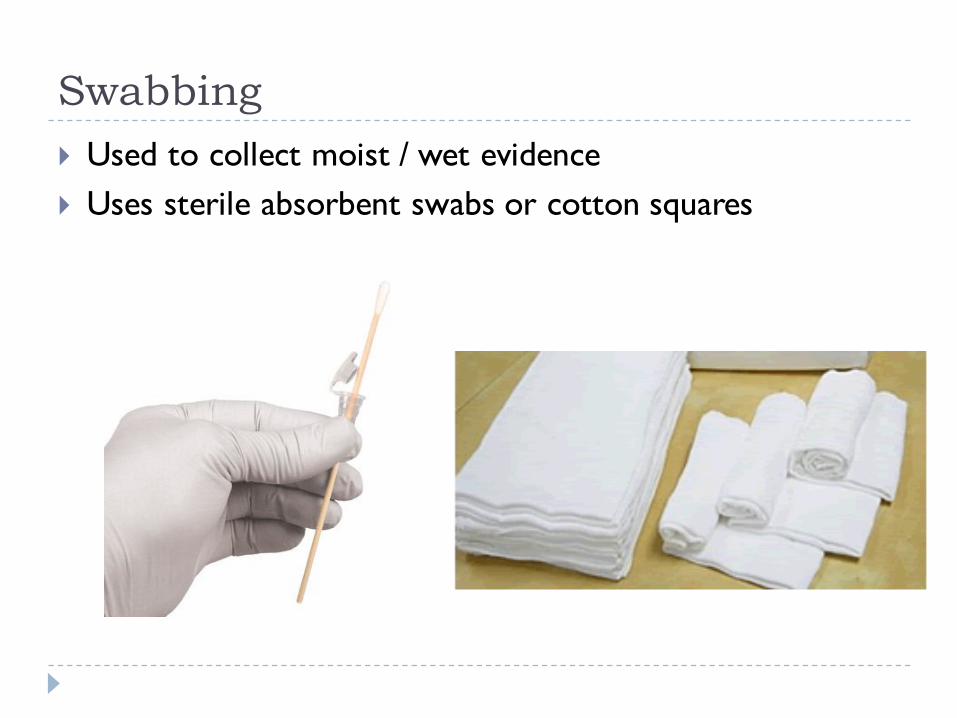
Swabbing} Used to collect moist / wet evidence} Uses sterile absorbent swabs or cotton squares
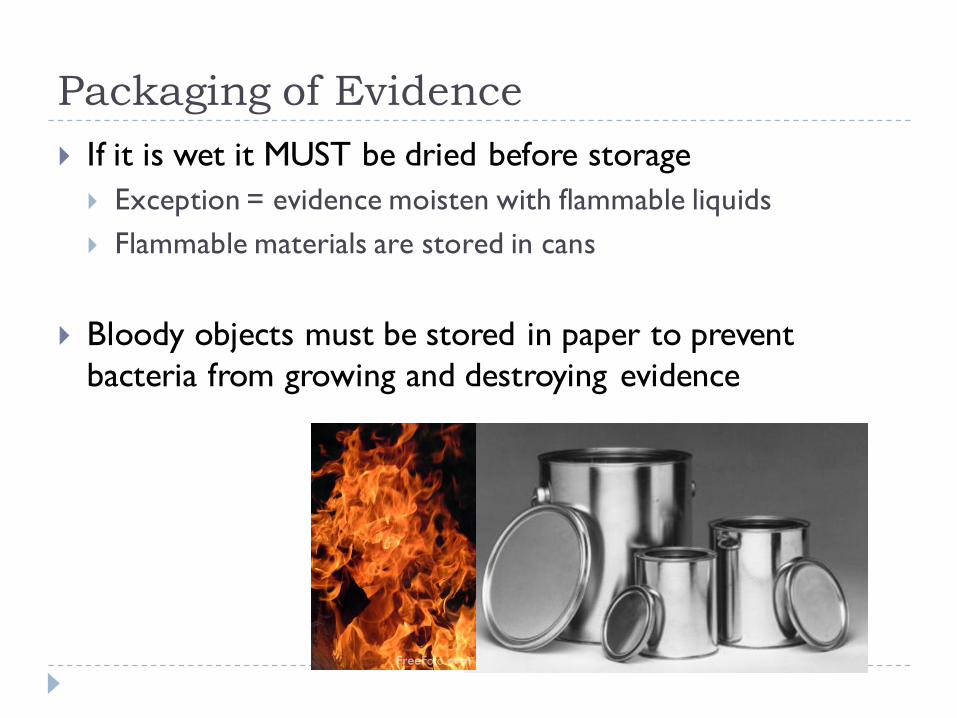
Packaging of Evidence} If it is wet it MUST be dried before storage
} Exception = evidence moisten with flammable liquids} Flammable materials are stored in cans
} Bloody objects must be stored in paper to prevent bacteria from growing and destroying evidence
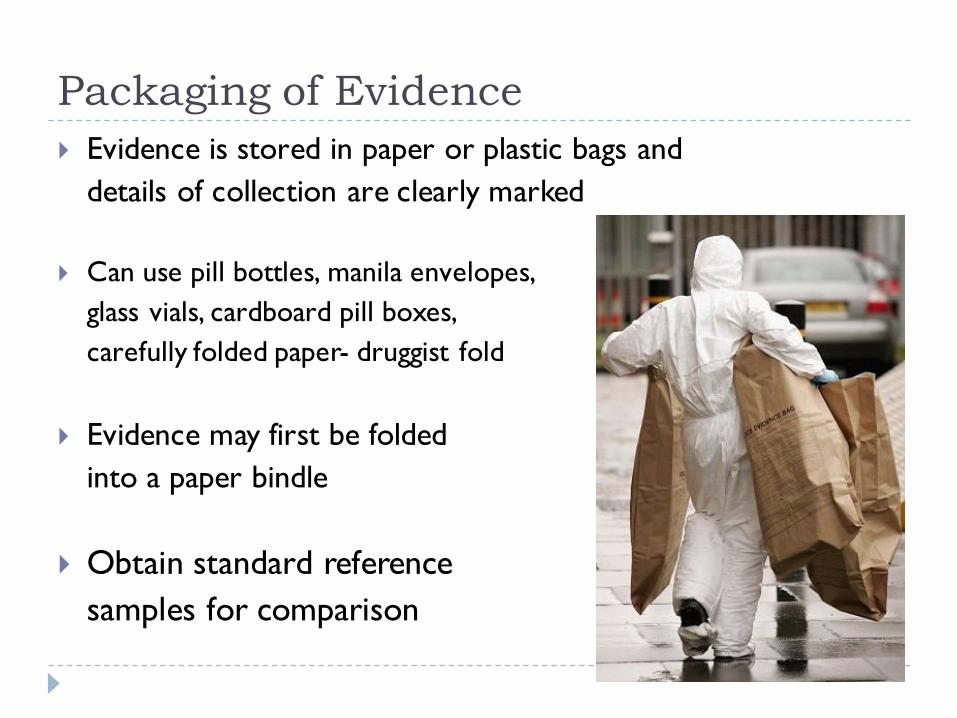
Packaging of Evidence} Evidence is stored in paper or plastic bags and
details of collection are clearly marked
} Can use pill bottles, manila envelopes, glass vials, cardboard pill boxes, carefully folded paper- druggist fold
} Evidence may first be folded into a paper bindle
} Obtain standard reference samples for comparison
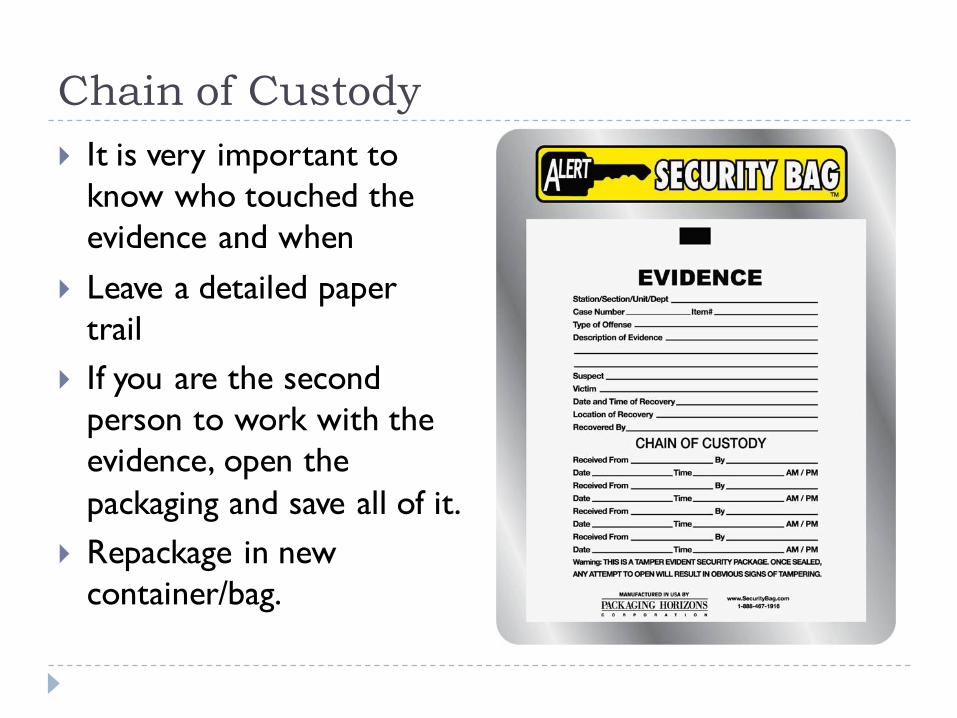
Chain of Custody} It is very important to
know who touched the evidence and when
} Leave a detailed paper trail
} If you are the second person to work with the evidence, open the packaging and save all of it.
} Repackage in new container/bag.


![Untitled-2 [] · Romance Pink Avadable in Ramco PRODUCTS . An Clin Angelina Available in 5 ml ... PANTHER PANTHER PANTHER PANTHER Black Panther Available in 100 Ramco](https://img.pdfslide.net/doc/110x75/5b5319867f8b9a0d398b631e/untitled-2-romance-pink-avadable-in-ramco-products-an-clin-angelina-available.jpg)