Embed Size (px)
Citation preview
Proficiency with Simplicity
Tech Integration Tips, Tricks, and Techniques
Using Microsoft Office
Barbara K. BarrDistrict
Technology Resource Teacher
Agenda Getting to know you ~ PARTICIPATION!
Getting to know me
Why?
Integration: Current theories
Resources
Tips and Tricks
Fun and Games
Door Prizes!!!!!

Getting to Know You
Please Raise Your Hand!
Classroom teachers, technology, media specialists, administration
Pre-school, elementary, middle school, high school, P/K – 12, college
Average classroom in your building/district: One, Two, Few, ? computers
Getting to Know You

Getting to Know Me
Some Important Notes!
I am not an employee of Microsoft! No one in my family is an employee of Microsoft! I am not receiving products or special treatment from Microsoft! (How I wish) Most of these tips, tricks, and techniques can be used with ClarisWorks/AppleWorks, Lotus SmartSuite, and other similar products.
Some Important Notes!
Technology use is easier when one uses software with common terms and features. Technology integration can be simple, and does not require lots of software. MS Office, ClarisWorks/AppleWorks, Lotus SmartSuite have just about anything an educator could want to integrate technology and make real life connections.
Some Important Notes!
There are many other wonderful resources to help you integrate technology with ClarisWorks/AppleWorks, Microsoft, and similar products. Keep in mind that almost every function in Office programs has multiple ways to be accomplished. I may show you only one way, and there are usually a number of other ways to do the same thing!
Why???
Frustrated faculty User problems Time
To learn how to use programsTo reinforce what has been learnedTo plan or prepare for integration
Money Difference in programs Similarities in a family of programs Developmentally appropriate Paint by number approach vs. easel and oils
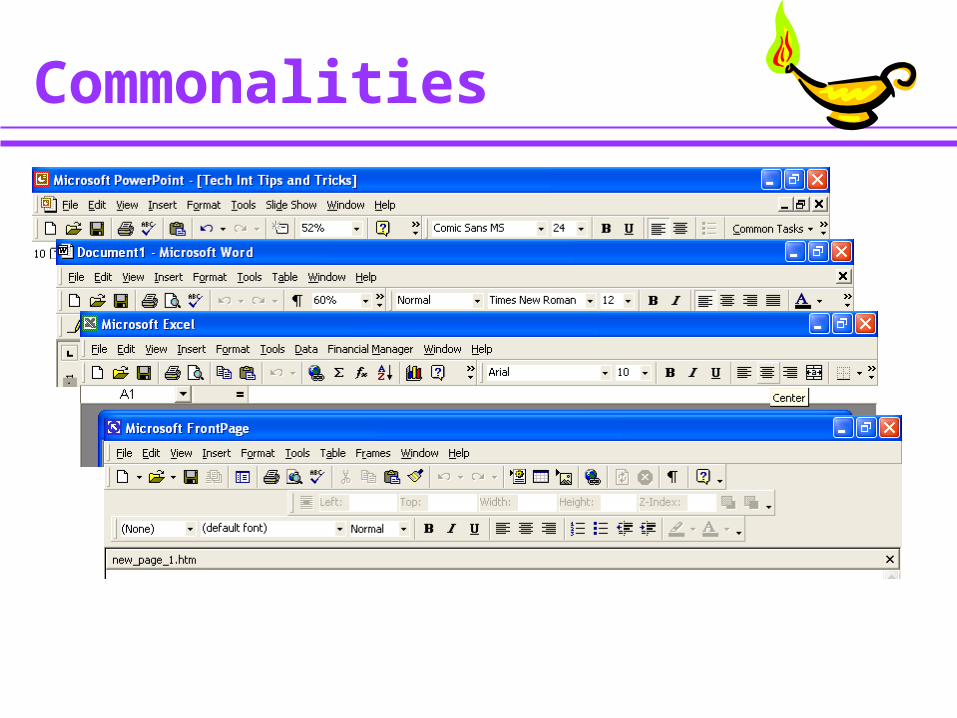
Commonalities
Integration
History of computer education Teacher use/Student use Tipping Point Mastering the one, two, or few computer classroom Daily opportunities Daily tool Equity for all students
Some Current Resources Microsoft
http://www.microsoft.com/education/
CD
Local reps
Teacher Created Materials
ClarisWorks/AppleWorks
Training
Websites
Technology Wizards
Books
Tips and Tricks
Be sure to try these things at home,
at school, at the office, or
where ever you can find a
computer!
W A R N I N G
Clip Art
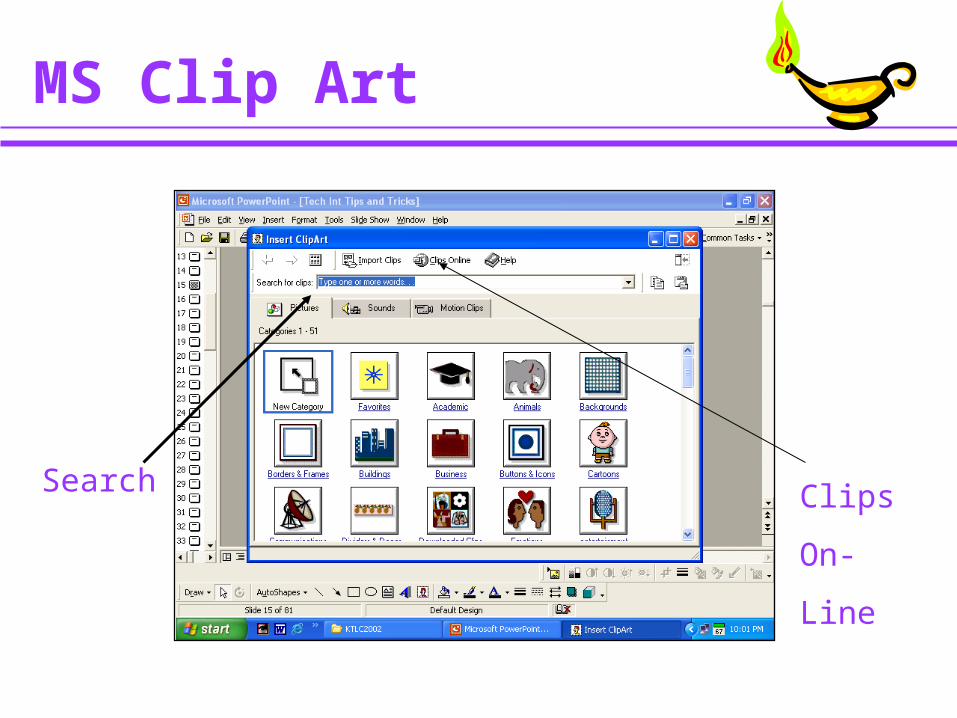
MS Clip Art
Search Clips
On-
Line
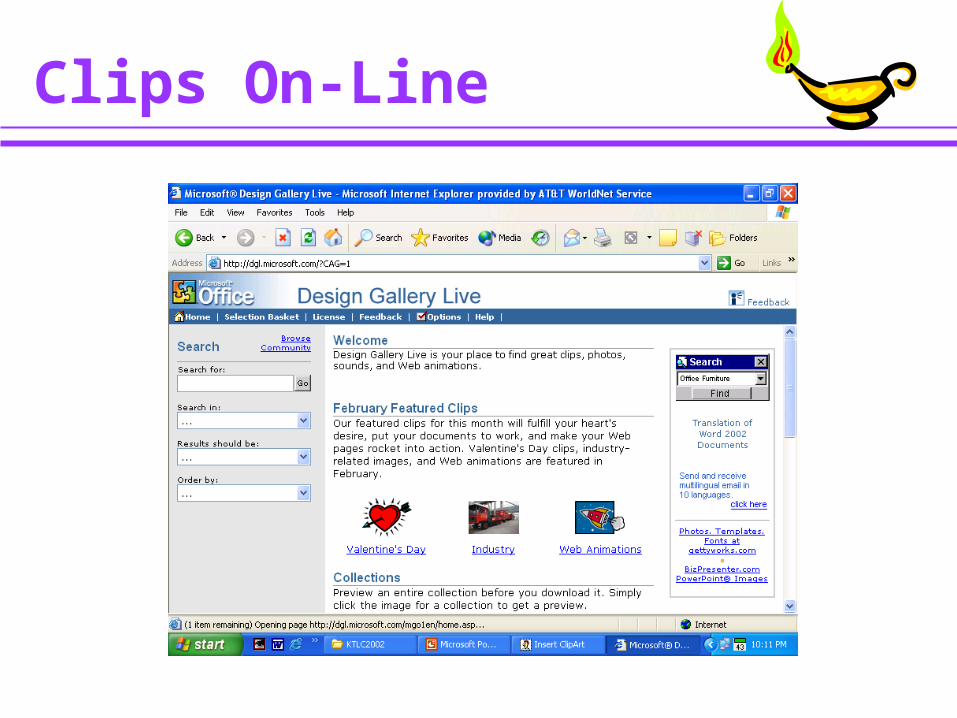
Clips On-Line
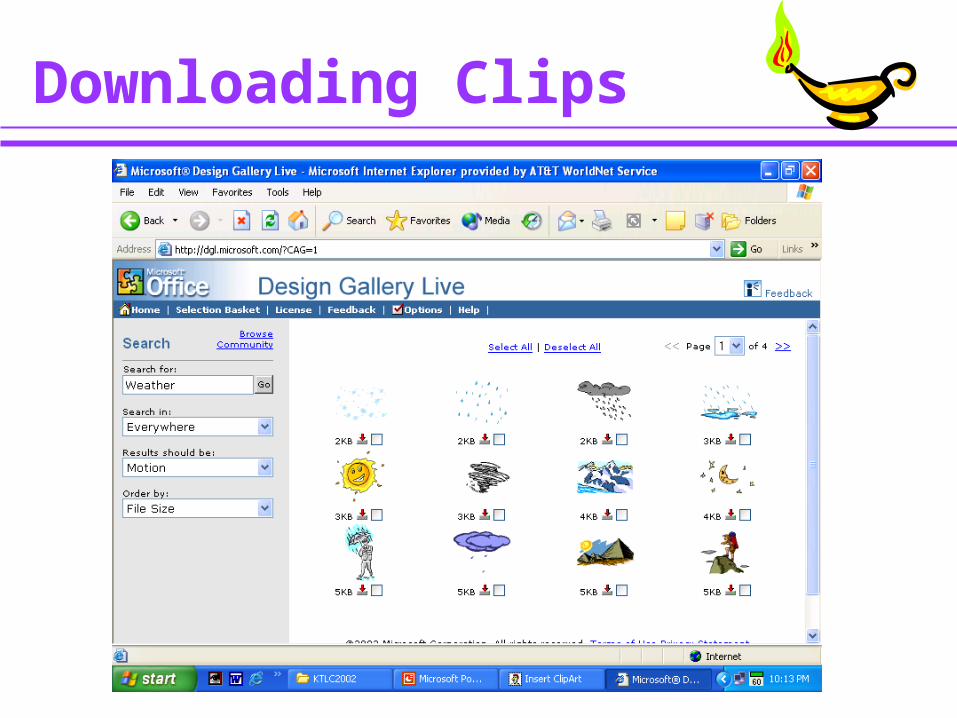
Downloading Clips

Wonderful Word
Where to use Word
In the classroom, Word can be used for just about anything for which you would normally use a paper and pencil.
Student workstations
Center activities
Small group activities
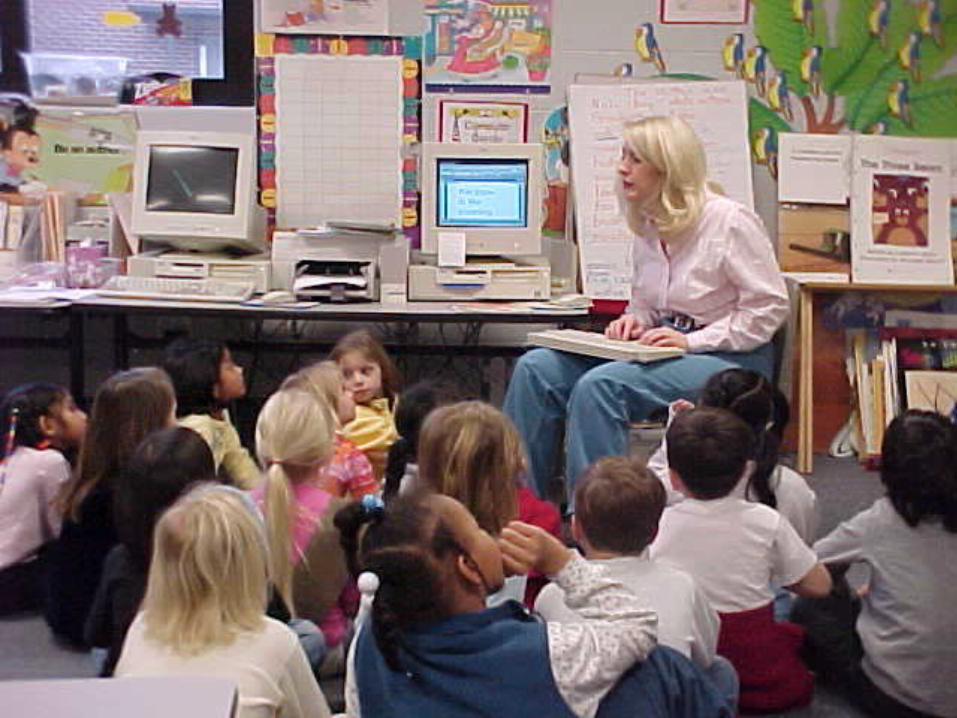
Large group presentations with SmartBoards, scan converters, multimedia projectors
Computer labs
Teacher/Administration workstations
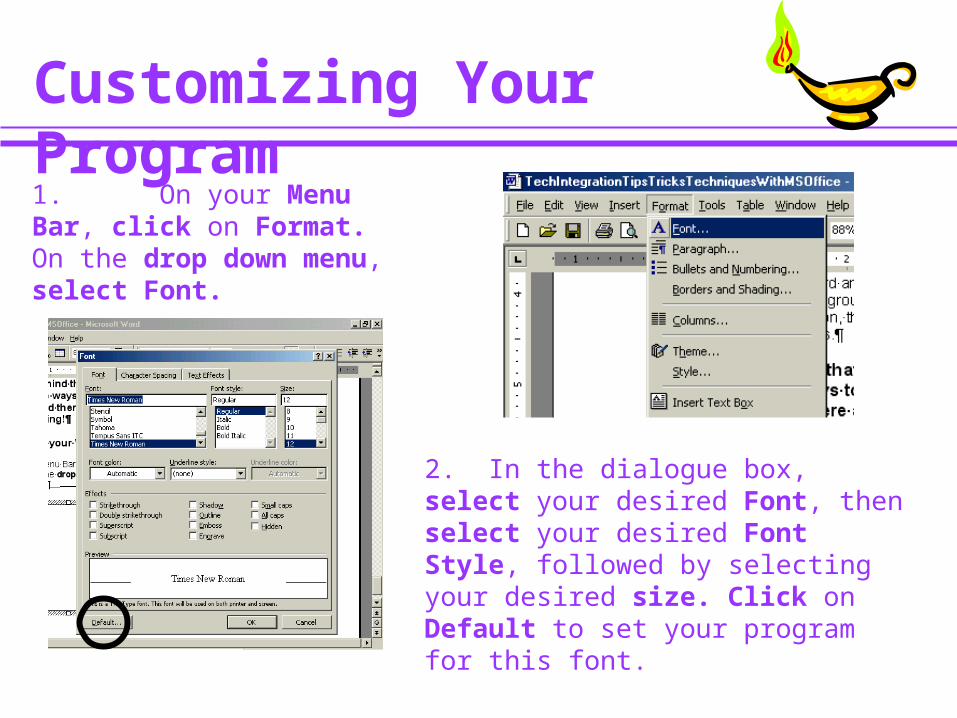
Customizing Your Program1. On your Menu Bar, click on Format. On the drop down menu, select Font.
2. In the dialogue box, select your desired Font, then select your desired Font Style, followed by selecting your desired size. Click on Default to set your program for this font.
Creating Styles
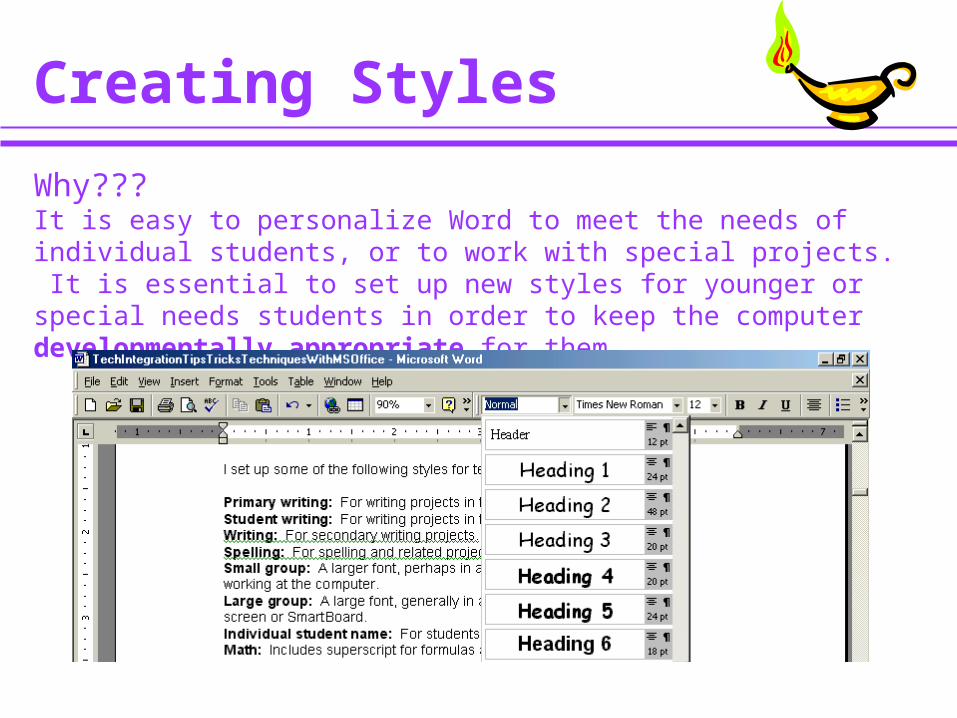
Why???It is easy to personalize Word to meet the needs of individual students, or to work with special projects. It is essential to set up new styles for younger or special needs students in order to keep the computer developmentally appropriate for them.
When to Use New StylesI set up some of the following styles for teachers:
Primary writing: For writing projects in the primary classesStudent writing: For writing projects in the intermediate classes.Writing: For secondary writing projects.Spelling: For spelling and related projects.Small group: A larger font, perhaps in a color, for small groups of people working at the computer.Large group: A large font, generally in a color, for viewing on a television screen or SmartBoard.Individual student name: For students with special needs.Math: Includes superscript for formulas and math symbols.

Creating New Styles
1. On the Menu Bar, click on Format. On the drop down menu, select Style, and click.
2. In the dialogue box, you will click on New.
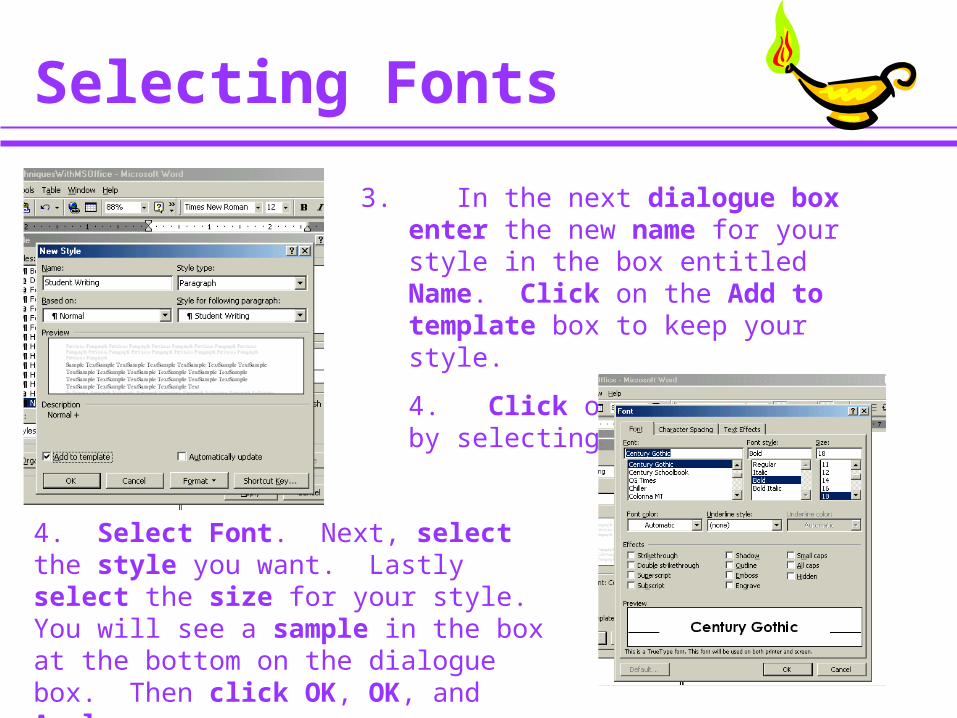
Selecting Fonts
3. In the next dialogue box enter the new name for your style in the box entitled Name. Click on the Add to template box to keep your style.
4. Click on Format, followed by selecting Font.
4. Select Font. Next, select the style you want. Lastly select the size for your style. You will see a sample in the box at the bottom on the dialogue box. Then click OK, OK, and Apply.
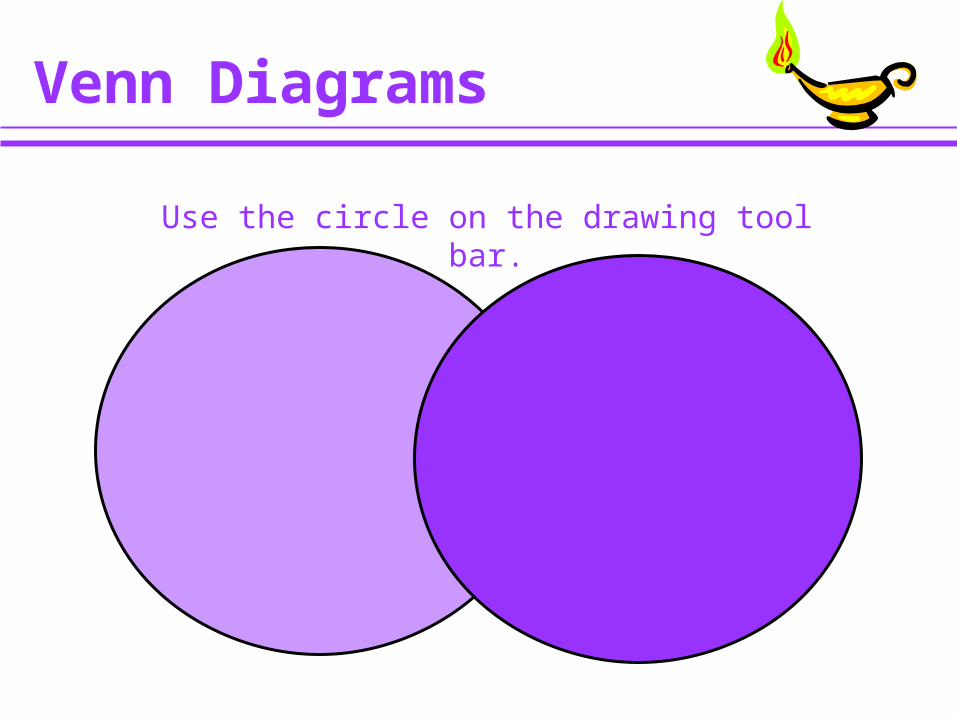
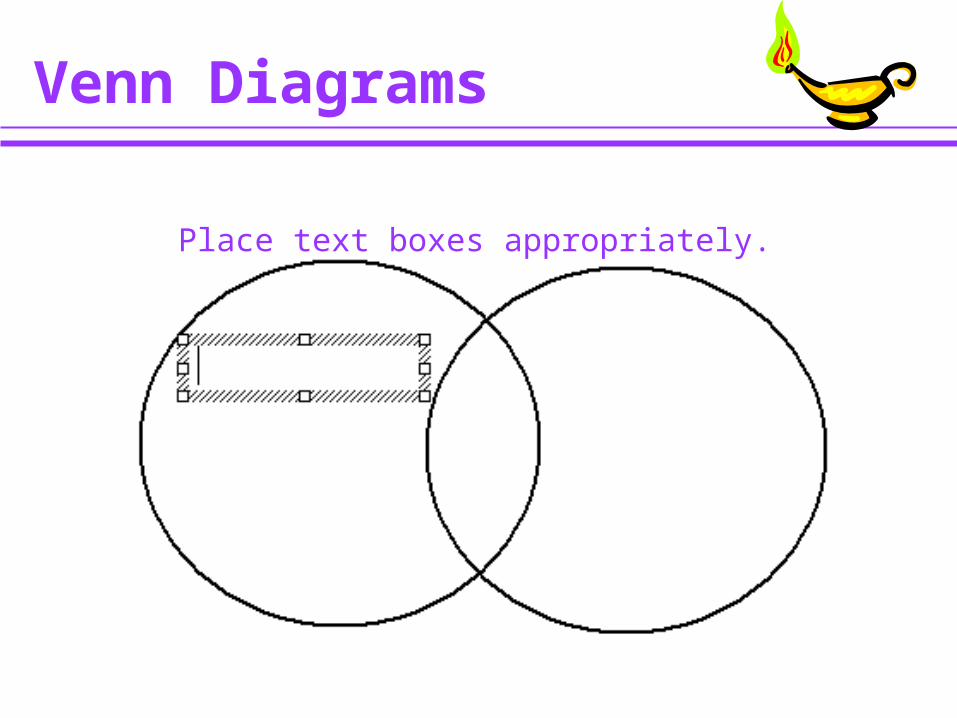
Venn Diagrams
Use the circle on the drawing tool bar.
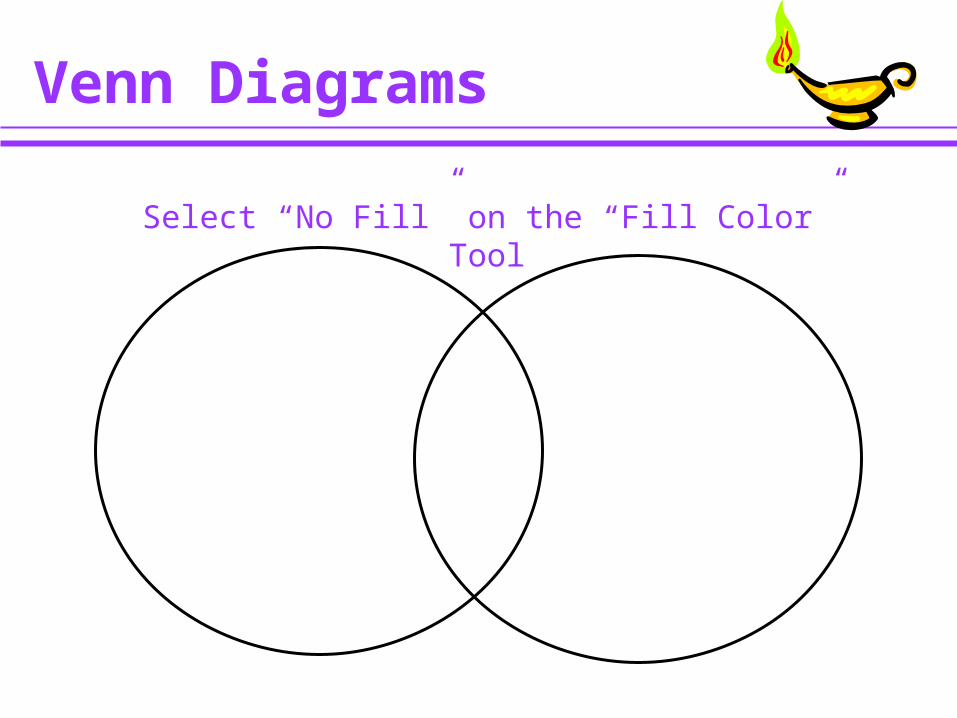
Venn Diagrams
Select “No Fill” on the “Fill Color” Tool
Venn Diagrams
Place text boxes appropriately.

Word Tables
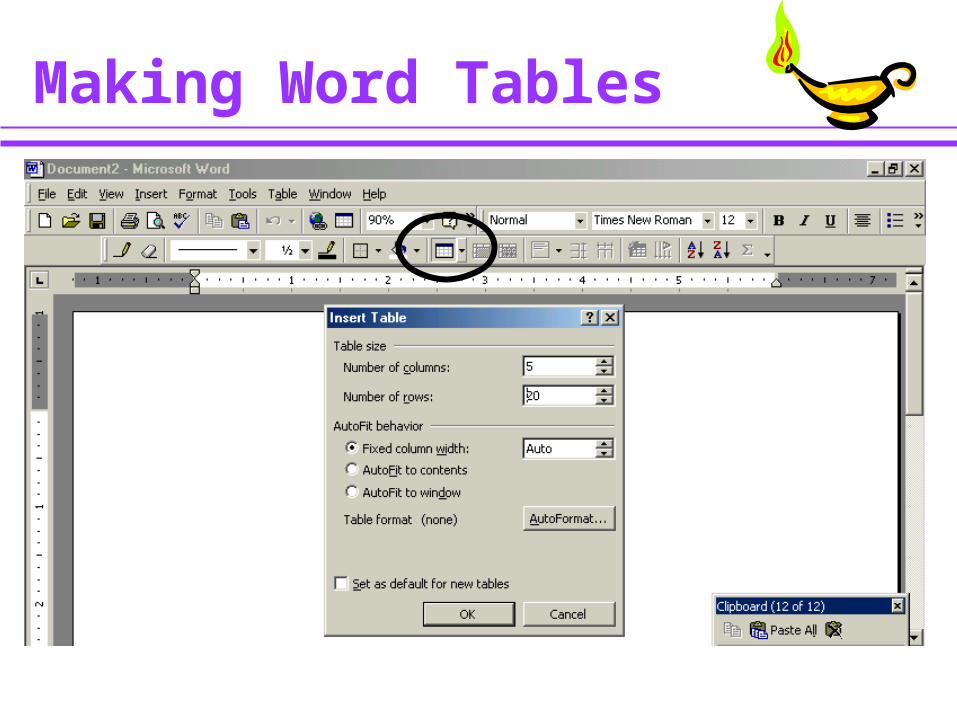
Making Word Tables

Sample Word Table
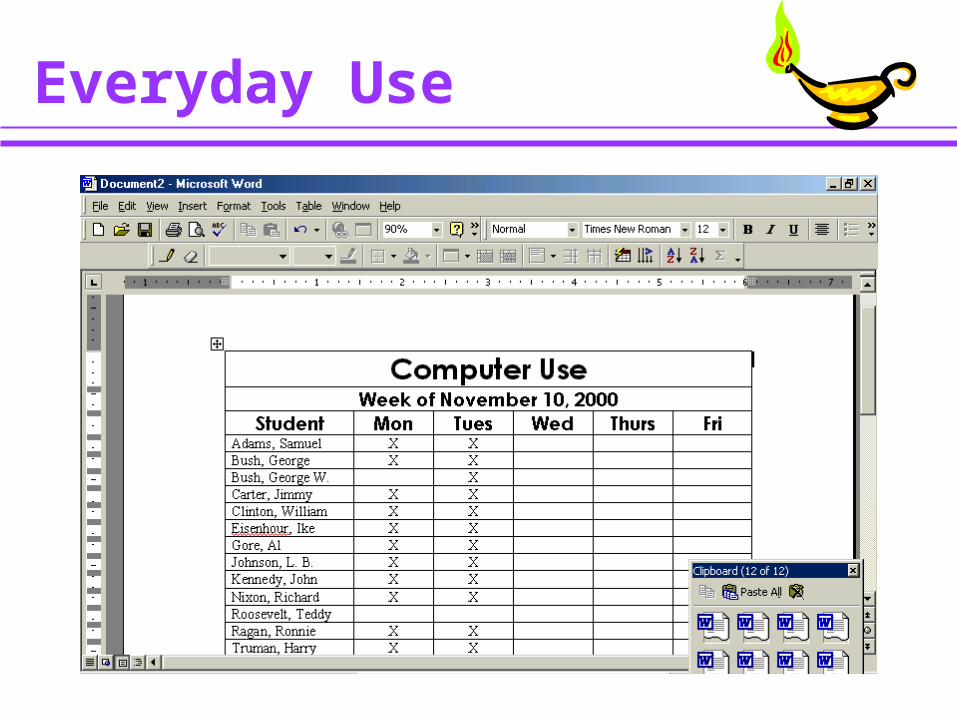
Everyday Use
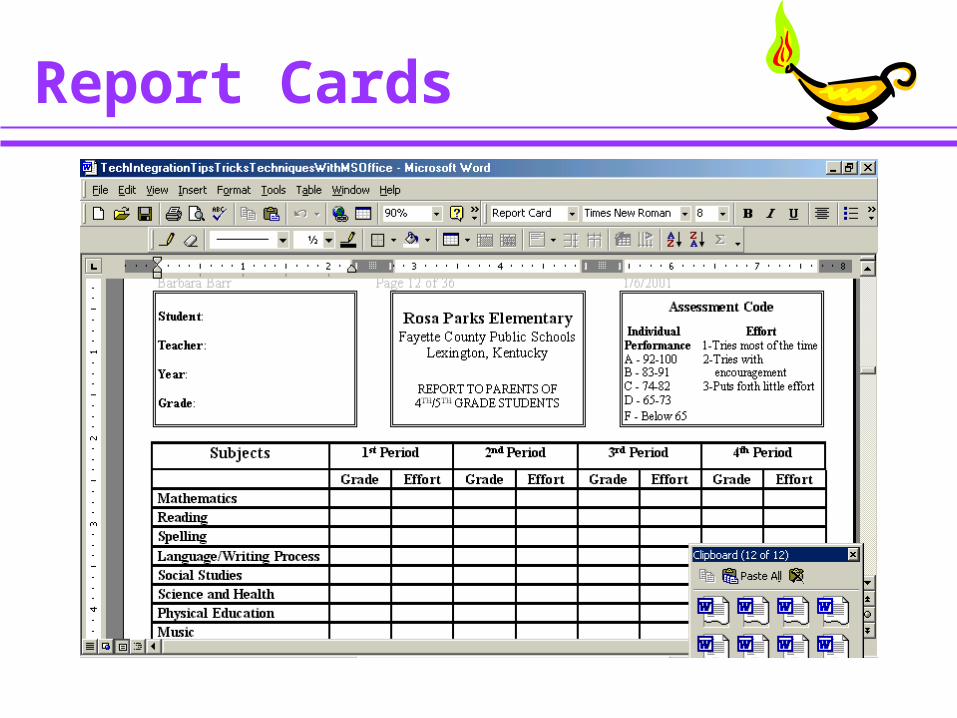
Report Cards
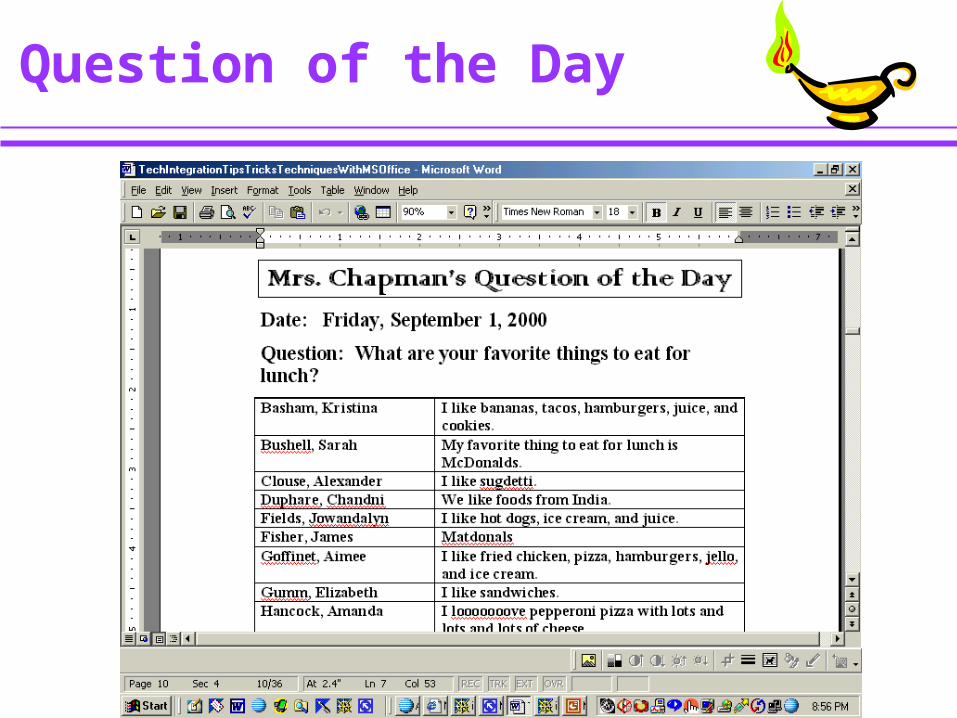
Question of the Day
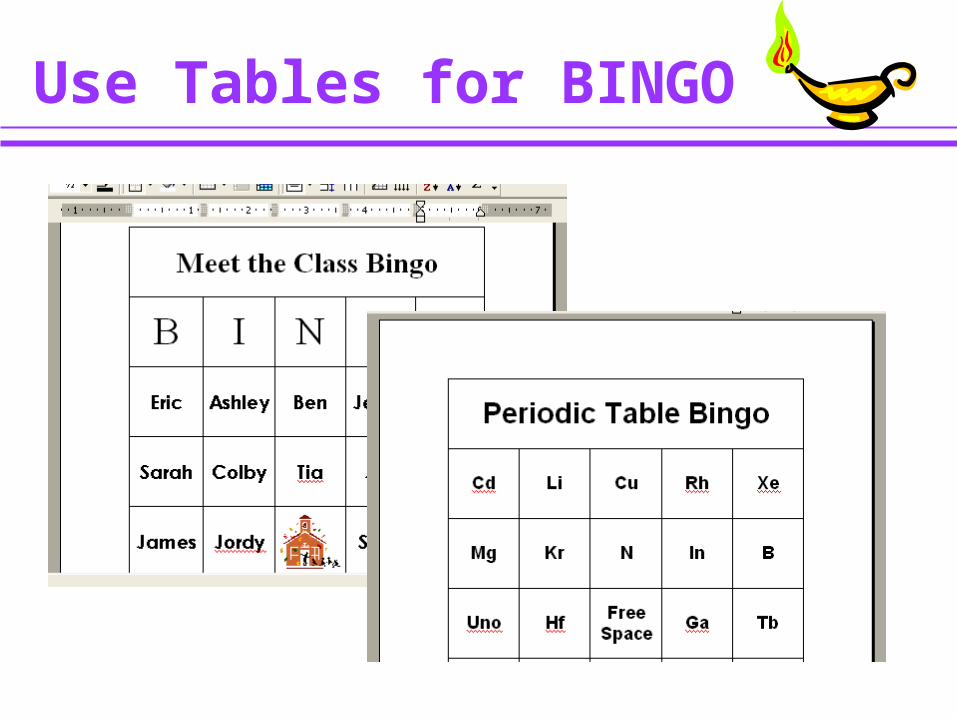
Use Tables for BINGO
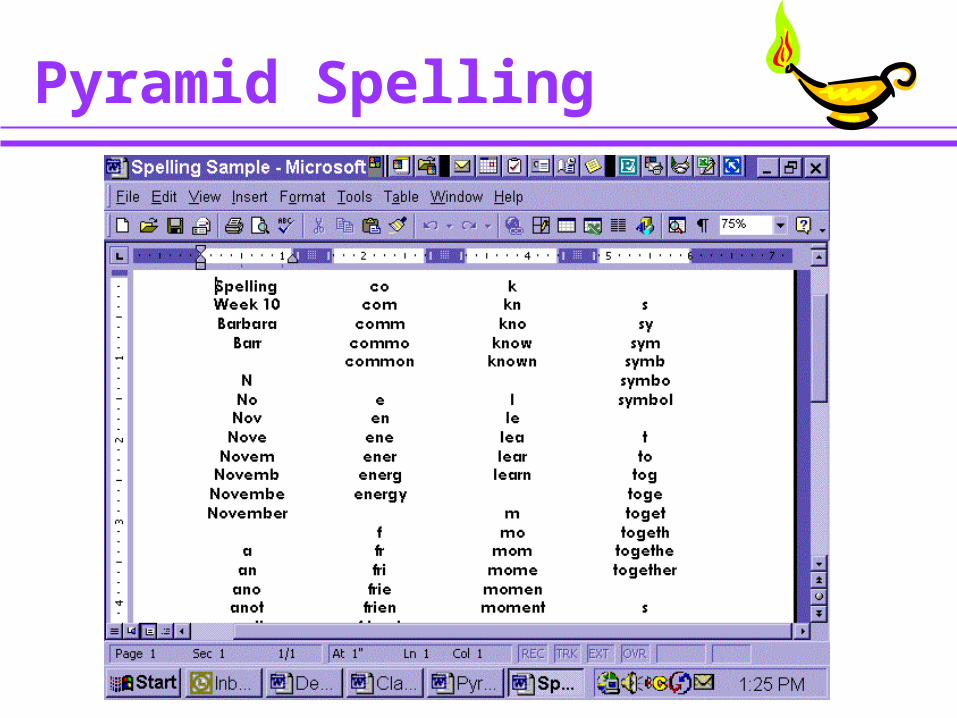
Pyramid Spelling
Pyramid Spelling
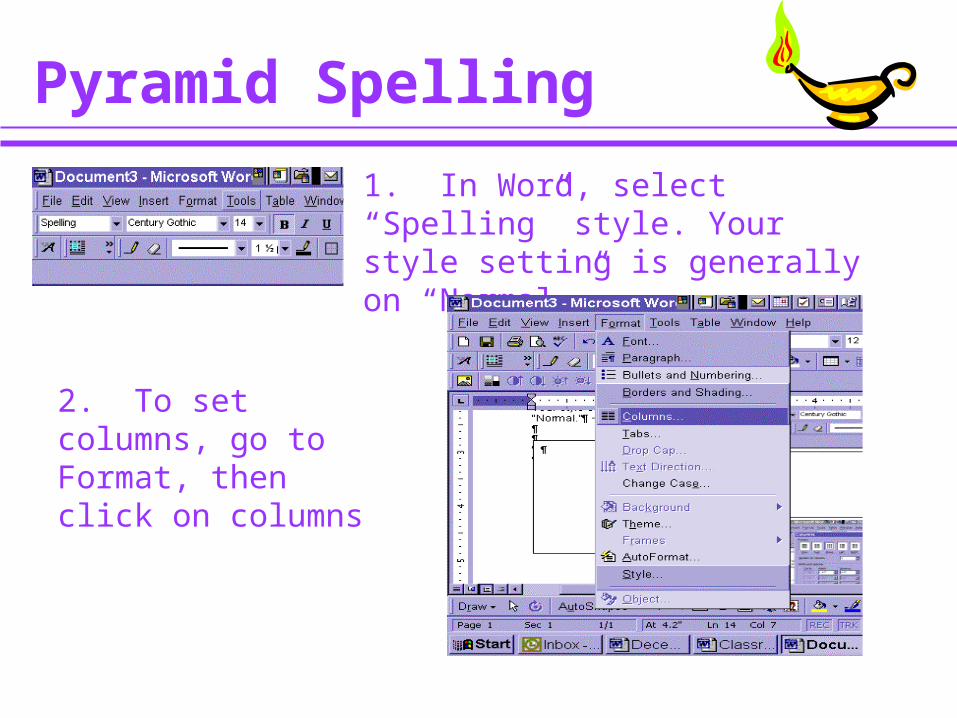
1. In Word, select “Spelling” style. Your style setting is generally on “Normal.”
2. To set columns, go to Format, then click on columns

Pyramid Spelling
3. Select 2, 3, or 4 columns, depending upon the number of spelling works. Then click OK.
4. Your computer is now set up on Spelling style and columns.
5. For the spelling activity, students first begin a new Word Document. They enter their name and begin writing the spelling words.

Excellent Excel
Uses for Excel Grading – it even totals and averages grades! Charting information Gathering data for projects Translating numbers into various types of charts and graphs Comprehending charts and graphs Lesson plans Calendars Spreadsheets Insert in all other Office programs Planning Student projects Tracking bank accounts and checking accounts Student records
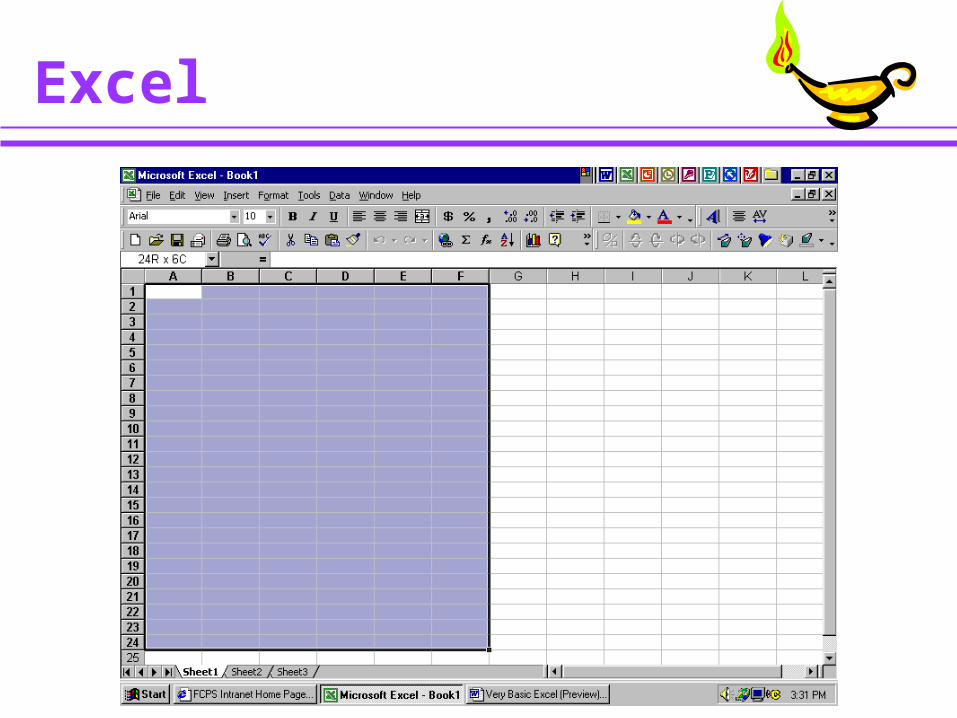
Excel
Excel Tip
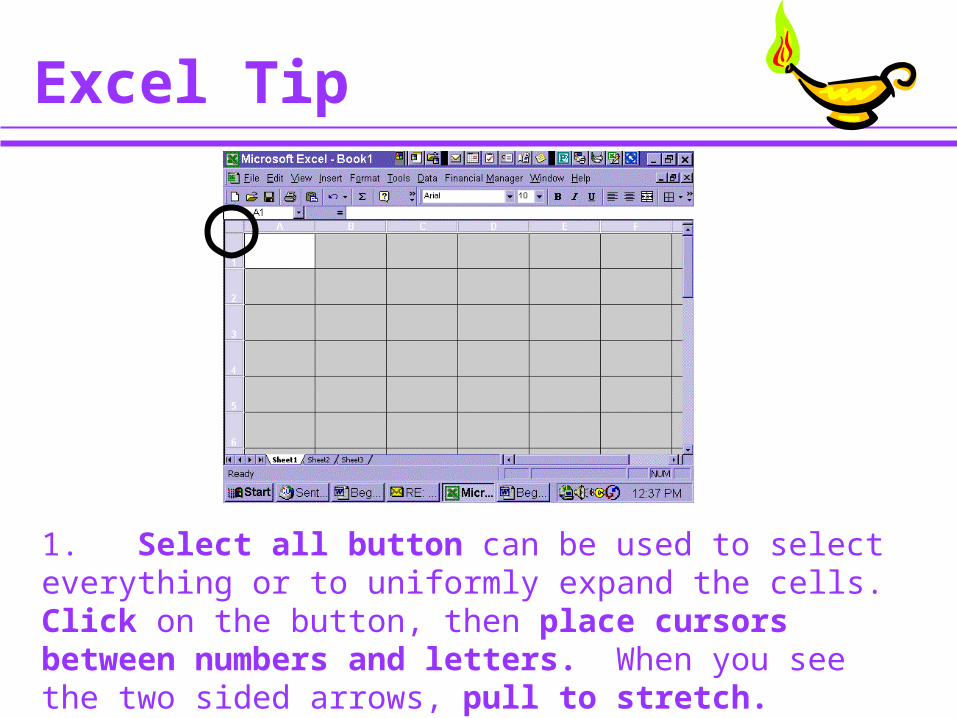
1. Select all button can be used to select everything or to uniformly expand the cells. Click on the button, then place cursors between numbers and letters. When you see the two sided arrows, pull to stretch.
Navigation Tricks
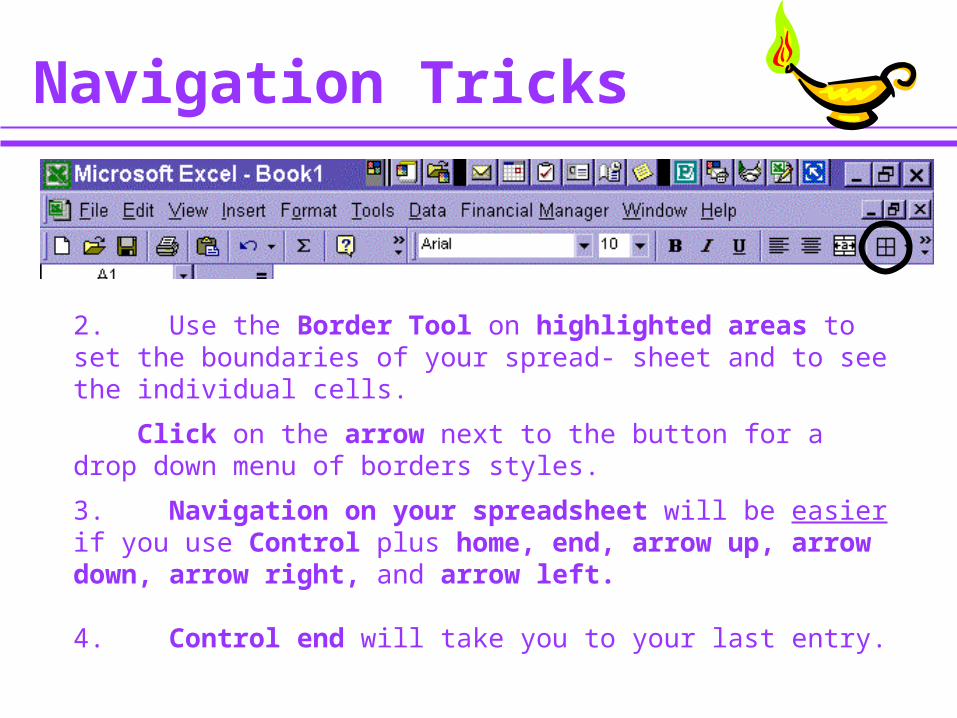
2. Use the Border Tool on highlighted areas to set the boundaries of your spread- sheet and to see the individual cells.
Click on the arrow next to the button for a drop down menu of borders styles.
3. Navigation on your spreadsheet will be easier if you use Control plus home, end, arrow up, arrow down, arrow right, and arrow left. 4. Control end will take you to your last entry.
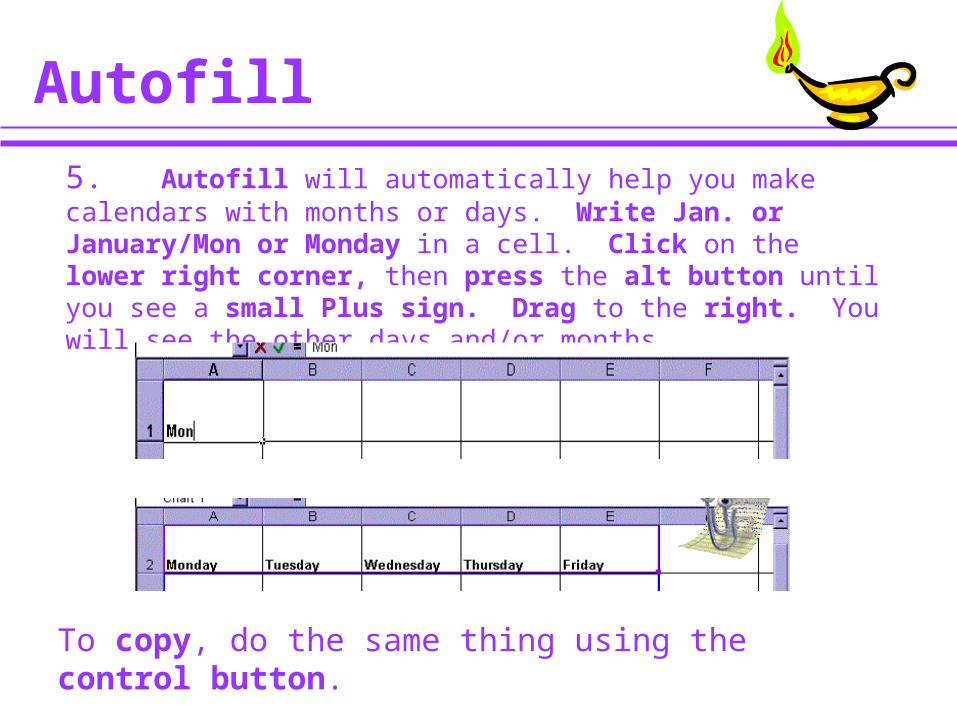
Autofill
5. Autofill will automatically help you make calendars with months or days. Write Jan. or January/Mon or Monday in a cell. Click on the lower right corner, then press the alt button until you see a small Plus sign. Drag to the right. You will see the other days and/or months.
To copy, do the same thing using the control button.
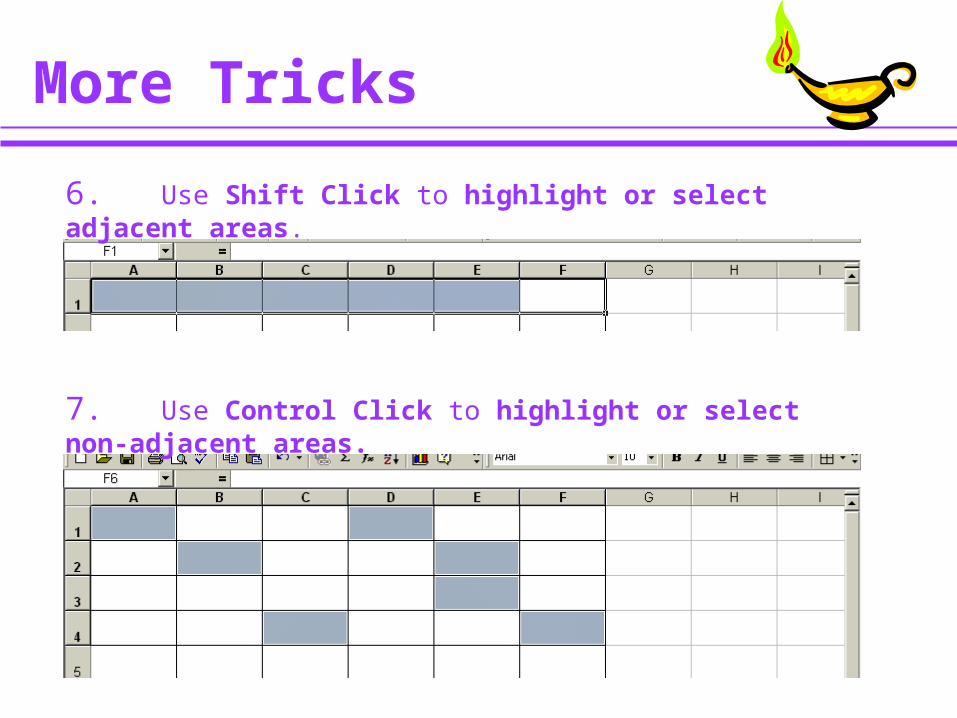
More Tricks
6. Use Shift Click to highlight or select adjacent areas.
7. Use Control Click to highlight or select non-adjacent areas.
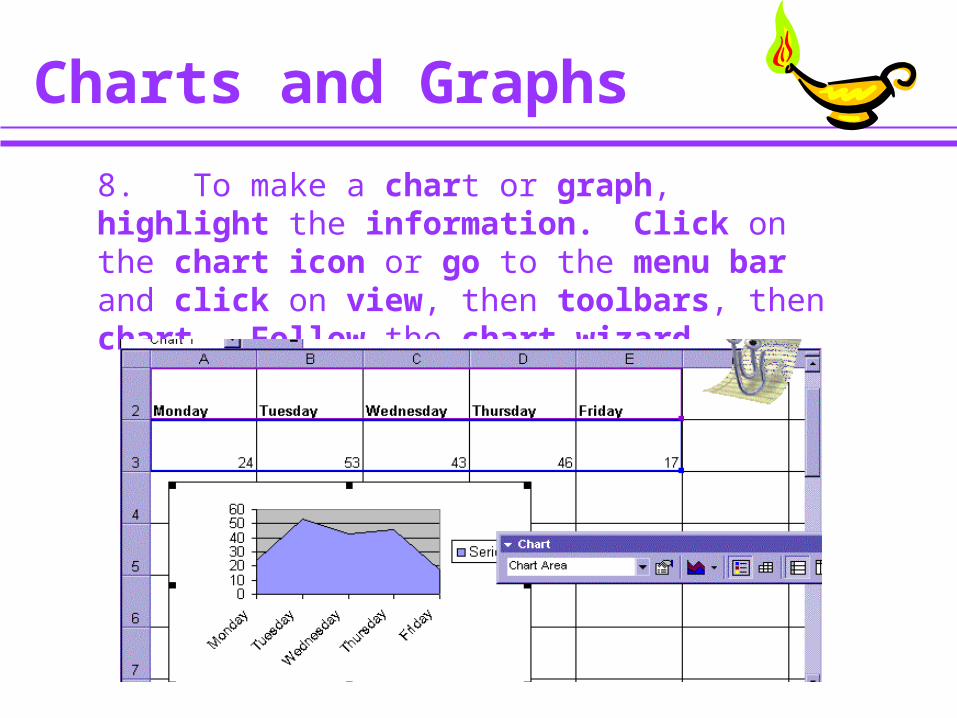
Charts and Graphs
8. To make a chart or graph, highlight the information. Click on the chart icon or go to the menu bar and click on view, then toolbars, then chart. Follow the chart wizard.
Projects with Publisher
Publisher Projects
Stationary
Envelopes
Business forms
Business cards
Flyers
Designing
Art work
Brochures
Invitations
Cards
Banners
Labels
Menus
Advertisements
Calendars
Award certificates
Newsletters
Projects
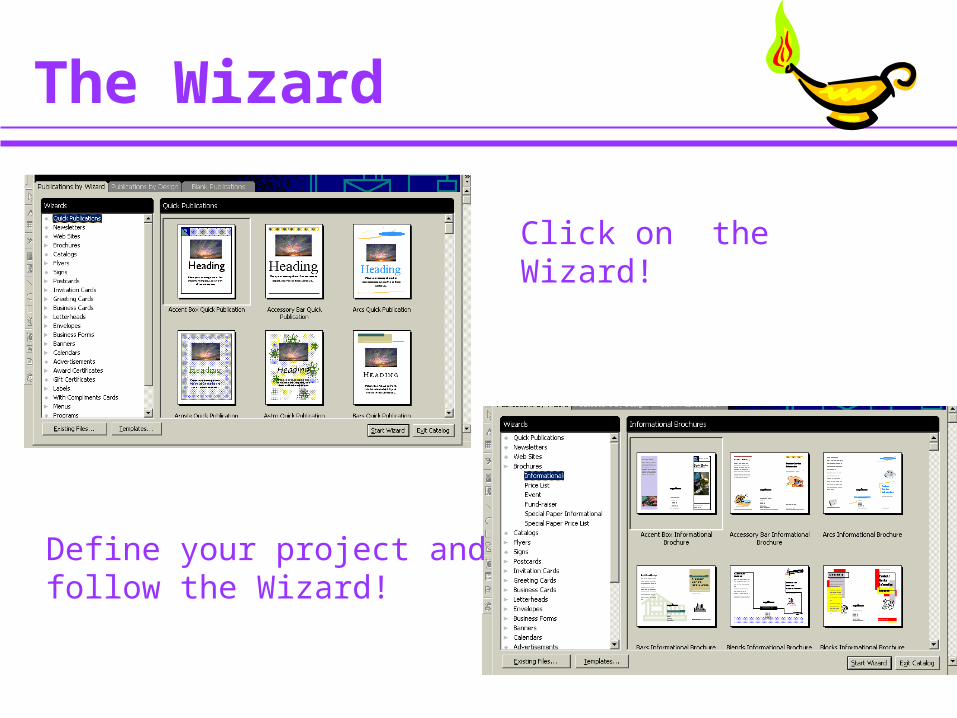
The Wizard
Click on the Wizard!
Define your project andfollow the Wizard!
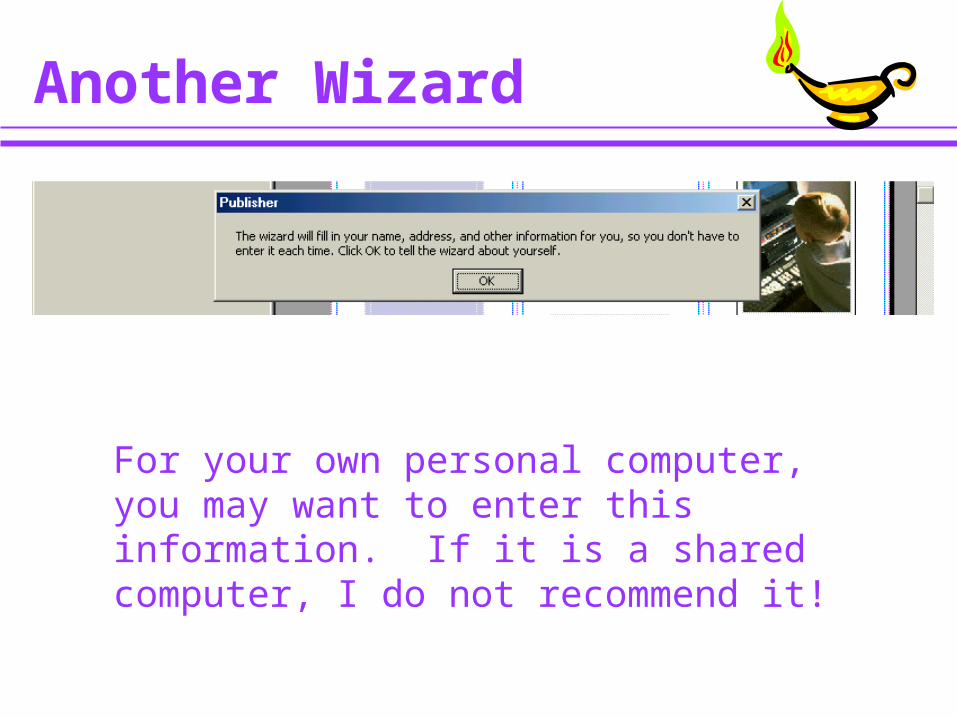
Another Wizard
For your own personal computer, you may want to enter this information. If it is a shared computer, I do not recommend it!
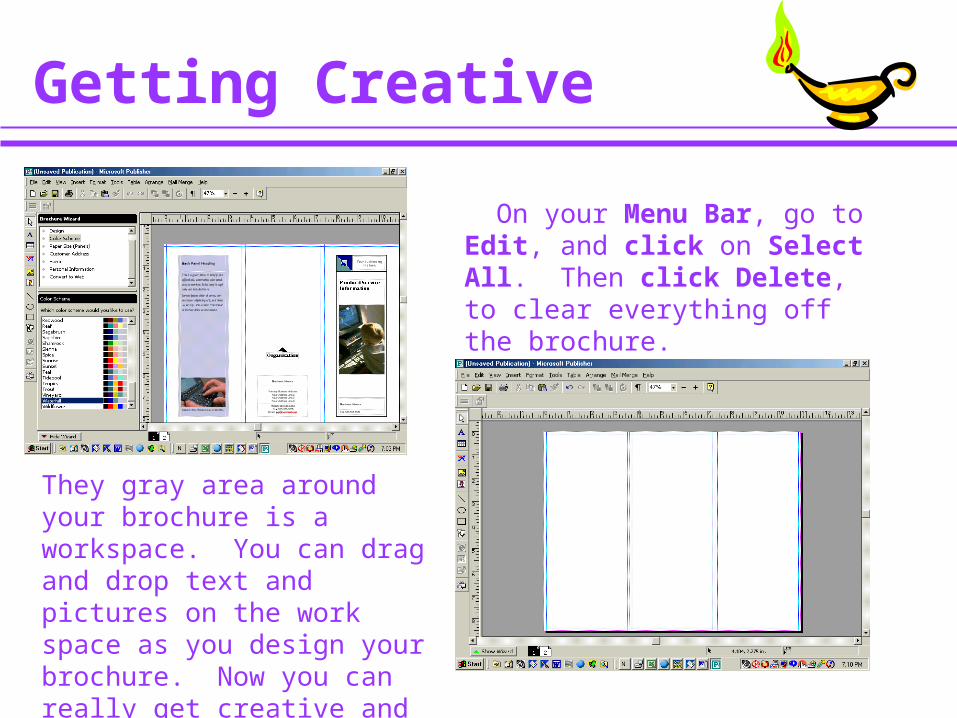
Getting Creative
On your Menu Bar, go to Edit, and click on Select All. Then click Delete, to clear everything off the brochure.
They gray area around your brochure is a workspace. You can drag and drop text and pictures on the work space as you design your brochure. Now you can really get creative and design your own brochure.
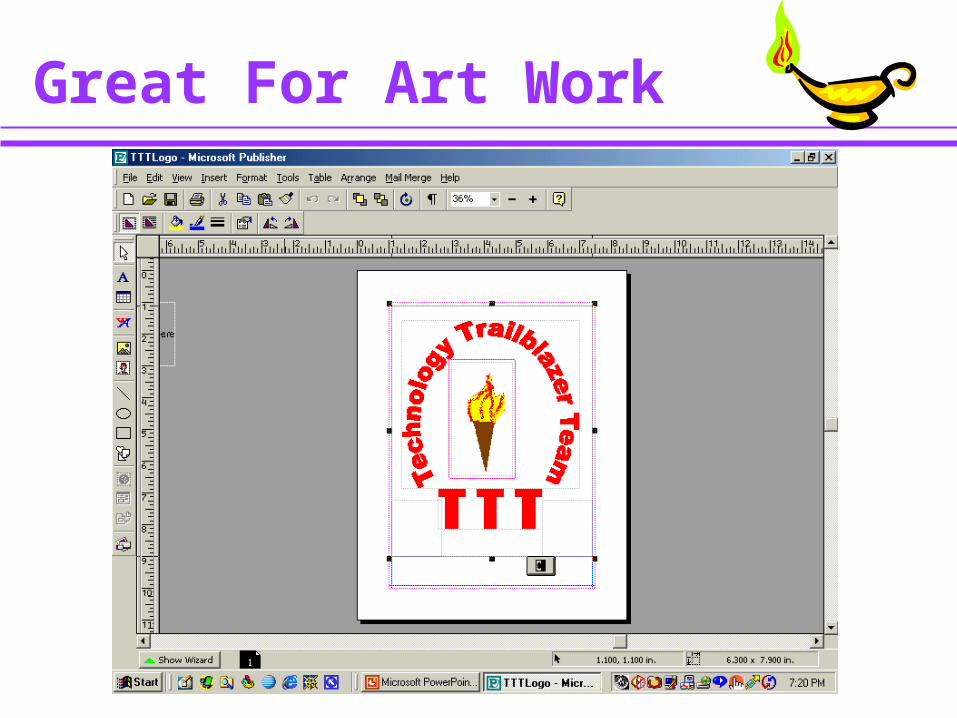
Great For Art Work
The Powers of PowerPoint
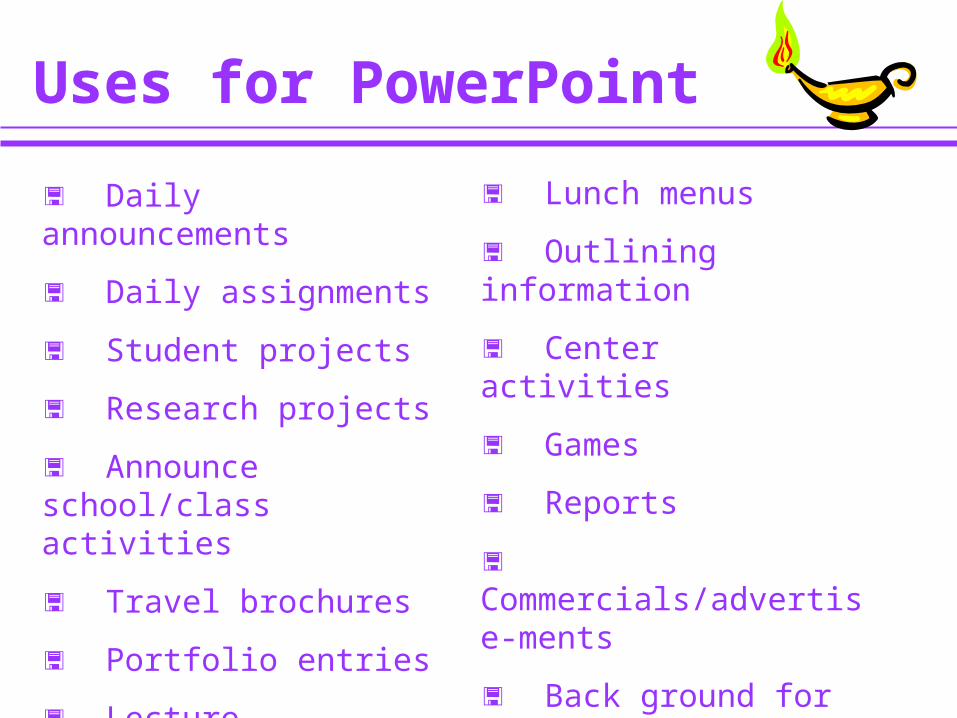
Uses for PowerPoint
Daily announcements
Daily assignments
Student projects
Research projects
Announce school/class activities
Travel brochures
Portfolio entries
Lecture notes/Class lessons
Lunch menus
Outlining information
Center activities
Games
Reports
Commercials/advertise-ments
Back ground for television

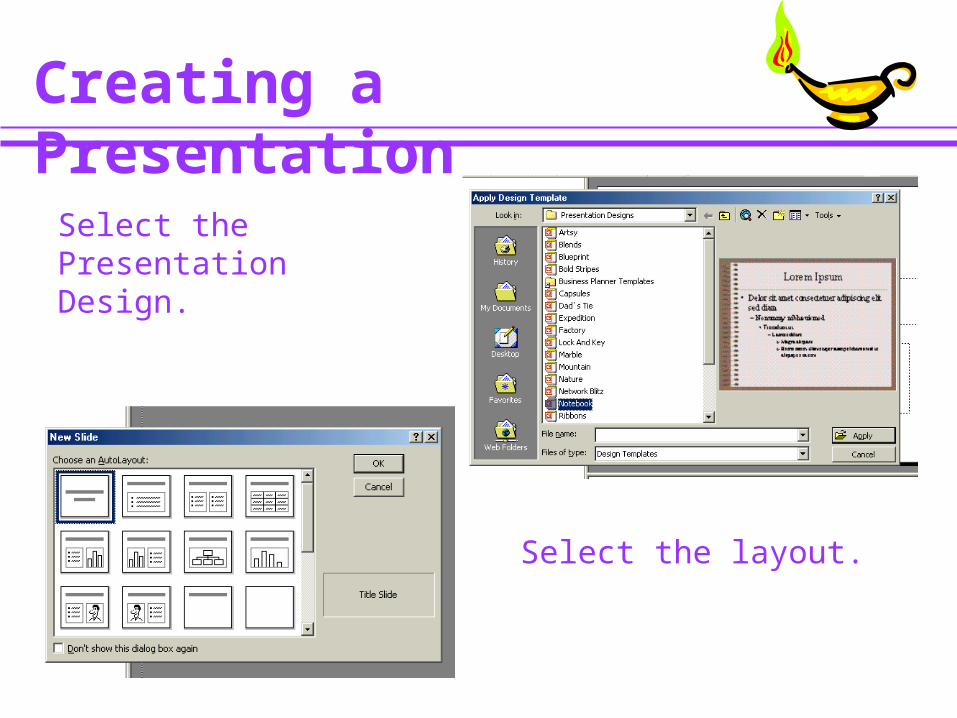
Creating a Presentation
Select the Presentation Design.
Select the layout.
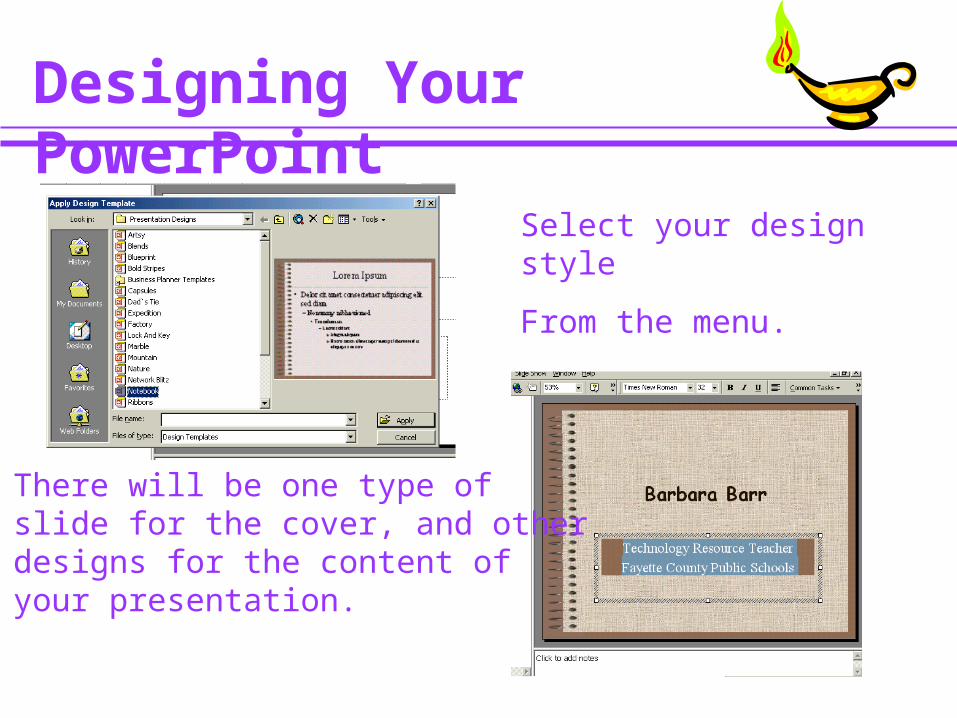
Designing Your PowerPoint
Select your design style
From the menu.
There will be one type ofslide for the cover, and otherdesigns for the content ofyour presentation.
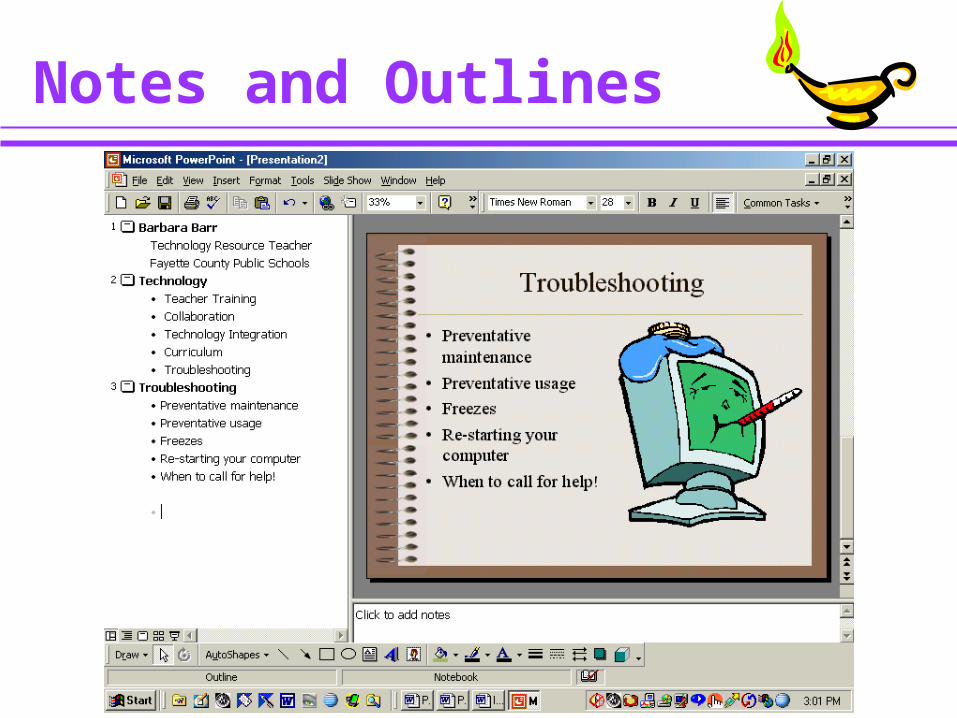
Notes and Outlines
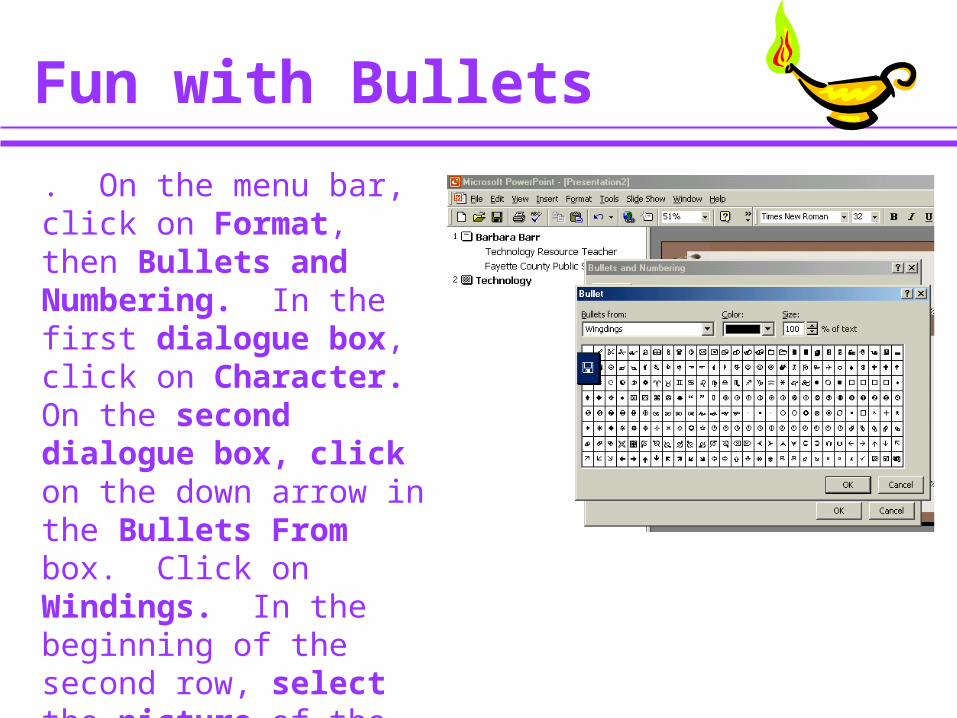
Fun with Bullets
. On the menu bar, click on Format, then Bullets and Numbering. In the first dialogue box, click on Character. On the second dialogue box, click on the down arrow in the Bullets From box. Click on Windings. In the beginning of the second row, select the picture of the floppy disk and click. Then click on OK.
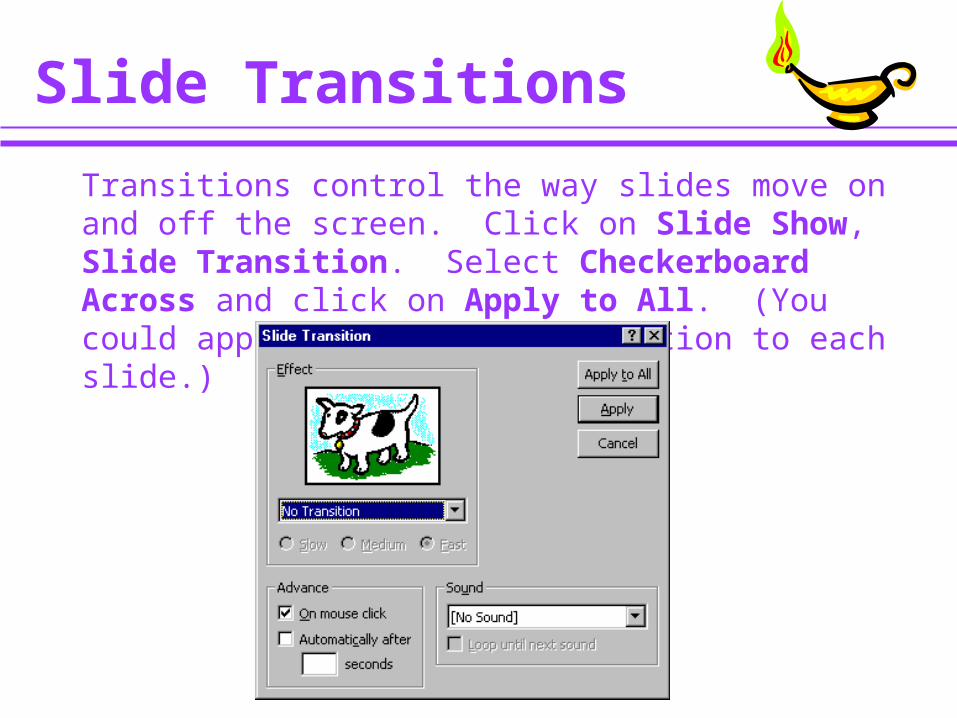
Slide Transitions
Transitions control the way slides move on and off the screen. Click on Slide Show, Slide Transition. Select Checkerboard Across and click on Apply to All. (You could apply a different transition to each slide.)
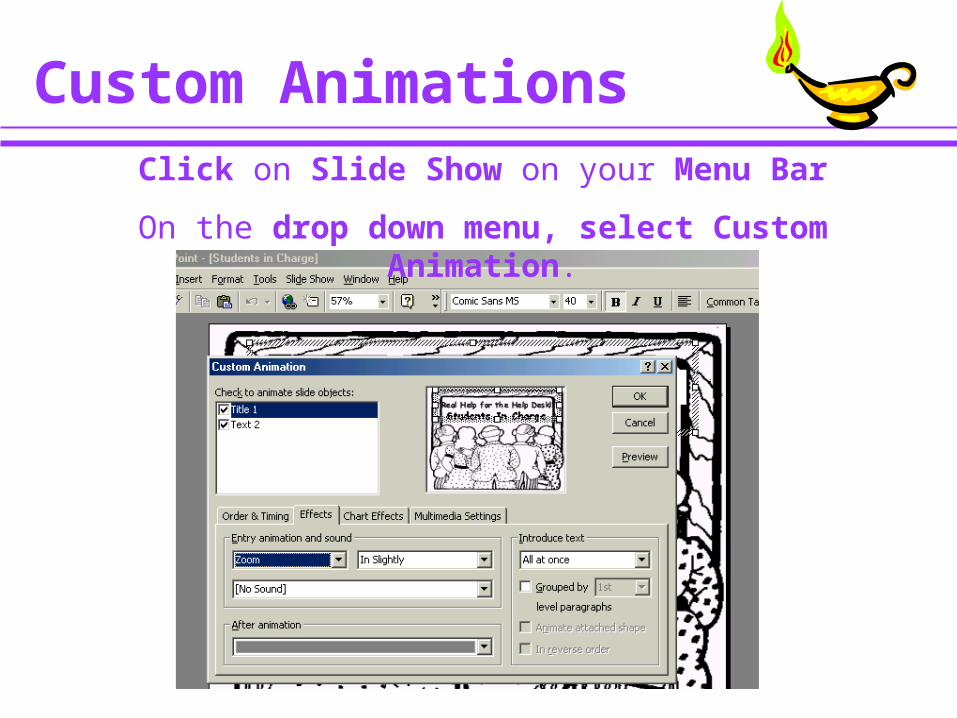
Custom AnimationsClick on Slide Show on your Menu Bar
On the drop down menu, select Custom Animation.
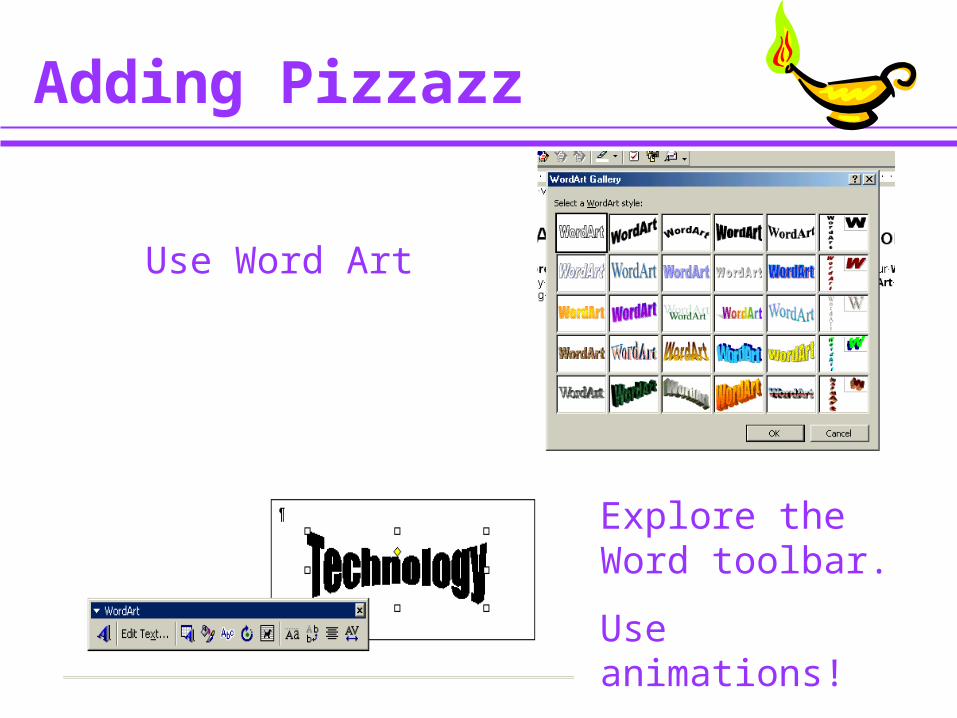
Adding Pizzazz
Use Word Art
Explore the Word toolbar.
Use animations!

Animated GIFS

Jeopardy
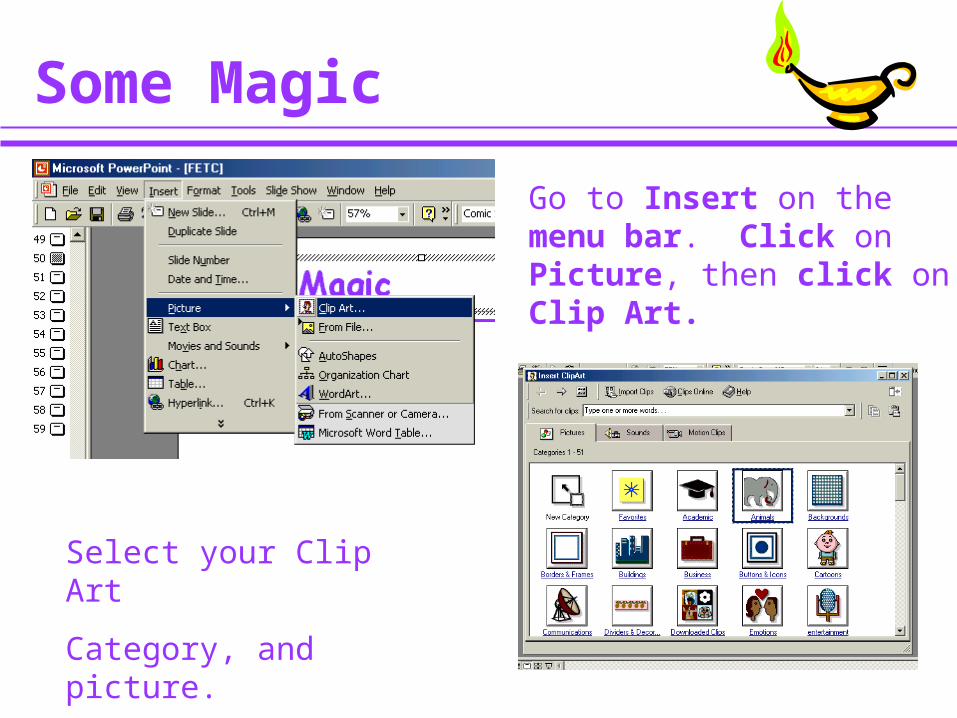
Some Magic
Go to Insert on themenu bar. Click on Picture, then click onClip Art.
Select your Clip Art
Category, and picture.
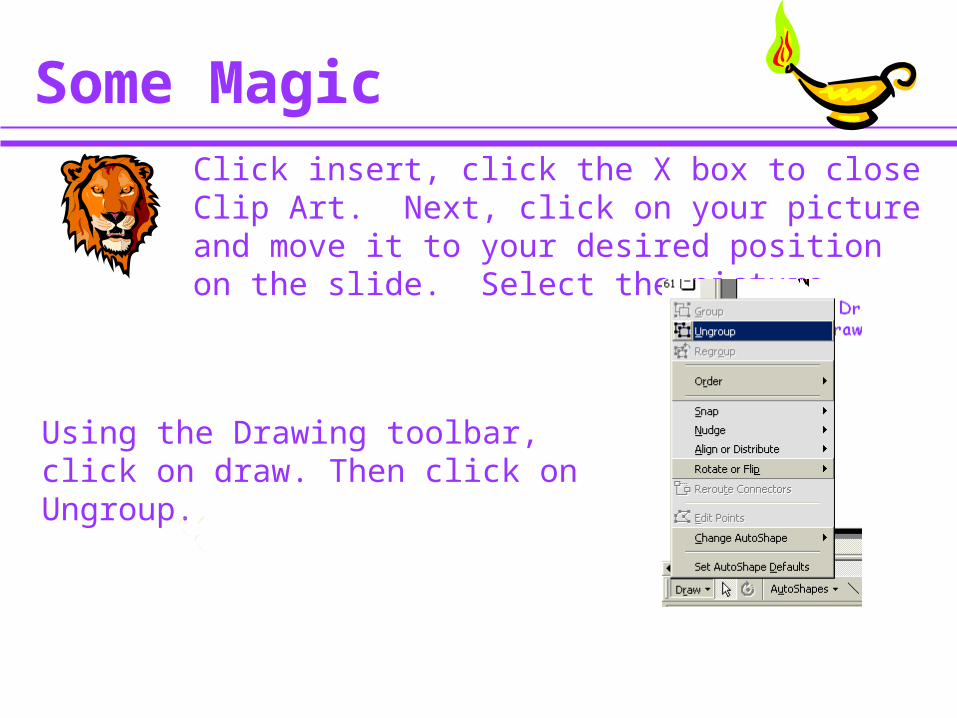
Some MagicClick insert, click the X box to close Clip Art. Next, click on your picture and move it to your desired position on the slide. Select the picture.
Using the Drawing toolbar, click on draw. Then click on Ungroup.
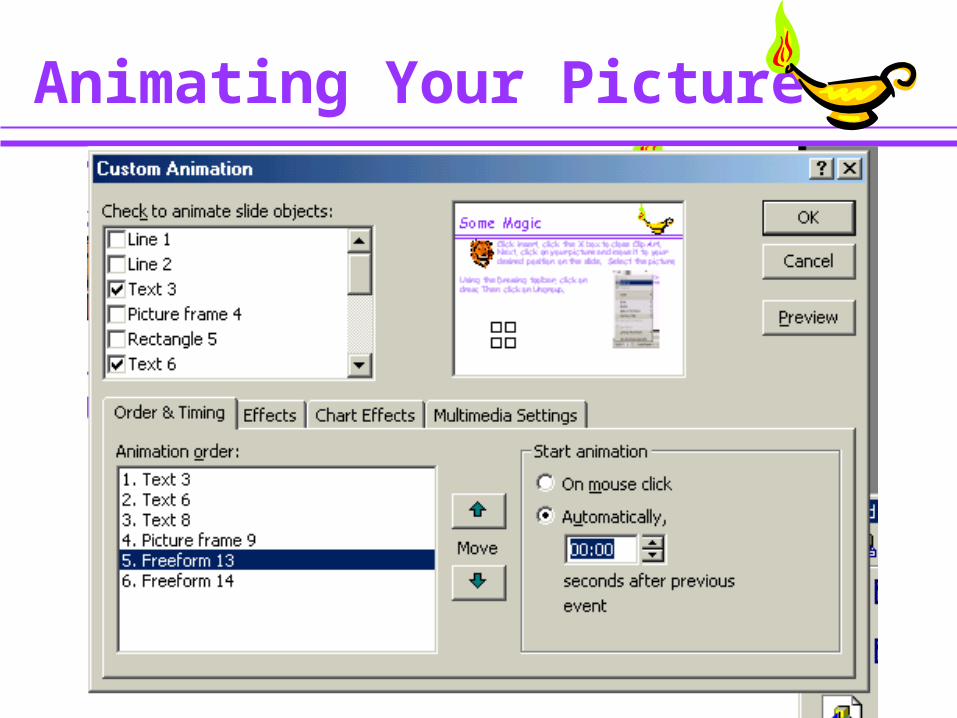
Animating Your Picture
Magical Power Point

Fabulous Front Page
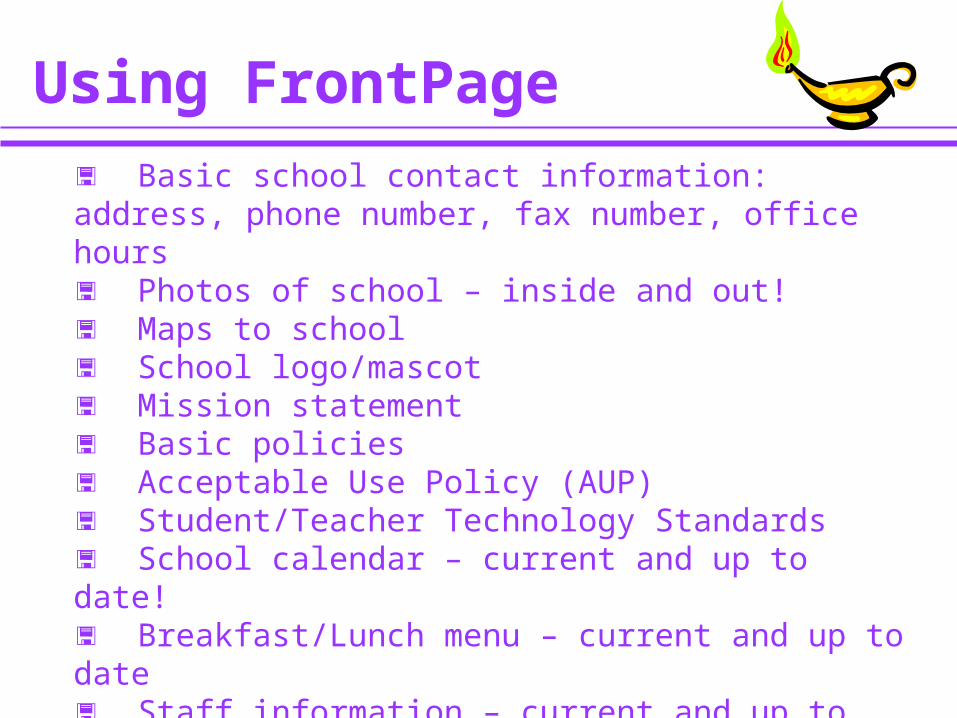
Using FrontPage Basic school contact information: address, phone number, fax number, office hours Photos of school – inside and out! Maps to school School logo/mascot Mission statement Basic policies Acceptable Use Policy (AUP) Student/Teacher Technology Standards School calendar – current and up to date! Breakfast/Lunch menu – current and up to date Staff information – current and up to date Staff e-mail addresses or links
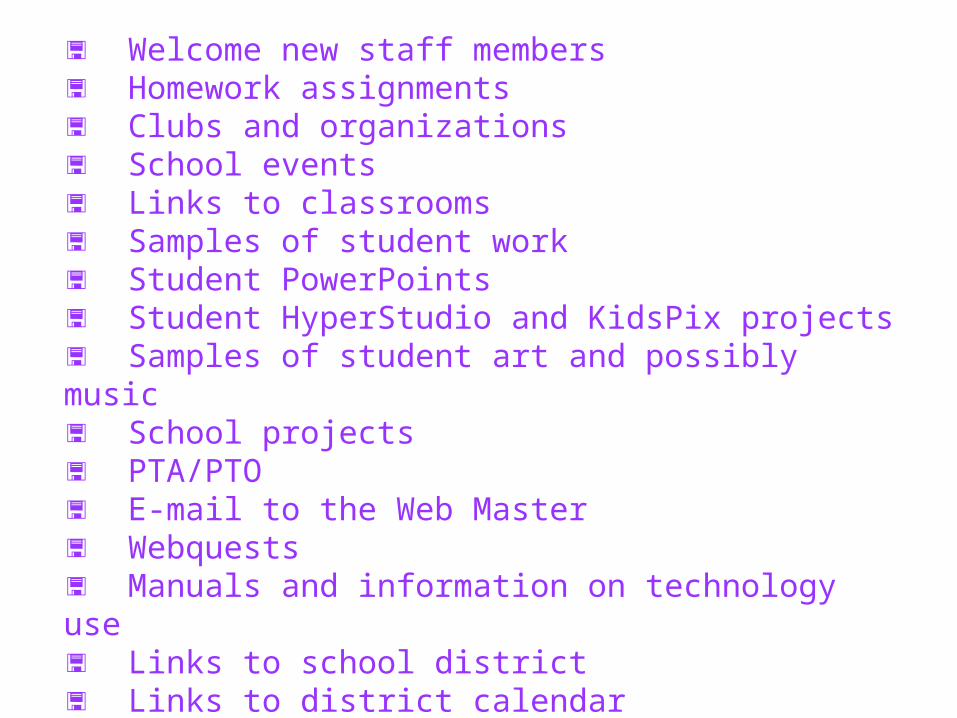
Welcome new staff members Homework assignments Clubs and organizations School events Links to classrooms Samples of student work Student PowerPoints Student HyperStudio and KidsPix projects Samples of student art and possibly music School projects PTA/PTO E-mail to the Web Master Webquests Manuals and information on technology use Links to school district Links to district calendar Links to other sites of interest to the school community.
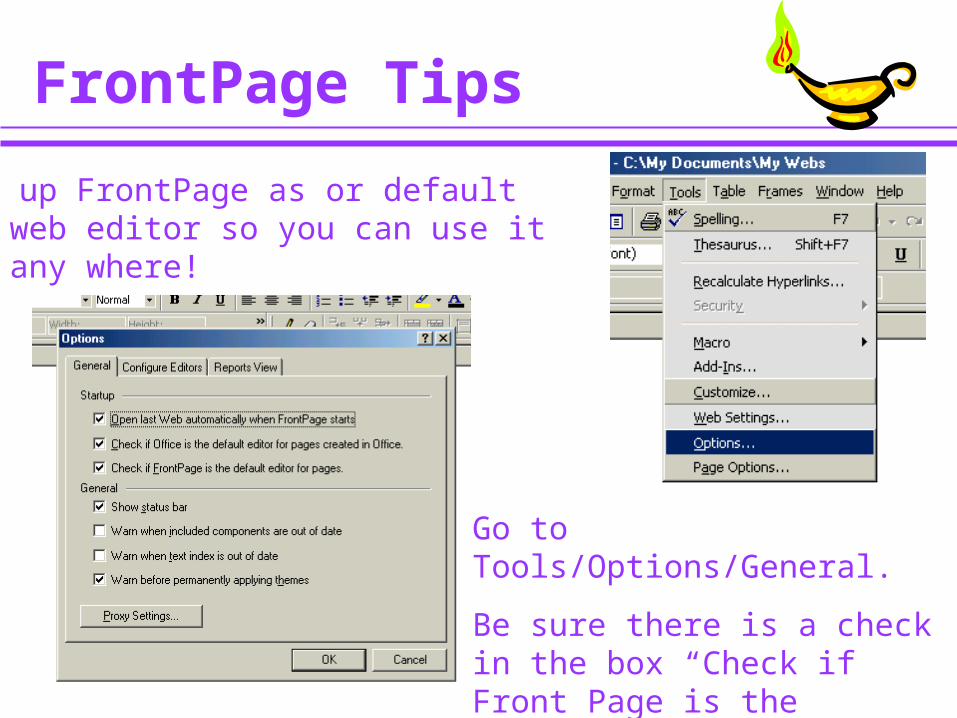
FrontPage Tips
1. Set up FrontPage as or default web editor so you can use it any where!
Go to Tools/Options/General.
Be sure there is a check in the box “Check if Front Page is the default editor for pages”.
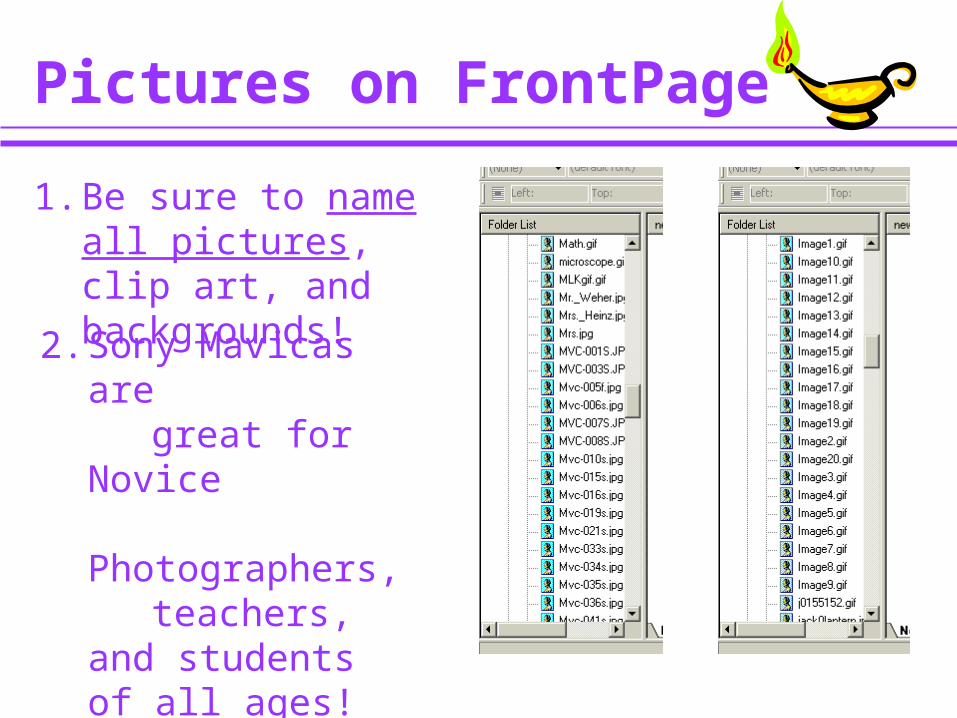
Pictures on FrontPage
1. Be sure to name all pictures, clip art, and backgrounds!2. Sony Mavicas are
great for Novice Photographers, teachers, and
students of all ages!
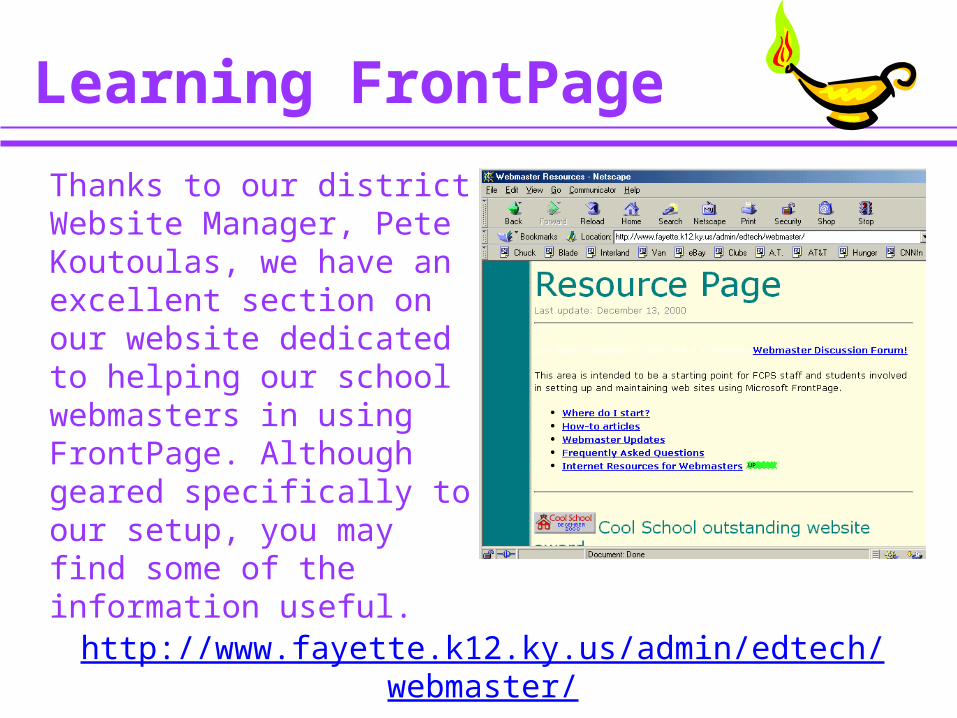
Learning FrontPage
Thanks to our district Website Manager, Pete Koutoulas, we have an excellent section on our website dedicated to helping our school webmasters in using FrontPage. Although geared specifically to our setup, you may find some of the information useful.
http://www.fayette.k12.ky.us/admin/edtech/webmaster/

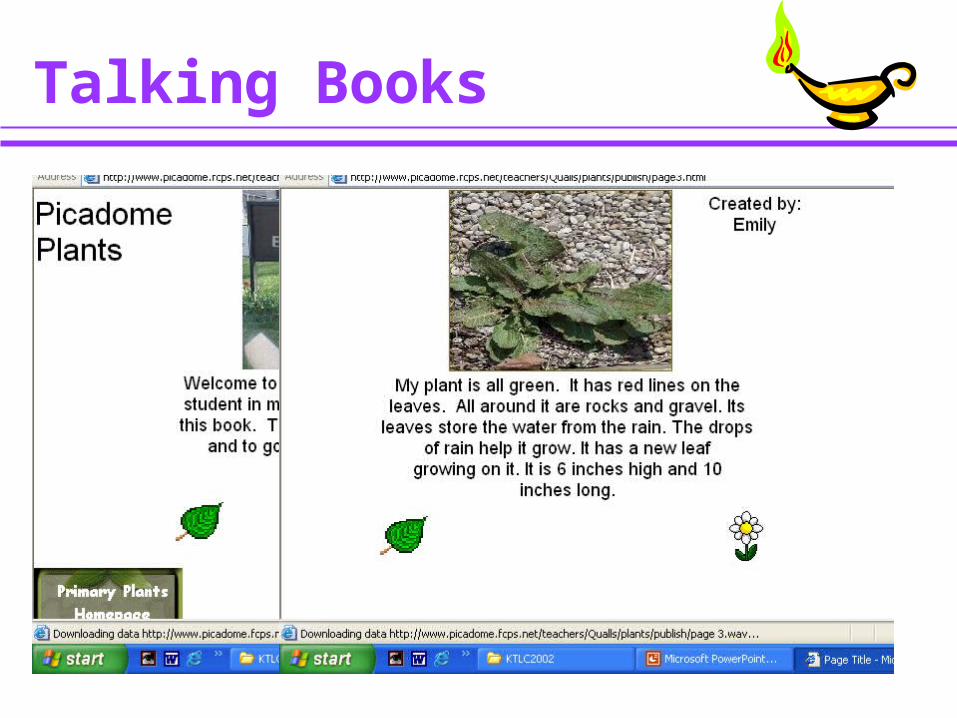
Talking Books
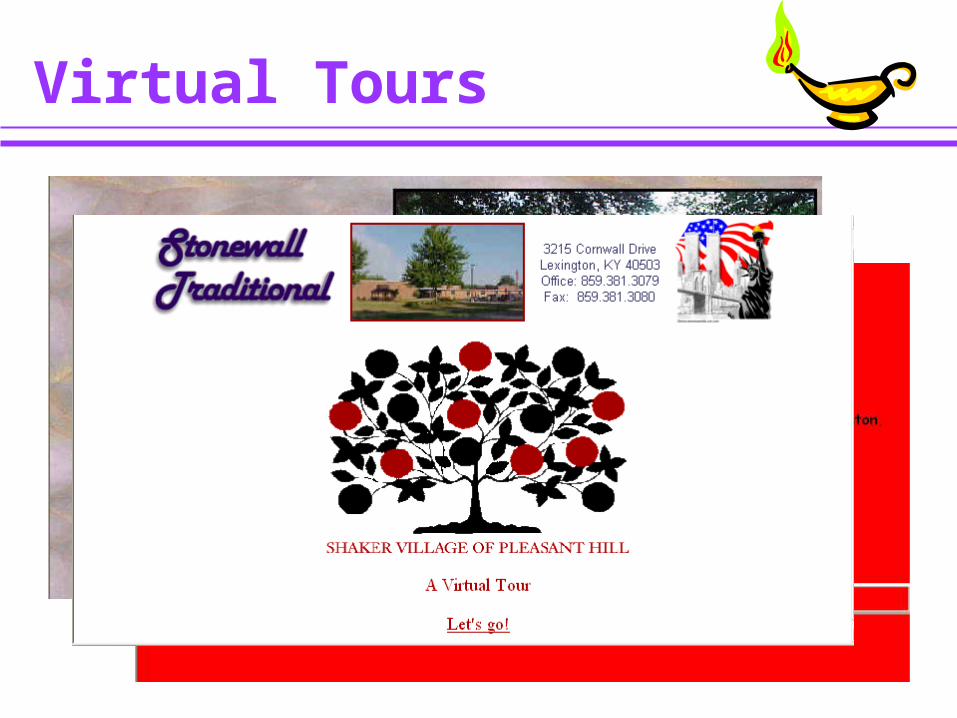
Virtual Tours
http://www.frontpageworld.com
http://www.microsoft.com/FrontPage/
http://msdn.microsoft.com/library/techart/fpothres.htm
http://WebsUnlimited.com
http://dynamicnet.net/support/frontpage.htm
http://www.ycoln-resources.com
http://frontpage.to
http://net-sites.com/sitebuilder/
http://web.nova1.net/webbink/
http://thememart.com
http://www.timeforweb.com/resources.htm
http://www.sitecrafters.com/support
http://themes.kep.net
http://www.strictlybritish.co.uk/
http://www.themepak.com/
http://www3.cybercities.com/n/newbee/
http://www.zdjournals.com/mfp/
http://www.gotowebhosting.com/frontpage
http://timeforweb.com/resources.htm
http://www.dynamite-it.com/accessfp/
http://www.venusdesigns.net/frontpage/
http://www.sitebuilder.ws
http://www.acceleratedcomputers.com