Embed Size (px)
Citation preview
OPC UA Java SDK Client Tutorial
13.4.2017 Page 1/17
Prosys OPC UA Java SDK
Client SDK Tutorial
Hello world!
Welcome to the Prosys OPC UA Java SDK Tutorial for Client software development. With this
quick introduction you should be able to grab the basic ideas behind the Java UA SDK.
Note that this Tutorial assumes that you are already familiar with the basic concepts of the OPC
UA communications, although you can get to the beginning without much prior knowledge.
For a full reference on OPC UA communications, we recommend (Mahnke, Leitner, Damm: OPC
Unified Architecture, Springer-Verlag, 2009, ISBN 978-3-540-68898-3).
OPC UA Java SDK Client Tutorial
13.4.2017 Page 2/17
Contents
1. Installation ..................................................................................................................................................... 4
2. Sample applications ....................................................................................................................................... 4
3. UaClient object .............................................................................................................................................. 4
4. Server connection .......................................................................................................................................... 4
5. Security settings ............................................................................................................................................ 5
5.1 Application Identity ................................................................................................................................. 5
5.1.1 Application Description .................................................................................................................... 5
5.1.2 Application Certificate ...................................................................................................................... 5
5.1.3 Issuer Certificate ............................................................................................................................... 6
5.1.4 Multiple Application Instance Certificates ....................................................................................... 6
5.1.5 HTTPS Certificate .............................................................................................................................. 7
5.1.6 Application Identity .......................................................................................................................... 7
5.2 Security Modes ........................................................................................................................................ 7
5.2.1 SecurityMode for UA Binary ............................................................................................................. 7
5.2.2 HTTPSSecurityPolicy ......................................................................................................................... 8
5.3 User Identity ............................................................................................................................................ 8
5.4 Validating Server Certificates .................................................................................................................. 8
5.5 Teach Yourself the Security Details ......................................................................................................... 9
6. Connect / Disconnect .................................................................................................................................... 9
6.1 Connection Monitoring ......................................................................................................................... 10
6.1.1 ServiceException ............................................................................................................................. 10
6.1.2 Timeout........................................................................................................................................... 10
6.1.3 Server Status monitoring ................................................................................................................ 10
(1) Automatic reconnect ................................................................................................................... 11
7. Browse the address space ........................................................................................................................... 11
7.1 Browsing through the nodes ................................................................................................................. 11
8. Read values .................................................................................................................................................. 12
9. Write values ................................................................................................................................................. 12
10. Subscribe to data changes ......................................................................................................................... 12
11. Subscribe to events ................................................................................................................................... 13
12. History Access ............................................................................................................................................ 15
12.1 Reading history .................................................................................................................................... 15
12.2 Updating or deleting history ................................................................................................................ 15

OPC UA Java SDK Client Tutorial
13.4.2017 Page 3/17
13. Calling methods ......................................................................................................................................... 15
14. Register / Unregister nodes ....................................................................................................................... 16
15. Using Node Objects ................................................................................................................................... 16
15.1 Information modeling and code generation ....................................................................................... 16
15.2 Code generation .................................................................................................................................. 17
15.3 Reading instances on UA client ........................................................................................................... 17
15.4 Complete Instructions ......................................................................................................................... 17
OPC UA Java SDK Client Tutorial
13.4.2017 Page 4/17
1. Installation See the installation instructions in README.txt (and at the download site). There are also notes
about the usage and deployment of external libraries used by the SDK.
2. Sample applications The SDK contains a sample client application, SampleConsoleClient. This tutorial will refer to that
code while explaining the different steps to take in order to accomplish the main tasks of an OPC
UA client.
3. UaClient object The UaClient class is the main class you will be working with. It encapsulates the connection to the
OPC UA server and handles the various details in the actual OPC UA communications, providing
you a simple interface to access from your applications. These are the lines in the
SampleConsoleClient.java that create the UaClient:
protected UaClient client;
...
client = new UaClient(serverUri);
4. Server connection The serverUri argument, in the previous example, defines the server you are connecting to.
Some sample URIs are
URI Server opc.tcp://<hostname>:52520/OPCUA/SampleConsoleServer Prosys OPC UA Java SDK
Sample Console Server https://<hostname>:52443/OPCUA/SampleConsoleServer Prosys OPC UA Java SDK
Sample Console Server opc.tcp://<hostname>:53530/OPCUA/SimulationServer Prosys OPC UA Simulation
Server https://<hostname>:53443/OPCUA/SimulationServer Prosys OPC UA Simulation
Server opc.tcp://<hostname>:48010 Unified Automation Cpp
Demo Server opc.tcp://<hostname>:62541/Quickstarts/DataAccessServer OPC Foundation QuickStart
Data Access Server
where <hostname> is the host name of the computer in which the server is running.1
You need to define the complete URI either in the constructor or with the setUri() method. These
throw a UriSyntaxException if the given URI is not valid. In case you want to validate the URI
before giving it, you can use a UaAddress instance as a constructor parameter or with
setAddress().
The first part of the URI defines the transport protocol to use. ‘opc.tcp’ refers to UA Binary
communication which is usually the preferred protocol. ‘https’ is an alternative protocol defined in
OPC UA 1.02 specification. All applications do not necessarily support HTTPS. Some
1 The servers define a list of endpoints that they are listening to. The actual hostname in the endpoint may differ from
the one that you use for connection.
For Windows hostname resolution, see http://technet.microsoft.com/en-us/library/bb727005.aspx. If you are using the client in Linux, you cannot use NetBIOS computer names to access Windows servers. In general it is best to use TCP/IP DNS names from all clients. Alternatively, you can always use the IP address of the computer.
OPC UA Java SDK Client Tutorial
13.4.2017 Page 5/17
(especially .NET applications) may also support the ‘http’ protocol, which in practice means a
SOAP protocol based transport (whereas ‘https’ means UA Binary over a secure HTTP
connection).
5. Security settings OPC UA applications enable full security, integrated in the communications. In the client, you can
decide, which kind of security settings you want to use in your connections.
5.1 Application Identity In every case, all applications must define an application instance certificate, which is used to
validate that the other application we are communicating with, is the one that we trust. The servers
will only accept connections from clients, which they have granted access to.
All OPC UA applications must also define some characteristics of themselves. This information is
communicated to other applications via the OPC UA protocol, when the applications are connected.
5.1.1 Application Description
The characteristics of the OPCUA applications are defined in the following structure:
ApplicationDescription appDescription = new ApplicationDescription();
// 'localhost' (all lower case) in the ApplicationName and
// ApplicationURI is converted to the actual host name of the computer
// in which the application is run
appDescription.setApplicationName(new LocalizedText(APP_NAME +
"@localhost"));
appDescription.setApplicationUri("urn:localhost:OPCUA:" + APP_NAME);
appDescription.setProductUri("urn:prosysopc.com:OPCUA:" + APP_NAME);
appDescription.setApplicationType(ApplicationType.Client);
ApplicationUri is a unique identifier for each running instance. Therefore, it is usually defined with
‘localhost’, which will be replaced with the actual host name.
ProductUri, on the other hand, is used to identify your product and should therefore be the same
for all instances. It should refer to your own domain, for example, to ensure that it is globally unique.
The URIs must be valid identifiers, i.e. they must begin with a scheme, such as ‘urn:’ and may not
contain any space characters. There are some applications in the market, which use invalid URIs
and may therefore cause some errors or warning with your application.
5.1.2 Application Certificate
You can define the client application certificate using the ApplicationIdentity property of
UaClient. The simplest way to do this is:
final ApplicationIdentity identity = ApplicationIdentity
.loadOrCreateCertificate(appDescription, "Sample Organisation",
/* Private Key Password */”opcua”,
/* Key File Path */new File(validator.getBaseDir(), "private"),
/* Enable renewing the certificate */true);2
Here you see a sample of creating a self-signed certificate using the service of
ApplicationIdentity.loadOrCreateCertificate. On the first run, it creates the certificate and
the private key and stores them on files SampleConsoleClient.der and
SampleConsoleClient.pem, respectively (appDescription.getApplicationName()=APP_NAME
2 If your application does not use security (see 5.2), you may also create the identity without any certificate, using the
default constructor. However, you should always set the ApplicationDescription to the identity.
OPC UA Java SDK Client Tutorial
13.4.2017 Page 6/17
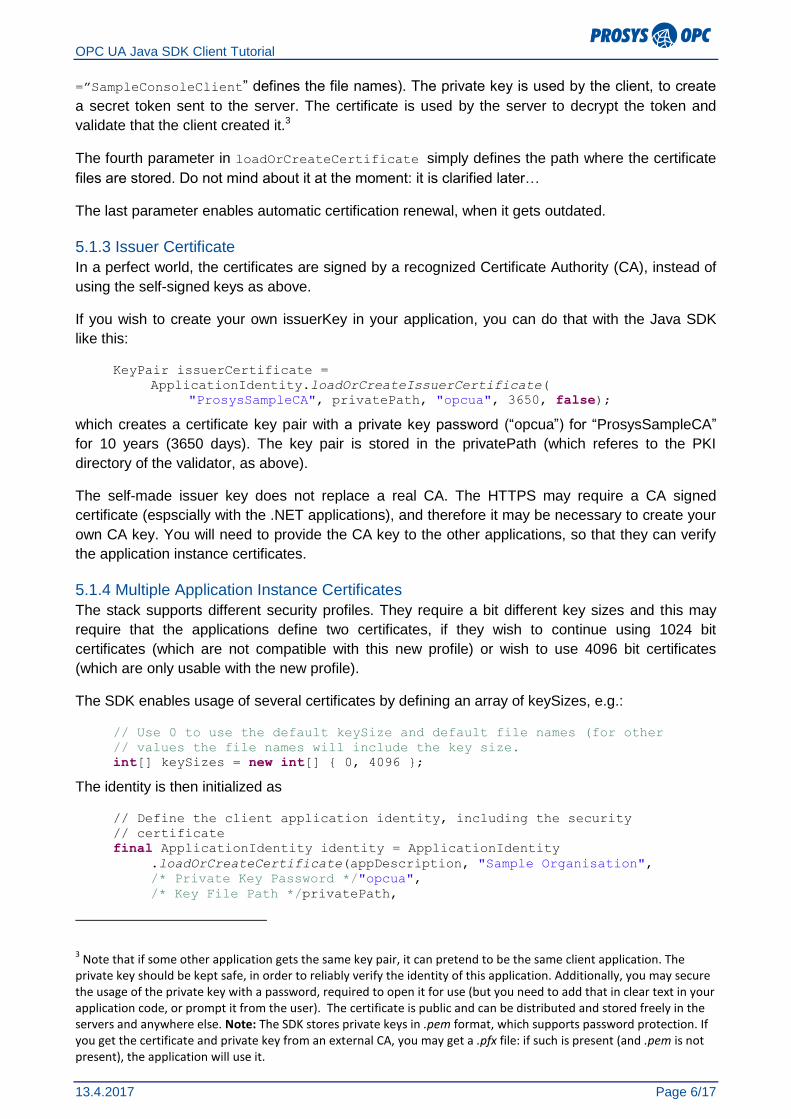
=”SampleConsoleClient” defines the file names). The private key is used by the client, to create
a secret token sent to the server. The certificate is used by the server to decrypt the token and
validate that the client created it.3
The fourth parameter in loadOrCreateCertificate simply defines the path where the certificate
files are stored. Do not mind about it at the moment: it is clarified later…
The last parameter enables automatic certification renewal, when it gets outdated.
5.1.3 Issuer Certificate
In a perfect world, the certificates are signed by a recognized Certificate Authority (CA), instead of
using the self-signed keys as above.
If you wish to create your own issuerKey in your application, you can do that with the Java SDK
like this:
KeyPair issuerCertificate =
ApplicationIdentity.loadOrCreateIssuerCertificate(
"ProsysSampleCA", privatePath, "opcua", 3650, false);
which creates a certificate key pair with a private key password (“opcua”) for “ProsysSampleCA”
for 10 years (3650 days). The key pair is stored in the privatePath (which referes to the PKI
directory of the validator, as above).
The self-made issuer key does not replace a real CA. The HTTPS may require a CA signed
certificate (espscially with the .NET applications), and therefore it may be necessary to create your
own CA key. You will need to provide the CA key to the other applications, so that they can verify
the application instance certificates.
5.1.4 Multiple Application Instance Certificates
The stack supports different security profiles. They require a bit different key sizes and this may
require that the applications define two certificates, if they wish to continue using 1024 bit
certificates (which are not compatible with this new profile) or wish to use 4096 bit certificates
(which are only usable with the new profile).
The SDK enables usage of several certificates by defining an array of keySizes, e.g.:
// Use 0 to use the default keySize and default file names (for other
// values the file names will include the key size.
int[] keySizes = new int[] { 0, 4096 };
The identity is then initialized as
// Define the client application identity, including the security
// certificate
final ApplicationIdentity identity = ApplicationIdentity
.loadOrCreateCertificate(appDescription, "Sample Organisation",
/* Private Key Password */"opcua",
/* Key File Path */privatePath,
3 Note that if some other application gets the same key pair, it can pretend to be the same client application. The
private key should be kept safe, in order to reliably verify the identity of this application. Additionally, you may secure the usage of the private key with a password, required to open it for use (but you need to add that in clear text in your application code, or prompt it from the user). The certificate is public and can be distributed and stored freely in the servers and anywhere else. Note: The SDK stores private keys in .pem format, which supports password protection. If you get the certificate and private key from an external CA, you may get a .pfx file: if such is present (and .pem is not present), the application will use it.
OPC UA Java SDK Client Tutorial
13.4.2017 Page 7/17
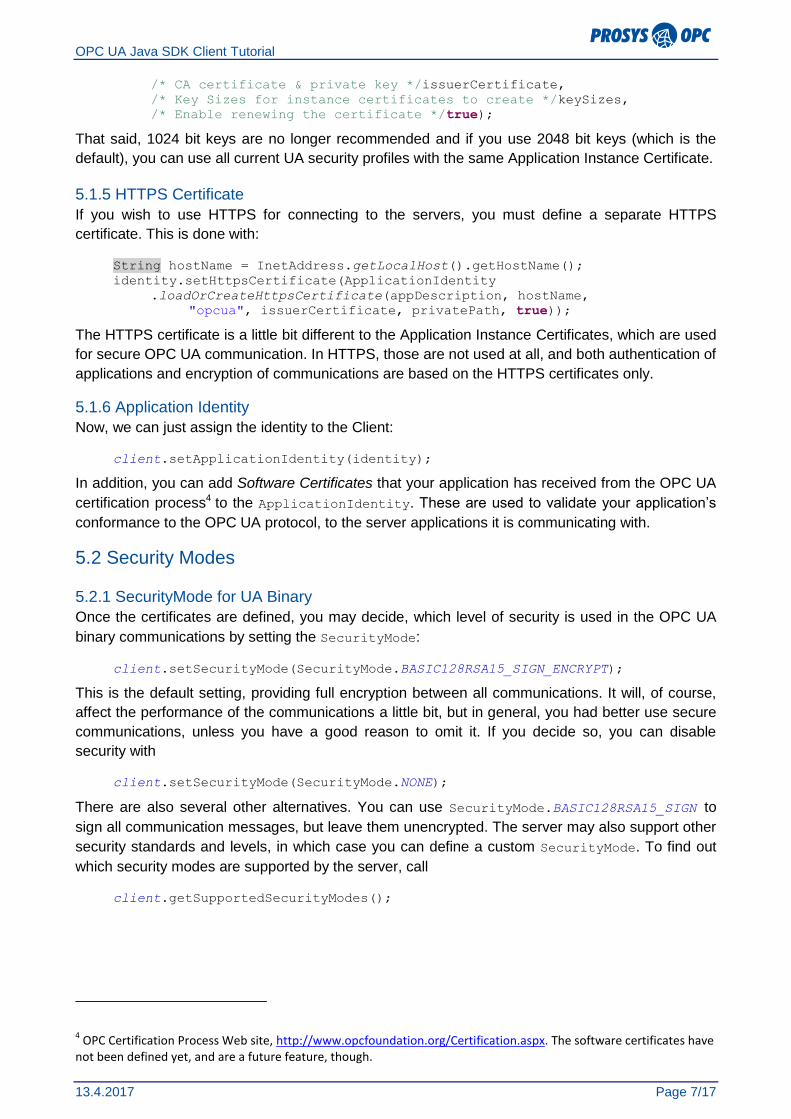
/* CA certificate & private key */issuerCertificate,
/* Key Sizes for instance certificates to create */keySizes,
/* Enable renewing the certificate */true);
That said, 1024 bit keys are no longer recommended and if you use 2048 bit keys (which is the
default), you can use all current UA security profiles with the same Application Instance Certificate.
5.1.5 HTTPS Certificate
If you wish to use HTTPS for connecting to the servers, you must define a separate HTTPS
certificate. This is done with:
String hostName = InetAddress.getLocalHost().getHostName();
identity.setHttpsCertificate(ApplicationIdentity
.loadOrCreateHttpsCertificate(appDescription, hostName,
"opcua", issuerCertificate, privatePath, true));
The HTTPS certificate is a little bit different to the Application Instance Certificates, which are used
for secure OPC UA communication. In HTTPS, those are not used at all, and both authentication of
applications and encryption of communications are based on the HTTPS certificates only.
5.1.6 Application Identity
Now, we can just assign the identity to the Client:
client.setApplicationIdentity(identity);
In addition, you can add Software Certificates that your application has received from the OPC UA
certification process4 to the ApplicationIdentity. These are used to validate your application’s
conformance to the OPC UA protocol, to the server applications it is communicating with.
5.2 Security Modes
5.2.1 SecurityMode for UA Binary
Once the certificates are defined, you may decide, which level of security is used in the OPC UA
binary communications by setting the SecurityMode:
client.setSecurityMode(SecurityMode.BASIC128RSA15_SIGN_ENCRYPT);
This is the default setting, providing full encryption between all communications. It will, of course,
affect the performance of the communications a little bit, but in general, you had better use secure
communications, unless you have a good reason to omit it. If you decide so, you can disable
security with
client.setSecurityMode(SecurityMode.NONE);
There are also several other alternatives. You can use SecurityMode.BASIC128RSA15_SIGN to
sign all communication messages, but leave them unencrypted. The server may also support other
security standards and levels, in which case you can define a custom SecurityMode. To find out
which security modes are supported by the server, call
client.getSupportedSecurityModes();
4 OPC Certification Process Web site, http://www.opcfoundation.org/Certification.aspx. The software certificates have
not been defined yet, and are a future feature, though.
OPC UA Java SDK Client Tutorial
13.4.2017 Page 8/17
5.2.2 HTTPSSecurityPolicy
If you use the HTTPS protocol for server communication the UaClient will negotiate a usable TLS
security policy with the server application. You can define which policies your application supports
with
client.getHttpsSettings().setHttpsSecurityPolicies(HttpsSecurityPolicies.AL
L);
The default policies (included in ALL) are TLS 1.0 and TLS 1.1 (there is a problem with the current
JRE 7 & 8, which makes TLS 1.2 not to work with the Java stack).
The CertificateValidator and HttpsHostnameVerifier provide an option to verify the server certificate.
The latter is just defining if a standard validation is done against the host name of the server. By
default, no checking is made, but you can define stricter rules with, for example these
client.getHttpsSettings().setHttpsCertificateValidator(yourValidator);
client.getHttpsSettings().setHttpsHostnameVerifier(org.apache.http.conn.ssl
.SSLSocketFactory.STRICT_HOSTNAME_VERIFIER);
NOTE: If you use HTTPS, UA security is not used, which means that SecurityMode.NONE is
always used for the SecurityMode.
5.3 User Identity In addition to verifying the identity of the applications, OPC UA also enables verification of user
identities. In UaClient, you can define the identity of the user with – surprise – UserIdentity! The
SampleConsoleClient does not do that by default, as it depends on each server, what kind of user
identities it supports. Anyway, you can define a user identity, for example to use a standard user
name & password combination as:
client.setUserIdentity(new UserIdentity("my_name", "my_password"));
Another alternative is to use a certificate and private key, similar to the application instance identity,
or a WS-SecurityToken provided by an external security system (e.g. SAML or Kerberos). To find
out which user token types are supported by the server, call
client.getSupportedUserIdentityTokens();
5.4 Validating Server Certificates An integral part of all OPC UA applications, in addition to defining their own security information, is
of course, to validate the security information of the other party.
To validate the certificate of the OPC UA servers, you can define a CertificateValidator in
UaClient. This validator, if assigned, is automatically used to validate the certificates received from
the server.
Now, to provide a standard certificate validation mechanism that can be used to define certain
certificates as trusted, the SDK contains a specific implementation of the CertificateValidator,
the PkiFileBasedCertificateValidator. You can create the validator as follows:
final PkiFileBasedCertificateValidator validator = new
PkiFileBasedCertificateValidator();
client.setCertificateValidator(validator);
This validator stores the received certificates in a file directory structure, such as
PKI\
CA\
certs\
OPC UA Java SDK Client Tutorial
13.4.2017 Page 9/17
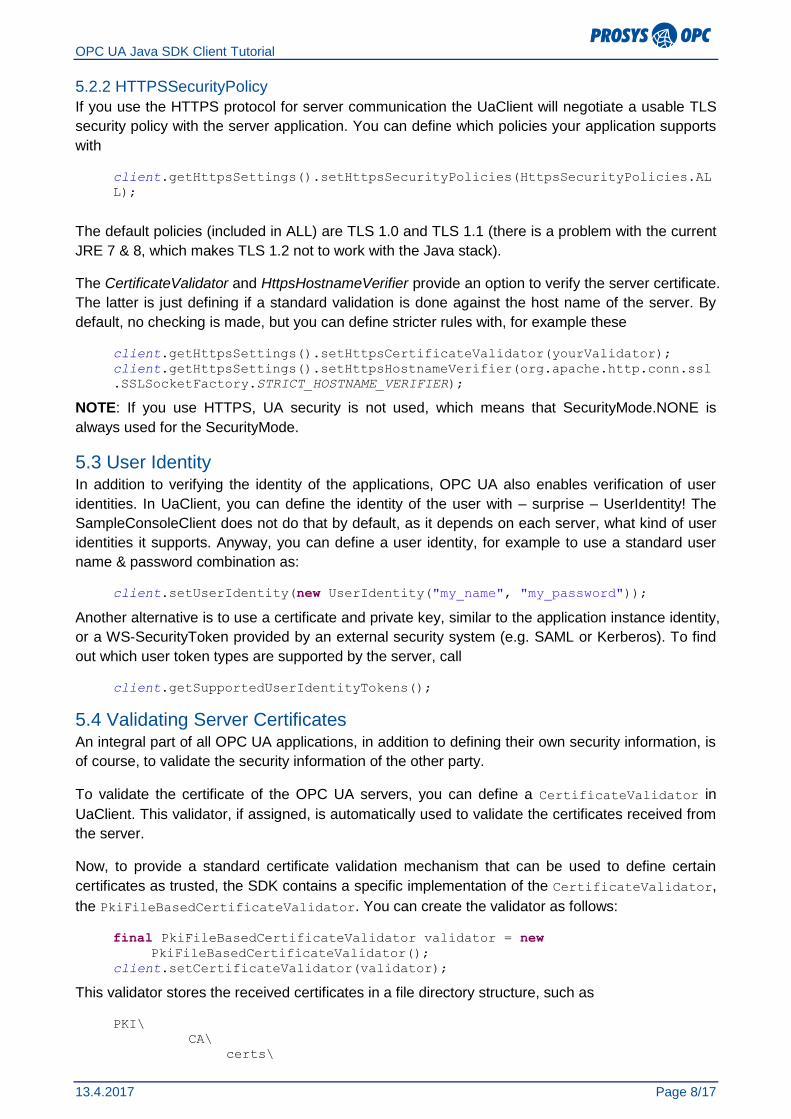
rejected\
The trusted certificates are stored in the “certs”-directory and the untrusted in “rejected”. By default,
the certificates are not trusted so they are stored in “rejected”. You can then manually move the
trusted certificates to the “certs” directory.
Additionally, you can plug a custom handler to the Validator by defining the ValidationListener:
validator.setValidationListener(validationListener);
private static CertificateValidationListener validationListener = new
CertificateValidationListener() {
@Override
public ValidationResult onValidate(Cert certificate,
ApplicationDescription applicationDescription,
EnumSet<CertificateCheck> passedChecks) {
// Called whenever the PkiFileBasedCertificateValidator has
// validated a certificate
[...]
}
The SampleConsoleClient uses this method to prompt the user whether to accept the server
certificate when connecting for the first time. The user can accept the certificate permanently, just
once or reject it. In the first case the certificate is placed in the “certs” directory automatically, and
in the latter cases it is placed in the “rejected” directory. In the last case, connection to the server is
cancelled, due to the certificate problem.
You are of course free to use the listener to define any custom logic, but in principle, you should
only trust certificates for which passedChecks equals CertificateCheck.COMPULSORY. Normally
you can trust self-signed certificates, so that check is not included in the COMPULSORY definition.
Most OPC UA certificates will probably be self-signed, because they are easy to generate
automatically. A proper Certificate Authority should be preferred in real systems to enable a
properly managed system for certificate management.
5.5 Teach Yourself the Security Details OPC UA uses security heavily to guarantee that the applications can be safely used in real
production environments. The security only works when configured properly, so you should make
yourself familiar with the concepts and learn to configure these systems.
Read the OPC UA book for more details on the OPC UA security settings and how they should be
applied. The security technology follows standard PKI (Public Key Infrastructure) principles, so all
material related to that can also be used to understand the basics.
Also try different settings in different environments so that you know more than guess.
6. Connect / Disconnect Once you have managed to get over the first, compulsory hurdles of defining where and how to
connect, you can simply connect to the server with
client.connect();
If that fails, you will get an exception. If the actual connection cannot be made, you will get a
ServerConnectionException. If you get a connection, but something goes wrong in the server,
the UaClient typically throws a ServiceException. You may also see a ServiceFaultException,
OPC UA Java SDK Client Tutorial
13.4.2017 Page 10/17
ServiceResultException or some other runtime exception, which are thrown from the actual UA
stack5.
Once you have the connection, you can start playing with the server. In the SampleConsoleClient
you are taken to a menu where you can pick up the tasks you want to try to.
Once you are through, you can simply
client.disconnect();
6.1 Connection Monitoring Each service call that you make to the server can fail, for example, if the connection is lost due to
network problems or the server is simply shutdown.
6.1.1 ServiceException
The service calls (described in the following sections) raise ServiceException in case of
communication or other service errors.
6.1.2 Timeout
The Java stack handles temporary communication errors by retrying to establish a lost connection
in certain cases. It also takes care of timeout handling, i.e. the synchronous service calls are
monitored for a response until the timeout delay occurs without a response. You can define the
default timeout (ms) to use in the UaClient:
client.setTimeout(30000);
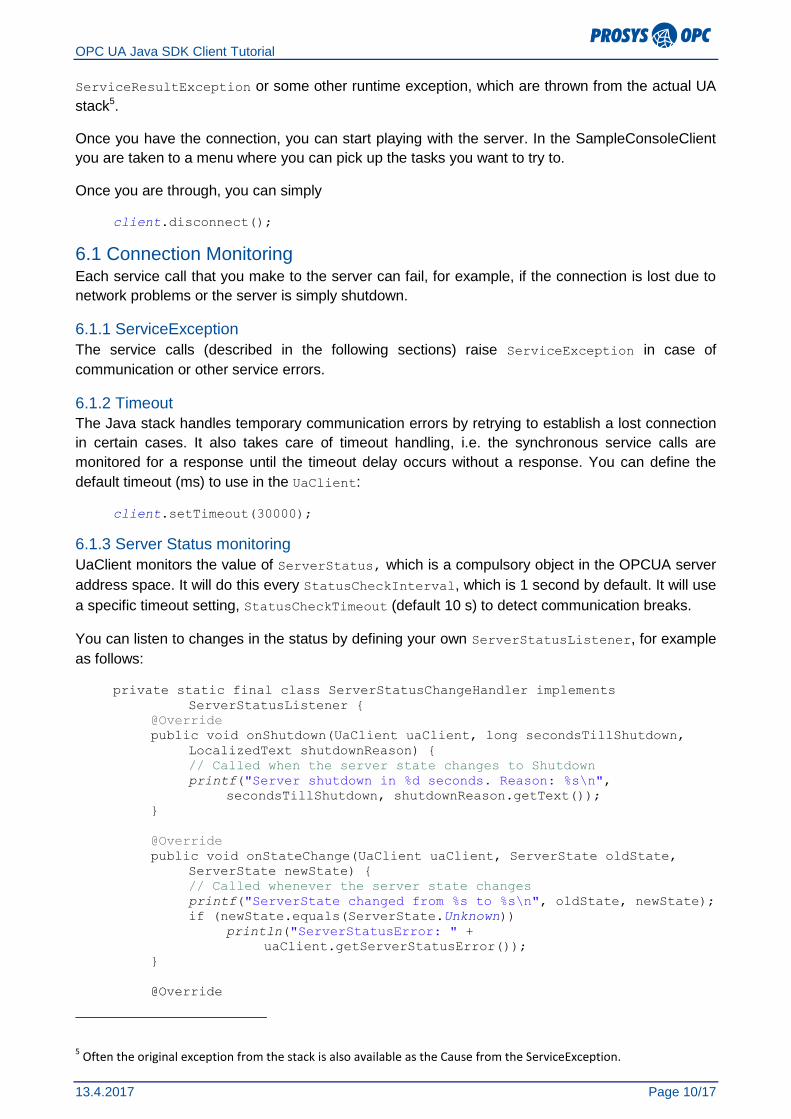
6.1.3 Server Status monitoring
UaClient monitors the value of ServerStatus, which is a compulsory object in the OPCUA server
address space. It will do this every StatusCheckInterval, which is 1 second by default. It will use
a specific timeout setting, StatusCheckTimeout (default 10 s) to detect communication breaks.
You can listen to changes in the status by defining your own ServerStatusListener, for example
as follows:
private static final class ServerStatusChangeHandler implements
ServerStatusListener {
@Override
public void onShutdown(UaClient uaClient, long secondsTillShutdown,
LocalizedText shutdownReason) {
// Called when the server state changes to Shutdown
printf("Server shutdown in %d seconds. Reason: %s\n",
secondsTillShutdown, shutdownReason.getText());
}
@Override
public void onStateChange(UaClient uaClient, ServerState oldState,
ServerState newState) {
// Called whenever the server state changes
printf("ServerState changed from %s to %s\n", oldState, newState);
if (newState.equals(ServerState.Unknown))
println("ServerStatusError: " +
uaClient.getServerStatusError());
}
@Override
5 Often the original exception from the stack is also available as the Cause from the ServiceException.
OPC UA Java SDK Client Tutorial
13.4.2017 Page 11/17
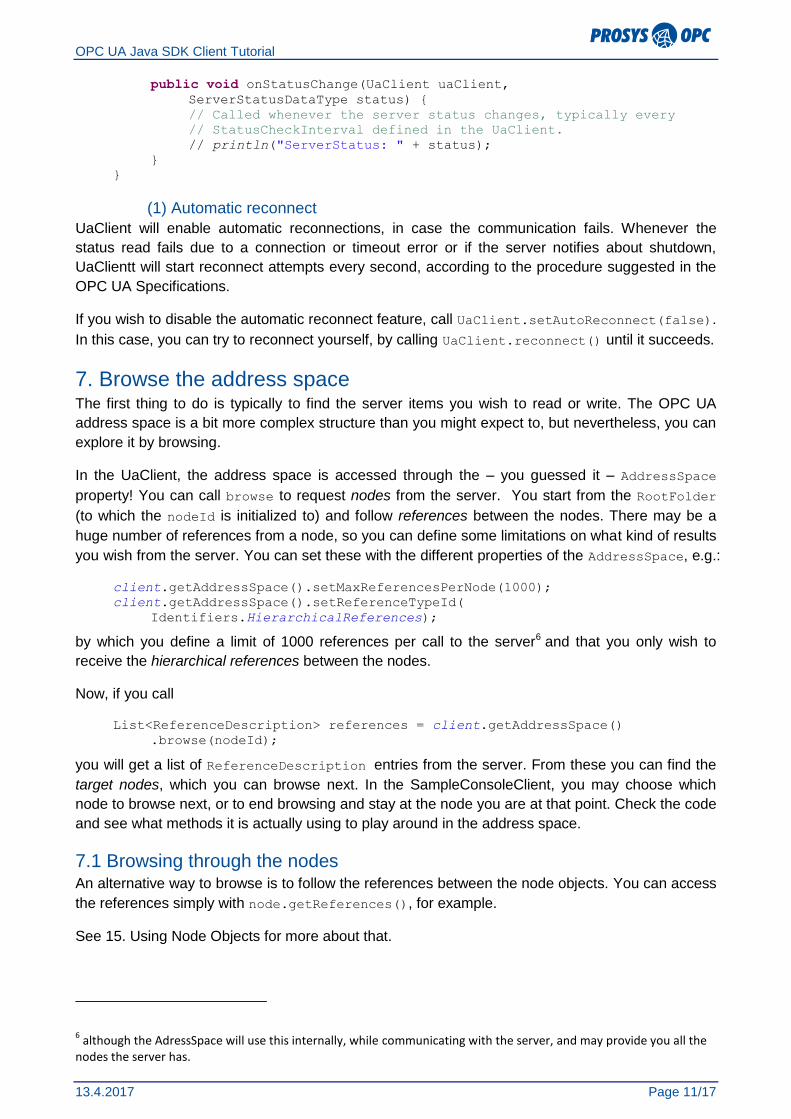
public void onStatusChange(UaClient uaClient,
ServerStatusDataType status) {
// Called whenever the server status changes, typically every
// StatusCheckInterval defined in the UaClient.
// println("ServerStatus: " + status);
}
}
(1) Automatic reconnect
UaClient will enable automatic reconnections, in case the communication fails. Whenever the
status read fails due to a connection or timeout error or if the server notifies about shutdown,
UaClientt will start reconnect attempts every second, according to the procedure suggested in the
OPC UA Specifications.
If you wish to disable the automatic reconnect feature, call UaClient.setAutoReconnect(false).
In this case, you can try to reconnect yourself, by calling UaClient.reconnect() until it succeeds.
7. Browse the address space The first thing to do is typically to find the server items you wish to read or write. The OPC UA
address space is a bit more complex structure than you might expect to, but nevertheless, you can
explore it by browsing.
In the UaClient, the address space is accessed through the – you guessed it – AddressSpace
property! You can call browse to request nodes from the server. You start from the RootFolder
(to which the nodeId is initialized to) and follow references between the nodes. There may be a
huge number of references from a node, so you can define some limitations on what kind of results
you wish from the server. You can set these with the different properties of the AddressSpace, e.g.:
client.getAddressSpace().setMaxReferencesPerNode(1000);
client.getAddressSpace().setReferenceTypeId(
Identifiers.HierarchicalReferences);
by which you define a limit of 1000 references per call to the server6 and that you only wish to
receive the hierarchical references between the nodes.
Now, if you call
List<ReferenceDescription> references = client.getAddressSpace()
.browse(nodeId);
you will get a list of ReferenceDescription entries from the server. From these you can find the
target nodes, which you can browse next. In the SampleConsoleClient, you may choose which
node to browse next, or to end browsing and stay at the node you are at that point. Check the code
and see what methods it is actually using to play around in the address space.
7.1 Browsing through the nodes An alternative way to browse is to follow the references between the node objects. You can access
the references simply with node.getReferences(), for example.
See 15. Using Node Objects for more about that.
6 although the AdressSpace will use this internally, while communicating with the server, and may provide you all the
nodes the server has.
OPC UA Java SDK Client Tutorial
13.4.2017 Page 12/17
8. Read values Once you have a node selected, you can read the attributes of the node. There are actually several
alternative read-calls that you can make in the UaClient. In SampleConsoleClient we use the basic
DataValue value = client.readAttribute(nodeId, attributeId);
which reads the value of a single attribute from the server. The attribute to read is defined by the
attributeId. Valid IDs are defined in the Attributes class. Note that different node types (or
NodeClasses according to the UA terminology) support different attributes. For example, the
Attributes .Value attribute is only supported by the Variable and VariableType nodes.
In general, you should avoid calling the read methods for individual items. If you need to read
several items at the same time, you should consider using client.read(). It is a bit more
complicated to use, but it will only make a single call to the server to read any number of attributes.
Or if you really want to monitor variables that are changing in the server, you had better use the
subscriptions, as described below.
9. Write values Similar to reading, you can also write values to the server. For example:
boolean status = client.writeAttribute(nodeId, attributeId, value);
As a response, you get a succeed status – false indicates that the server will complete the write
operation asynchronously, instead of writing the value immediately (to the device).
If the operation fails, you will get an exception. For service call errors, such that the server could
not handle the service request at all, you can expect ServiceExceptions. For an individual
operation that fails, you will get a StatusException. An example of the latter one is a failing write
operation, when you try to change a value whose access rights do not permit the change.
If you perform several operations at a single call, you can only expect a ServiceException. For
each operation you will get a StatusCode, which indicate which individual operations succeeded
and which failed. Use StatusCode.isBad() and .isGood() to check whether the operation failed
or not. The StatusCode provides a complete code, which you can check against known errors in
StatusCodes. In case of failure, you may also get additional information in a DiagnosticInfo
structure. These fields are present in the exceptions. You can also examine the result codes of the
last service call from client.getLastServiceDiagnostics() and
getLastOperationDiagnostics().
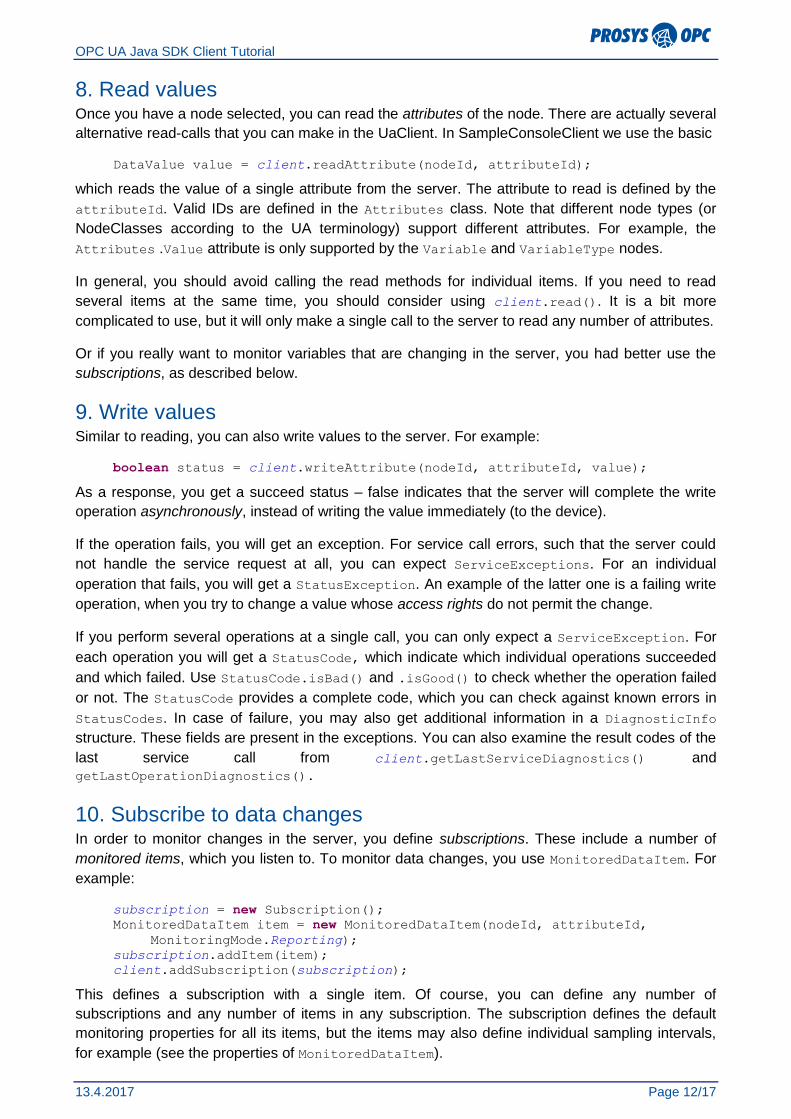
10. Subscribe to data changes In order to monitor changes in the server, you define subscriptions. These include a number of
monitored items, which you listen to. To monitor data changes, you use MonitoredDataItem. For
example:
subscription = new Subscription();
MonitoredDataItem item = new MonitoredDataItem(nodeId, attributeId,
MonitoringMode.Reporting);
subscription.addItem(item);
client.addSubscription(subscription);
This defines a subscription with a single item. Of course, you can define any number of
subscriptions and any number of items in any subscription. The subscription defines the default
monitoring properties for all its items, but the items may also define individual sampling intervals,
for example (see the properties of MonitoredDataItem).
OPC UA Java SDK Client Tutorial
13.4.2017 Page 13/17
In the client, you can then just listen to the change notifications, which the server is instructed to
send when the item values change according to the subscription properties:
item.setDataChangeListener(dataChangeListener);
The listener is defined as follows:
private static MonitoredDataItemListener dataChangeListener =
new MonitoredDataItemListener() {
@Override
public void onDataChange(MonitoredDataItem sender,
DataValue prevValue, DataValue value) {
MonitoredItem i = sender;
println(dataValueToString(i.getNodeId(),
i.getAttributeId(), value));
}
};
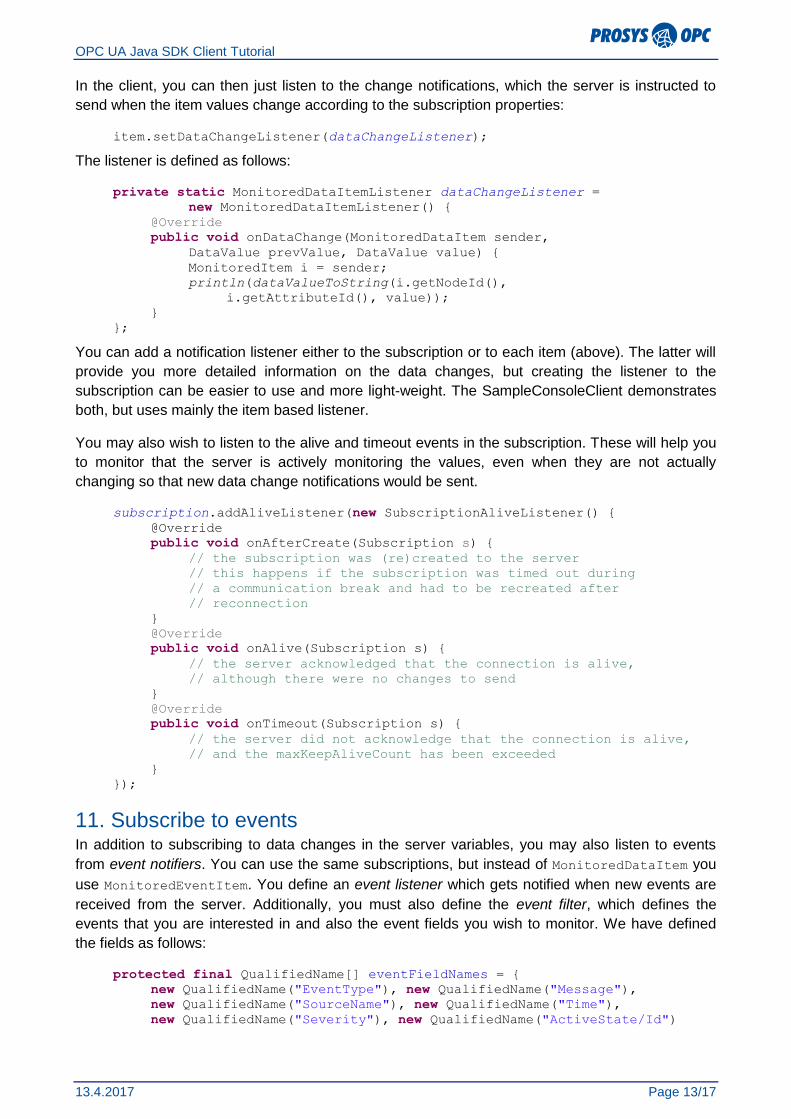
You can add a notification listener either to the subscription or to each item (above). The latter will
provide you more detailed information on the data changes, but creating the listener to the
subscription can be easier to use and more light-weight. The SampleConsoleClient demonstrates
both, but uses mainly the item based listener.
You may also wish to listen to the alive and timeout events in the subscription. These will help you
to monitor that the server is actively monitoring the values, even when they are not actually
changing so that new data change notifications would be sent.
subscription.addAliveListener(new SubscriptionAliveListener() {
@Override
public void onAfterCreate(Subscription s) {
// the subscription was (re)created to the server
// this happens if the subscription was timed out during
// a communication break and had to be recreated after
// reconnection
}
@Override
public void onAlive(Subscription s) {
// the server acknowledged that the connection is alive,
// although there were no changes to send
}
@Override
public void onTimeout(Subscription s) {
// the server did not acknowledge that the connection is alive,
// and the maxKeepAliveCount has been exceeded
}
});
11. Subscribe to events In addition to subscribing to data changes in the server variables, you may also listen to events
from event notifiers. You can use the same subscriptions, but instead of MonitoredDataItem you
use MonitoredEventItem. You define an event listener which gets notified when new events are
received from the server. Additionally, you must also define the event filter, which defines the
events that you are interested in and also the event fields you wish to monitor. We have defined
the fields as follows:
protected final QualifiedName[] eventFieldNames = {
new QualifiedName("EventType"), new QualifiedName("Message"),
new QualifiedName("SourceName"), new QualifiedName("Time"),
new QualifiedName("Severity"), new QualifiedName("ActiveState/Id")
OPC UA Java SDK Client Tutorial
13.4.2017 Page 14/17
};7
So we can define the selectClause of the filter respectively:
NodeId eventTypeId = Identifiers.BaseEventType;
UnsignedInteger eventAttributeId = Attributes.Value;
String indexRange = null;
SimpleAttributeOperand[] selectClauses =
new SimpleAttributeOperand[eventFields.length + 1];
for (int i = 0; i < eventFields.length; i++) {
QualifiedName[] browsePath = createBrowsePath(eventFields[i]);
selectClauses[i] = new SimpleAttributeOperand(eventTypeId,
browsePath, eventAttributeId, indexRange);
}
// Add a field to get the NodeId of the event source
selectClauses[eventFields.length] = new SimpleAttributeOperand(
eventTypeId, null, Attributes.NodeId, null);
EventFilter filter = new EventFilter();
// Event field selection
filter.setSelectClauses(selectClauses);
And next we filter the events we want, using the whereClause:
// Event filtering: the following sample creates a
// "Not OfType GeneralModelChangeEventType" filter
ContentFilterBuilder fb = new ContentFilterBuilder();
// The element operand refers to another operand -
// operand #1 in this case which is the next,
// LiteralOperand
fb.add(FilterOperator.Not, new ElementOperand(
UnsignedInteger.valueOf(1)));
final LiteralOperand filteredType = new LiteralOperand(
new Variant(Identifiers.GeneralModelChangeEventType));
fb.add(FilterOperator.OfType, filteredType);
filter.setWhereClause(fb.getContentFilter());
This one just filters out possible ModelChangeEvents. There are various operators that you can
use. Most of them require two arguments, e.g. ’fb.add(FilterOperator.Equals, operand1,
operand2)’.
And finally we are ready to create the event item, using the noedId and filter:
MonitoredEventItem eventItem = new MonitoredEventItem(nodeId, filter);
eventItem.addEventListener(eventListener);
subscription.addItem(eventItem);
The event listener is defined as follows, and used to react to the event notification:
private static MonitoredEventItemListener eventListener =
new MonitoredEventItemListener() {
@Override
public void onEvent(MonitoredEventItem sender,
Variant[] eventFields) {
println(eventToString(sender.getNodeId(), eventFields));
}
7 The current version of the client is actually adding two custom fields in eventFieldNames as well. These are initialized
to null and created at run-time, because the QualifiedName-identifiers need a namespaceIndex which depends on the dynamic index in the server. See the code sample for details in initEventFieldNames().
The createBrowsePath() method is special to the sample. It breaks the QualifiedNames, which have ‘/’ delimiters to a browse path, i.e. an array of QualifiedNames.
OPC UA Java SDK Client Tutorial
13.4.2017 Page 15/17
};
12. History Access The UA Servers may also provide history information for the nodes. You can read the Historizing
attribute of a Variable node to see whether history is supported.
12.1 Reading history To actually read history data you have several options. The basic way is to use
UaClient.historyRead, which is recommended if you need to do several readings at once. This
example reads a complete history for a single node (specified by nodeId):
HistoryReadDetails details = new ReadRawModifiedDetails(false,
DateTime.MIN_VALUE, DateTime.currentTime(),
UnsignedInteger.MAX_VALUE, true);
HistoryReadValueId nodesToRead = new HistoryReadValueId(
nodeId, null,
QualifiedName.DEFAULT_BINARY_ENCODING, null);
HistoryReadResult[] result = client.historyRead(details,
TimestampsToReturn.Both, true, nodesToRead);
HistoryData d = result[0].getHistoryData().decode();
DataValue[] values = d.getDataValues();
What you need to be aware of is that there are several “methods” that the historyRead actually
supports, depending on which HistoryReadDetails you use. For example, in the above example
we used ReadRawModifiedDetails, to read a raw history (the same structure is used to read
Modified history as well, therefore the name).
To make your life a bit easier, UaClient also defines several convenience methods to make specific
history requests. For example, the above can also be performed with
DataValue[] result = client.historyReadRaw(nodeId,
DateTime.MIN_VALUE, DateTime.currentTime(),
UnsignedInteger.MAX_VALUE, true, null, TimestampsToReturn.Source);
12.2 Updating or deleting history To modify existing history data in the server, you can use the historyUpdate method or, again, one
of the convenience methods, which provide you more semantics. See the documentation for the
various historyUpdateXxx and historyDeleteXxx methods in UaClient for more about those.
13. Calling methods OPC UA also defines a mechanism to call methods in the server objects.
To find out if an object defines methods, you can call
List<UaMethod> methods = client.getAddressSpace().getMethods(nodeId);
UaMethod is a node object, which get stored into the Node Cache (see chapter 15). If you wish to
perform a light browse, you can just call:
List<ReferenceDescription> methodRefs =
client.getAddressSpace().browseMethods(nodeId);
to get a list of the method references from the node.
The UaMethod is initialized with the InputArguments and OutputArguments properties, which you
can examine for the argument name, type, etc.
OPC UA Java SDK Client Tutorial
13.4.2017 Page 16/17
Argument[] inputArguments = method.getInputArguments();
Argument[] outputArguments = method.getOutputArguments();
To actually call the method, you need to provide a valid value (as Variant) for each of the
InputArguments, and just call it:
Variant[] outputs = client.call(nodeId, methodId, inputs);
As a result you get values for the OutputArguments.
Note also that you will usually need to use the DataTypeConverter to convert the
inputArguments to the correct data type, before calling the method. The OPC UA specification
defines that the server may not convert the arguments, if they are provided in incorrect data types.
So you will get Bad_InvalidArgument errors for them. See the sample code
(SampleConsoleClient.readInputArguments()) for more details.
14. Register / Unregister nodes These services are meant for improved performance. You can request the server to prepare some
nodes, to which you will refer often in your client application, by registering them with the
RegisterNodes service call. The server may also define new, more efficient NodeIds for the
nodes, which the client can then use instead of the NodeIds it received by browsing the address
space.
You can access these from the AddressSpace. To register a Node for quick access, call:
NodeId[] registeredNodeId = client.getAddressSpace().registerNodes(
nodeId);
When you are done, you can unregister the nodes, using for example,
NodeId[] nodes = client.getAddressSpace().unregisterAllNodes();
These methods are not usually necessary and not always supported by the servers, so you can
usually ignore them. If the server manufacturer suggests, you should consider using them.
15. Using Node Objects The AddressSpace object in the UaClient can also cache nodes on the client side. The Node
objects will help you to browse the address space and to use the information in your application.
You can simply request the node objects from the address space using the methods getNode(),
getType(), getMethods(), etc.
To see it in action, just go and explore the sample code in more detail – especially the methods,
printCurrentNode() and referenceToString().
In SDK 2.0, getNode() has become even more useful. If you register generated classes, you can
use complete UA types in your application through the respective Java classes. Read on to learn
more about that.
15.1 Information modeling and code generation The Java SDK supports loading existing OPC UA information models in NodeSet2.xml-format. By
default, all standard node types are available. You can also define your own information models
and share the definitions between the server and client applications using the XML files. For
modeling, you can use the UaModeler application.
OPC UA Java SDK Client Tutorial
13.4.2017 Page 17/17
15.2 Code generation You can generate Java classes based on the information from the NodeSet2.xml format. The SDK
includes a code generation tool in the codegen-folder.
To initially setup your code generation infrastructure, you have to edit the codegen.properties file:
1. add path to your source NodeSet2.xml file
2. add Java package for your model or use the set-package scripts
3. select templates you want to generate code from
4. add paths where code should be generated to
And that’s it! Now you can just run the Ant build tool and source code will appear in the output
folder. By executing the Ant task in your build script, you do not have to worry about code
generation afterwards; code is generated each time the source NodeSet2.xml file changes!
15.3 Reading instances on UA client Reading instances with UA client is now really simple:
// 1. Register classes on your UaClient object.
client.registerModel(InformationModel.MODEL);
// 2. Get a node from server with an AddressSpace object.
// Give the nodeId of the instance as a parameter.
GeneratedType generatedInstance =
(GeneratedType) addressSpace.getNode(nodeId);
// 3. Read value of the GeneratedProperty.
generatedInstance.getGeneratedPropertyValue();
15.4 Complete Instructions See the Readme.md and ReadmeSample.md files for complete instructions on how to
generate classes from your own type definitions.


![Handbuch TC3 OPC UA - Beckhoff Automation · OPC UA Sample Client [Grafische Beispielimplementierung eines OPC UA} 206] Clients um einen ersten Verbindungstest mit dem TwinCAT OPC](https://img.pdfslide.net/doc/110x75/5f0687177e708231d4186f52/handbuch-tc3-opc-ua-beckhoff-automation-opc-ua-sample-client-grafische-beispielimplementierung.jpg)