Embed Size (px)
Citation preview
LabelWriter® 450 Twin Turbo
Quick Start Guide
Copyright
© 2015 Sanford, L.P. All rights reserved. Revised 6/15.
No part of this document or the software may be reproduced or transmitted in any form or by any means, or translated into
another language without the prior written consent of Sanford, L.P.
Trademarks
DYMO, LabelWriter, and DYMO Label are registered marks in the United States and other countries. All other trademarks
are the property of their respective holders.
Quick Start Guide
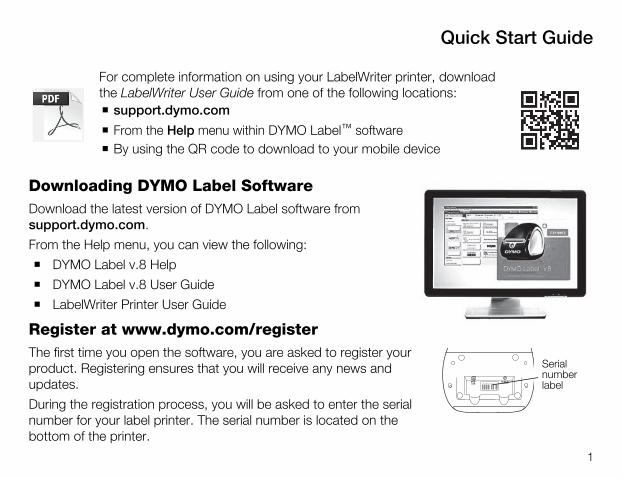
Downloading DYMO Label Software
Download the latest version of DYMO Label software from support.dymo.com.
From the Help menu, you can view the following:
DYMO Label v.8 Help
DYMO Label v.8 User Guide
LabelWriter Printer User Guide
Register at www.dymo.com/register
The first time you open the software, you are asked to register your product. Registering ensures that you will receive any news and updates.
During the registration process, you will be asked to enter the serial number for your label printer. The serial number is located on the bottom of the printer.
For complete information on using your LabelWriter printer, download the LabelWriter User Guide from one of the following locations:
support.dymo.com
From the Help menu within DYMO Label™ software
By using the QR code to download to your mobile device
S/N 00000-0000000
Serial number label
1
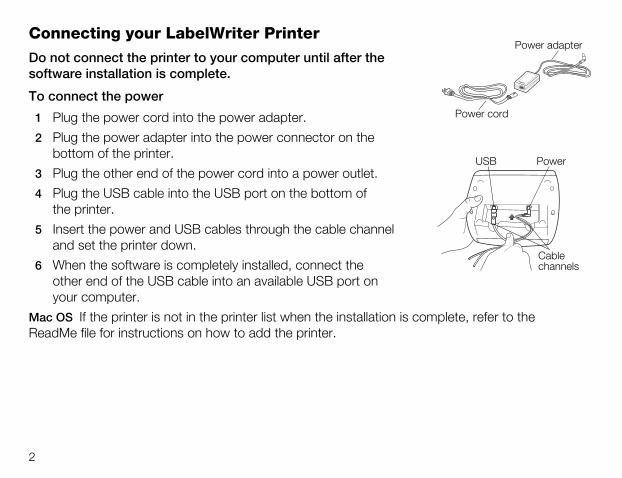
Connecting your LabelWriter Printer
Do not connect the printer to your computer until after the software installation is complete.
To connect the power
1 Plug the power cord into the power adapter.
2 Plug the power adapter into the power connector on the bottom of the printer.
3 Plug the other end of the power cord into a power outlet.
4 Plug the USB cable into the USB port on the bottom of the printer.
5 Insert the power and USB cables through the cable channel and set the printer down.
6 When the software is completely installed, connect the other end of the USB cable into an available USB port on your computer.
Mac OS If the printer is not in the printer list when the installation is complete, refer to the ReadMe file for instructions on how to add the printer.
Power adapter
Power cord
Power
Cable channels
USB
2

Loading Labels
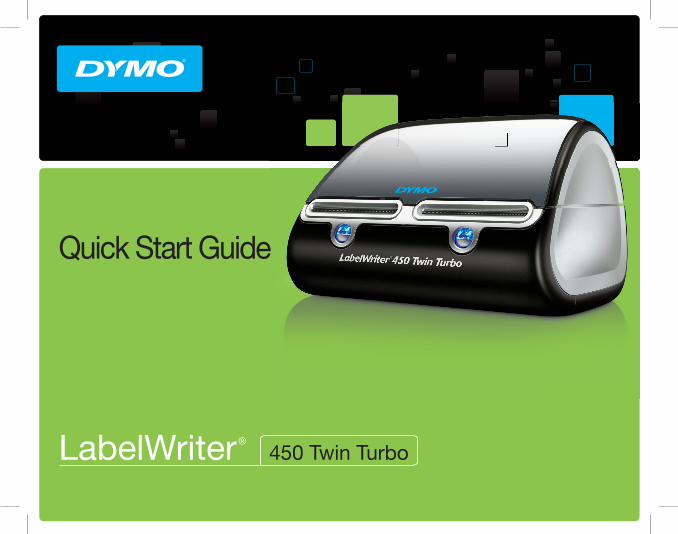
To load a label roll
1 Place the label roll on the spindle so that the labels feed from underneath and the left edge of the label roll is firmly against the side of the spool.
2 Press the spool guide tightly against the side of the label roll, leaving no gap between the roll and the spool.
3 Insert the label spool into the slot in the cover with the labels extending from underneath the roll.
4 Align the left edge of the label with the left edge of the label feed slot and insert the label into the slot.
5 The printer automatically feeds the label, stopping at the beginning of the first label.
6 Slide label guide against labels.
IMPORTANT! In order for the labels to feed properly during printing:
Press the label spool guide flush against the label roll, leaving no gap.
Insert the label with the left edge against the left edge of the label feed slot.
Spool guide
Spool spindle
Align labelsagainst left
edge
Slide labelguide against
labels
3
4
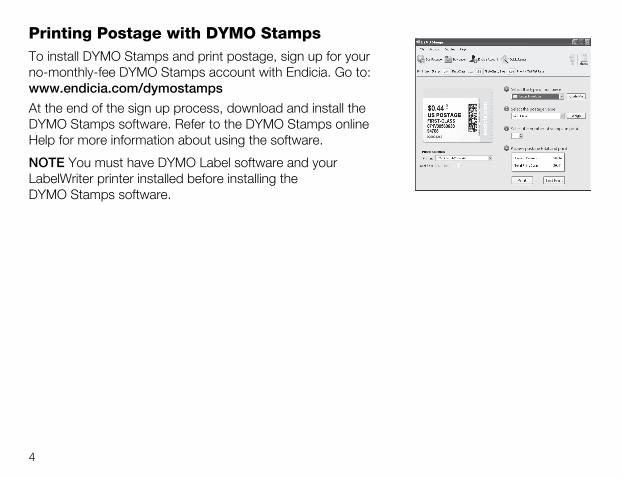
Printing Postage with DYMO Stamps
To install DYMO Stamps and print postage, sign up for your no-monthly-fee DYMO Stamps account with Endicia. Go to: www.endicia.com/dymostamps
At the end of the sign up process, download and install the DYMO Stamps software. Refer to the DYMO Stamps online Help for more information about using the software.
NOTE You must have DYMO Label software and your LabelWriter printer installed before installing the DYMO Stamps software.
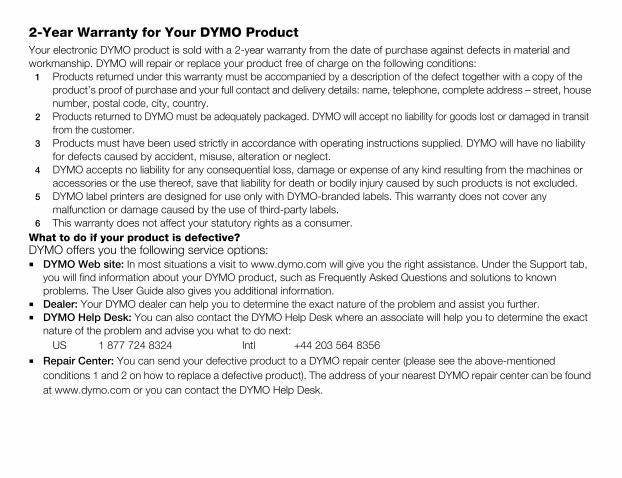
2-Year Warranty for Your DYMO Product
Your electronic DYMO product is sold with a 2-year warranty from the date of purchase against defects in material and
workmanship. DYMO will repair or replace your product free of charge on the following conditions: 1 Products returned under this warranty must be accompanied by a description of the defect together with a copy of the
product’s proof of purchase and your full contact and delivery details: name, telephone, complete address – street, house
number, postal code, city, country.2 Products returned to DYMO must be adequately packaged. DYMO will accept no liability for goods lost or damaged in transit
from the customer.
3 Products must have been used strictly in accordance with operating instructions supplied. DYMO will have no liability
for defects caused by accident, misuse, alteration or neglect.4 DYMO accepts no liability for any consequential loss, damage or expense of any kind resulting from the machines or
accessories or the use thereof, save that liability for death or bodily injury caused by such products is not excluded.
5 DYMO label printers are designed for use only with DYMO-branded labels. This warranty does not cover any malfunction or damage caused by the use of third-party labels.
6 This warranty does not affect your statutory rights as a consumer.
What to do if your product is defective?DYMO offers you the following service options: DYMO Web site: In most situations a visit to www.dymo.com will give you the right assistance. Under the Support tab,
you will find information about your DYMO product, such as Frequently Asked Questions and solutions to known
problems. The User Guide also gives you additional information.
Dealer: Your DYMO dealer can help you to determine the exact nature of the problem and assist you further. DYMO Help Desk: You can also contact the DYMO Help Desk where an associate will help you to determine the exact
nature of the problem and advise you what to do next:
US 1 877 724 8324 Intl +44 203 564 8356
Repair Center: You can send your defective product to a DYMO repair center (please see the above-mentioned
conditions 1 and 2 on how to replace a defective product). The address of your nearest DYMO repair center can be found
at www.dymo.com or you can contact the DYMO Help Desk.
W472769www.dymo.comDIS-83 12/10
©2015 SANFORD, L.P. WWW.DYMO.COMDISTRIBUTED BY: DYMO, ATLANTA, GA 30328
CUSTOMER CARE: 877-724-8324