Embed Size (px)
Citation preview
Holly and Lily
Screenshots of editing in Premier
We edited and completed our music video on Adobe Premier Software; we were unexperienced with the software of Adobe Premier when we first started at the beginning of the year. However, we had used editing software previously when I created a music video in year 11. Therefore, we were experienced in applying effects and transitions to the music video which made the process easier when it came to applying effects and transitions. Below are some screenshots depicting how we had used effects and the video transitions to edit our video and how we carried out the process.
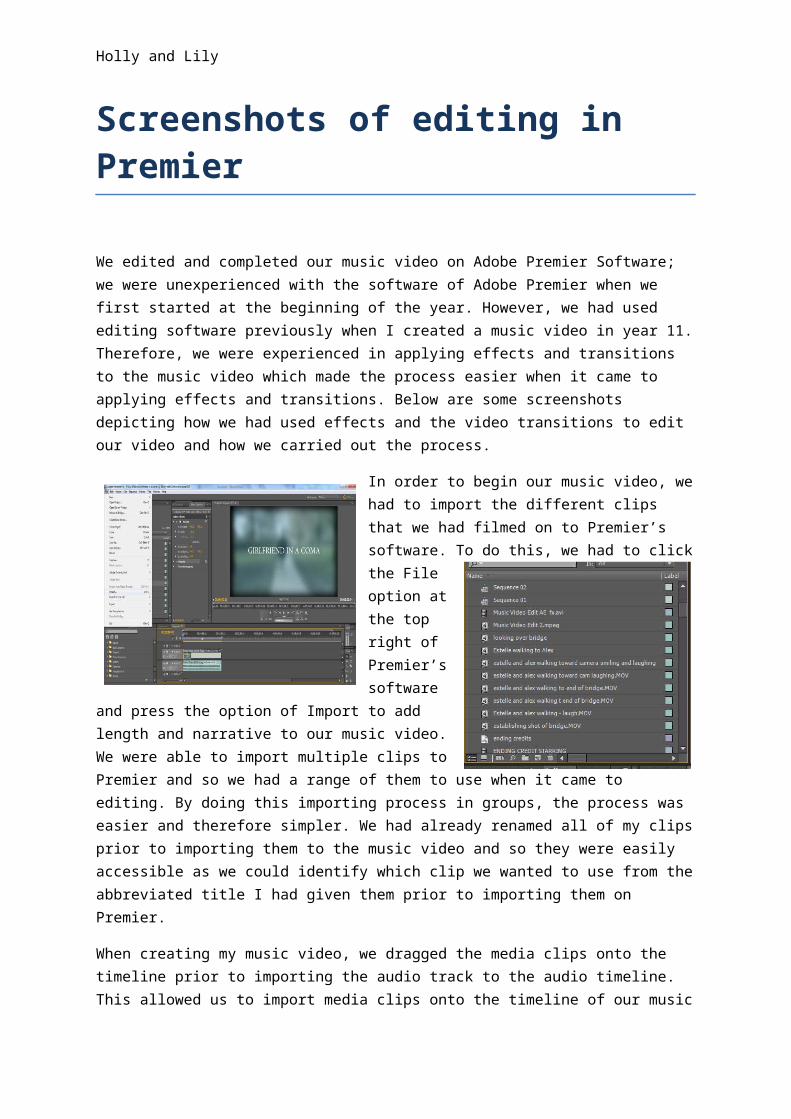
In order to begin our music video, we had to import the different clips that we had filmed on to Premier’s software. To do this, we had to click the File option at the top right of Premier’s software and press the option of Import to add length and narrative to our music video. We were able to
import multiple clips to Premier and so we had a range of them to use when it came to editing. By doing this importing process in groups, the process was easier and therefore simpler. We had already renamed all of my clips prior to importing them to the music video and so they were easily accessible as we could identify which clip we wanted to use from the abbreviated title I had given them prior to importing them on Premier.
When creating my music video, we dragged the media clips onto the timeline prior to importing the audio track to the audio timeline. This allowed us to import media clips onto the timeline of our music video without having the audio track overridden by audio picked up from when we filmed the footage. And so we were able to delete the ambient sound that featured on the video clip footage so that it was easier to apply the music to the video in the audio timeline.
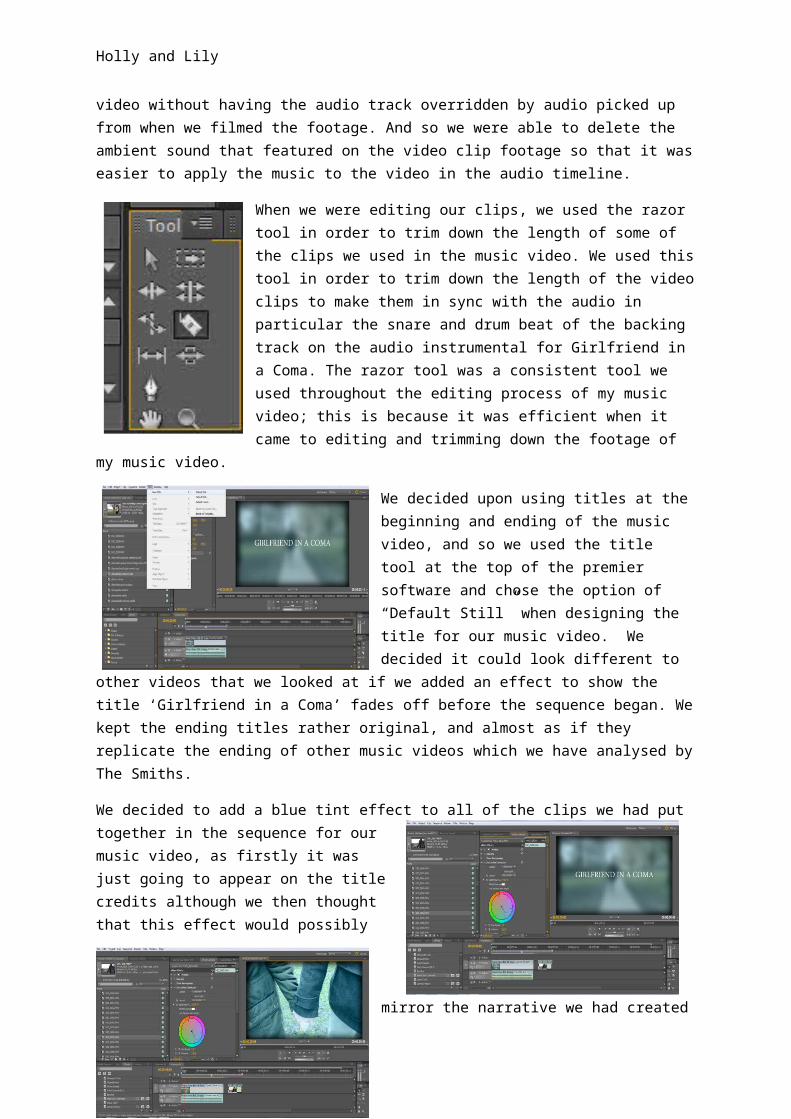
When we were editing our clips, we used the razor tool in order to trim down the length of some of the clips we used in the music video. We used this tool in order to trim down the length of the video clips to make them in sync with the audio in particular the snare and drum beat of the backing track on the audio instrumental for Girlfriend in a Coma. The razor tool was a consistent tool we used throughout the editing process of my music video; this is because it was efficient when it came to editing and trimming down the footage of my music video.
Holly and Lily
We decided upon using titles at the beginning and ending of the music video, and so we used the title tool at the top of the premier software and chose the option of “Default Still” when designing the title for our music video. We decided it could look different to other videos that we looked at if we added an effect to show the title ‘Girlfriend in a Coma’ fades off before the sequence began. We kept the ending titles rather original, and almost as if
they replicate the ending of other music videos which we have analysed by The Smiths.
We decided to add a blue tint effect to all of the clips we had put together in the sequence for our music video, as firstly it was just going to appear on the title credits although we then thought that this effect would possibly mirror the narrative we had created for our music video, and look quite good. By doing this we added the ‘Fast Color Corrector’ effect to each individual clip, and then using the colour wheel changed the colour of the effect to a light blue, which ensued the clips had a nice looking cool effect to them.
Throughout we marked the in and out points on each clip, when editing various elements of the music video. We were able to watch the entire clip and sequence, with ensurance that we wouldn’t accidentally edit the wrong clip, or delete the wrong parts of a specific sequence which we believed looked quite good and professional.
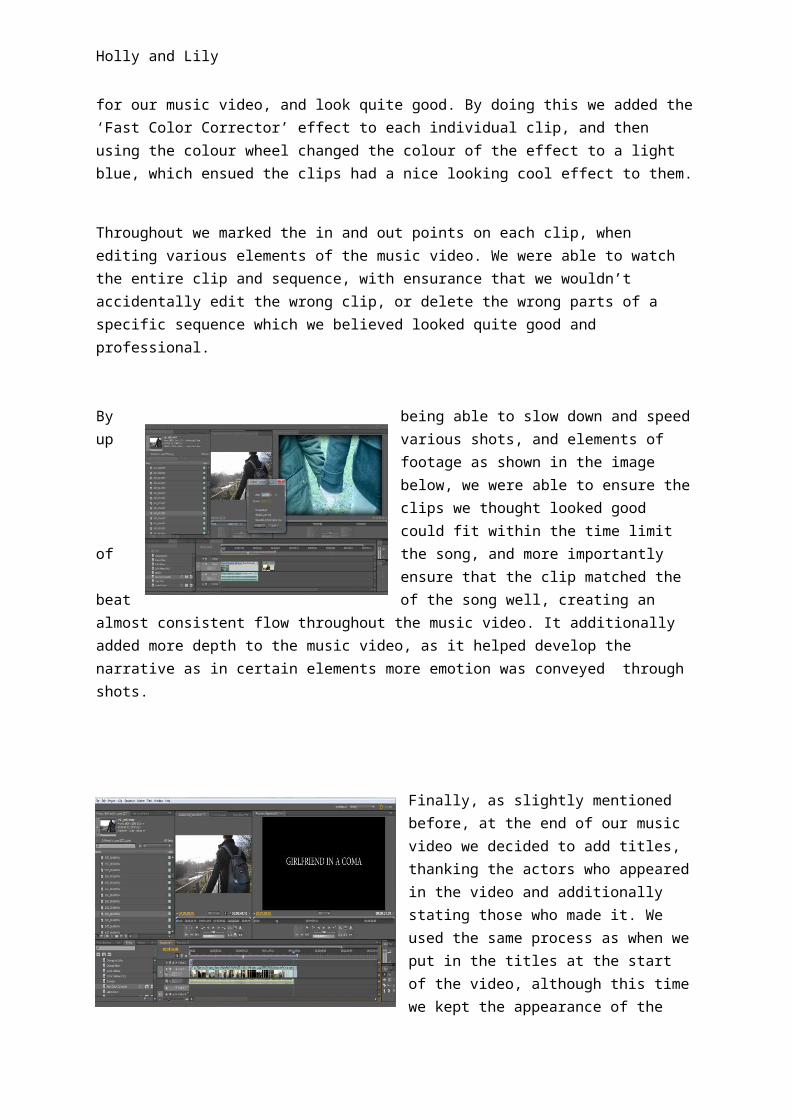
By being able to slow down and speed up various shots, and elements of footage as shown in the image below, we were able to ensure the clips we thought looked good could fit within the time limit of the song, and more importantly ensure that the clip matched the beat of the song well, creating an almost consistent flow throughout the music video. It additionally added more depth to the music video, as it helped develop the narrative as in certain elements more emotion was conveyed through shots.
Holly and Lily
Finally, as slightly mentioned before, at the end of our music video we decided to add titles, thanking the actors who appeared in the video and additionally stating those who made it. We used the same process as when we put in the titles at the start of the video, although this time we kept the appearance of the titles in just black and white. We thought this ensured the video had a slightly more professional edge to it, and tied up the end of the music video nicely.
Overall, we have used a variety of editing techniques in Adobe Premiere Software, which we did not know about previously. The use of this editing software has allowed us to produce an entertaining video, which is appealing to our target audience.