Embed Size (px)
Citation preview
Solutions Implementation GuideSalesforce, Spring ’18
@salesforcedocsLast updated: March 27, 2018

© Copyright 2000–2018 salesforce.com, inc. All rights reserved. Salesforce is a registered trademark of salesforce.com, inc.,as are other names and marks. Other marks appearing herein may be trademarks of their respective owners.
CONTENTS
Solutions Overview . . . . . . . . . . . . . . . . . . . . . . . . . . . . . . . . . . . . . . . . . . . . . . . . . . . . 1
Setup . . . . . . . . . . . . . . . . . . . . . . . . . . . . . . . . . . . . . . . . . . . . . . . . . . . . . . . . . . . . . 2
Choosing a Solution Manager . . . . . . . . . . . . . . . . . . . . . . . . . . . . . . . . . . . . . . . . . . . . . 2Enabling HTML Solutions . . . . . . . . . . . . . . . . . . . . . . . . . . . . . . . . . . . . . . . . . . . . . . . . . 3Customizing Fields . . . . . . . . . . . . . . . . . . . . . . . . . . . . . . . . . . . . . . . . . . . . . . . . . . . . . 4Enabling Suggested Solutions . . . . . . . . . . . . . . . . . . . . . . . . . . . . . . . . . . . . . . . . . . . . . 7Defining Solution Processes and Record Types . . . . . . . . . . . . . . . . . . . . . . . . . . . . . . . . . . 7Customizing Solution Page Layouts . . . . . . . . . . . . . . . . . . . . . . . . . . . . . . . . . . . . . . . . . . 9Customizing Solution Search Layouts . . . . . . . . . . . . . . . . . . . . . . . . . . . . . . . . . . . . . . . . 10Creating Email Templates . . . . . . . . . . . . . . . . . . . . . . . . . . . . . . . . . . . . . . . . . . . . . . . . 11Creating Solution Categories . . . . . . . . . . . . . . . . . . . . . . . . . . . . . . . . . . . . . . . . . . . . . 12Automating Solution Workflow . . . . . . . . . . . . . . . . . . . . . . . . . . . . . . . . . . . . . . . . . . . . 14Setting Up Multilingual Solutions . . . . . . . . . . . . . . . . . . . . . . . . . . . . . . . . . . . . . . . . . . . 16Importing Solutions . . . . . . . . . . . . . . . . . . . . . . . . . . . . . . . . . . . . . . . . . . . . . . . . . . . . 18Enabling Public Solutions . . . . . . . . . . . . . . . . . . . . . . . . . . . . . . . . . . . . . . . . . . . . . . . . 19Enabling a Self-Service or Customer Portal . . . . . . . . . . . . . . . . . . . . . . . . . . . . . . . . . . . . 21
Feature Rollout . . . . . . . . . . . . . . . . . . . . . . . . . . . . . . . . . . . . . . . . . . . . . . . . . . . . . 22
Solution Process Overview . . . . . . . . . . . . . . . . . . . . . . . . . . . . . . . . . . . . . . . . . . . . . . . 22Training Users to Create Solutions . . . . . . . . . . . . . . . . . . . . . . . . . . . . . . . . . . . . . . . . . 22Training Solution Managers to Review Solutions . . . . . . . . . . . . . . . . . . . . . . . . . . . . . . . . 23Key Reports . . . . . . . . . . . . . . . . . . . . . . . . . . . . . . . . . . . . . . . . . . . . . . . . . . . . . . . . . 23
Index . . . . . . . . . . . . . . . . . . . . . . . . . . . . . . . . . . . . . . . . . . . . . . . . . . . . . . . . . . . . 25

SOLUTIONS OVERVIEW
The Solutions tab in Salesforce helps you build a central repository of valuable information so your customer support reps and customersusing a Self-Service or Customer Portal can quickly answer inquiries at any time. With solutions, your support team can easily capture,review, catalog, and access information that resolves customer issues and improves customer satisfaction.
Note that “Salesforce,” “Self-Service,” and “Customer Portal” may be used interchangeably in this document. All features covered withinthis document are included in all three products.
Note: Starting with Spring ’12, the Self-Service portal isn’t available for new orgs. Existing orgs continue to have access to theSelf-Service portal.
Key Benefits
Solutions enable you to:
CentralizeThe Solutions tab is a central repository for organizing and finding existing answers to customer support inquiries.
AutomateSet up automatic workflow actions that enhance your solution review and publishing processes.
ShareProvide access to your solutions directly to customers via public solutions and Self-Service or Customer Portal.
About This Guide
Use this guide to get instructions on how to set up, customize, and start using solutions to manage your organization’s public solutions.It covers how to implement the most helpful solution features and how to use solutions effectively to maximize your customer supportteam’s productivity. This guide contains the following major topics:
SetupProvides details on how to implement all of the solution features. Follow the planning checklist at the beginning of each setupsection to prepare for the implementation of each feature.
Feature RolloutUse the feature rollout suggestions to implement the specific features you need to start using solutions.
Tip: For more information on features related to solutions, see the following implementation guides:
• Self-Service Implementation Guide
• Customer Portal Implementation Guide
• Case Management Implementation Guide
1
SETUP
Follow the setup procedures for each of the following solution features:
Choosing a Solution ManagerSelect members of your support team to review and publish your organization's solutions.
Enabling HTML SolutionsBy default, Salesforce displays solutions in text. However, you can display and create solutions in HTML format by enabling HTMLsolutions.
Customizing FieldsCreate custom solution fields to track information specific to your solutions.
Enabling Suggested SolutionsIncrease productivity by helping users easily find relevant solutions to the cases they are viewing.
Defining Solution Processes and Record TypesCreate different solution processes to review different types of solutions.
Customizing Solution Page LayoutsDesign your solution page layouts to specify which solution fields are displayed, read-only, or required for your users.
Customizing Solution Search LayoutsCustomize which fields display for users in lookup dialogs and the Recent Solutions list on the Solutions tab.
Creating Email TemplatesDesign email templates to send solutions to customers and users.
Creating Solution CategoriesCreate categories to group similar solutions so customer support reps and users can easily browse your solutions.
Automating Solution WorkflowCreate a workflow rule and alert that automatically notifies solution managers when a solution is ready for review.
Setting Up Multilingual SolutionsTranslate solutions and solution categories into the languages supported by Salesforce.
Importing SolutionsSave time by importing your solutions from another application or an Excel spreadsheet.
Enabling Public SolutionsAdd a search box and button to your company’s website so that customers can find solutions without contacting your support team.
Enabling a Self-Service or Customer PortalBuild a Self-Service or Customer Portal that allows your customers to search solutions, log new cases, and leverage suggestedsolutions to close cases without contacting a support rep.
Choosing a Solution Manager
Choose one or more members of your support team to review, modify, and publish your organization's solutions to your public knowledgebase and Self-Service or Customer Portal. Solution Managers:
• Should be senior support reps with expert product knowledge and excellent written communication skills
• Are responsible for reviewing all solutions and coaching other reps on how to write good solutions
2
• Are responsible for associating solutions with the correct solution categories
To Make a User a Solution Manager1. From Setup, enter Users in the Quick Find box, then select Users.
2. Click Edit next to a user’s name.
3. Select Solution Manager from the Profile picklist field.
4. Click Save.
Tips on Making a User a Solution ManagerConsider the following when making a user a solution manager:
• If you have Professional, Enterprise, Unlimited, Performance, or Developer Edition, you can add the following permissions to permissionsets or custom profiles to grant the relevant solution manager permissions: “View Setup and Configuration”, “Manage PublishedSolutions”, and “Import Solutions”. For details, see User Permissions and Access.
• The standard Solution Manager profile does not include the “Manage Categories” permission, which gives users the ability to definesolution categories. If you want your solution managers to create and manage your solution category tree, create a permission setwith this permission and assign it to the users who need it. If you have Professional Edition, only users with the System Administratorprofile can create and manage your solution category tree. For more information about solution categories, see Creating SolutionCategories on page 12.
Enabling HTML Solutions
You can create and display solutions in either HTML or text. By default, Salesforce displays solutions in text. If you want to create andview solutions in HTML rather than text, you must enable HTML solutions. If you have existing text solutions, they will be converted toHTML when you open them up in the HTML editor.
If you are planning to import HTML solutions, see Importing Solutions on page 18.
Enabling HTML Solutions1. From Setup, enter Solution Settings in the Quick Find box, then select Solution Settings.
2. Click Edit.
3. Select Enable HTML Solutions.
4. Click Save.
Tips on Enabling HTML SolutionsConsider the following when enabling HTML solutions:
• For security purposes, Salesforce automatically filters all HTML solutions for potentially malicious HTML. If potentially malicious HTMLis detected in an HTML solution, then the potentially malicious HTML is either automatically removed or transformed into text forusers who view the HTML solution. Note that users will not be able to notice when potentially malicious HTML is removed from anHTML solution.
3
Enabling HTML SolutionsSetup
• You can enter some free form HTML into HTML solutions. HTML tags are not displayed to users viewing saved HTML solutions. Notethat Cascading Style Sheets (CSS) are not supported in HTML solutions. Furthermore, all <script> and <iframe> tags, as wellas all JavaScript, are automatically converted to text when saved in HTML solutions. For a list of the HTML tags you can enter intoHTML solutions, see HTML Solutions Overview.
Customizing Fields
If you want to track solution information specific to your organization that is not available using the standard solution fields, you cancreate custom fields. You can also modify standard picklist fields to fit your business processes. Follow these steps to customize yoursolution fields:
PlanningDetermine what customizations you need to make.
Creating Custom FieldsIdentify any additional information you would like to track for solutions.
Customizing Standard Status Picklist ValuesEvaluate the solution Status field values and determine whether you need to change them.
Creating Validation RulesAutomatically verify that solutions meet the standards you specify before users can save them.
Tracking Field HistorySet which standard and custom solution fields to track so that you can review who, when, and what has changed on every solution.
PlanningList What Custom Fields You Need
Track any additional solution information specific to your business by creating custom fields. Create a list of all the solution attributesyou want to track. Then, prepare a list of all the custom fields you need to create for each attribute. For example, if you plan onimplementing multilingual solutions, you may want to create a long text area field called Translation Comments wheretranslators can add any notes regarding the translation process.
Determine What Solution Status Picklist Values You NeedThe solution Status field indicates the state of a solution in the process of being reviewed. Some predefined values for this fieldare Draft and Reviewed. If these values don't match your organization's review process, create a list of solution status values that do.For each value, you can also determine whether that value is the “default” status for all new solutions or a “reviewed” status. Solutionswith a reviewed status are displayed separately in solution search results to help support reps distinguish which solutions have beenreviewed by solution managers.
We recommend the following solution status values, although the exact naming and number of review levels will vary dependingon your organization’s processes:
Recommended Solution Status Values
MeaningStatus
Status for all new solutions. Make this your default status.Draft
4
Customizing FieldsSetup
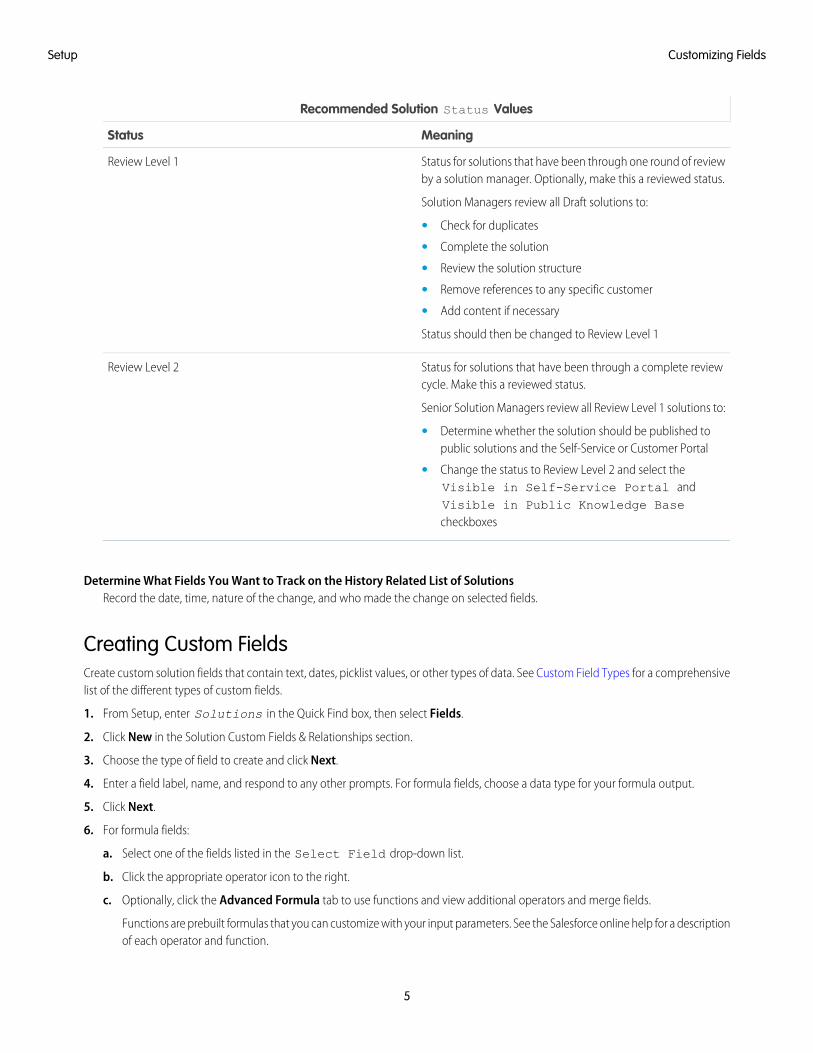
Recommended Solution Status Values
MeaningStatus
Status for solutions that have been through one round of reviewby a solution manager. Optionally, make this a reviewed status.
Solution Managers review all Draft solutions to:
Review Level 1
• Check for duplicates
• Complete the solution
• Review the solution structure
• Remove references to any specific customer
• Add content if necessary
Status should then be changed to Review Level 1
Status for solutions that have been through a complete reviewcycle. Make this a reviewed status.
Senior Solution Managers review all Review Level 1 solutions to:
Review Level 2
• Determine whether the solution should be published topublic solutions and the Self-Service or Customer Portal
• Change the status to Review Level 2 and select theVisible in Self-Service Portal andVisible in Public Knowledge Basecheckboxes
Determine What Fields You Want to Track on the History Related List of SolutionsRecord the date, time, nature of the change, and who made the change on selected fields.
Creating Custom FieldsCreate custom solution fields that contain text, dates, picklist values, or other types of data. See Custom Field Types for a comprehensivelist of the different types of custom fields.
1. From Setup, enter Solutions in the Quick Find box, then select Fields.
2. Click New in the Solution Custom Fields & Relationships section.
3. Choose the type of field to create and click Next.
4. Enter a field label, name, and respond to any other prompts. For formula fields, choose a data type for your formula output.
5. Click Next.
6. For formula fields:
a. Select one of the fields listed in the Select Field drop-down list.
b. Click the appropriate operator icon to the right.
c. Optionally, click the Advanced Formula tab to use functions and view additional operators and merge fields.
Functions are prebuilt formulas that you can customize with your input parameters. See the Salesforce online help for a descriptionof each operator and function.
5
Customizing FieldsSetup
d. Optionally, click Validate Syntax to check your formula for errors.
e. Click Next.
7. In Enterprise, Unlimited, Performance, and Developer Editions, set the field-level security to determine whether the field should bevisible or read only for specific profiles, and click Next.
8. Select the page layouts that you want to include the new field.
9. Click Save.
Customizing Standard Status Picklist ValuesModify the solution Status field values to match your organization’s solution review process.
1. From Setup, enter Solutions in the Quick Find box, then select Fields.
2. Click Edit next to the Status picklist field.
3. Make any changes to the existing values listed:
• Click New to add new values.
• Click Edit to modify any existing values.
For the value that you want applied to all new solutions, check the Default attribute for that value. We suggest you make“Draft” your default value.
For any values that you want to indicate that the solution has been reviewed, check the Reviewed attribute for that value.We suggest you make “Review Level 2” your reviewed value.
• Click Reorder to change the display order of the values in the picklist.
4. Click Save.
Creating Validation RulesYou can create validation rules to automatically verify that solutions meet the standards you specify before users can save them. Forexample, you can create a validation rule that specifies that the Solution Title field on a solution cannot contain more than 30characters. A validation rule can contain a formula or expression that evaluates the data in one or more fields and returns a message ofTrue or False.
1. From Setup, enter Solutions in the Quick Find box, then select Validation Rules.
2. Click New in the Validation Rules related list.
3. Enter the properties of your validation rule.
4. Click Check Syntax to check your formula for errors.
5. Click Save.
Tip: See Validation Rules for comprehensive information about validation rules.
Tracking Field HistoryYou can select a combination of up to 20 standard and custom fields to track changes on the Solution History related list of solutions.The Solution History related list shows the changes made to tracked fields, including the date, time, nature of the change, and whomade the change. History data does not count against your organization’s storage limit.
6
Customizing FieldsSetup
1. From Setup, enter Solutions in the Quick Find box, then select Fields.
2. Click Set History Tracking.
3. Choose the fields you want tracked in the Solution History related list of the solution detail page.
4. Click Save.
Note: Multi-select picklist fields and long text area fields (such as Solution Details) are tracked as edited, but their oldand new values are not recorded. See Field History Tracking for more information about field history tracking.
Enabling Suggested Solutions
You can enable the Suggested Solutions button on case detail pages so that support reps can easily find solutions that may help themsolve the particular case they are viewing. The solutions that are suggested for the case are found using an algorithm that automaticallyscores the relevancy of each solution to the particular case via word frequency, word proximity, case similarity, and related solutions.See Suggested Solutions Overview for comprehensive information about this functionality.
Enabling Suggested Solutions1. From Setup, enter Support Settings in the Quick Find box, then select Support Settings.
2. Click Edit.
3. Select Enable Suggested Solutions.
4. Click Save.
Tip: See “Customize the Suggested Solutions Page” in the Self-Service Implementation Guide or the Customer Portal ImplementationGuide for instructions on setting up suggested solutions in your Self-Service or Customer Portal.
When the suggested solutions feature is enabled in your Self-Service or Customer Portals, customers can view suggested solutionswhen viewing or submitting cases. Viewing suggested solutions may help customers solve a particular case and close the casethemselves.
Defining Solution Processes and Record Types
What Are Solution Processes?You can set up different solution processes to control the steps your users follow for solution reviews. For example, a support teammight provide two different levels of solutions: FAQs and technical specifications. Because there is a different level of knowledge ineach solution type, the review processes and values in the Status field could be different. FAQs could have a two-step reviewprocess, whereas technical specifications could have a three-step review process that requires feedback from subject matter experts.By implementing different solution processes, you can have different review cycles for each kind of solution.
What Are Record Types?Record types are related to solution processes and allow you to control which custom picklist field values and page layouts a usersees. If you want different groups of users to see only certain solution fields or certain custom picklist field values, consider usingrecord types. For example, for your technical specification solutions, you might want to hide certain fields or picklist values fromyour Standard support reps, but show them to your Premium support reps. Since record types are related to solution processes,typically you would create a separate record type for each solution process you create.
This section contains the following procedures for defining solution processes and record types for your organization:
7
Enabling Suggested SolutionsSetup
PlanningDecide if you want to create different types of solutions with different picklist values and if you need to show different page layoutsbased on user type.
Creating Solution Processes and Record TypesBuild solution processes and record types.
Tip: Alternatively, see Set Up an Approval Process for information about automating approval processes in Salesforce. An approvalprocess specifies the steps necessary for a record to be approved and who must approve it at each step, plus the actions to takewhen a record is approved, rejected, or first submitted for approval. Approval processes and solution processes are available inEnterprise, Performance, Unlimited, and Developer Editions. Record types are available in Professional, Enterprise, Performance,Unlimited, and Developer Editions.
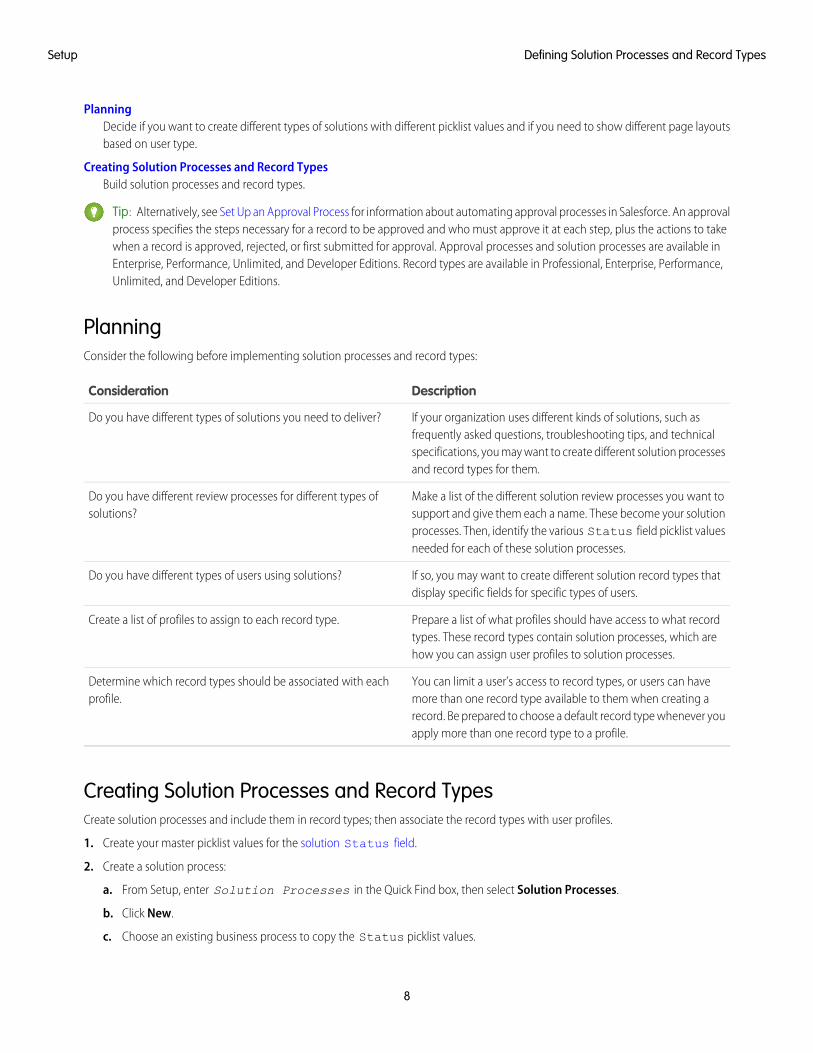
PlanningConsider the following before implementing solution processes and record types:
DescriptionConsideration
If your organization uses different kinds of solutions, such asfrequently asked questions, troubleshooting tips, and technical
Do you have different types of solutions you need to deliver?
specifications, you may want to create different solution processesand record types for them.
Make a list of the different solution review processes you want tosupport and give them each a name. These become your solution
Do you have different review processes for different types ofsolutions?
processes. Then, identify the various Status field picklist valuesneeded for each of these solution processes.
If so, you may want to create different solution record types thatdisplay specific fields for specific types of users.
Do you have different types of users using solutions?
Prepare a list of what profiles should have access to what recordtypes. These record types contain solution processes, which arehow you can assign user profiles to solution processes.
Create a list of profiles to assign to each record type.
You can limit a user’s access to record types, or users can havemore than one record type available to them when creating a
Determine which record types should be associated with eachprofile.
record. Be prepared to choose a default record type whenever youapply more than one record type to a profile.
Creating Solution Processes and Record TypesCreate solution processes and include them in record types; then associate the record types with user profiles.
1. Create your master picklist values for the solution Status field.
2. Create a solution process:
a. From Setup, enter Solution Processes in the Quick Find box, then select Solution Processes.
b. Click New.
c. Choose an existing business process to copy the Status picklist values.
8
Defining Solution Processes and Record TypesSetup
d. Enter a name and description for the new process.
e. Click Save.
f. Choose values from the Available Values list and add them to the Selected Values list to include those values in the new solutionprocess. Users will be able to choose from the list of selected values when creating and editing solutions with this solutionprocess.
g. Select a default value.
h. Click Save.
3. Create a record type to associate with the solution process:
a. From Setup, enter Solutions in the Quick Find box, then select Record Types.
b. Click New.
c. Select an existing record type from which to adopt any custom field picklist values.
d. Select the solution process you created to associate it with the new record type.
e. Enter a name and description for the new record type.
f. Check Active to activate the new record type.
g. Check Enable for Profile for profiles that should have access to the record type. Also, check the Make Defaultto make the new record type the default for any enabled profile.
h. Click Next.
i. Select a page layout to use when displaying records of this type.
j. Click Save.
k. Optionally, click Edit next to any custom picklist fields to customize the values included in the new record type.
l. Click Save.
Customizing Solution Page Layouts
You can customize solution page layouts so certain fields are required, read only, or hidden. Review the planning suggestions belowbefore customizing your solution pages.
Tip: If your organization will use the Self-Service or Customer Portal, you can configure your solution page layouts to display inboth portals. For more information, see the Self-Service Implementation Guide and the Customer Portal Implementation Guide.
PlanningBefore changing your solution page layout, decide how you plan to use them. Make a list of:
• Fields that should be visible
• Fields that should be editable
• Fields that should be required
• Related lists that you want on each page layout
• Custom links that you want on the solution page layout
9
Customizing Solution Page LayoutsSetup
Modifying Solution Page LayoutsOrganizations using Group and Professional Editions cannot create additional page layouts, but they can customize the existing pagelayouts.
1. From Setup, enter Solutions in the Quick Find box, then select Page Layouts.
2. In Enterprise, Unlimited, Performance, and Developer Edition, click Edit next to the solutions page layout you want to modify.
3. If you are using the original page layout editor in Professional Edition, click Edit at the top of the page.
4. Modify the page layout as needed.
5. Click Save.
Tip: For instructions on creating multiple page layouts, see the Enterprise Edition Upgrade Guide or Create Page Layouts.
Customizing Solution Search Layouts
You may want to customize which solution fields display for users in lookup dialogs and the Recent Solutions list on the Solutions tabhome page.
PlanningDetermine which solution fields users should view in lookup dialogs and in the Recent Solutions list on the Solutions tab home page.
Customize Solution Search LayoutsSpecify the fields to show in search layouts.
PlanningDecide which solutions fields would be the most useful for users to view.
• Make a list of solution fields that should be available in the Recent Solutions list on the Solutions tab home page
• Make a list of solution fields that should be available in solution lookup dialogs
• You can add up to ten fields on search layouts, but we recommend five for easy browsing
Customize Solution Search LayoutsYou can specify a different set of fields to show in solution lookup dialogs and in the Recent Solutions list on the Solutions tab homepage. The settings apply to all users in your organization.
1. From Setup, enter Solutions in the Quick Find box, then select Search Layouts.
2. Click Edit next to the search layout you want to customize.
3. Use the arrows to add or remove fields from the search layout, and to define the order in which the fields should display.
4. Click Save.
Tip: See Customize Search Layouts for more information on what fields can be included in search layouts.
10
Customizing Solution Search LayoutsSetup
Creating Email Templates
Create email templates to send solutions to customers, and to use in solution workflow actions and approval processes for Enterprise,Unlimited, Performance, and Developer Edition organizations. Use Salesforce to make these email templates match your company'smessaging and branding.
PlanningOutline the email templates your organization needs.
Creating Email TemplatesDesign your email templates with your company brand and messaging.
PlanningBegin by creating email templates using the appropriate Salesforce merge fields. Merge fields are placeholders for variable text that youwant replaced with data from your Salesforce records.
Determine the types of email templates you need. You may need email templates for:
• Your support reps to use when communicating solutions to customers
Make all external communication consistent by having support reps use the same email template that contains your company’ssolutions.
• Automated workflow or approval processes to notify solution managers to review solutions
Notify solution managers that a solution has been created and is ready for review.
Tip: Determine how you want to organize your email templates. You may want to store them in folders to ensure that they areavailable to the appropriate users. For information about creating and using folders for email templates, see Managing Folders.
Creating Email TemplatesCreate email templates so your users can use consistent messaging in their outgoing emails. The following procedure describes how tocreate a plain text email template:
1. From Setup, enter Email Templates in the Quick Find box, then select Email Templates.
2. Click New Template.
3. Choose Text and click Next.
4. Select a folder in which to store the template.
5. Check Available For Use if you would like users to be able to select this template when sending an email.
6. Enter a name for the template.
7. Choose an encoding setting.
8. Enter a description for the template.
9. Enter the email subject.
Insert any merge fields to be replaced with data when entering the subject or email body. For example, you may want to includethe Solution Title and Solution Details fields on templates used to notify solution managers that a new solutionis ready for review. You may also want to include the Suggested Solutions merge field on email templates used forauto-response rules on cases. The Suggested Solutions merge field provides outbound emails with direct links to thesubject and description of each solution that may help customers answer their inquiries.
11
Creating Email TemplatesSetup
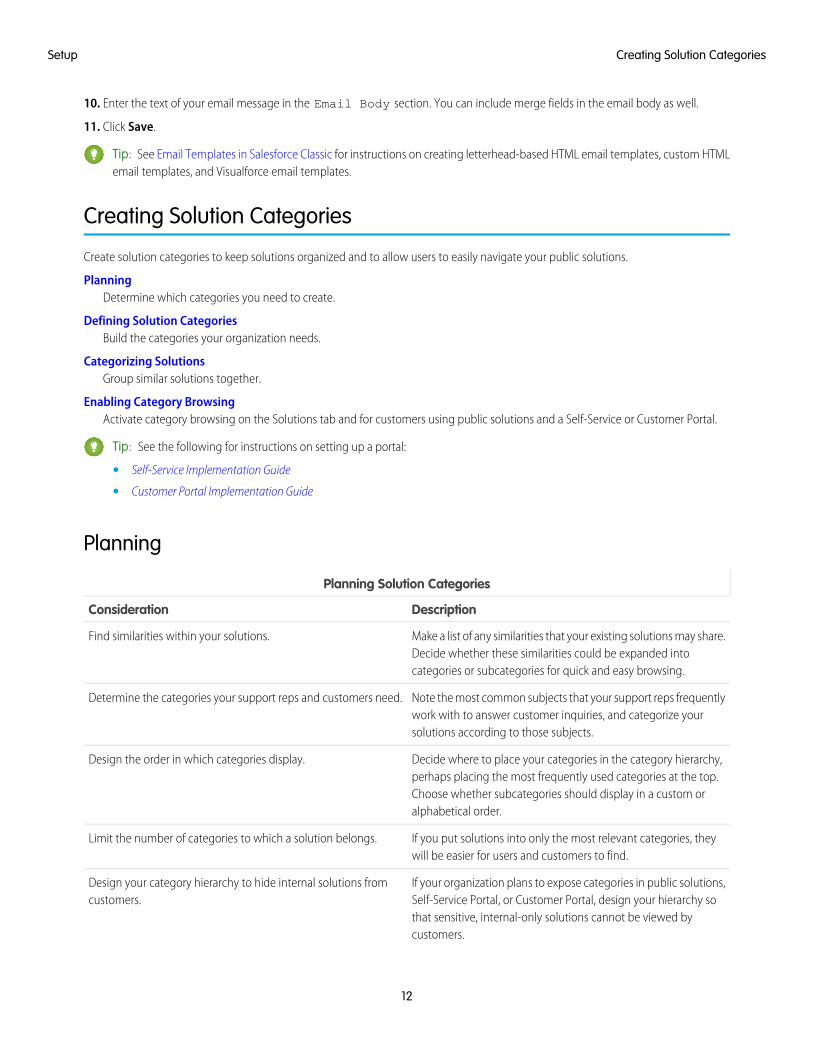
10. Enter the text of your email message in the Email Body section. You can include merge fields in the email body as well.
11. Click Save.
Tip: See Email Templates in Salesforce Classic for instructions on creating letterhead-based HTML email templates, custom HTMLemail templates, and Visualforce email templates.
Creating Solution Categories
Create solution categories to keep solutions organized and to allow users to easily navigate your public solutions.
PlanningDetermine which categories you need to create.
Defining Solution CategoriesBuild the categories your organization needs.
Categorizing SolutionsGroup similar solutions together.
Enabling Category BrowsingActivate category browsing on the Solutions tab and for customers using public solutions and a Self-Service or Customer Portal.
Tip: See the following for instructions on setting up a portal:
• Self-Service Implementation Guide
• Customer Portal Implementation Guide
Planning
Planning Solution Categories
DescriptionConsideration
Make a list of any similarities that your existing solutions may share.Decide whether these similarities could be expanded intocategories or subcategories for quick and easy browsing.
Find similarities within your solutions.
Note the most common subjects that your support reps frequentlywork with to answer customer inquiries, and categorize yoursolutions according to those subjects.
Determine the categories your support reps and customers need.
Decide where to place your categories in the category hierarchy,perhaps placing the most frequently used categories at the top.
Design the order in which categories display.
Choose whether subcategories should display in a custom oralphabetical order.
If you put solutions into only the most relevant categories, theywill be easier for users and customers to find.
Limit the number of categories to which a solution belongs.
If your organization plans to expose categories in public solutions,Self-Service Portal, or Customer Portal, design your hierarchy so
Design your category hierarchy to hide internal solutions fromcustomers.
that sensitive, internal-only solutions cannot be viewed bycustomers.
12
Creating Solution CategoriesSetup
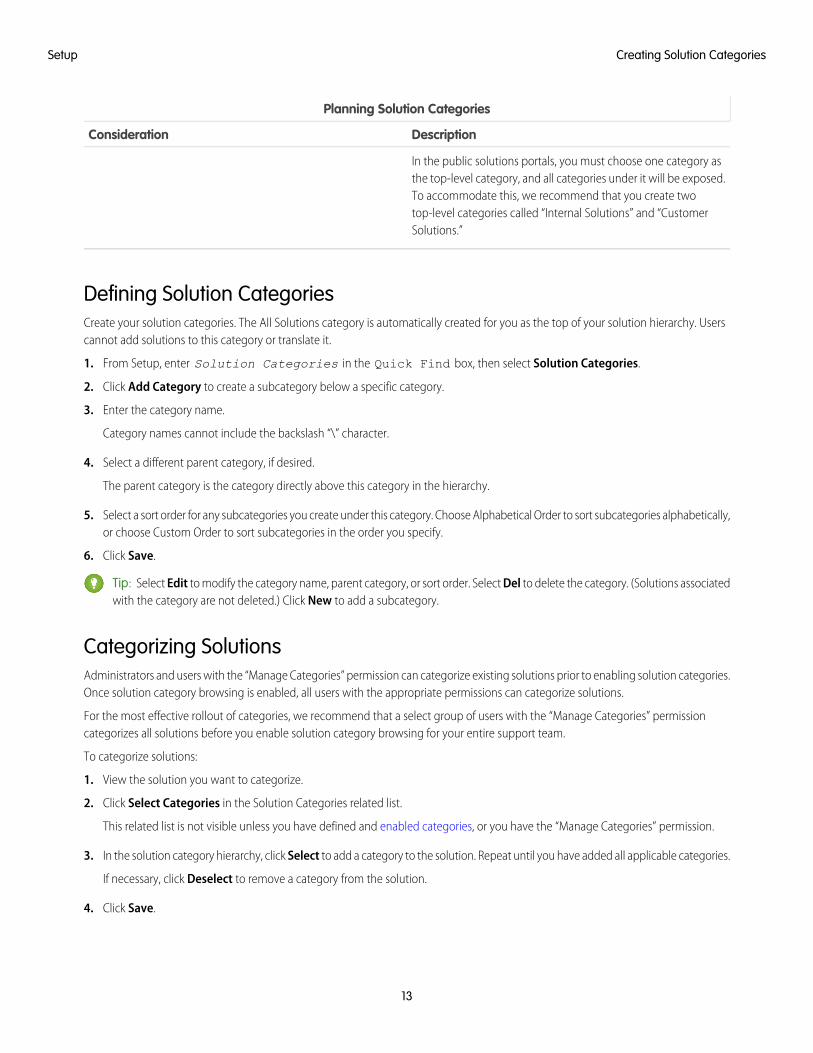
Planning Solution Categories
DescriptionConsideration
In the public solutions portals, you must choose one category asthe top-level category, and all categories under it will be exposed.To accommodate this, we recommend that you create twotop-level categories called “Internal Solutions” and “CustomerSolutions.”
Defining Solution CategoriesCreate your solution categories. The All Solutions category is automatically created for you as the top of your solution hierarchy. Userscannot add solutions to this category or translate it.
1. From Setup, enter Solution Categories in the Quick Find box, then select Solution Categories.
2. Click Add Category to create a subcategory below a specific category.
3. Enter the category name.
Category names cannot include the backslash “\” character.
4. Select a different parent category, if desired.
The parent category is the category directly above this category in the hierarchy.
5. Select a sort order for any subcategories you create under this category. Choose Alphabetical Order to sort subcategories alphabetically,or choose Custom Order to sort subcategories in the order you specify.
6. Click Save.
Tip: Select Edit to modify the category name, parent category, or sort order. Select Del to delete the category. (Solutions associatedwith the category are not deleted.) Click New to add a subcategory.
Categorizing SolutionsAdministrators and users with the “Manage Categories” permission can categorize existing solutions prior to enabling solution categories.Once solution category browsing is enabled, all users with the appropriate permissions can categorize solutions.
For the most effective rollout of categories, we recommend that a select group of users with the “Manage Categories” permissioncategorizes all solutions before you enable solution category browsing for your entire support team.
To categorize solutions:
1. View the solution you want to categorize.
2. Click Select Categories in the Solution Categories related list.
This related list is not visible unless you have defined and enabled categories, or you have the “Manage Categories” permission.
3. In the solution category hierarchy, click Select to add a category to the solution. Repeat until you have added all applicable categories.
If necessary, click Deselect to remove a category from the solution.
4. Click Save.
13
Creating Solution CategoriesSetup
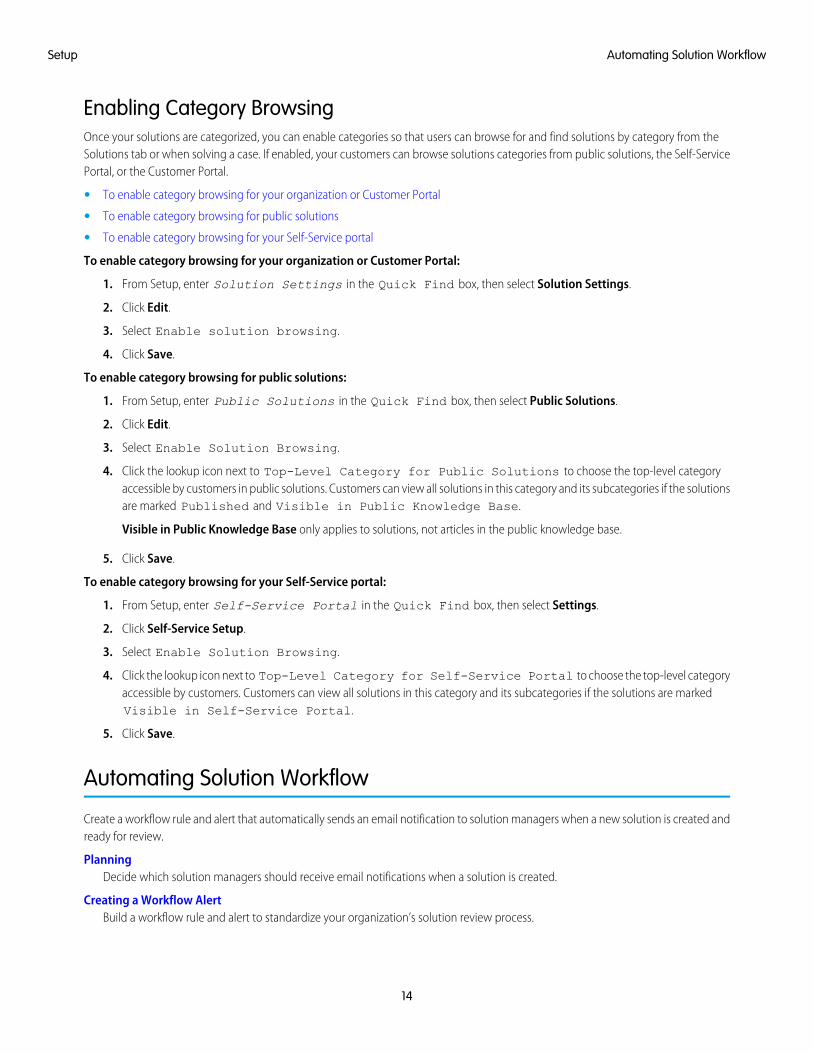
Enabling Category BrowsingOnce your solutions are categorized, you can enable categories so that users can browse for and find solutions by category from theSolutions tab or when solving a case. If enabled, your customers can browse solutions categories from public solutions, the Self-ServicePortal, or the Customer Portal.
• To enable category browsing for your organization or Customer Portal
• To enable category browsing for public solutions
• To enable category browsing for your Self-Service portal
To enable category browsing for your organization or Customer Portal:
1. From Setup, enter Solution Settings in the Quick Find box, then select Solution Settings.
2. Click Edit.
3. Select Enable solution browsing.
4. Click Save.
To enable category browsing for public solutions:
1. From Setup, enter Public Solutions in the Quick Find box, then select Public Solutions.
2. Click Edit.
3. Select Enable Solution Browsing.
4. Click the lookup icon next to Top-Level Category for Public Solutions to choose the top-level categoryaccessible by customers in public solutions. Customers can view all solutions in this category and its subcategories if the solutionsare marked Published and Visible in Public Knowledge Base.
Visible in Public Knowledge Base only applies to solutions, not articles in the public knowledge base.
5. Click Save.
To enable category browsing for your Self-Service portal:
1. From Setup, enter Self-Service Portal in the Quick Find box, then select Settings.
2. Click Self-Service Setup.
3. Select Enable Solution Browsing.
4. Click the lookup icon next to Top-Level Category for Self-Service Portal to choose the top-level categoryaccessible by customers. Customers can view all solutions in this category and its subcategories if the solutions are markedVisible in Self-Service Portal.
5. Click Save.
Automating Solution Workflow
Create a workflow rule and alert that automatically sends an email notification to solution managers when a new solution is created andready for review.
PlanningDecide which solution managers should receive email notifications when a solution is created.
Creating a Workflow AlertBuild a workflow rule and alert to standardize your organization’s solution review process.
14
Automating Solution WorkflowSetup
Tip: Alternatively, see Set Up an Approval Process for information about automating approval processes in Salesforce. An approvalprocess specifies the steps necessary for a record to be approved and who must approve it at each step, plus the actions to takewhen a record is approved, rejected, or first submitted for approval.
Approval processes, solution workflow, and workflow alerts are available in Enterprise, Unlimited, Performance, and DeveloperEditions only.
PlanningDecide which solution managers should be notified when a new solution is created
Your solution review process may have different solution managers review solutions at various stages. Choose solution managersinvolved in the first stage of review.
Choose or create an appropriate email notification templateSelect an email template that includes useful information about a new solution. For example, you may want to include the SolutionTitle and Solution Details merge fields on the notification template so that solution managers can preview the contentsof the new solution. See Creating Email Templates on page 11.
Creating a Workflow AlertSet up Salesforce to automatically send email alerts based on your organization’s workflow.
1. From Setup, enter Workflow Rules in the Quick Find box, then select Workflow Rules.
2. Click New Rule.
3. Choose Solution and click Next.
4. Enter a Rule Name, such as Review New Solution. Optionally, enter a description for the new rule.
5. Set the evaluation criteria to Evaluate the rule when a record is: created. This fires the rule for newly createdsolutions only.
6. Enter the following rule criteria: Status equals Draft.
7. Click Save & Next.
8. Click New Email Alert from the Add Workflow Action drop-down button.
9. Enter a Description for the new alert, such as New Solution Alert.
The Unique Name field is automatically updated with a value that is similar to the value you entered in the Descriptionfield. However, you may need to update the Unique Name field if its value is not unique to your organization.
10. Choose an email template for the alert to use.
11. Select the type of recipient and choose solution managers from the list displayed.
12. Enter up to five additional email addresses if needed. These can be outside of Salesforce.
13. Click Save.
Tip: See Workflow for more information about automating your business processes. Workflow is available for Enterprise, Unlimited,Performance, and Developer Editions.
15
Automating Solution WorkflowSetup
Setting Up Multilingual Solutions
Set up multilingual solutions to help you translate solutions and solution categories into the languages supported by Salesforce.Multilingual solutions allows your customers and support reps to find answers to inquires in the language with which they are mostcomfortable.
Review the following terms for multilingual solutions:
Master SolutionA solution created in any language supported by Salesforce. A master solution can have zero or more translations associated withit; it cannot be linked to another master solution.
Translated SolutionA solution translated into another language supported by Salesforce and associated with exactly one master solution. A translatedsolution cannot have the same language as its master solution or any other translated solutions associated with that master solution.A translated solution cannot have other translated solutions associated with it.
Follow these steps to set up multilingual solutions:
PreparationDetermine the languages in which you want to translate your solutions and solution categories.
Translating Solution CategoriesTranslate your organization’s solution categories into the same languages used to translate your solutions.
Enabling Multilingual SolutionsActivate multilingual solutions.
Tip: For comprehensive information about multilingual solutions, see Multilingual Solutions Overview.
For a list of the languages that Salesforce supports, see Supported Languages .
Preparation
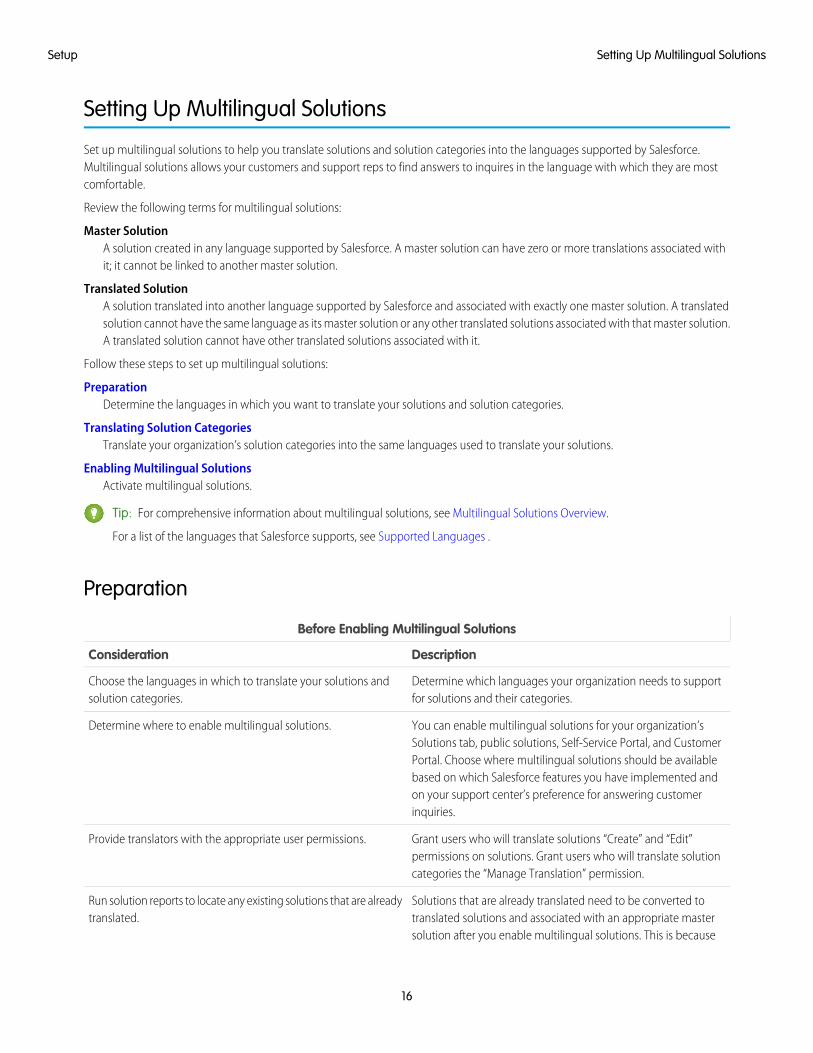
Before Enabling Multilingual Solutions
DescriptionConsideration
Determine which languages your organization needs to supportfor solutions and their categories.
Choose the languages in which to translate your solutions andsolution categories.
You can enable multilingual solutions for your organization’sSolutions tab, public solutions, Self-Service Portal, and Customer
Determine where to enable multilingual solutions.
Portal. Choose where multilingual solutions should be availablebased on which Salesforce features you have implemented andon your support center’s preference for answering customerinquiries.
Grant users who will translate solutions “Create” and “Edit”permissions on solutions. Grant users who will translate solutioncategories the “Manage Translation” permission.
Provide translators with the appropriate user permissions.
Solutions that are already translated need to be converted totranslated solutions and associated with an appropriate master
Run solution reports to locate any existing solutions that are alreadytranslated.
solution after you enable multilingual solutions. This is because
16
Setting Up Multilingual SolutionsSetup
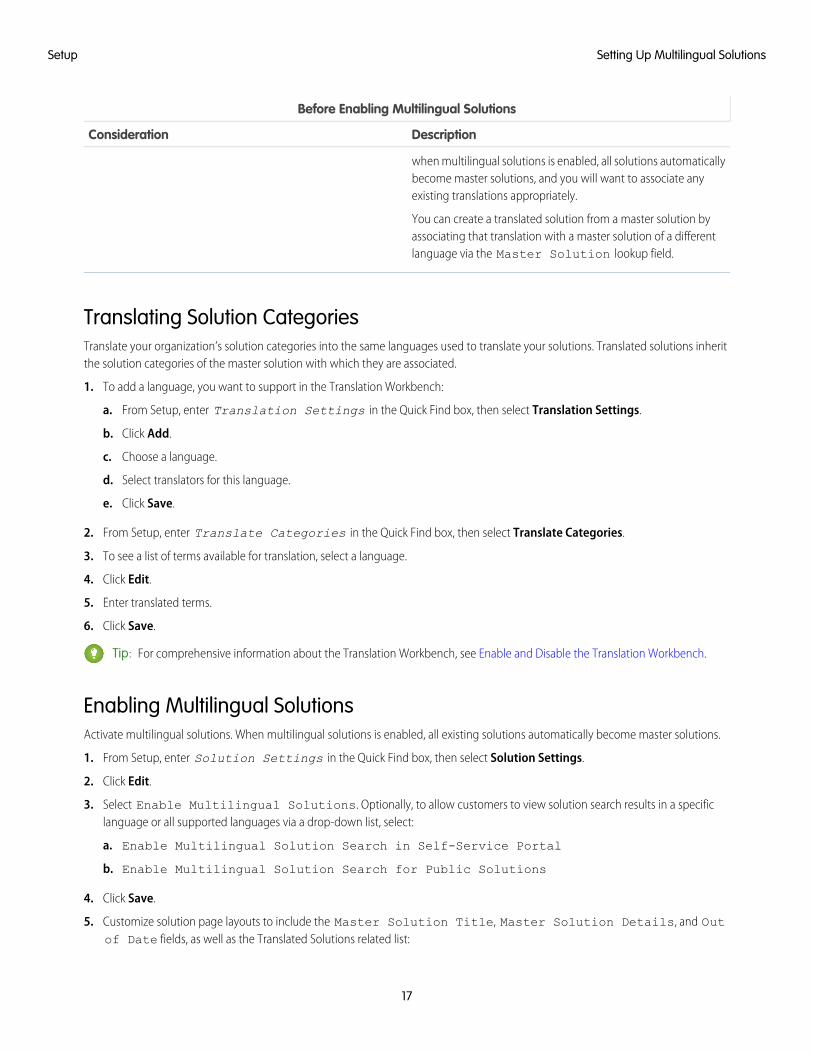
Before Enabling Multilingual Solutions
DescriptionConsideration
when multilingual solutions is enabled, all solutions automaticallybecome master solutions, and you will want to associate anyexisting translations appropriately.
You can create a translated solution from a master solution byassociating that translation with a master solution of a differentlanguage via the Master Solution lookup field.
Translating Solution CategoriesTranslate your organization’s solution categories into the same languages used to translate your solutions. Translated solutions inheritthe solution categories of the master solution with which they are associated.
1. To add a language, you want to support in the Translation Workbench:
a. From Setup, enter Translation Settings in the Quick Find box, then select Translation Settings.
b. Click Add.
c. Choose a language.
d. Select translators for this language.
e. Click Save.
2. From Setup, enter Translate Categories in the Quick Find box, then select Translate Categories.
3. To see a list of terms available for translation, select a language.
4. Click Edit.
5. Enter translated terms.
6. Click Save.
Tip: For comprehensive information about the Translation Workbench, see Enable and Disable the Translation Workbench.
Enabling Multilingual SolutionsActivate multilingual solutions. When multilingual solutions is enabled, all existing solutions automatically become master solutions.
1. From Setup, enter Solution Settings in the Quick Find box, then select Solution Settings.
2. Click Edit.
3. Select Enable Multilingual Solutions. Optionally, to allow customers to view solution search results in a specificlanguage or all supported languages via a drop-down list, select:
a. Enable Multilingual Solution Search in Self-Service Portal
b. Enable Multilingual Solution Search for Public Solutions
4. Click Save.
5. Customize solution page layouts to include the Master Solution Title, Master Solution Details, and Outof Date fields, as well as the Translated Solutions related list:
17
Setting Up Multilingual SolutionsSetup
From Setup, enter Solutions in the Quick Find box, then select Page Layouts.a.
b. In Enterprise, Unlimited, Performance, and Developer Edition organizations, click Edit next to the name of the appropriate pagelayout.
c. Optionally, you can make solution edit pages easier for users to translate multilingual solutions by setting the Detail Informationsection to two columns and placing the Master Solution Title and Master Solution Details fieldsalongside each other so that users can effortlessly compare master and translated solutions.
d. Click Save.
6. To allow users to associate translated solutions with master solutions, set the field-level security settings of the Master Solutionlookup field to editable for profiles with Create and Edit permissions on solutions:
a. From Setup, enter Solutions in the Quick Find box, then select Fields.
b. Select the Master Solution field.
c. Click Set Field-Level Security.
Field-level security is available in Enterprise, Unlimited, Performance, and Developer Editions only.
d. Select Visible for profiles with Create and Edit permissions on solutions.
e. Click Save.
7. As a best practice, add a long text area custom field to solutions called Translation Comments, and include it on solutionpage layouts so that users can add any comments regarding the translation of a solution.
Importing Solutions
Importing your solution data is simple regardless of what application you are using. If you are using an application that allows you toexport data into a comma separated values format (CSV), you can import that data into Salesforce.
The import process consists of four main steps:
1. Planning
2. Exporting Your Data
3. Preparing Your Import File
4. Importing Your File into Salesforce
Tip: Optionally, you can use the Data Loader to import and update large numbers of solutions. For more information about theData Loader, see Data Loader.
PlanningBefore you import your data from another source:
Determine if you need to create custom fieldsYou may want to import data into Salesforce that Salesforce does not track in any standard fields.
Determine the languages in which to import solutionsIf you have enabled multilingual solutions, then you must prepare a unique import file for each language, because the import processonly supports importing one language at a time. For each translated solution, include the 15- to 18-character Solution ID of its mastersolution in an import file column named “master solution ID.” This will help prevent having to manually associate translated solutionswith master solutions after importing.
18
Importing SolutionsSetup
Exporting Your DataExporting your data takes place outside of Salesforce. Use your current application to create an export file of all your data.
The steps for this part of the procedure differ depending on the application you are using. Consult the help for the exact instructions foryour application. For most applications, click File > Export to get started exporting your data.
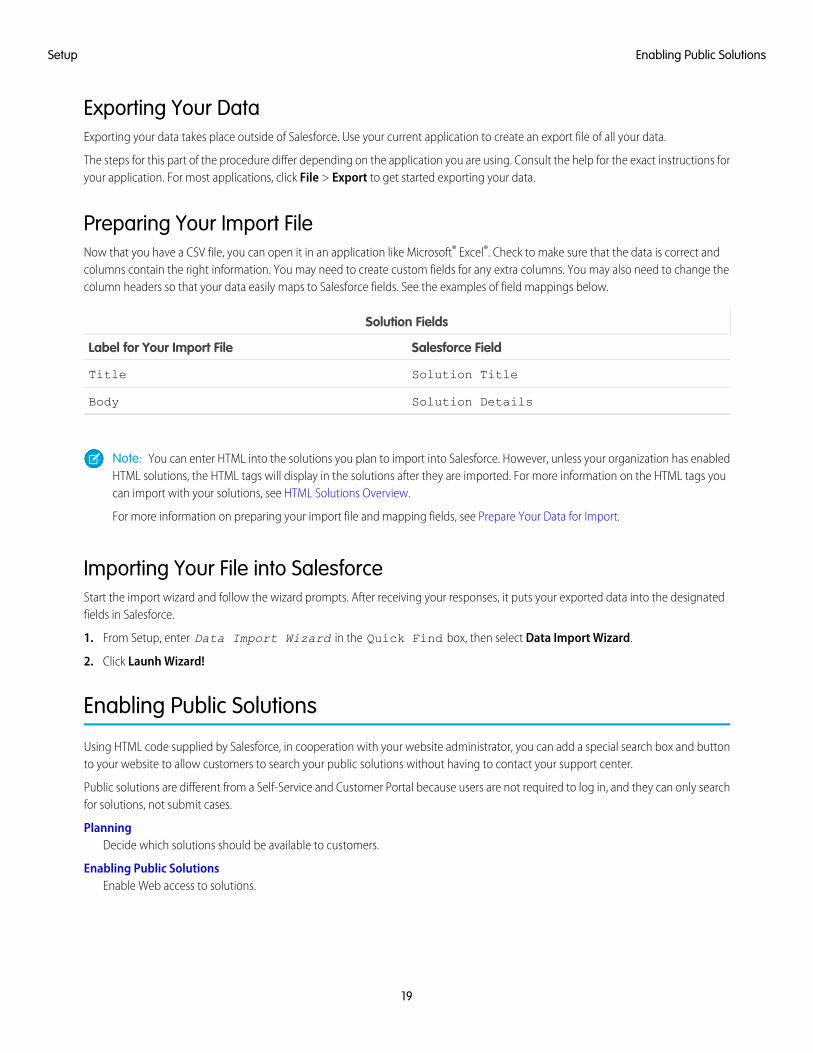
Preparing Your Import FileNow that you have a CSV file, you can open it in an application like Microsoft® Excel®. Check to make sure that the data is correct andcolumns contain the right information. You may need to create custom fields for any extra columns. You may also need to change thecolumn headers so that your data easily maps to Salesforce fields. See the examples of field mappings below.
Solution Fields
Salesforce FieldLabel for Your Import File
Solution TitleTitle
Solution DetailsBody
Note: You can enter HTML into the solutions you plan to import into Salesforce. However, unless your organization has enabledHTML solutions, the HTML tags will display in the solutions after they are imported. For more information on the HTML tags youcan import with your solutions, see HTML Solutions Overview.
For more information on preparing your import file and mapping fields, see Prepare Your Data for Import.
Importing Your File into SalesforceStart the import wizard and follow the wizard prompts. After receiving your responses, it puts your exported data into the designatedfields in Salesforce.
1. From Setup, enter Data Import Wizard in the Quick Find box, then select Data Import Wizard.
2. Click Launh Wizard!
Enabling Public Solutions
Using HTML code supplied by Salesforce, in cooperation with your website administrator, you can add a special search box and buttonto your website to allow customers to search your public solutions without having to contact your support center.
Public solutions are different from a Self-Service and Customer Portal because users are not required to log in, and they can only searchfor solutions, not submit cases.
PlanningDecide which solutions should be available to customers.
Enabling Public SolutionsEnable Web access to solutions.
19
Enabling Public SolutionsSetup
PlanningBefore you enable public solutions:
Ask your website administrator if your site supports framesThe public solutions search box and button are displayed in a frame. Your website must support frames in order for the solutionsearch feature to work.
Determine if there are any solutions that should not be made publicly availableSearch for solutions used for internal purposes only. Verify that they are not marked Visible in Public KnowledgeBase. (This field only applies to solutions, not articles in the public knowledge base.)
Choose which solutions should be publicly availableSelect the Visible in Public Knowledge Base field on each solution you want available as a public solution, andmake sure the solution has a reviewed Status. Solutions with a draft Status cannot be accessed from public solutions. (Visiblein Public Knowledge Base only applies to solutions, not articles in the public knowledge base.)
Add or remove any solution attachmentsAll attachments associated with solutions marked Visible in Public Knowledge Base will be available as publicsolutions. Determine if you should add or remove any attachments. (Visible in Public Knowledge Base only applies to solutions,not articles in the public knowledge base.)
Decide if you want customers to browse solutions by categoryIf your organization uses solution categories, you can make those categories available for public solutions. To build categories, seeCreating Solution Categories on page 12.
Decide if you want to rename the term “Solutions” for public solutionsYou can change the word or phrase that is used to describe public solutions. For example, your company may prefer to use “FAQ”instead of “Solutions.”
Enabling Public SolutionsTo allow customers to access public solutions via the Web:
1. From Setup, enter Public Solutions in the Quick Find box, then select Public Solutions.
2. Click Edit.
3. Select Public Solutions Enabled.
4. If your organization uses solution categories, select Enable Solution Browsing to allow customers to browse solutionsby category on public solutions.
5. If desired, you can change the appearance of the frame on your website by specifying the Maximum Page Width and MinimumPage Height.
6. Provide the URL of your CSS file in Style Sheet URL. The CSS file does not have to exist yet; you can download a sample fileas a starting point later, or use your own file.
7. If desired, change the word or phrase that is used to describe solutions for public solutions using the Alternative Term fields.Provide singular and plural versions of the term.
8. Click Save.
9. If desired, click Download Sample CSS File to get the Salesforce style sheet.
10. Click Generate HTML.
11. Copy the resulting HTML code and click Finished.
12. Send the HTML (and the CSS file, if you downloaded it) to your website administrator to be added to your website.
20
Enabling Public SolutionsSetup
Enabling a Self-Service or Customer Portal
You can enable a Self-Service or Customer Portal that allows your customers to resolve their inquiries 24/7 without contacting a customersupport rep. Customers can search for solutions, check their existing cases, log new cases, and leverage suggested solutions to closecases.
See the following documents for instructions on setting up a portal, including how to list up to five solutions of your choice on the homepage users see when they first log in:
• Self-Service > Implementation Guide
• Customer Portal Implementation Guide
21
Enabling a Self-Service or Customer PortalSetup
FEATURE ROLLOUT
This section lists recommendations for rolling out solutions to users.
Solution Process OverviewExplain the basic steps of creating and reviewing a solution.
Training Users to Create SolutionsTrain your users how to create solutions that are reusable and easy to understand.
Training Solution Managers to Review SolutionsTrain solution managers how to review and update solutions.
Key ReportsDesign simple reports for users.
Solution Process Overview
This section lists the four basic steps that a support team follows during the process of creating and publishing a solution.
Verify a Solution Is NeededCheck that a solution is needed to address a specific inquiry. Make sure that no solution already answers the inquiry by searchingon the Solutions tab or on the Solutions related list of a case.
Create a Draft SolutionEnter the title and details of a new solution. Double-check the solution for accuracy, language, structure, and readability.
When satisfied with the quality of the solution, select Draft from the Status picklist field and save the solution. Then, select theappropriate categories with which the solution should be associated.
Review the SolutionReview level 1 solution managers are notified via a workflow alert that a new solution is ready for review. They check for duplicatesolutions, and if none are found, they review the solution for accuracy, make sure it meets their organization’s solution standards,and update the solution’s content if necessary.
Solution managers also verify that the solution is associated with the correct categories. When satisfied with the quality of thesolution, they select Review Level 1 from the Status picklist field and save the solution.
Publish the SolutionReview level 2 solution managers report on solutions with a Review Level 1 status. They review the solution for accuracy and makesure it meets their organization’s solution standards. They decide whether to publish each solution to public solutions and Self-Serviceor Customer Portal. Before finishing, they select Review Level 2 from the Status picklist field and save the solution.
Tip: For best practices, see the Tips & Hints for Solutions tip sheet.
Training Users to Create Solutions
We recommend training your users to create solutions that meet the following guidelines so that solutions can easily be found andunderstood:
22

Language
• Write clearly and concisely using simple words and short sentences.
• Use terms that your audience will understand.
• Describe the issue fully, including all facts and symptoms.
• Avoid any customer-specific information so that the solution can be reused.
Structure
• Use a consistent format that includes a title, the symptoms, the cause, and the resolution.
• Use line breaks, bullets, and numbered steps so the solution is easy to read.
Searchable
• Include any alternate or informal names that your audience uses to refer to your products.
• Include appropriate keywords so the solution can be found by multiple troubleshooting paths and by different people who willdescribe problems in different ways.
• Group related solutions together into logical categories.
Accuracy
• Verify the information is accurate and up-to-date.
Training Solution Managers to Review Solutions
To maintain high-quality solutions, we recommend training solution managers to follow the solution review process below:
Check for DuplicatesMake sure that a solution being reviewed does not already exist. On the Solutions tab, search for pertinent keywords to find existingsolutions for the same issue.
Enforce GuidelinesVerify that the solution follows your organization’s solution guidelines for language, structure, and accuracy. For details, see TrainingUsers to Create Solutions.
Change StatusAfter reviewing the solution, change its status to the next status of your organization’s solution review process.
Publish the SolutionSelect the Visible in Self-Service Portal checkbox to make the solution available to customers who access yourSelf-Service or Customer Portal, and select the Visible in Public Knowledge Base checkbox to make the solutionavailable to customers who access your public solutions. Visible in Public Knowledge Base only applies to solutions, not articlesin the public knowledge base.
Key Reports
Use the Reports tab to view and analyze your solution data. The Support Reports folder includes default solution reports such as SolutionList, Translated Solutions, and Solution History. You can also create custom solution reports: click Create New Custom Report, selectCustomer Support Reports, and then select Solutions.
Some examples of solution reports include:
23
Training Solution Managers to Review SolutionsFeature Rollout
Solutions that Need Review ReportTo see which solutions need to be reviewed by solution managers, you can create a custom report of type Solutions and use theadvanced report filters to enter the following criteria: Reviewed equals False.
Solutions with Number of Related Cases ReportTo see which solutions are most frequently associated with cases by your support reps, you can create a custom report of typeSolutions and display the Num Related Cases field.
Solution Categories ReportIf you enabled solution categories for your organization, you can create a custom report of type Solution Categories to verify that allsolutions are categorized correctly. To find any uncategorized solutions, use the advanced report filters; choose the CategoryName field and the “equals” operator, and leave the third field blank.
Solution History ReportChoose the Solution History report type to track the history of standard and custom fields on solutions where field histories are setto tracked. Use this report to see the old and new values of tracked fields.
Translated Solutions ReportIf you enabled multilingual solutions for your organization, you can choose the Translated Solutions report type to see which translatedsolutions are marked Out of Date and may need translating.
24
Key ReportsFeature Rollout
INDEX
AAbout
this guide 1
BBenefits
solutions 1
CCustomer Portal
enabling 21
EEmail templates
about 11planning 11
Email Templatescreating 11
FFields
creating 5customizing 4planning 4Status picklist values 6tracking history 6validation rules 6
HHTML solutions
about 3enabling 3tips 3
IImporting solutions
about 18exporting data 19import file 19planning 18preparing import file 19
MMultilingual solutions
enabling 17
Multilingual solutions (continued)master solution 16preparation 16Setting up 16translated solution 16translating solution categories 17
OOverview
solutions 1
PPublic solutions
enabling 20planning 20
Public Solutionsenabling 19
RRecord types
about 7creating 8planning 8
Reportssolution reports 23
SSearch layouts
customizing 10planning 10
Self-Service portalenabling 21
Setupsolutions 2
Solution categoriescategorizing 13creating 12defining 13enabling 14planning 12translating 17
Solution managercreating 3tips 3
Solution page layoutscustomizing 9
25
Solution page layouts (continued)modifying 10planning 9
Solution processesabout 7creating 8planning 8
Solutionsoverview 1process overview 22public 19rolling out 22
Solutions managerchoosing 2
Suggested solutionsabout 7enabling 7
TTraining
solution managers 23users 22
VValidation rules
creating 6
WWorkflow
automating 14creating 15planning 15
26
Index