Embed Size (px)
Citation preview
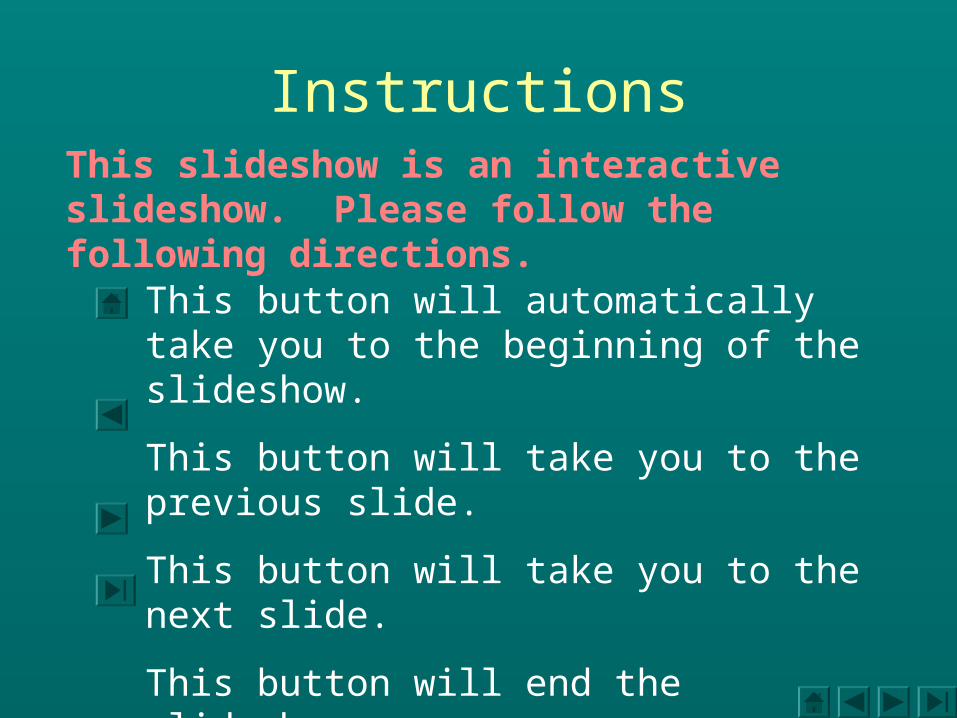
This button will automatically take you to the beginning of the slideshow.
This button will take you to the previous slide.
This button will take you to the next slide.
This button will end the slideshow.
InstructionsThis slideshow is an interactive slideshow. Please follow the following directions.
Create a Music CD
By: Derek Baker
Online
• Please make sure that you are connected to the Internet either by…– Cable– Dial-up– DSL– ISDN– T1
Software Requirements…
• For Napster– Windows Media Player 7.1 or higher and
Microsoft Internet Explorer 5.01, IE 5.5 (service pack 1)
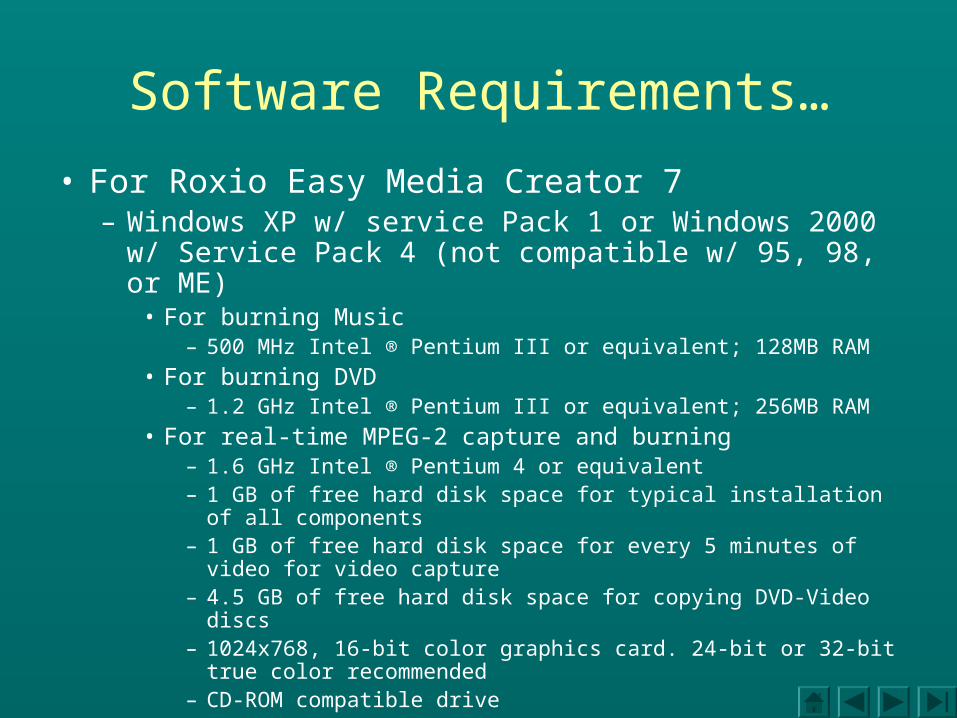
Software Requirements…
• For Roxio Easy Media Creator 7– Windows XP w/ service Pack 1 or Windows 2000 w/
Service Pack 4 (not compatible w/ 95, 98, or ME)• For burning Music
– 500 MHz Intel ® Pentium III or equivalent; 128MB RAM
• For burning DVD– 1.2 GHz Intel ® Pentium III or equivalent; 256MB RAM
• For real-time MPEG-2 capture and burning– 1.6 GHz Intel ® Pentium 4 or equivalent– 1 GB of free hard disk space for typical installation of all
components – 1 GB of free hard disk space for every 5 minutes of video for
video capture– 4.5 GB of free hard disk space for copying DVD-Video discs – 1024x768, 16-bit color graphics card. 24-bit or 32-bit true color
recommended – CD-ROM compatible drive
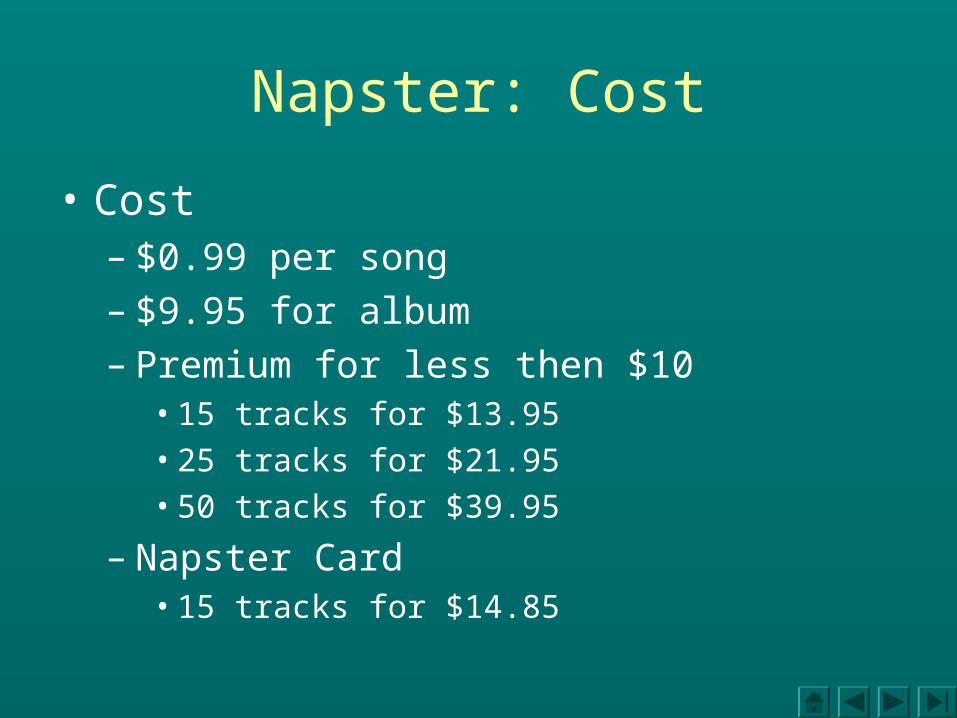
Napster: Cost
• Cost– $0.99 per song– $9.95 for album– Premium for less then $10
• 15 tracks for $13.95• 25 tracks for $21.95• 50 tracks for $39.95
– Napster Card• 15 tracks for $14.85
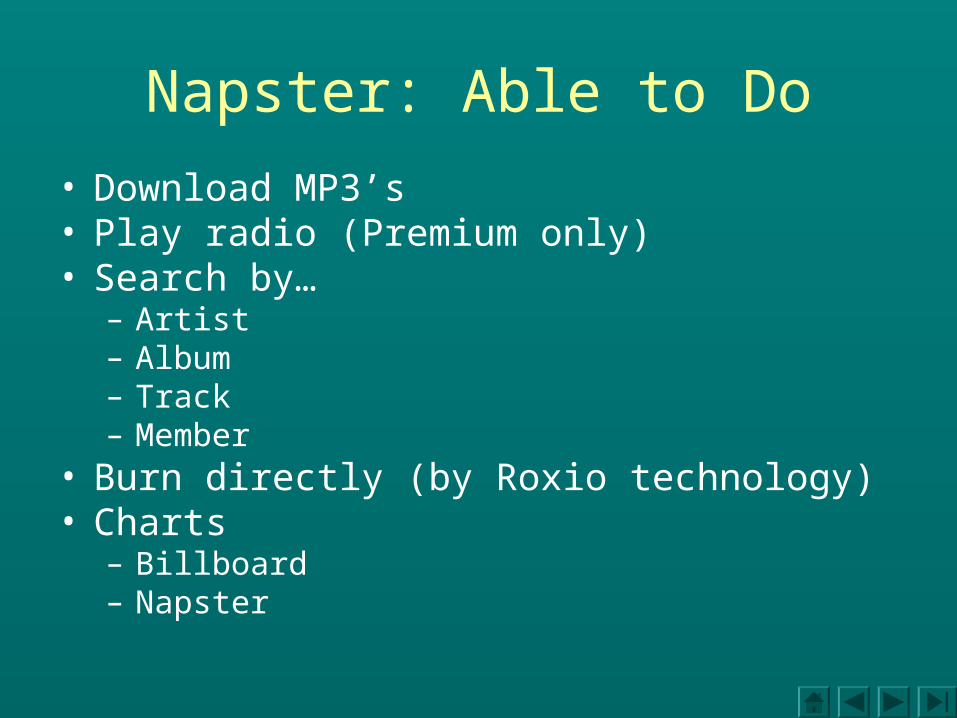
Napster: Able to Do
• Download MP3’s• Play radio (Premium only)• Search by…
– Artist– Album– Track– Member
• Burn directly (by Roxio technology)• Charts
– Billboard– Napster
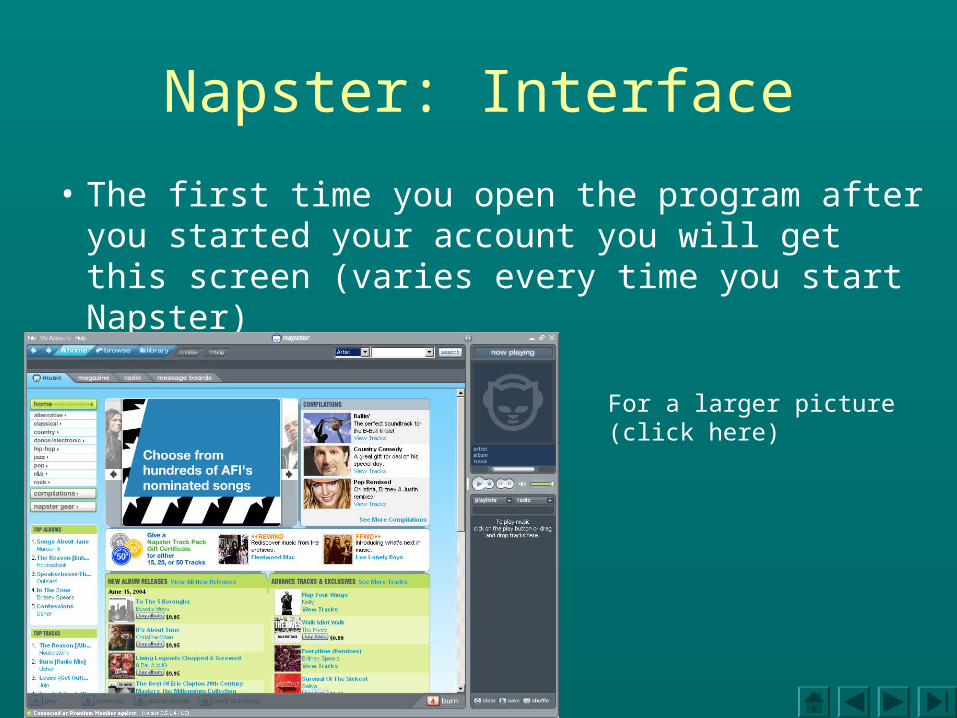
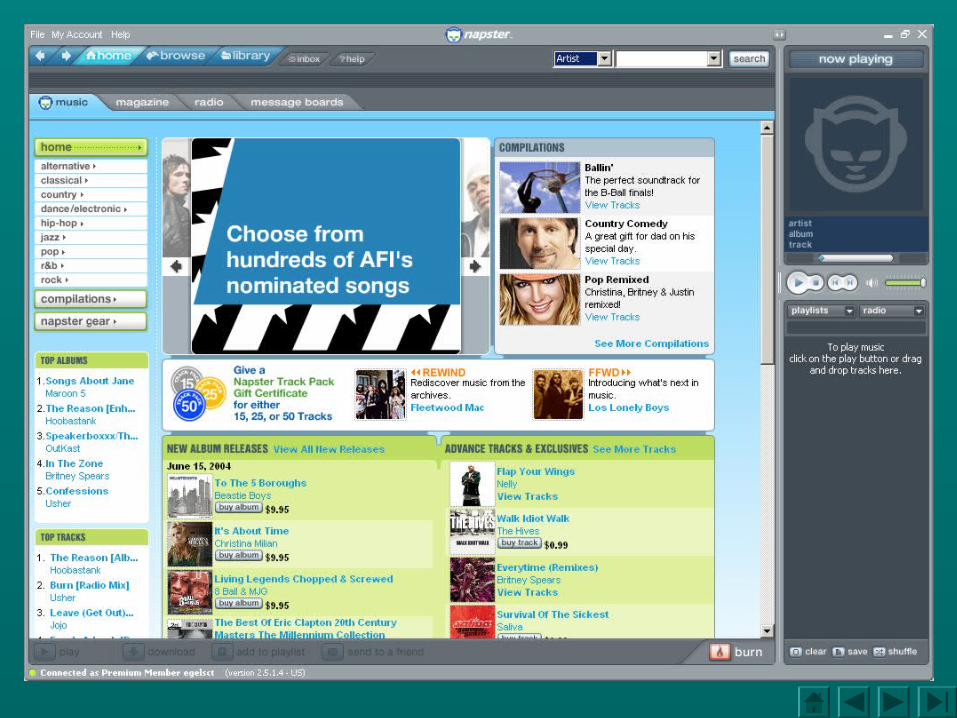
Napster: Interface
• The first time you open the program after you started your account you will get this screen (varies every time you start Napster)
For a larger picture (click here)
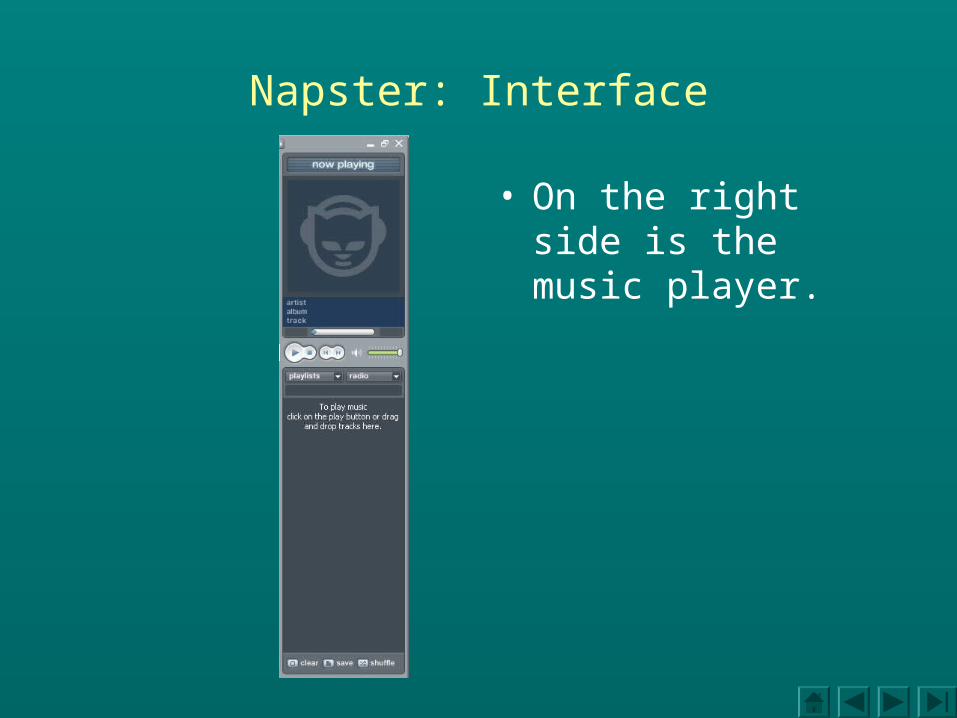
Napster: Interface
• On the right side is the music player.
Napster: Interface
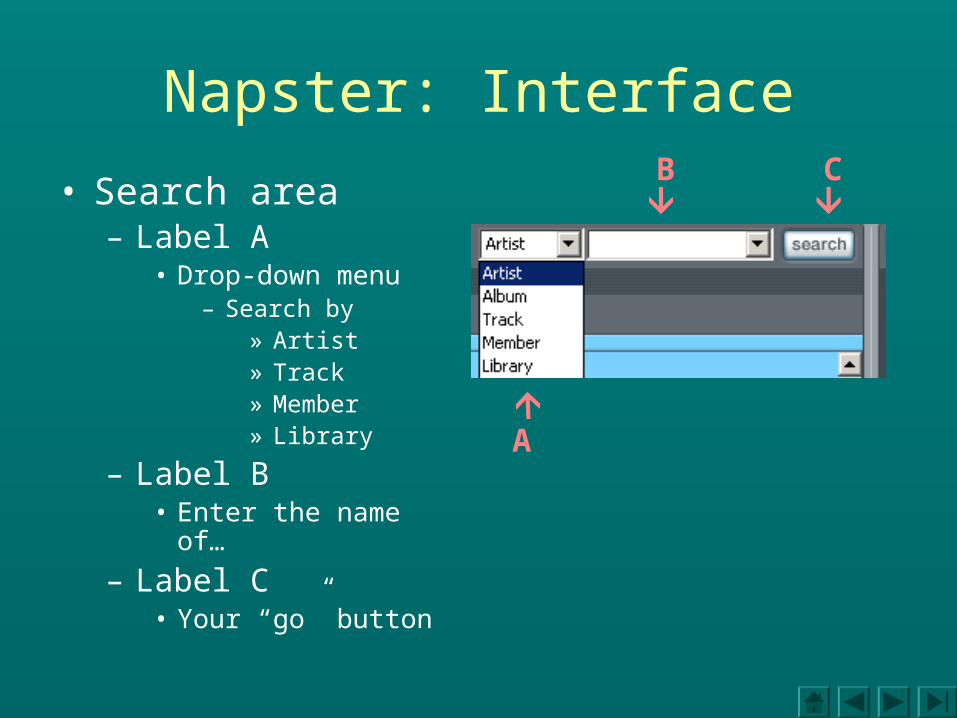
• Search area– Label A
• Drop-down menu– Search by
» Artist» Track» Member» Library
– Label B• Enter the name of…
– Label C• Your “go” button
A
B C
Napster: Search
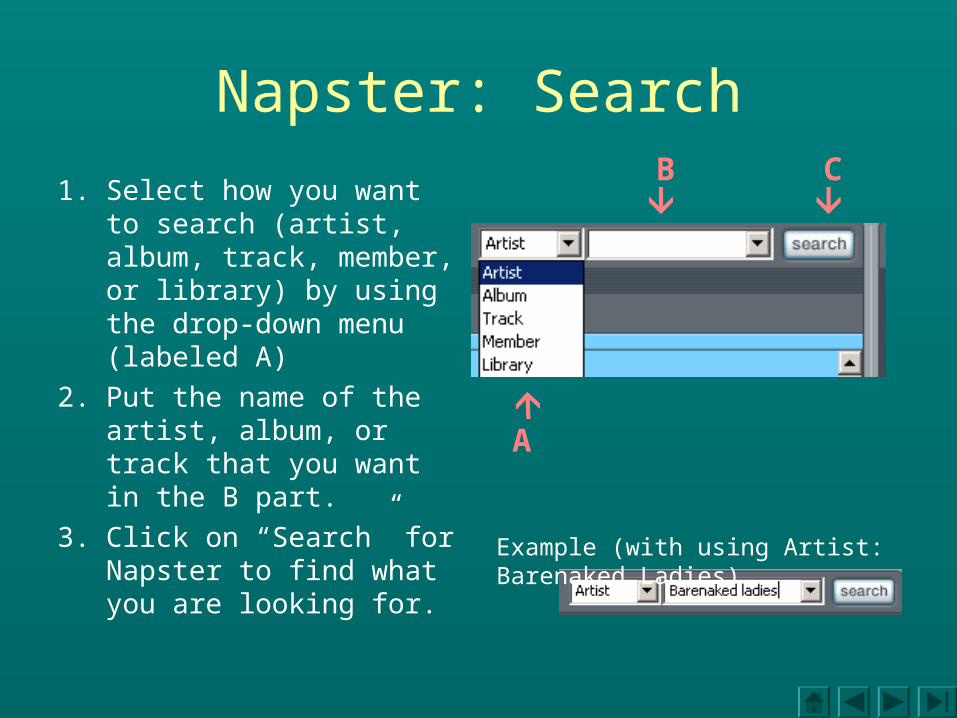
1. Select how you want to search (artist, album, track, member, or library) by using the drop-down menu (labeled A)
2. Put the name of the artist, album, or track that you want in the B part.
3. Click on “Search” for Napster to find what you are looking for.
A
B C
Example (with using Artist: Barenaked Ladies)
Napster: Search
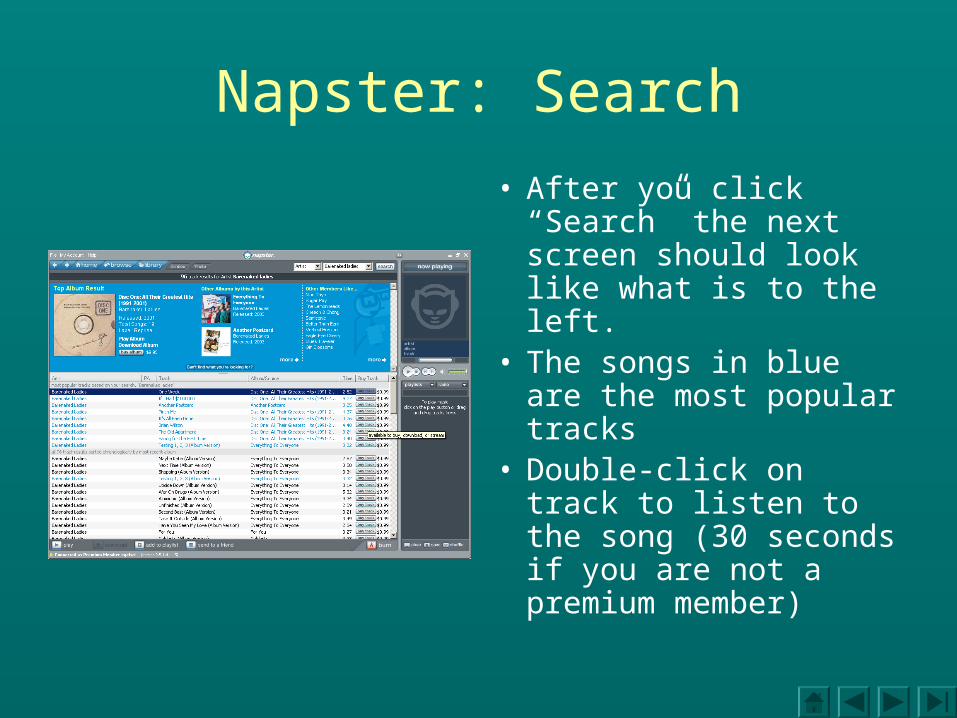
• After you click “Search” the next screen should look like what is to the left.
• The songs in blue are the most popular tracks
• Double-click on track to listen to the song (30 seconds if you are not a premium member)
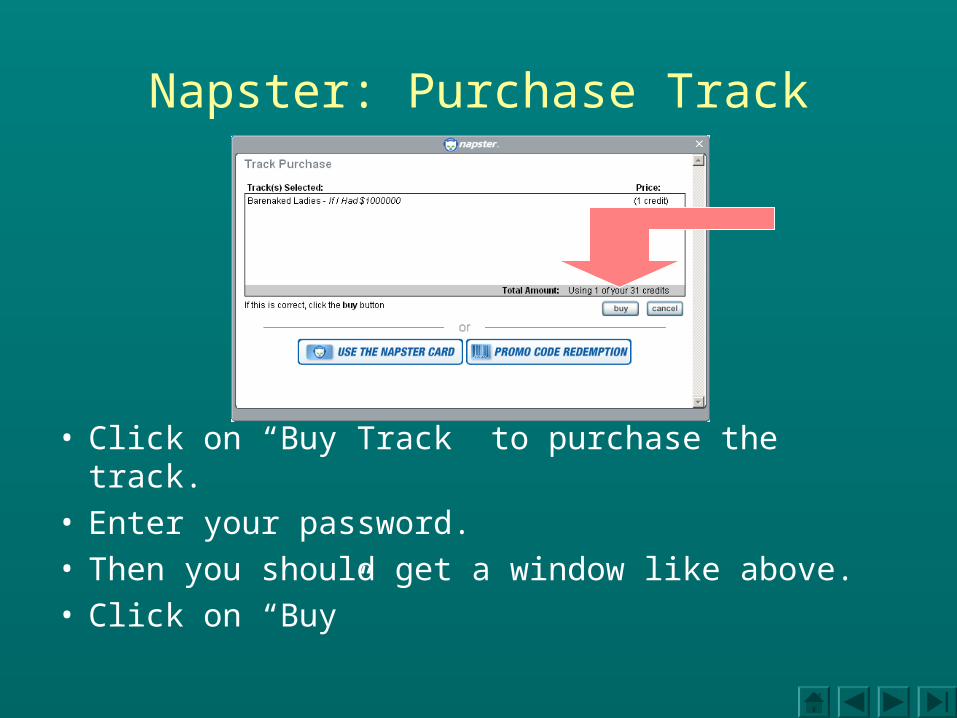
Napster: Purchase Track
• Click on “Buy Track” to purchase the track.• Enter your password.• Then you should get a window like above.• Click on “Buy”
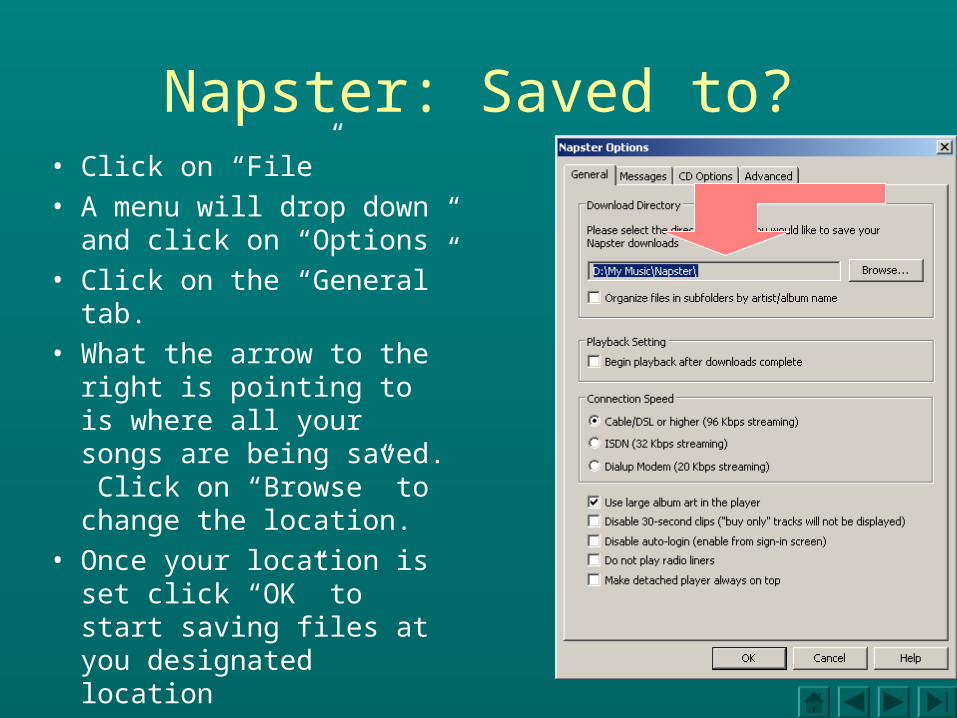
Napster: Saved to?• Click on “File”• A menu will drop down
and click on “Options”• Click on the “General” tab.• What the arrow to the
right is pointing to is where all your songs are being saved. Click on “Browse” to change the location.
• Once your location is set click “OK” to start saving files at you designated location
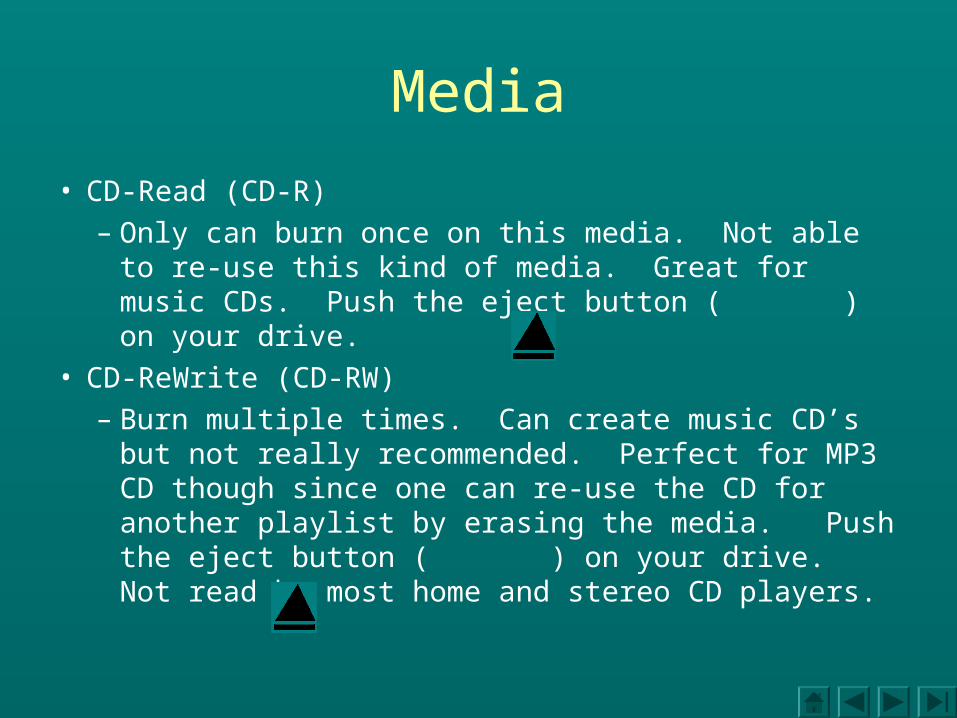
Media
• CD-Read (CD-R)– Only can burn once on this media. Not able to re-
use this kind of media. Great for music CDs. Push the eject button ( ) on your drive.
• CD-ReWrite (CD-RW)– Burn multiple times. Can create music CD’s but
not really recommended. Perfect for MP3 CD though since one can re-use the CD for another playlist by erasing the media. Push the eject button ( ) on your drive. Not read by most home and stereo CD players.
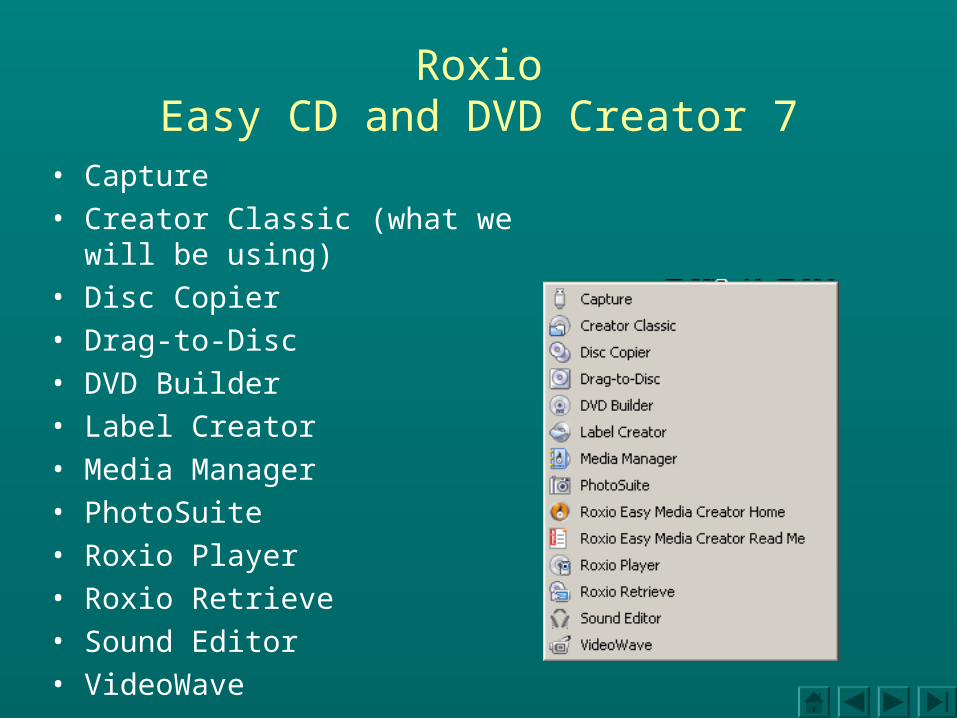
RoxioEasy CD and DVD Creator 7
• Capture
• Creator Classic (what we will be using)
• Disc Copier
• Drag-to-Disc
• DVD Builder
• Label Creator
• Media Manager
• PhotoSuite
• Roxio Player
• Roxio Retrieve
• Sound Editor
• VideoWave
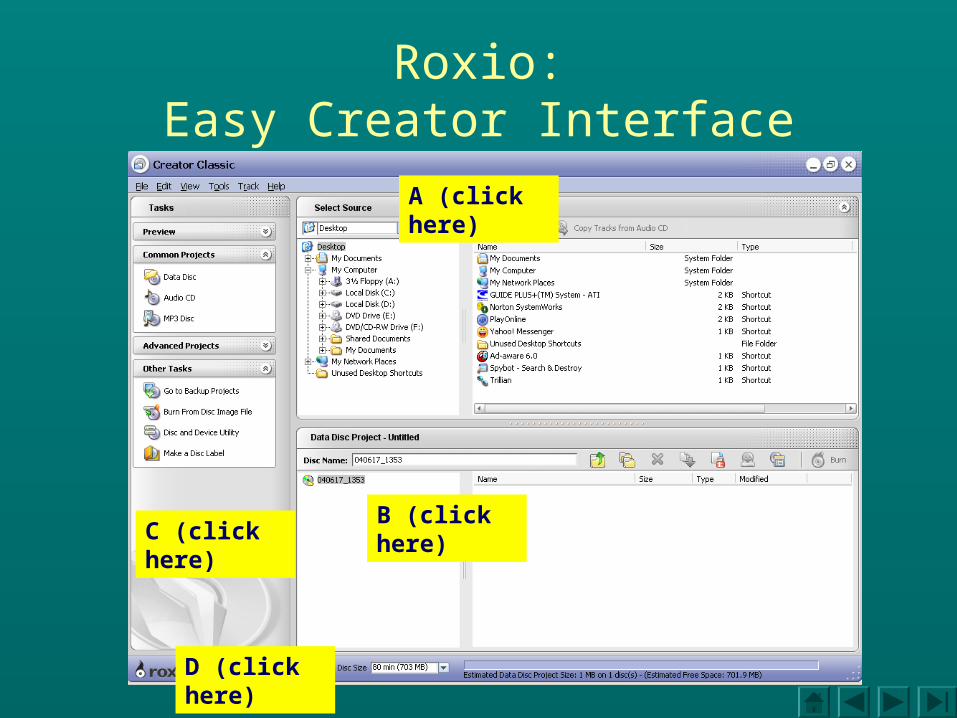
Roxio:Easy Creator Interface
A (click here)
B (click here)C (click
here)
D (click here)
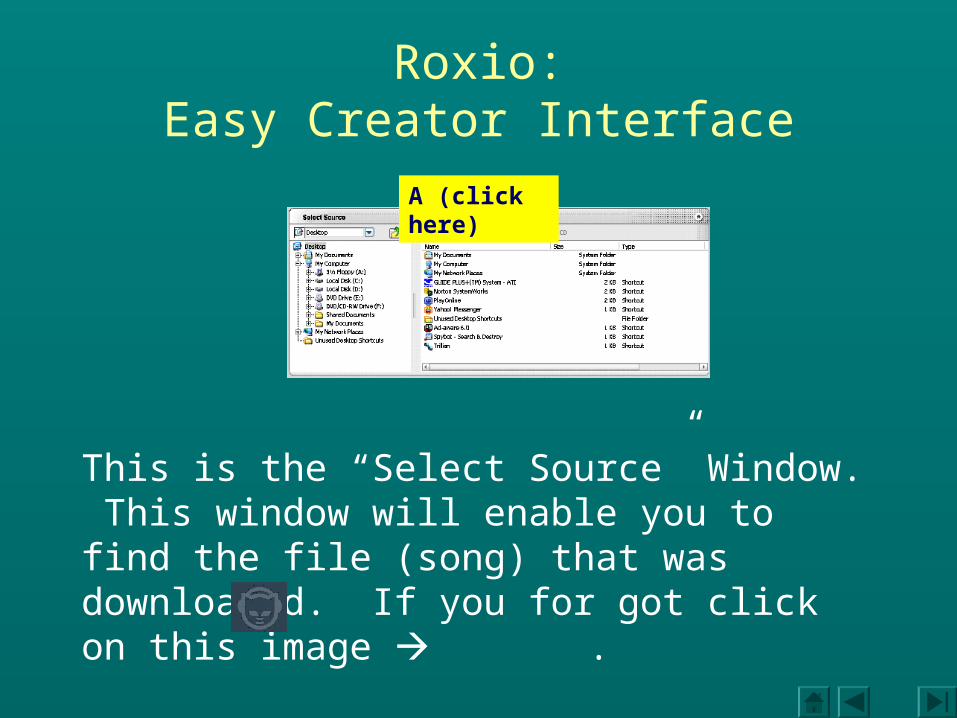
Roxio:Easy Creator Interface
A (click here)
This is the “Select Source” Window. This window will enable you to find the file (song) that was downloaded. If you for got click on this image .

Roxio:Easy Creator Interface
B (click here)
This is the “Audio CD Project” Window. Everything that will be put on your CD goes here. You will be able to insert the transitions in this window as well.
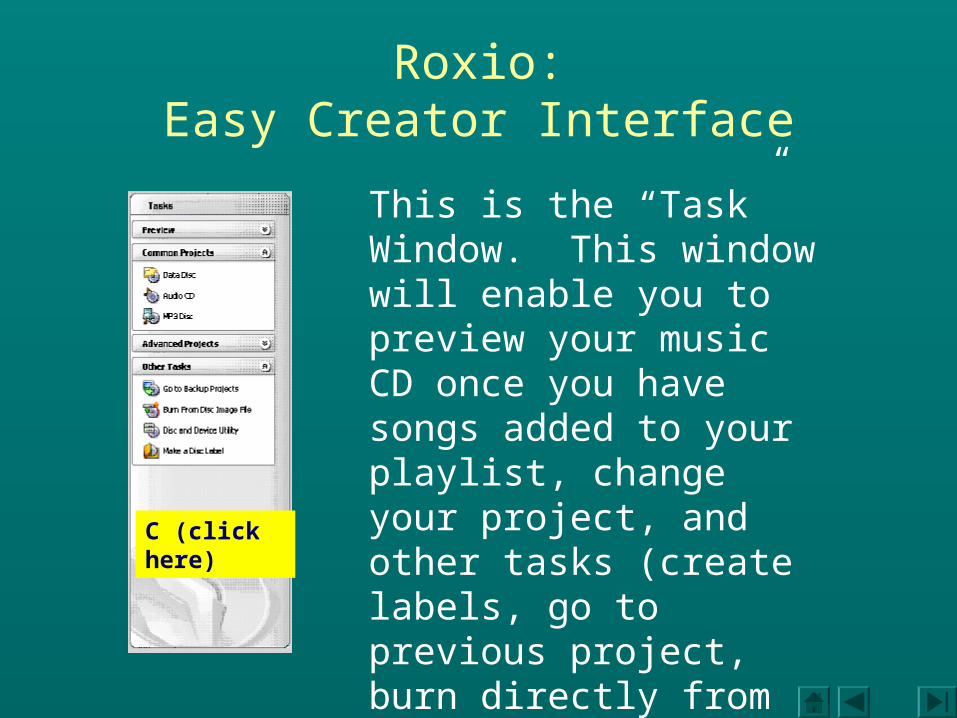
Roxio:Easy Creator Interface
C (click here)
This is the “Task” Window. This window will enable you to preview your music CD once you have songs added to your playlist, change your project, and other tasks (create labels, go to previous project, burn directly from disc image, and disc and device utility.
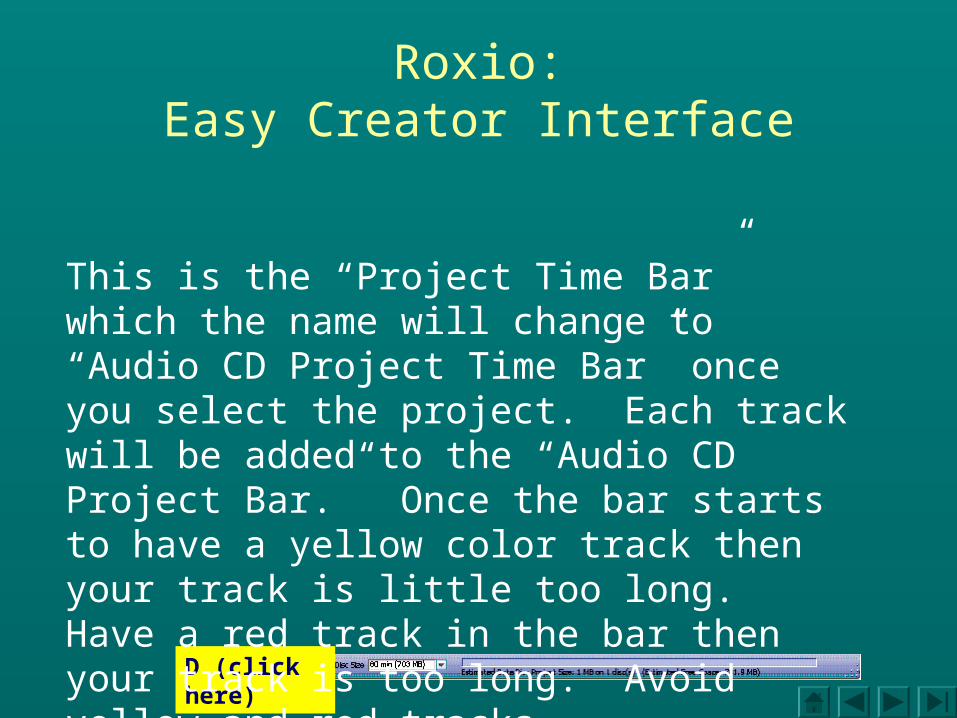
Roxio:Easy Creator Interface
D (click here)
This is the “Project Time Bar” which the name will change to “Audio CD Project Time Bar” once you select the project. Each track will be added to the “Audio CD Project Bar.” Once the bar starts to have a yellow color track then your track is little too long. Have a red track in the bar then your track is too long. Avoid yellow and red tracks.

Roxio: Get the Songs
• In the “Task” window click on “Audio CD” (green arrow to the right)
– This will change your Project window
• In the “Select Source” Window for you music. (maroon arrow to
the right). Remember where you stored your music in Napster?
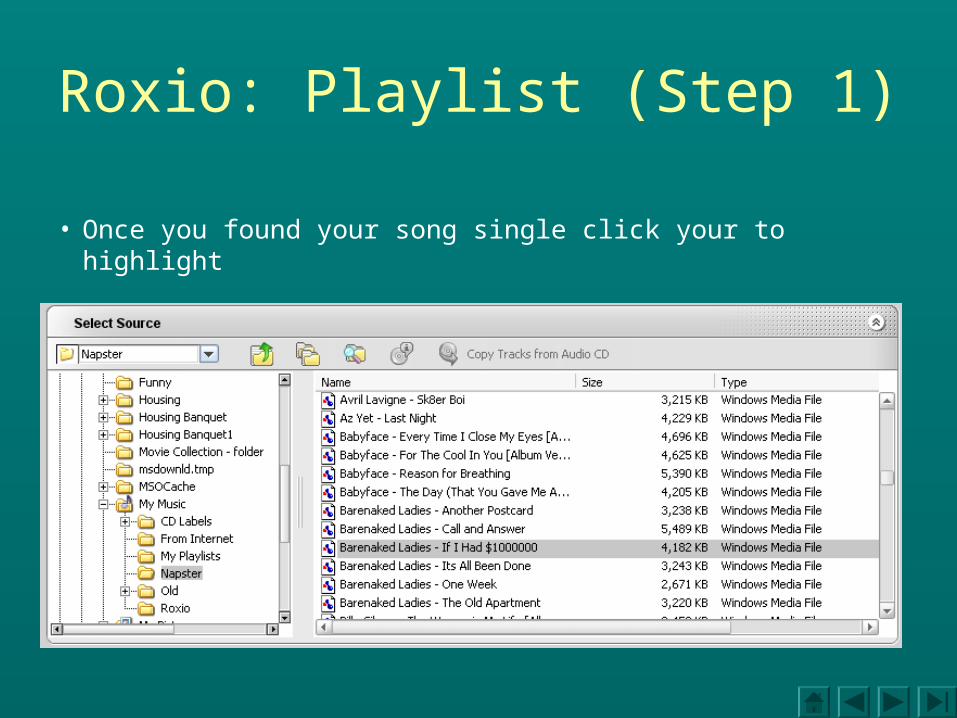
Roxio: Playlist (Step 1)
• Once you found your song single click your to highlight
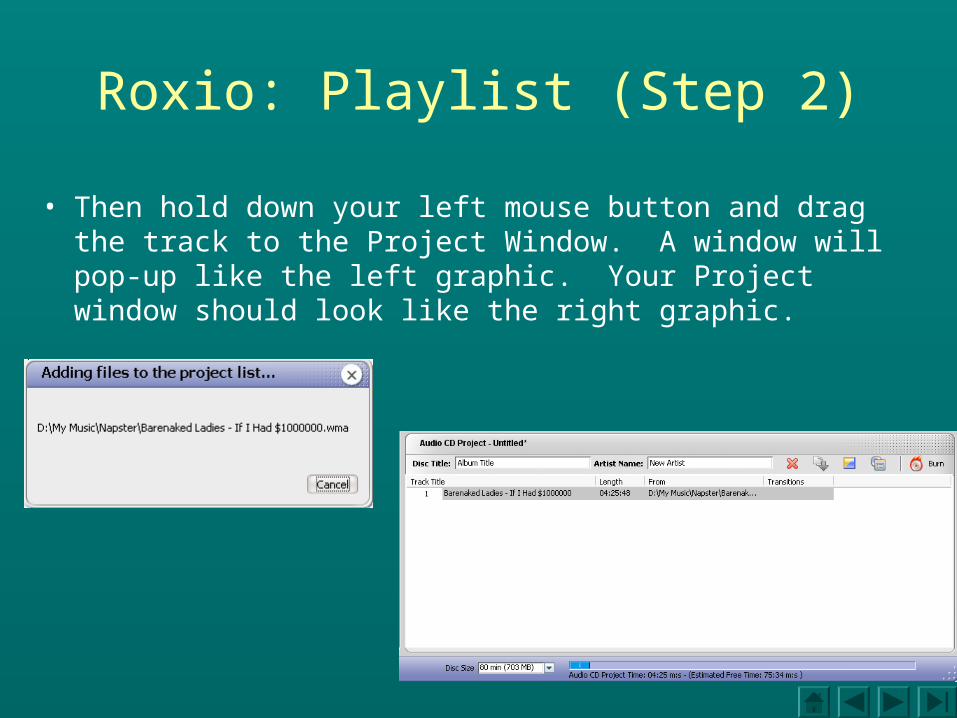
Roxio: Playlist (Step 2)
• Then hold down your left mouse button and drag the track to the Project Window. A window will pop-up like the left graphic. Your Project window should look like the right graphic.
Roxio: Playlist (Step 3)
• To arrange the songs in the order you would like you will just drag the track to where you would like the track to be. There will be a dotted line to let you know where you are looking at putting the track at.
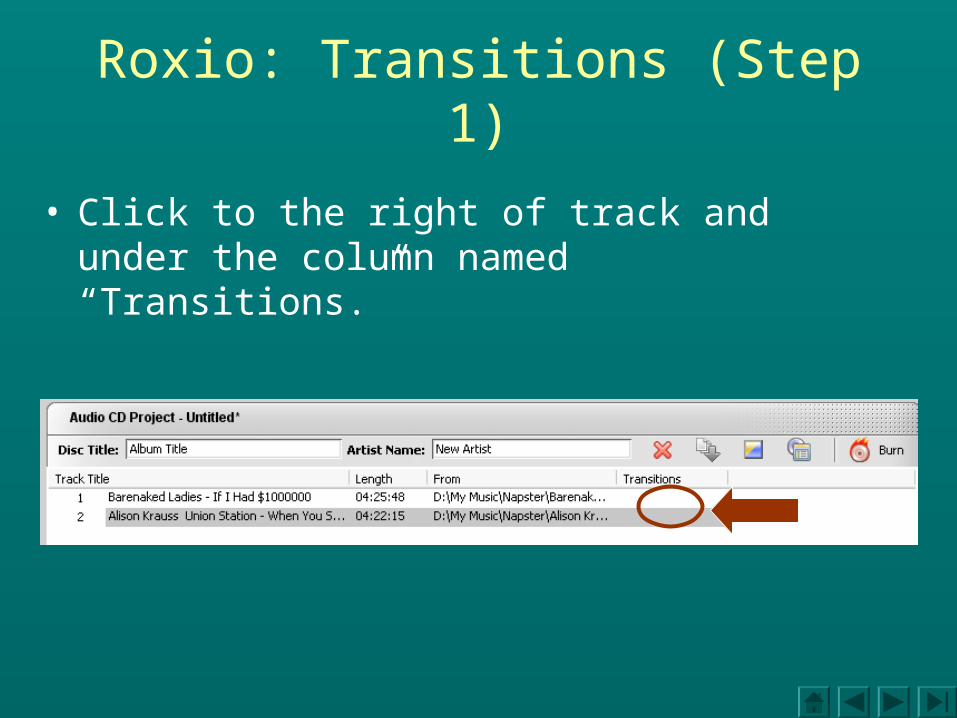
Roxio: Transitions (Step 1)
• Click to the right of track and under the column named “Transitions.”
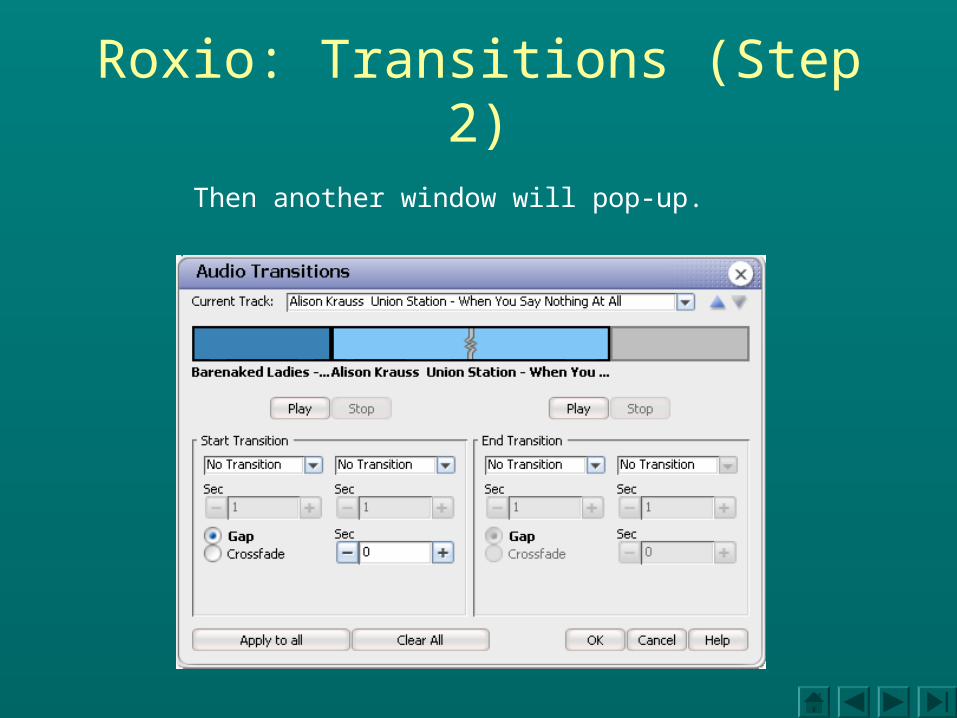
Roxio: Transitions (Step 2)
Then another window will pop-up.
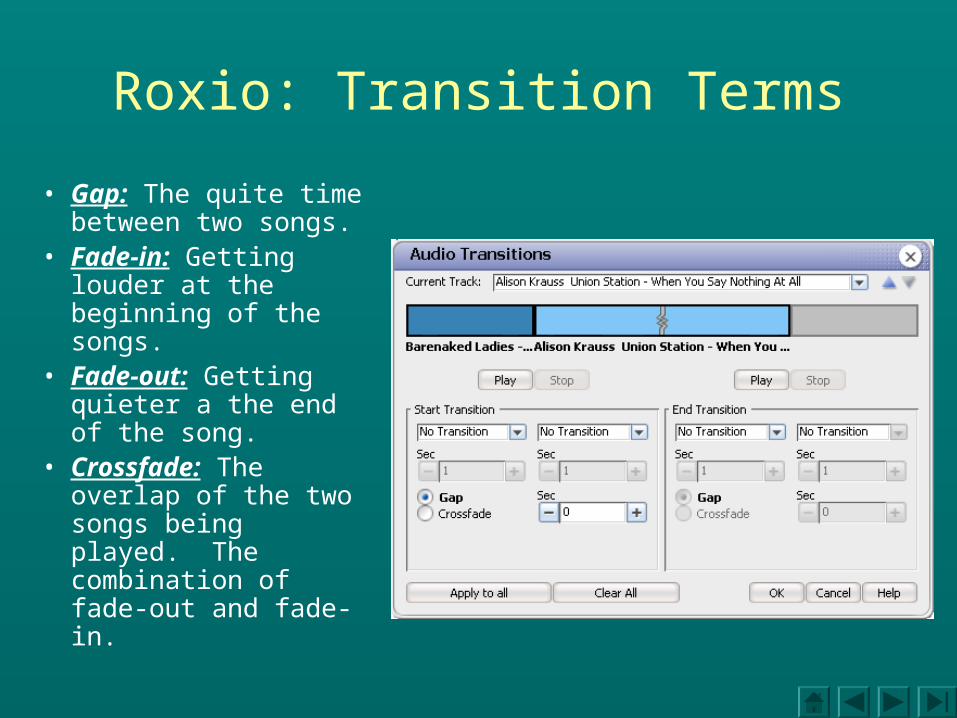
Roxio: Transition Terms
• Gap: The quite time between two songs.
• Fade-in: Getting louder at the beginning of the songs.
• Fade-out: Getting quieter a the end of the song.
• Crossfade: The overlap of the two songs being played. The combination of fade-out and fade-in.

Roxio: Transitions (Step 3)• First you need to decide if you
want a gap or a crossfade to the other songs.
• Once you decided that then you can click on your choice.
• If you decided a crossfade– In the “Start Transition” click on
the drop-downs for your fades.– Then decided how much of an
overlap you want and fades.
• If you want a gap do the same as above.
• When satisfied, click “OK”• Then preview your CD in the
Preview area to the right.
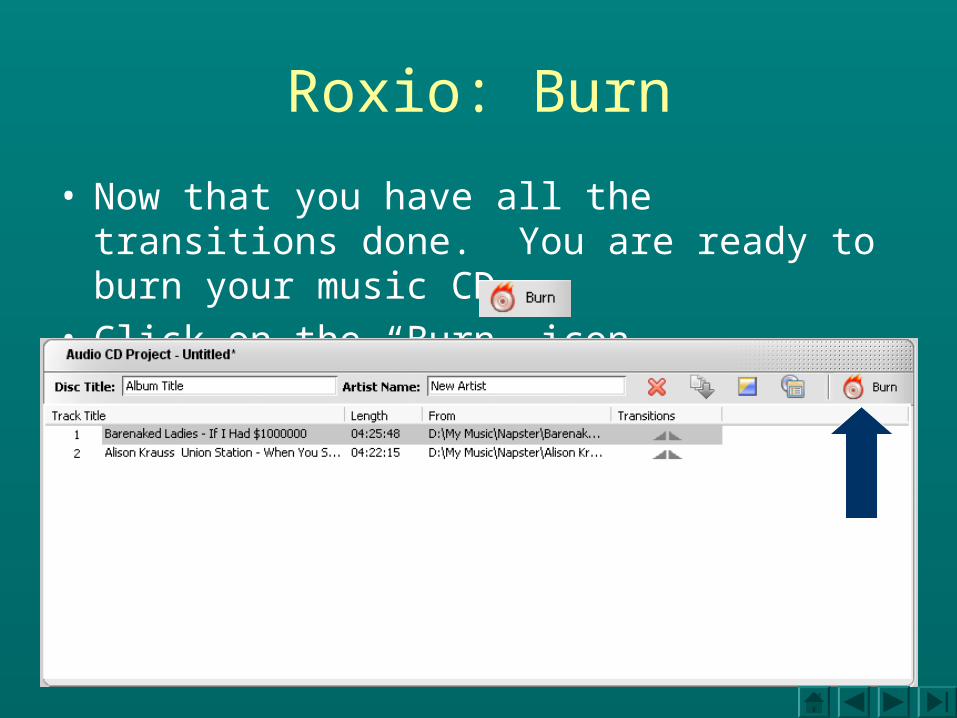
Roxio: Burn
• Now that you have all the transitions done. You are ready to burn your music CD.
• Click on the “Burn” icon.
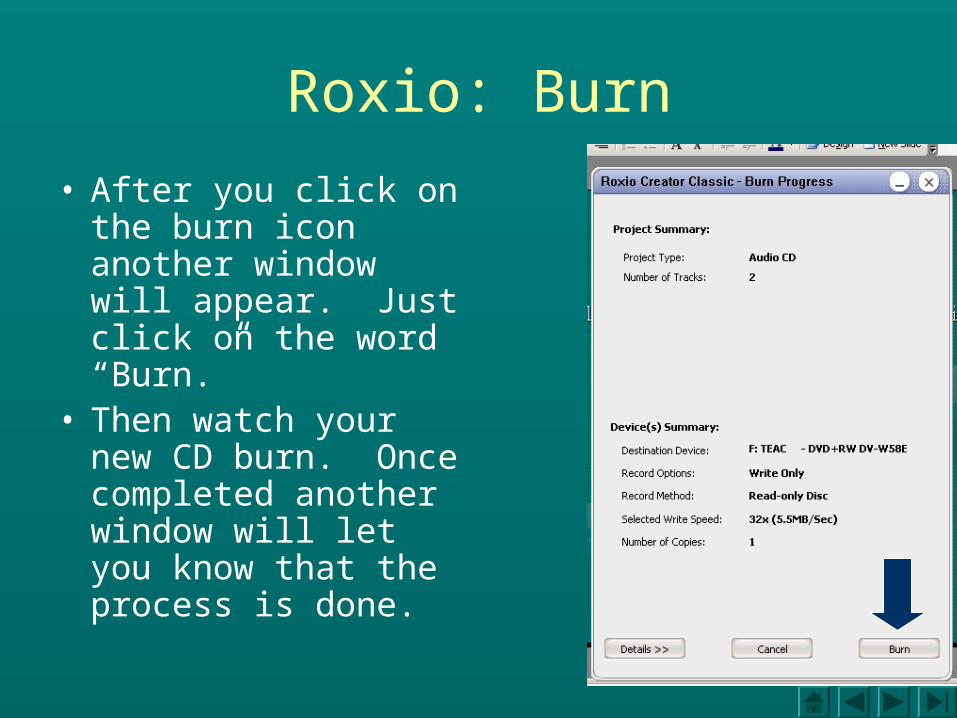
Roxio: Burn
• After you click on the burn icon another window will appear. Just click on the word “Burn.”
• Then watch your new CD burn. Once completed another window will let you know that the process is done.
Voila
Congrats on the new CD that you made!!!!