Embed Size (px)
Citation preview
Page 1 of 11
User’s Guide for HCL Cisco Unified MeetingPlace 8.6 (hclmp.webex.com)
Page 2 of 11
Content Getting Started ………………………………………………………3-4 pages Create an account…………………………………..……..3 Set Your Profile Pin……..……………………………..….3 Get Your Profile number………..………………………4 WebEx Productivity Tools…………………………………………..4-6 pages Download and Install………………………………………4 Setting Up WebEx Productivity Tools………………5 Manage Meetings………………………………………………….6-10 pages Schedule meetings using Website……………………6
Modify meetings using Website………………………7 Cancel meetings using Website……………………….8 Schedule meetings using Outlook……………………9 Modify / Cancel meetings using Outlook………..10
Attend Meetings…………………………………………………..11 pages
Start a Meeting – HOST (Leader)……………….……11 Attend a Meeting – (Participant)…………….…… 11
In Session features…………………………………………………..11 pages
Page 3 of 11 What is MeetingPlace 8.6? Use your phone to attend and manage the voice portion of a Cisco Unified MeetingPlace meeting. You can attend a meeting as a guest, profiled user, or meeting organizer. Your sign-in profile determines which features you can access during the meeting. Cisco Unified MeetingPlace uses the same phone number to attend and schedule a meeting. If you do not have the number, contact your system administrator. All meeting participants in a web meeting are considered guests for the Cisco Unified MeetingPlace audio portion of the meeting. Dialling out to other users (using the #3 in-session option) Using advanced features, such as muting all participants or ending the meeting (using the #8 in-session options)
Getting Started Following are some basic steps that each user needs to perform before start using Cisco Unified Meetingplace 8.6.
a) Create an account on Cisco Unified MeetingPlace 8.6 (hclmp.webex.com)
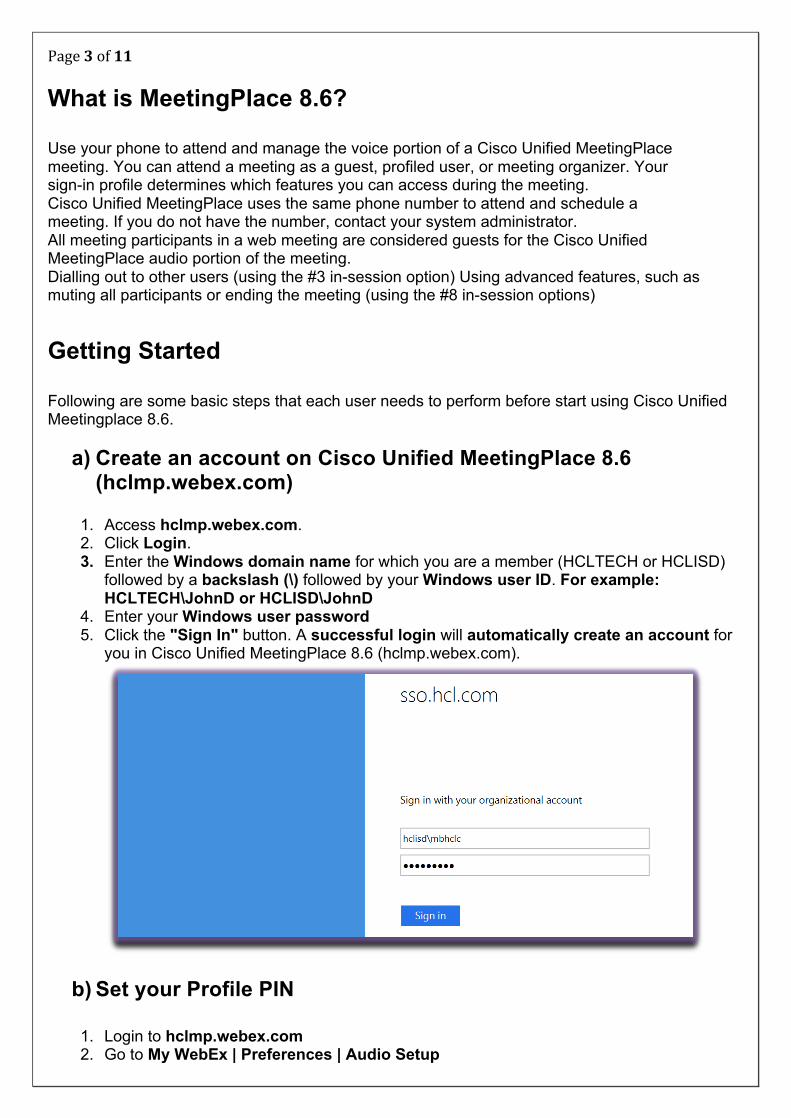
1. Access hclmp.webex.com. 2. Click Login. 3. Enter the Windows domain name for which you are a member (HCLTECH or HCLISD)
followed by a backslash (\) followed by your Windows user ID. For example: HCLTECH\JohnD or HCLISD\JohnD
4. Enter your Windows user password 5. Click the "Sign In" button. A successful login will automatically create an account for
you in Cisco Unified MeetingPlace 8.6 (hclmp.webex.com).
b) Set your Profile PIN
1. Login to hclmp.webex.com 2. Go to My WebEx | Preferences | Audio Setup

Page 4 of 11
3. Enter a New profile Pin (minimum 8 digits). 4. Confirm profile Pin 5. Click Save
c) Get your Profile number
1. Login to hclmp.webex.com 2. Go to My WebEx | Preferences | Audio Setup 3. You will find your Cisco Unified MeetingPlace profile number.
d) Webex Productivity Tools
• Webex Productivity Tools provide a convenient way for you to schedule your
Conference meetings using Microsoft Outlook. These need to be installed and set up on your machine before you schedule a meeting via Outlook.
e) Download and Install
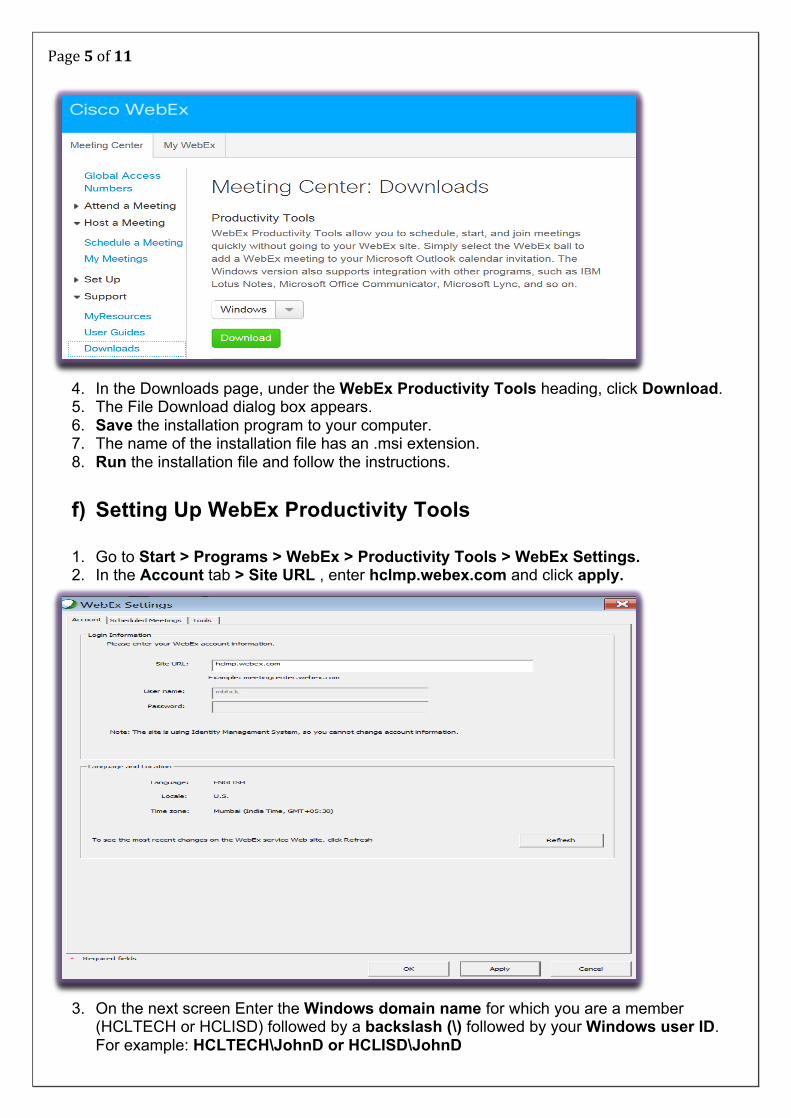
1. Log in to your WebEx site (hclmp.webex.com). 2. Select the Meeting Center tab. 3. In the left navigation bar, under Support, select Downloads.
Page 5 of 11
4. In the Downloads page, under the WebEx Productivity Tools heading, click Download. 5. The File Download dialog box appears. 6. Save the installation program to your computer. 7. The name of the installation file has an .msi extension. 8. Run the installation file and follow the instructions.
f) Setting Up WebEx Productivity Tools
1. Go to Start > Programs > WebEx > Productivity Tools > WebEx Settings. 2. In the Account tab > Site URL , enter hclmp.webex.com and click apply.
3. On the next screen Enter the Windows domain name for which you are a member
(HCLTECH or HCLISD) followed by a backslash (\) followed by your Windows user ID. For example: HCLTECH\JohnD or HCLISD\JohnD
Page 6 of 11
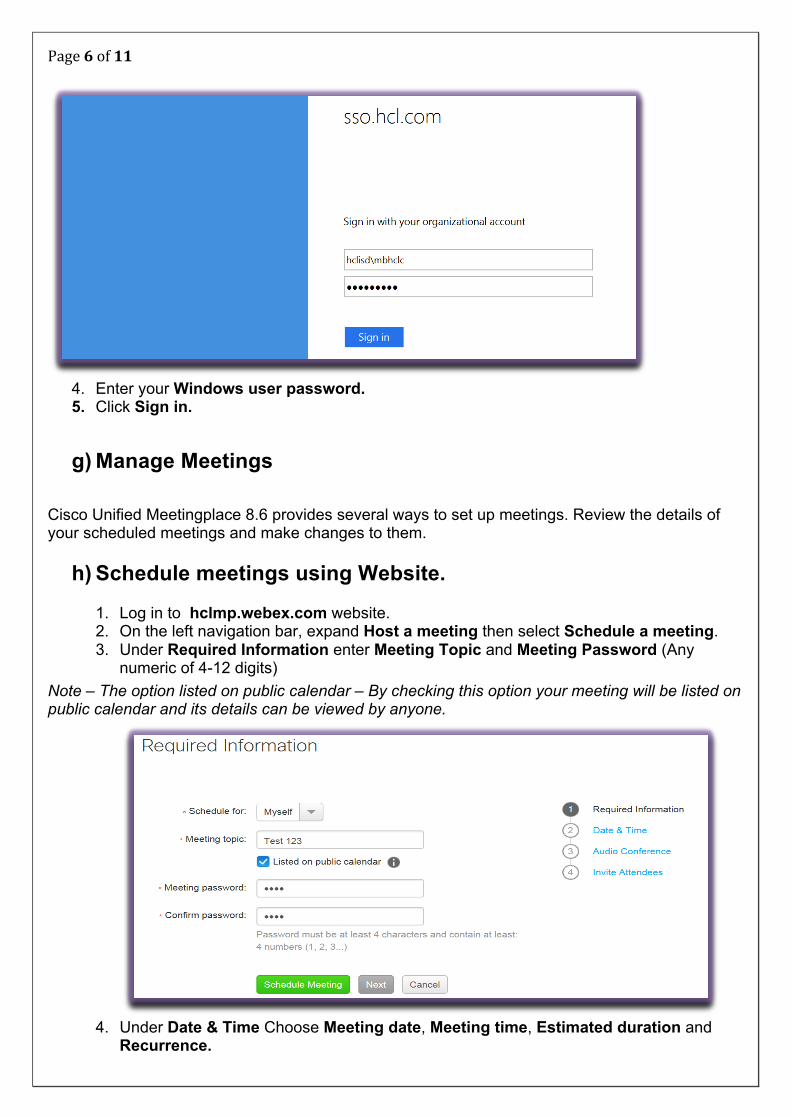
4. Enter your Windows user password. 5. Click Sign in.
g) Manage Meetings
Cisco Unified Meetingplace 8.6 provides several ways to set up meetings. Review the details of your scheduled meetings and make changes to them.
h) Schedule meetings using Website.
1. Log in to hclmp.webex.com website. 2. On the left navigation bar, expand Host a meeting then select Schedule a meeting. 3. Under Required Information enter Meeting Topic and Meeting Password (Any
numeric of 4-12 digits) Note – The option listed on public calendar – By checking this option your meeting will be listed on public calendar and its details can be viewed by anyone.
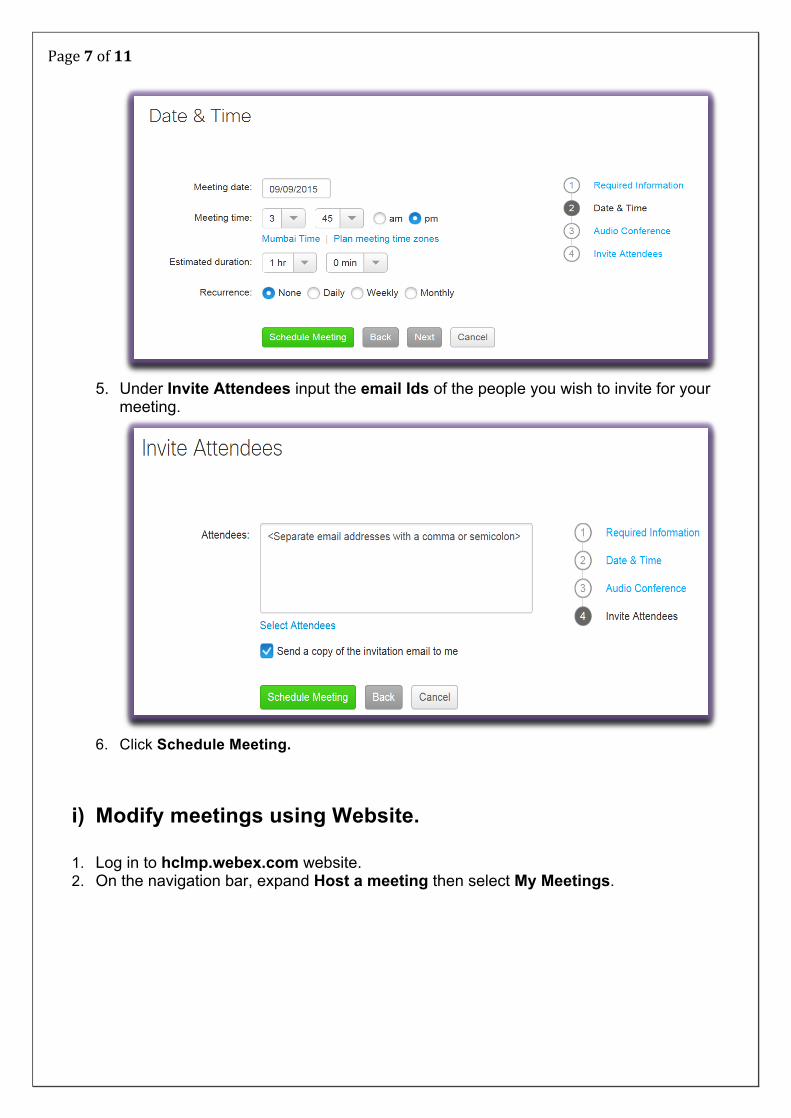
4. Under Date & Time Choose Meeting date, Meeting time, Estimated duration and
Recurrence.
Page 7 of 11
5. Under Invite Attendees input the email Ids of the people you wish to invite for your
meeting.
6. Click Schedule Meeting.
i) Modify meetings using Website.
1. Log in to hclmp.webex.com website. 2. On the navigation bar, expand Host a meeting then select My Meetings.
Page 8 of 11
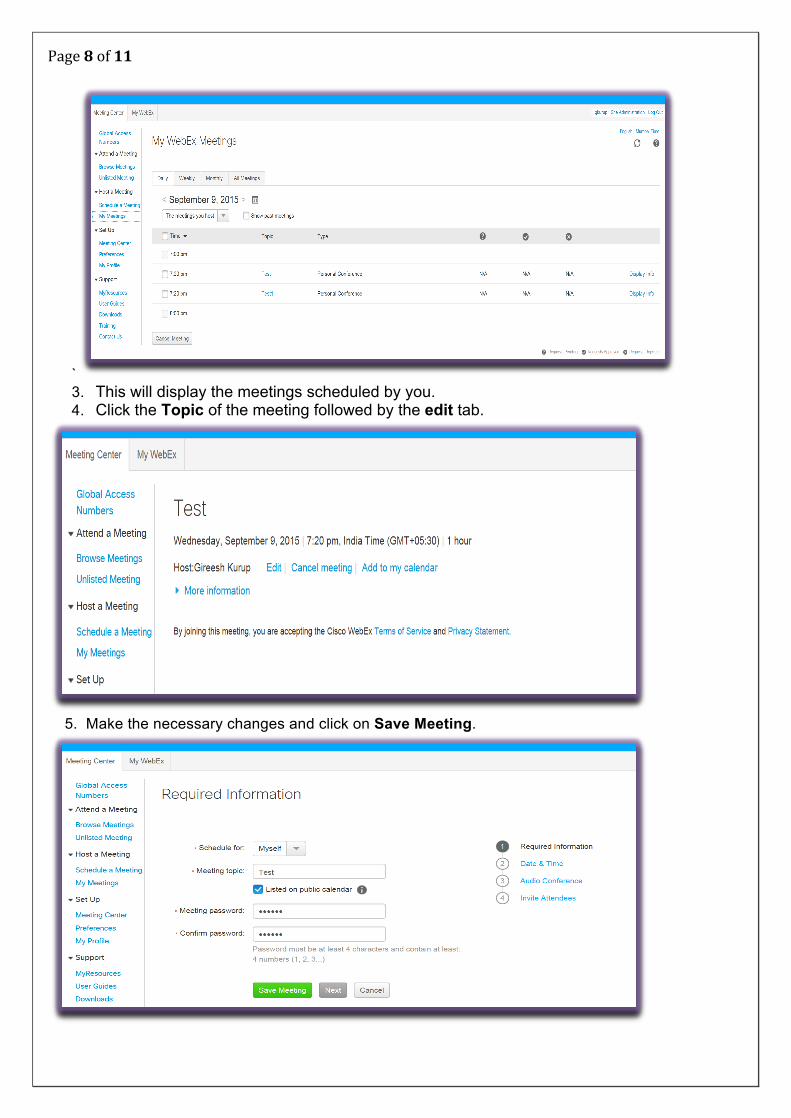
` 3. This will display the meetings scheduled by you. 4. Click the Topic of the meeting followed by the edit tab.
5. Make the necessary changes and click on Save Meeting.
Page 9 of 11 Note - You can alternatively also search the meetings you want to modify or cancel by going to Meeting Center > Attend a Meeting > Browse Meetings.
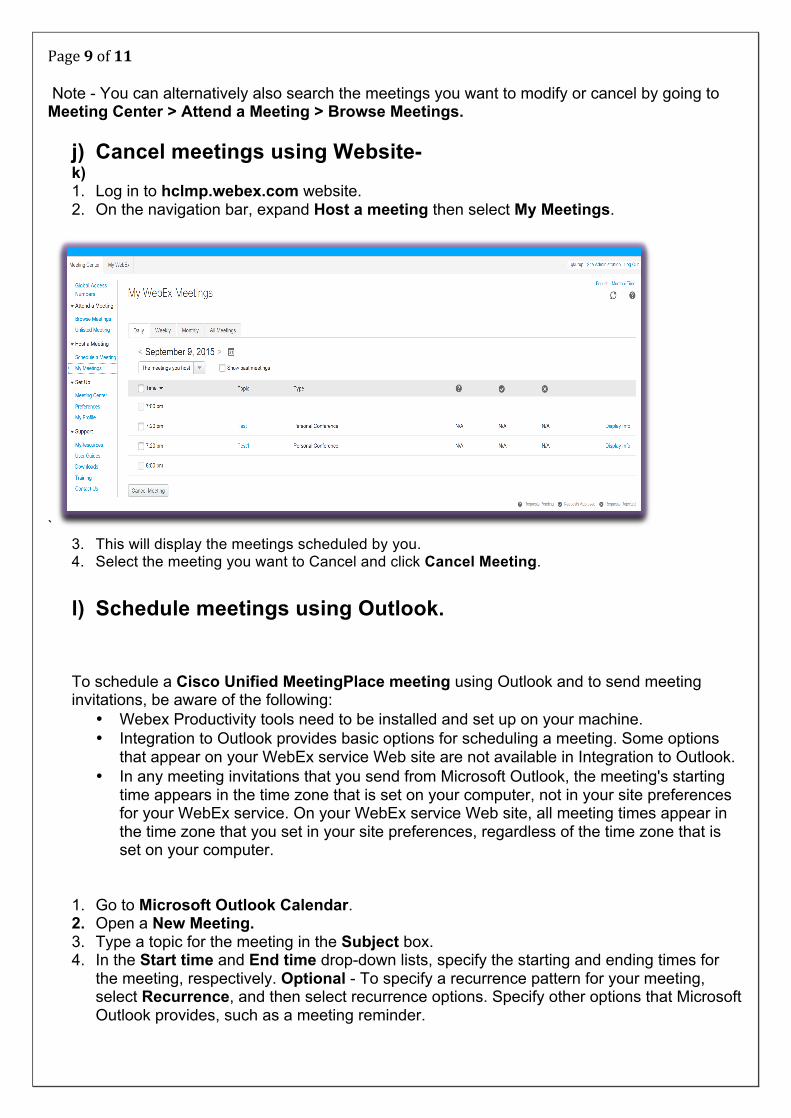
j) Cancel meetings using Website- k) 1. Log in to hclmp.webex.com website. 2. On the navigation bar, expand Host a meeting then select My Meetings.
` 3. This will display the meetings scheduled by you. 4. Select the meeting you want to Cancel and click Cancel Meeting.
l) Schedule meetings using Outlook.
To schedule a Cisco Unified MeetingPlace meeting using Outlook and to send meeting invitations, be aware of the following:
• Webex Productivity tools need to be installed and set up on your machine. • Integration to Outlook provides basic options for scheduling a meeting. Some options
that appear on your WebEx service Web site are not available in Integration to Outlook. • In any meeting invitations that you send from Microsoft Outlook, the meeting's starting
time appears in the time zone that is set on your computer, not in your site preferences for your WebEx service. On your WebEx service Web site, all meeting times appear in the time zone that you set in your site preferences, regardless of the time zone that is set on your computer.
1. Go to Microsoft Outlook Calendar. 2. Open a New Meeting. 3. Type a topic for the meeting in the Subject box. 4. In the Start time and End time drop-down lists, specify the starting and ending times for
the meeting, respectively. Optional - To specify a recurrence pattern for your meeting, select Recurrence, and then select recurrence options. Specify other options that Microsoft Outlook provides, such as a meeting reminder.
Page 10 of 11
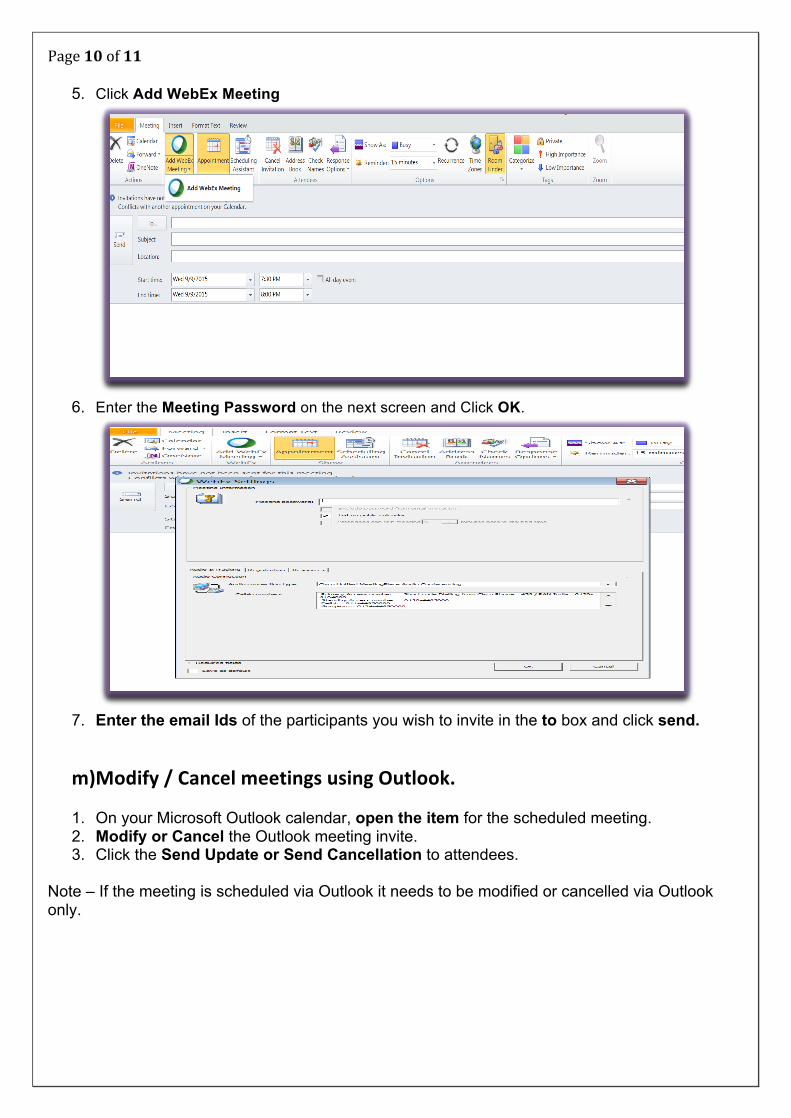
5. Click Add WebEx Meeting
6. Enter the Meeting Password on the next screen and Click OK.
7. Enter the email Ids of the participants you wish to invite in the to box and click send.
m)Modify / Cancel meetings using Outlook.
1. On your Microsoft Outlook calendar, open the item for the scheduled meeting. 2. Modify or Cancel the Outlook meeting invite. 3. Click the Send Update or Send Cancellation to attendees.
Note – If the meeting is scheduled via Outlook it needs to be modified or cancelled via Outlook only.
Page 11 of 11
Attend Meetings
a) Start a Meeting – HOST (Leader)
1. Dial into Cisco Unified MeetingPlace 2. Press 2 followed by the # key. 3. Enter your Cisco Unified MeetingPlace profile number followed by # key. 4. Enter your Profile Pin followed by # key. 5. Enter the meeting password that you set during scheduling (if reservation less, enter any
password which has a length of 4 -‐11 digits)
b) Attend a Meeting – Attendee (Participant)
1. Dial into Cisco Unified MeetingPlace 2. Enter the Meeting ID (Cisco Unified MeetingPlace profile number of Host) followed by # key. 3. Enter the meeting password. (Provided by Host or available in the notification mail) 4. Record your name followed by # key.
In-‐Session Meeting Features
#0 -‐ Help Desk #1[1-‐9] -‐ Breakout Rooms #10 -‐ Return to Main Meeting #21 -‐ Roll Call #31 -‐ Dial out #41 -‐ Lock / Unlock (Host only) #5 -‐ Mute /Unmute #81 -‐ Mute All (Host only and there is no option to unmute all) #82 -‐ Raise Volume #83 -‐ Lower Volume #89 -‐ End Meeting (Host only) * -‐ Return to the Meeting #9 -‐ Exit the Meeting and return to the Main menu