Embed Size (px)
Citation preview
User’s Manual SOL Online Ticketing Module
AI Employees will create RAO on https://erpportal.airindia.in as per procedure shared by
Personnel Team in the past. Please refer Air India Training Manual Passage for creation of RAO.
Employees who are opting for Online E-ticketing, should ensure that RAO is having passenger
names as per their Travel Documents (e.g. Passport). This is to avoid last minute problems at
Check-in Counters & Immigration. Employees can contact Establishment Section (where their
Personal Files are maintained) for correction in names with relevant documents.
Process to Change RAO Status for Online Ticketing option
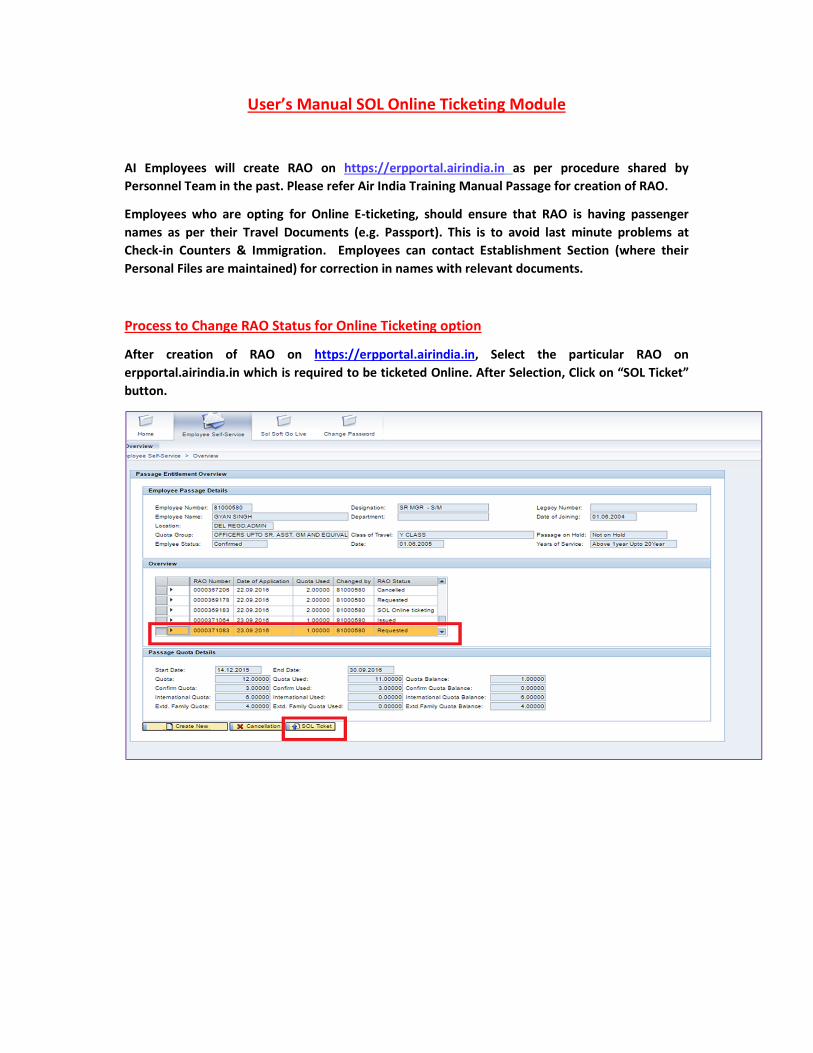
After creation of RAO on https://erpportal.airindia.in, Select the particular RAO on
erpportal.airindia.in which is required to be ticketed Online. After Selection, Click on “SOL Ticket”
button.
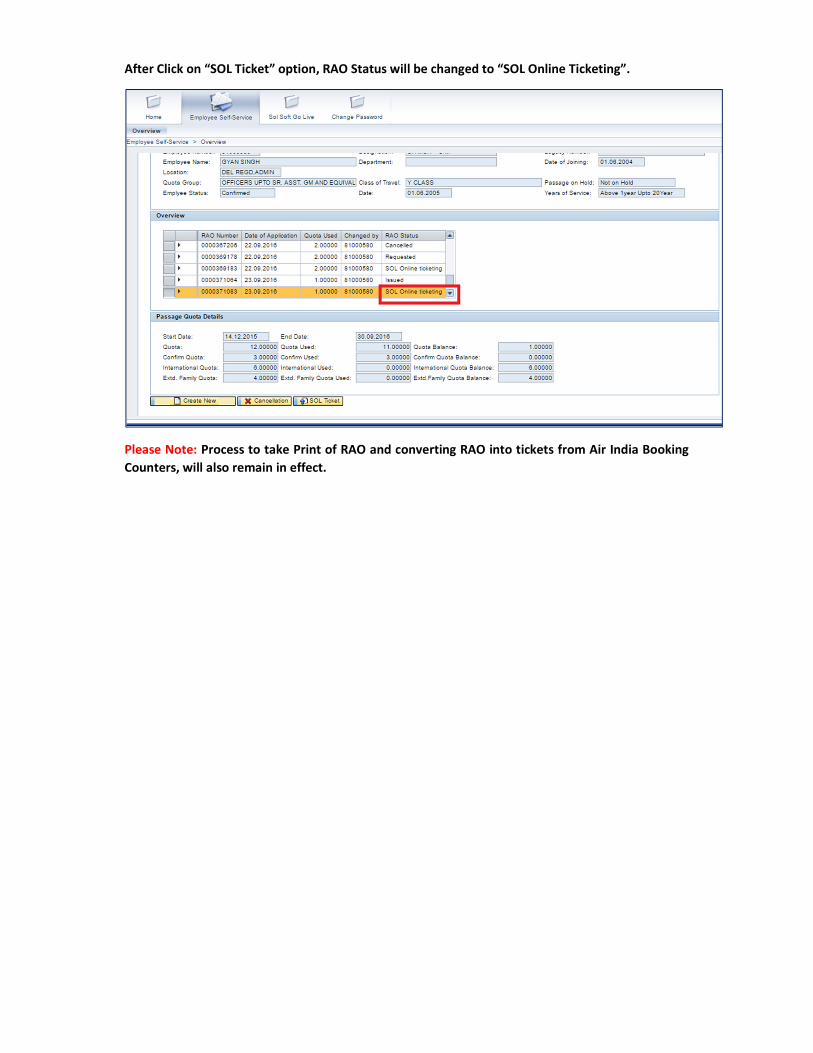
After Click on “SOL Ticket” option, RAO Status will be changed to “SOL Online Ticketing”.
Please Note: Process to take Print of RAO and converting RAO into tickets from Air India Booking
Counters, will also remain in effect.
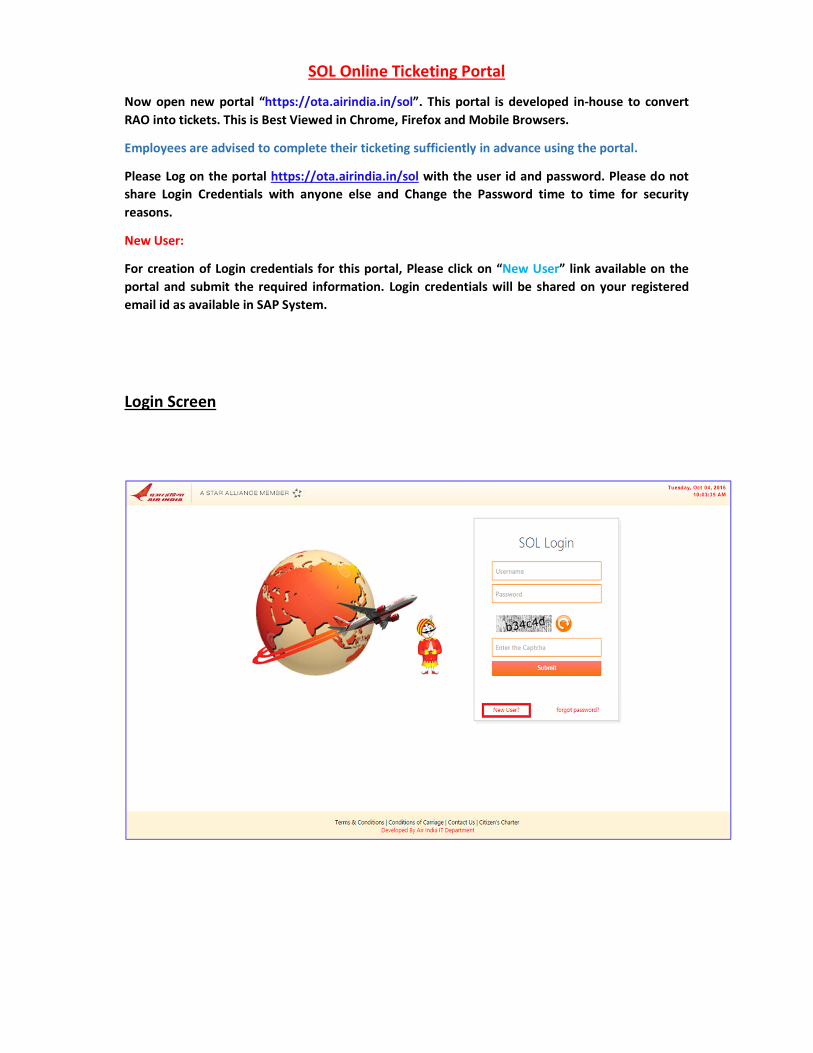
SOL Online Ticketing Portal
Now open new portal “https://ota.airindia.in/sol”. This portal is developed in-house to convert
RAO into tickets. This is Best Viewed in Chrome, Firefox and Mobile Browsers.
Employees are advised to complete their ticketing sufficiently in advance using the portal.
Please Log on the portal https://ota.airindia.in/sol with the user id and password. Please do not
share Login Credentials with anyone else and Change the Password time to time for security
reasons.
New User:
For creation of Login credentials for this portal, Please click on “New User” link available on the
portal and submit the required information. Login credentials will be shared on your registered
email id as available in SAP System.
Login Screen
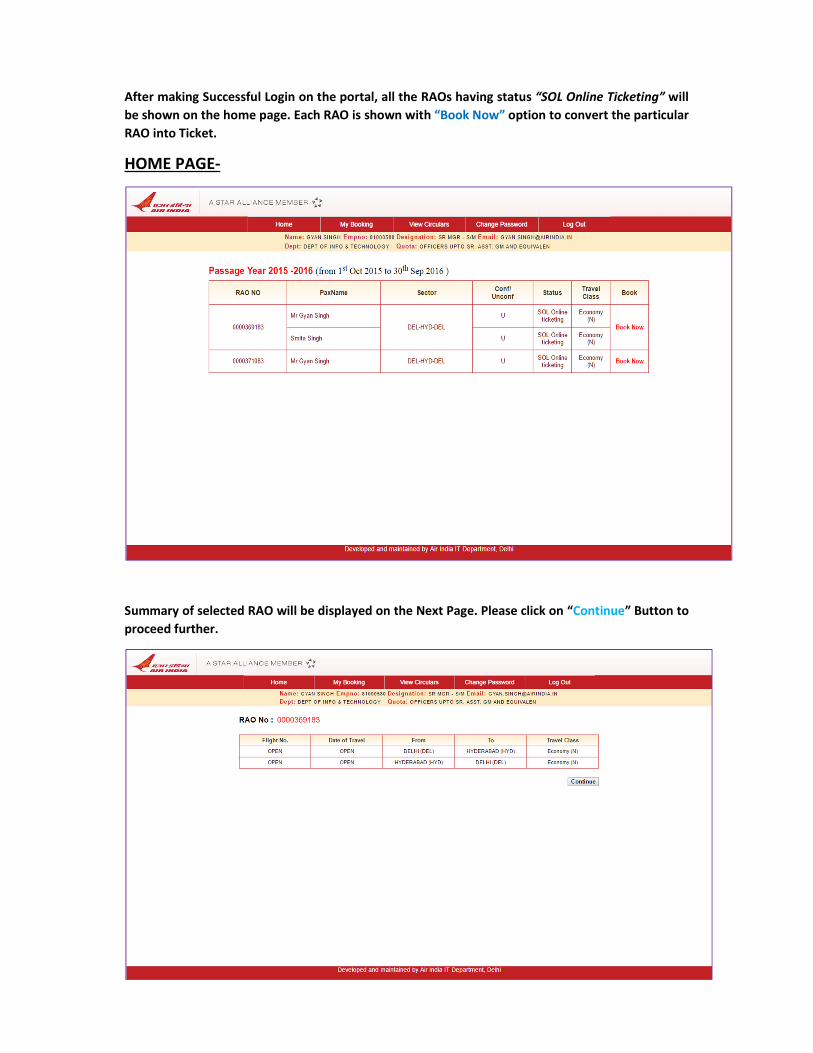
After making Successful Login on the portal, all the RAOs having status “SOL Online Ticketing” will
be shown on the home page. Each RAO is shown with “Book Now” option to convert the particular
RAO into Ticket.
HOME PAGE-
Summary of selected RAO will be displayed on the Next Page. Please click on “Continue” Button to
proceed further.
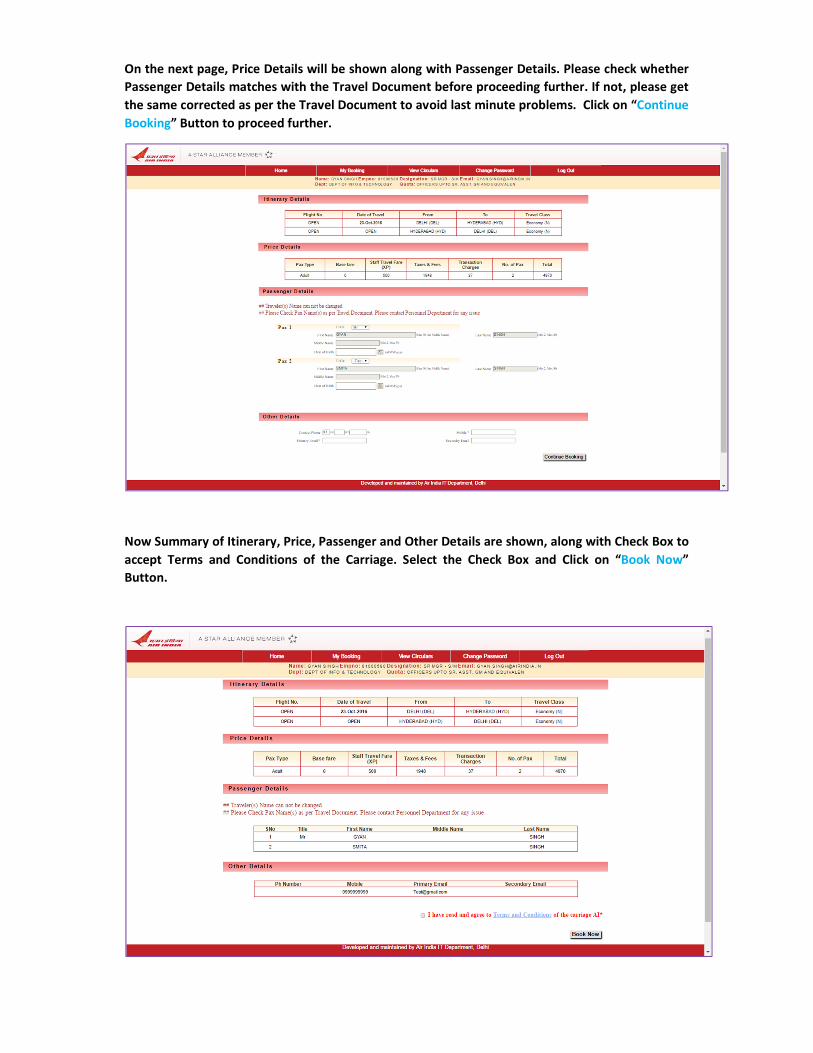
On the next page, Price Details will be shown along with Passenger Details. Please check whether
Passenger Details matches with the Travel Document before proceeding further. If not, please get
the same corrected as per the Travel Document to avoid last minute problems. Click on “Continue
Booking” Button to proceed further.
Now Summary of Itinerary, Price, Passenger and Other Details are shown, along with Check Box to
accept Terms and Conditions of the Carriage. Select the Check Box and Click on “Book Now”
Button.
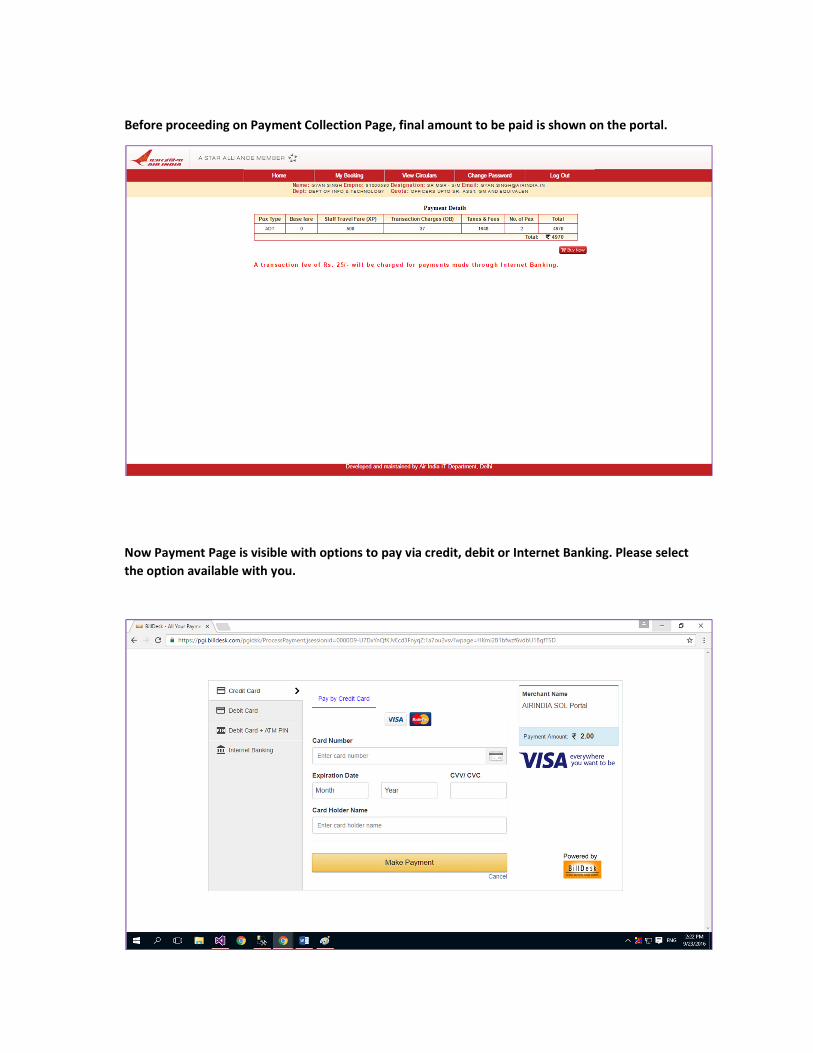
Before proceeding on Payment Collection Page, final amount to be paid is shown on the portal.
Now Payment Page is visible with options to pay via credit, debit or Internet Banking. Please select
the option available with you.
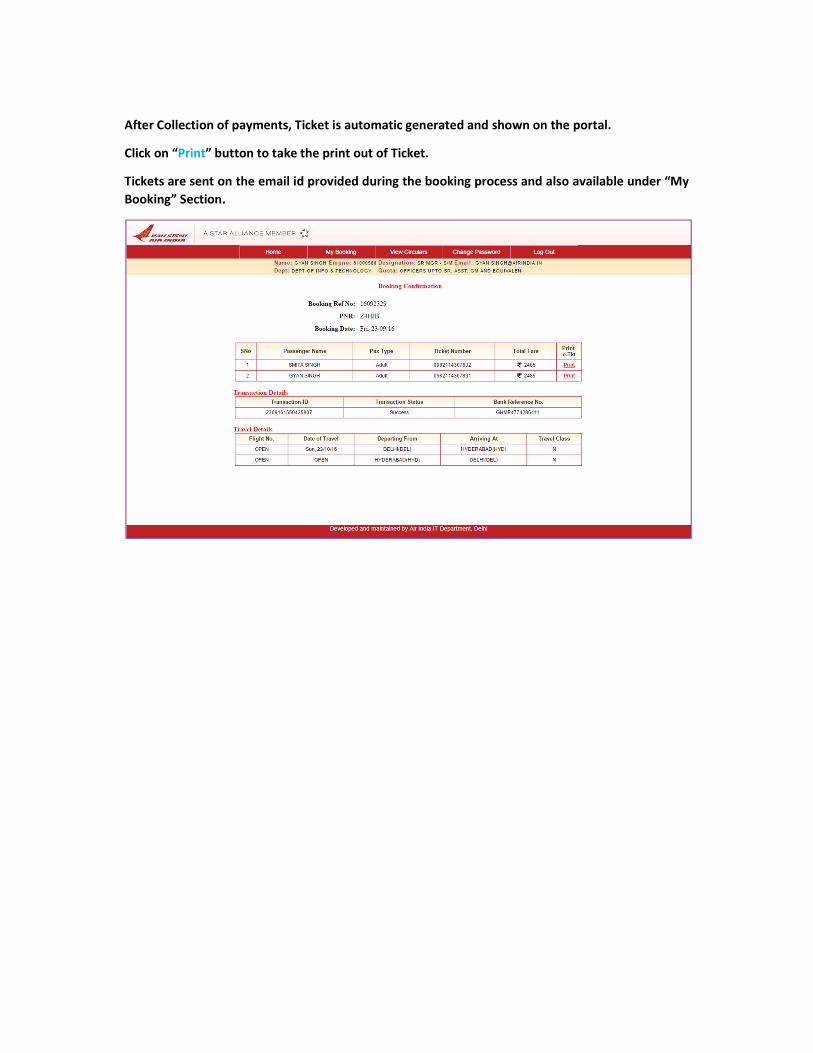
After Collection of payments, Ticket is automatic generated and shown on the portal.
Click on “Print” button to take the print out of Ticket.
Tickets are sent on the email id provided during the booking process and also available under “My
Booking” Section.
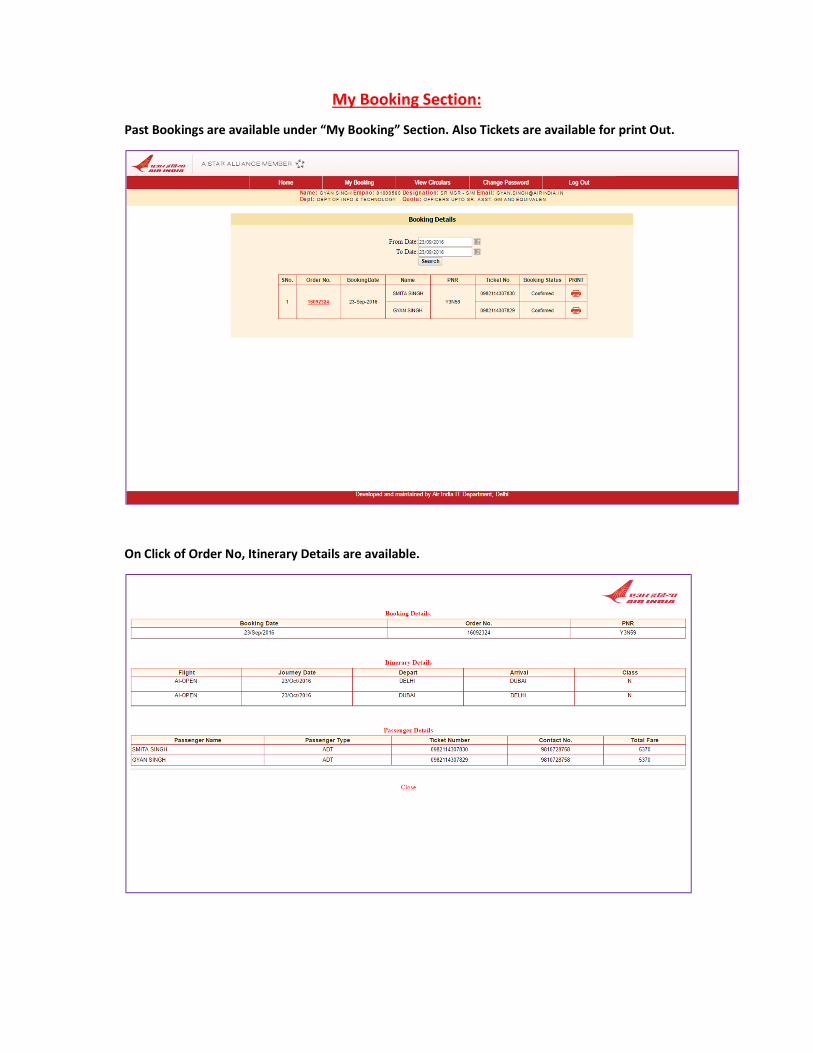
My Booking Section:
Past Bookings are available under “My Booking” Section. Also Tickets are available for print Out.
On Click of Order No, Itinerary Details are available.
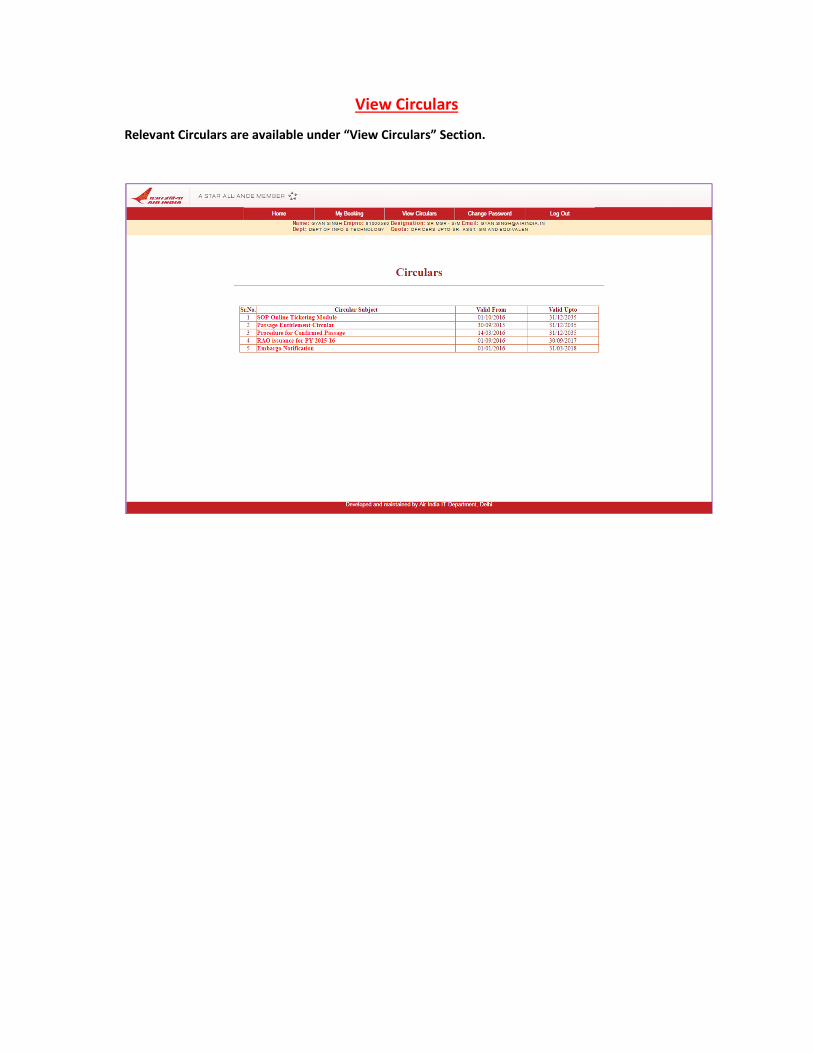
View Circulars
Relevant Circulars are available under “View Circulars” Section.
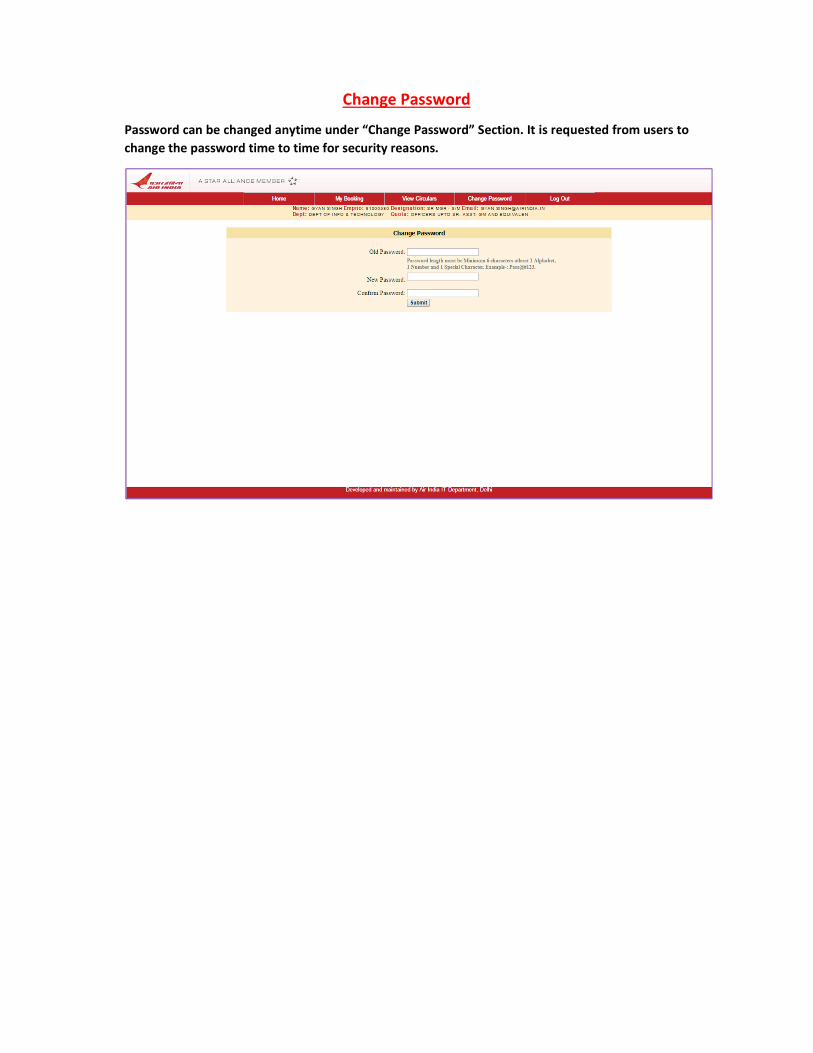
Change Password
Password can be changed anytime under “Change Password” Section. It is requested from users to
change the password time to time for security reasons.