Embed Size (px)
Citation preview
Vehicle Systems and ChecksVehicle Systems and Checks
Comfort
Control
Visibility
Safety
Information
Communication
ComfortComfort
1. Seat Position Controls
2. Steering Wheel
3. Air Conditioner and Heater
4. Air Vents
5. Defroster
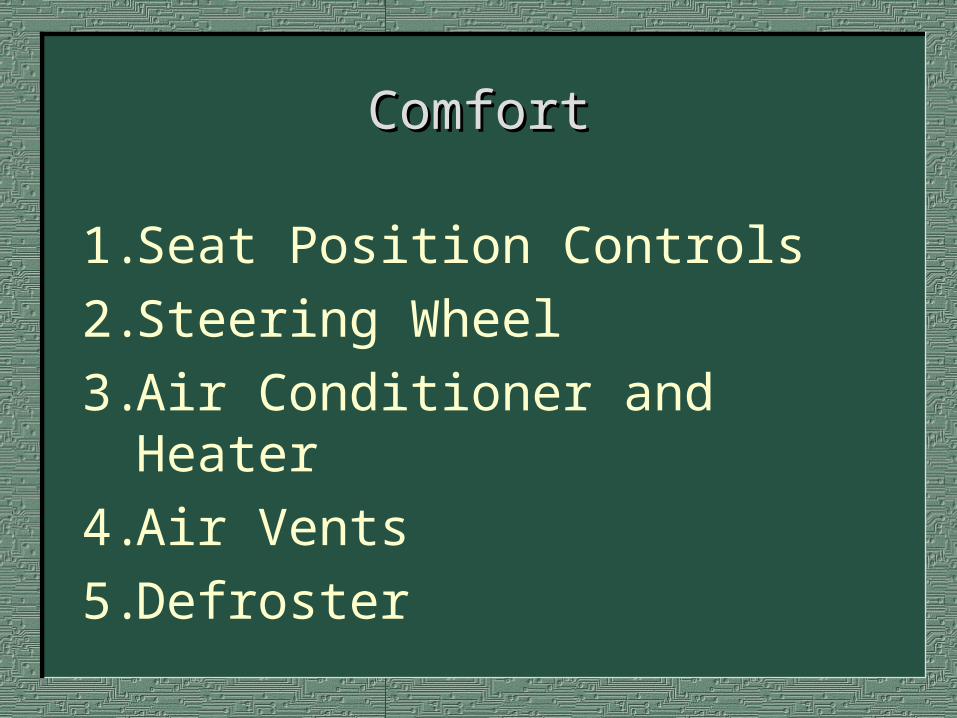
Seat Position ControlsSeat Position Controls
• Comfortable• Provide good visibility and access to controls• “in a vehicle with a steering-wheel air bag, adjust the
seat at least 10 inches from the steering wheel”• Non Power Seats – controls are usually located on
the lower left side or lower front of the drivers seat• Power Seats – Controls are usually located on the
door trim panels or on the side of the drivers seat
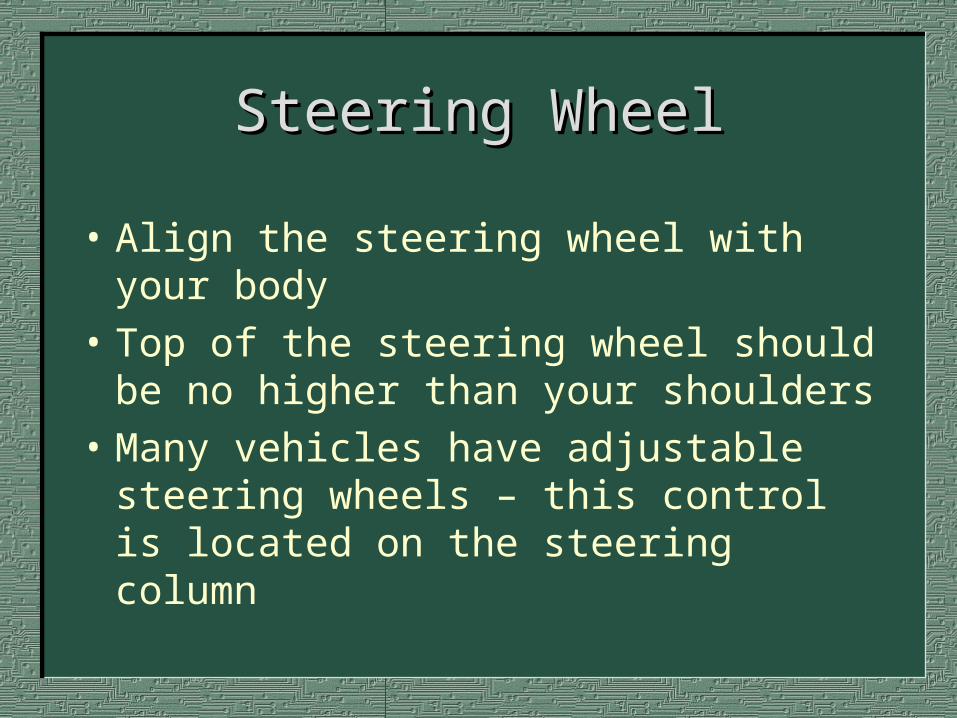
Steering WheelSteering Wheel
• Align the steering wheel with your body
• Top of the steering wheel should be no higher than your shoulders
• Many vehicles have adjustable steering wheels – this control is located on the steering column
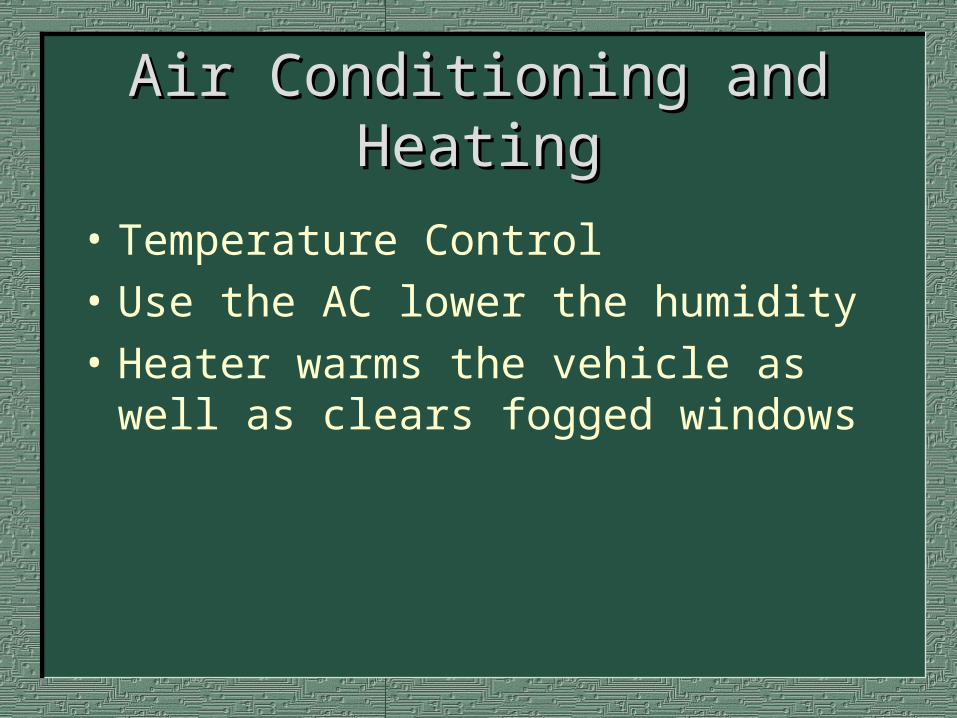
Air Conditioning and HeatingAir Conditioning and Heating
• Temperature Control
• Use the AC lower the humidity
• Heater warms the vehicle as well as clears fogged windows
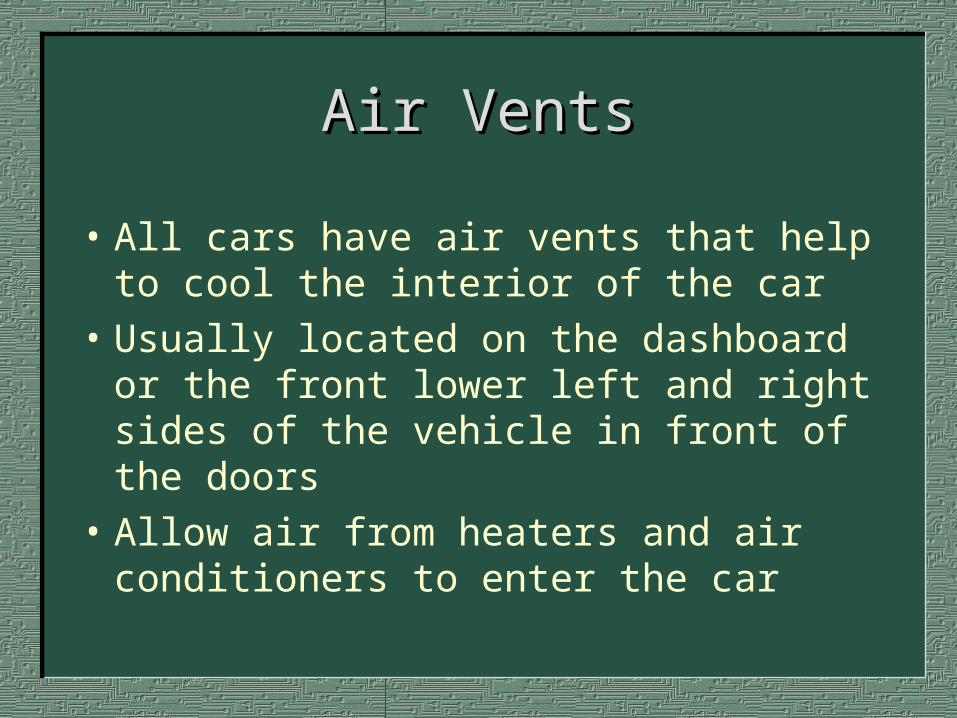
Air VentsAir Vents
• All cars have air vents that help to cool the interior of the car
• Usually located on the dashboard or the front lower left and right sides of the vehicle in front of the doors
• Allow air from heaters and air conditioners to enter the car

ControlControl
1. Ignition
2. Steering Wheel
3. Accelerator
4. Brake
5. Parking Brake
6. Gear Selector-Automatic
7. Gear Selector-Manual
8. Clutch
9. Cruise Control
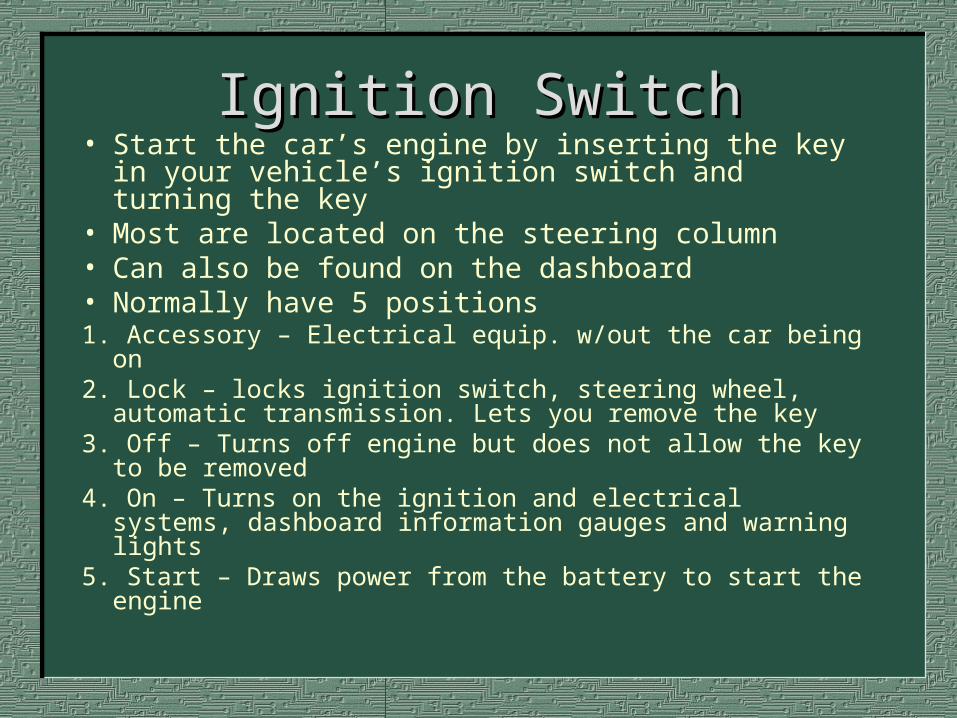
Ignition SwitchIgnition Switch• Start the car’s engine by inserting the key in your
vehicle’s ignition switch and turning the key• Most are located on the steering column• Can also be found on the dashboard• Normally have 5 positions1. Accessory – Electrical equip. w/out the car being on2. Lock – locks ignition switch, steering wheel, automatic
transmission. Lets you remove the key3. Off – Turns off engine but does not allow the key to be
removed4. On – Turns on the ignition and electrical systems,
dashboard information gauges and warning lights5. Start – Draws power from the battery to start the engine
Steering WheelSteering Wheel
• Controls the direction of the car by turning the steering wheel
• Power steering, like power brakes, makes it easier to turn the wheel, especially when the car is not moving
Accelerator (Gas Pedal)Accelerator (Gas Pedal)
• The foot pedal located on the far RIGHT• Lets you move the vehicle• Pushing the accelerator causes more
fuel to flow to the engine – increase speed
• Releasing the accelerator will cause less fuel to flow to the engine – decrease speed
Brake PedalBrake Pedal
• Enables you to stop or slow down your vehicle
• Always located just to the left of the accelerator
• Power brakes require less foot pressure but does NOT reduce the distance it takes a car to stop
Parking BrakeParking Brake
A.K.A – emergency or hand breakLocated in 1 of 3 places:• A small pedal located to the left side of
the floor panel• A hand lever under the left side of the
dashboard• Floor mounted lever located to the right
of the driver’s seat
Gear Selector Lever – Gear Selector Lever – Automatic TransmissionAutomatic Transmission
• Located either on the steering column or on the floor to the right of the driver’s seat
Park (P) – locks the transmissionReverse (R) – moves the car backwardsNeutral (N) – not in any gear, the wheels are
free to rollDrive (D) – moves the car forwardLow (L, 2, 1) – delivers more power to the
wheels at slower speeds. Usually used to drive up and down steep hills
Gearshift For Manual Gearshift For Manual TransmissionTransmission
• Clutch – 3rd foot pedal located to the left of the brake pedal
• The clutch is need to start the vehicle and to shift gears.
• May have 3, 4, 5, or 6 different speed positions
• We’ll cover more of this in future lessons
Cruise Control (Speed Control)Cruise Control (Speed Control)
• Maintains a constant speed without having to keep your foot on the accelerator
• Located on the turn-indicator arm on the steering wheel
• More fuel efficient• Cruise control goes off every time you use
the brakes• May lead you to become less alert!
VisibilityVisibility
1. Headlights
2. Taillights
3. Daytime Running Lights
4. Fog Lights
5. Rear-View Mirror
6. Side-View Mirror
7. Windshield Wipers and Washers
8. Sun visors
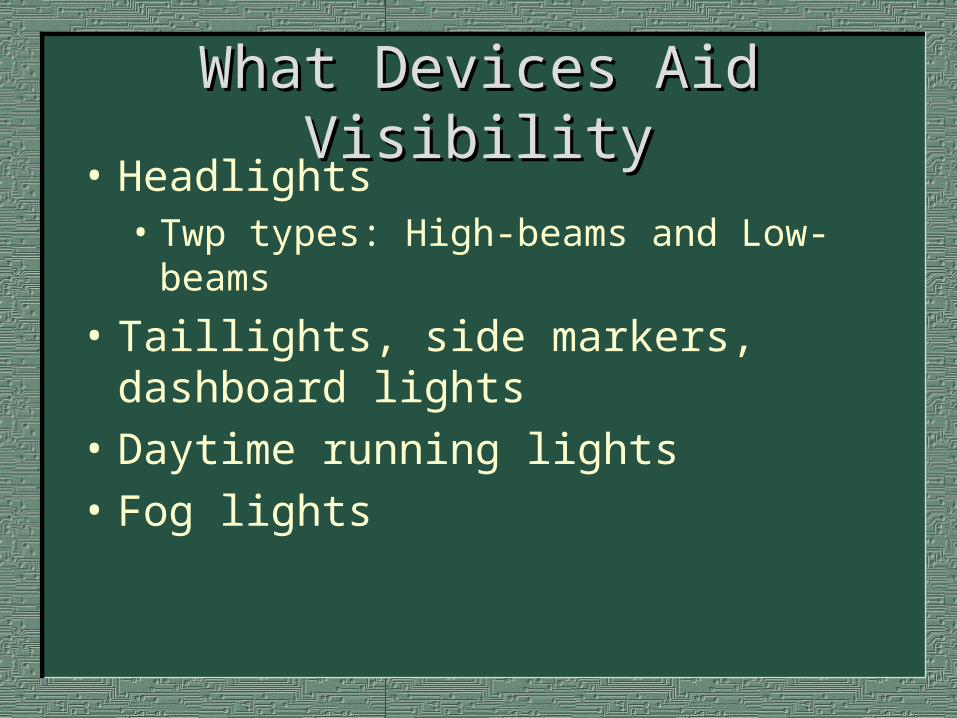
What Devices Aid VisibilityWhat Devices Aid Visibility• Headlights
• Twp types: High-beams and Low-beams
• Taillights, side markers, dashboard lights
• Daytime running lights
• Fog lights
Manual 74&75:Manual 74&75: Using Headlights Using Headlights
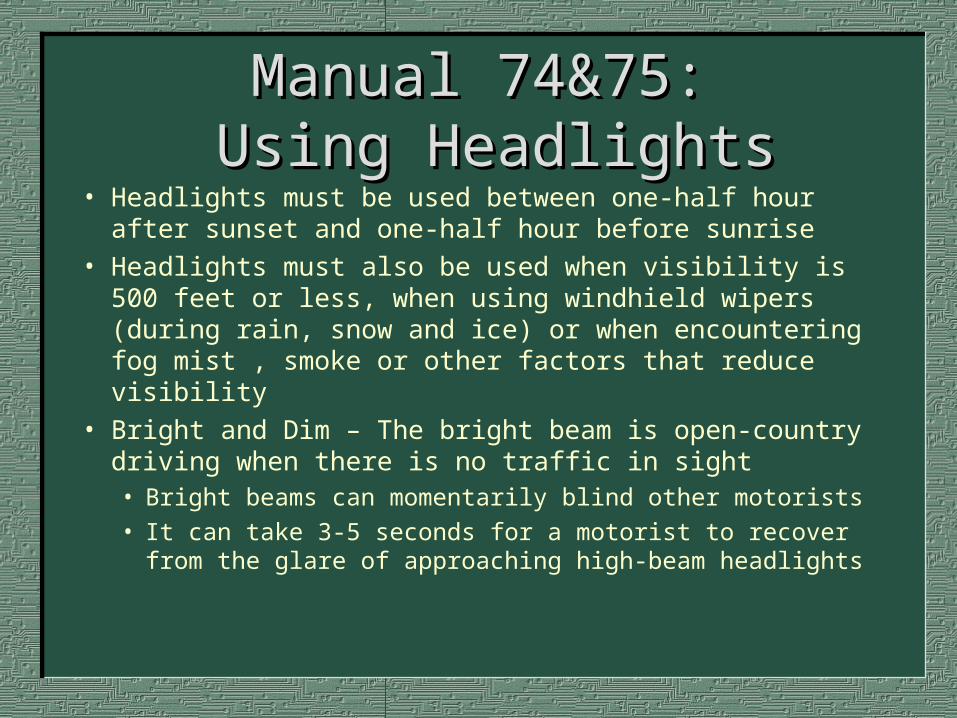
• Headlights must be used between one-half hour after sunset and one-half hour before sunrise
• Headlights must also be used when visibility is 500 feet or less, when using windhield wipers (during rain, snow and ice) or when encountering fog mist , smoke or other factors that reduce visibility
• Bright and Dim – The bright beam is open-country driving when there is no traffic in sight• Bright beams can momentarily blind other motorists • It can take 3-5 seconds for a motorist to recover from
the glare of approaching high-beam headlights
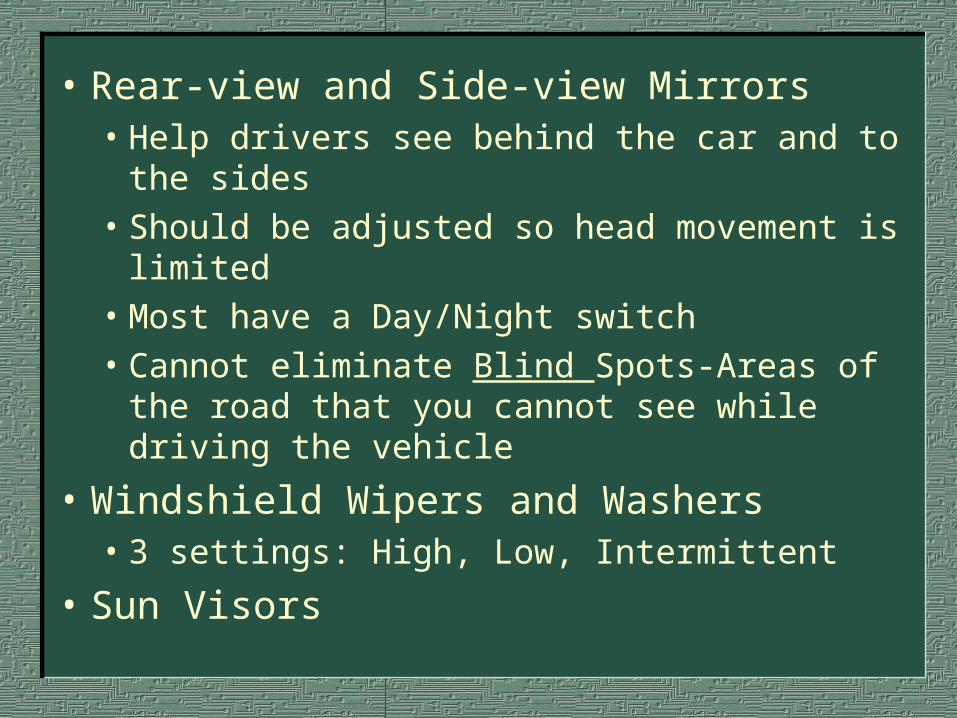
• Rear-view and Side-view Mirrors• Help drivers see behind the car and to the sides• Should be adjusted so head movement is limited• Most have a Day/Night switch• Cannot eliminate Blind Spots-Areas of the road
that you cannot see while driving the vehicle
• Windshield Wipers and Washers• 3 settings: High, Low, Intermittent
• Sun Visors
Safety Safety
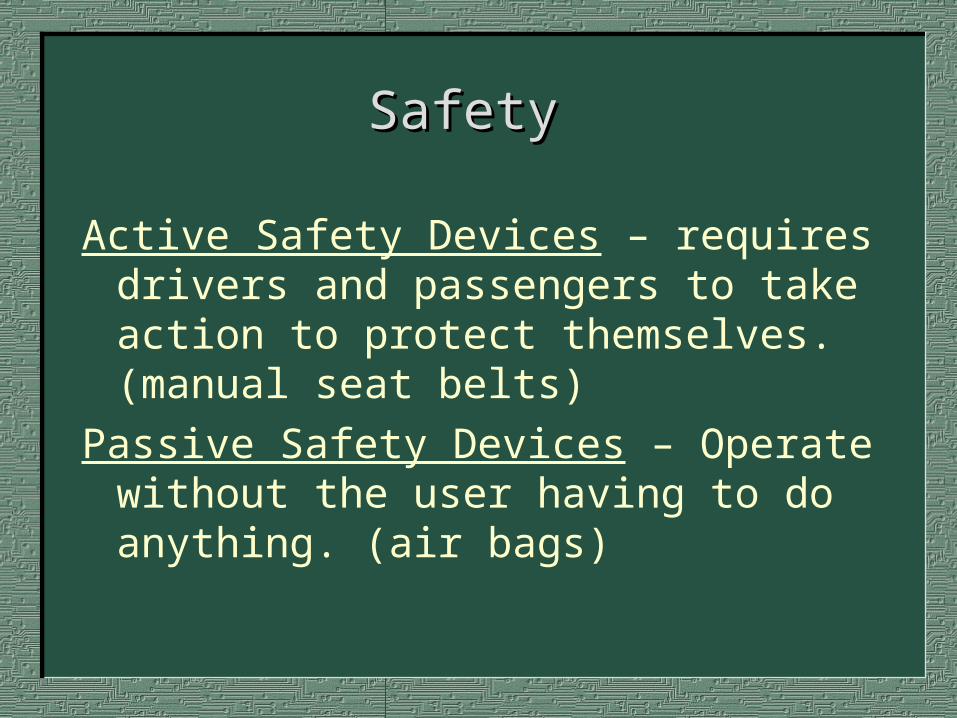
Active Safety Devices – requires drivers and passengers to take action to protect themselves. (manual seat belts)
Passive Safety Devices – Operate without the user having to do anything. (air bags)
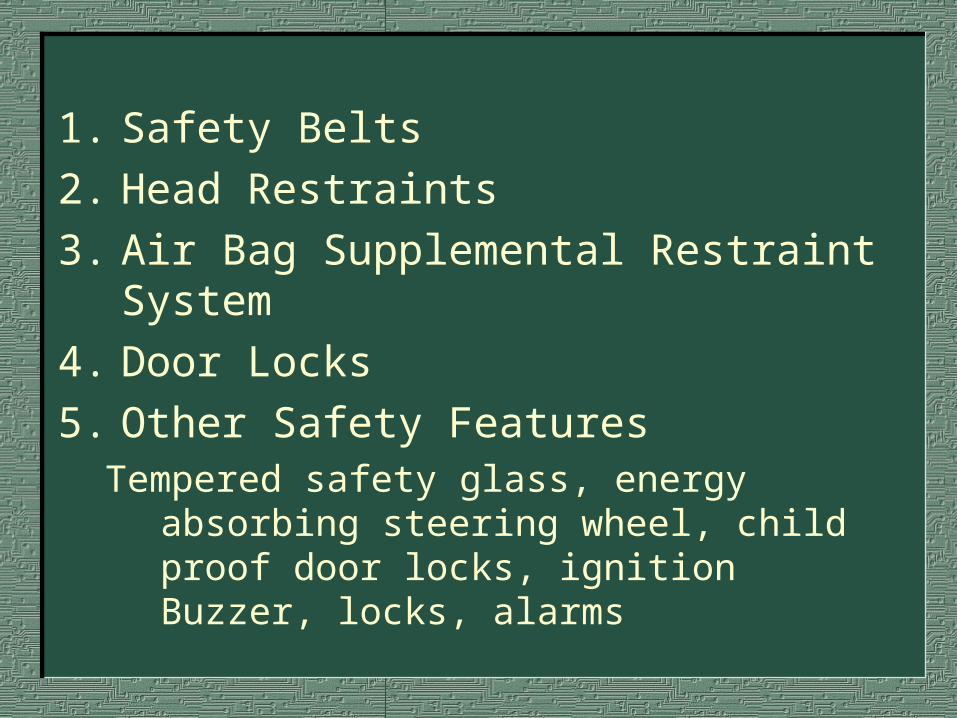
1. Safety Belts
2. Head Restraints
3. Air Bag Supplemental Restraint System
4. Door Locks
5. Other Safety FeaturesTempered safety glass, energy absorbing
steering wheel, child proof door locks, ignition Buzzer, locks, alarms
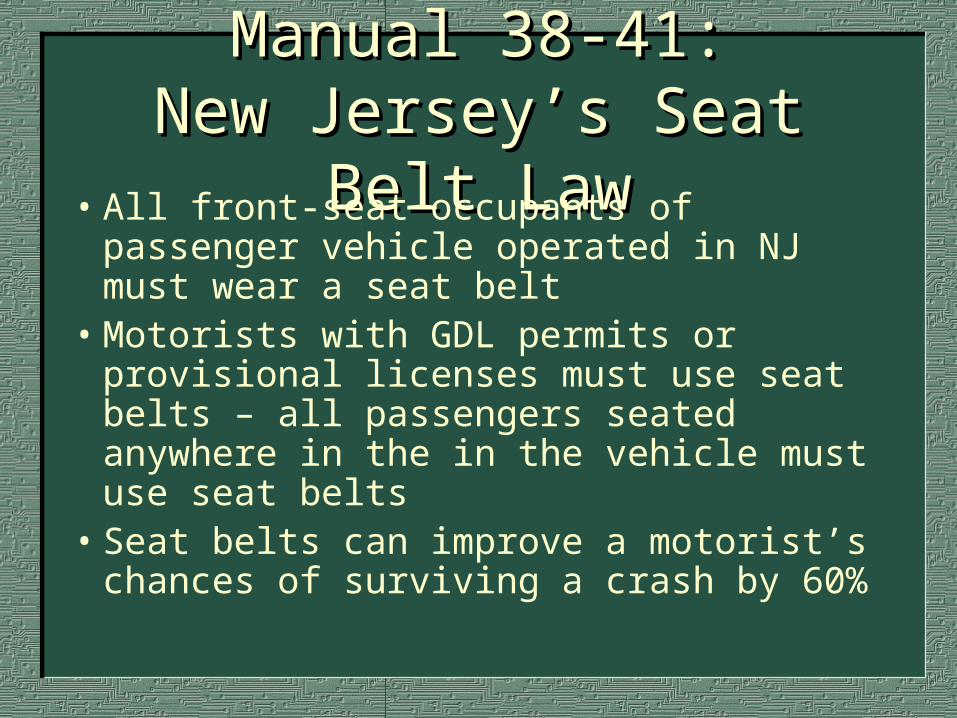
Manual 38-41:Manual 38-41:New Jersey’s Seat Belt New Jersey’s Seat Belt
LawLaw• All front-seat occupants of passenger vehicle operated in NJ must wear a seat belt
• Motorists with GDL permits or provisional licenses must use seat belts – all passengers seated anywhere in the in the vehicle must use seat belts
• Seat belts can improve a motorist’s chances of surviving a crash by 60%
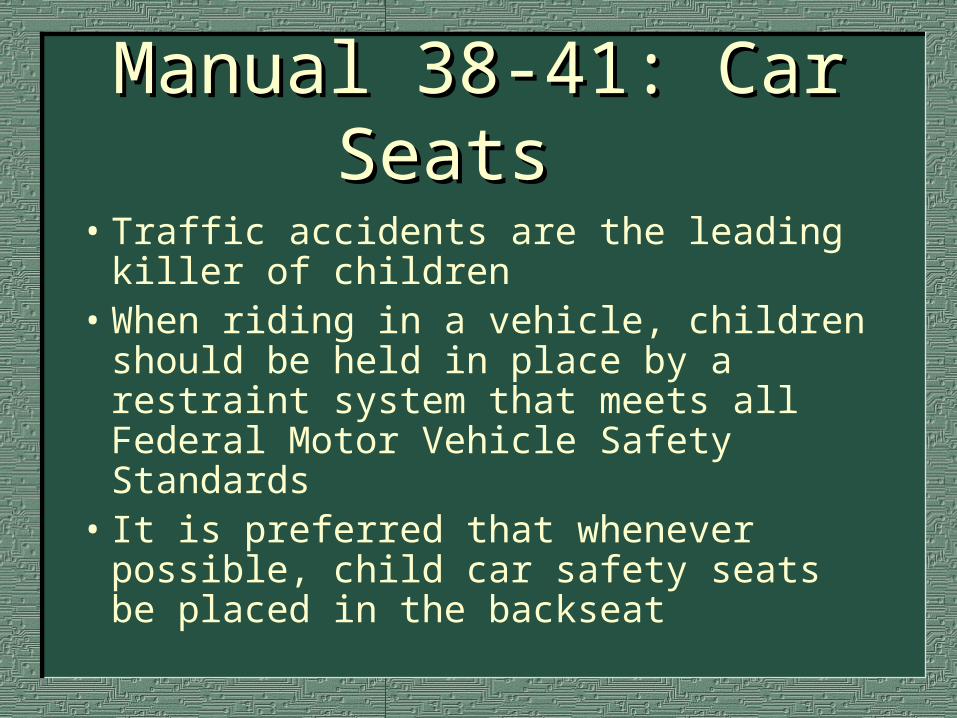
Manual 38-41: Car Manual 38-41: Car SeatsSeats
• Traffic accidents are the leading killer of children
• When riding in a vehicle, children should be held in place by a restraint system that meets all Federal Motor Vehicle Safety Standards
• It is preferred that whenever possible, child car safety seats be placed in the backseat
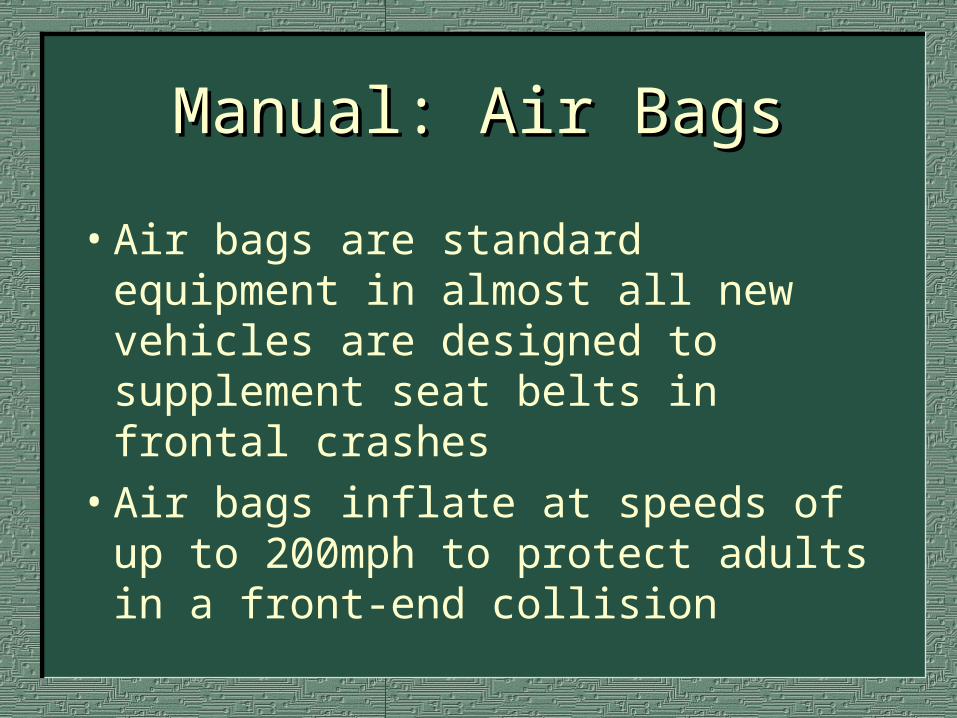
Manual: Air BagsManual: Air Bags
• Air bags are standard equipment in almost all new vehicles are designed to supplement seat belts in frontal crashes
• Air bags inflate at speeds of up to 200mph to protect adults in a front-end collision
InformationInformation
Speedometer – Shows how fast your vehicle is moving
Odometer – Tracks the total number of miles the vehicle has been driven
Fuel GaugeTemperature Gauge (warning light)Oil-pressure Gauge (warning Light)Brake (warning Light)Check Engine LightOther Dashboard Lights
CommunicationCommunication
• Taillights
• Directional Signals (Turn Signal)
• Emergency Flashers (Hazard lights)
• Parking Lights
• Horn
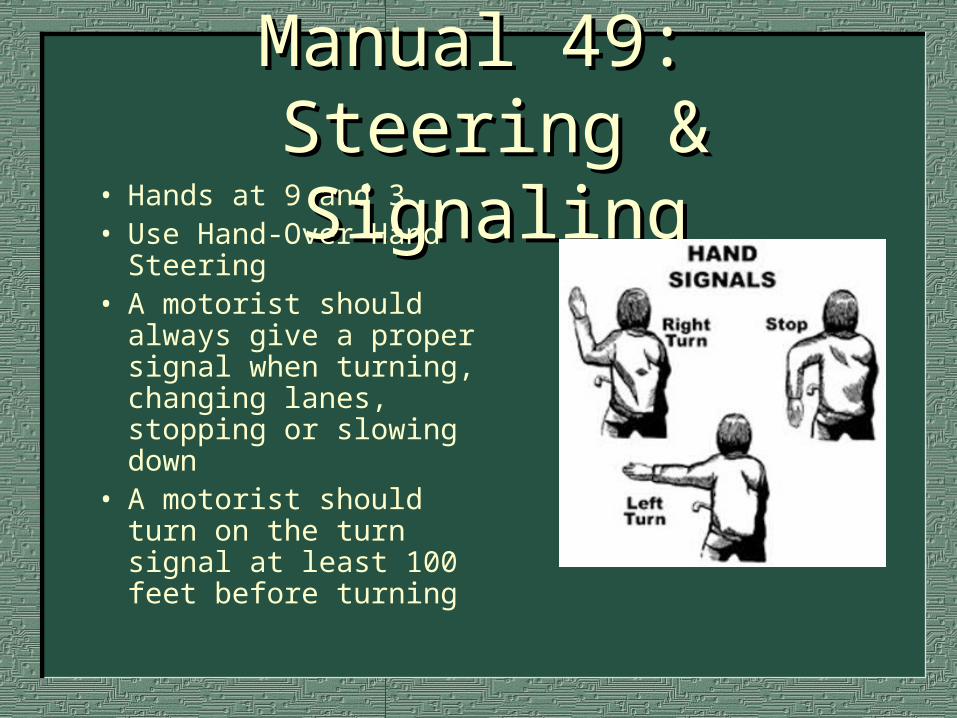
Manual 49: Manual 49: Steering & SignalingSteering & Signaling• Hands at 9 and 3
• Use Hand-Over-Hand Steering
• A motorist should always give a proper signal when turning, changing lanes, stopping or slowing down
• A motorist should turn on the turn signal at least 100 feet before turning
What Should You Check Before What Should You Check Before Entering Your VehicleEntering Your Vehicle
• Surrounding Area – people, animals, objects, fluid leaks
• Wheels – underinflated tires, excess wear, tire damage
• Car Body – damage, lights and windows are clear• Under The Hood – once per week: fluid levels• Getting Into The Vehicle – load from curb side, have
keys in hand, face oncoming traffic, wait for a break in the traffic to open the door
What Should You Check After What Should You Check After Entering the VehicleEntering the Vehicle
• Close and lock all doors
• Adjust seat
• Fasten Safety Belt
• Adjust Head restraint
• Adjust Mirrors
Manual 42-43: Car Manual 42-43: Car ConditionCondition
• Back-up lights - illuminated
• Brakes - test• Brake lights -
illuminated• Headlights – all
illuminated• Horn - working• Steering – no
vibration
• Tail Lights - illuminated
• Tires – proper pressure
• Turn Signals – here clicking and see flashing
• Windshield – no cracks or chips
• Snow/Ice – must remove