Embed Size (px)
DESCRIPTION
Module 1 Virtual Environments Journal
Citation preview
Anneliese Staubli 637487 Semester 1/2013 Group 3Anneliese Staubli 637487 Semester 1/2013 Group 3
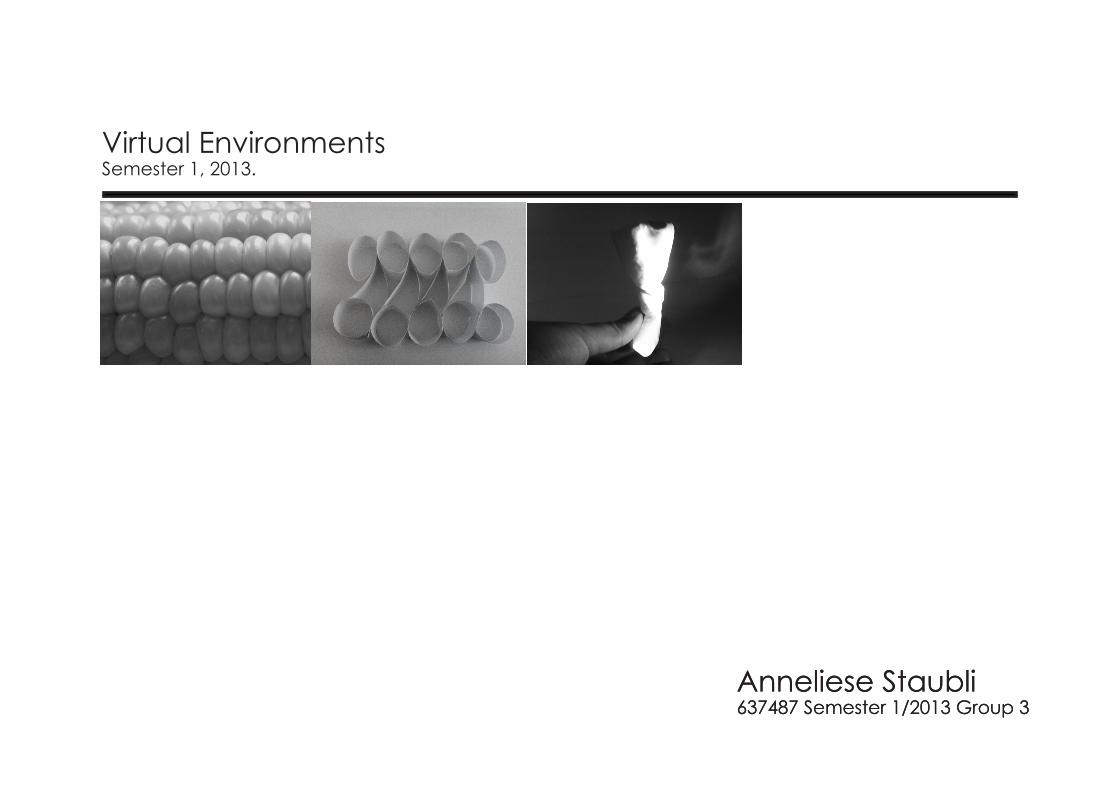
Virtual EnvironmentsSemester 1, 2013.
Anneliese Staubli 637487 Semester 1/2013 Group 3
Naturally Occuring Pattern: Corn/Maize
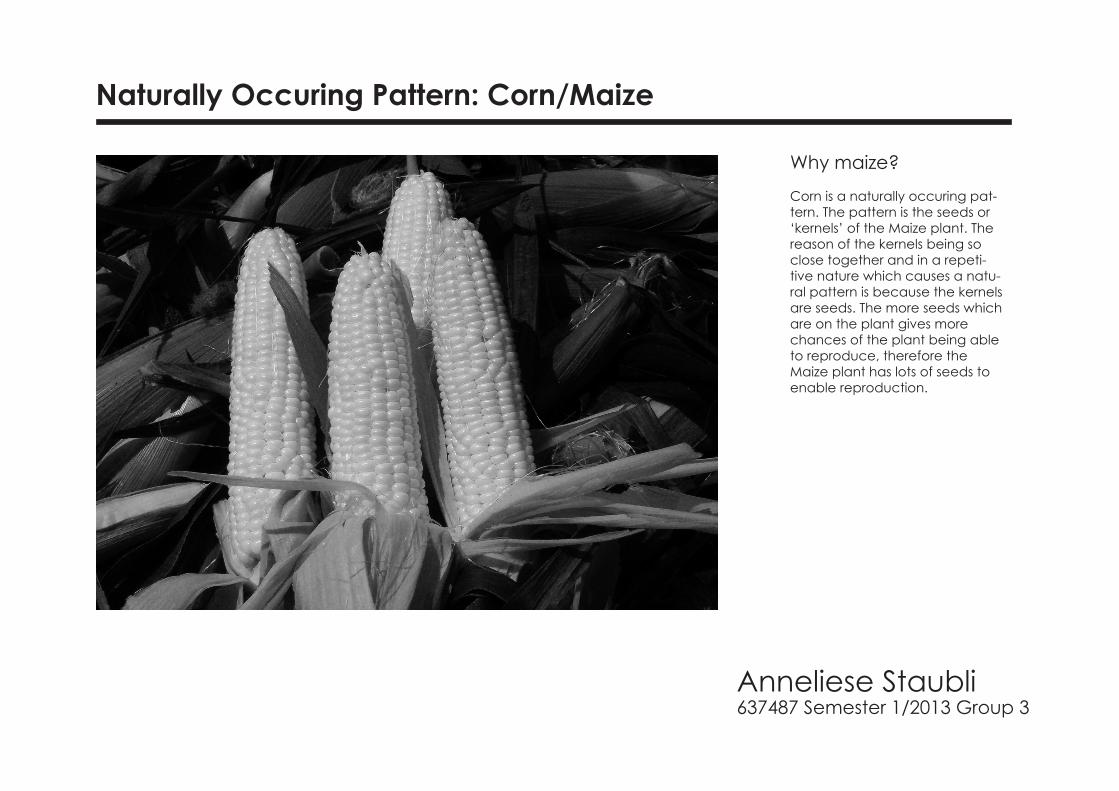
Why maize?
Corn is a naturally occuring pat-tern. The pattern is the seeds or ‘kernels’ of the Maize plant. The reason of the kernels being so close together and in a repeti-tive nature which causes a natu-ral pattern is because the kernels are seeds. The more seeds which are on the plant gives more chances of the plant being able to reproduce, therefore the Maize plant has lots of seeds to enable reproduction.

Anneliese Staubli 637487 Semester 1/2013 Group 3
Recipe
1) Draw an oval with a pointed top and curved bottom at the edge of your page/border.
2) Draw the same shape or similar/same size next the original oval, un-derlapping it. 3) Repeat step 2, until you have made a sufficient line.
4) Draw an oval with a pointed top underneith and inbetween the original oval and second one you drew. So that they interjoin. Repeat step 2.
5) Continue these steps until you desire.
Anneliese Staubli 637487 Semester 1/2013 Group 3
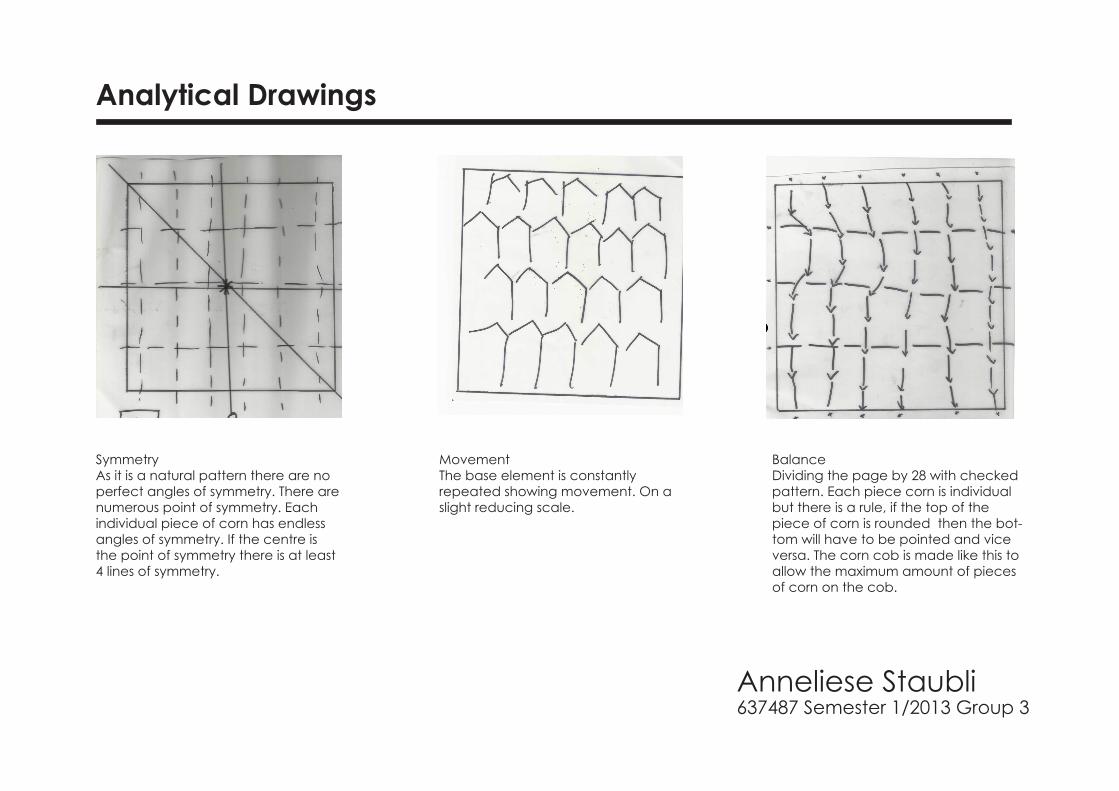
Symmetry As it is a natural pattern there are no perfect angles of symmetry. There are numerous point of symmetry. Each individual piece of corn has endless angles of symmetry. If the centre is the point of symmetry there is at least 4 lines of symmetry.
MovementThe base element is constantly repeated showing movement. On a slight reducing scale.
BalanceDividing the page by 28 with checked pattern. Each piece corn is individual but there is a rule, if the top of the piece of corn is rounded then the bot-tom will have to be pointed and vice versa. The corn cob is made like this to allow the maximum amount of pieces of corn on the cob.
Analytical Drawings
Anneliese Staubli 637487 Semester 1/2013 Group 3
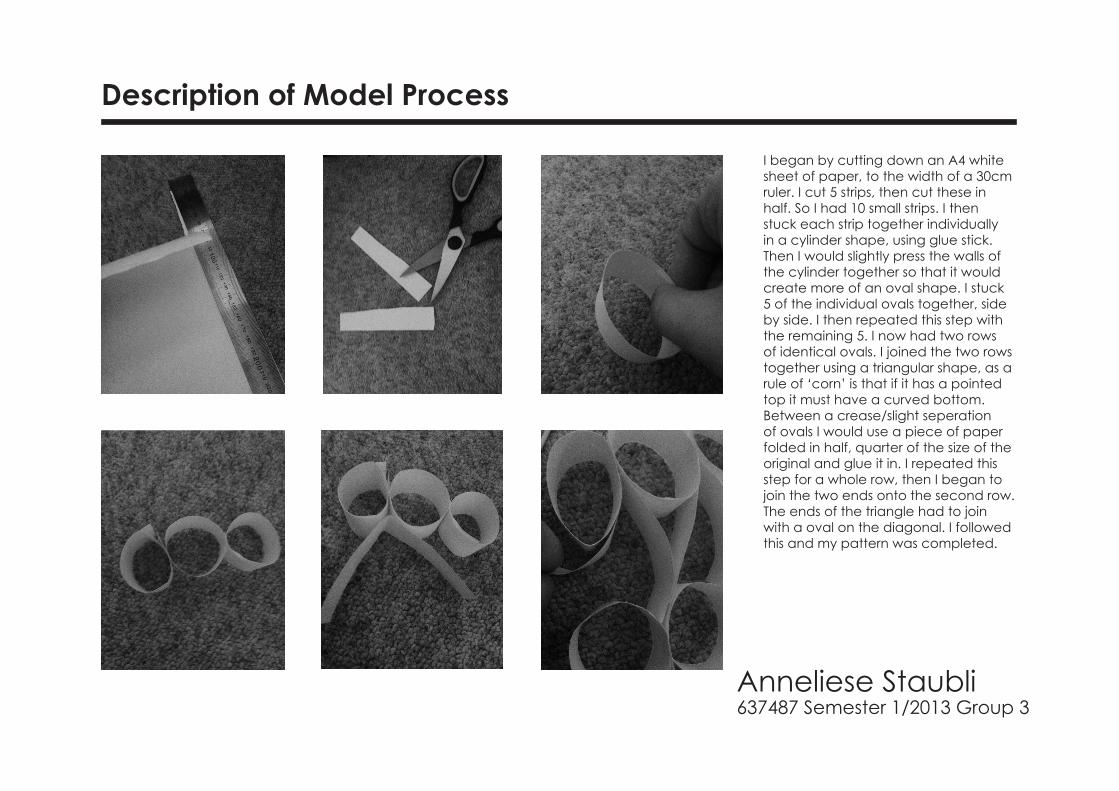
I began by cutting down an A4 white sheet of paper, to the width of a 30cm ruler. I cut 5 strips, then cut these in half. So I had 10 small strips. I then stuck each strip together individually in a cylinder shape, using glue stick. Then I would slightly press the walls of the cylinder together so that it would create more of an oval shape. I stuck 5 of the individual ovals together, side by side. I then repeated this step with the remaining 5. I now had two rows of identical ovals. I joined the two rows together using a triangular shape, as a rule of ‘corn’ is that if it has a pointed top it must have a curved bottom. Between a crease/slight seperation of ovals I would use a piece of paper folded in half, quarter of the size of the original and glue it in. I repeated this step for a whole row, then I began to join the two ends onto the second row. The ends of the triangle had to join with a oval on the diagonal. I followed this and my pattern was completed.
Description of Model Process
Anneliese Staubli 637487 Semester 1/2013 Group 3
Paper Model of Pattern
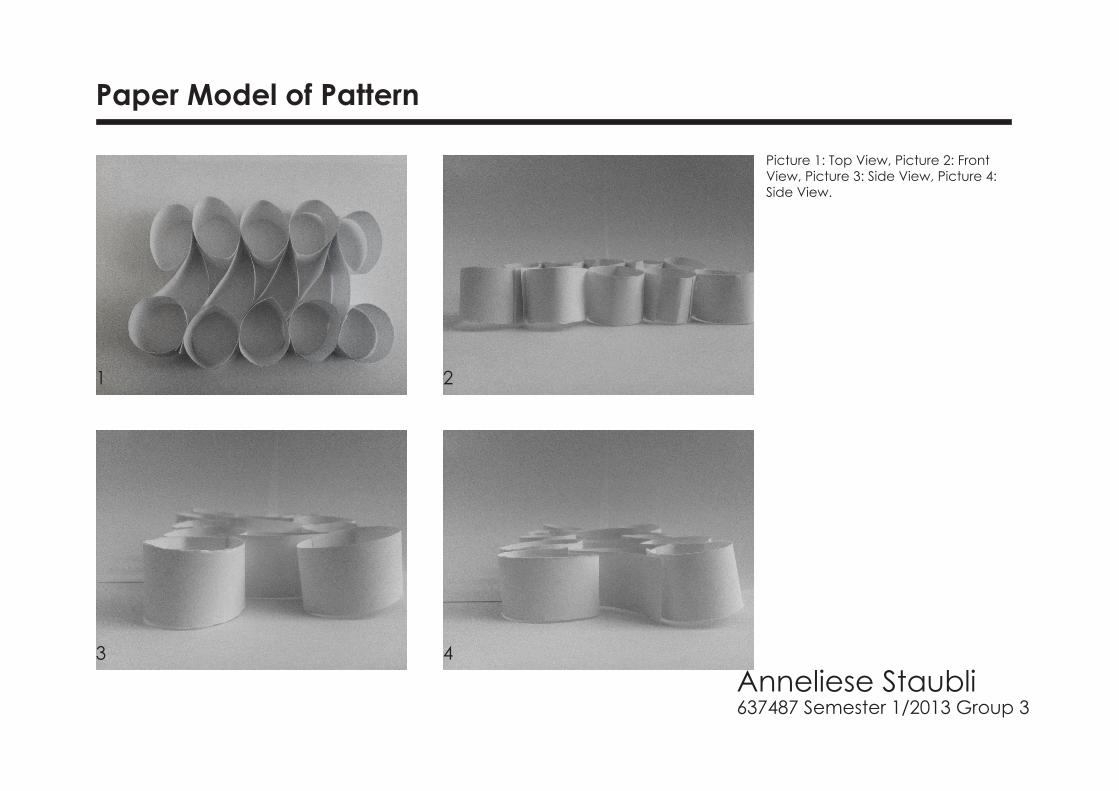
Picture 1: Top View, Picture 2: Front View, Picture 3: Side View, Picture 4: Side View.
1 2
3 4
Anneliese Staubli 637487 Semester 1/2013 Group 3
Precedent Examples
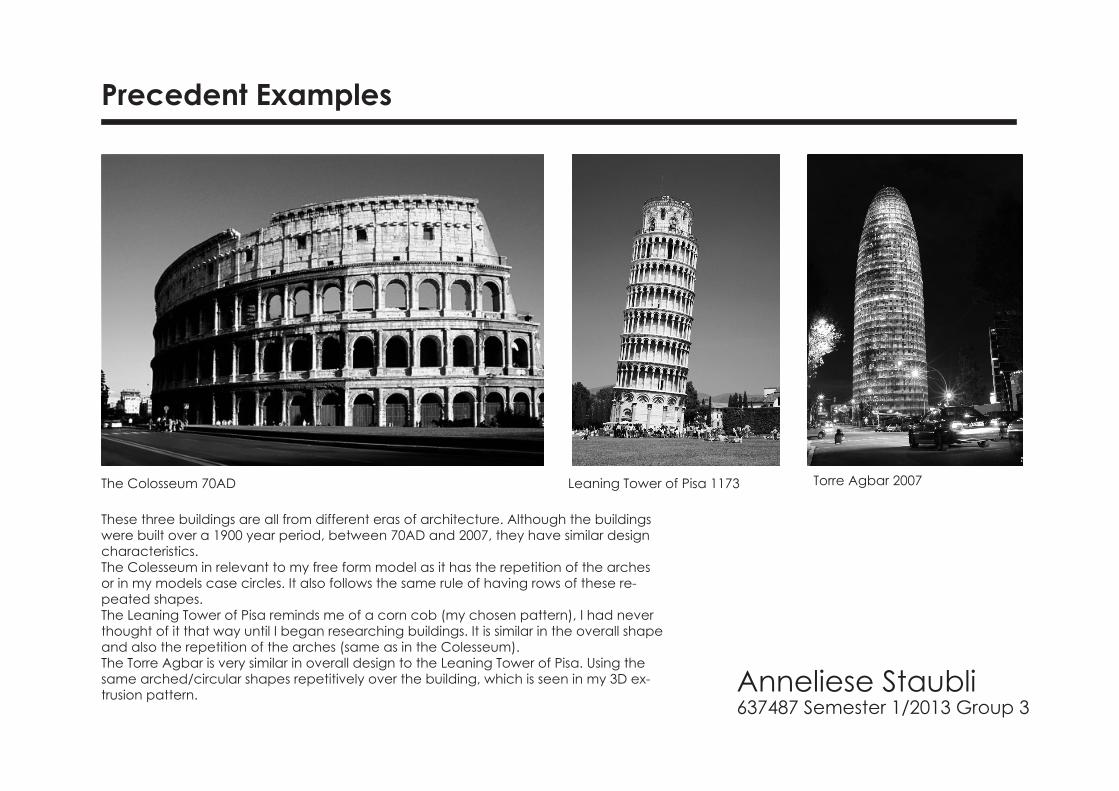
The Colosseum 70AD Leaning Tower of Pisa 1173 Torre Agbar 2007
These three buildings are all from different eras of architecture. Although the buildings were built over a 1900 year period, between 70AD and 2007, they have similar design characteristics. The Colesseum in relevant to my free form model as it has the repetition of the arches or in my models case circles. It also follows the same rule of having rows of these re-peated shapes.The Leaning Tower of Pisa reminds me of a corn cob (my chosen pattern), I had never thought of it that way until I began researching buildings. It is similar in the overall shape and also the repetition of the arches (same as in the Colesseum). The Torre Agbar is very similar in overall design to the Leaning Tower of Pisa. Using the same arched/circular shapes repetitively over the building, which is seen in my 3D ex-trusion pattern.
Anneliese Staubli 637487 Semester 1/2013 Group 3
Clay Models
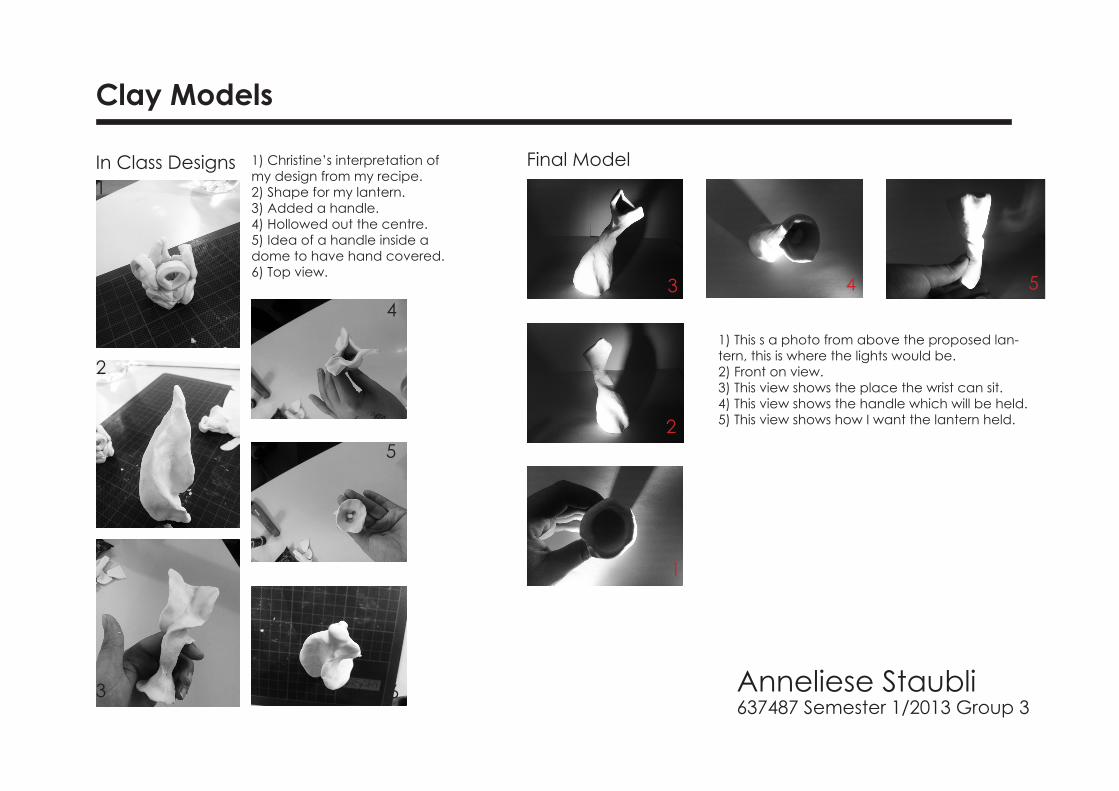
In Class Designs 1) Christine’s interpretation of my design from my recipe.2) Shape for my lantern.3) Added a handle.4) Hollowed out the centre.5) Idea of a handle inside a dome to have hand covered.6) Top view.
1
2
3 6
5
4
Final Model
1) This s a photo from above the proposed lan-tern, this is where the lights would be.2) Front on view.3) This view shows the place the wrist can sit. 4) This view shows the handle which will be held.5) This view shows how I want the lantern held.
1
2
3 4 5
Anneliese Staubli 637487 Semester 1/2013 Group 3
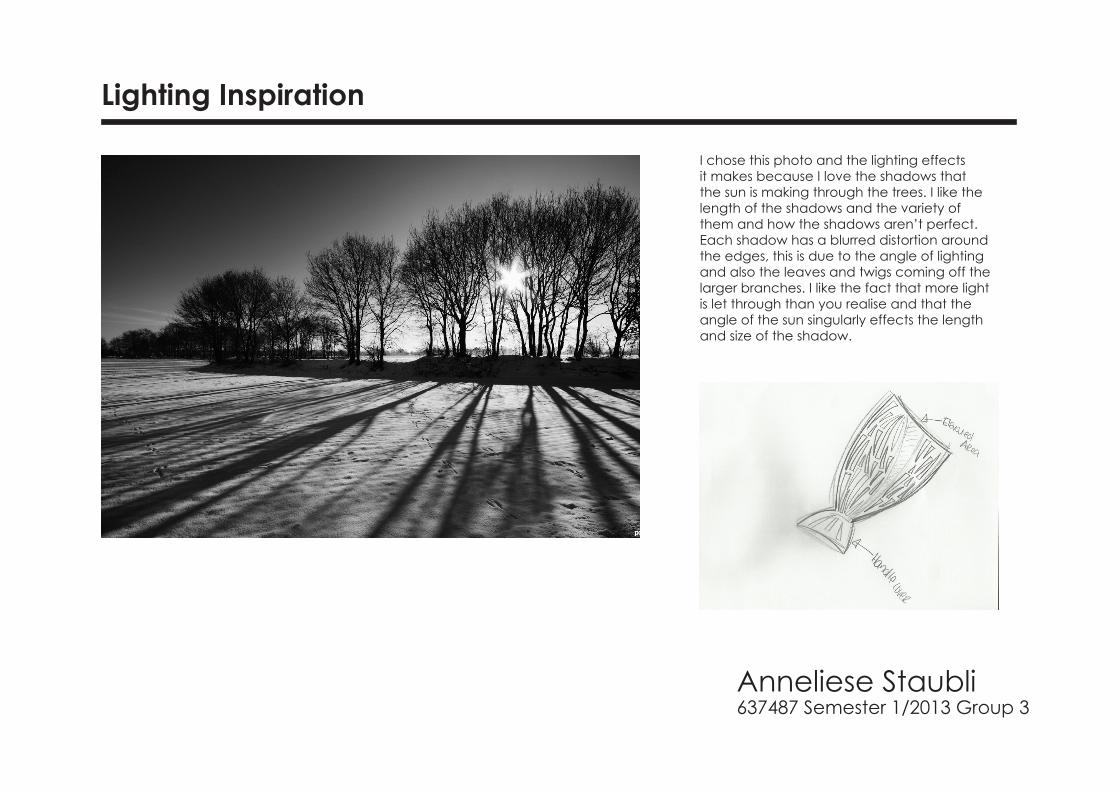
Lighting Inspiration
I chose this photo and the lighting effects it makes because I love the shadows that the sun is making through the trees. I like the length of the shadows and the variety of them and how the shadows aren’t perfect. Each shadow has a blurred distortion around the edges, this is due to the angle of lighting and also the leaves and twigs coming off the larger branches. I like the fact that more light is let through than you realise and that the angle of the sun singularly effects the length and size of the shadow.
Anneliese Staubli 637487 Semester 1/2013 Group 3
Tooling / Aranda, Lasch. New York : Princeton Ar-chitectural Press, 2006 This reading was a guide for me on how too write my recipe, it helped me understand the depth inwhich I had to write the recipe. Reading this before I began my analytcal drawings helped me understand how to do these drawings and how to be aware of what to draw.
Poling, Clark (1987): Analytical Drawing In Kandis-ky’s Teaching at the Bauhaus Rizzoli, New York, pp. 107-122Kandisky’s approach to the investigation of the structural relationships among objects involved simplifying, analysing and transforming th drawing so that it could be graphed. This helped me to understand that instead of looking at the complexity of my pattern to look at the simplic-ity and that will help me understand it and create my recipe. This ap-proach helped me with my analytical drawings.
Simplifying my pattern was easy, as my pattern was already quite sim-ple. The simplification of my pattern made me think in regards of how simple I could make my pattern. Could I simply turn it into a grid?
Analysising, development of the structural network. This approach was focusing more on principle tensions. Focusing on the lines in my pattern, I began to understand the tensions within my pattern.
Transforming for me, was exploring a variety of structural posibilities that I had not recognised or discovered. I looked at the simplicity of the ten-sions.
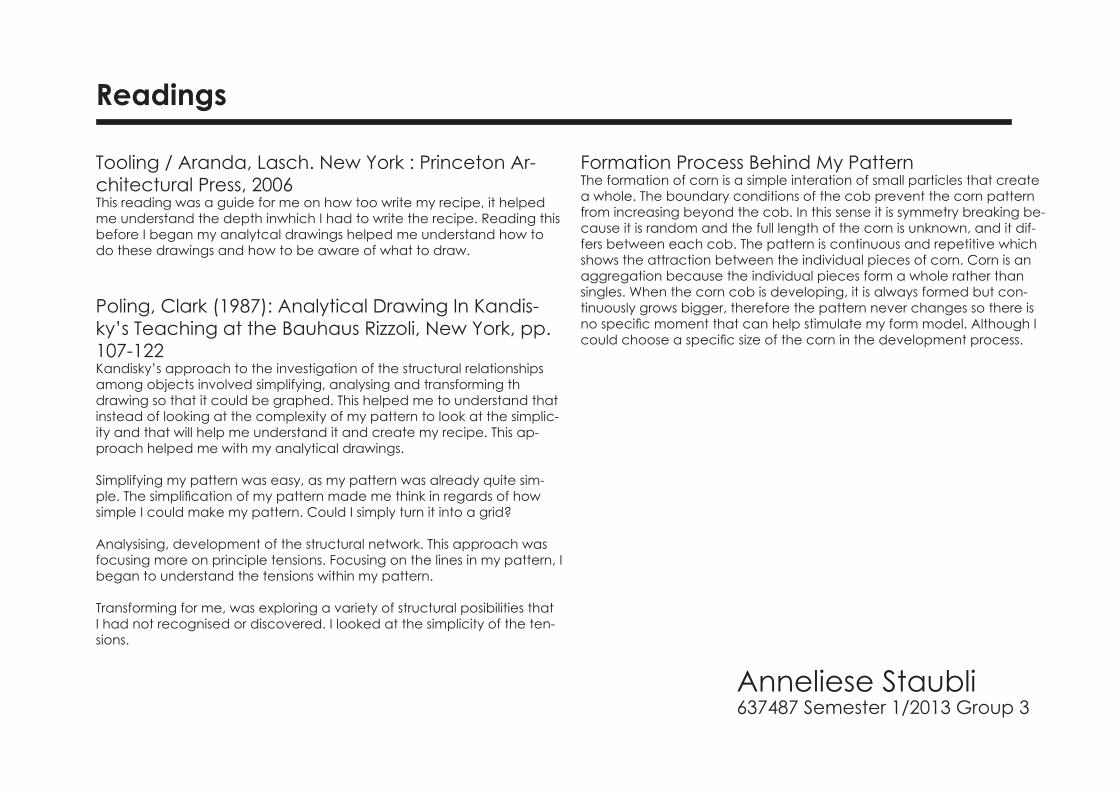
Formation Process Behind My PatternThe formation of corn is a simple interation of small particles that create a whole. The boundary conditions of the cob prevent the corn pattern from increasing beyond the cob. In this sense it is symmetry breaking be-cause it is random and the full length of the corn is unknown, and it dif-fers between each cob. The pattern is continuous and repetitive which shows the attraction between the individual pieces of corn. Corn is an aggregation because the individual pieces form a whole rather than singles. When the corn cob is developing, it is always formed but con-tinuously grows bigger, therefore the pattern never changes so there is no specific moment that can help stimulate my form model. Although I could choose a specific size of the corn in the development process.
Readings

Anneliese Staubli 637487 Semester 1/2013 Group 3
Rhino Tutorials and Emerging Form