Embed Size (px)
Citation preview
Phyllis L. Brown [email protected] There’s a Dragon in my Art Room plbrown.blogspot.com
Wampum-Inspired Bead Weaving for Modern Times
Warping the loom:
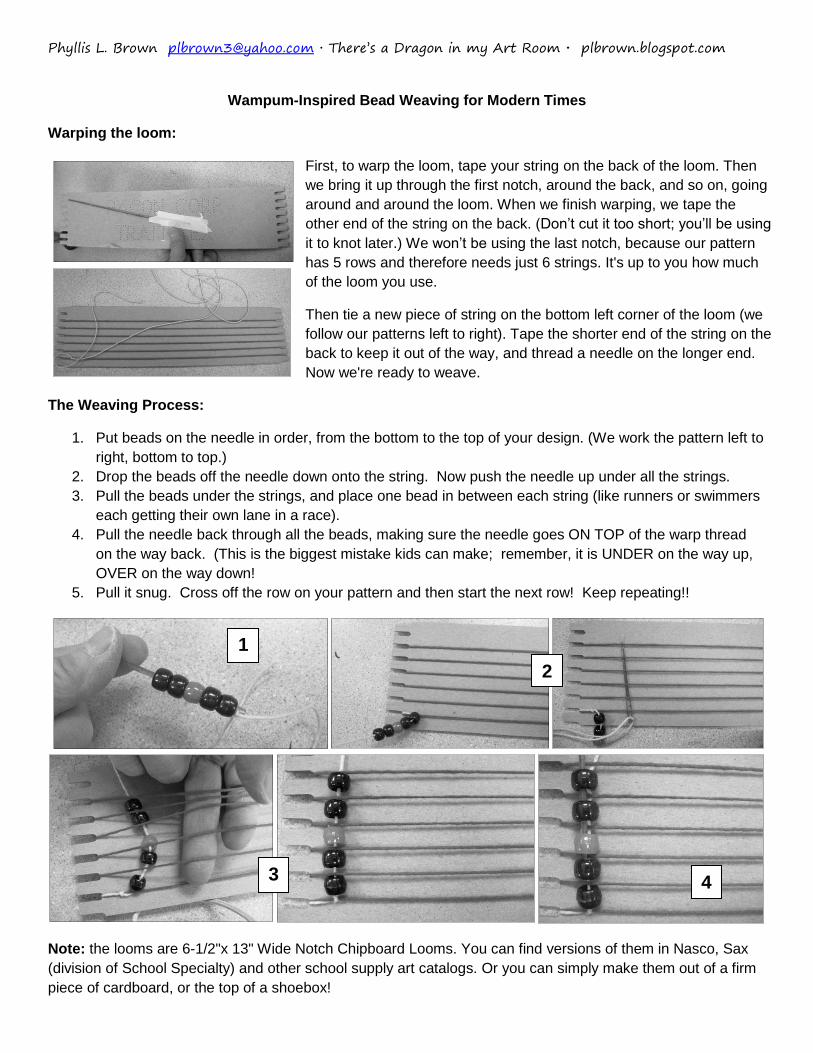
First, to warp the loom, tape your string on the back of the loom. Then
we bring it up through the first notch, around the back, and so on, going
around and around the loom. When we finish warping, we tape the
other end of the string on the back. (Don’t cut it too short; you’ll be using
it to knot later.) We won’t be using the last notch, because our pattern
has 5 rows and therefore needs just 6 strings. It's up to you how much
of the loom you use.
Then tie a new piece of string on the bottom left corner of the loom (we
follow our patterns left to right). Tape the shorter end of the string on the
back to keep it out of the way, and thread a needle on the longer end.
Now we're ready to weave.
The Weaving Process:
1. Put beads on the needle in order, from the bottom to the top of your design. (We work the pattern left to
right, bottom to top.)
2. Drop the beads off the needle down onto the string. Now push the needle up under all the strings.
3. Pull the beads under the strings, and place one bead in between each string (like runners or swimmers
each getting their own lane in a race).
4. Pull the needle back through all the beads, making sure the needle goes ON TOP of the warp thread
on the way back. (This is the biggest mistake kids can make; remember, it is UNDER on the way up,
OVER on the way down!
5. Pull it snug. Cross off the row on your pattern and then start the next row! Keep repeating!!
Note: the looms are 6-1/2"x 13" Wide Notch Chipboard Looms. You can find versions of them in Nasco, Sax
(division of School Specialty) and other school supply art catalogs. Or you can simply make them out of a firm
piece of cardboard, or the top of a shoebox!
1
2
3 4
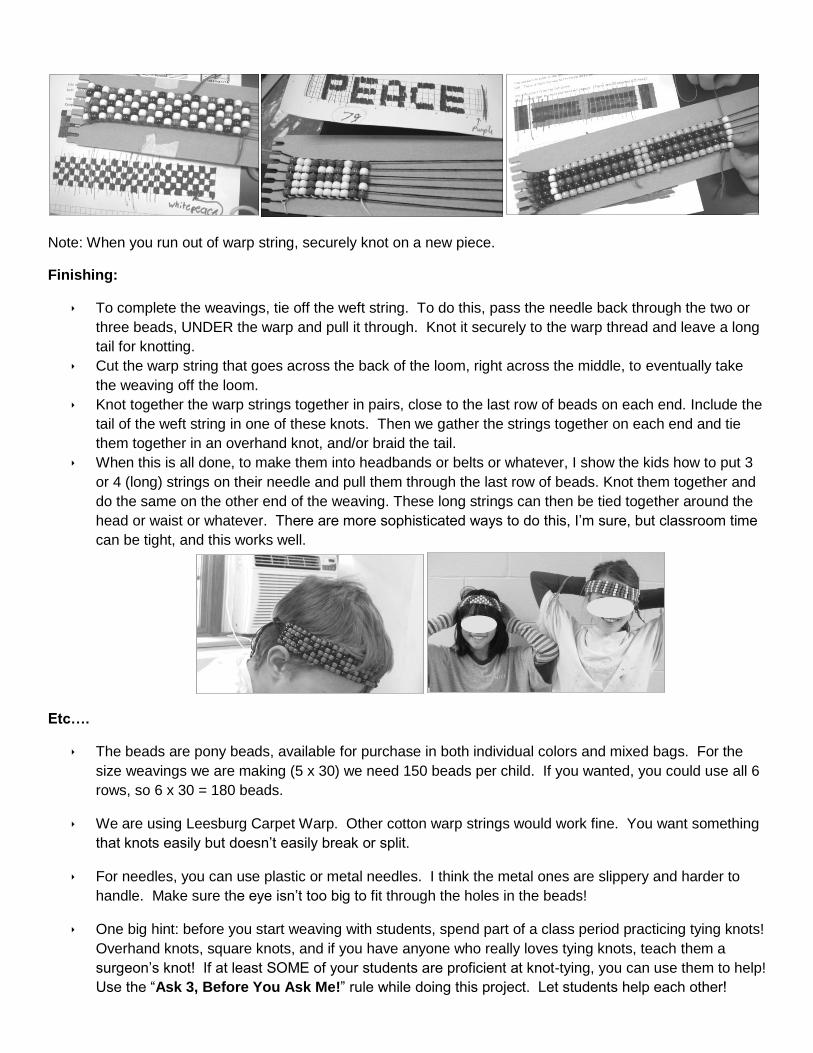
Note: When you run out of warp string, securely knot on a new piece.
Finishing:
To complete the weavings, tie off the weft string. To do this, pass the needle back through the two or
three beads, UNDER the warp and pull it through. Knot it securely to the warp thread and leave a long
tail for knotting.
Cut the warp string that goes across the back of the loom, right across the middle, to eventually take
the weaving off the loom.
Knot together the warp strings together in pairs, close to the last row of beads on each end. Include the
tail of the weft string in one of these knots. Then we gather the strings together on each end and tie
them together in an overhand knot, and/or braid the tail.
When this is all done, to make them into headbands or belts or whatever, I show the kids how to put 3
or 4 (long) strings on their needle and pull them through the last row of beads. Knot them together and
do the same on the other end of the weaving. These long strings can then be tied together around the
head or waist or whatever. There are more sophisticated ways to do this, I’m sure, but classroom time
can be tight, and this works well.
Etc….
The beads are pony beads, available for purchase in both individual colors and mixed bags. For the
size weavings we are making (5 x 30) we need 150 beads per child. If you wanted, you could use all 6
rows, so 6 x 30 = 180 beads.
We are using Leesburg Carpet Warp. Other cotton warp strings would work fine. You want something
that knots easily but doesn’t easily break or split.
For needles, you can use plastic or metal needles. I think the metal ones are slippery and harder to
handle. Make sure the eye isn’t too big to fit through the holes in the beads!
One big hint: before you start weaving with students, spend part of a class period practicing tying knots!
Overhand knots, square knots, and if you have anyone who really loves tying knots, teach them a
surgeon’s knot! If at least SOME of your students are proficient at knot-tying, you can use them to help!
Use the “Ask 3, Before You Ask Me!” rule while doing this project. Let students help each other!
Note: I began doing this project with my 4th grade students at the request of the 4th grade classroom
teachers, as part of their study of the native tribes of our region northeastern NY, the Eastern
Woodland Indians. I do not claim to be an expert or a historian; the history and culture of the Native
American tribes were taught by the classroom teachers, and I was responsible only for the weaving
project, to enhance their study.
The interdisciplinary connections of this project are not only with social studies; there is also a math
connection, as the students must develop their designs using a graph, and need to follow that graphed
pattern systematically to carry out the weaving to completion. This was the focus of my lesson.
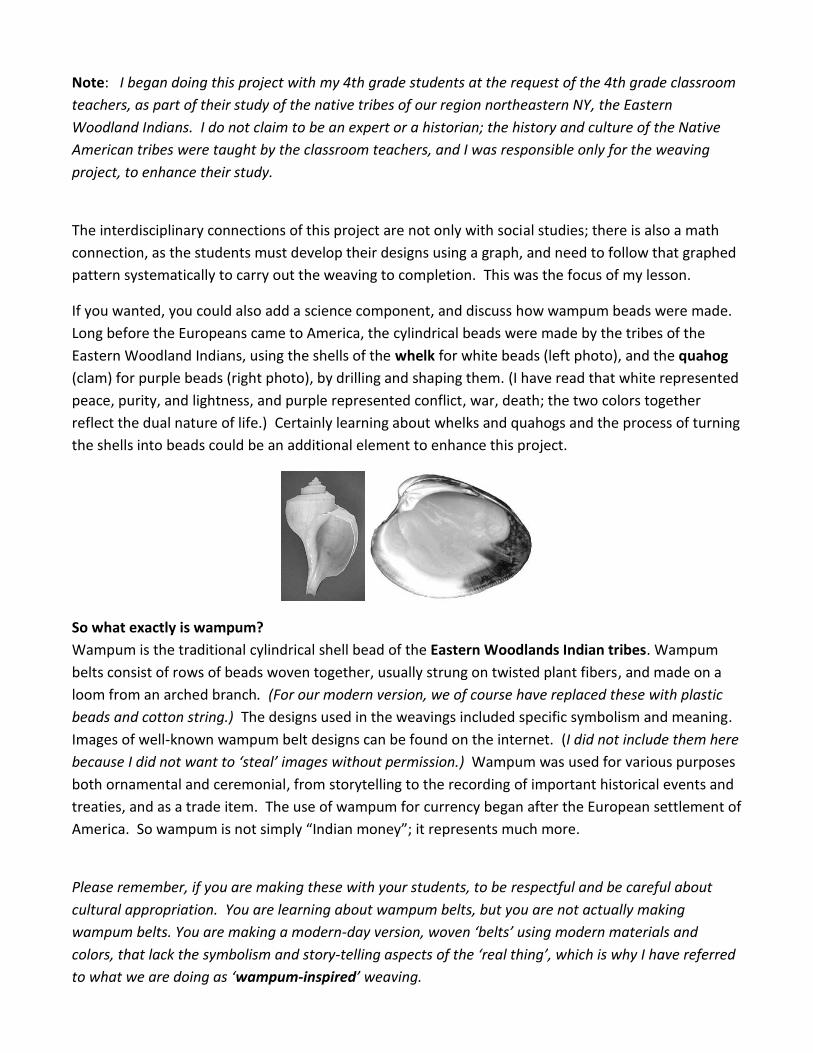
If you wanted, you could also add a science component, and discuss how wampum beads were made.
Long before the Europeans came to America, the cylindrical beads were made by the tribes of the
Eastern Woodland Indians, using the shells of the whelk for white beads (left photo), and the quahog
(clam) for purple beads (right photo), by drilling and shaping them. (I have read that white represented
peace, purity, and lightness, and purple represented conflict, war, death; the two colors together
reflect the dual nature of life.) Certainly learning about whelks and quahogs and the process of turning
the shells into beads could be an additional element to enhance this project.
So what exactly is wampum?
Wampum is the traditional cylindrical shell bead of the Eastern Woodlands Indian tribes. Wampum
belts consist of rows of beads woven together, usually strung on twisted plant fibers, and made on a
loom from an arched branch. (For our modern version, we of course have replaced these with plastic
beads and cotton string.) The designs used in the weavings included specific symbolism and meaning.
Images of well-known wampum belt designs can be found on the internet. (I did not include them here
because I did not want to ‘steal’ images without permission.) Wampum was used for various purposes
both ornamental and ceremonial, from storytelling to the recording of important historical events and
treaties, and as a trade item. The use of wampum for currency began after the European settlement of
America. So wampum is not simply “Indian money”; it represents much more.
Please remember, if you are making these with your students, to be respectful and be careful about
cultural appropriation. You are learning about wampum belts, but you are not actually making
wampum belts. You are making a modern-day version, woven ‘belts’ using modern materials and
colors, that lack the symbolism and story-telling aspects of the ‘real thing’, which is why I have referred
to what we are doing as ‘wampum-inspired’ weaving.