Plus A Look At “Why We Study Archaeology & Paleontology (Fossils)”
© 2009 by Tandy Leather Factory
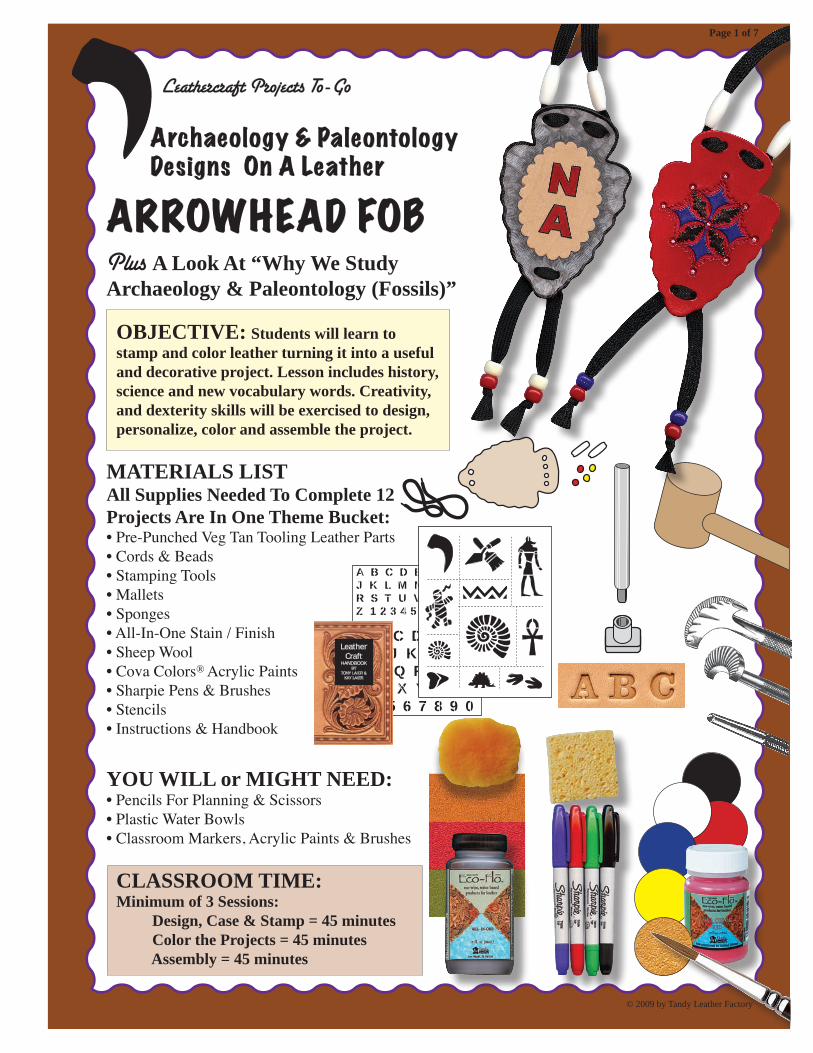
MATERIALS LISTAll Supplies Needed To Complete 12 Projects Are In One Theme Bucket:• Pre-Punched Veg Tan Tooling Leather Parts • Cords & Beads• Stamping Tools• Mallets• Sponges• All-In-One Stain / Finish• Sheep Wool• Cova Colors® Acrylic Paints• Sharpie Pens & Brushes• Stencils• Instructions & Handbook
YOU WILL or MIGHT NEED:• Pencils For Planning & Scissors• Plastic Water Bowls• Classroom Markers, Acrylic Paints & Brushes
Leathercraft Projects To-Go
ARROWHEAD FOB
A B C D E F G H I J K L M N O P Q R S T UV W X Y Z 1 2 3 4 5 6 7 8 9 0
A B C D E F G H I J K L M N O P Q R S T U V W X Y Z 1 2 3 4 5 6 7 8 9 0
EASY TO USELEATHERCRAFT
STENCIL
TANDYLEATHER FACTORY
C 2009
CLASSROOM TIME:Minimum of 3 Sessions: Design, Case & Stamp = 45 minutes Color the Projects = 45 minutes Assembly = 45 minutes
ARCHAEOLOGY & FOSSILS STENCIL
OBJECTIVE: Students will learn to stamp and color leather turning it into a useful and decorative project. Lesson includes history, science and new vocabulary words. Creativity, and dexterity skills will be exercised to design, personalize, color and assemble the project.
Archaeology & Paleontology Designs On A Leather
Page 1 of 7
LeatherCraft
HANDBOOKBY
TONY LAIER &KAY LAIER
© 2009 by Tandy Leather Factory
Page 2 of 7
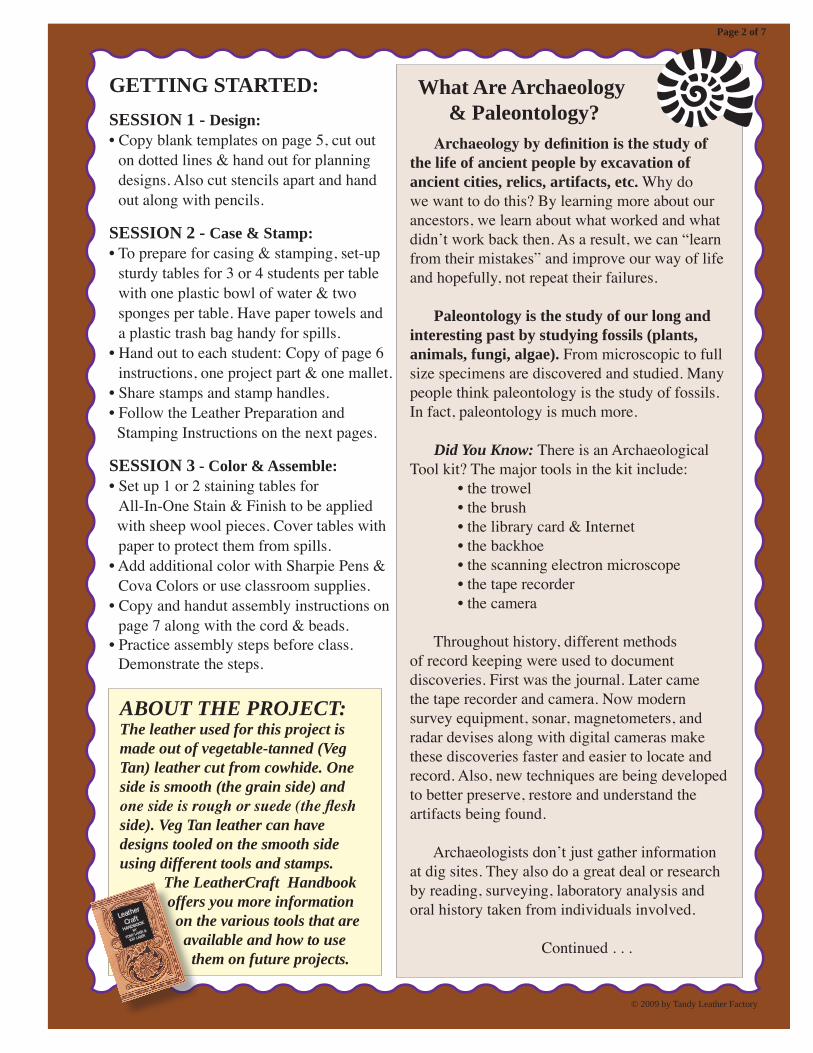
ABOUT THE PROJECT: The leather used for this project is made out of vegetable-tanned (Veg Tan) leather cut from cowhide. One side is smooth (the grain side) and one side is rough or suede (the flesh side). Veg Tan leather can have designs tooled on the smooth side using different tools and stamps. The LeatherCraft Handbook offers you more information on the various tools that are available and how to use them on future projects.
Archaeology by definition is the study of the life of ancient people by excavation of ancient cities, relics, artifacts, etc. Why do we want to do this? By learning more about our ancestors, we learn about what worked and what didn’t work back then. As a result, we can “learn from their mistakes” and improve our way of life and hopefully, not repeat their failures.
Paleontology is the study of our long and interesting past by studying fossils (plants, animals, fungi, algae). From microscopic to full size specimens are discovered and studied. Many people think paleontology is the study of fossils. In fact, paleontology is much more. Did You Know: There is an Archaeological Tool kit? The major tools in the kit include: • the trowel • the brush • the library card & Internet • the backhoe • the scanning electron microscope • the tape recorder • the camera
Throughout history, different methods of record keeping were used to document discoveries. First was the journal. Later came the tape recorder and camera. Now modern survey equipment, sonar, magnetometers, and radar devises along with digital cameras make these discoveries faster and easier to locate and record. Also, new techniques are being developed to better preserve, restore and understand the artifacts being found.
Archaeologists don’t just gather information at dig sites. They also do a great deal or research by reading, surveying, laboratory analysis and oral history taken from individuals involved.
Continued . . .
What Are Archaeology & Paleontology?
GETTING STARTED:SESSION 1 - Design:• Copy blank templates on page 5, cut out
on dotted lines & hand out for planning designs. Also cut stencils apart and hand out along with pencils.
SESSION 2 - Case & Stamp:• To prepare for casing & stamping, set-up
sturdy tables for 3 or 4 students per table with one plastic bowl of water & two sponges per table. Have paper towels and a plastic trash bag handy for spills.
• Hand out to each student: Copy of page 6 instructions, one project part & one mallet.
• Share stamps and stamp handles.• Follow the Leather Preparation and Stamping Instructions on the next pages.
SESSION 3 - Color & Assemble:• Set up 1 or 2 staining tables for All-In-One Stain & Finish to be applied with sheep wool pieces. Cover tables with
paper to protect them from spills. • Add additional color with Sharpie Pens &
Cova Colors or use classroom supplies. • Copy and handut assembly instructions on
page 7 along with the cord & beads.• Practice assembly steps before class.
Demonstrate the steps.
Leather
CraftHANDBOOK
BY
TONY LAIER &
KAY LAIER
© 2009 by Tandy Leather Factory
Page 3 of 7
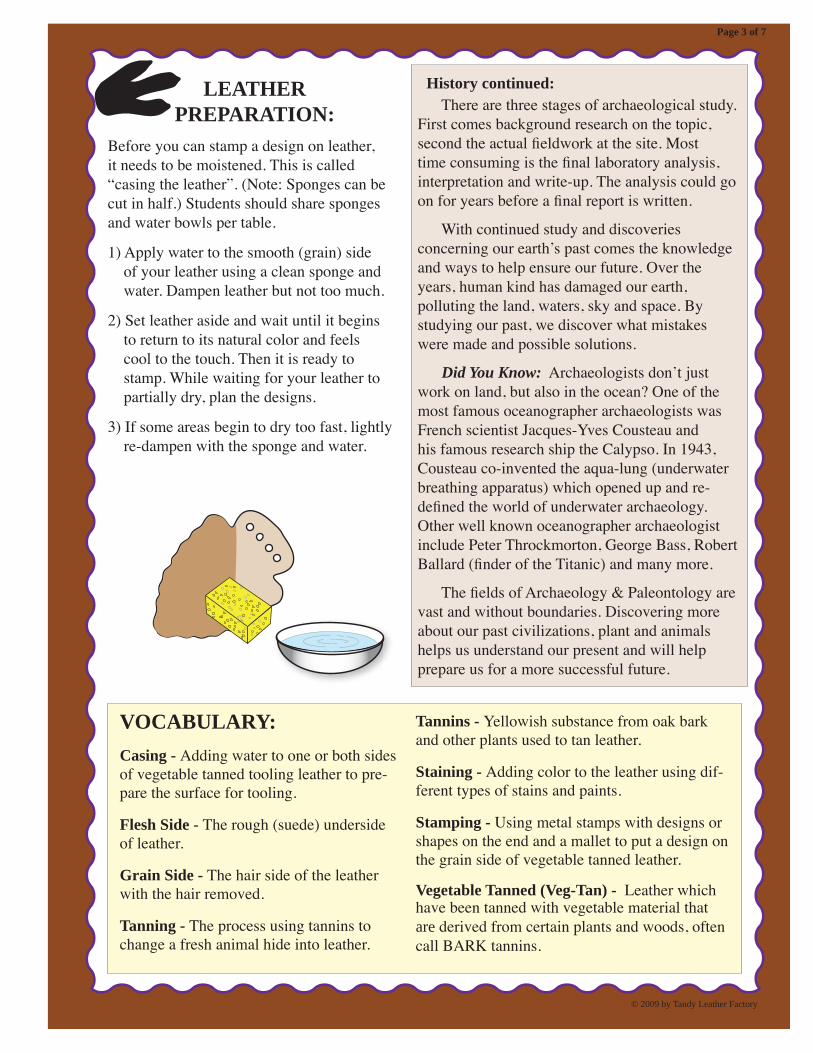
LEATHER PREPARATION:
Before you can stamp a design on leather,it needs to be moistened. This is called “casing the leather”. (Note: Sponges can becut in half.) Students should share spongesand water bowls per table.
1) Apply water to the smooth (grain) side of your leather using a clean sponge and water. Dampen leather but not too much.
2) Set leather aside and wait until it begins to return to its natural color and feels cool to the touch. Then it is ready to stamp. While waiting for your leather to partially dry, plan the designs.
3) If some areas begin to dry too fast, lightly re-dampen with the sponge and water.
There are three stages of archaeological study. First comes background research on the topic, second the actual fieldwork at the site. Most time consuming is the final laboratory analysis, interpretation and write-up. The analysis could go on for years before a final report is written.
With continued study and discoveries concerning our earth’s past comes the knowledge and ways to help ensure our future. Over the years, human kind has damaged our earth, polluting the land, waters, sky and space. By studying our past, we discover what mistakes were made and possible solutions.
Did You Know: Archaeologists don’t just work on land, but also in the ocean? One of the most famous oceanographer archaeologists was French scientist Jacques-Yves Cousteau and his famous research ship the Calypso. In 1943, Cousteau co-invented the aqua-lung (underwater breathing apparatus) which opened up and re-defined the world of underwater archaeology. Other well known oceanographer archaeologist include Peter Throckmorton, George Bass, Robert Ballard (finder of the Titanic) and many more.
The fields of Archaeology & Paleontology are vast and without boundaries. Discovering more about our past civilizations, plant and animals helps us understand our present and will help prepare us for a more successful future.
History continued:
VOCABULARY:Casing - Adding water to one or both sides of vegetable tanned tooling leather to pre-pare the surface for tooling.
Flesh Side - The rough (suede) underside of leather.
Grain Side - The hair side of the leather with the hair removed.
Tanning - The process using tannins to change a fresh animal hide into leather.
Tannins - Yellowish substance from oak bark and other plants used to tan leather.
Staining - Adding color to the leather using dif-ferent types of stains and paints.
Stamping - Using metal stamps with designs or shapes on the end and a mallet to put a design on the grain side of vegetable tanned leather.
Vegetable Tanned (Veg-Tan) - Leather which have been tanned with vegetable material that are derived from certain plants and woods, often call BARK tannins.
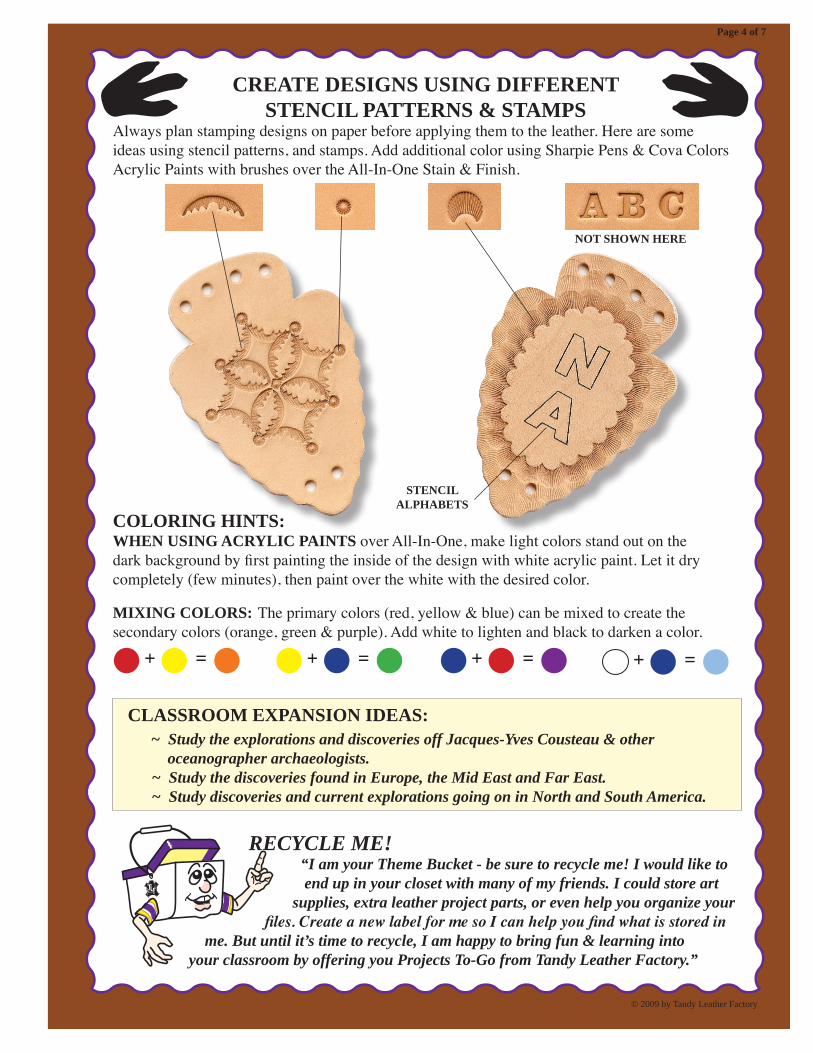
CREATE DESIGNS USING DIFFERENTSTENCIL PATTERNS & STAMPS
Always plan stamping designs on paper before applying them to the leather. Here are some ideas using stencil patterns, and stamps. Add additional color using Sharpie Pens & Cova Colors Acrylic Paints with brushes over the All-In-One Stain & Finish.
© 2009 by Tandy Leather Factory
Page 4 of 7
RECYCLE ME! “I am your Theme Bucket - be sure to recycle me! I would like to end up in your closet with many of my friends. I could store art supplies, extra leather project parts, or even help you organize your files. Create a new label for me so I can help you find what is stored in me. But until it’s time to recycle, I am happy to bring fun & learning into your classroom by offering you Projects To-Go from Tandy Leather Factory.”
CLASSROOM EXPANSION IDEAS: ~ Study the explorations and discoveries off Jacques-Yves Cousteau & other oceanographer archaeologists. ~ Study the discoveries found in Europe, the Mid East and Far East. ~ Study discoveries and current explorations going on in North and South America.
STENCIL ALPHABETS
NOT SHOWN HERE
COLORING HINTS:WHEN USING ACRYLIC PAINTS over All-In-One, make light colors stand out on the dark background by first painting the inside of the design with white acrylic paint. Let it dry completely (few minutes), then paint over the white with the desired color.
MIXING COLORS: The primary colors (red, yellow & blue) can be mixed to create the secondary colors (orange, green & purple). Add white to lighten and black to darken a color.
+ = + = + = + =

© 2009 by Tandy Leather Factory
Page 5 of 7
TEMPLATE FOR PLANNING DESIGNS
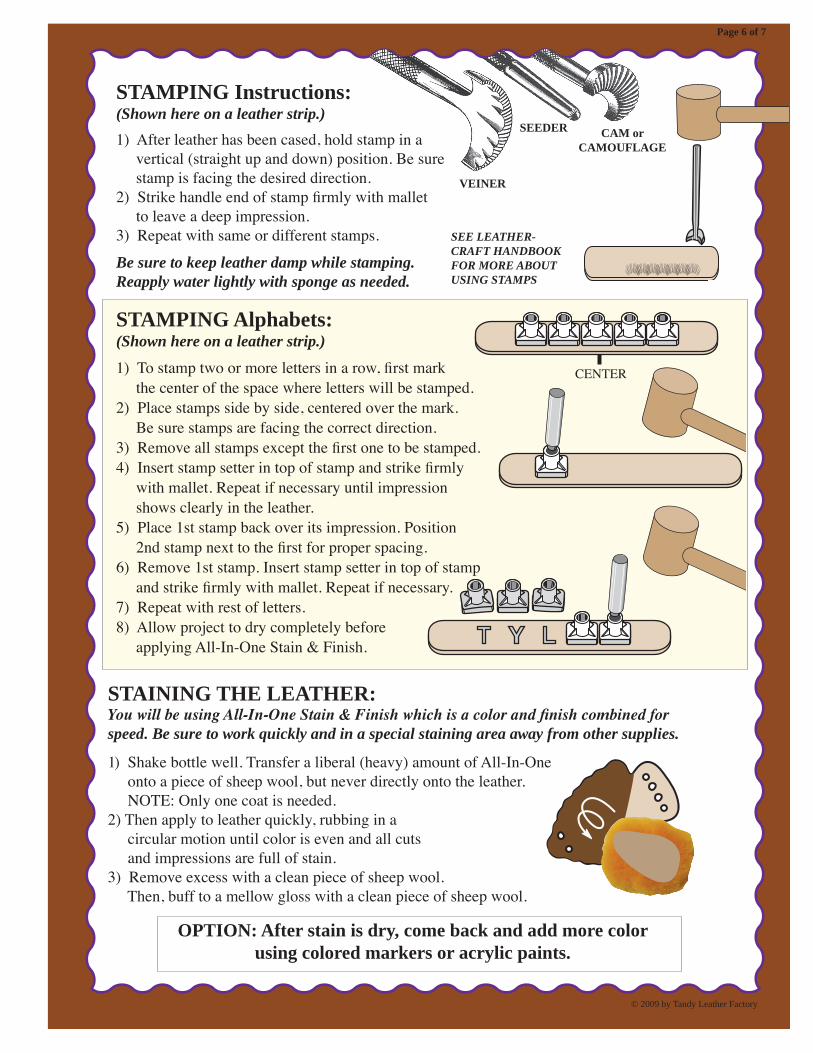
STAMPING Instructions:(Shown here on a leather strip.)1) After leather has been cased, hold stamp in a vertical (straight up and down) position. Be sure stamp is facing the desired direction.2) Strike handle end of stamp firmly with mallet to leave a deep impression. 3) Repeat with same or different stamps.
Be sure to keep leather damp while stamping.Reapply water lightly with sponge as needed.
VEINER
SEEDER CAM orCAMOUFLAGE
SEE LEATHER-CRAFT HANDBOOKFOR MORE ABOUT USING STAMPS
© 2009 by Tandy Leather Factory
Page 6 of 7
STAINING THE LEATHER:You will be using All-In-One Stain & Finish which is a color and finish combined forspeed. Be sure to work quickly and in a special staining area away from other supplies.
1) Shake bottle well. Transfer a liberal (heavy) amount of All-In-One onto a piece of sheep wool, but never directly onto the leather. NOTE: Only one coat is needed. 2) Then apply to leather quickly, rubbing in a circular motion until color is even and all cuts and impressions are full of stain.3) Remove excess with a clean piece of sheep wool. Then, buff to a mellow gloss with a clean piece of sheep wool.
CENTER
OPTION: After stain is dry, come back and add more color using colored markers or acrylic paints.
STAMPING Alphabets:(Shown here on a leather strip.)1) To stamp two or more letters in a row, first mark the center of the space where letters will be stamped. 2) Place stamps side by side, centered over the mark. Be sure stamps are facing the correct direction.3) Remove all stamps except the first one to be stamped.4) Insert stamp setter in top of stamp and strike firmly with mallet. Repeat if necessary until impression shows clearly in the leather.5) Place 1st stamp back over its impression. Position 2nd stamp next to the first for proper spacing. 6) Remove 1st stamp. Insert stamp setter in top of stamp and strike firmly with mallet. Repeat if necessary.7) Repeat with rest of letters.8) Allow project to dry completely before applying All-In-One Stain & Finish.
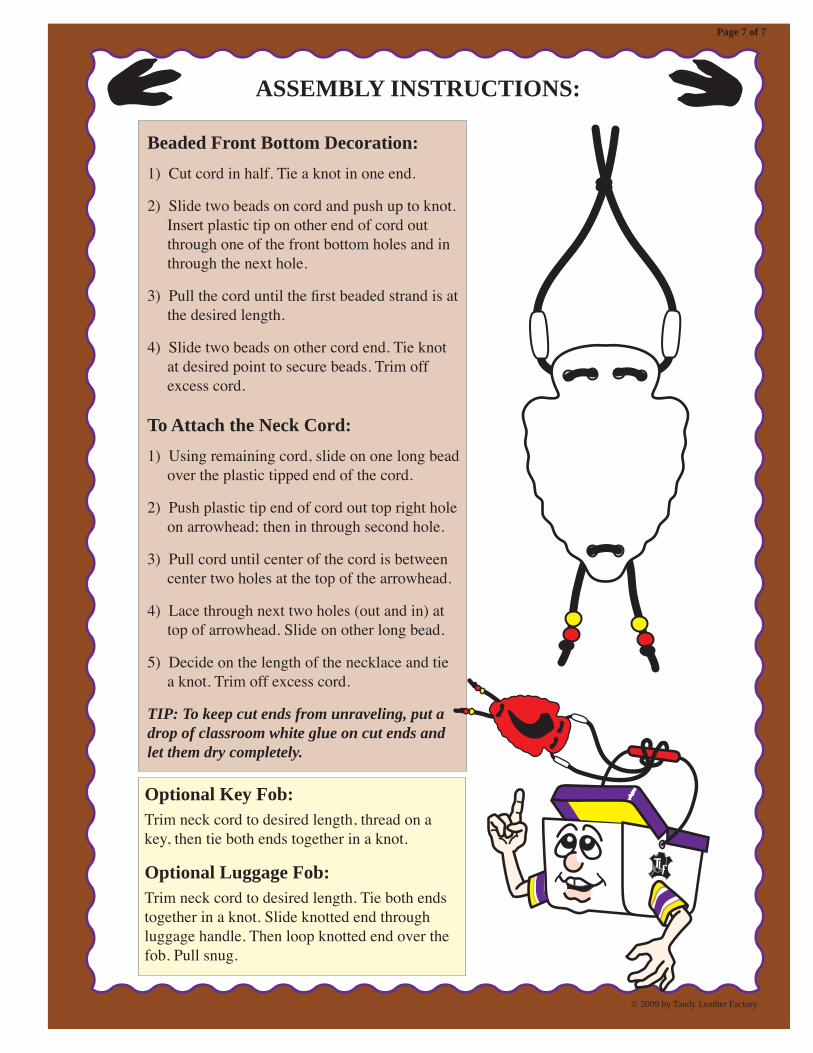
ASSEMBLY INSTRUCTIONS:
© 2009 by Tandy Leather Factory
Page 7 of 7
Beaded Front Bottom Decoration:1) Cut cord in half. Tie a knot in one end.
2) Slide two beads on cord and push up to knot. Insert plastic tip on other end of cord out through one of the front bottom holes and in through the next hole.
3) Pull the cord until the first beaded strand is at the desired length.
4) Slide two beads on other cord end. Tie knot at desired point to secure beads. Trim off
excess cord.
To Attach the Neck Cord:1) Using remaining cord, slide on one long bead
over the plastic tipped end of the cord.
2) Push plastic tip end of cord out top right hole on arrowhead; then in through second hole.
3) Pull cord until center of the cord is between center two holes at the top of the arrowhead.
4) Lace through next two holes (out and in) at top of arrowhead. Slide on other long bead.
5) Decide on the length of the necklace and tie a knot. Trim off excess cord.
TIP: To keep cut ends from unraveling, put adrop of classroom white glue on cut ends andlet them dry completely.
Optional Key Fob:Trim neck cord to desired length, thread on akey, then tie both ends together in a knot.
Optional Luggage Fob:Trim neck cord to desired length. Tie both endstogether in a knot. Slide knotted end through luggage handle. Then loop knotted end over thefob. Pull snug.
Recommended