1
Deliverable 2: How to compose a SlidecastExtended Technical Definition© Karen Thompson ● Department of English ● University of Idaho
2
Table&of&Contents&!
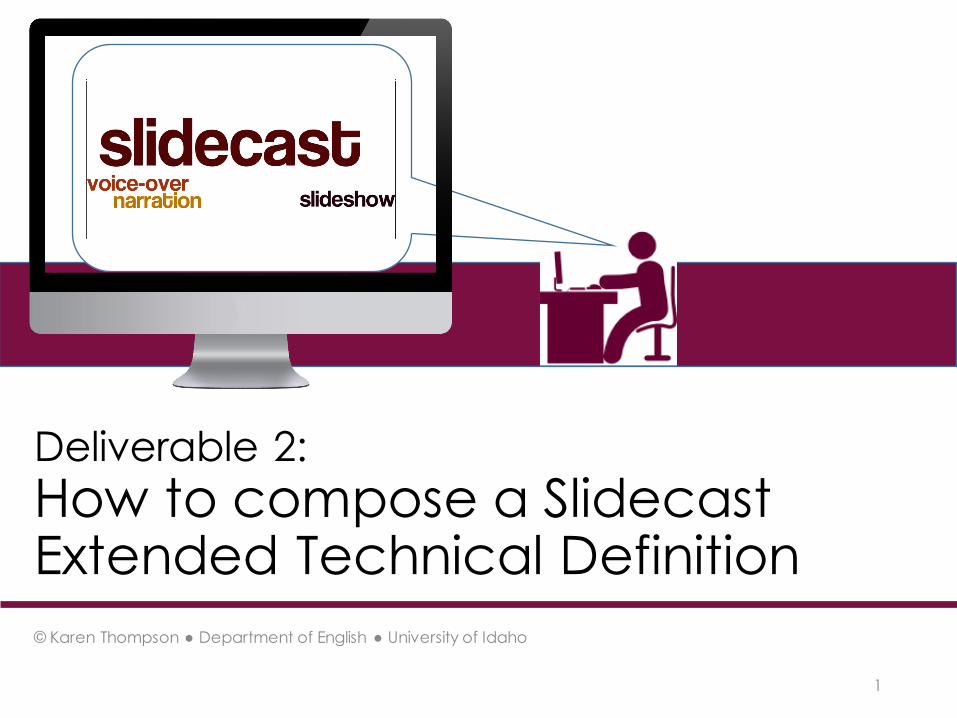
About!slidecasts&...........................................................................................................&3/4&&Learning!Objectives:!for&the&slidecast&you&create&........................................................&5&& !How!to!Create!Your!Slidecast&......................................................................................&6/33&& Options&for&Tools&..........................................................................................&7/11&& Do&a&Test&Recording&(and&what&to&do&if&it&fails)&............................................&12&& Number&of&Slides&You&Will&Need&..................................................................&13&& Decide&How&You&will&Work&...........................................................................&14&& Timing&...........................................................................................................&15&& List&of&Rhetorical&Moves&to&Extend&the&Definition&........................................&16/17&& Writing&Slidecast&Script&.................................................................................&18/24&& Designing&the&Slideshow&...............................................................................&25/42&&Delivery:!Presentation!Speaking!Style&........................................................................&43&& &&
About Slidecasts:
3
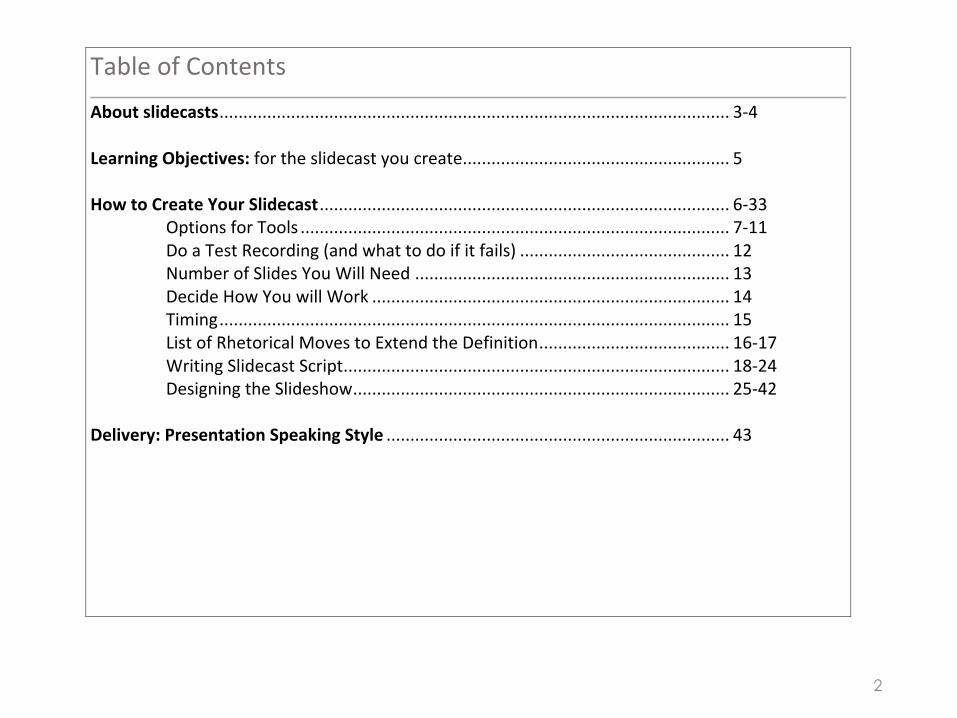
A slidecast is a video consisting of a slideshow with voice-over narration.
Most slidecasts are embedded on web pages from host sites such as YouTube.

Slidecasts are used to:
• Promote products or services,• Provide instructions to users,• Present test results to project team
members who are at different locations.
• These are just a few of the ways they can be used.
4
Learning Objectives:
5
Define and extend a technical term for a non-specialized audience.
Apply presentation speaking style concepts to narrate a slideshow.
Design slides to achieve maximum visual interest.
How to create your Slidecast.• You need a microphone, and the one in your
computer will be fine for this project.
• Your slidecast must be hosted on a site that allows users to play it without having to download the file.
• You will need to decide how you will create the slidecast from the following options. Please note the warnings.
6
Option: PC Users Only
• PowerPoint: create the slideshow, use the PPT recording feature to add voice-over narration, save as a movie file, and upload to a host site such as YouTube or Vimeo.
• MAC users. PPT has a bug in it that will strip your audio out when saving as a movie file. So, you can’t use it. There is no solution to-date.
7
Option: Mac Users Only
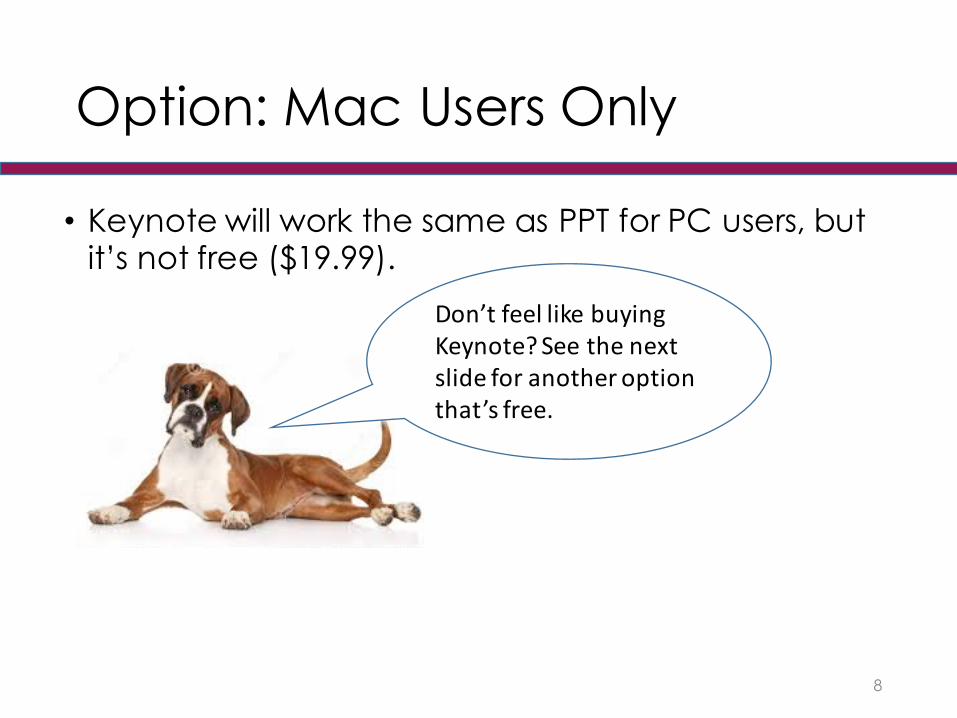
• Keynote will work the same as PPT for PC users, but it’s not free ($19.99).
8
Don’t feel like buying Keynote? See the next slide for another option that’s free.
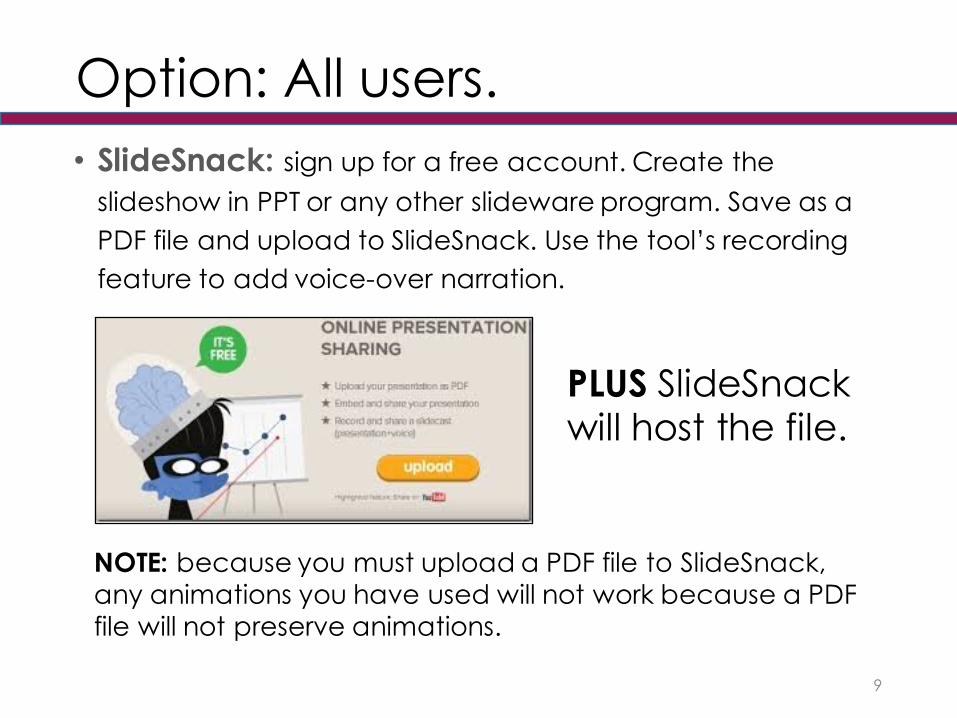
Option: All users.• SlideSnack: sign up for a free account. Create the
slideshow in PPT or any other slideware program. Save as a PDF file and upload to SlideSnack. Use the tool’s recording feature to add voice-over narration.
9
PLUS SlideSnack will host the file.
NOTE: because you must upload a PDF file to SlideSnack, any animations you have used will not work because a PDF file will not preserve animations.
Option: All Users• Strictly speaking, a screen capture tool creates a screencast,
but if you position the capture feature over your slideshow and position it so you can advance the slides as you record, it will preserve the animations and work the same as a slidecast.
• I recommend using Screencast-O-Matic (Mac users need to also download Soundflower to record) or Jing (all users). These tools also have a means of hosting your file.
• See tools and resources for more information.
10
• Remember, I do not accept video files (mp4, mov, etc.).
• Here’s why. You are practicing how to create and share these types of files as they are shared in workplace settings.
• So, if you choose to create a video file on your computer, be certain it is uploaded to a host site and will play without a user needing to download the file.
11
Do a test recording.
• First, be certain you completed the technology check on Orientation Day 1, and are using the recommended browser for this course. If not, go there, do that.
• Close all other programs and browser windows to ensure you have enough memory.
• If the test recording fails, follow the troubleshooting steps under Tools & Resources.
12
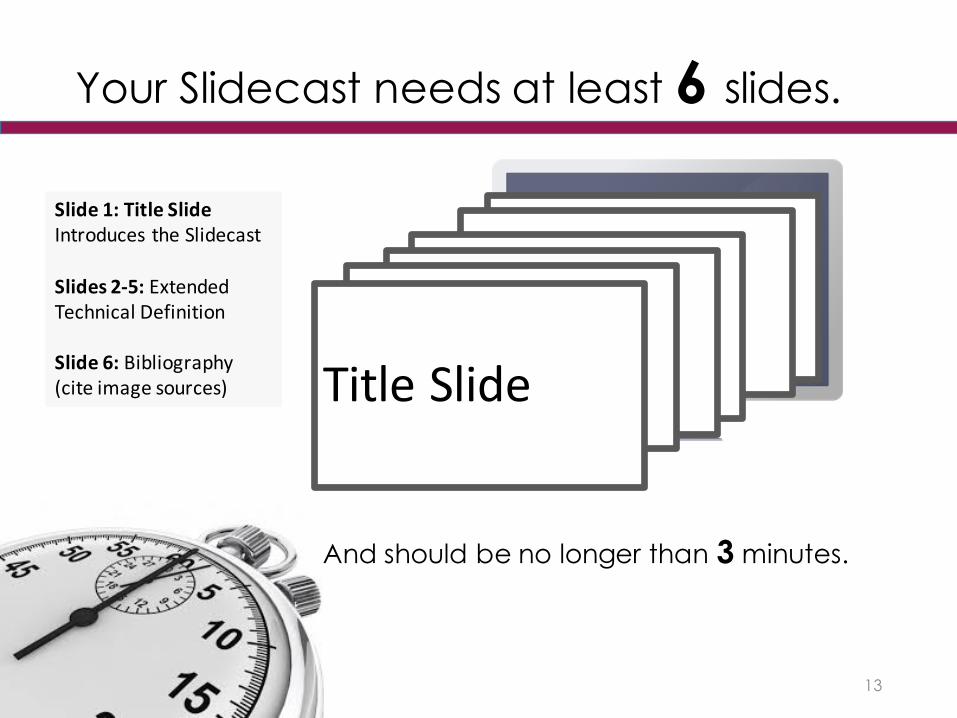
Your Slidecast needs at least 6 slides.
13
Title Slide
And should be no longer than 3 minutes.
Slide 1: Title SlideIntroduces the Slidecast
Slides 2-‐5: Extended Technical Definition
Slide 6: Bibliography(cite image sources)
Decide how to work:• Some people like to write the slidecast script
first and then design the slides.
• Some prefer to do the slides first and then write the script.
• Still others create the slides and write the script at the same time.
Do the process that works best for you.
14
Timing:• You will be adding voice-over narration to
at least 5 slides (the bibliography is not narrated).
• The voice-over should be no longer than 3 minutes (and may be less).
• As you record the voice-over, keep the pace per slide about equal.
15
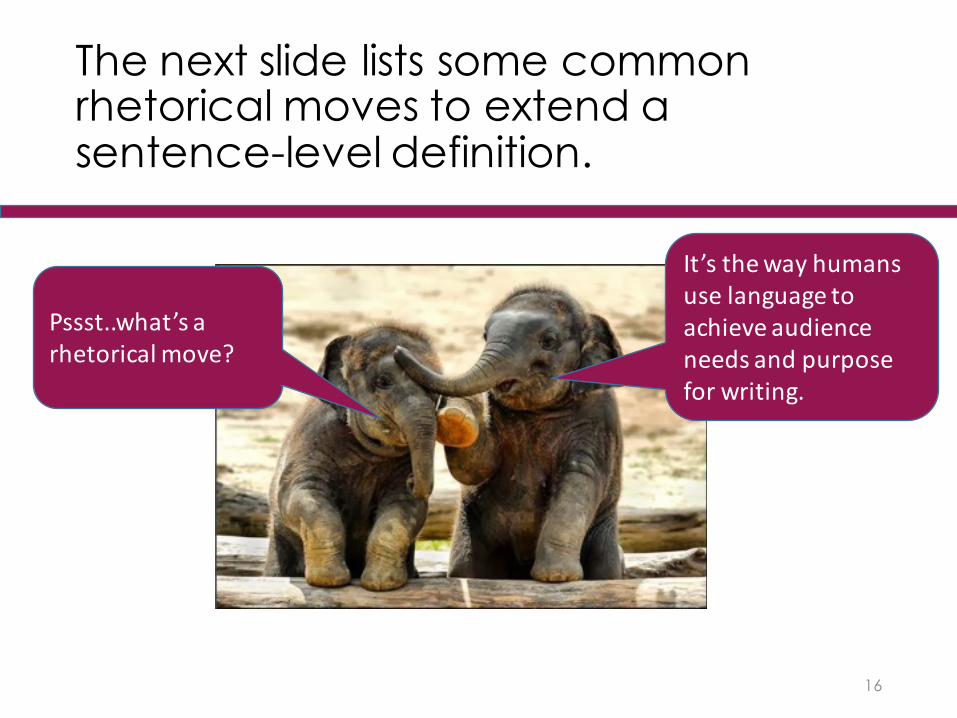
The next slide lists some common rhetorical moves to extend a sentence-level definition.
16
It’s the way humans use language to achieve audience needs and purpose for writing.
Pssst..what’s a rhetorical move?
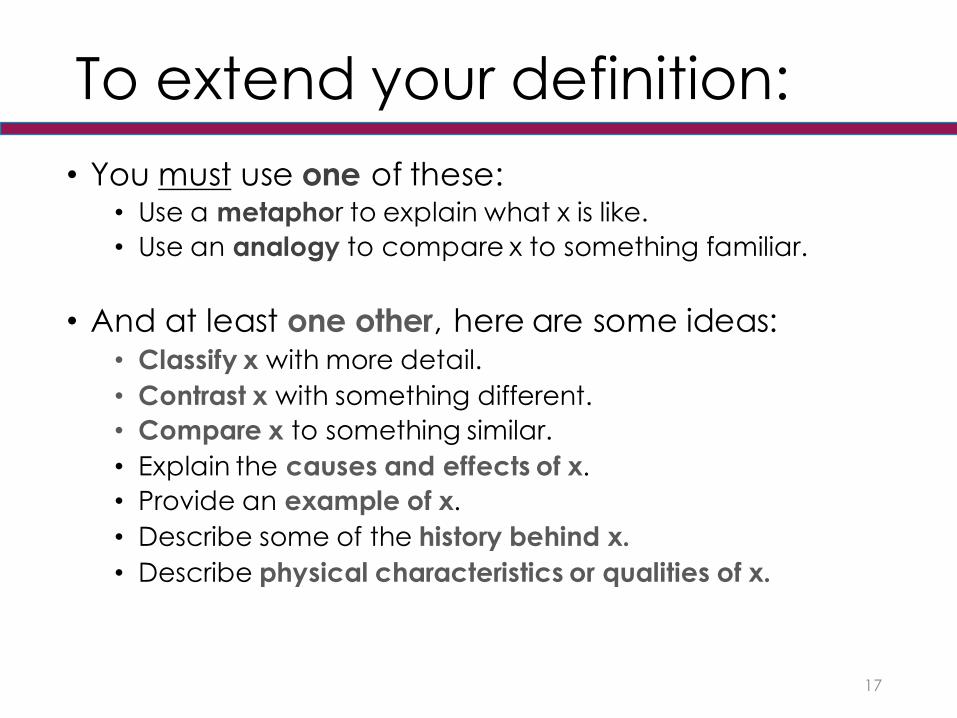
To extend your definition:• You must use one of these:
• Use a metaphor to explain what x is like.• Use an analogy to compare x to something familiar.
• And at least one other, here are some ideas:• Classify x with more detail.• Contrast x with something different.• Compare x to something similar.• Explain the causes and effects of x.• Provide an example of x.• Describe some of the history behind x.• Describe physical characteristics or qualities of x.
17
Writing the Script. Practice the principles of effective prose style when writing the script but adapt these for the ear by keeping sentences short.
18
You should be able to say the sentence in your script in a single breath.
19
IntroductionBodyConclusion
Writing the Script. What you say in the voice over to your slideshow should clearly separate the introduction from the body and conclusion.
20
Brief salutation: greet the audience and give them an idea of what you will be presenting in the slidecast.
Start with a sentence definition and try to engage the reader. Often this is best done by using the required metaphor or analogy.
Introduction: here is one way to introduce the slidecast(there are other choices you could make).
21
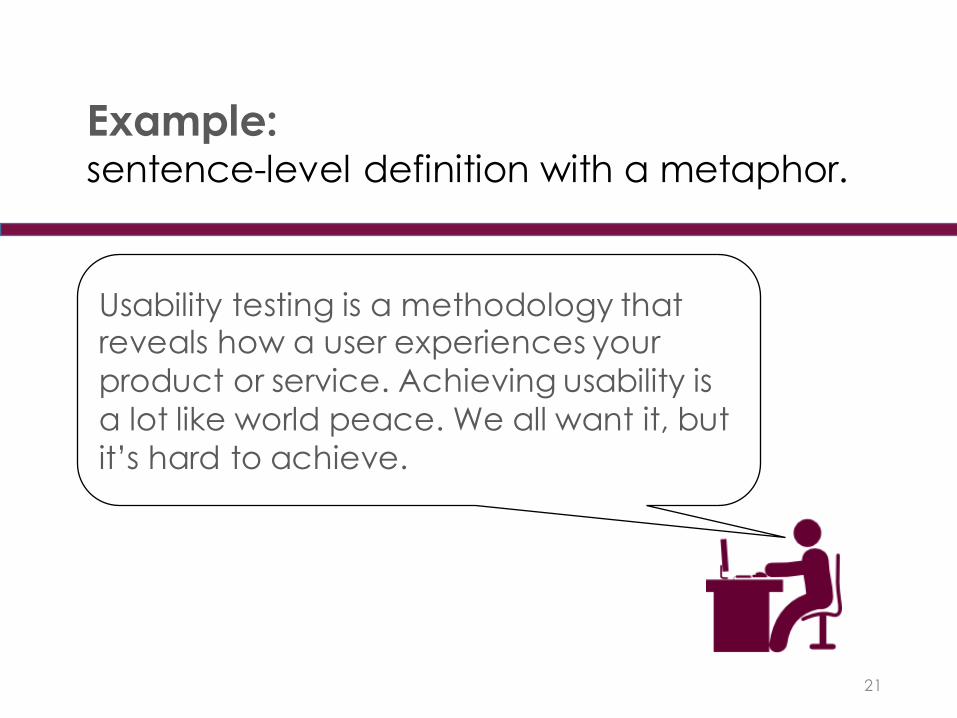
Example: sentence-level definition with a metaphor.
Usability testing is a methodology that reveals how a user experiences your product or service. Achieving usability is a lot like world peace. We all want it, but it’s hard to achieve.

22
Signposts help viewers follow the logical flow of your narrative.
Use Signposts
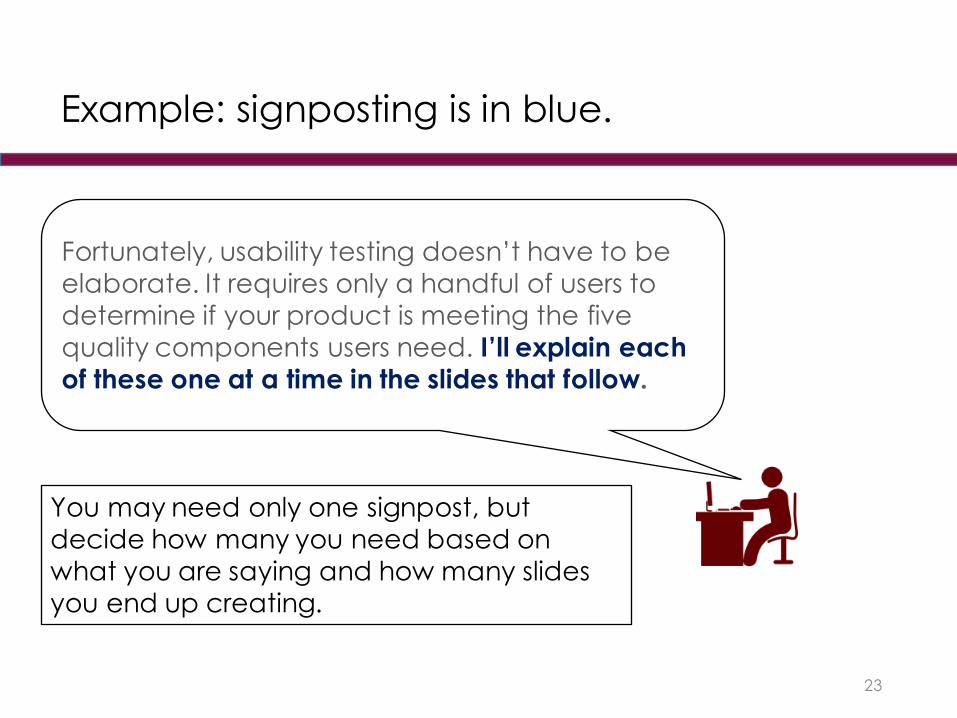
Example: signposting is in blue.
23
Fortunately, usability testing doesn’t have to be elaborate. It requires only a handful of users to determine if your product is meeting the five quality components users need. I’ll explain each of these one at a time in the slides that follow.
You may need only one signpost, but decide how many you need based on what you are saying and how many slides you end up creating.
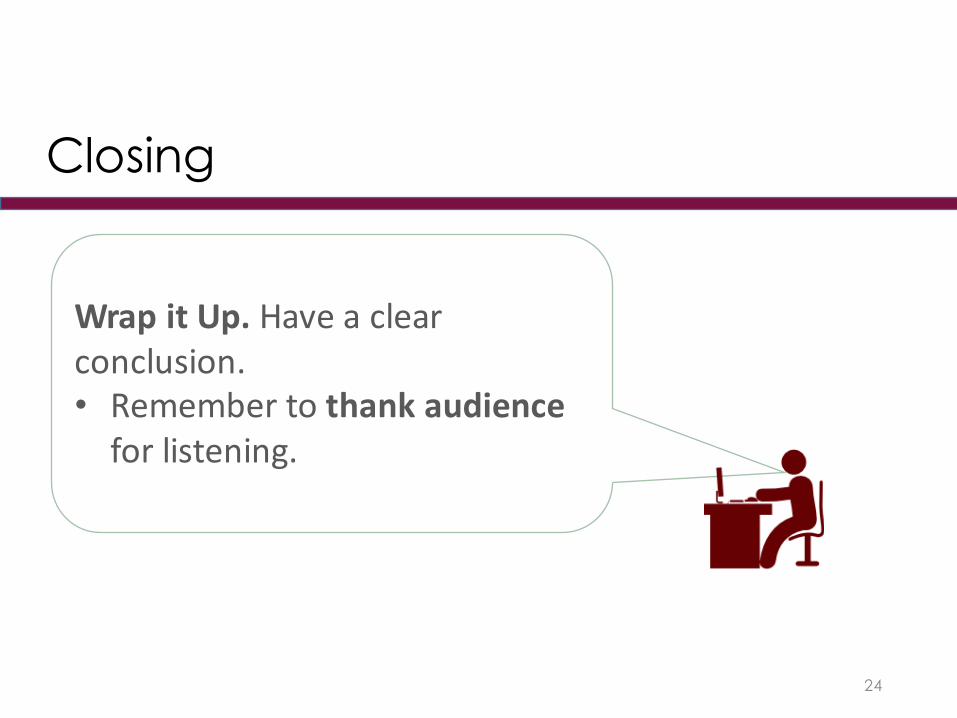
Closing
24
Wrap it Up. Have a clear conclusion.• Remember to thank audience for listening.
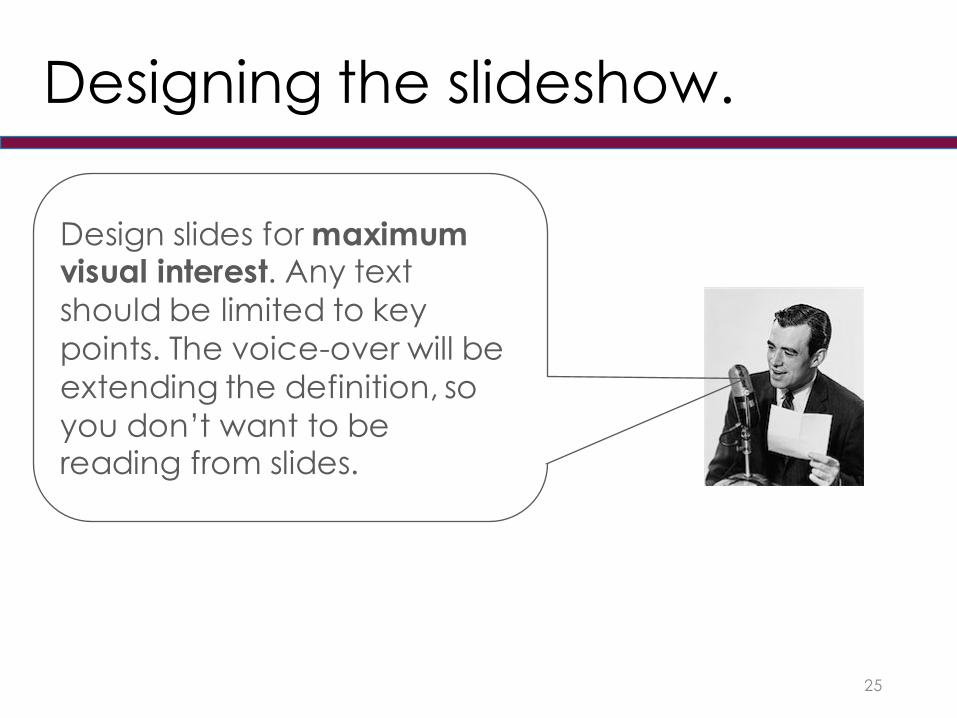
Designing the slideshow.
25
Design slides for maximum visual interest. Any text should be limited to key points. The voice-over will be extending the definition, so you don’t want to be reading from slides.
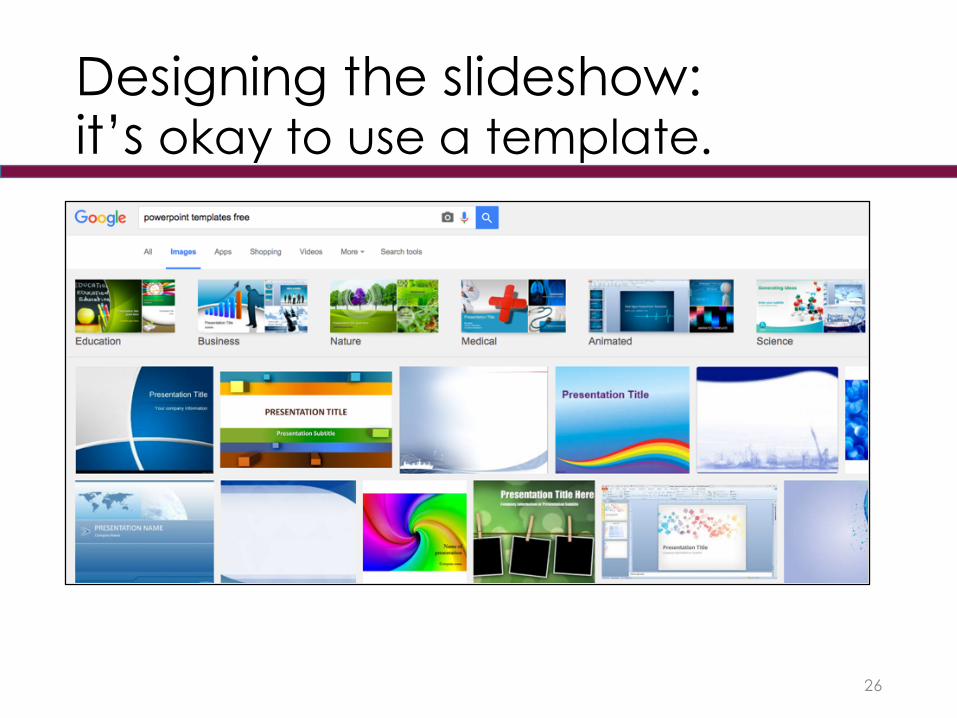
Designing the slideshow: it’s okay to use a template.
26
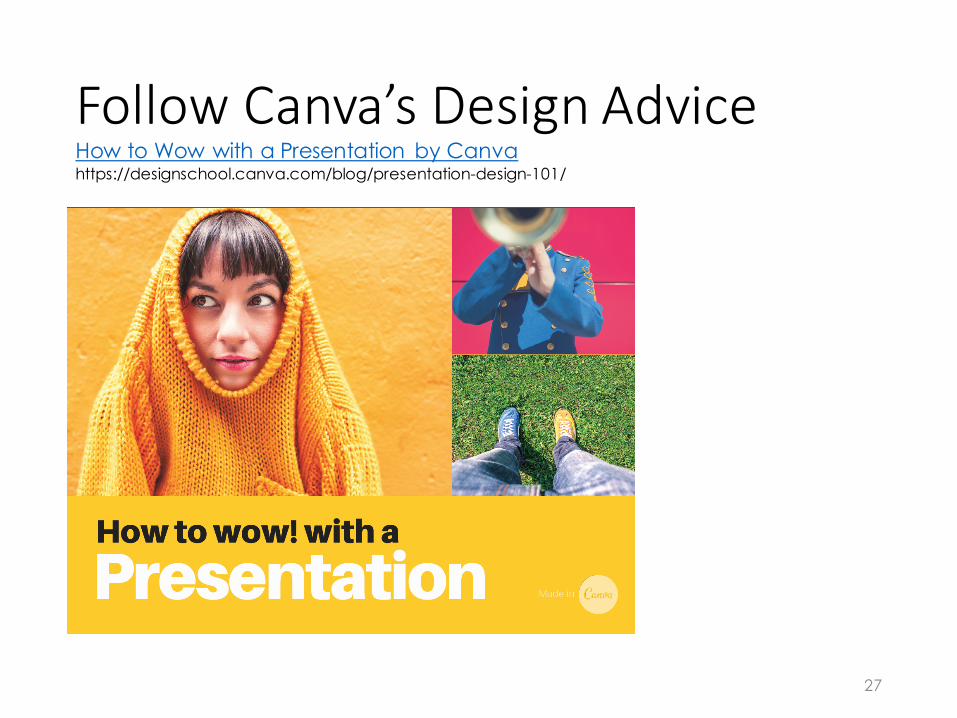
Follow Canva’s Design Advice
27
How to Wow with a Presentation by Canvahttps://designschool.canva.com/blog/presentation-design-101/
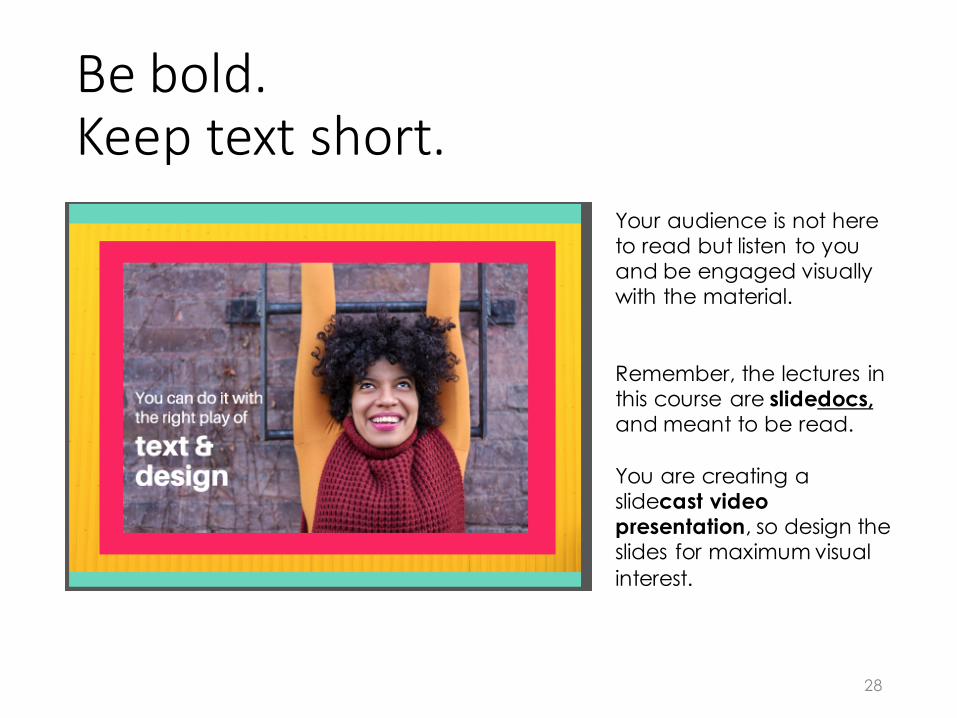
Be bold.Keep text short.
28
Your audience is not here to read but listen to you and be engaged visually with the material.
Remember, the lectures in this course are slidedocs,and meant to be read.
You are creating a slidecast video presentation, so design the slides for maximum visual interest.
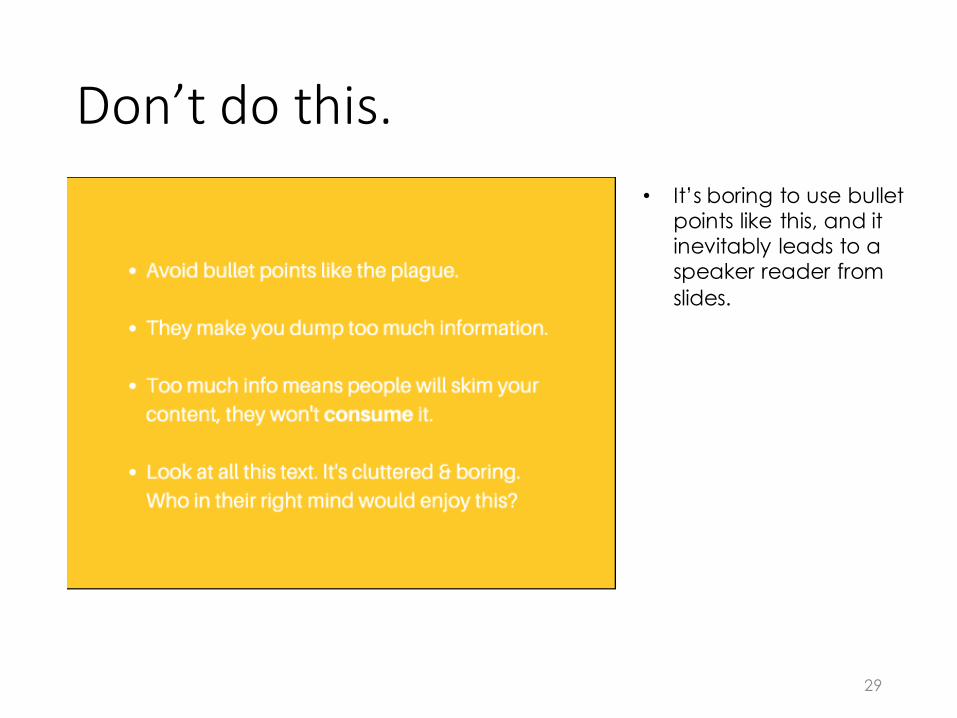
Don’t do this.
29
• It’s boring to use bullet points like this, and it inevitably leads to a speaker reader from slides.
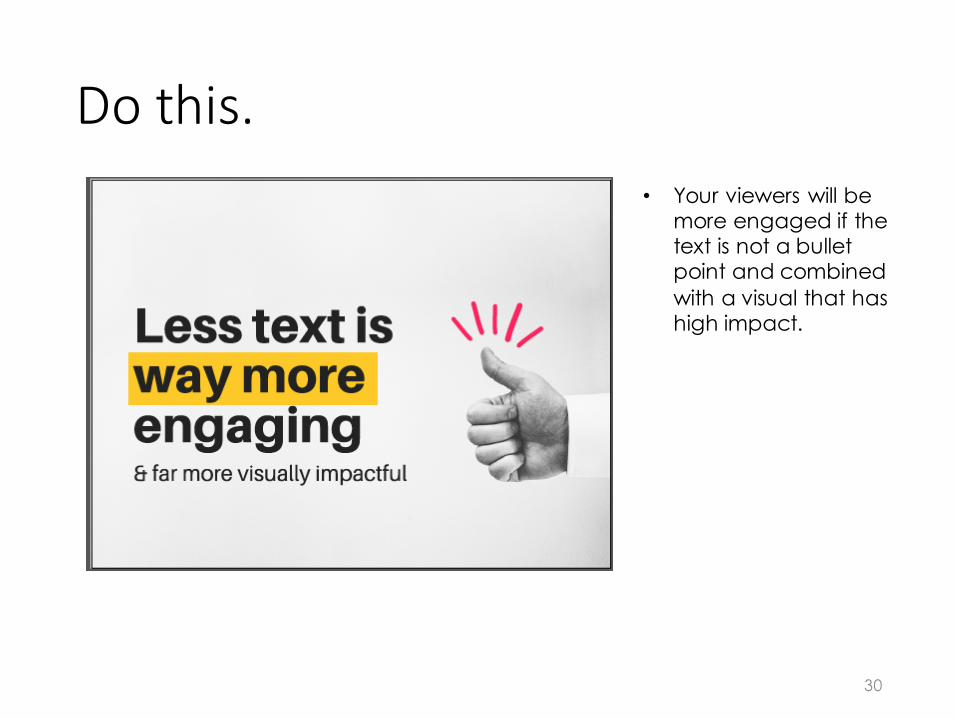
Do this.
30
• Your viewers will be more engaged if the text is not a bullet point and combined with a visual that has high impact.
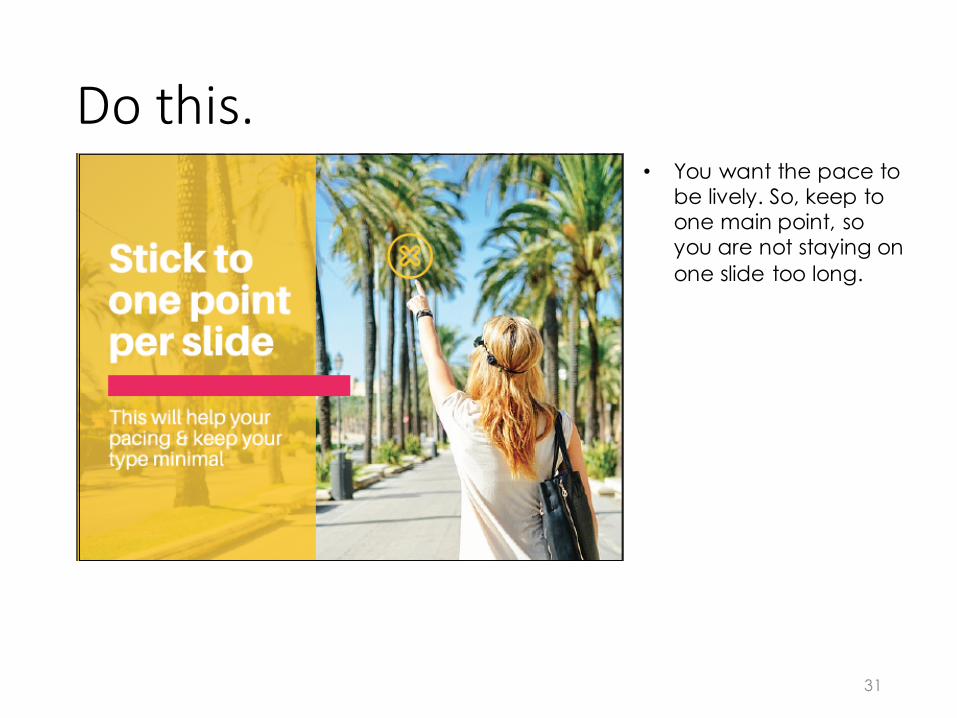
Do this.
31
• You want the pace to be lively. So, keep to one main point, so you are not staying on one slide too long.
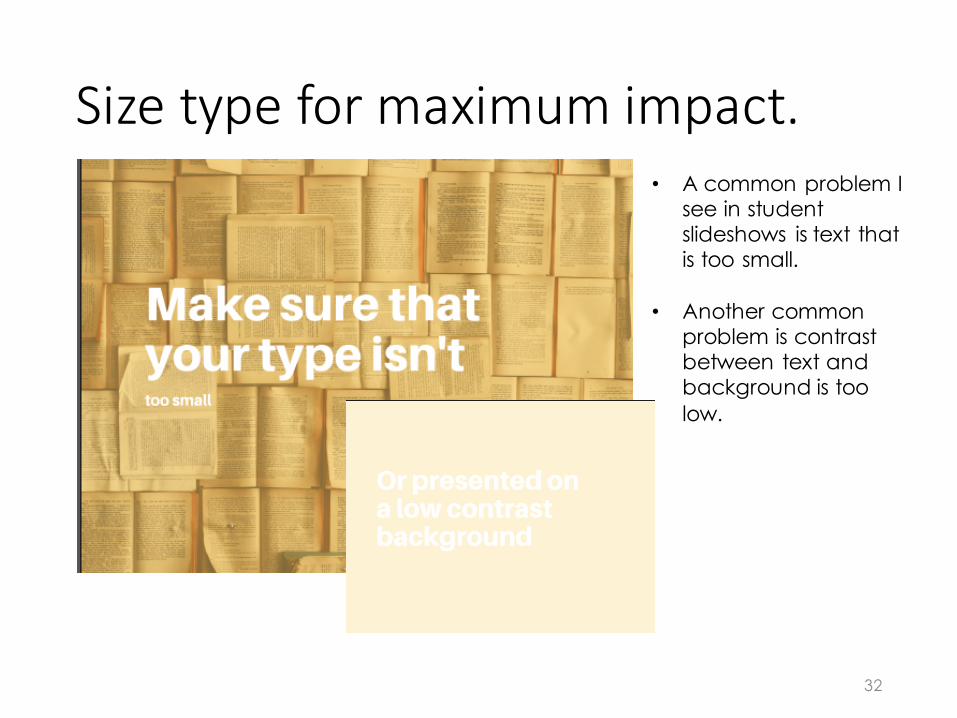
Size type for maximum impact.
32
• A common problem I see in student slideshows is text that is too small.
• Another common problem is contrast between text and background is too low.
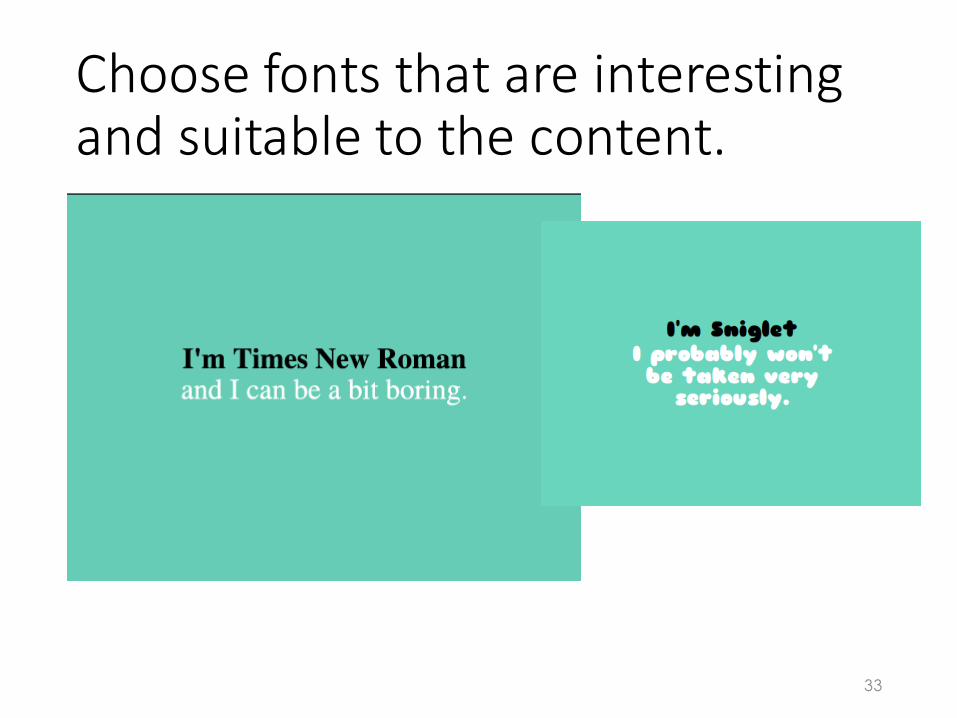
Choose fonts that are interesting and suitable to the content.
33

Keep layout balanced and aligned.
34
Limit fonts to no more than two.
35
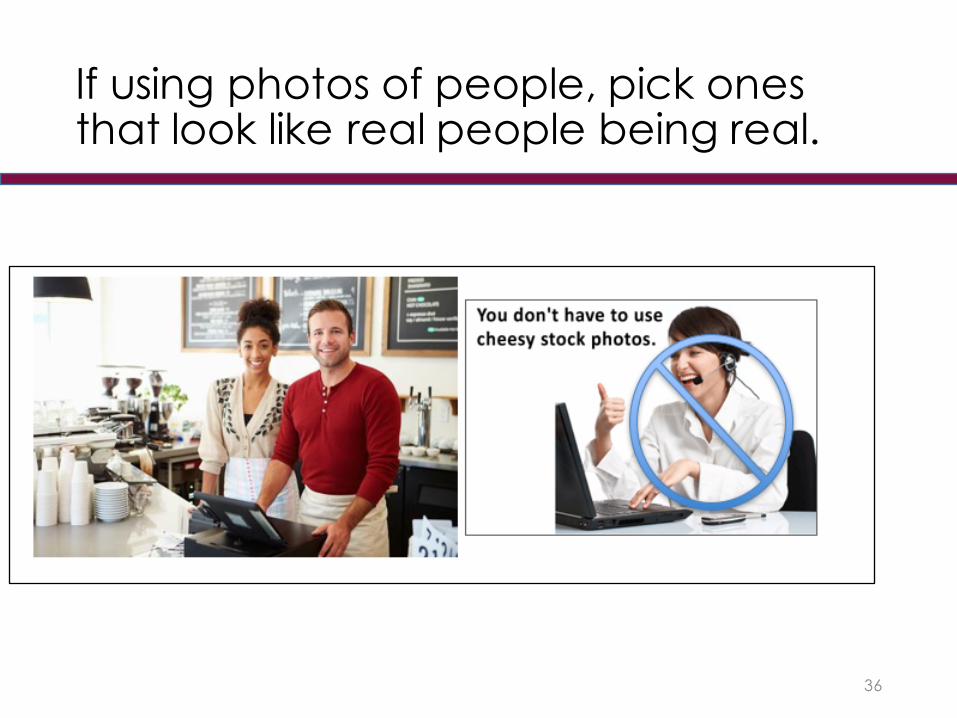
If using photos of people, pick ones that look like real people being real.
36
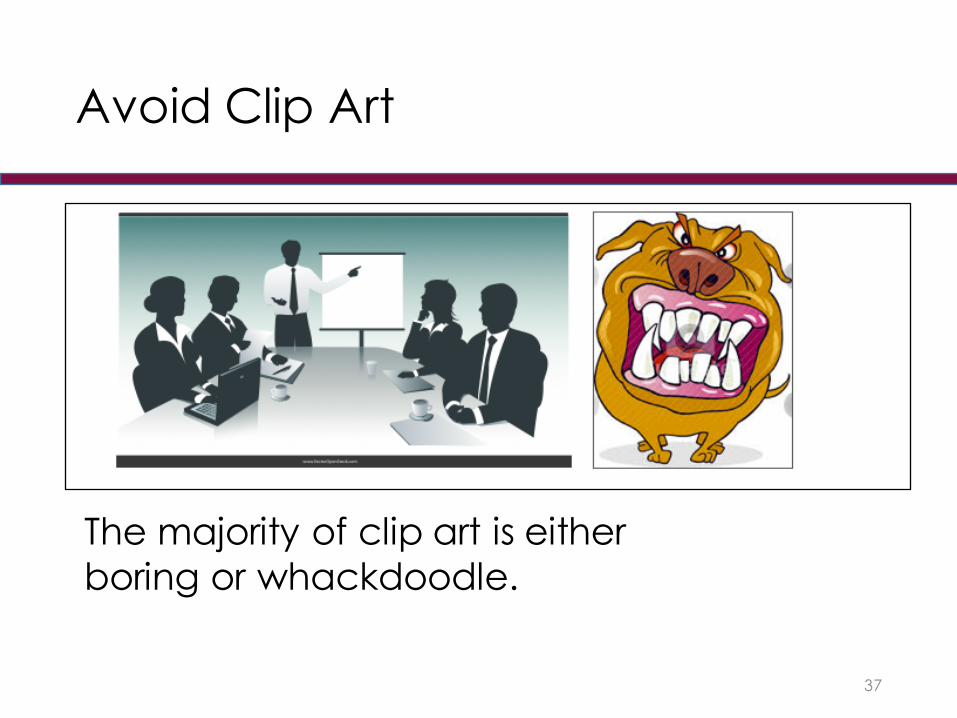
Avoid Clip Art
37
The majority of clip art is either boring or whackdoodle.
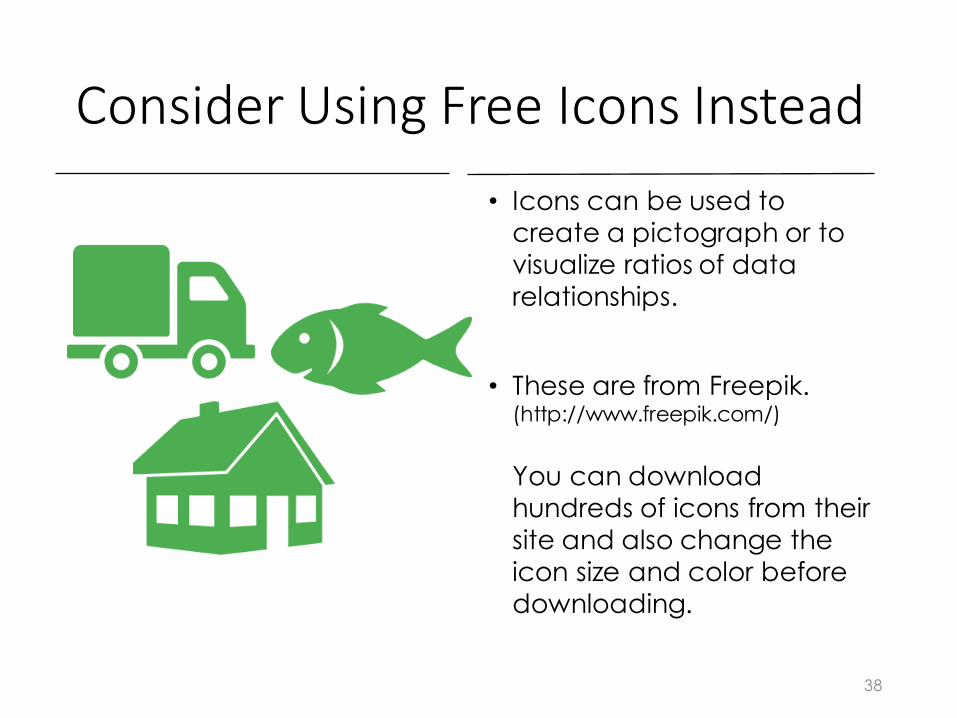
• Icons can be used to create a pictograph or to visualize ratios of data relationships.
• These are from Freepik.(http://www.freepik.com/)
You can download hundreds of icons from their site and also change the icon size and color before downloading.
38
Consider Using Free Icons Instead
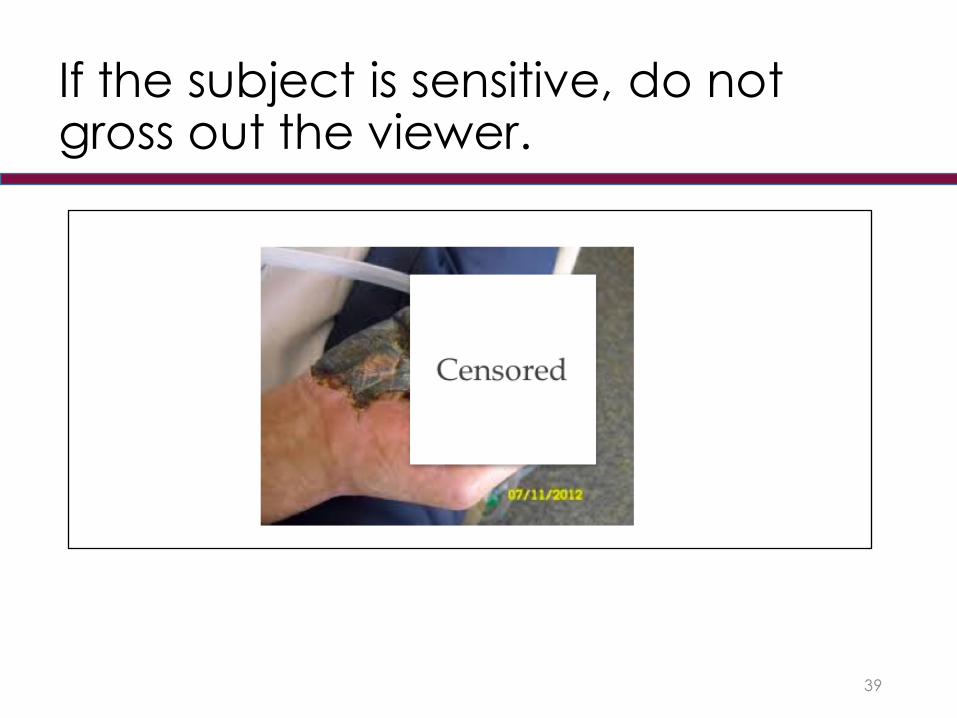
If the subject is sensitive, do not gross out the viewer.
39
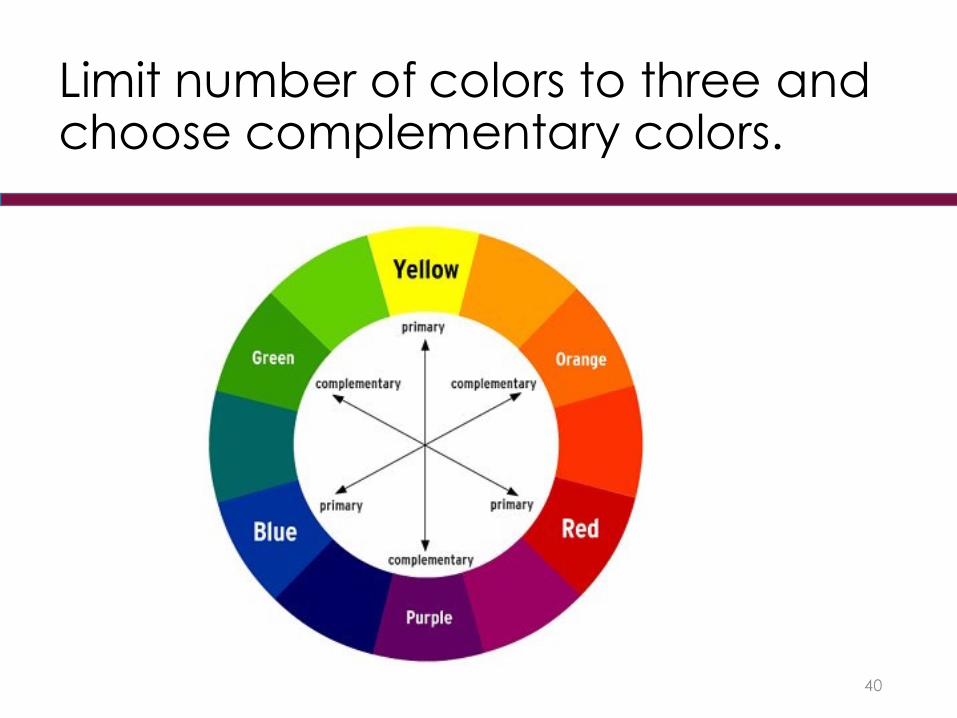
Limit number of colors to three and choose complementary colors.
40
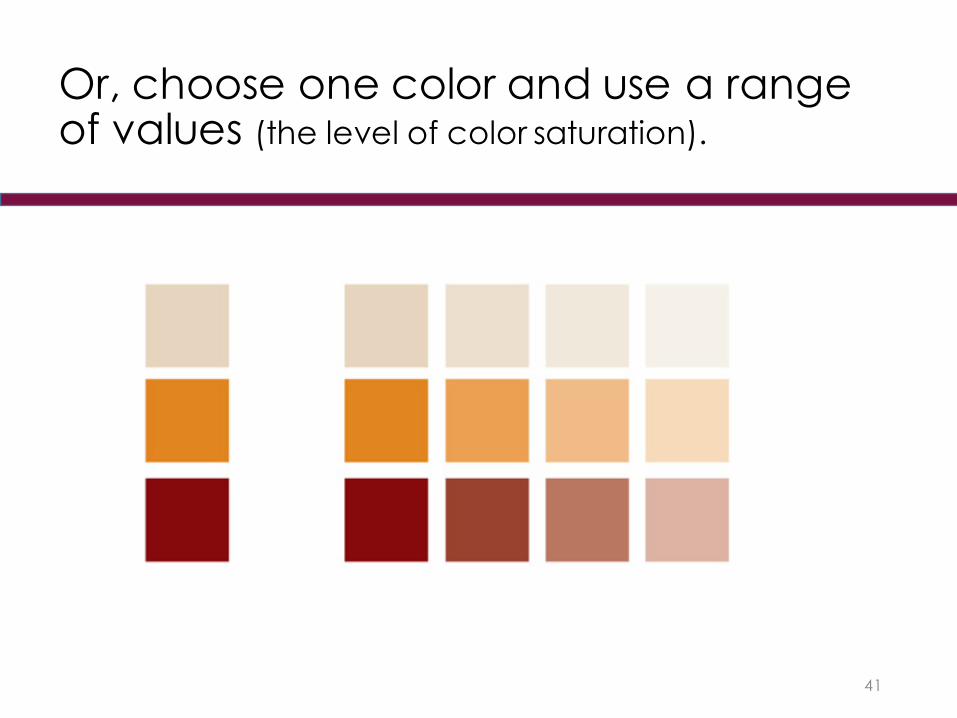
Or, choose one color and use a range of values (the level of color saturation).
41
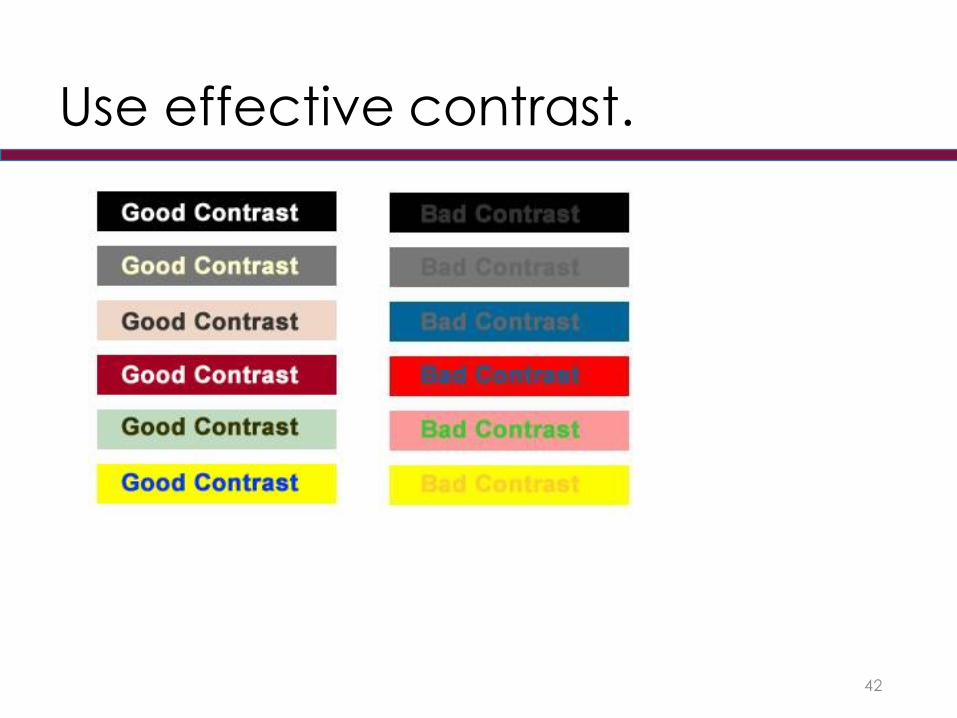
Use effective contrast.
42
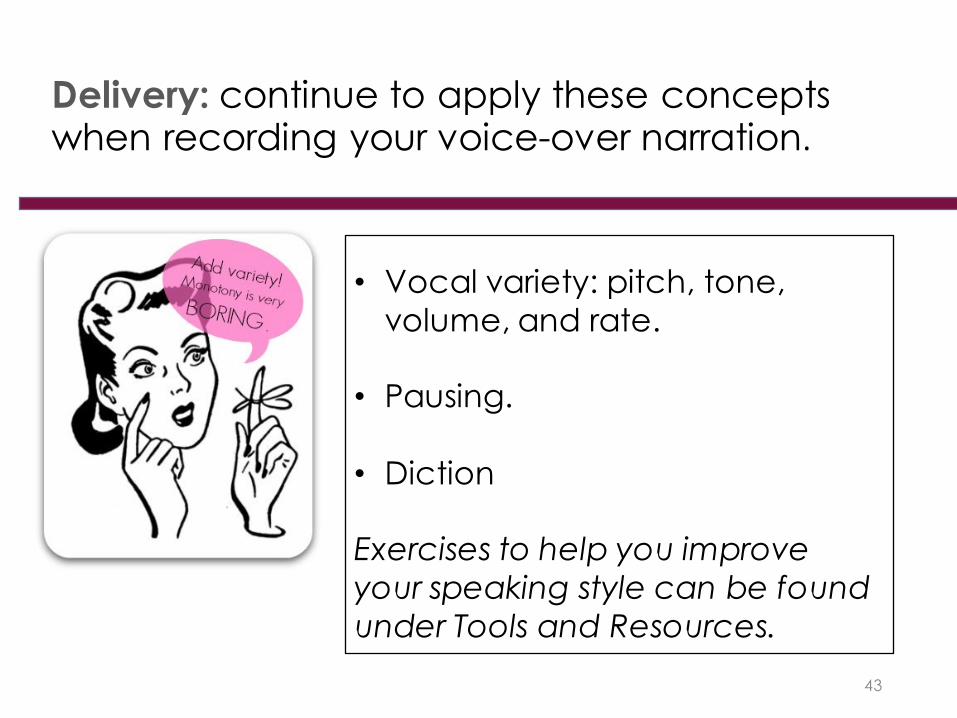
Delivery: continue to apply these concepts when recording your voice-over narration.
43
• Vocal variety: pitch, tone, volume, and rate.
• Pausing.
• Diction
Exercises to help you improve your speaking style can be found under Tools and Resources.
Recommended