WO
RKBO
OK
Empower and invest in yourself
MIC
ROSO
FT E
XCEL
INTE
RMED
IATE

2 Workbook | Microsoft Excel Intermediate | onlineacademy.co.za
MODULE 01
CUSTOMISING THE EXCEL ENVIRONMENT
Customising the Excel environment
1. Set the default worksheet number to 2.
• Open Excel and then create a new blank workbook.
• Select the File tab and choose Options.
• In the Excel Options dialog box, ensure that the General tab is selected.
• In the When Creating New Workbooks section, change the setting in the Include This Many Sheets Spin box from 1 to 2.
2. Add English (Canada) as an editing language.
• Select the Language tab.
• In the Choose Editing Languages section, from the Add Additional Editing Languages dropdown menu, select English (Canada).
• Select the Add button.
• Verify that English (Canada) appears in the list of editing languages.
Workbook | Microsoft Excel Intermediate | onlineacademy.co.za 3
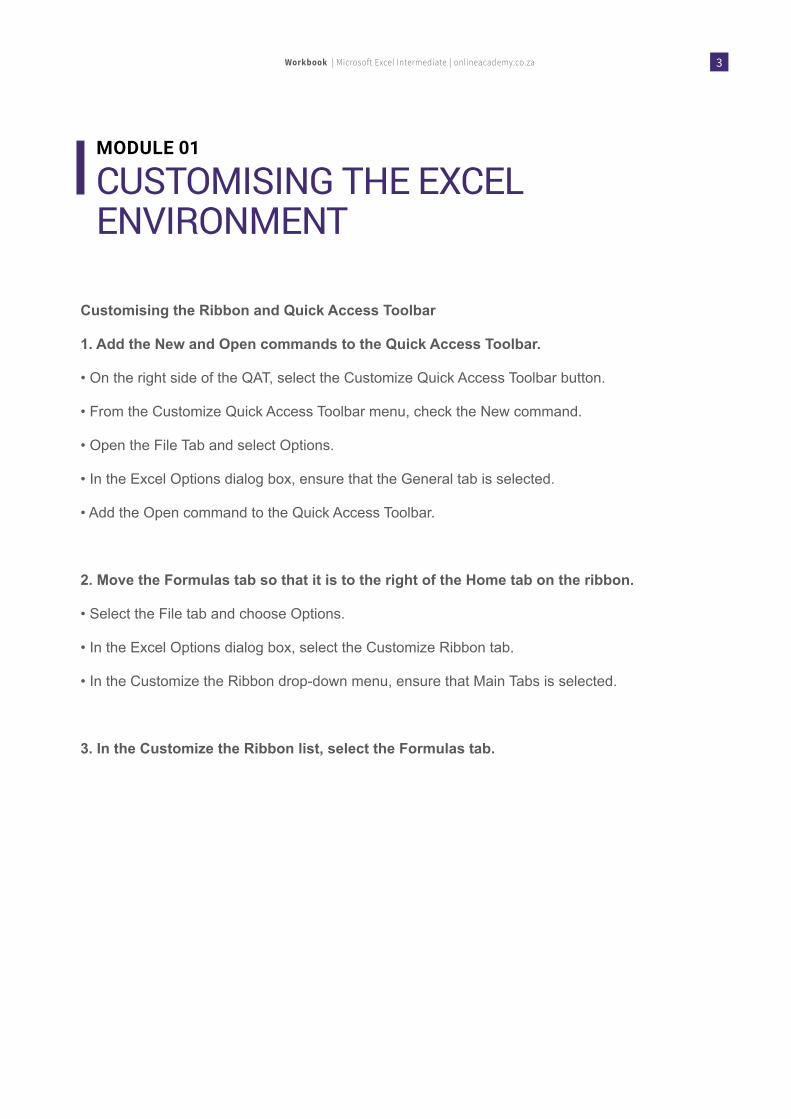
Customising the Ribbon and Quick Access Toolbar
1. Add the New and Open commands to the Quick Access Toolbar.
• On the right side of the QAT, select the Customize Quick Access Toolbar button.
• From the Customize Quick Access Toolbar menu, check the New command.
• Open the File Tab and select Options.
• In the Excel Options dialog box, ensure that the General tab is selected.
• Add the Open command to the Quick Access Toolbar.
2. Move the Formulas tab so that it is to the right of the Home tab on the ribbon.
• Select the File tab and choose Options.
• In the Excel Options dialog box, select the Customize Ribbon tab.
• In the Customize the Ribbon drop-down menu, ensure that Main Tabs is selected.
3. In the Customize the Ribbon list, select the Formulas tab.
MODULE 01
CUSTOMISING THE EXCEL ENVIRONMENT
4 Workbook | Microsoft Excel Intermediate | onlineacademy.co.za
MODULE 01
REFLECT 01
1. Why would a user need customization options in Excel?
2. Of the eight options explored, which option would you explore first?
Workbook | Microsoft Excel Intermediate | onlineacademy.co.za 5
MODULE 01
REFLECT 02
1. What changes do you anticipate making to the Excel environment to help you work more efficiently?
2. Do you think you’ll most likely add customizations to the QAT or the ribbon? Why?

6 Workbook | Microsoft Excel Intermediate | onlineacademy.co.za
MODULE 02
CREATING ADVANCED FORMULAS
Using cell range names in formulas
1. Name the range B5:B8 as Quarter1.
• Select the range B5:B8.
• To the left of the Formula Bar, click inside the name box.
• In the name box, enter the name of the range as Quarter 1.
2. Verify that the name is correctly applied.
• Deselect the range B5:B8 by selecting any cell outside the range.
• Select the range B5:B8 again.
• In the Name box, observe that the name of the range is displayed as Quarter1.
3. Verify that the name is available in the AutoComplete feature
• Select any cell.
• Type =, followed by Q.
4. Observe that the range name Quarter1 is available to use in a formula.
Workbook | Microsoft Excel Intermediate | onlineacademy.co.za 7
Using the function syntax
1. Insert function arguments in the worksheet manually.
• Select a cell into which the formula will be placed.
• Type the function and its arguments in the Formula Bar or directly in the cell (sample: =SUM(range) ).
• Press Enter.
2. Evaluate the available functions in the function library.
• Click the Insert Function (fx) button to the left of the Formula Bar.
• Observe that Excel has automatically generated an = sign.
3. Select the Or Select a Category drop-down list and evaluate the functions available.
MODULE 02
CREATING ADVANCED FORMULAS
8 Workbook | Microsoft Excel Intermediate | onlineacademy.co.za
MODULE 02
REFLECT 01
1. How do you think using defined names will benefit you as you create future workbooks?
2. In which situation in your current position would you use range names in formulas?
Workbook | Microsoft Excel Intermediate | onlineacademy.co.za 9
MODULE 02
REFLECT 02
1. Which specialised function would be useful to you in your working environment?
2. Which specialised function are you curious to explore?

10 Workbook | Microsoft Excel Intermediate | onlineacademy.co.za
MODULE 03
ANALYSING DATA WITH FUNCTIONS 1
Analysing data by using text functions
1. Assume the text string Jon Doe is entered in cell A1.
• To return the text string “Doe” ,apply the following formula in cell B1.
• =RIGHT(A1, 4)
• Press Enter.
• Observe that the text string “Doe” is retrieved.
2. Assume that the text string Jon Doe is entered in cell A1.
• To return the value of the text string, apply the following formulas in cell C1.
• =LEN(A1)
• Observe that the value “7” is returned.
Workbook | Microsoft Excel Intermediate | onlineacademy.co.za 11
MODULE 03
ANALYSING DATA WITH FUNCTIONS 1
Analysing data by using logical functions
To insert a logical function in a worksheet:
• Select the cell into which the function will be placed.
• Enter the logical function.
• If necessary, in the Function Arguments dialog box, enter the arguments required and then click OK.
MODULE 03
ANALYSING DATA WITH FUNCTIONS 1
12 Workbook | Microsoft Excel Intermediate | onlineacademy.co.za
MODULE 03
REFLECT 01
1. Identify an instance where the LEN function would be useful.
2. What kind of data documents could benefit from text functions like PROPER?
Workbook | Microsoft Excel Intermediate | onlineacademy.co.za 13
MODULE 03
REFLECT 02
1. How will the ability to use logical functions change the way you use Excel?
2. Which logical function would you deem most useful? Why?
14 Workbook | Microsoft Excel Intermediate | onlineacademy.co.za
MODULE 04
ANALYSING DATA WITH FUNCTIONS 2
Applying advanced conditional formatting
1. Apply Color Scales Conditional Formatting to a range.
• Select a range containing numeric values.
• In the Home tab in the Styles Group, select the Conditional Formatting drop down.
• Navigate to the Color Scale option.
• Select the Red, White & Blue Color Scale.
• Observe the formatting applied to the values.
• Test the same process with other Conditional Formatting options.

Workbook | Microsoft Excel Intermediate | onlineacademy.co.za 15
MODULE 04
REFLECT 01
1. What tasks will Excel’s advanced conditional formatting options make easier for you in your current role?
2. Which conditional formatting option do you prefer? Why?
16 Workbook | Microsoft Excel Intermediate | onlineacademy.co.za
MODULE 05
DATASETS AND TABLES
Creating and modifying tables
To create a table with the default table style:
• On the Ribbon, select the Insert tab.
• In the Tables group, click Table to display the Create Table dialog box.
• Specify the data range for the table.
• In the worksheet, select the data range.
• If necessary in the Create Table dialog box, check the My Table has Headers check box to use the first row of data in the table range as the column headers.
• In the Create Table dialog box, click OK.
Workbook | Microsoft Excel Intermediate | onlineacademy.co.za 17
MODULE 05
DATASETS AND TABLES
Sorting and filtering data
1. To sort data in worksheet ranges:
• Select any cell in the worksheet range.
• On the Data tab, in the Sort & Filter group, click the appropriate ascending or descending sort button.
2. To filter data in worksheet ranges:
• Select any data cell in the worksheet range and, on the Data, in the Sort & Filter group, click Filter to activate the filter drop-down lists.
• On the column you want to use as a filter criterion, click the Filter drop-down list button.
• Check or uncheck check boxes to select filter criteria based on the data in the column and click OK.
MODULE 05
DATASETS AND TABLES

18 Workbook | Microsoft Excel Intermediate | onlineacademy.co.za
MODULE 05
REFLECT 01
1. In your opinion, what are the various types of data that can be presented best using tables?
2. What do you think are some of the factors that influence the choice of a table style?
Workbook | Microsoft Excel Intermediate | onlineacademy.co.za 19
MODULE 05
REFLECT 02
1. How can sorting data increase effective data analysis?
2. How can the combination of filter and sorting increase effective data analysis?
20 Workbook | Microsoft Excel Intermediate | onlineacademy.co.za
MODULE 06
VISUALIZING DATA WITH CHARTS
Creating and formatting charts
1. Select a predefined chart layout.
• Click the chart that you want to format.
• On the Design tab, in the Chart Layouts group, click the chart layout that you want to use.
• When the Excel window is reduced in size, chart layouts will be available in the Quick Layout gallery in the Chart Layouts group.
2. Select a predefined chart style
• Click the chart that you want to format.
• On the Design tab, in the Chart Styles group, click the chart style that you want to use.
Workbook | Microsoft Excel Intermediate | onlineacademy.co.za 21
MODULE 06
VISUALIZING DATA WITH CHARTSMODULE 06
REFLECT 01
1. In your opinion, what are the advantages of representing information through charts?
2. What types of charts are you familiar with? Do you think one particular type of chart is better than the rest? Why?

22 Workbook | Microsoft Excel Intermediate | onlineacademy.co.za
MODULE 07
INSERTING GRAPHIC OBJECTS
Using graphics in Excel
1. Add text to a shape
• Right-click the shape, and then choose Edit Text.
• Your cursor moves to inside the shape, and a box appears around the current text, if there is any.
2. Create a SmartArt diagram
• Choose Insert > Illustrations > SmartArt.
• The Choose a SmartArt Graphic window appears.
Workbook | Microsoft Excel Intermediate | onlineacademy.co.za 23
MODULE 07
INSERTING GRAPHIC OBJECTSMODULE 07
REFLECT 01
1. What sort of graphic element would you include on the first worksheet of your company’s annual sales report?
2. In what situations would you need to create a SmartArt?
24 Workbook | Microsoft Excel Intermediate | onlineacademy.co.za
MODULE 08
CHANGING WORKBOOK APPEARANCE
Changing workbook appearance
With the Conditional Formatting Rules Manager, you can control your conditional formats in the following ways:
1. Create a new rule by clicking the New Rule button.
2. Change a rule by clicking the rule and then clicking the Edit Rule button.
3. Remove a rule by clicking the rule and then clicking the Delete Rule button.
4. Move a rule up or down in the order by clicking the rule and then clicking the Move Up button or Move Down button.
5. Control whether Excel continues evaluating conditional formats after it finds a rule to apply by selecting or clearing a rule’s Stop If True check box.
6. Save any new rules and close the Conditional Formatting Rules Manager by clicking OK.
7. Save any new rules without closing the Conditional Formatting Rules Manager by clicking Apply.
8. Discard any unsaved changes by clicking Cancel.
Workbook | Microsoft Excel Intermediate | onlineacademy.co.za 25
MODULE 08
CHANGING WORKBOOK APPEARANCEMODULE 08
REFLECT 01
1. What type of formatting will you apply to your workbooks?
2. List the most helpful tool you would identify in this course.

2 De Beers AvenueMomentum Golf VillageSomerset West7130
© 2018 ALL RIGHTS RESERVED.
Recommended