PROCEDURE: CHANGING A FLAT TIRE
PROCEDURE: CHANGING A FLAT TIRE ‐ 1 ‐ Date of Preparation: June 25, 2004 Date of Revision: June 25, 2004
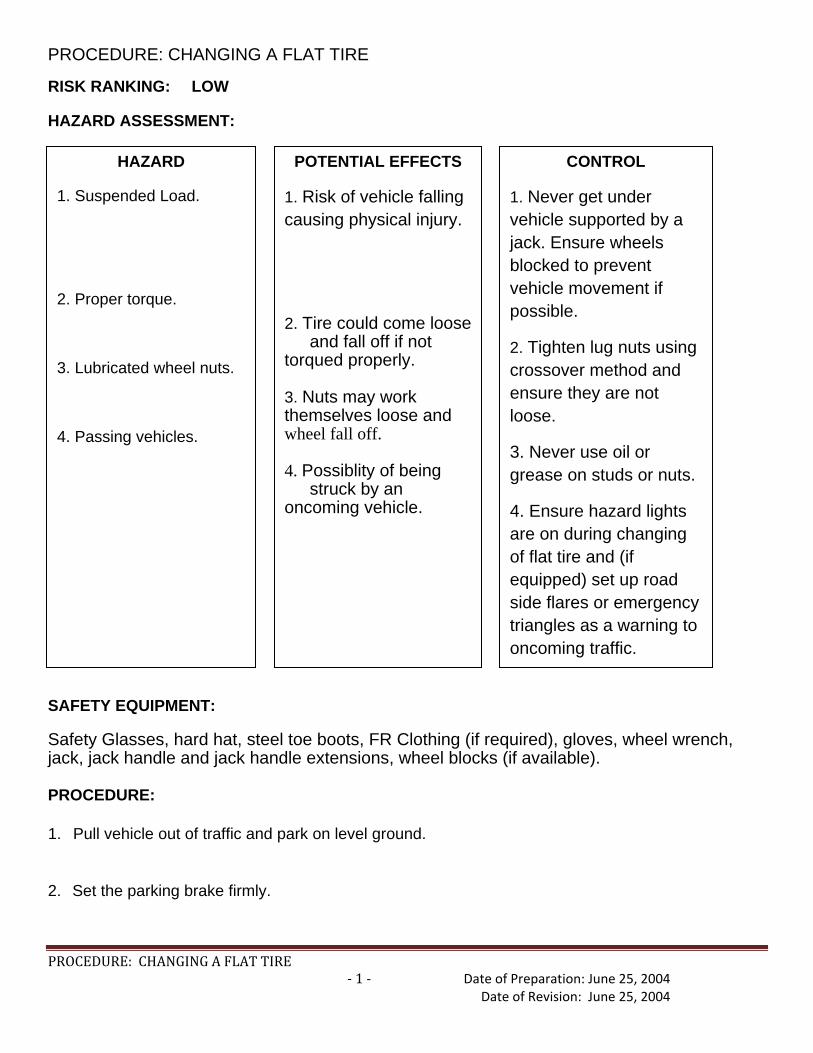
RISK RANKING: LOW
HAZARD ASSESSMENT:
SAFETY EQUIPMENT:
Safety Glasses, hard hat, steel toe boots, FR Clothing (if required), gloves, wheel wrench, jack, jack handle and jack handle extensions, wheel blocks (if available). PROCEDURE:
1. Pull vehicle out of traffic and park on level ground.
2. Set the parking brake firmly.
HAZARD
1. Suspended Load.
2. Proper torque.
3. Lubricated wheel nuts.
4. Passing vehicles.
POTENTIAL EFFECTS
1. Risk of vehicle falling causing physical injury.
2. Tire could come loose and fall off if not
torqued properly. 3. Nuts may work themselves loose and wheel fall off. 4. Possiblity of being
struck by an oncoming vehicle.
CONTROL
1. Never get under vehicle supported by a jack. Ensure wheels blocked to prevent vehicle movement if possible.
2. Tighten lug nuts using crossover method and ensure they are not loose.
3. Never use oil or grease on studs or nuts.
4. Ensure hazard lights are on during changing of flat tire and (if equipped) set up road side flares or emergency triangles as a warning to oncoming traffic.
PROCEDURE: CHANGING A FLAT TIRE
PROCEDURE: CHANGING A FLAT TIRE ‐ 2 ‐ Date of Preparation: June 25, 2004 Date of Revision: June 25, 2004
3. Turn off the engine and do not restart while the vehicle is raised.
4. Do not allow passengers to remain in the vehicle.
5. Put the wheel blocks at the front and rear of the tire farthest away from the one being changed (if
available). That would be the tire on the other side, at the opposite end of the vehicle.
6. If vehicle is equipped with wheel nut caps, loosen them by turning the wheel wrench counterclockwise.
7. Use the wheel wrench to loosen all the wheel nuts. Turn the wheel wrench counterclockwise to loosen the wheel nuts. Don’t remove the wheel nuts yet.
8. Position jack under the vehicle (for two-wheel drive 1500 series — position jack under the bracket attached to the vehicle frame behind the flat tire. If the flat tire is on the font of the vehicle (all other models) position the jack on the frame behind the flat tire. If the flat tire is on the rear, position the jack under the rear axle between the spring anchor and the shock absorber bracket.
9. Make sure jack head is positioned so that the rear axle is resting securely between the grooves that are on the jack head. Turn the wheel wrench clockwise to raise the vehicle. Raise the vehicle far enough off the ground so there is enough room for the spare tire to fit under the wheel well.
10.Remove all the wheel nuts and take off the flat tire.
11. Remove any rust or dirt from the wheel bolts, mounting surfaces and spare wheel.
12.After mounting the spare, put the wheel nuts back on with the rounded end of the nuts toward the wheel. Tighten each wheel nut by hand. Then use the wheel wrench to tighten the nuts until the wheel is held against the hub.
13.Turn the wheel wrench counterclockwise to lower the vehicle. Lower the jack completely.
14.Tighten the nuts firmly in a crisscross sequence by turning the wheel clockwise.
Recommended