Embed Size (px)
Citation preview
Photography Composition Basics

The Rule of Thirds

The Rule of ThirdsThe rule of thirds involves mentally dividing up your image using 2 horizontal lines and
2 vertical lines, as shown below. You then position the important elements in your scene along those lines, or at the points where they meet.
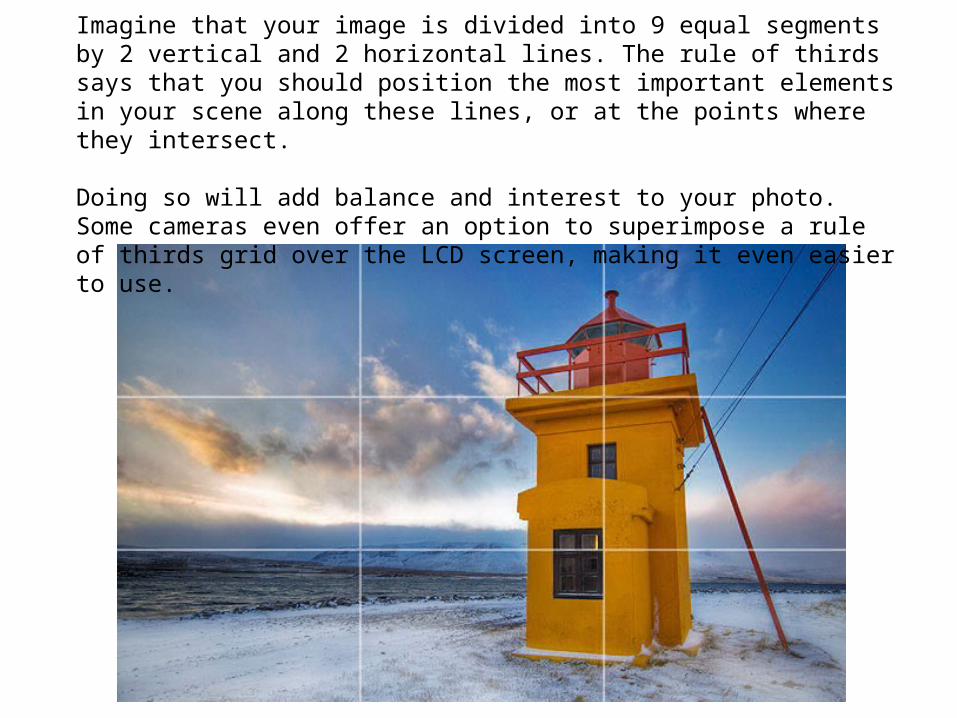
Imagine that your image is divided into 9 equal segments by 2 vertical and 2 horizontal lines. The rule of thirds says that you should position the most important elements in your scene along these lines, or at the points where they intersect.
Doing so will add balance and interest to your photo. Some cameras even offer an option to superimpose a rule of thirds grid over the LCD screen, making it even easier to use.

When framing a photo, imagine the scene divided up as it is below. Think about what elements of the photo are most important, and try to position them at or near the lines and intersections of the grid. They don't have to be perfectly lined up as long as they're close.
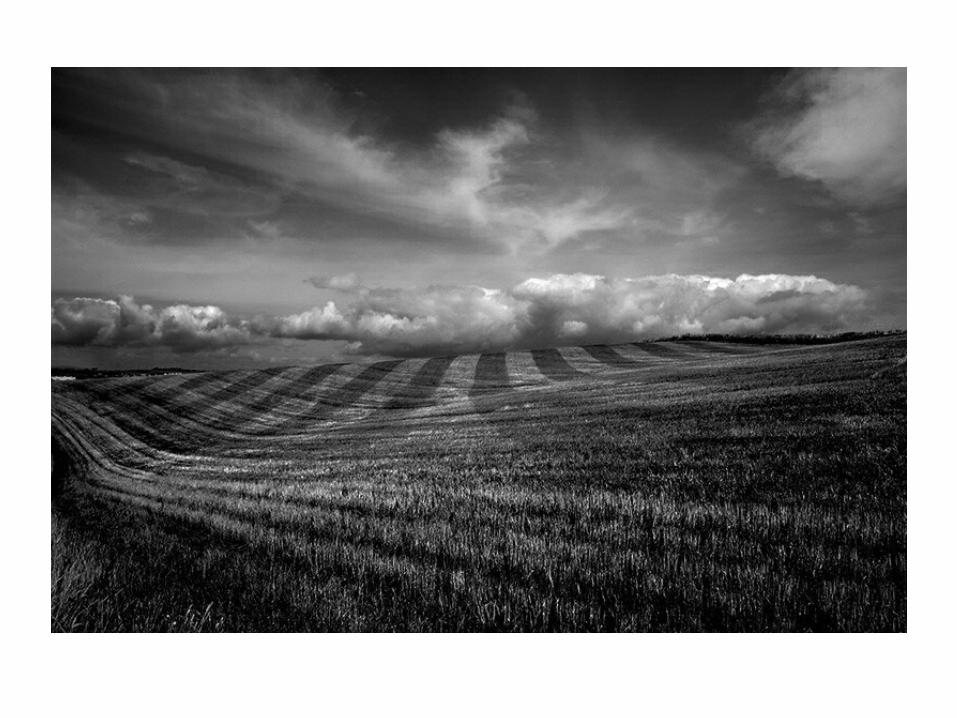
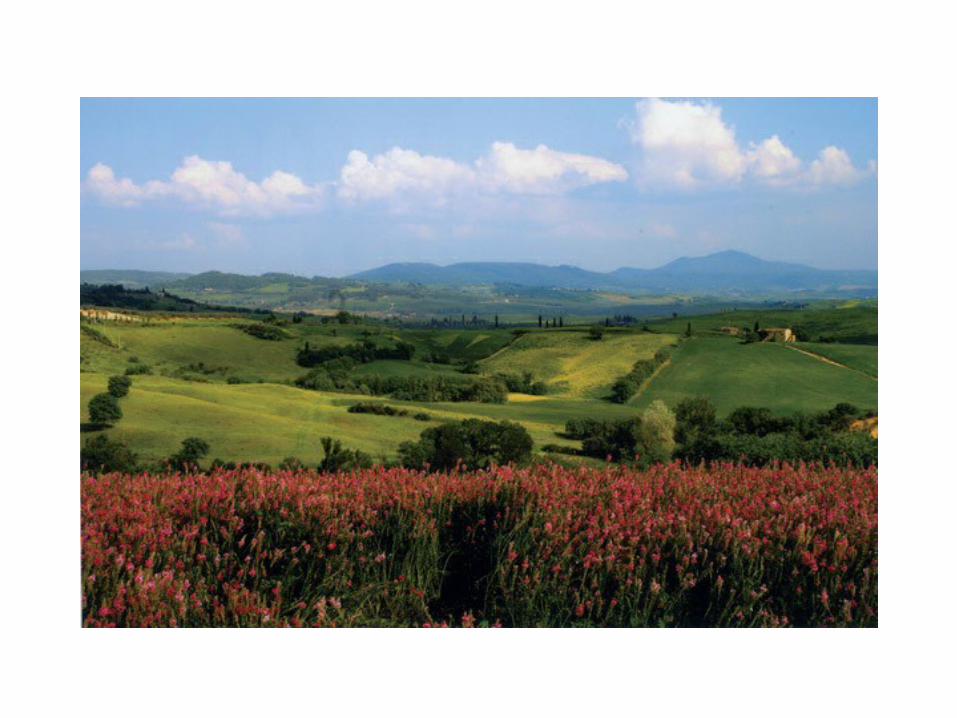
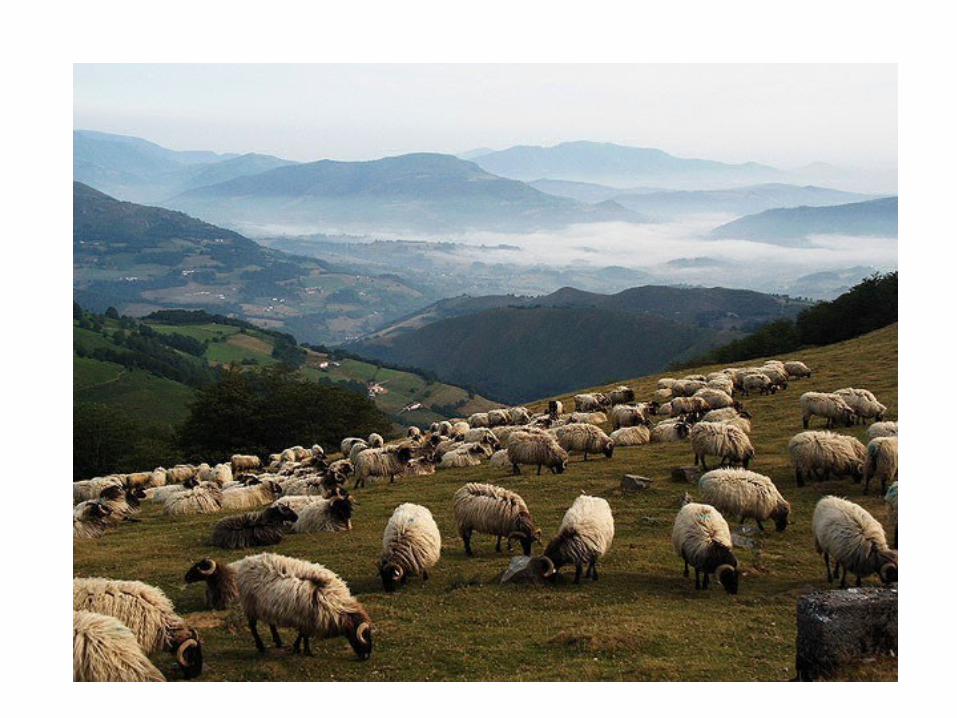
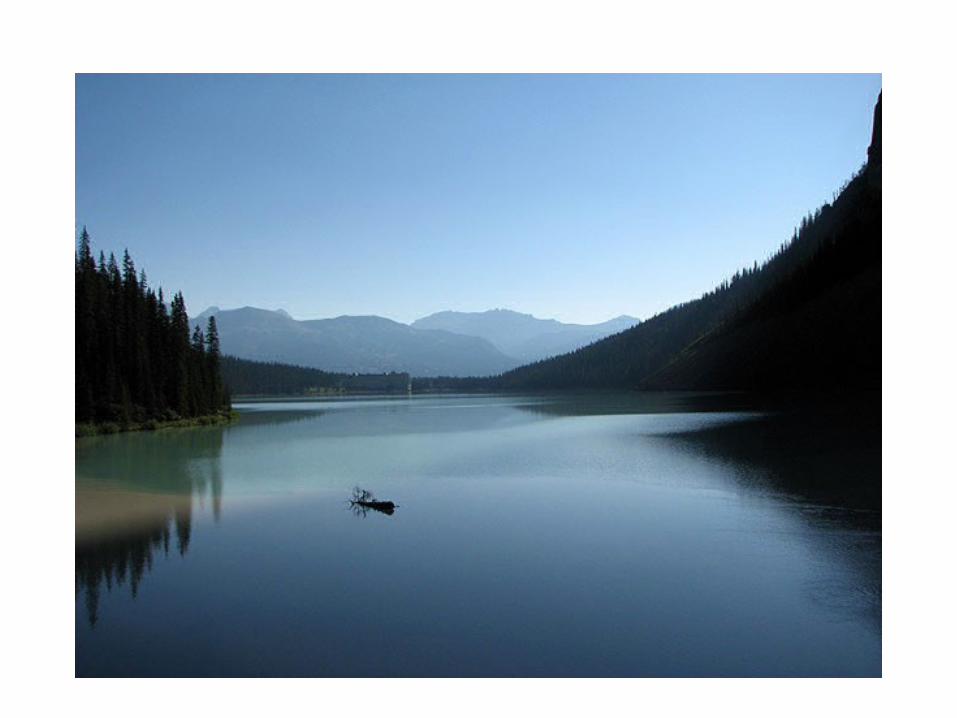
The horizon and main subject in this photo have been positioned near lines or intersections for maximum impact
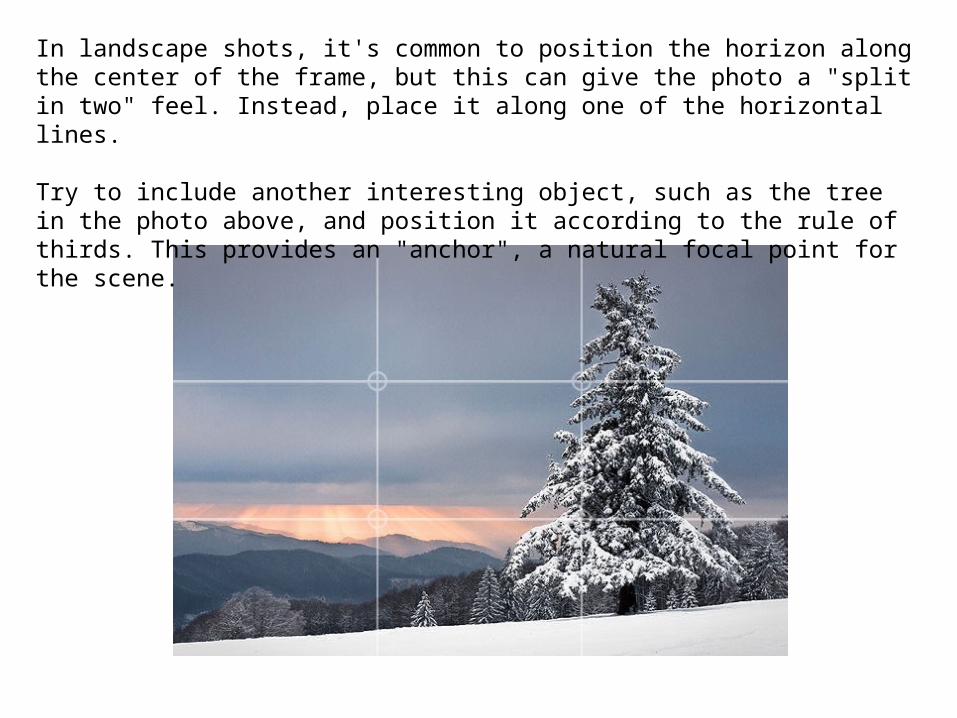
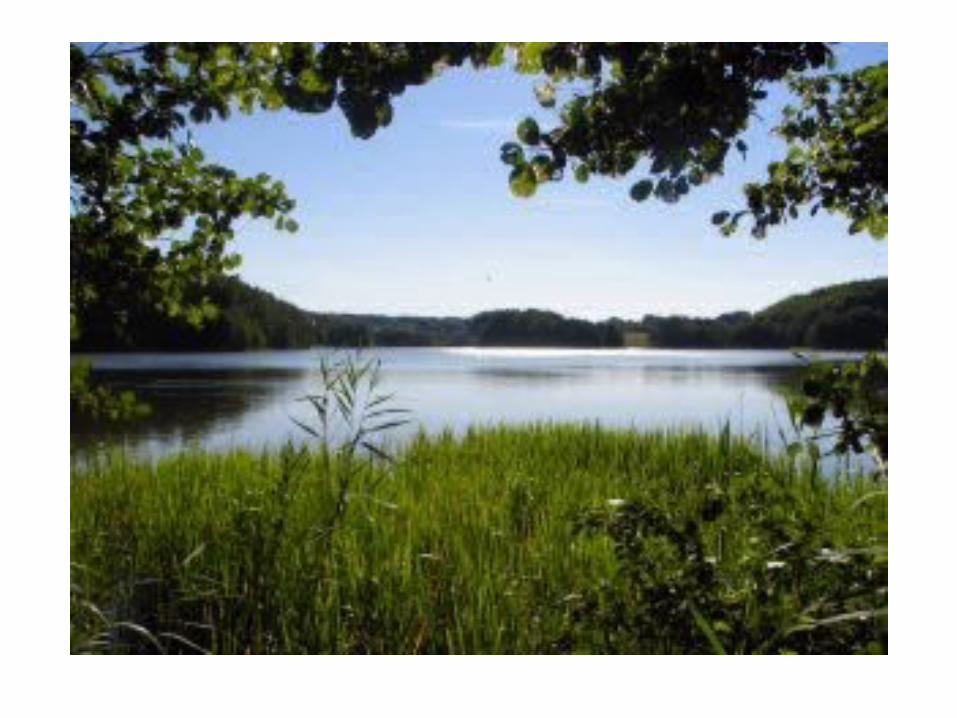
In landscape shots, it's common to position the horizon along the center of the frame, but this can give the photo a "split in two" feel. Instead, place it along one of the horizontal lines.
Try to include another interesting object, such as the tree in the photo above, and position it according to the rule of thirds. This provides an "anchor", a natural focal point for the scene.
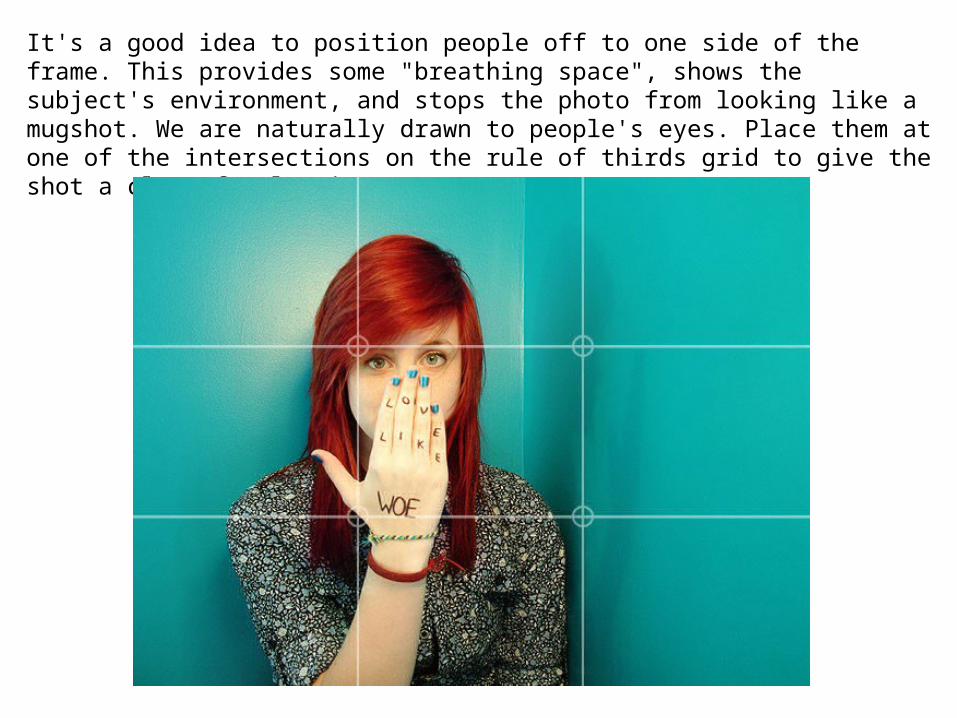
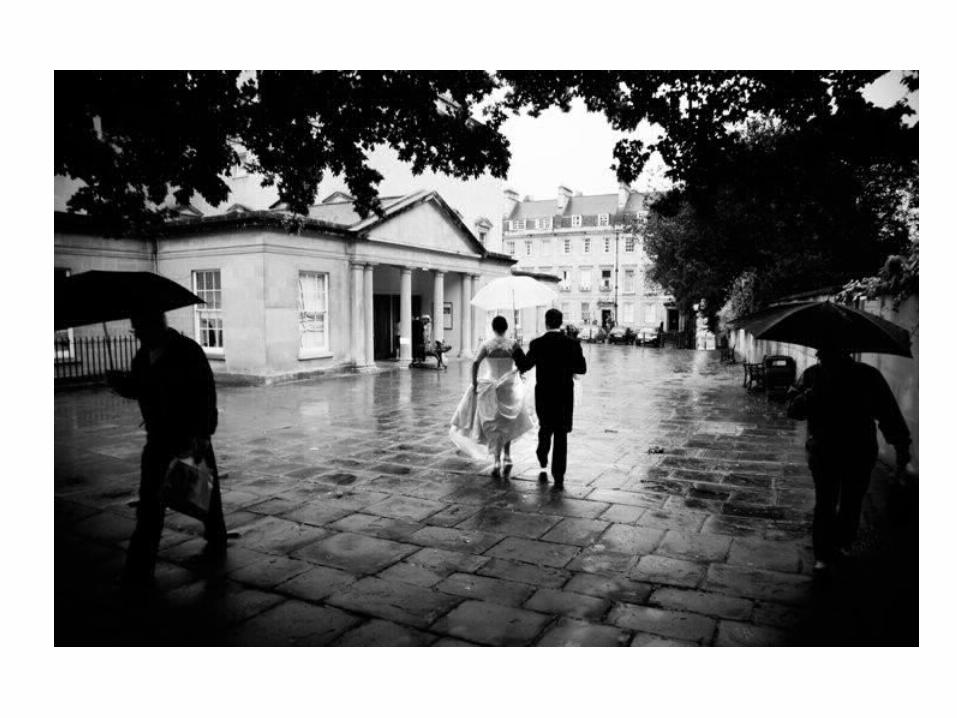
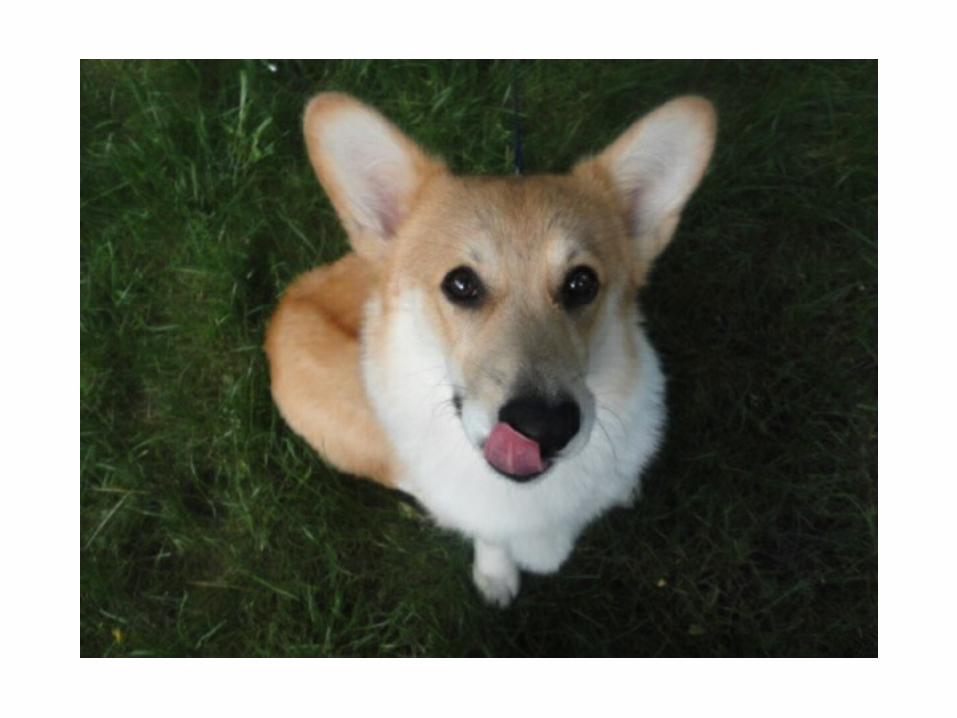
It's a good idea to position people off to one side of the frame. This provides some "breathing space", shows the subject's environment, and stops the photo from looking like a mugshot. We are naturally drawn to people's eyes. Place them at one of the intersections on the rule of thirds grid to give the shot a clear focal point.
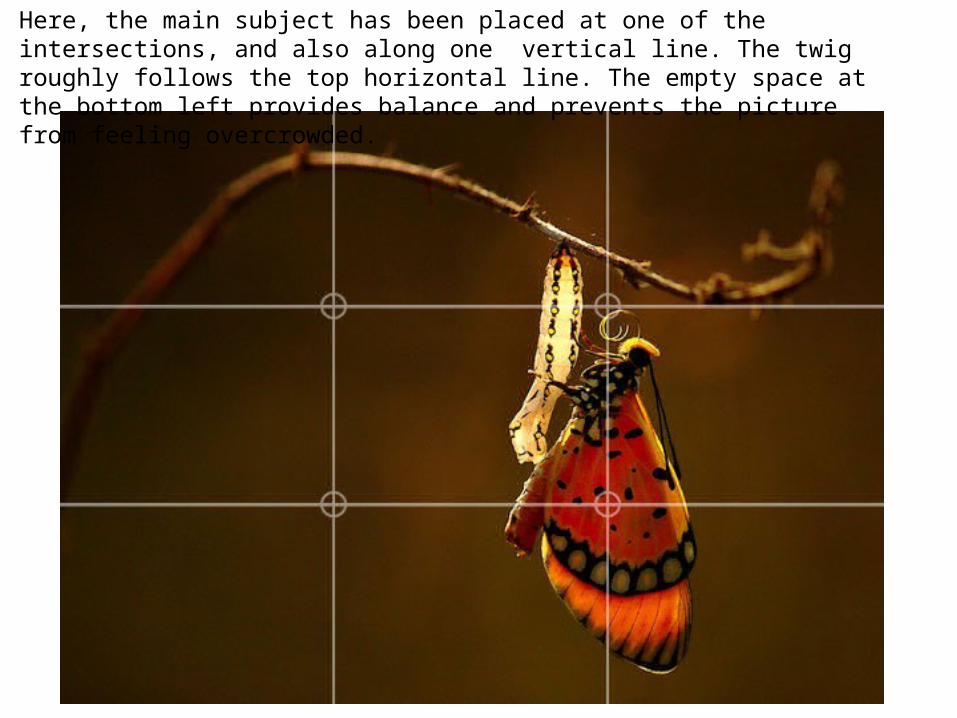
Here, the main subject has been placed at one of the intersections, and also along one vertical line. The twig roughly follows the top horizontal line. The empty space at the bottom left provides balance and prevents the picture from feeling overcrowded.
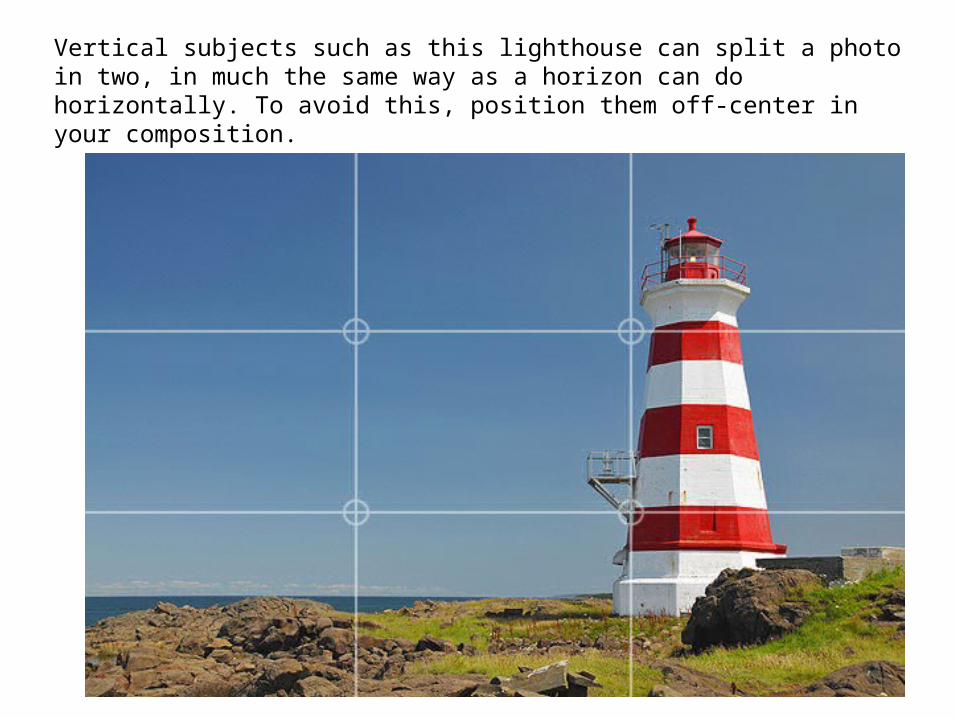
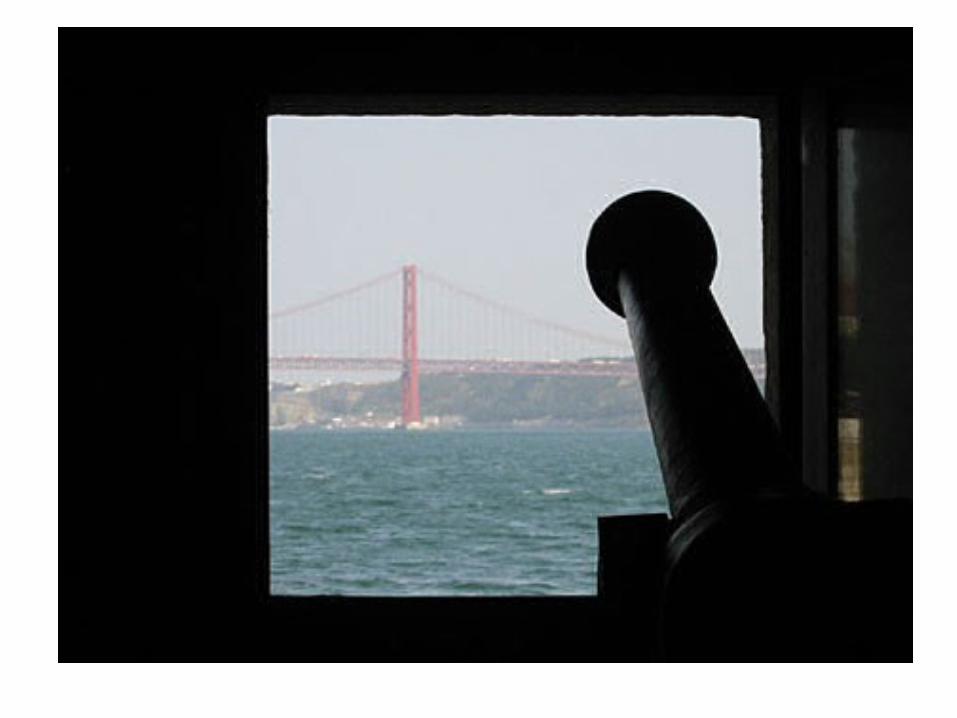
Vertical subjects such as this lighthouse can split a photo in two, in much the same way as a horizon can do horizontally. To avoid this, position them off-center in your composition.
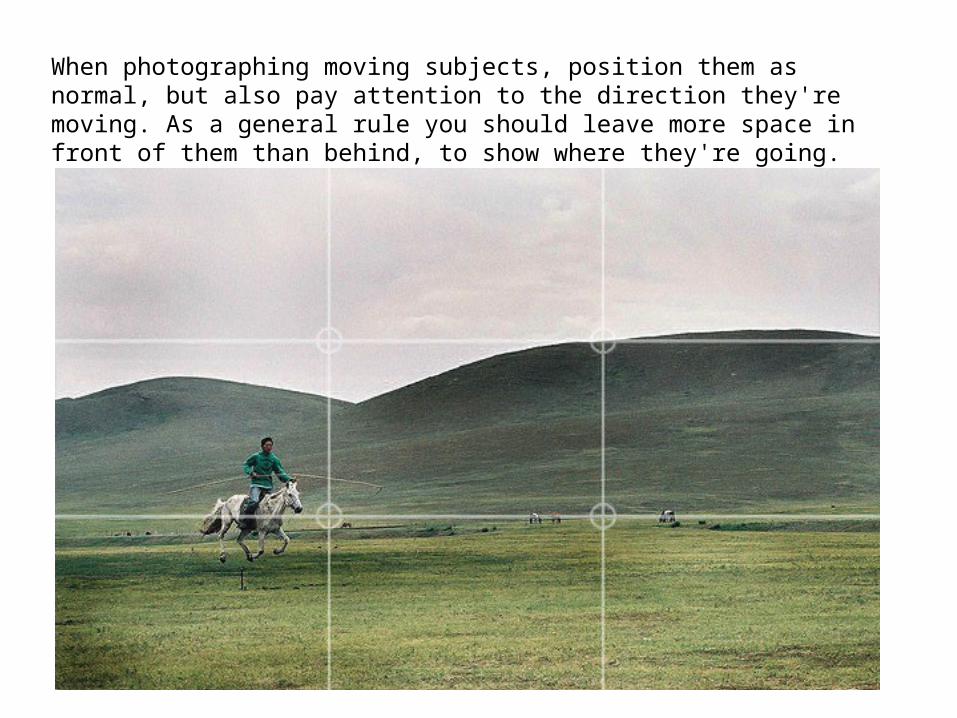
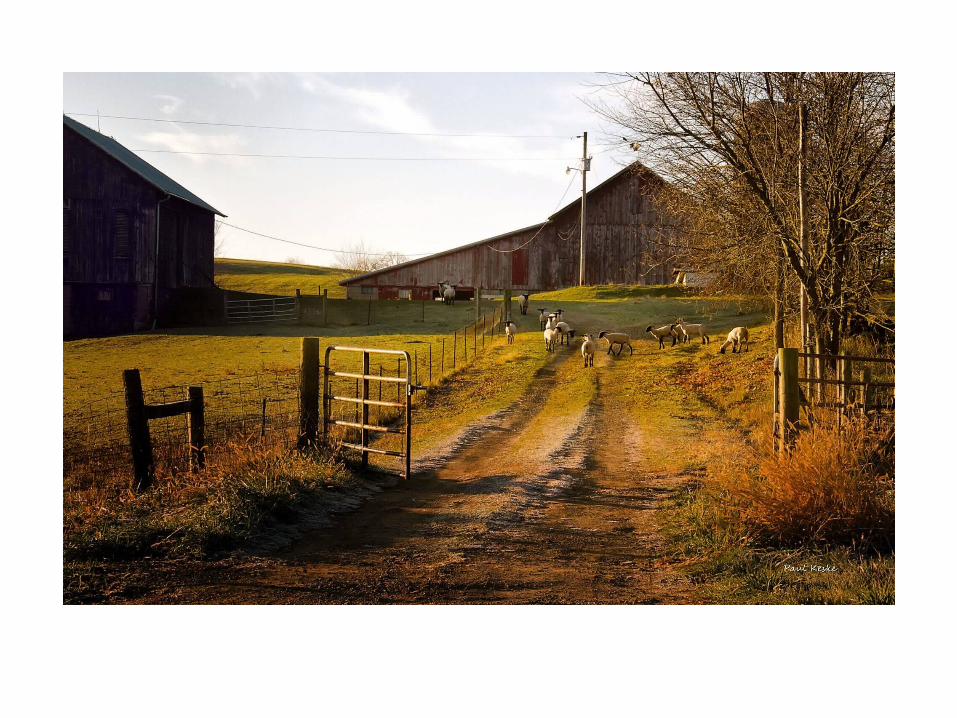
When photographing moving subjects, position them as normal, but also pay attention to the direction they're moving. As a general rule you should leave more space in front of them than behind, to show where they're going.
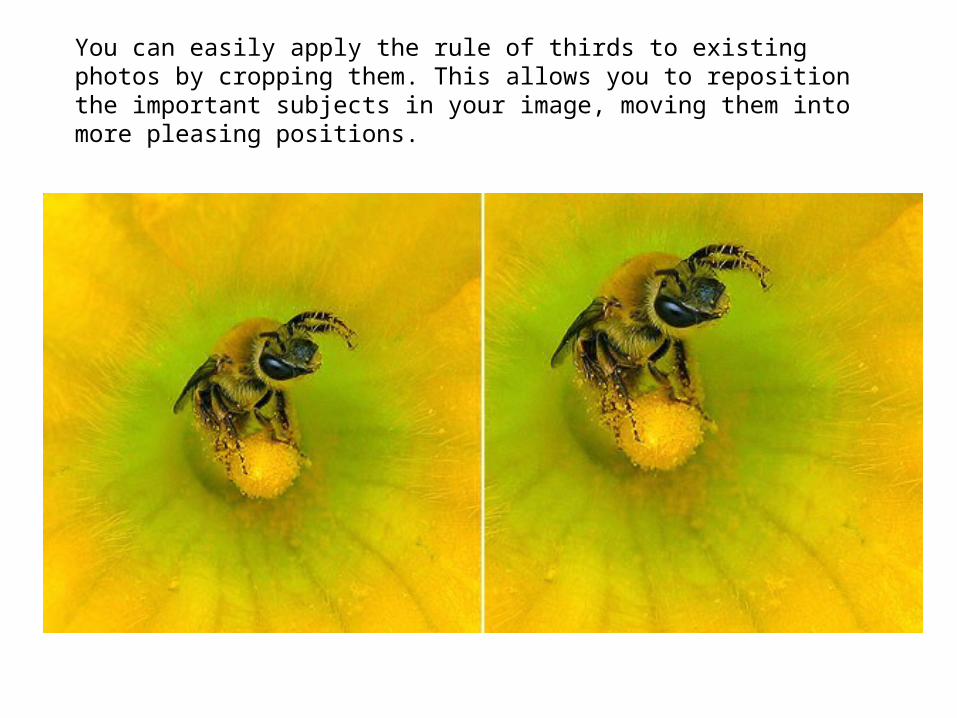
You can easily apply the rule of thirds to existing photos by cropping them. This allows you to reposition the important subjects in your image, moving them into more pleasing positions.
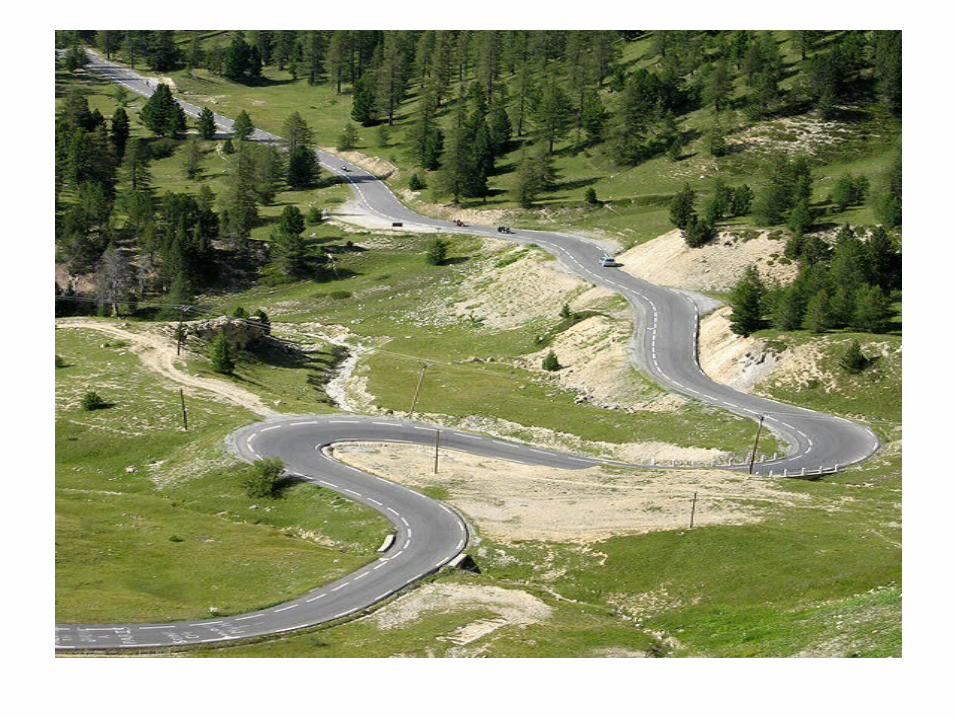
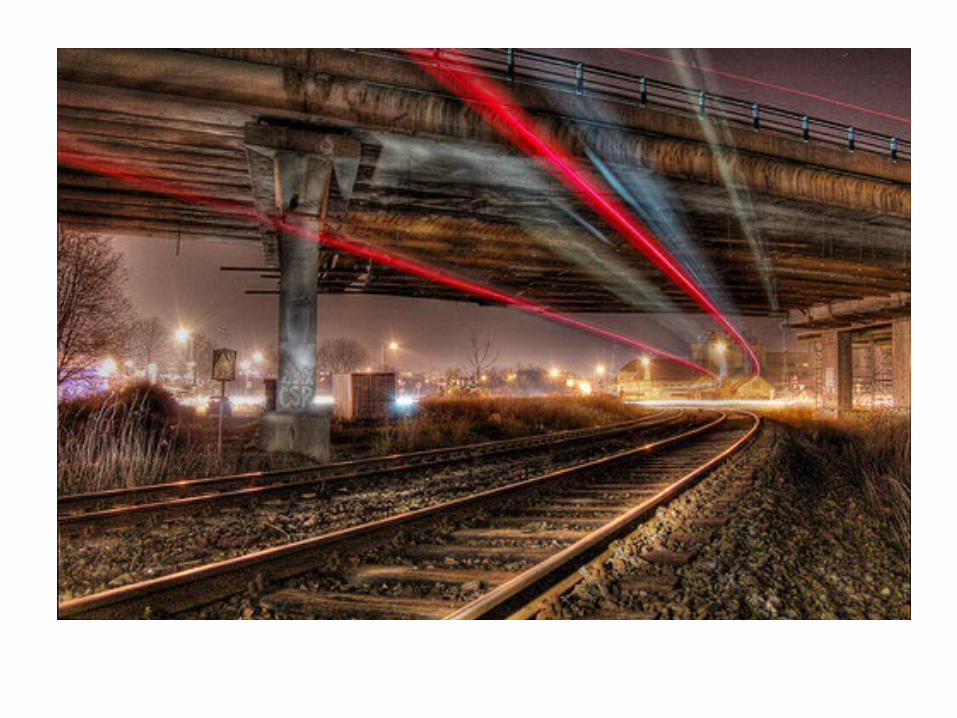
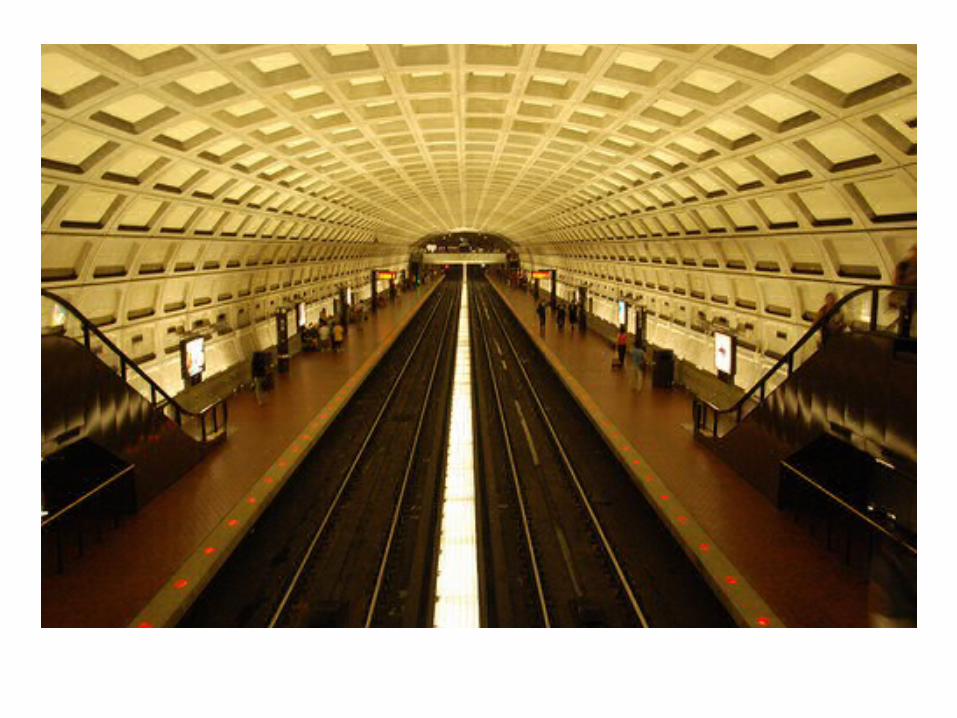
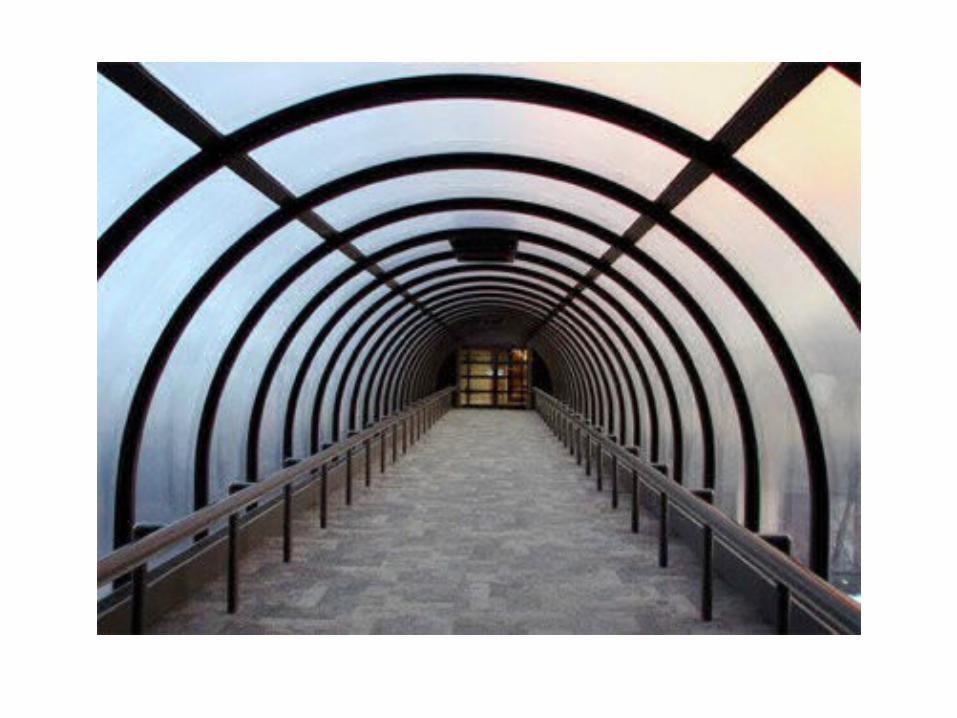
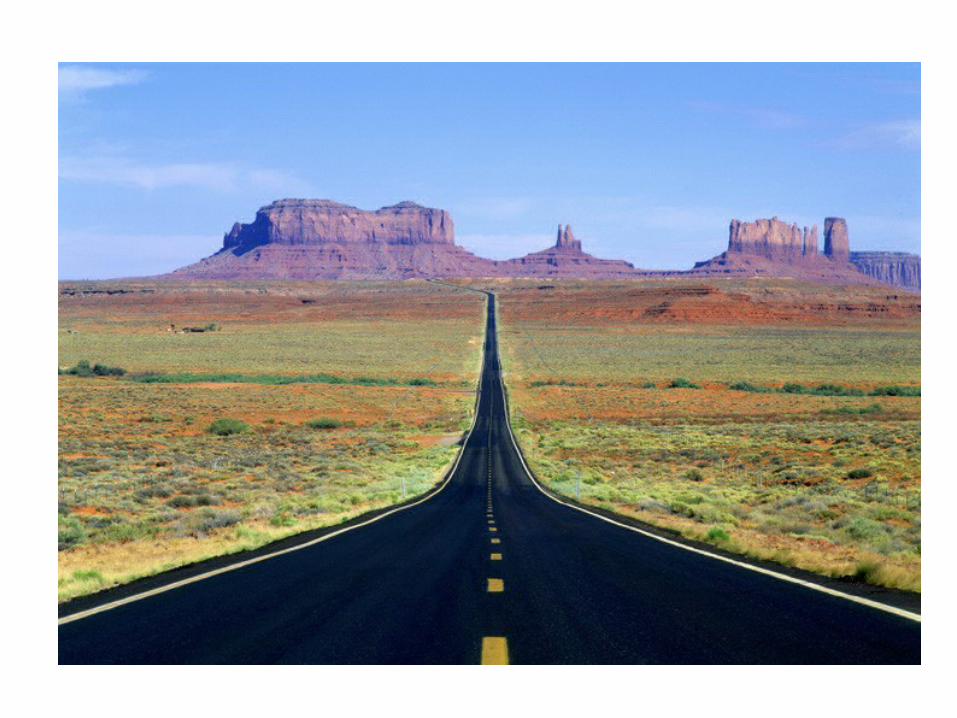
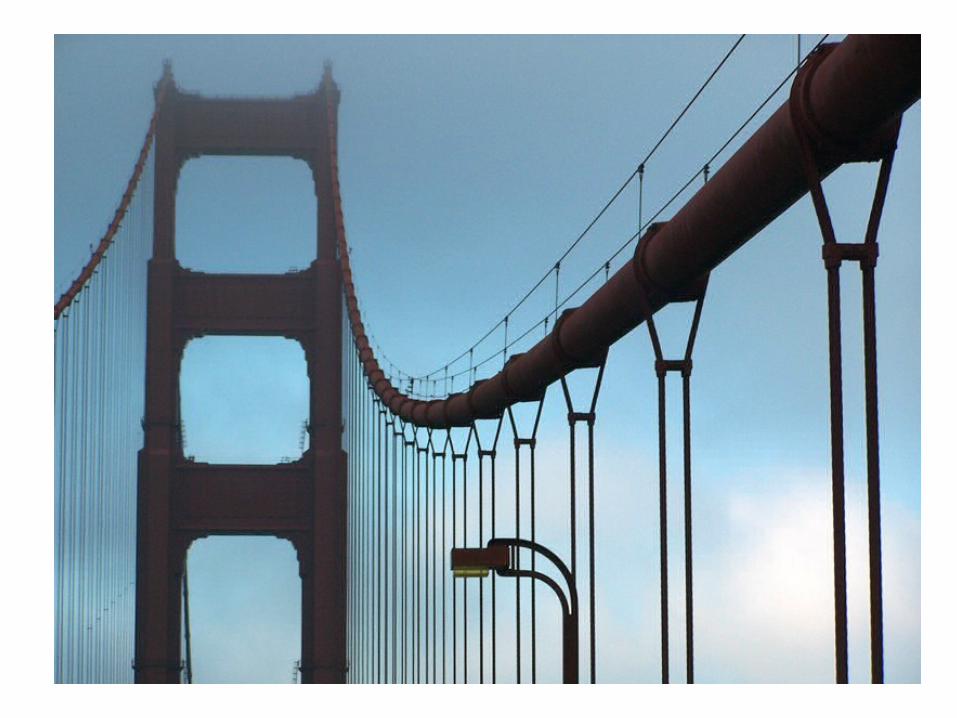
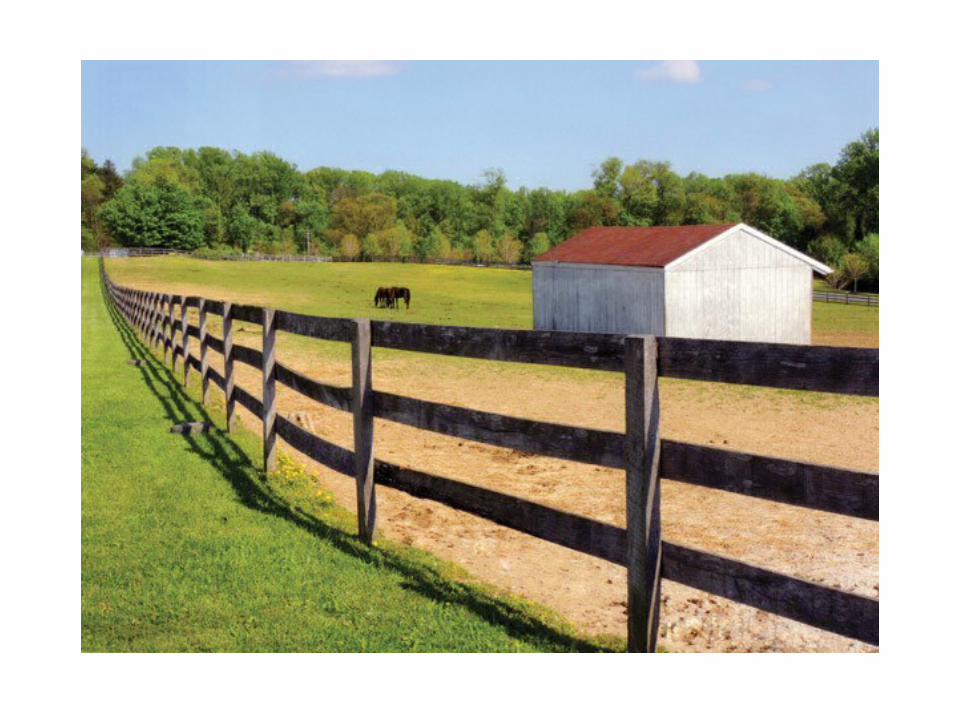
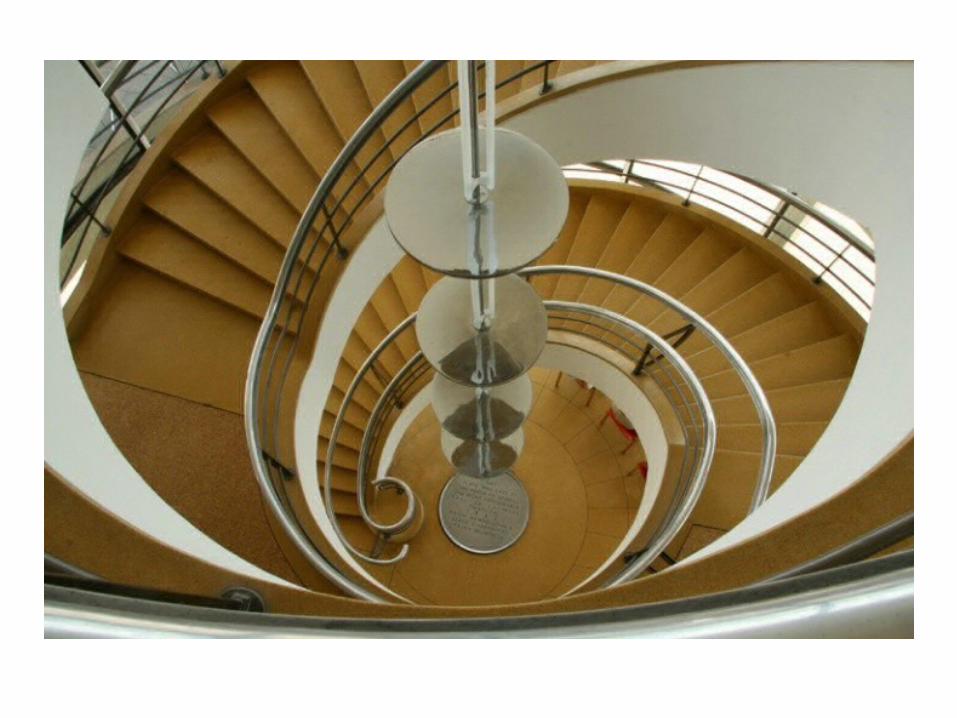
Leading LinesWhen we look at a photo our eye is naturally drawn along lines. By thinking about how you place lines in your composition, you can affect the way we view the image, pulling us into the picture, towards the subject, or on a journey "through" the scene. There are many different types of line - straight, diagonal, curvy, zigzag, radial etc - and each can be used to enhance our photo's composition.
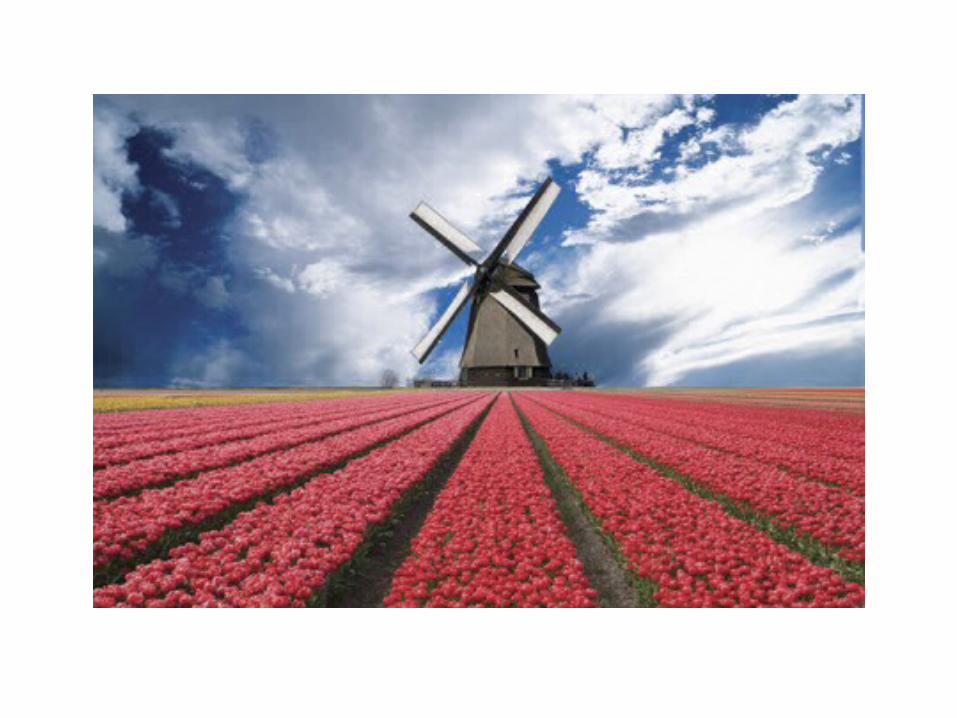

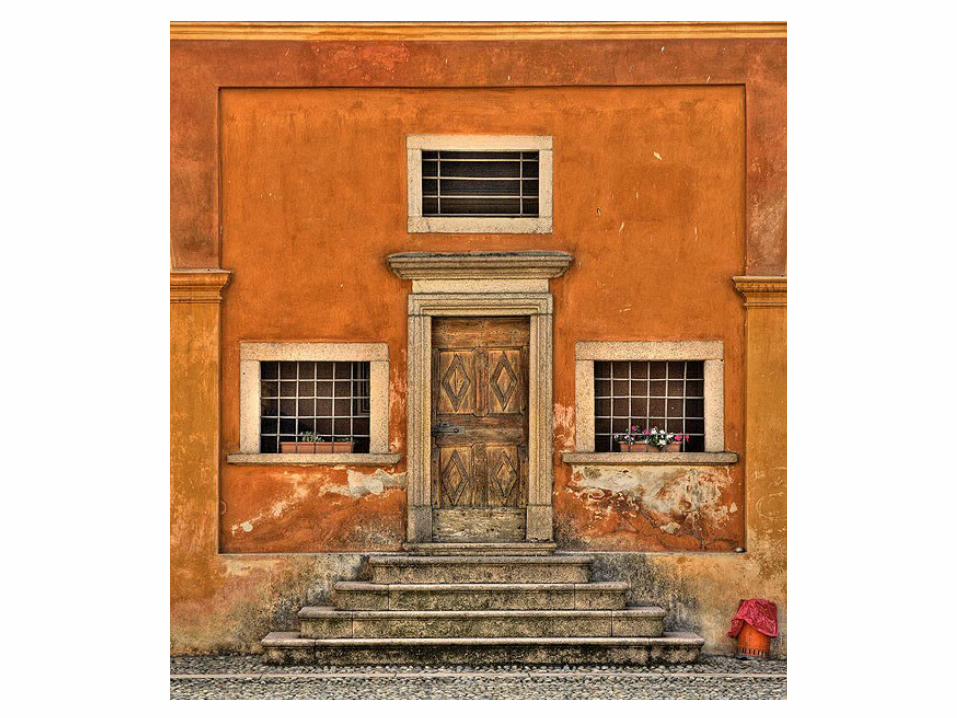
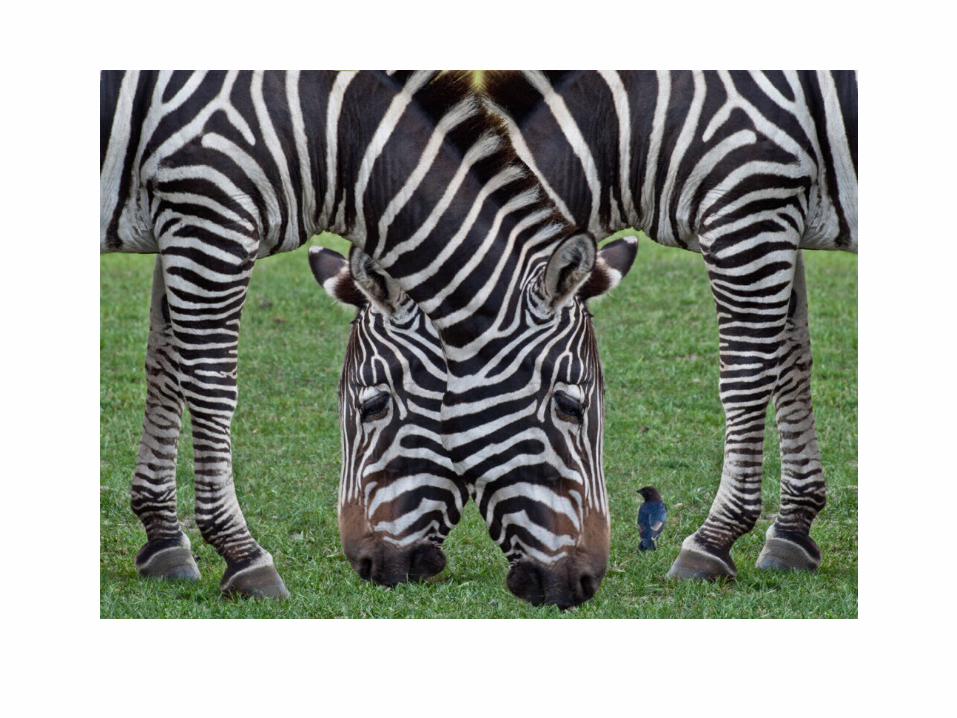
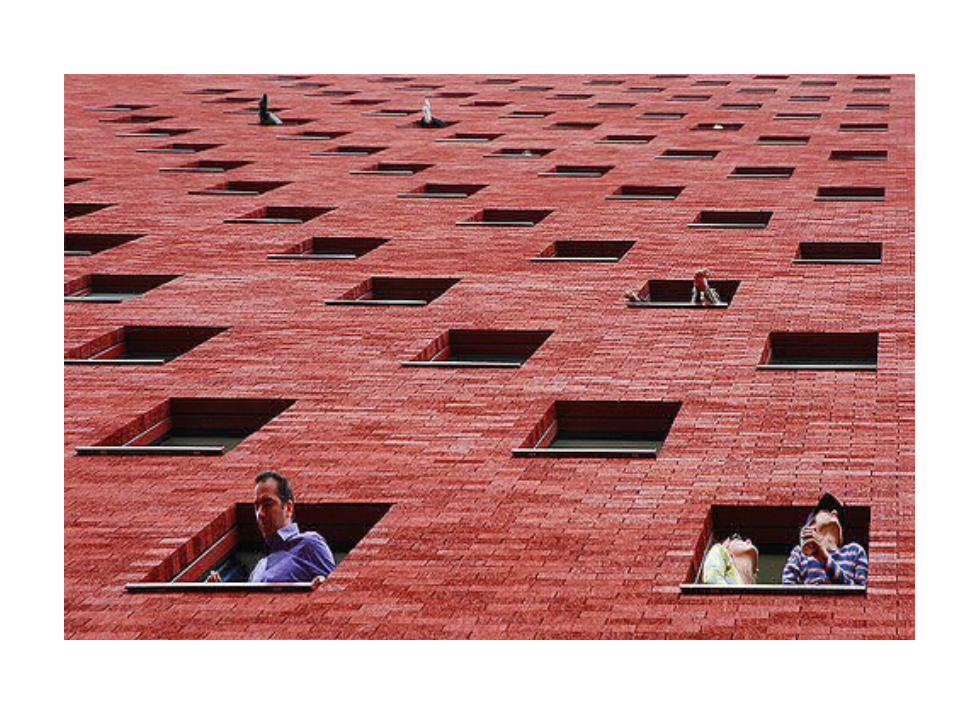
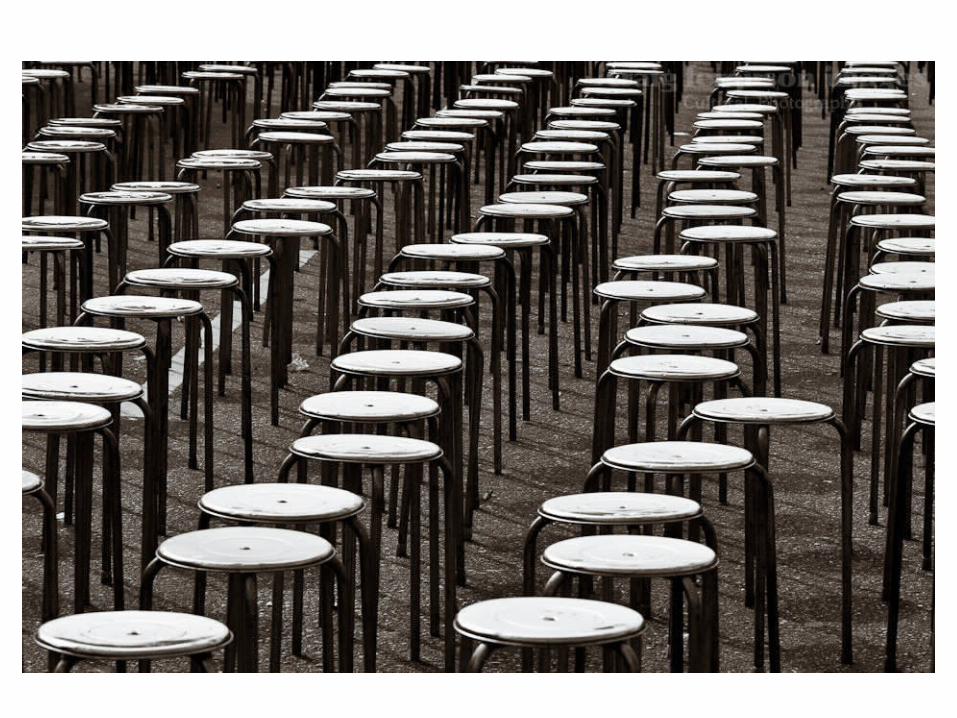
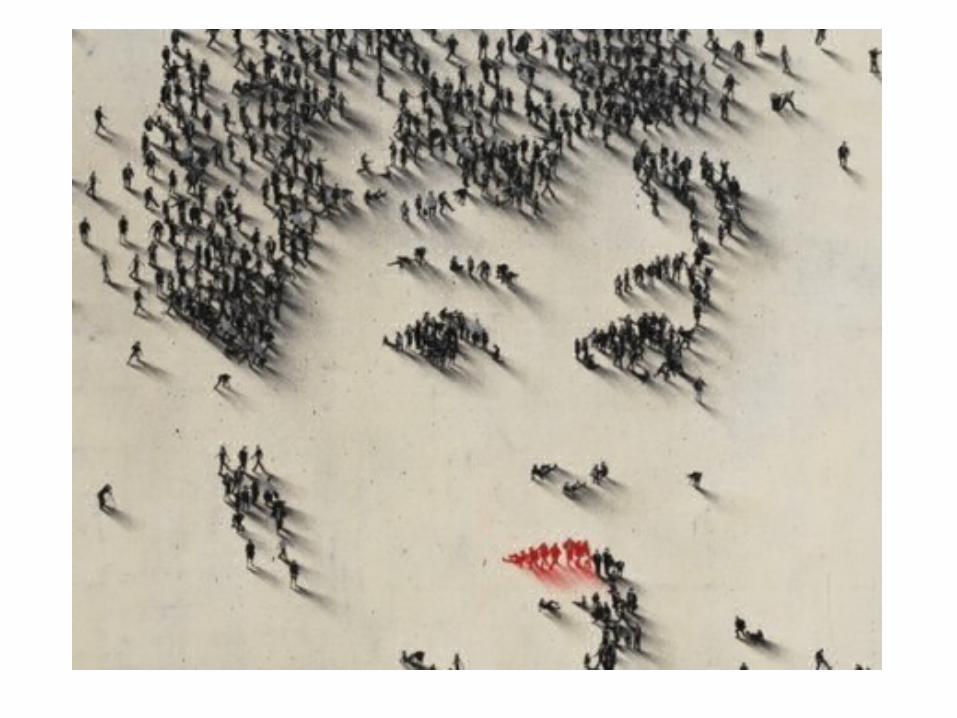
Symmetry and PatternsWe are surrounded by symmetry and patterns, both natural and man-made., They can make for very eye-catching compositions, particularly in situations where they are not expected. Another great way to use them is to break the symmetry or pattern in some way, introducing tension and a focal point to the scene.
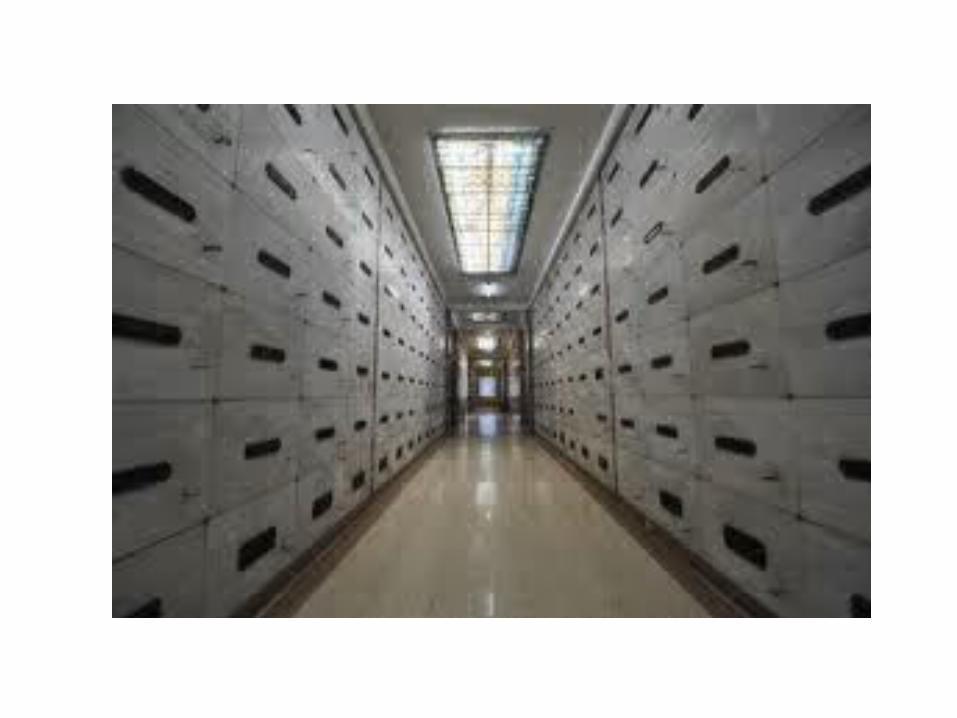
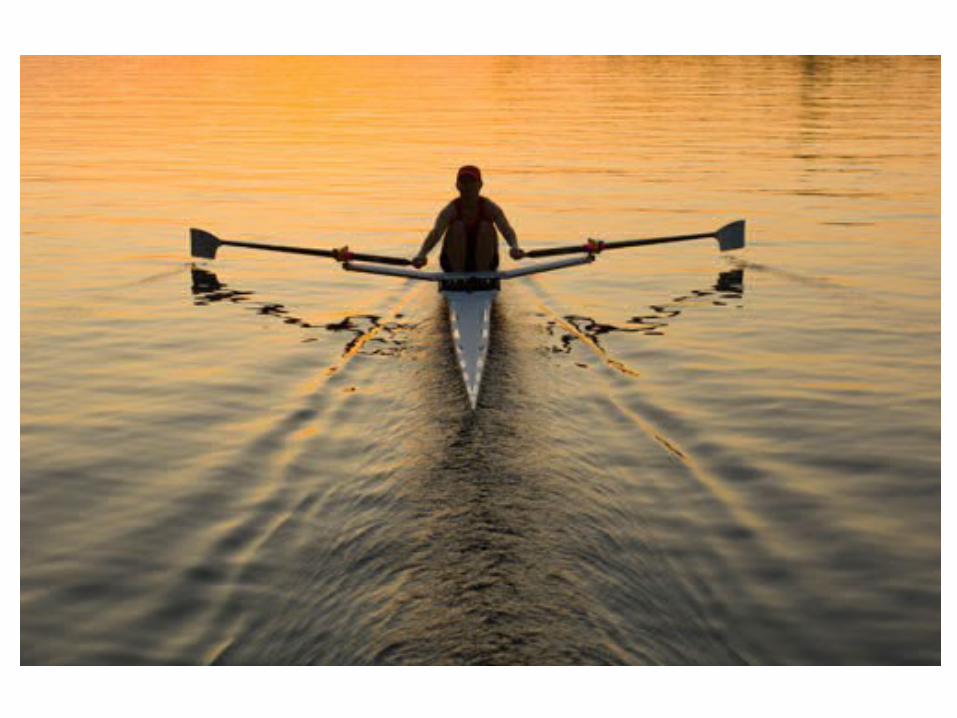

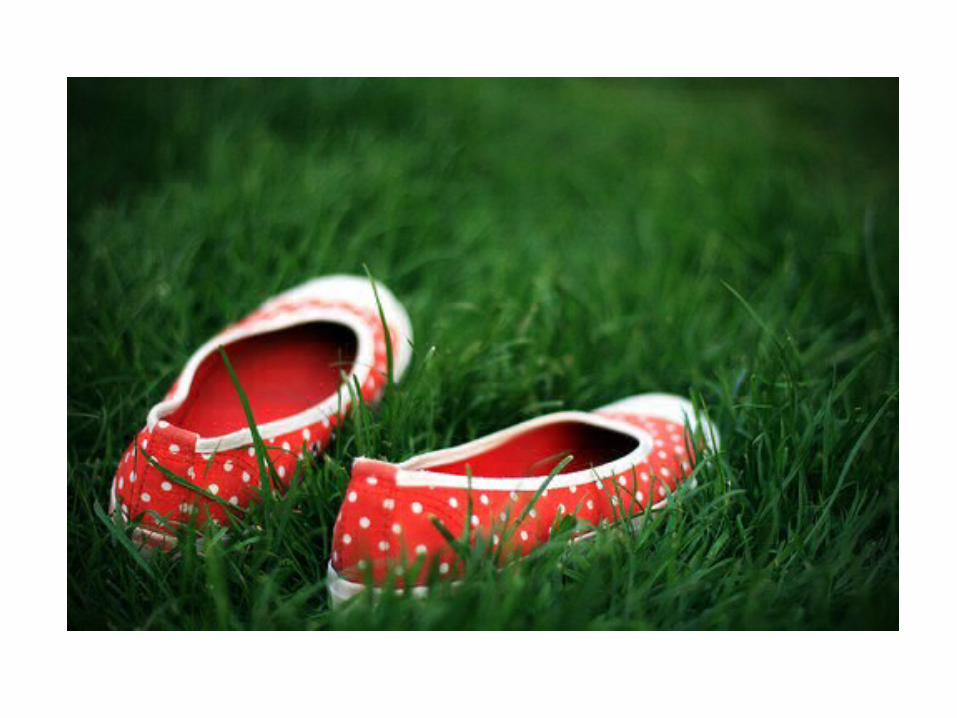
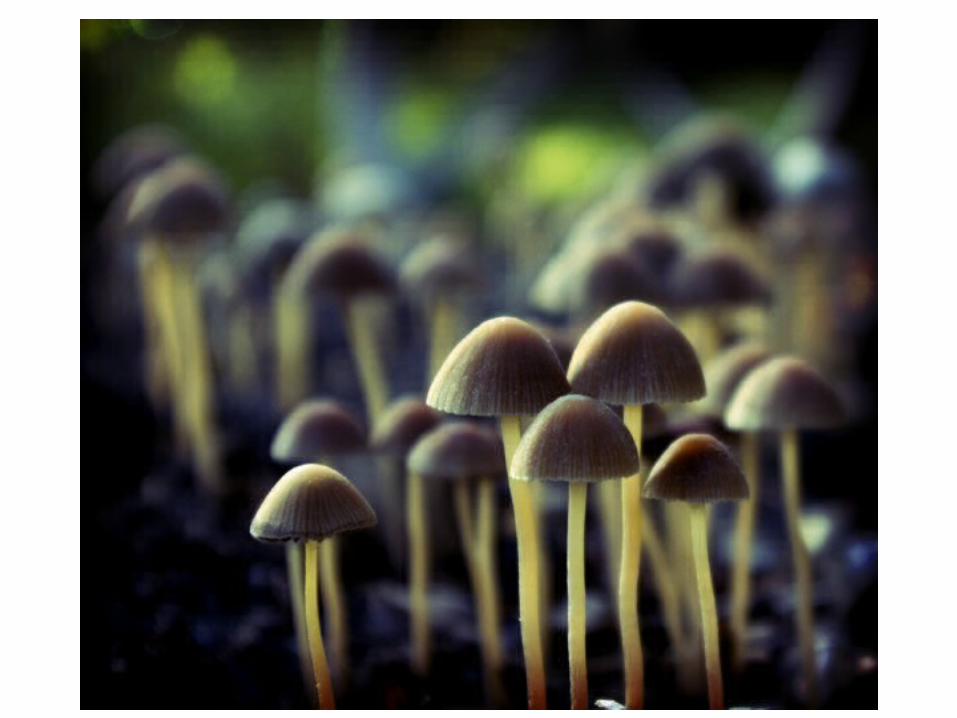
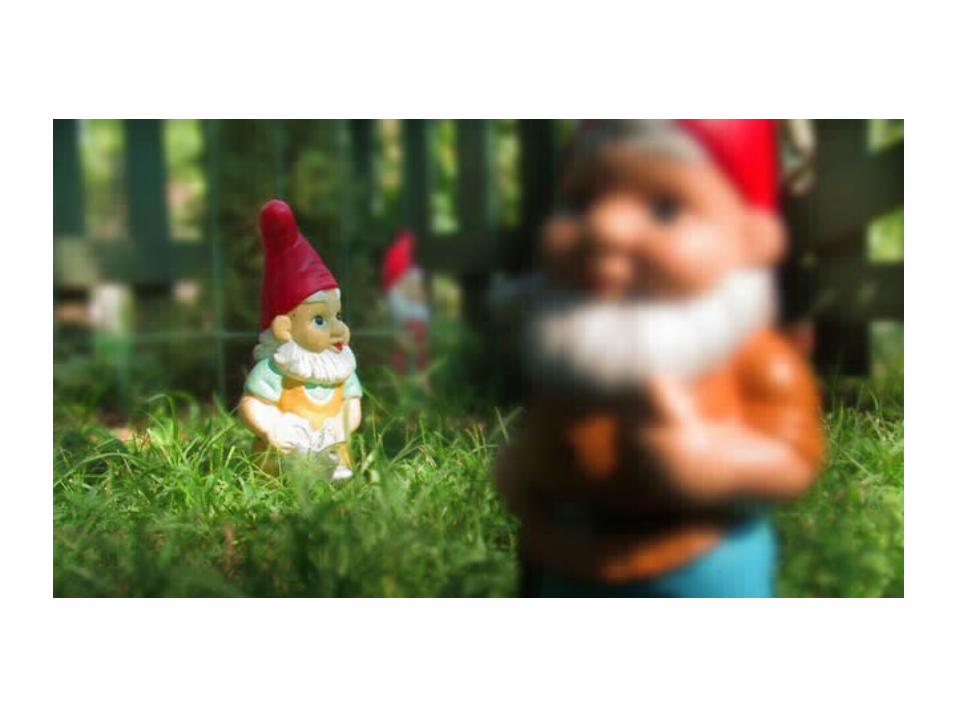
Depth of FieldBecause photography is a two-dimensional medium, we have to choose our composition carefully to convey the sense of depth that was present in the actual scene. You can create depth in a photo by including objects in the foreground, middle ground and background. Another useful composition technique is overlapping, where you deliberately partially obscure one object with another. The human eye naturally recognizes these layers and mentally separates them out, creating an image with more depth.


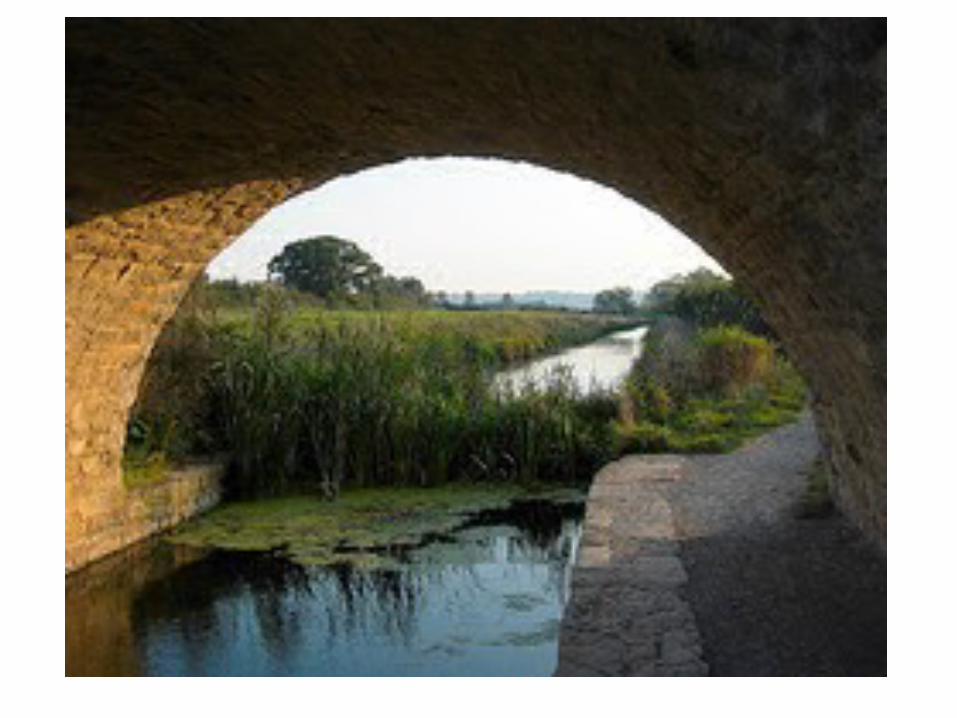
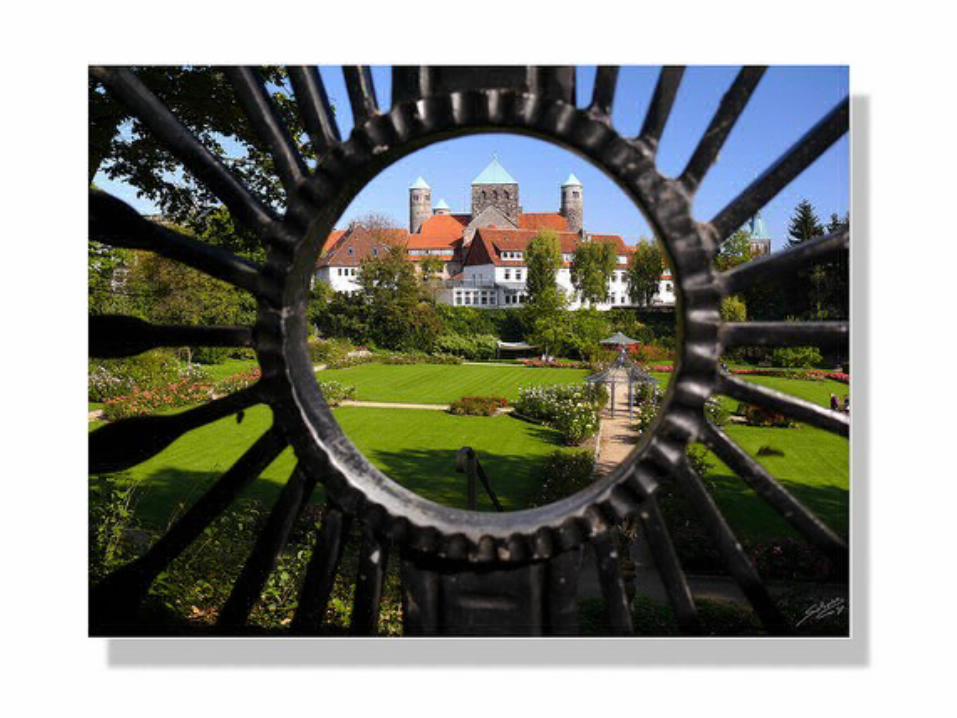
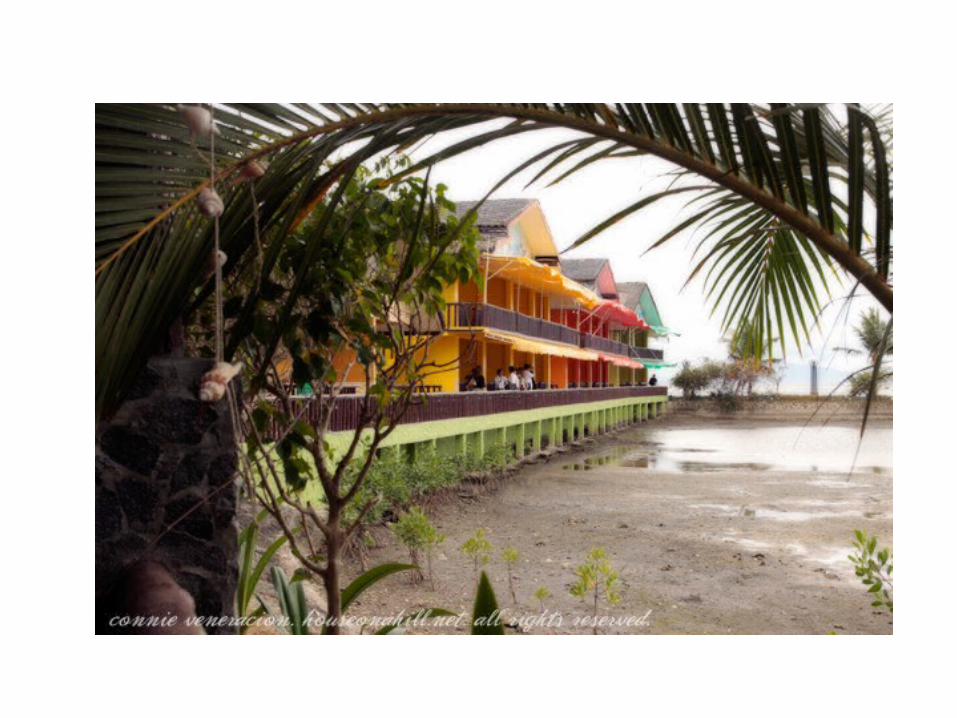
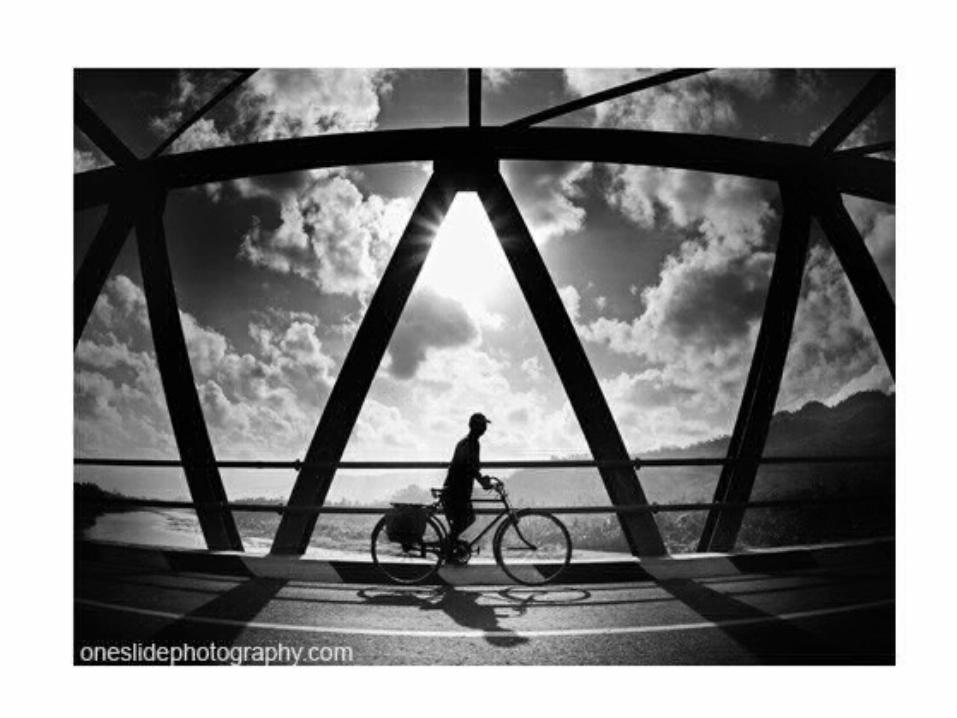
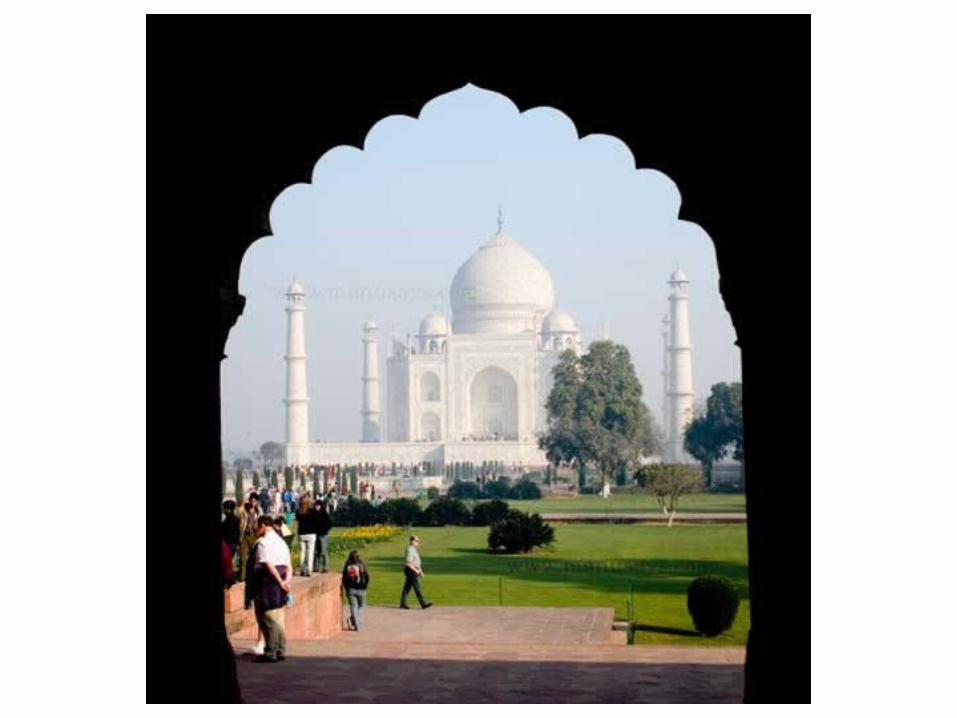
FramingThe world is full of objects, which make perfect natural frames, such as trees, archways and holes. By placing these around the edge of the composition you help to isolate the main subject from the outside world. The result is a more focused image, which draws your eye naturally to the main point of interest.


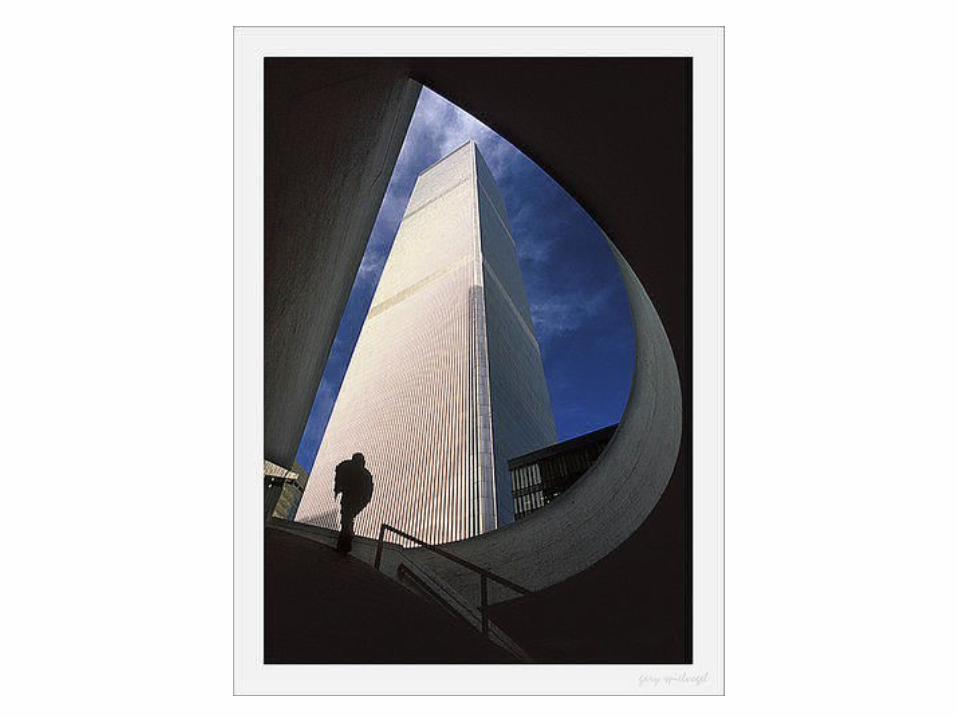
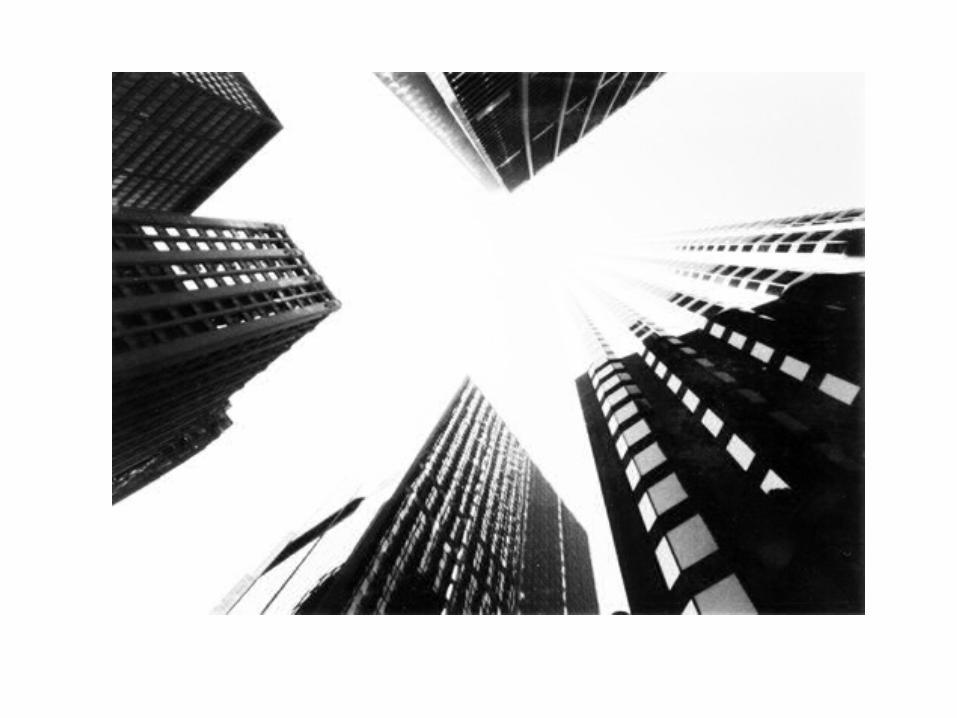
Viewpoint
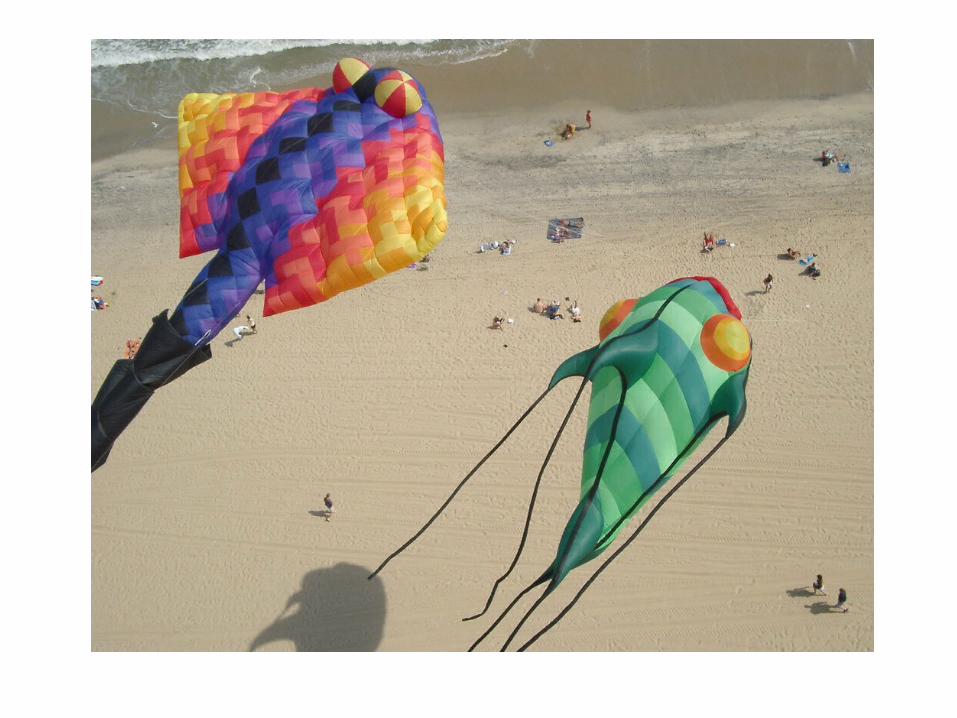
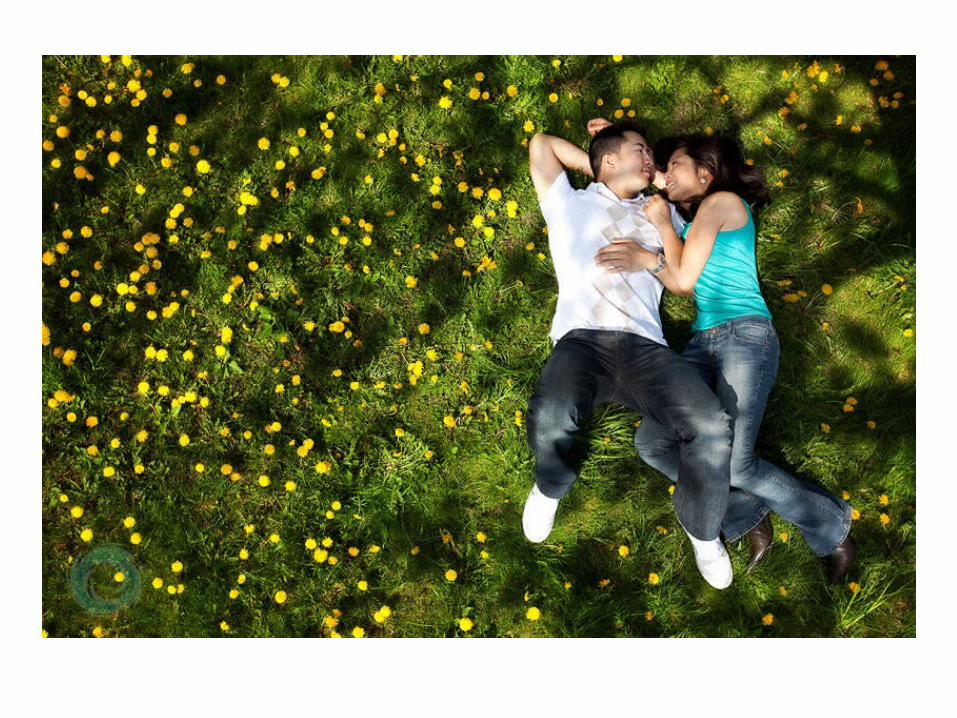
Before photographing your subject, take time to think about where you will shoot it from. Our viewpoint has a massive impact on the composition of our photo, and as a result it can greatly affect the message that the shot conveys. Rather than just shooting from eye level, consider photographing from high above, down at ground level, from the side, from the back, from a long way away, from very close up, and so on.
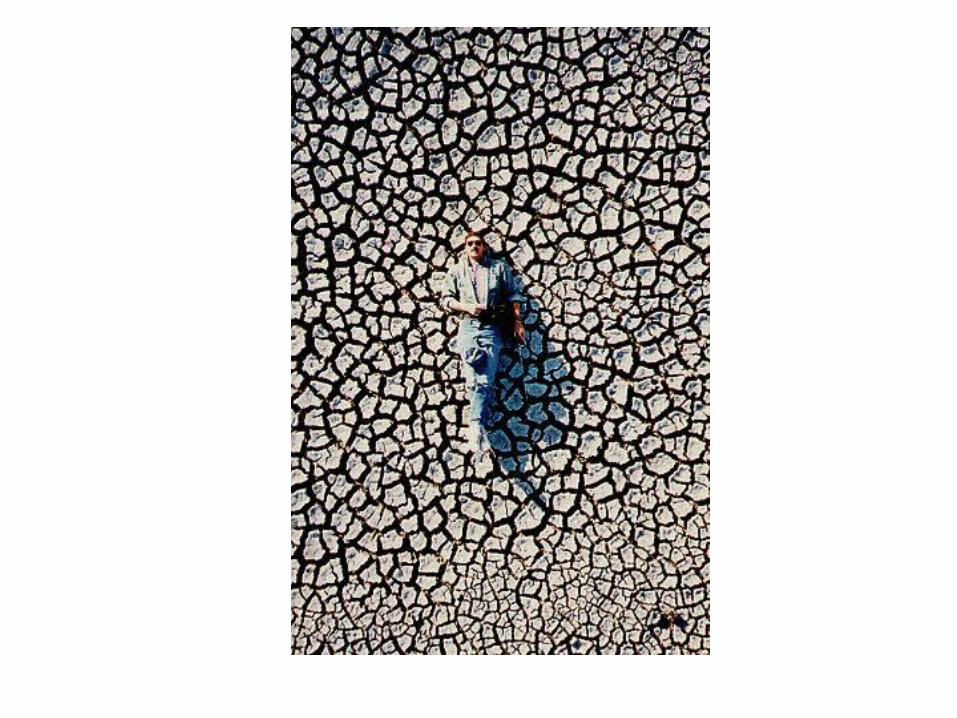
Bird’s Eye View: The viewer is looking DOWN on the subject

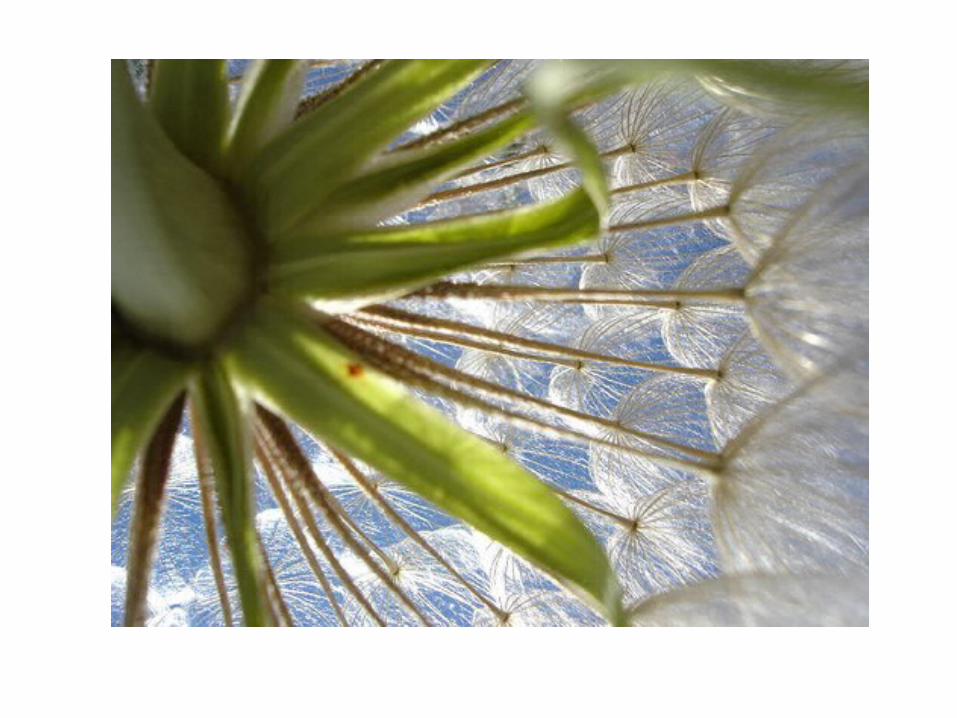
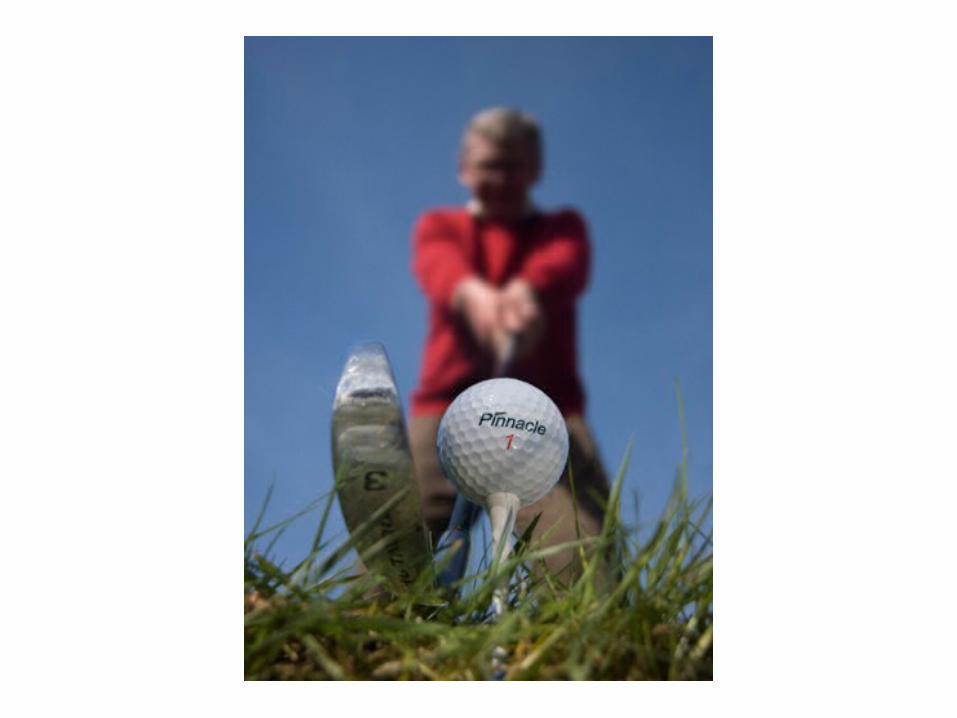
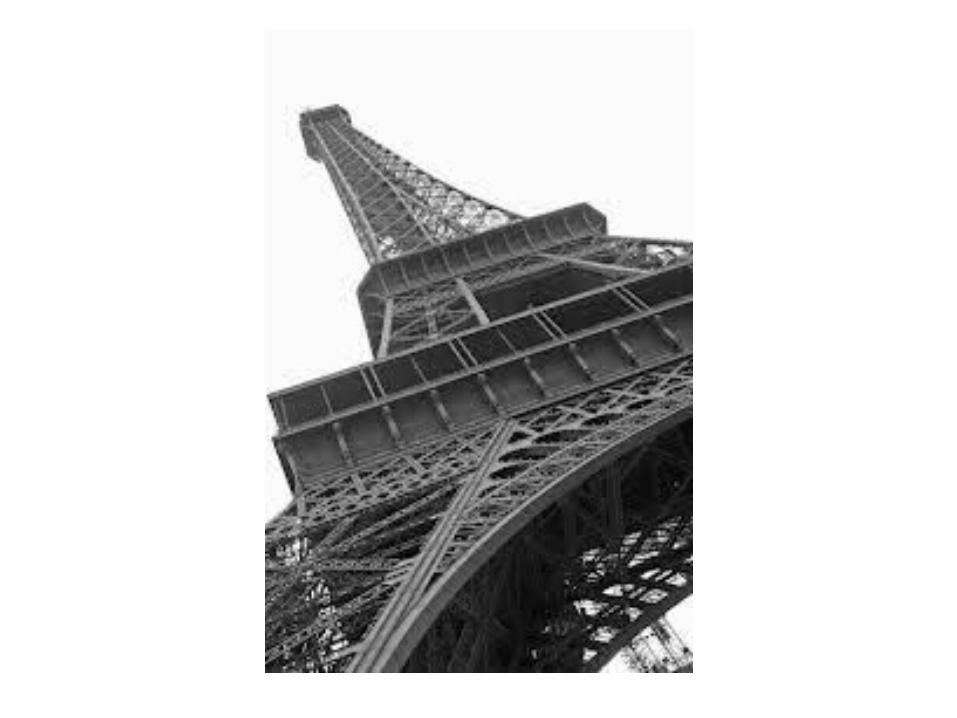
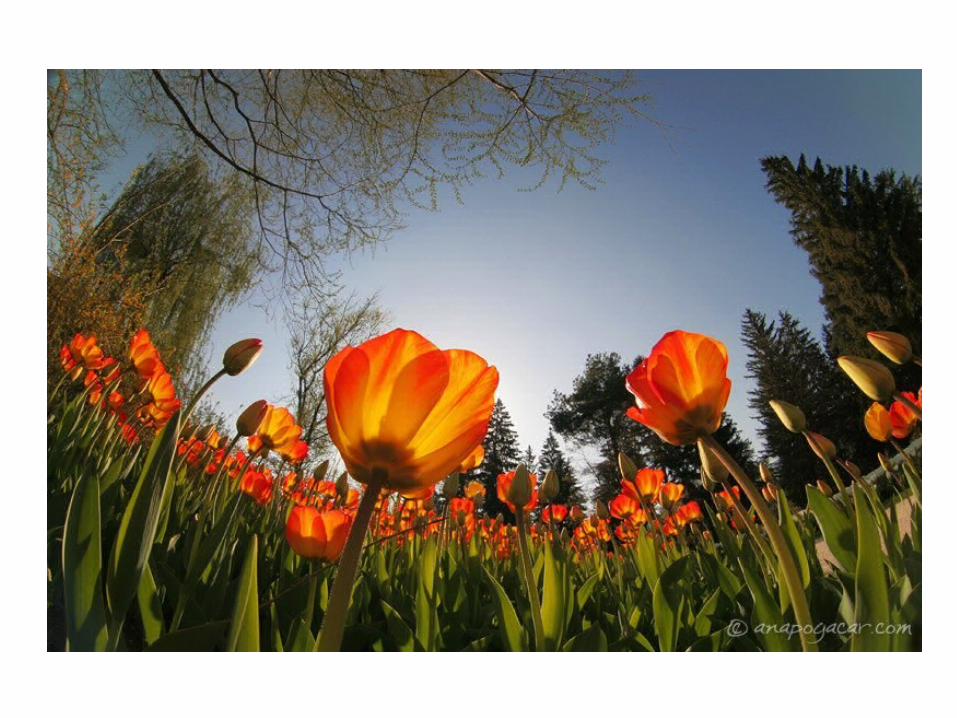
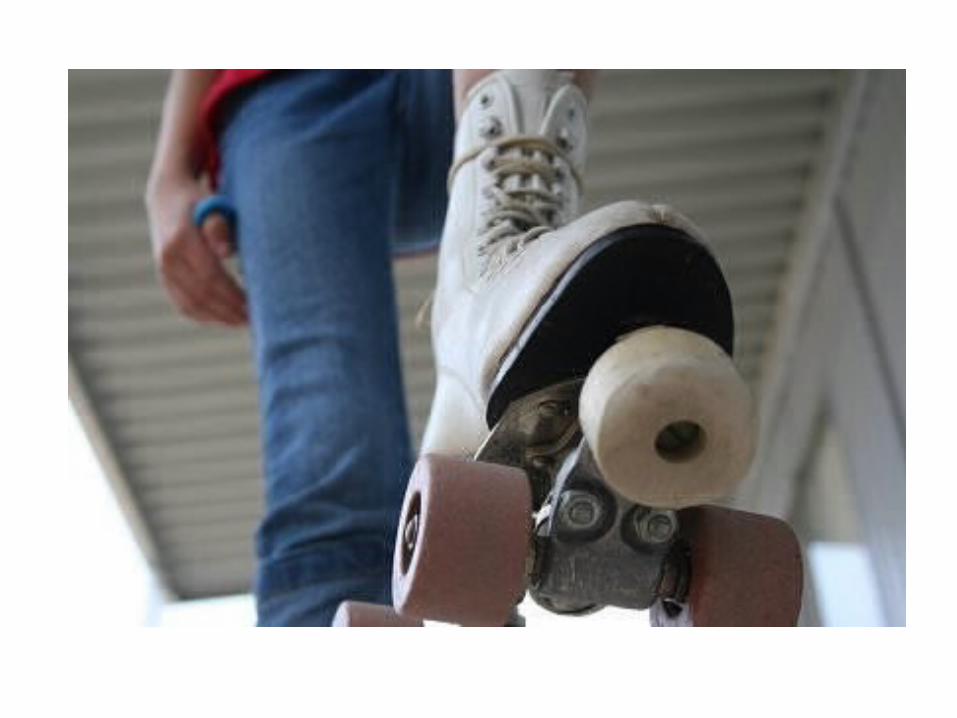
Worm’s Eye View: Viewer is looking UP at the subject

http://photofocus.com/2009/11/30/25-photo-composition-tips/