Embed Size (px)
Citation preview
About Prezi
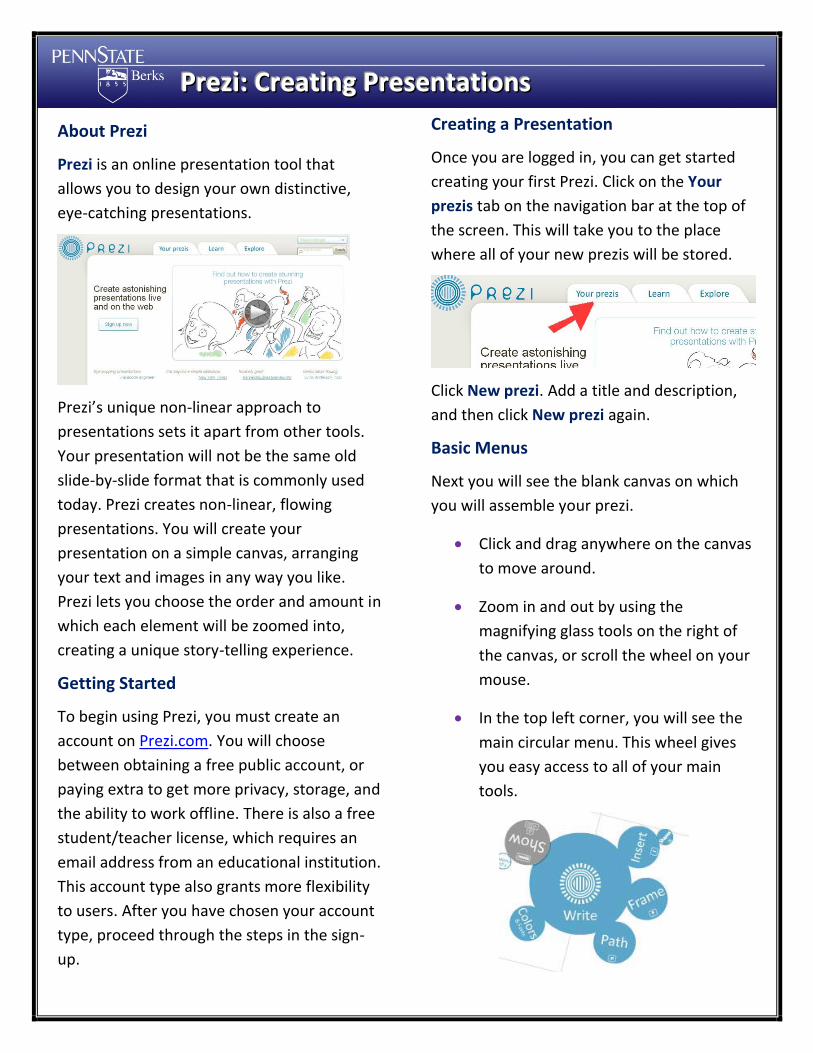
Prezi is an online presentation tool that
allows you to design your own distinctive,
eye-catching presentations.
Prezi’s unique non-linear approach to
presentations sets it apart from other tools.
Your presentation will not be the same old
slide-by-slide format that is commonly used
today. Prezi creates non-linear, flowing
presentations. You will create your
presentation on a simple canvas, arranging
your text and images in any way you like.
Prezi lets you choose the order and amount in
which each element will be zoomed into,
creating a unique story-telling experience.
Getting Started
To begin using Prezi, you must create an
account on Prezi.com. You will choose
between obtaining a free public account, or
paying extra to get more privacy, storage, and
the ability to work offline. There is also a free
student/teacher license, which requires an
email address from an educational institution.
This account type also grants more flexibility
to users. After you have chosen your account
type, proceed through the steps in the sign-
up.
Creating a Presentation
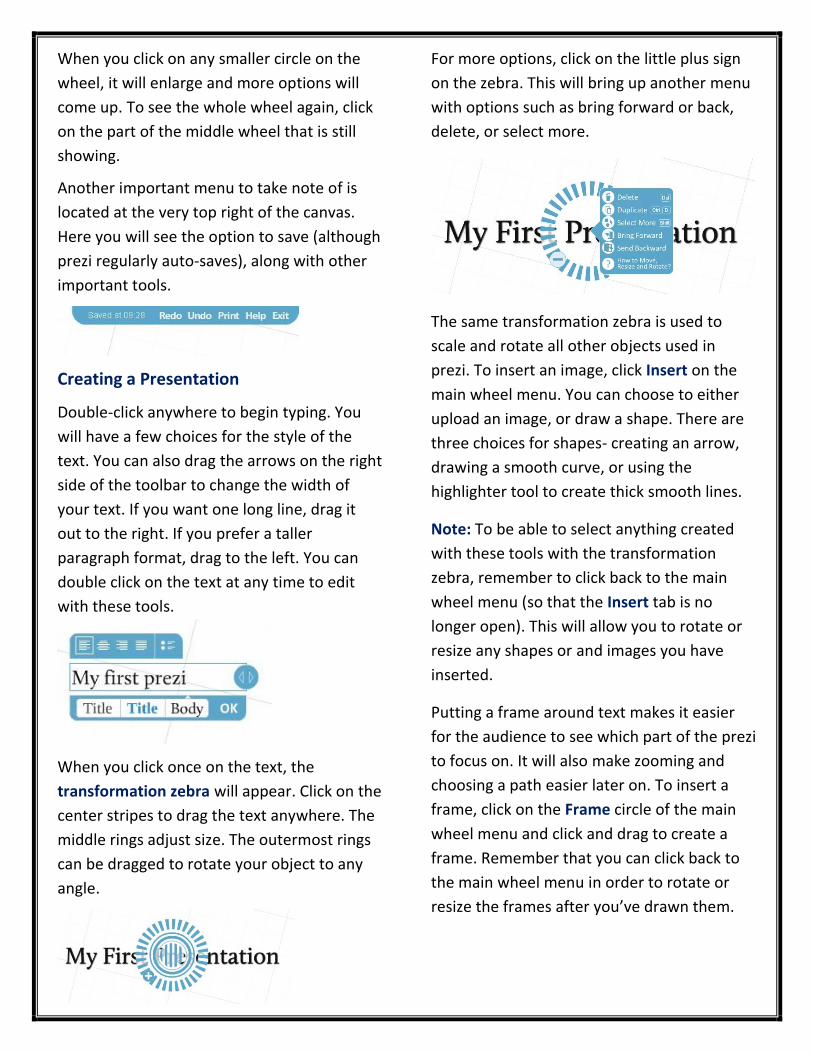
Once you are logged in, you can get started
creating your first Prezi. Click on the Your
prezis tab on the navigation bar at the top of
the screen. This will take you to the place
where all of your new prezis will be stored.
Click New prezi. Add a title and description,
and then click New prezi again.
Basic Menus
Next you will see the blank canvas on which
you will assemble your prezi.
Click and drag anywhere on the canvas
to move around.
Zoom in and out by using the
magnifying glass tools on the right of
the canvas, or scroll the wheel on your
mouse.
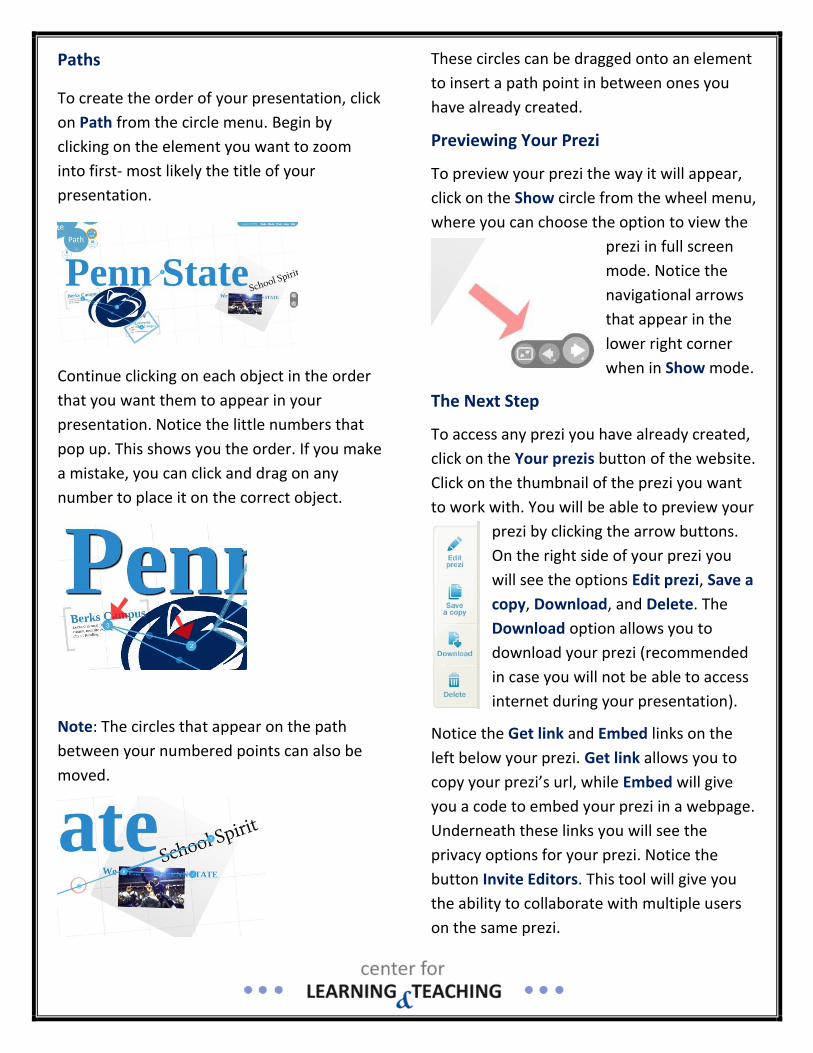
In the top left corner, you will see the
main circular menu. This wheel gives
you easy access to all of your main
tools.
PPPrrreeezzziii::: CCCrrreeeaaatttiiinnnggg PPPrrreeessseeennntttaaatttiiiooonnnsss
When you click on any smaller circle on the
wheel, it will enlarge and more options will
come up. To see the whole wheel again, click
on the part of the middle wheel that is still
showing.
Another important menu to take note of is
located at the very top right of the canvas.
Here you will see the option to save (although
prezi regularly auto-saves), along with other
important tools.
Creating a Presentation
Double-click anywhere to begin typing. You
will have a few choices for the style of the
text. You can also drag the arrows on the right
side of the toolbar to change the width of
your text. If you want one long line, drag it
out to the right. If you prefer a taller
paragraph format, drag to the left. You can
double click on the text at any time to edit
with these tools.
When you click once on the text, the
transformation zebra will appear. Click on the
center stripes to drag the text anywhere. The
middle rings adjust size. The outermost rings
can be dragged to rotate your object to any
angle.
For more options, click on the little plus sign
on the zebra. This will bring up another menu
with options such as bring forward or back,
delete, or select more.
The same transformation zebra is used to
scale and rotate all other objects used in
prezi. To insert an image, click Insert on the
main wheel menu. You can choose to either
upload an image, or draw a shape. There are
three choices for shapes- creating an arrow,
drawing a smooth curve, or using the
highlighter tool to create thick smooth lines.
Note: To be able to select anything created
with these tools with the transformation
zebra, remember to click back to the main
wheel menu (so that the Insert tab is no
longer open). This will allow you to rotate or
resize any shapes or and images you have
inserted.
Putting a frame around text makes it easier
for the audience to see which part of the prezi
to focus on. It will also make zooming and
choosing a path easier later on. To insert a
frame, click on the Frame circle of the main
wheel menu and click and drag to create a
frame. Remember that you can click back to
the main wheel menu in order to rotate or
resize the frames after you’ve drawn them.
Paths
To create the order of your presentation, click
on Path from the circle menu. Begin by
clicking on the element you want to zoom
into first- most likely the title of your
presentation.
Continue clicking on each object in the order
that you want them to appear in your
presentation. Notice the little numbers that
pop up. This shows you the order. If you make
a mistake, you can click and drag on any
number to place it on the correct object.
Note: The circles that appear on the path
between your numbered points can also be
moved.
These circles can be dragged onto an element
to insert a path point in between ones you
have already created.
Previewing Your Prezi
To preview your prezi the way it will appear,
click on the Show circle from the wheel menu,
where you can choose the option to view the
prezi in full screen
mode. Notice the
navigational arrows
that appear in the
lower right corner
when in Show mode.
The Next Step
To access any prezi you have already created,
click on the Your prezis button of the website.
Click on the thumbnail of the prezi you want
to work with. You will be able to preview your
prezi by clicking the arrow buttons.
On the right side of your prezi you
will see the options Edit prezi, Save a
copy, Download, and Delete. The
Download option allows you to
download your prezi (recommended
in case you will not be able to access
internet during your presentation).
Notice the Get link and Embed links on the
left below your prezi. Get link allows you to
copy your prezi’s url, while Embed will give
you a code to embed your prezi in a webpage.
Underneath these links you will see the
privacy options for your prezi. Notice the
button Invite Editors. This tool will give you
the ability to collaborate with multiple users
on the same prezi.