Embed Size (px)
Citation preview

Welcome to Principles of
Composition
How to shoot like a pro…
Remember…
Cameras don’t shoot good
pictures, people do!
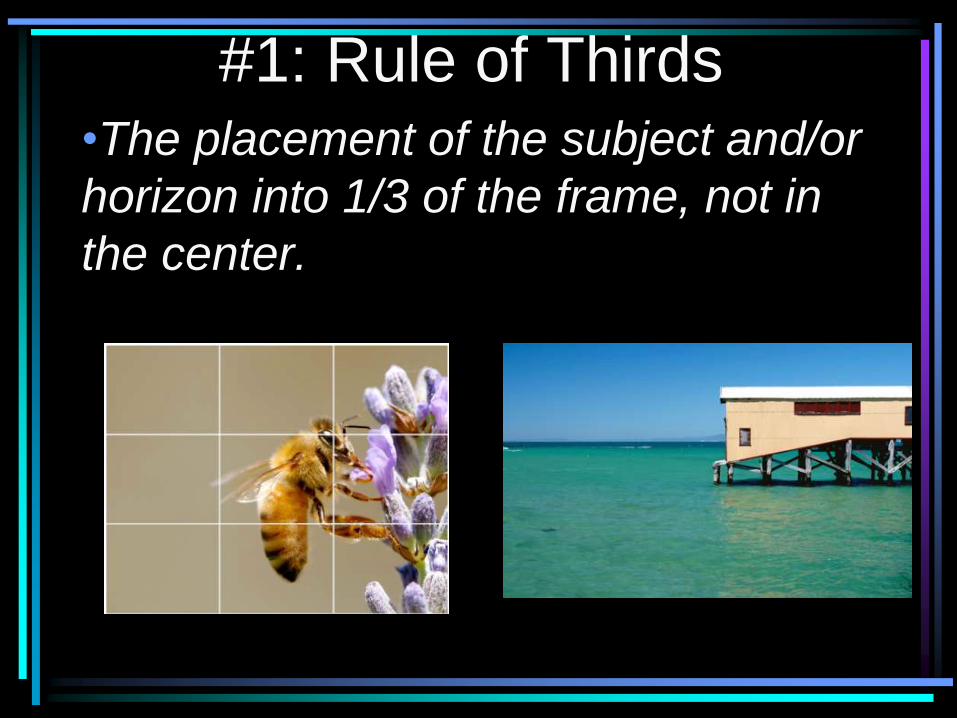
#1: Rule of Thirds•The placement of the subject and/or
horizon into 1/3 of the frame, not in
the center.
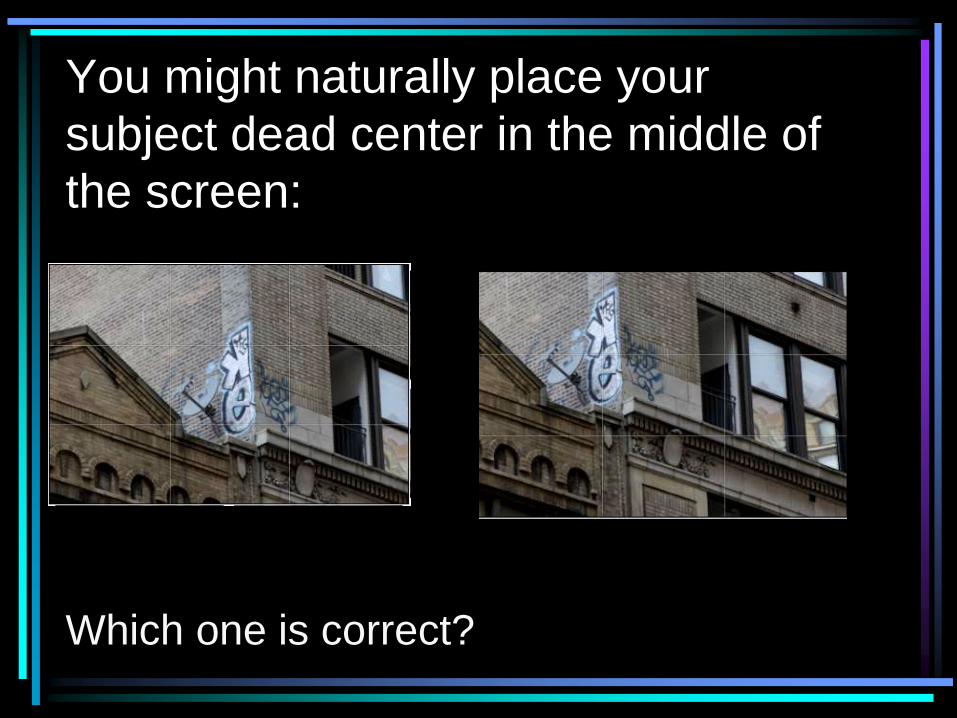
You might naturally place your
subject dead center in the middle of
the screen:
Which one is correct?
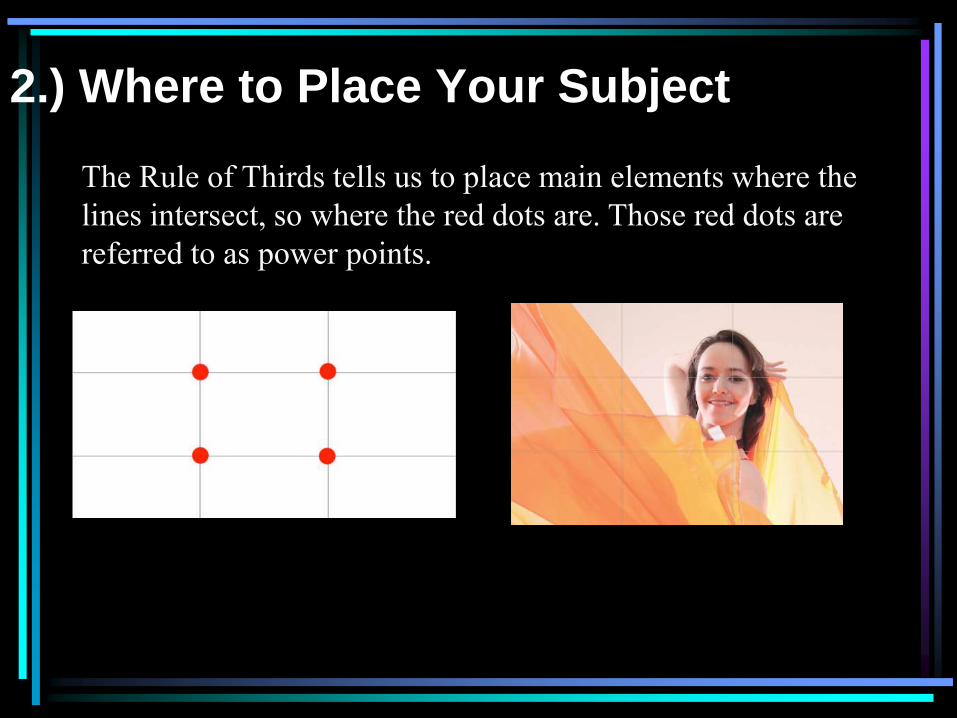
2.) Where to Place Your Subject
The Rule of Thirds tells us to place main elements where the
lines intersect, so where the red dots are. Those red dots are
referred to as power points.

• Now, in 10 minutes and using the area
around the student center…..
• -Take atleast 1 photo using the RULE
OF THIRDS!
• -Save the photo in IPHOTO and label
Rule of Thirds. I will come around and
check this during class today!
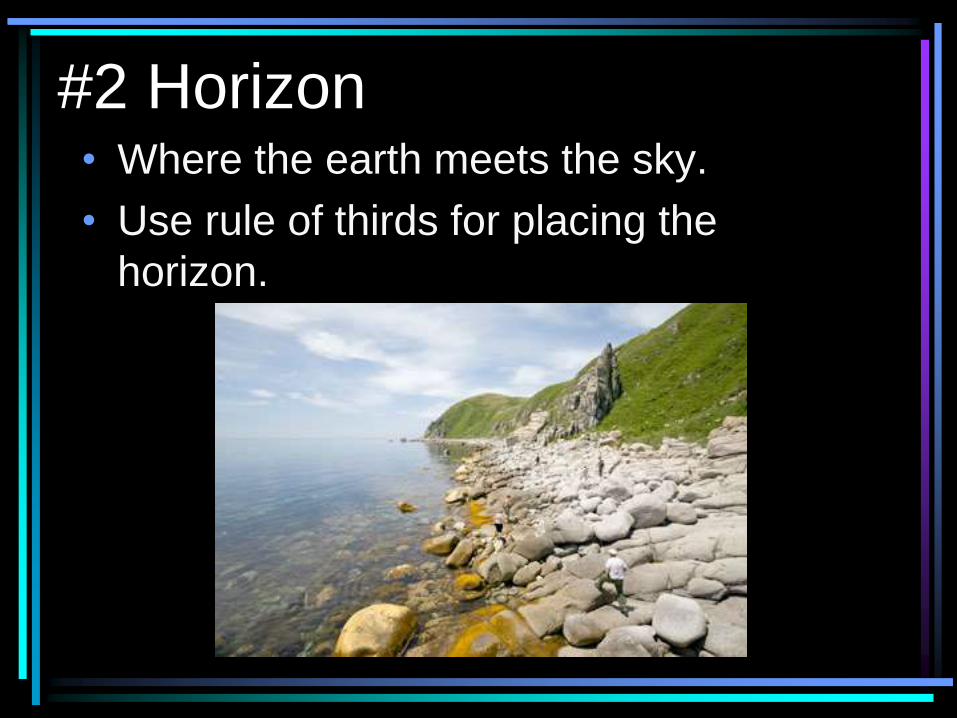
#2 Horizon• Where the earth meets the sky.
• Use rule of thirds for placing the
horizon.
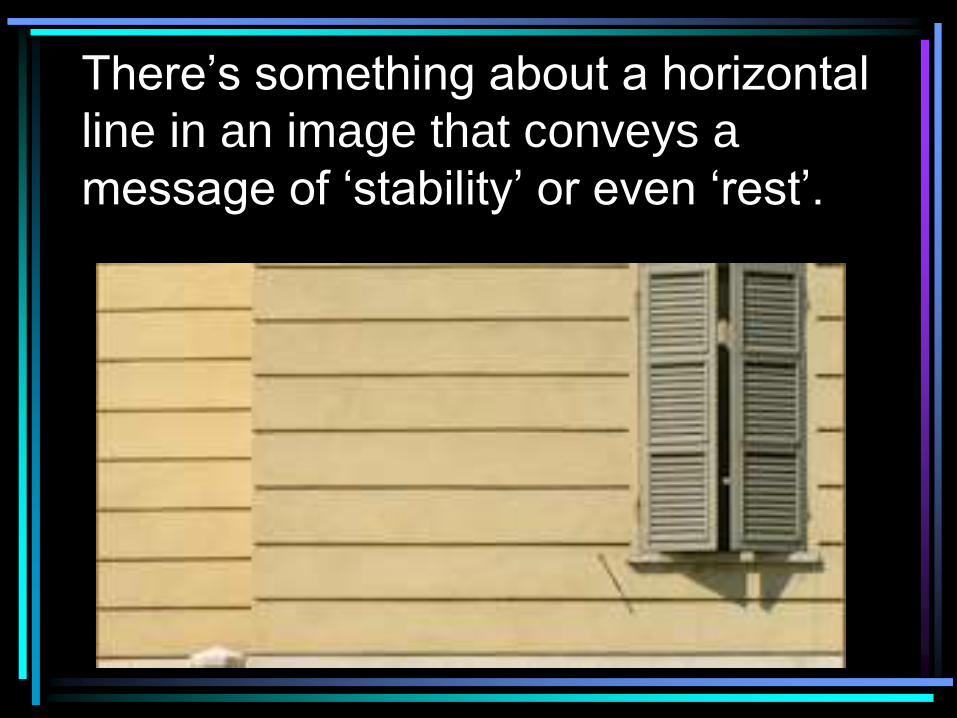
There’s something about a horizontal
line in an image that conveys a
message of ‘stability’ or even ‘rest’.
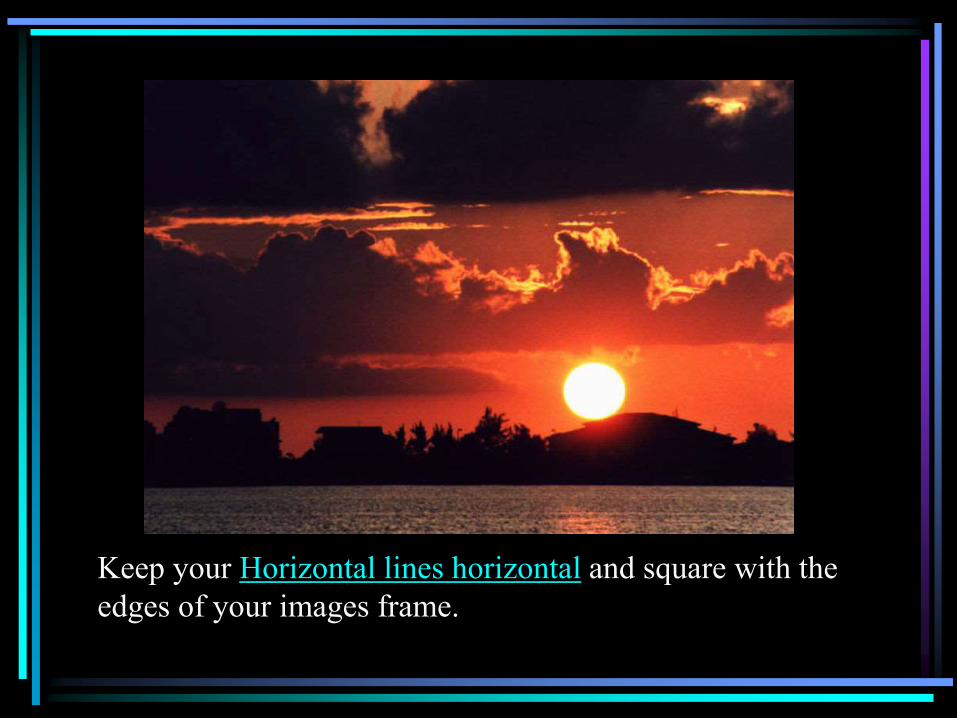
Keep your Horizontal lines horizontal and square with the
edges of your images frame.
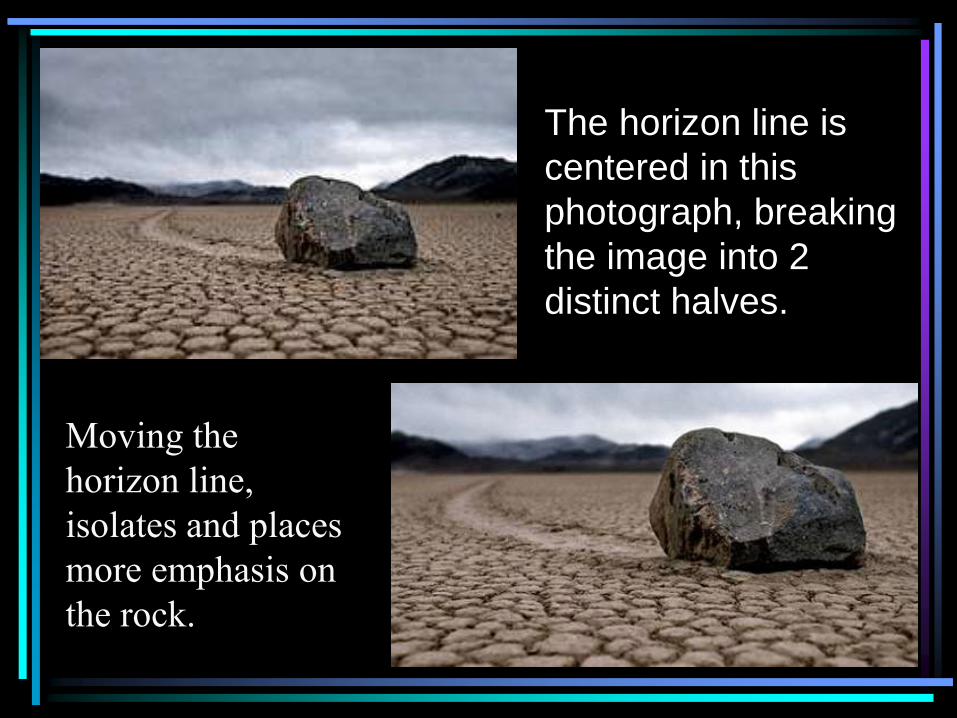
The horizon line is
centered in this
photograph, breaking
the image into 2
distinct halves.
Moving the
horizon line,
isolates and places
more emphasis on
the rock.
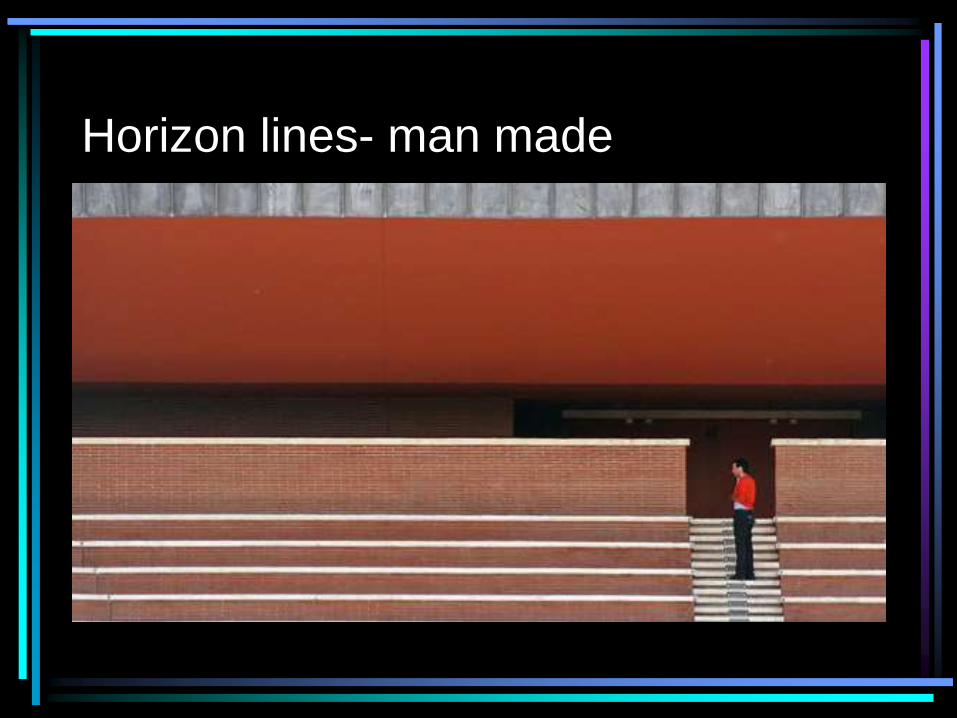
Horizon lines- man made
• Now, in 10 minutes and using the area
around the grotto…..BE very quiet
• -Take atleast 1 photo establishing a
horizon line.
• -Save the photo in IPHOTO and label
Rule of Thirds. I will come around and
check this & rule of thirds during class
today!
#3 Background
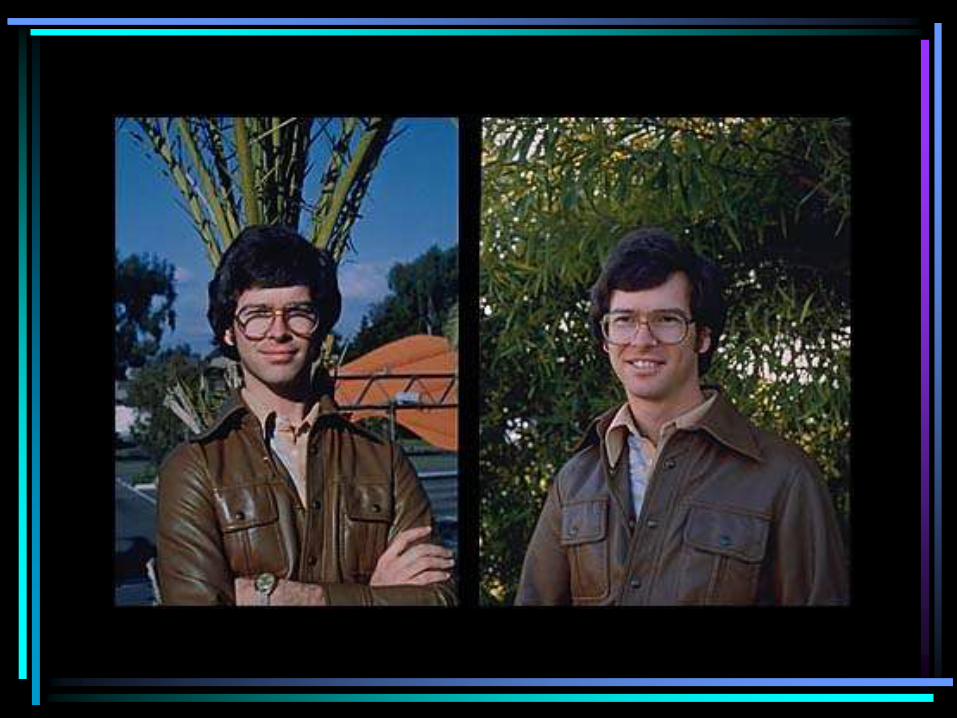
• The area behind the subject; it generally
gives information on the subject.
• Check to make sure the background is
not too busy.
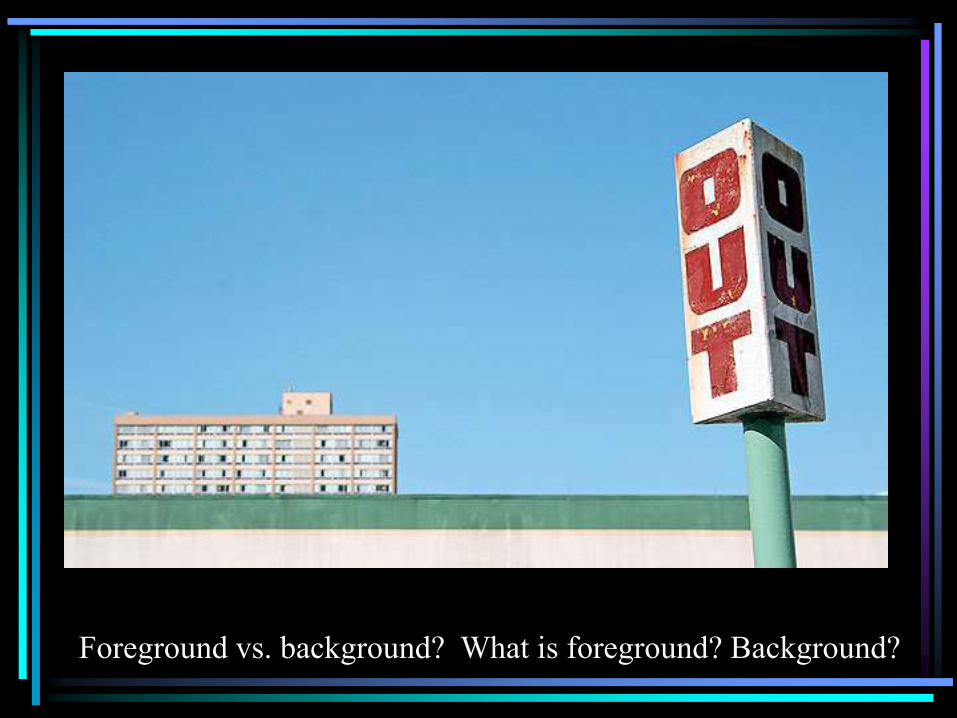
Foreground vs. background? What is foreground? Background?
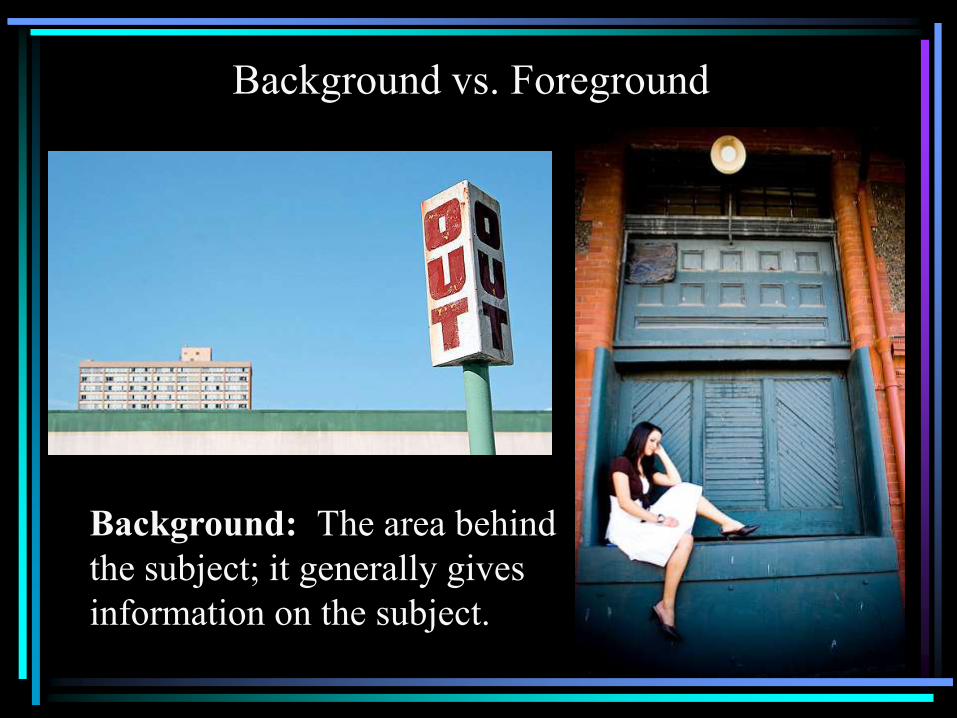
Background vs. Foreground
Background: The area behind
the subject; it generally gives
information on the subject.
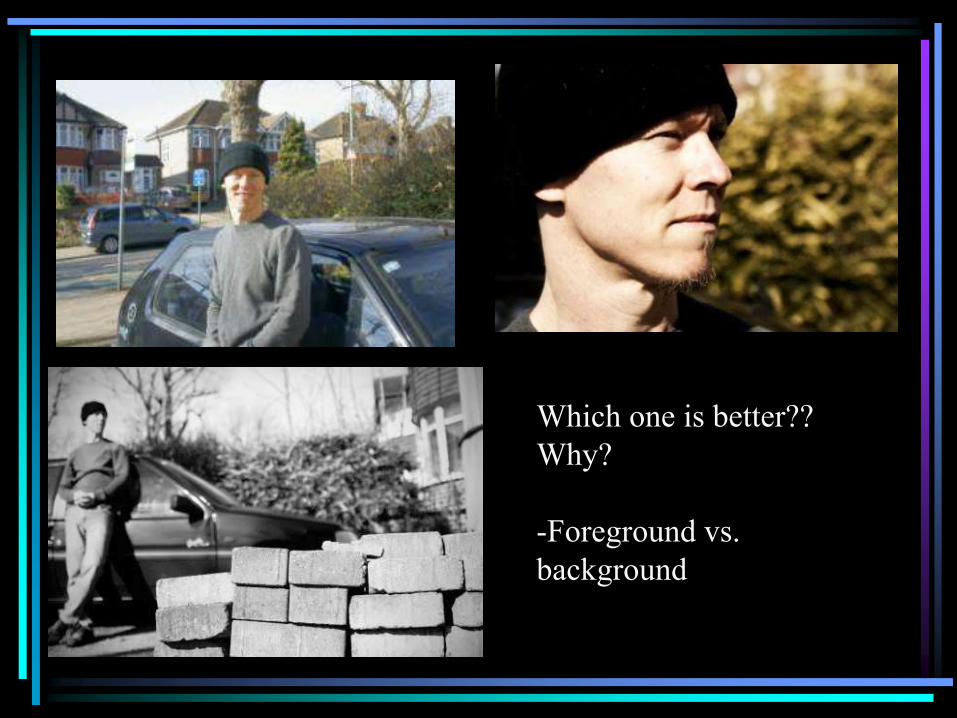
Which one is better??
Why?
-Foreground vs.
background


Now, in 10 minutes and using the area around the student
center…..BE very quiet Take at least 1 photo establishing a
background
1. Save the photo in IPHOTO and label background
2. I have decided not to use flickr in class since it has a limit on the
number of photos you can upload.
3. We will be storing your photos in GROUP R- Digital
Photography-Nelson
-NAME YOUR BACKGROUND FILE:
last name first initial_ background_08_21_12
EX. bnelson_background_08_21_12
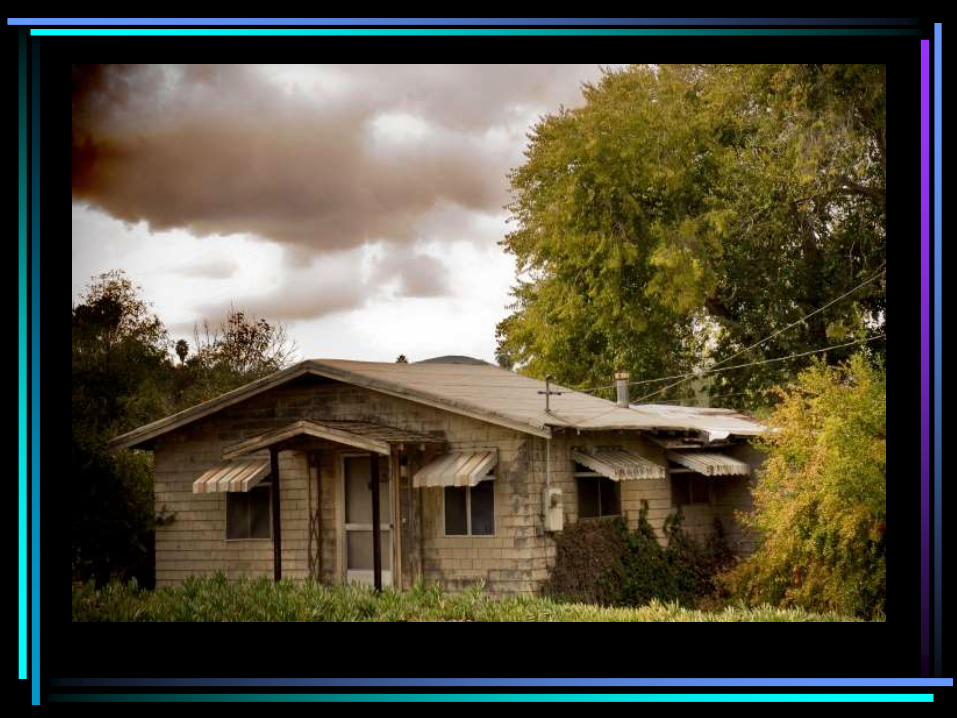
#4 Strong Center of Interest
or
FOCAL POINT
* This is when your eye goes
directly to a main subject.
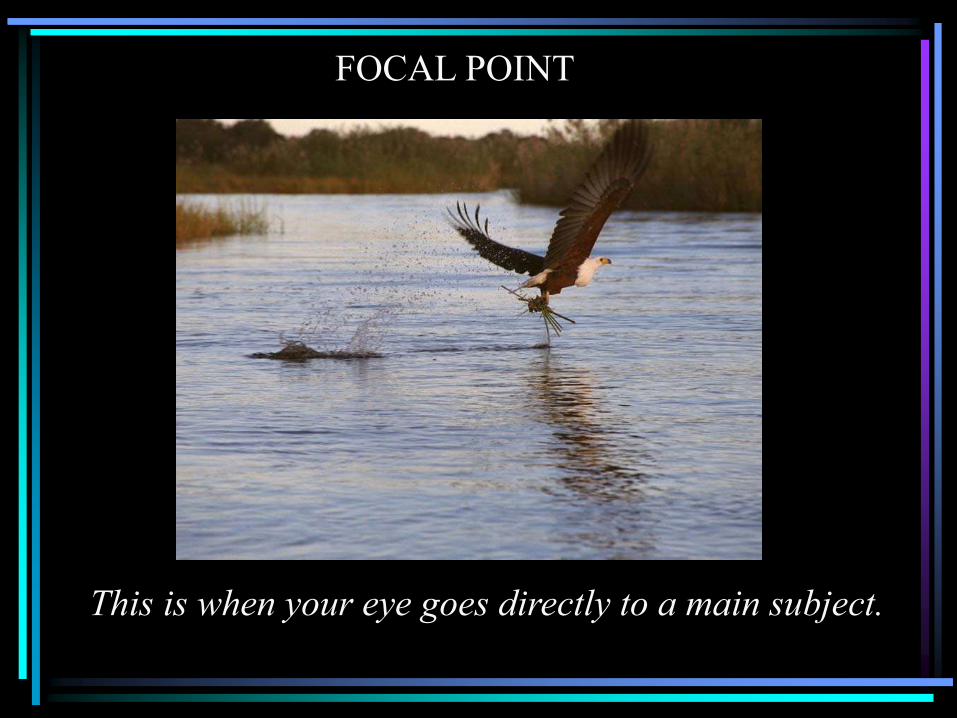
This is when your eye goes directly to a main subject.
FOCAL POINT


• Now, in 10 minutes and using the area
around the student center…..BE very
quiet Take at least 1 photo.
• Save the photo in IPHOTO and label
focal point.
• 3. Save your photo in GROUP R-
Digital Photography-Nelson• -NAME YOUR FILE:
last namefirstinitial _focalpoint_08_23_12.jpg
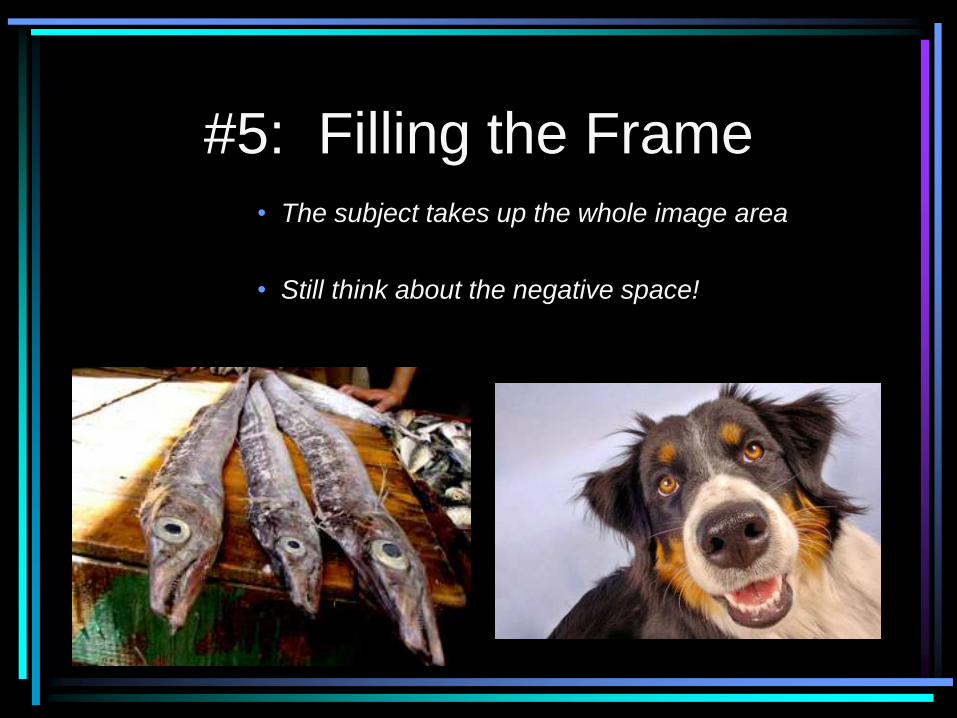
#5: Filling the Frame• The subject takes up the whole image area
• Still think about the negative space!
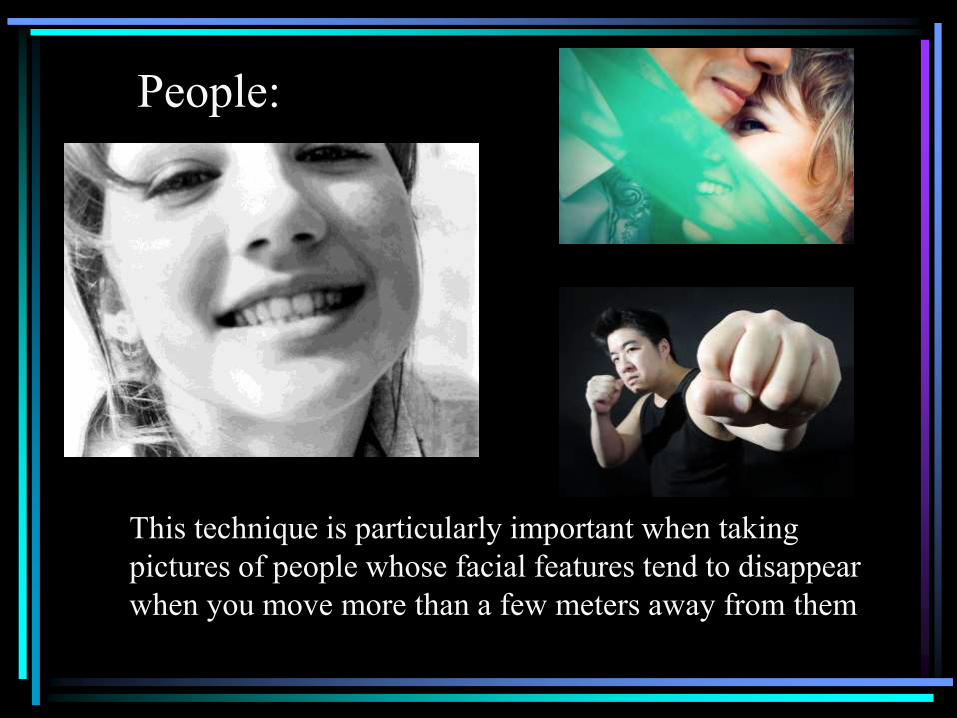
People:
This technique is particularly important when taking
pictures of people whose facial features tend to disappear
when you move more than a few meters away from them
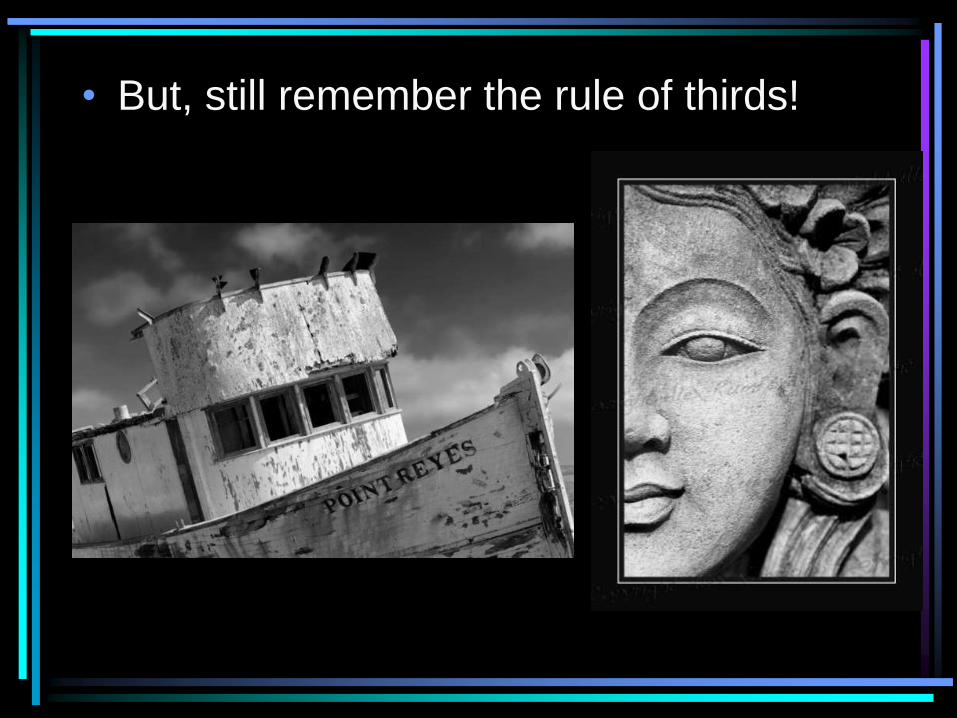
• But, still remember the rule of thirds!

It’s not always about Macro Photo’s though!
• Take the subject and make it the most
important part!
• Save as: bnelson_fill_09_12_12.jpg
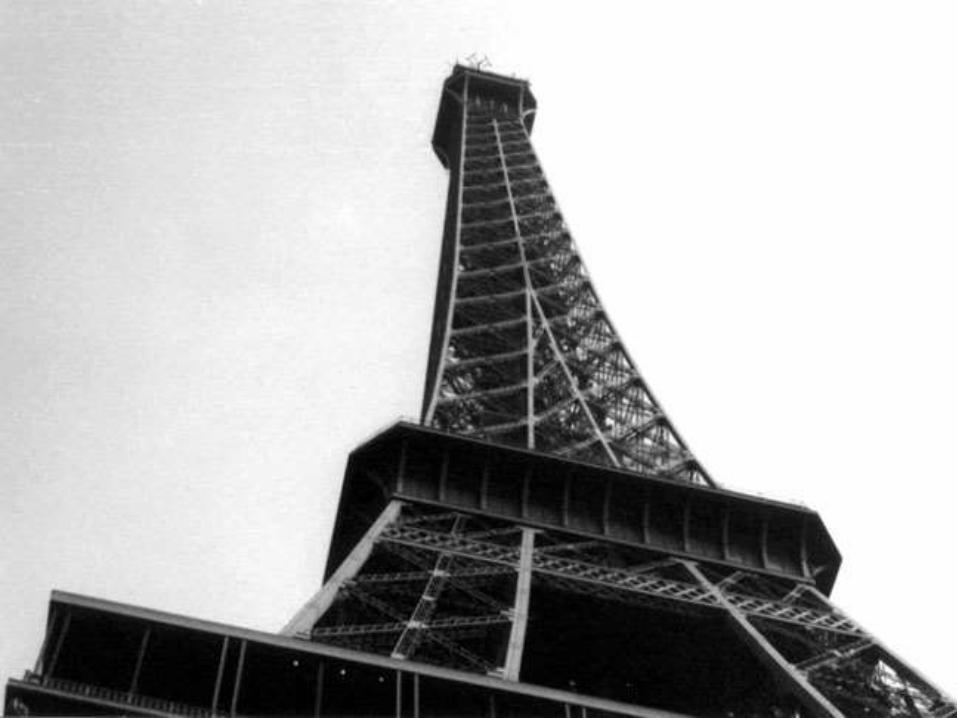
#6 Perspective/Point of View
* Change the angle between
the camera and the subject.
#7 Framing
• Using elements in the photograph to
create a border around the subject, thus
focusing attention to it.

#8 Leading Line
* A line that directs your eye
from foreground to background,
often directly to the subject.
Leading Line includes:
• Horizontal line - side to side
• Vertical line - up and down
• Diagonal line - corner to corner
• Remember to check lines in the picture to see if they work for your composition.
• Ask yourself, where do the lines in the picture move your eye?

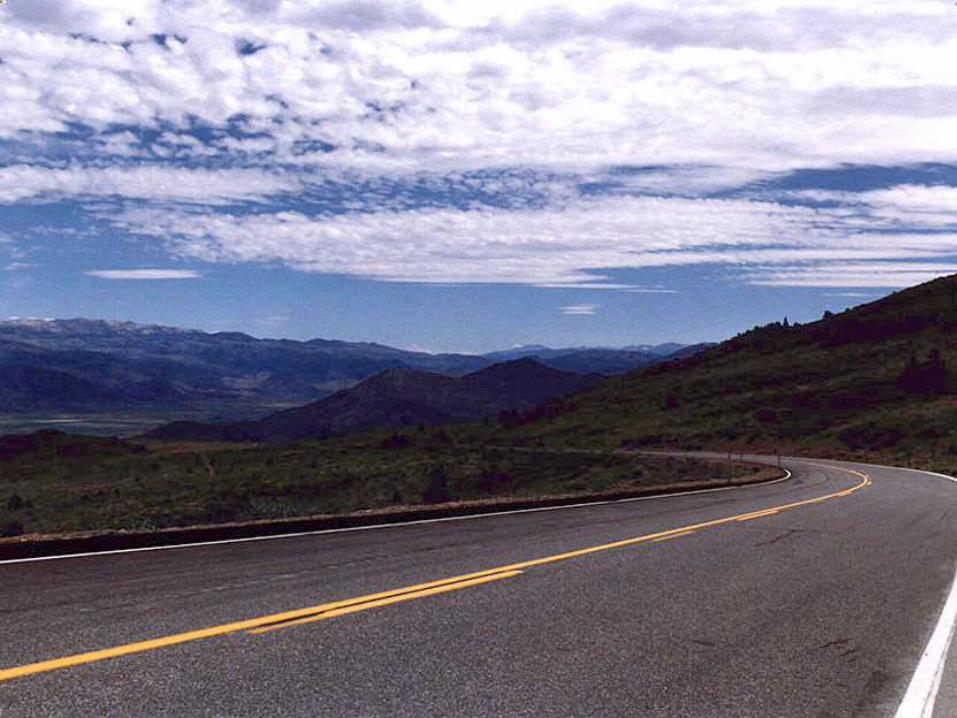
# 9: S-Curve
S-curve is soothing… Look for
winding roads or rivers or
even a tree branch.

#10: Form
• when an object appear 3 dimensional,
as though you could move around it
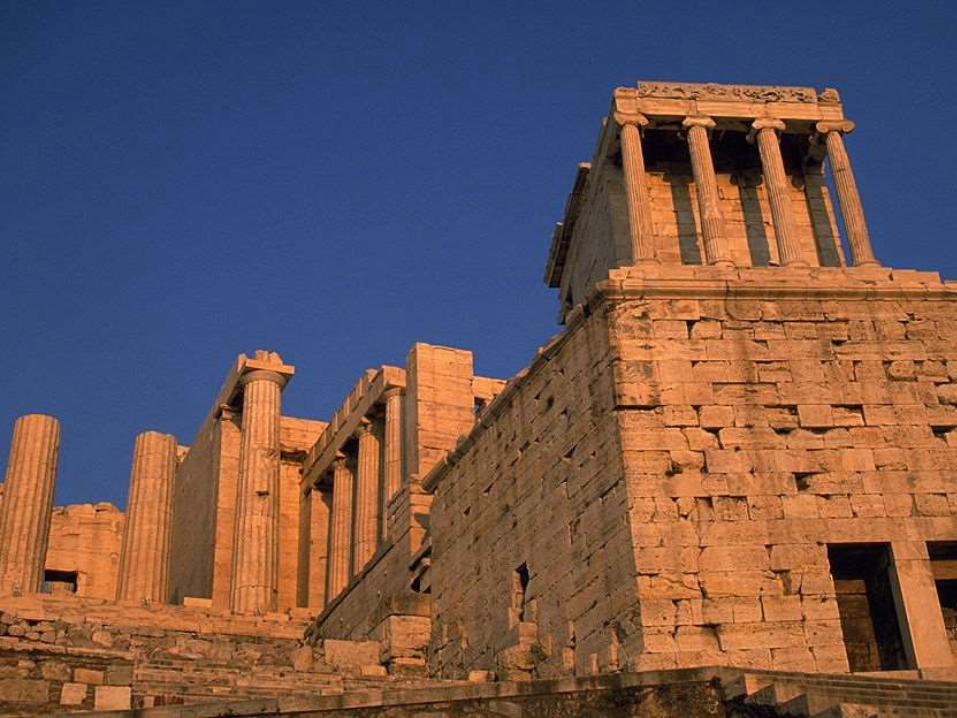

#11: Texture
•when an object looks as
though you could actually feel
the surface such as rough,
smooth, soft

#12: Pattern/Shape
• shape appears 2 dimensional,
flat. Pattern is the repetition of
shape.

#13: Color
*When color is the main purpose
of the photo. Bright colors are
used.