Embed Size (px)
Citation preview

Some Tips to cleaning your
Benelli SBE II
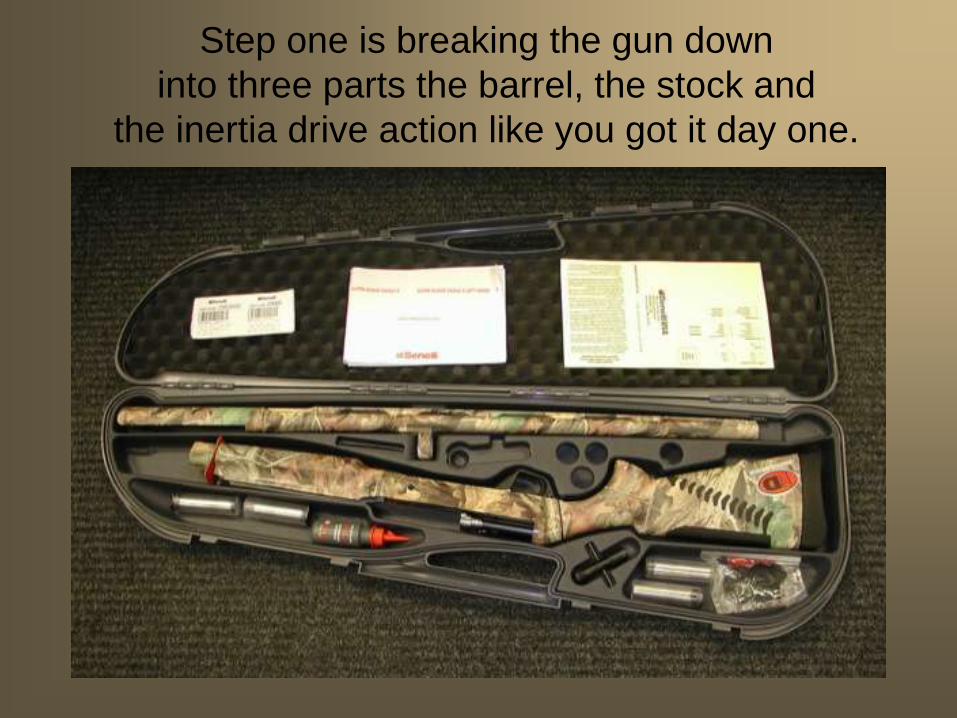
Step one is breaking the gun down
into three parts the barrel, the stock and
the inertia drive action like you got it day one.
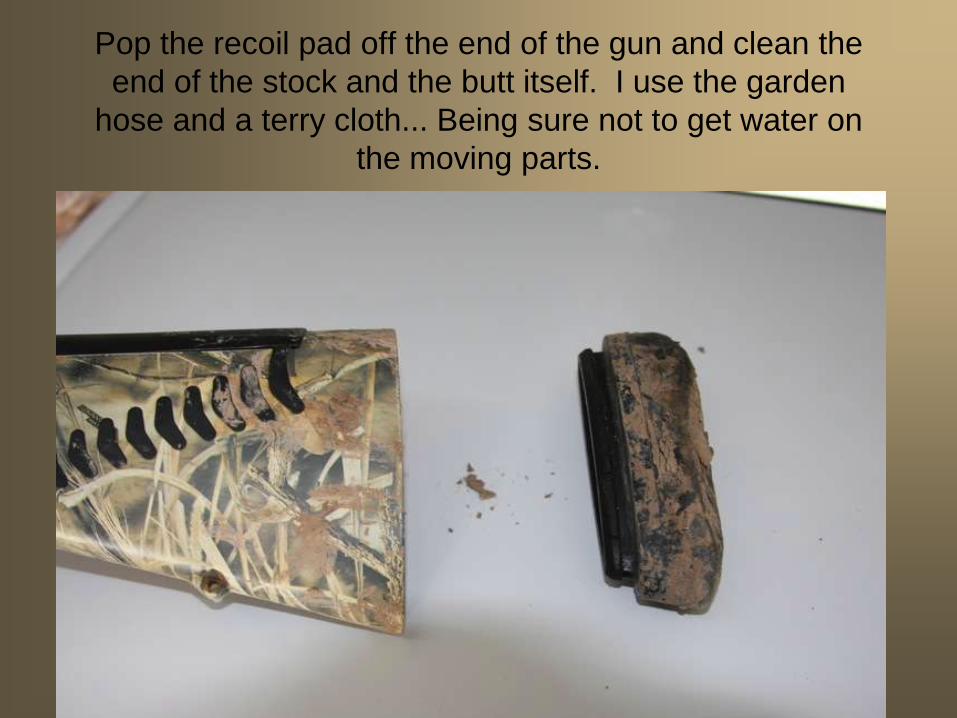
Pop the recoil pad off the end of the gun and clean the
end of the stock and the butt itself. I use the garden
hose and a terry cloth... Being sure not to get water on
the moving parts.
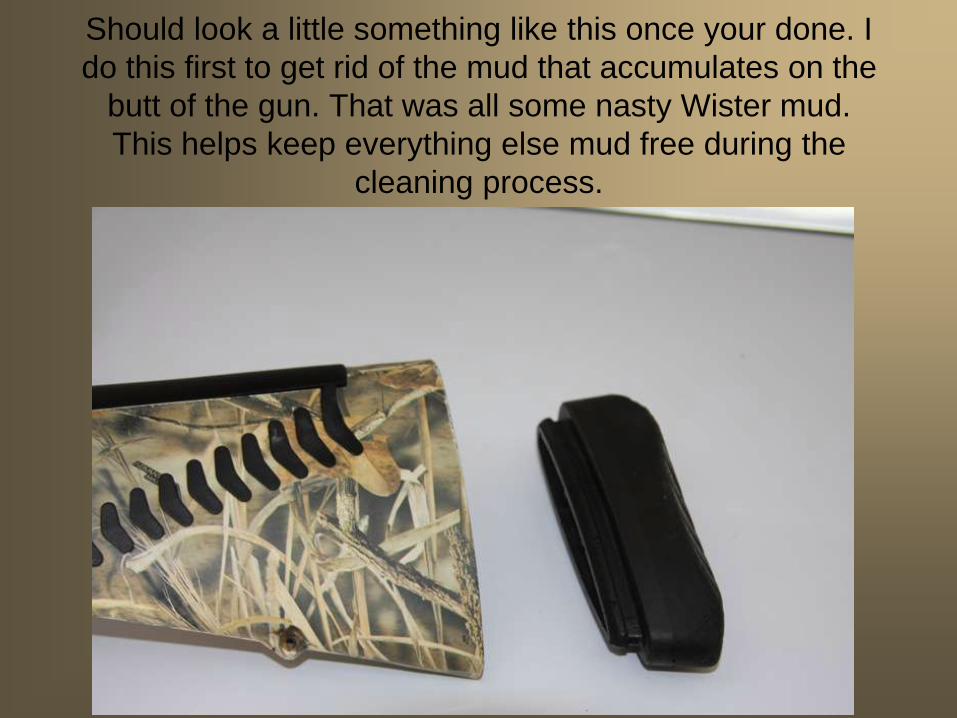
Should look a little something like this once your done. I
do this first to get rid of the mud that accumulates on the
butt of the gun. That was all some nasty Wister mud.
This helps keep everything else mud free during the
cleaning process.
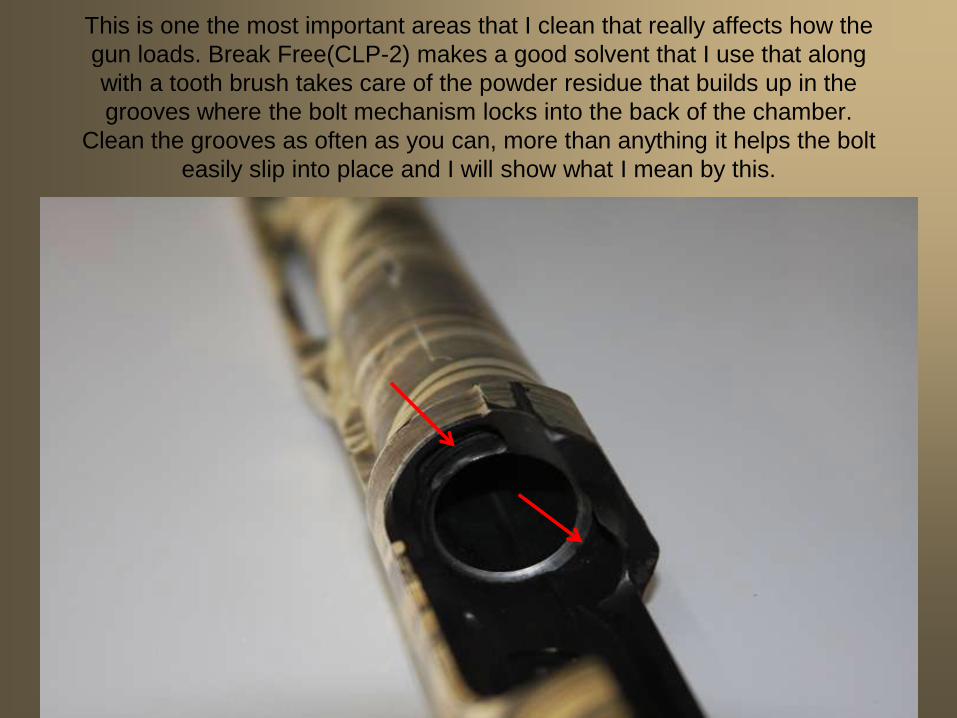
This is one the most important areas that I clean that really affects how the
gun loads. Break Free(CLP-2) makes a good solvent that I use that along
with a tooth brush takes care of the powder residue that builds up in the
grooves where the bolt mechanism locks into the back of the chamber.
Clean the grooves as often as you can, more than anything it helps the bolt
easily slip into place and I will show what I mean by this.
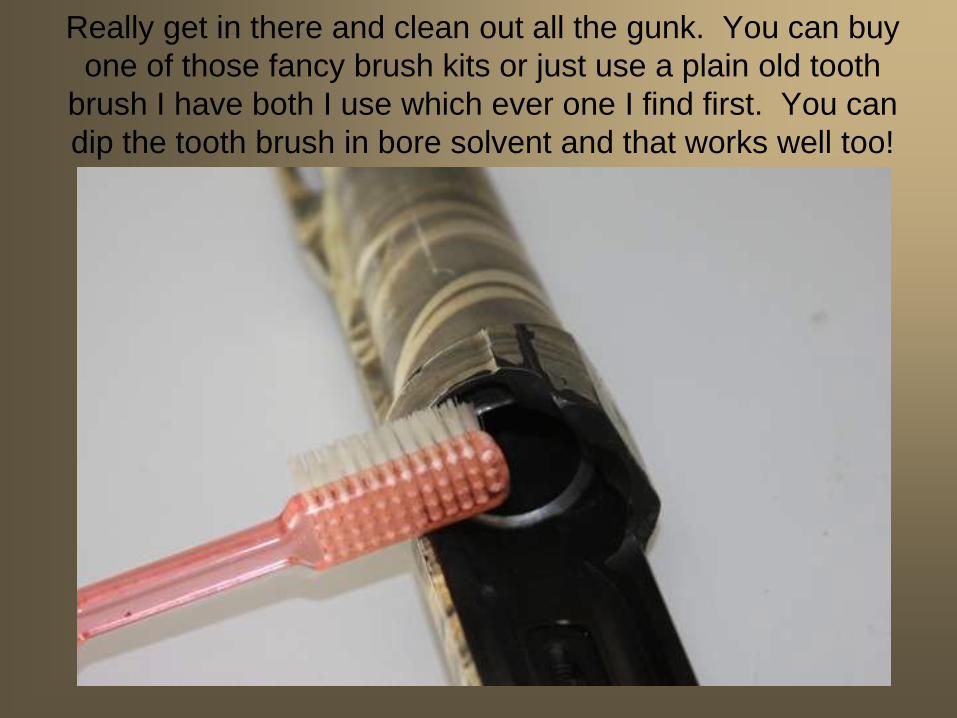
Really get in there and clean out all the gunk. You can buy
one of those fancy brush kits or just use a plain old tooth
brush I have both I use which ever one I find first. You can
dip the tooth brush in bore solvent and that works well too!
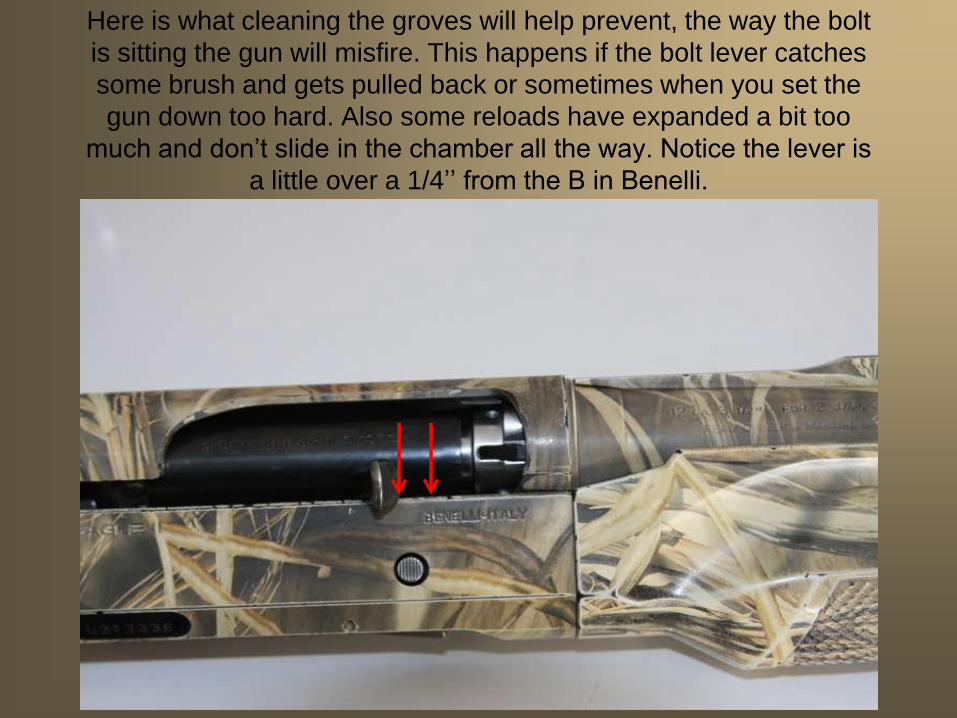
Here is what cleaning the groves will help prevent, the way the bolt
is sitting the gun will misfire. This happens if the bolt lever catches
some brush and gets pulled back or sometimes when you set the
gun down too hard. Also some reloads have expanded a bit too
much and don’t slide in the chamber all the way. Notice the lever is
a little over a 1/4’’ from the B in Benelli.
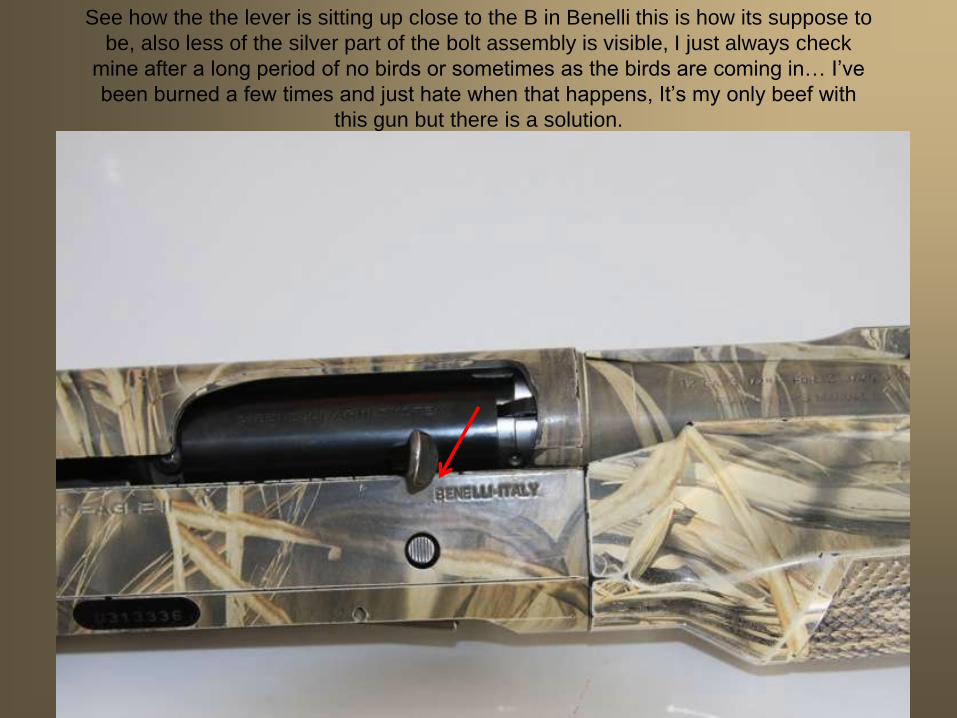
See how the the lever is sitting up close to the B in Benelli this is how its suppose to
be, also less of the silver part of the bolt assembly is visible, I just always check
mine after a long period of no birds or sometimes as the birds are coming in… I’ve
been burned a few times and just hate when that happens, It’s my only beef with
this gun but there is a solution.
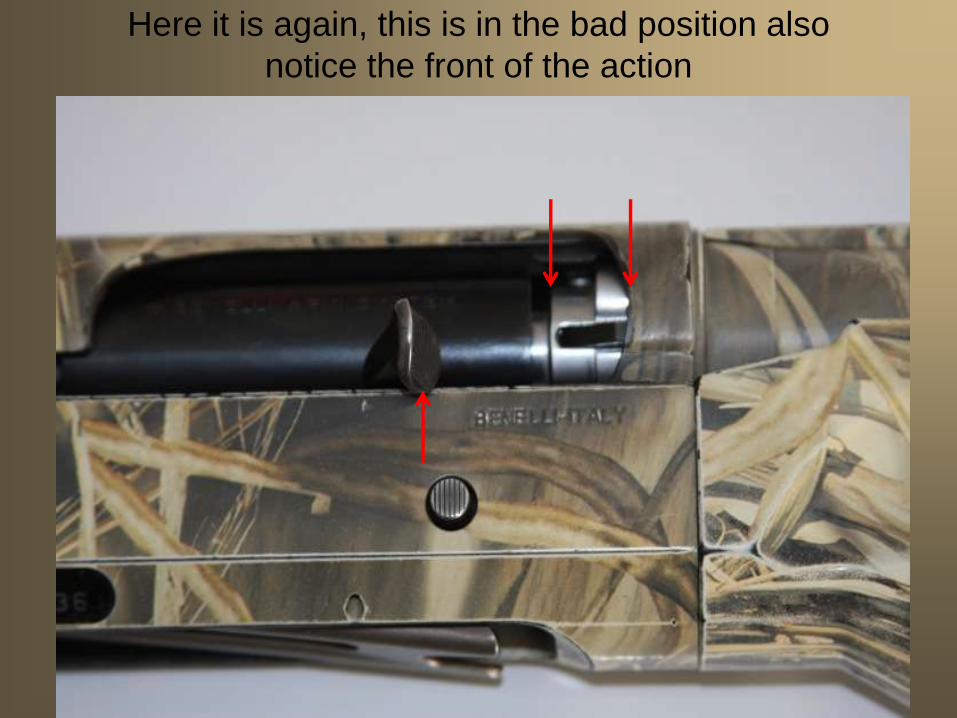
Here it is again, this is in the bad position also
notice the front of the action
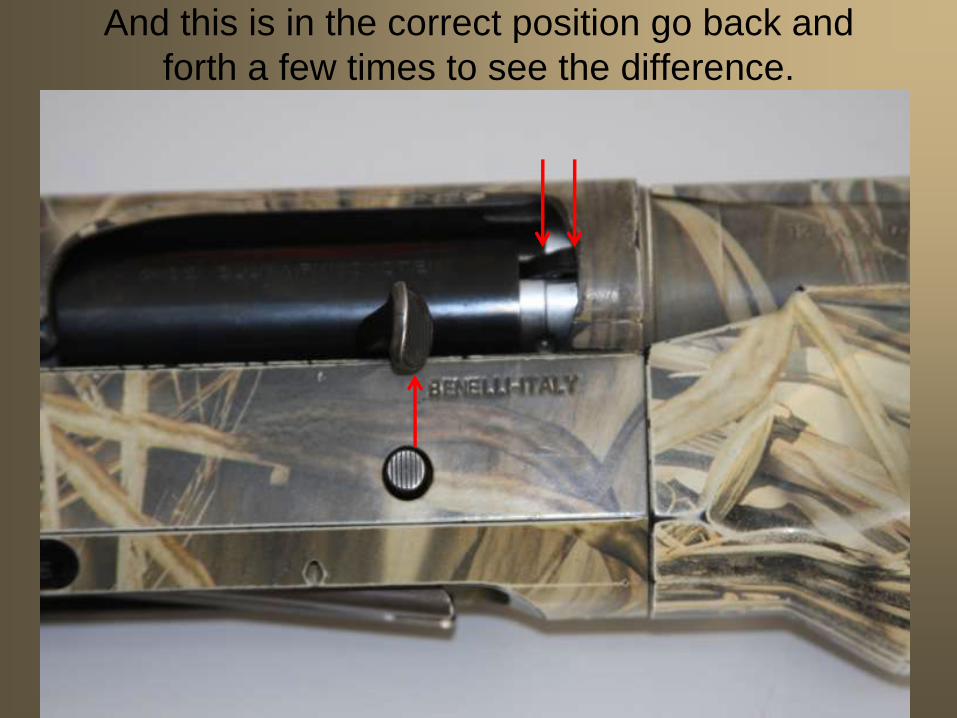
And this is in the correct position go back and
forth a few times to see the difference.

My buddy Phil fixed this problem by replacing
the factory spring in the stock of the gun with a
stiffer aftermarket spring. He said its around
$25 for both the spring in the stock and the
magazine feed spring. I asked and Phil said he
has no problem shooting light loads with the
conversion. I shoot absolutely every load with
my SBE II from 1 oz target loads to the Monster
3 1/2’’ turkey loads. I cycle 3-400 dove loads at
the range multiple times a year in the off season
and the gun never hiccups on me but I clean my
gun after every use using the steps I’m putting
forth here. I just decided to make the
conversion too for 25 bucks it’s a good
investment!
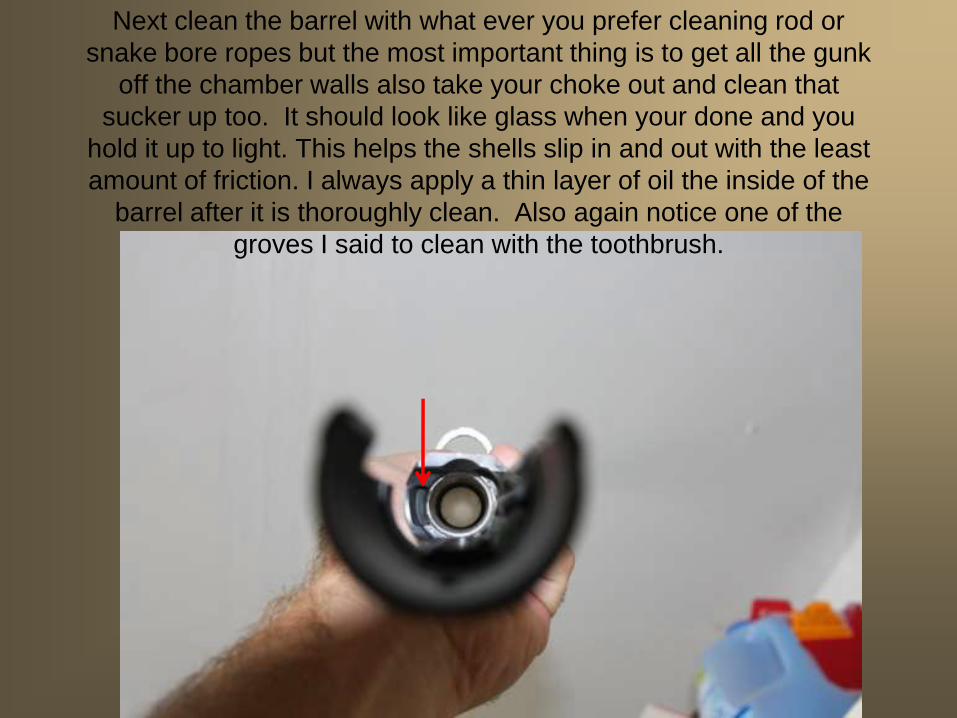
Next clean the barrel with what ever you prefer cleaning rod or
snake bore ropes but the most important thing is to get all the gunk
off the chamber walls also take your choke out and clean that
sucker up too. It should look like glass when your done and you
hold it up to light. This helps the shells slip in and out with the least
amount of friction. I always apply a thin layer of oil the inside of the
barrel after it is thoroughly clean. Also again notice one of the
groves I said to clean with the toothbrush.
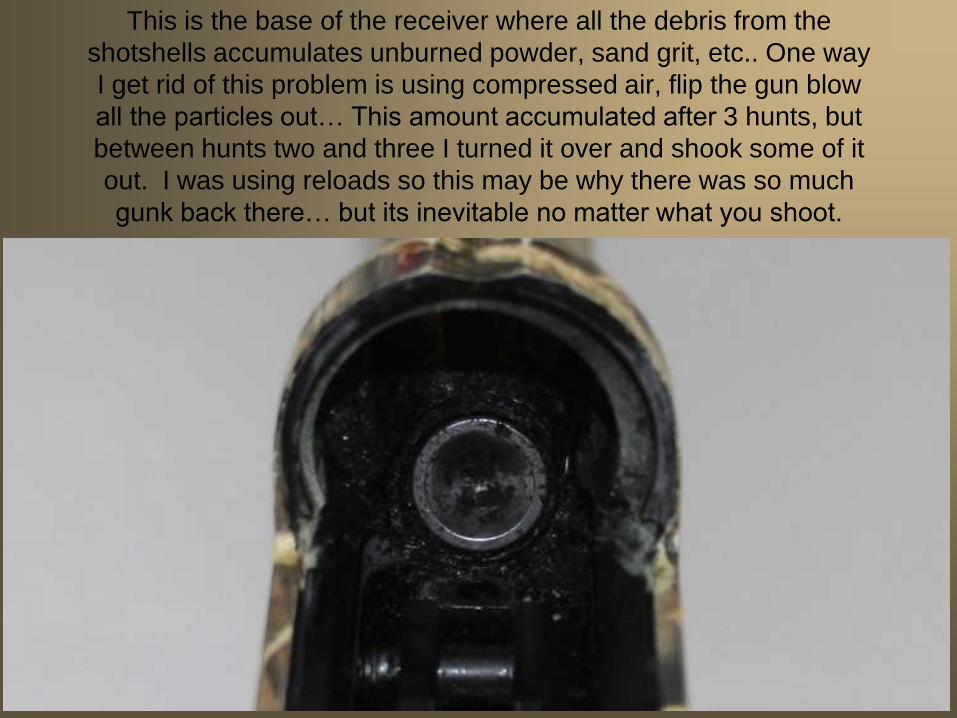
This is the base of the receiver where all the debris from the
shotshells accumulates unburned powder, sand grit, etc.. One way
I get rid of this problem is using compressed air, flip the gun blow
all the particles out… This amount accumulated after 3 hunts, but
between hunts two and three I turned it over and shook some of it
out. I was using reloads so this may be why there was so much
gunk back there… but its inevitable no matter what you shoot.
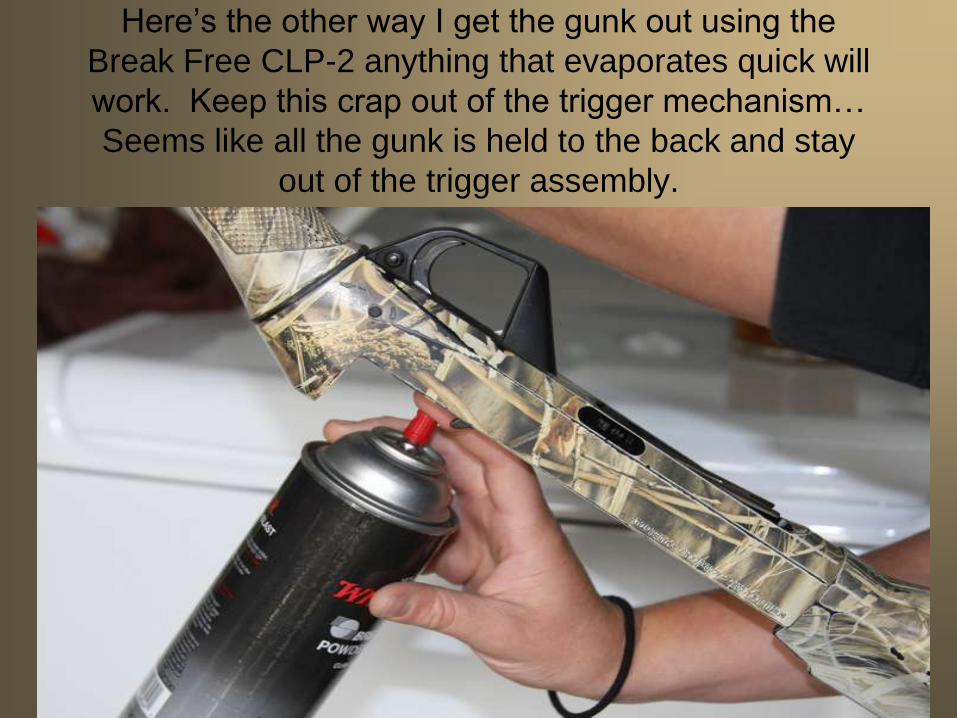
Here’s the other way I get the gunk out using the
Break Free CLP-2 anything that evaporates quick will
work. Keep this crap out of the trigger mechanism…
Seems like all the gunk is held to the back and stay
out of the trigger assembly.
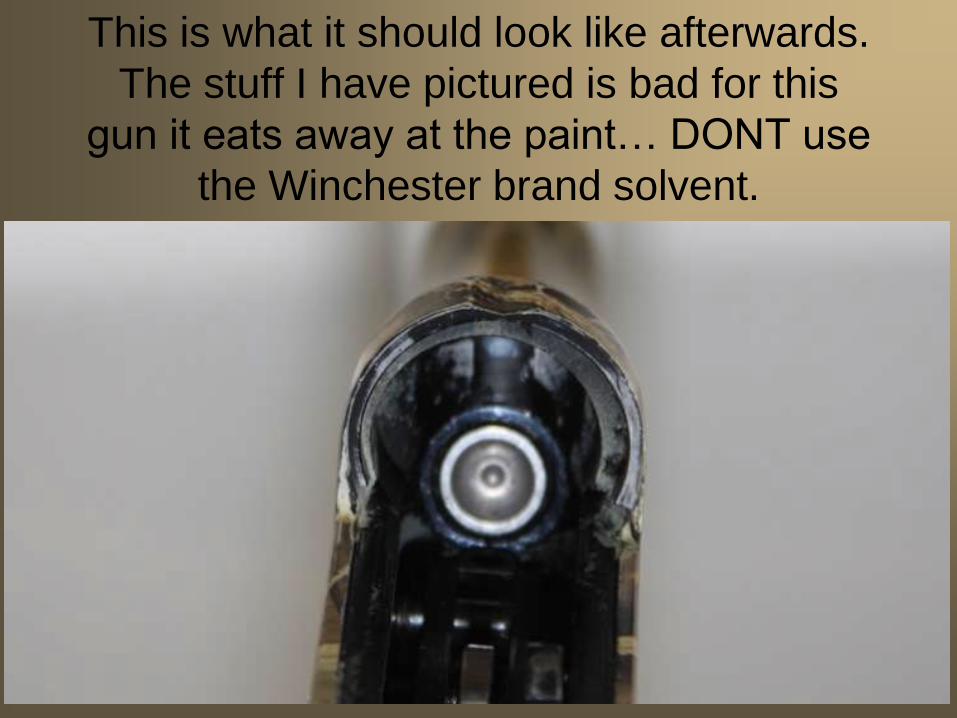
This is what it should look like afterwards.
The stuff I have pictured is bad for this
gun it eats away at the paint… DONT use
the Winchester brand solvent.
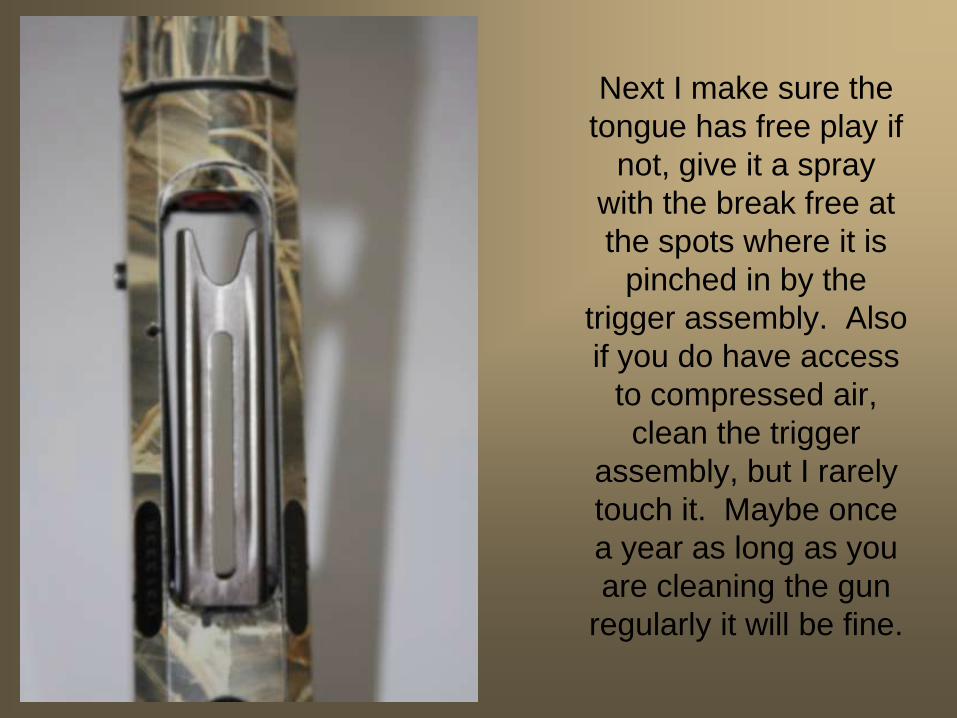
Next I make sure the
tongue has free play if
not, give it a spray
with the break free at
the spots where it is
pinched in by the
trigger assembly. Also
if you do have access
to compressed air,
clean the trigger
assembly, but I rarely
touch it. Maybe once
a year as long as you
are cleaning the gun
regularly it will be fine.
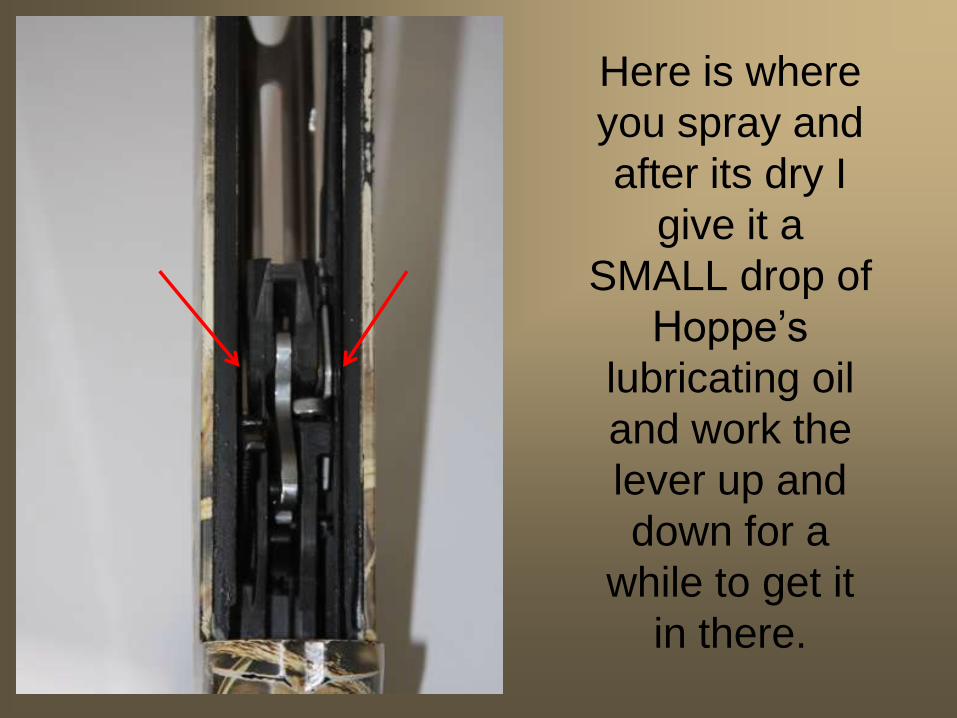
Here is where
you spray and
after its dry I
give it a
SMALL drop of
Hoppe’s
lubricating oil
and work the
lever up and
down for a
while to get it
in there.
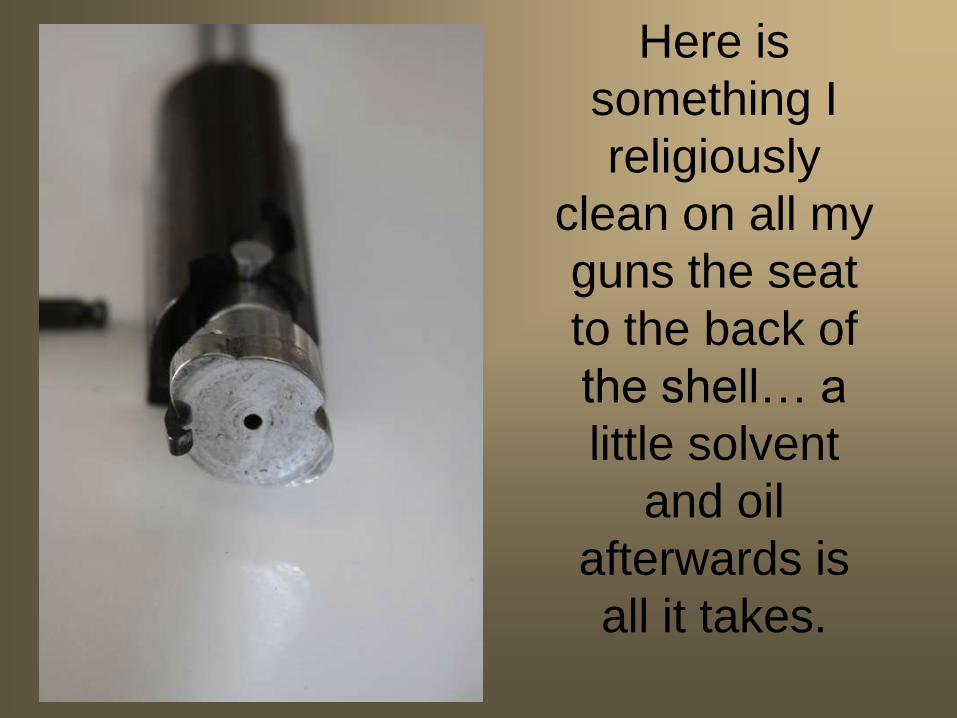
Here is
something I
religiously
clean on all my
guns the seat
to the back of
the shell… a
little solvent
and oil
afterwards is
all it takes.
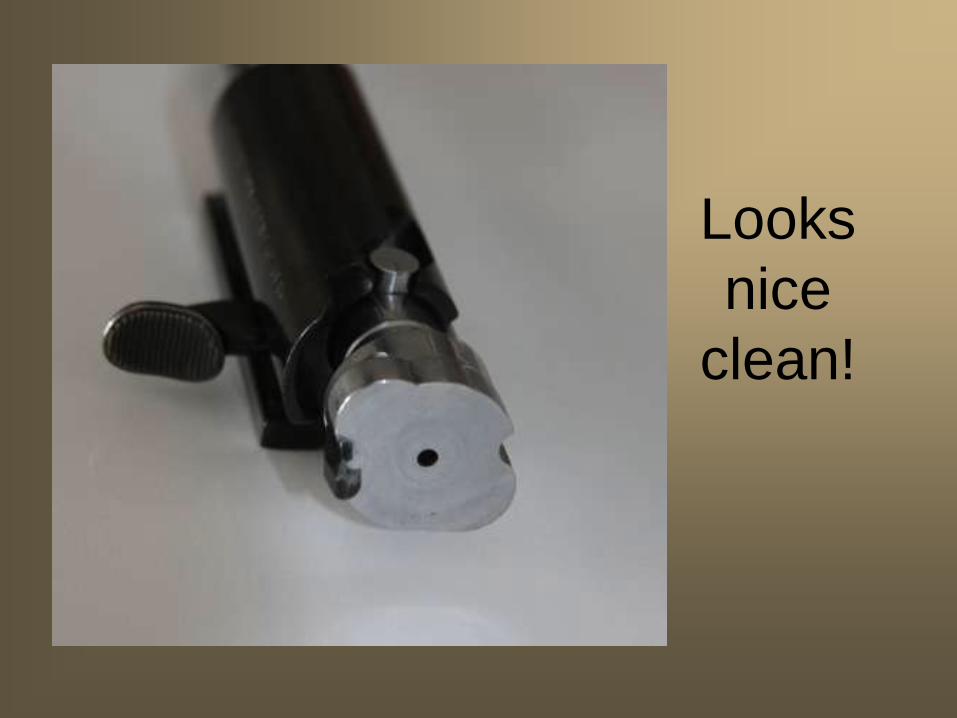
Looks
nice
clean!
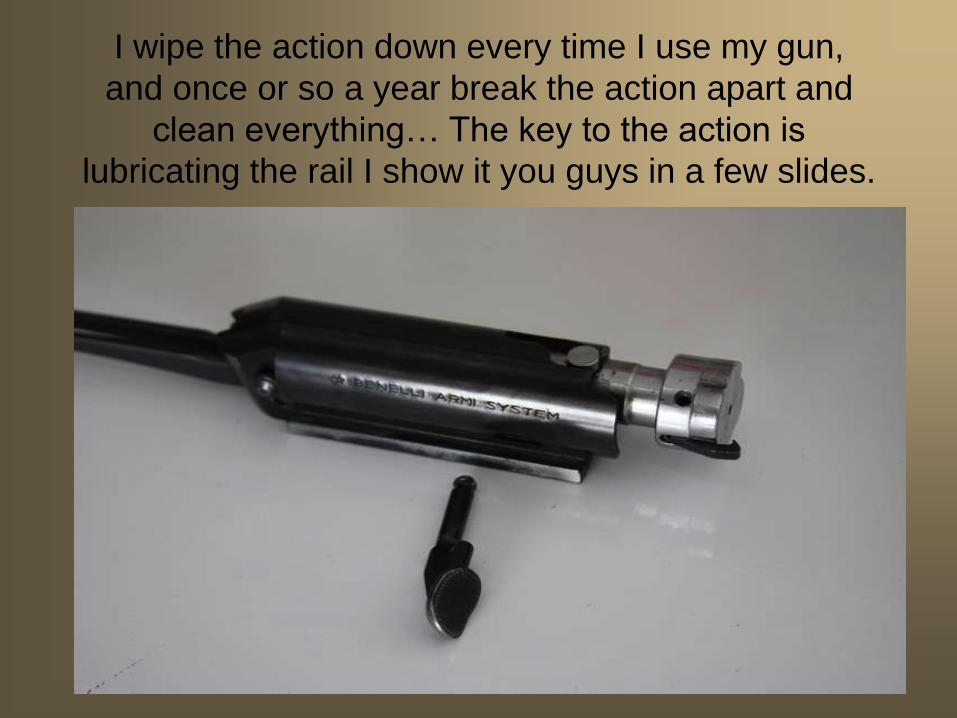
I wipe the action down every time I use my gun,
and once or so a year break the action apart and
clean everything… The key to the action is
lubricating the rail I show it you guys in a few slides.
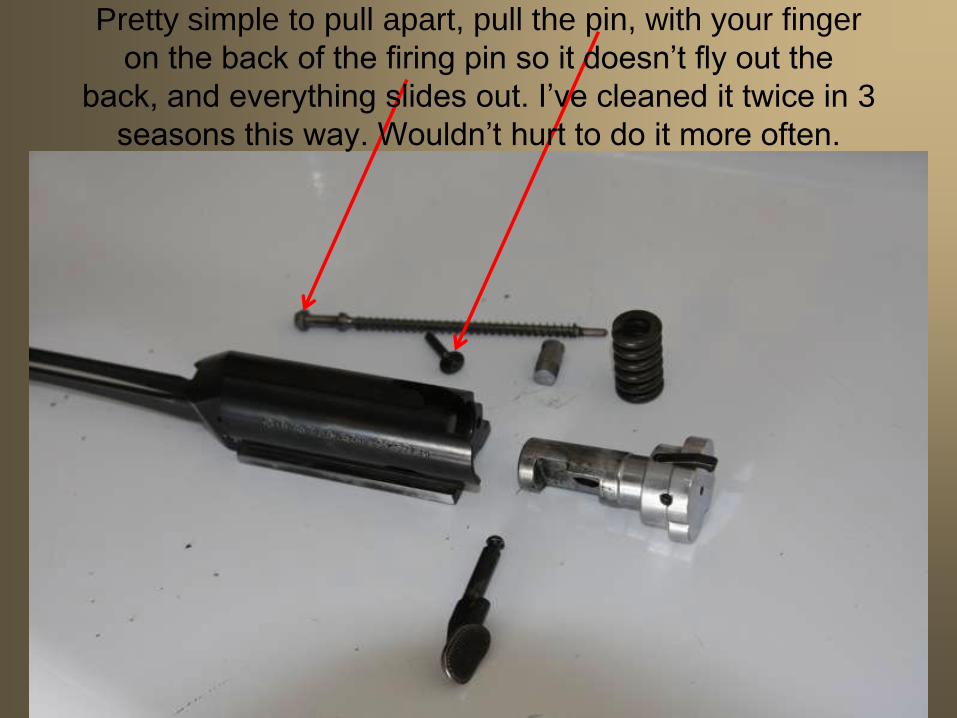
Pretty simple to pull apart, pull the pin, with your finger
on the back of the firing pin so it doesn’t fly out the
back, and everything slides out. I’ve cleaned it twice in 3
seasons this way. Wouldn’t hurt to do it more often.
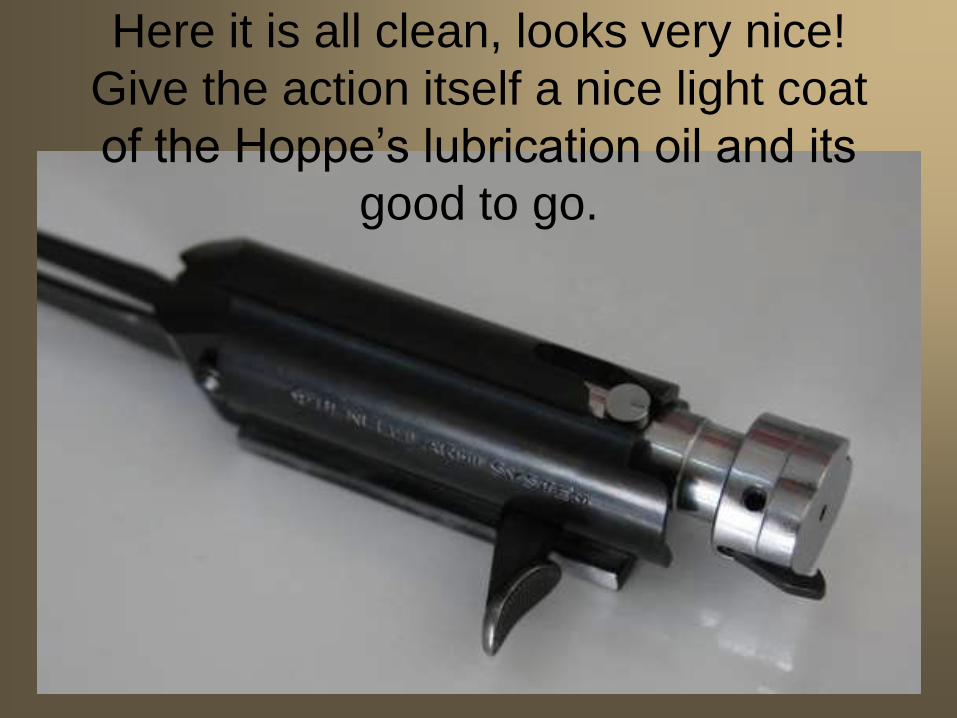
Here it is all clean, looks very nice!
Give the action itself a nice light coat
of the Hoppe’s lubrication oil and its
good to go.
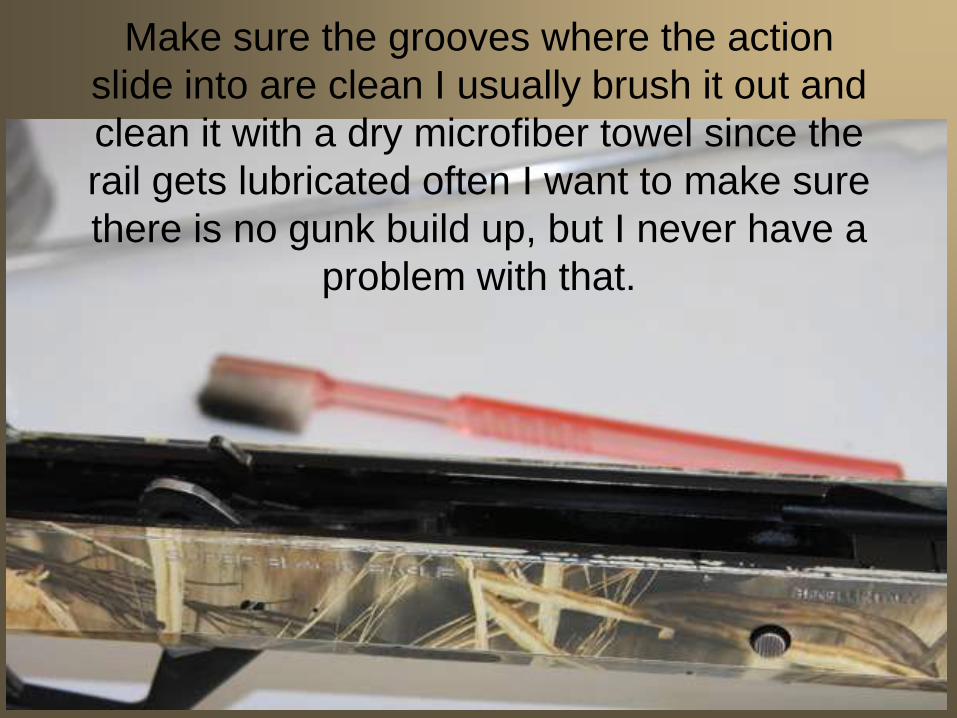
Make sure the grooves where the action
slide into are clean I usually brush it out and
clean it with a dry microfiber towel since the
rail gets lubricated often I want to make sure
there is no gunk build up, but I never have a
problem with that.

Ok so once its clean, I always put one small drop of oil
on the back of the rail where it slides into the receiver,
and slide it immediately in place and put the barrel back
on the gun, and work the slide back and forth to get the
oil distributed evenly.
Last, give the gun itself a wipe
down and a light coat of oil…
The gun itself is pretty
impervious to corrosion but its
always nice to have it be as
clean as possible…

Well that’s it… your gun
should be good as new
and be ready to perform
at 100% next time you
are out there!
I am obviously very
meticulous in how I clean
my gun, but hell for the
price we pay for these
things, taking some time
to properly clean them
should be Standard
Practice. Hope this
helps.
One last tip… When you shoot the light loads, loosen
up on the gun, when you hold the gun in a death
clinch, the action isn’t able to do what its suppose to
do… When I bought my first Benelli from Fowlers, I
was told that if you put the butt of an inertia gun to a
brick wall and fire it, it won’t cycle. My uncle and I
were out shooting clays, he would shoot my 20 gauge
M1 S-90 it would jam, I’d take it from him and boom,
boom, boom, cycle three rounds, give it back to him
and it would jam again… I figured out he was holding
the gun so tight it would jam! Once he loosed up
problem solved. So when you shoot light loads loosen
up the death grip its not gona kick you that hard at all
so don’t hold the gun too tight bracing yourself.
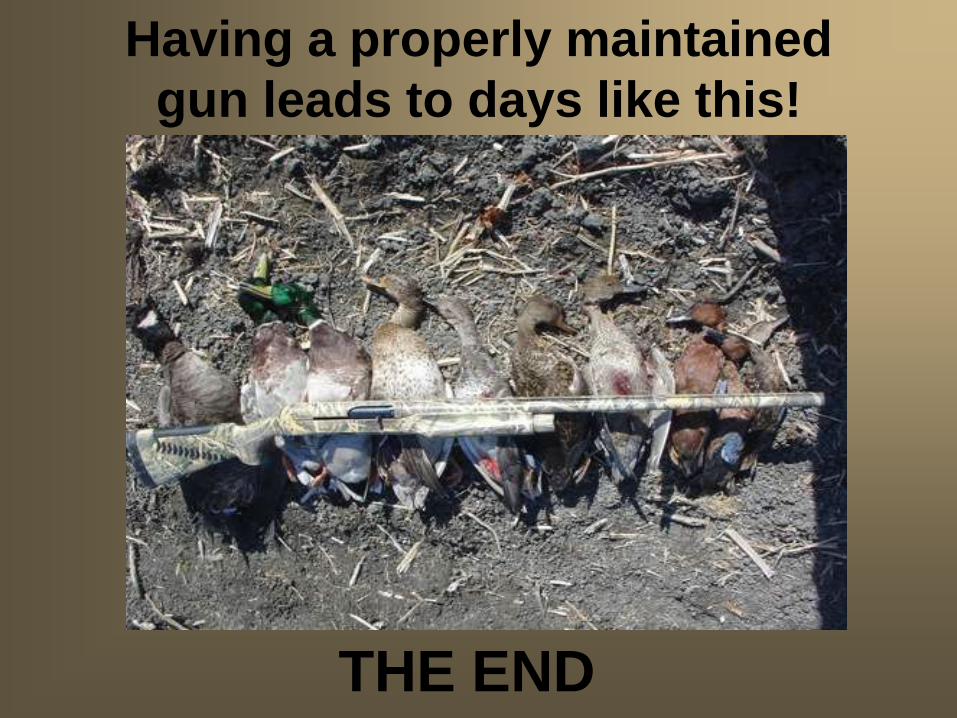
Having a properly maintained
gun leads to days like this!
THE END