Embed Size (px)
Citation preview
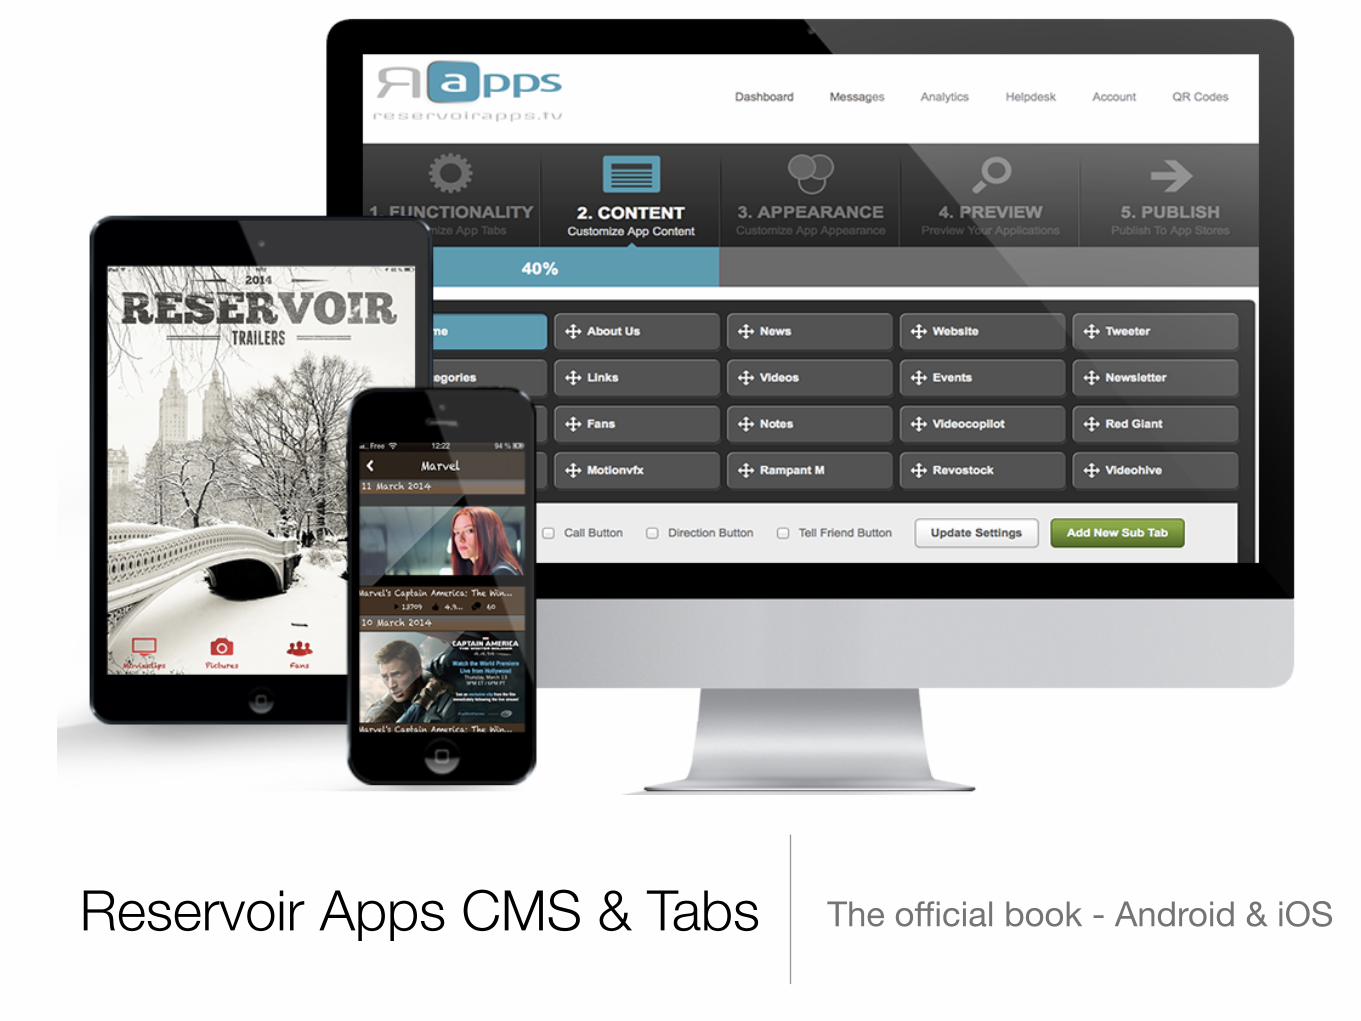
Reservoir Apps CMS & Tabs The official book - Android & iOS
The “Home Tab”• The “Home tab” is a very particular tab. It’s the
tab already there from the beginning. It works like a template.
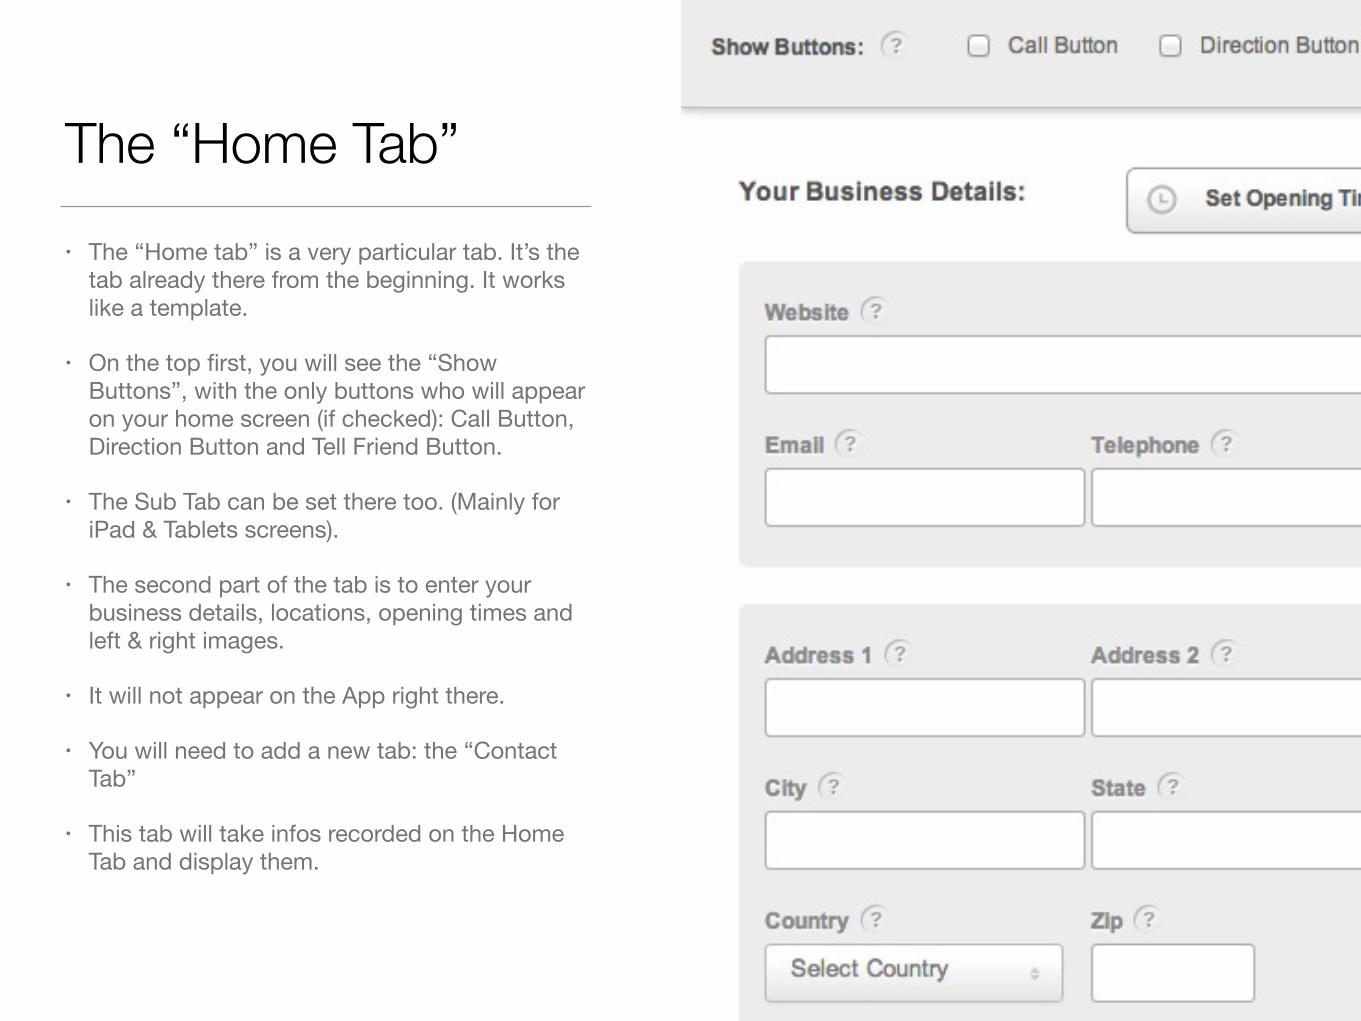
• On the top first, you will see the “Show Buttons”, with the only buttons who will appear on your home screen (if checked): Call Button, Direction Button and Tell Friend Button.
• The Sub Tab can be set there too. (Mainly for iPad & Tablets screens).
• The second part of the tab is to enter your business details, locations, opening times and left & right images.
• It will not appear on the App right there.
• You will need to add a new tab: the “Contact Tab”
• This tab will take infos recorded on the Home Tab and display them.
The “Image Tab”• You can choose to connect to your Flickr,
Picasa or your Instagram account in the “Image Gallery Tab”.
• You also can click on “custom” and begin to create your gallery into the CMS. You can create as many gallery as you want, put an icon image and name each of them.
• If you choose to create only one, no need to put an icon image, your gallery will appear when user open the tab.
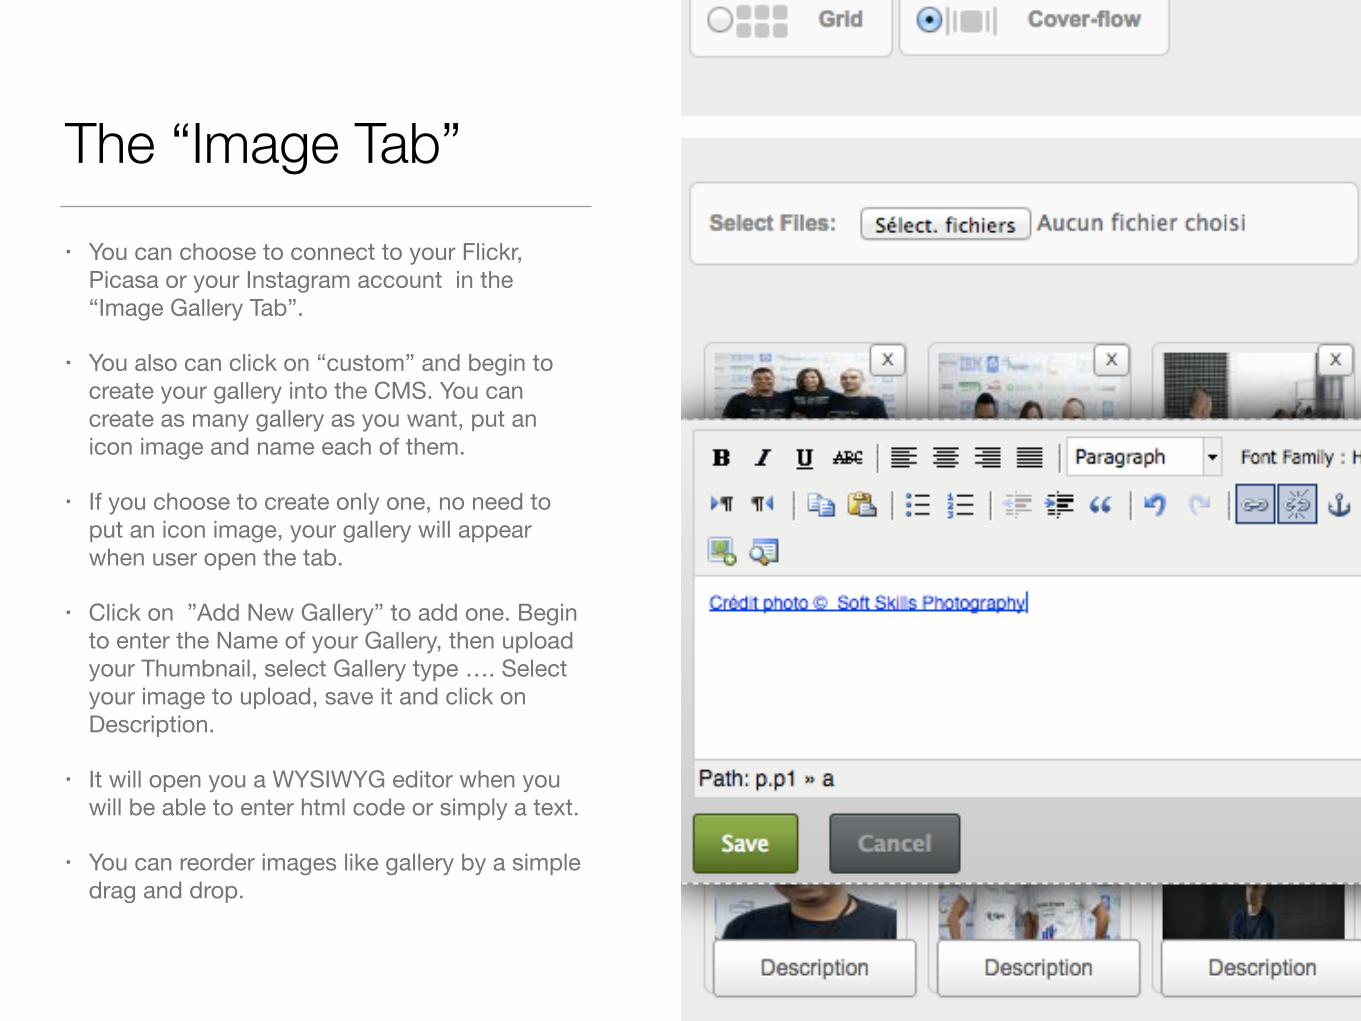
• Click on ”Add New Gallery” to add one. Begin to enter the Name of your Gallery, then upload your Thumbnail, select Gallery type …. Select your image to upload, save it and click on Description.
• It will open you a WYSIWYG editor when you will be able to enter html code or simply a text.
• You can reorder images like gallery by a simple drag and drop.
The “Contact Tab”• The “Contact Tab” will allow you to add a
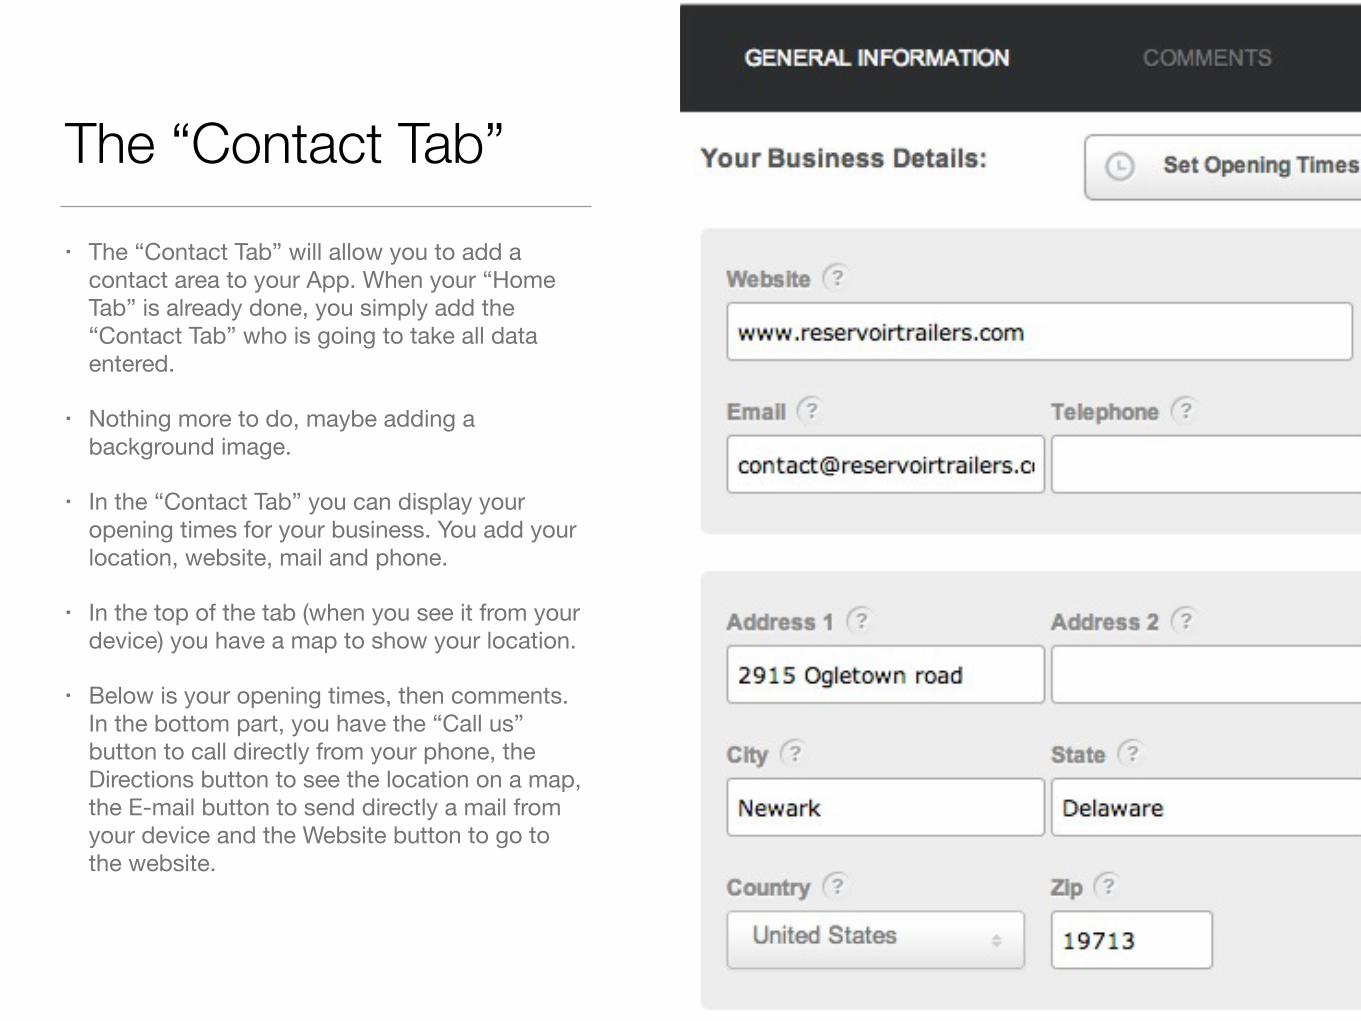
contact area to your App. When your “Home Tab” is already done, you simply add the “Contact Tab” who is going to take all data entered.
• Nothing more to do, maybe adding a background image.
• In the “Contact Tab” you can display your opening times for your business. You add your location, website, mail and phone.
• In the top of the tab (when you see it from your device) you have a map to show your location.
• Below is your opening times, then comments. In the bottom part, you have the “Call us” button to call directly from your phone, the Directions button to see the location on a map, the E-mail button to send directly a mail from your device and the Website button to go to the website.
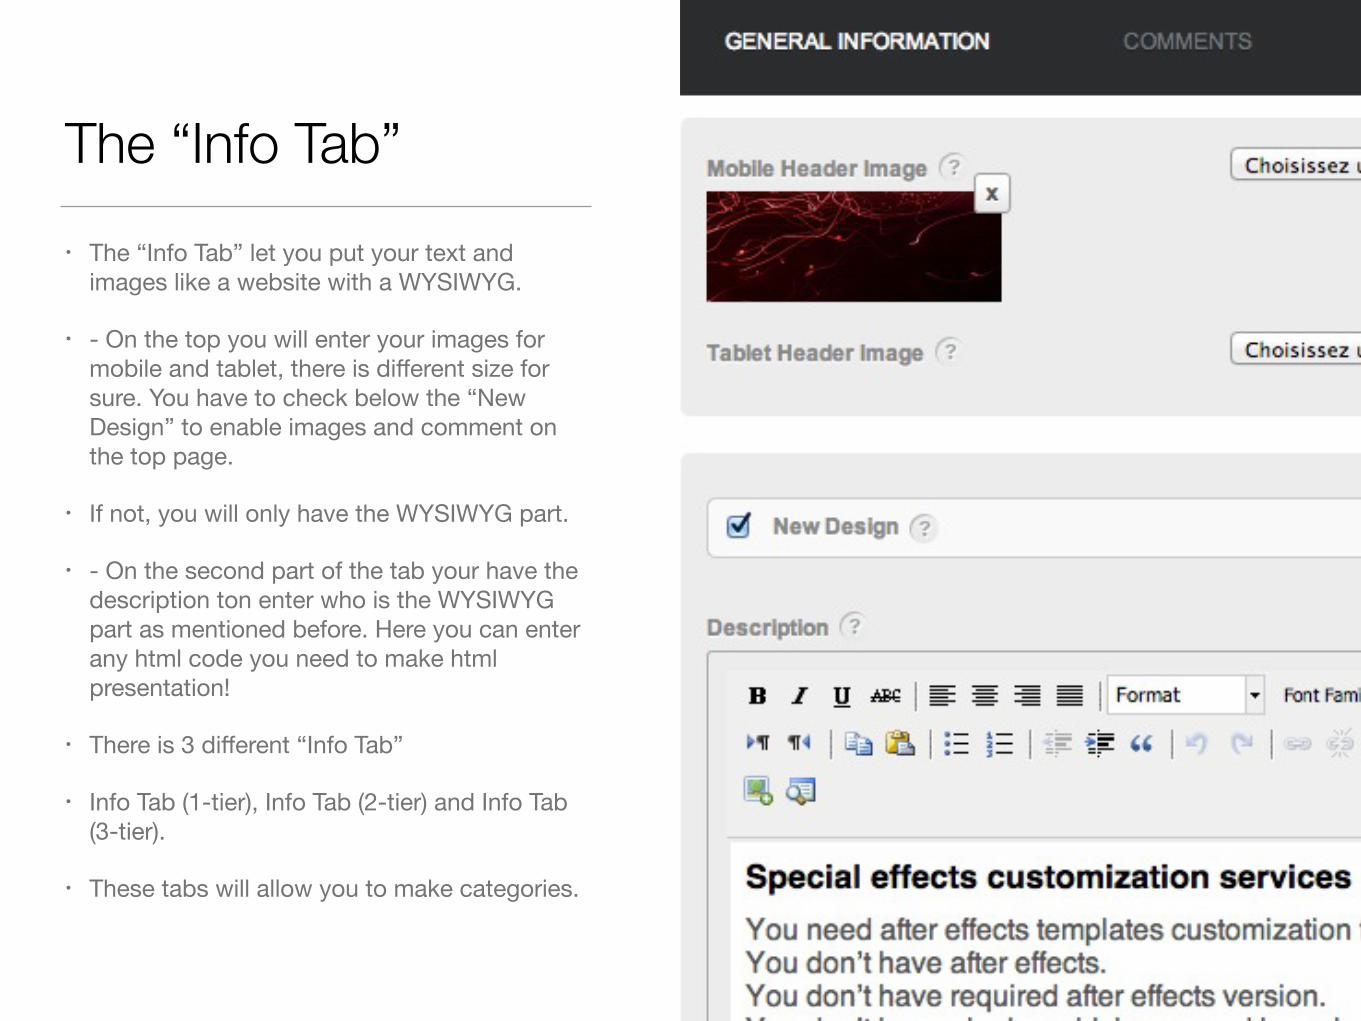
The “Info Tab”• The “Info Tab” let you put your text and
images like a website with a WYSIWYG.
• - On the top you will enter your images for mobile and tablet, there is different size for sure. You have to check below the “New Design” to enable images and comment on the top page.
• If not, you will only have the WYSIWYG part.
• - On the second part of the tab your have the description ton enter who is the WYSIWYG part as mentioned before. Here you can enter any html code you need to make html presentation!
• There is 3 different “Info Tab”
• Info Tab (1-tier), Info Tab (2-tier) and Info Tab (3-tier).
• These tabs will allow you to make categories.
The “Social Tab”
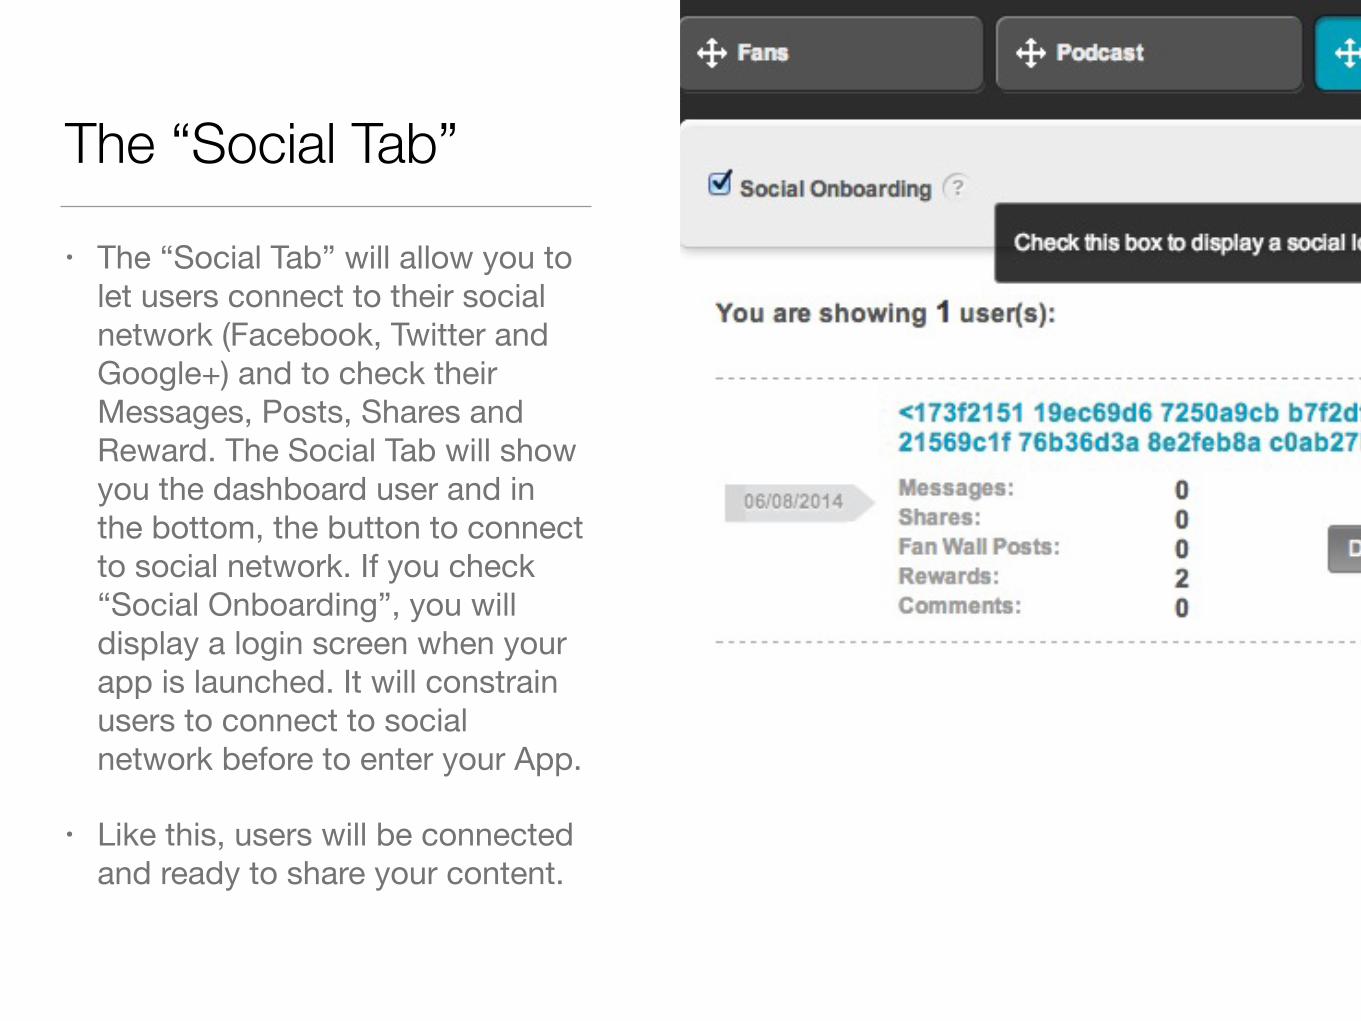
• The “Social Tab” will allow you to let users connect to their social network (Facebook, Twitter and Google+) and to check their Messages, Posts, Shares and Reward. The Social Tab will show you the dashboard user and in the bottom, the button to connect to social network. If you check “Social Onboarding”, you will display a login screen when your app is launched. It will constrain users to connect to social network before to enter your App.
• Like this, users will be connected and ready to share your content.
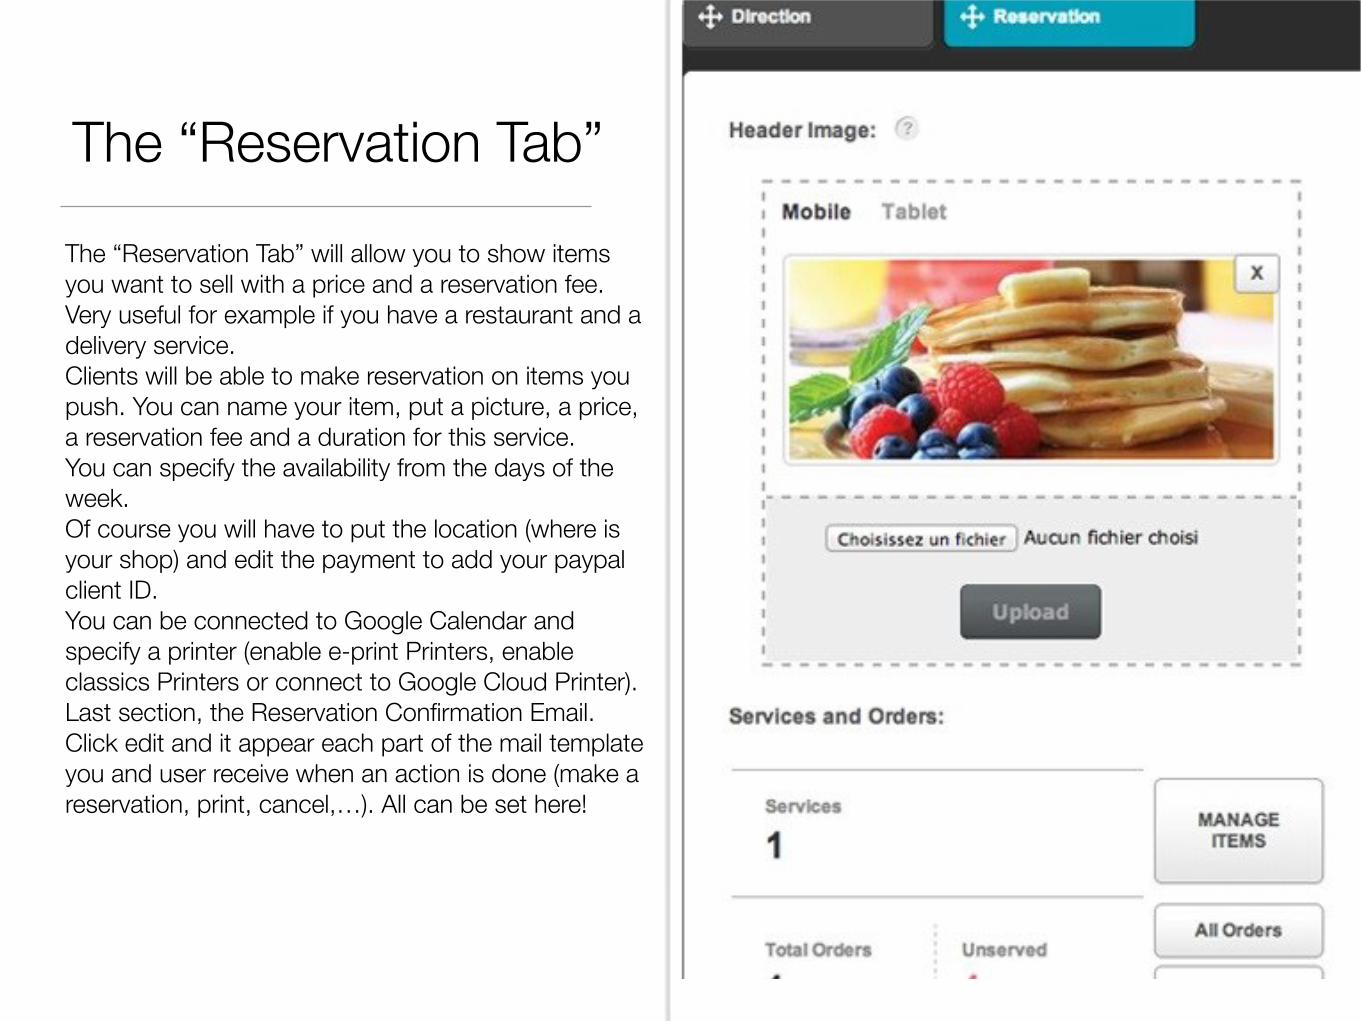
The “Reservation Tab”The “Reservation Tab” will allow you to show items you want to sell with a price and a reservation fee. Very useful for example if you have a restaurant and a delivery service. Clients will be able to make reservation on items you push. You can name your item, put a picture, a price, a reservation fee and a duration for this service. You can specify the availability from the days of the week. Of course you will have to put the location (where is your shop) and edit the payment to add your paypal client ID. You can be connected to Google Calendar and specify a printer (enable e-print Printers, enable classics Printers or connect to Google Cloud Printer). Last section, the Reservation Confirmation Email. Click edit and it appear each part of the mail template you and user receive when an action is done (make a reservation, print, cancel,…). All can be set here!
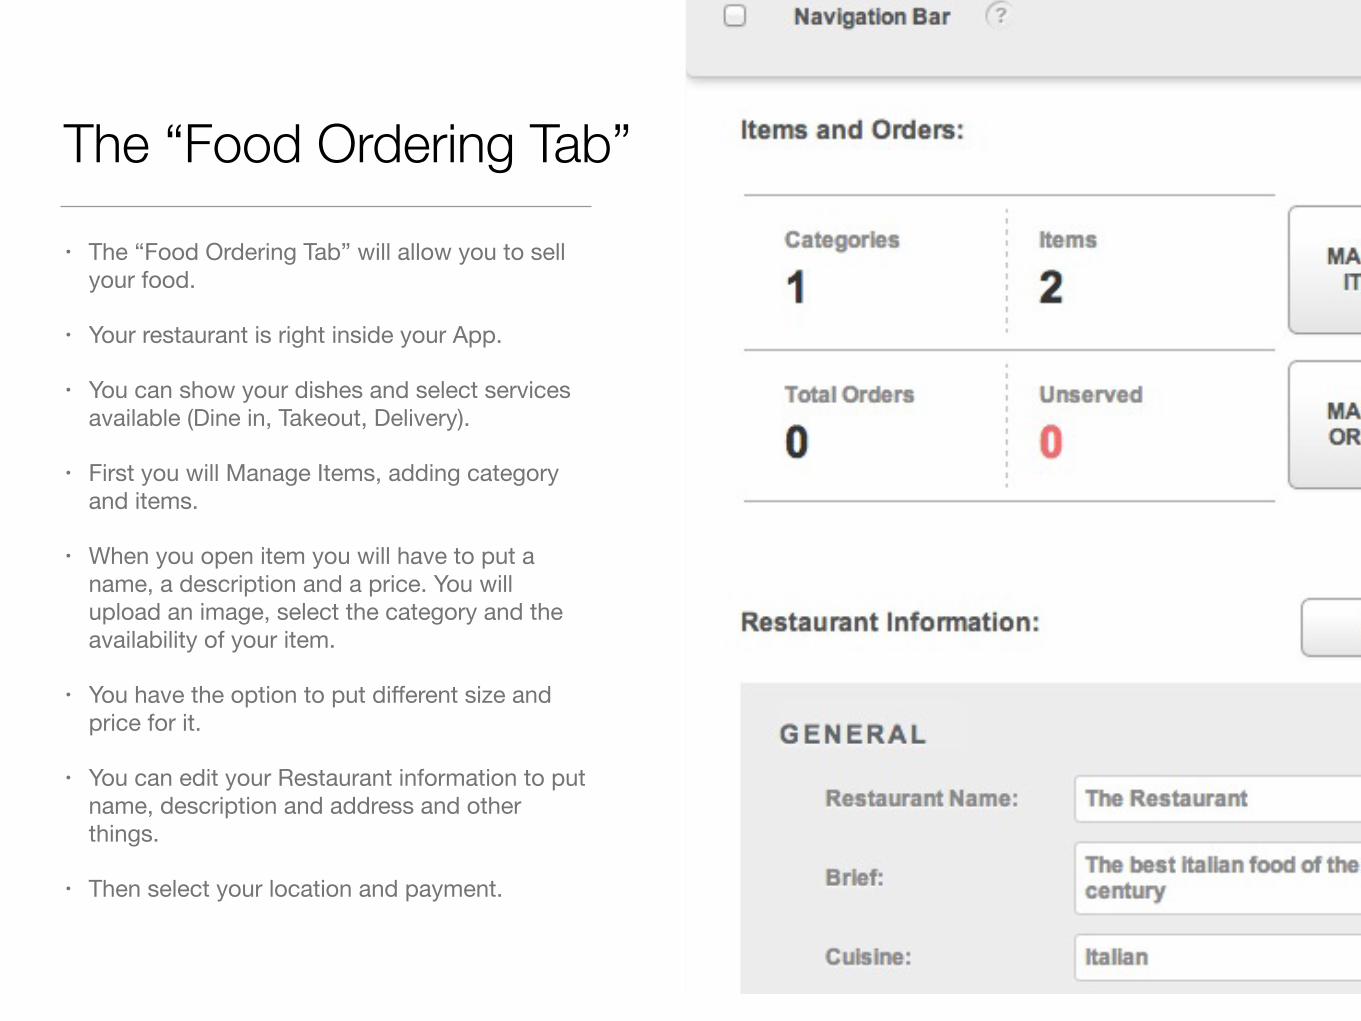
The “Food Ordering Tab”• The “Food Ordering Tab” will allow you to sell
your food.
• Your restaurant is right inside your App.
• You can show your dishes and select services available (Dine in, Takeout, Delivery).
• First you will Manage Items, adding category and items.
• When you open item you will have to put a name, a description and a price. You will upload an image, select the category and the availability of your item.
• You have the option to put different size and price for it.
• You can edit your Restaurant information to put name, description and address and other things.
• Then select your location and payment.
The “Email Photo Tab”
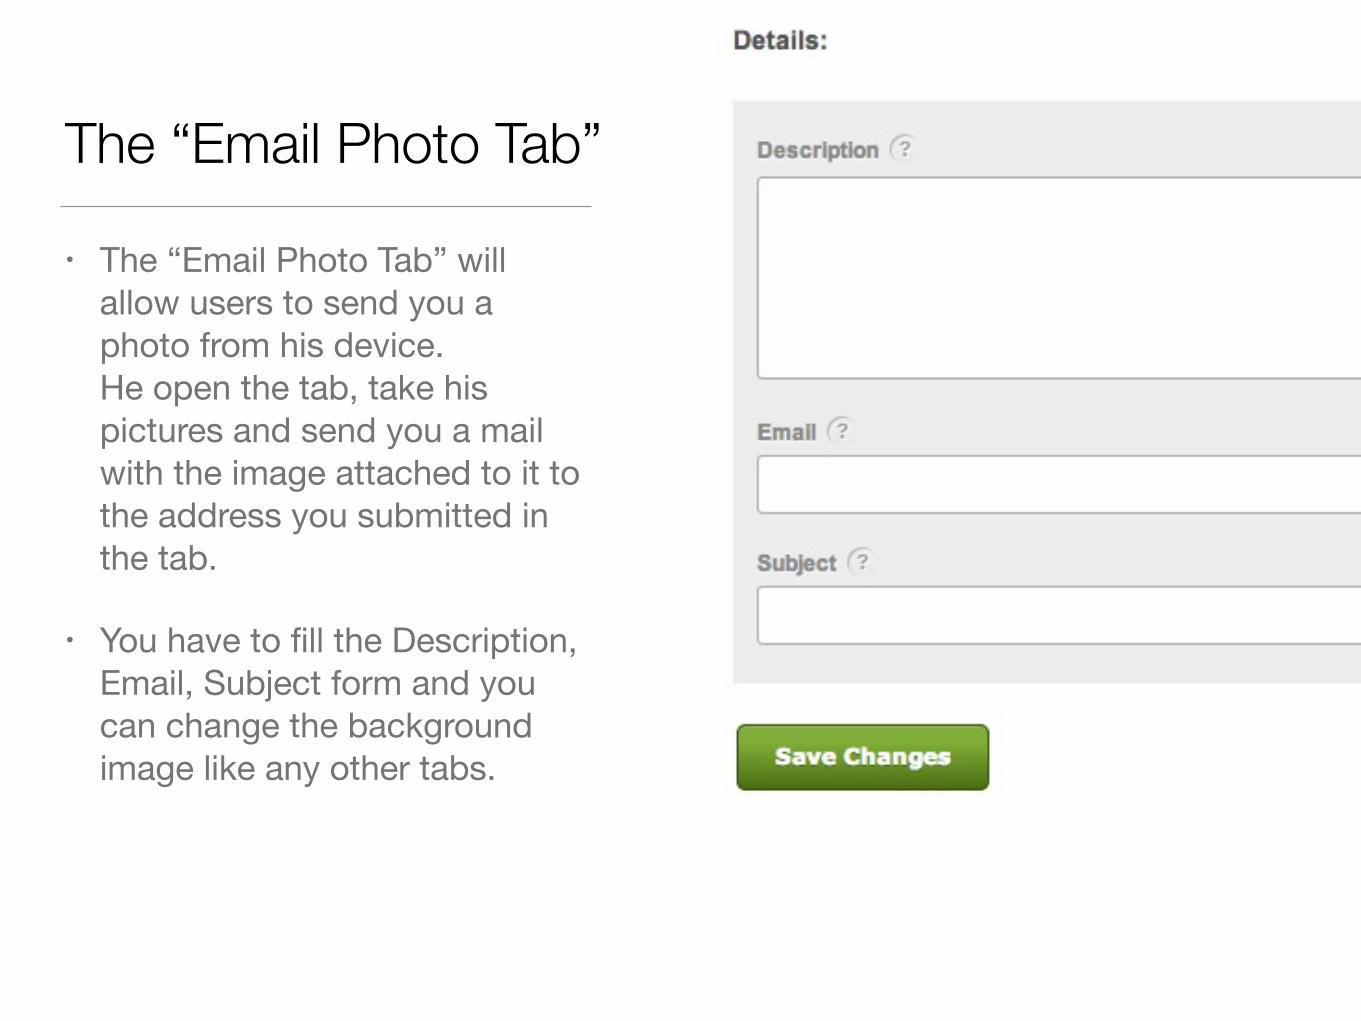
• The “Email Photo Tab” will allow users to send you a photo from his device. He open the tab, take his pictures and send you a mail with the image attached to it to the address you submitted in the tab.
• You have to fill the Description, Email, Subject form and you can change the background image like any other tabs.
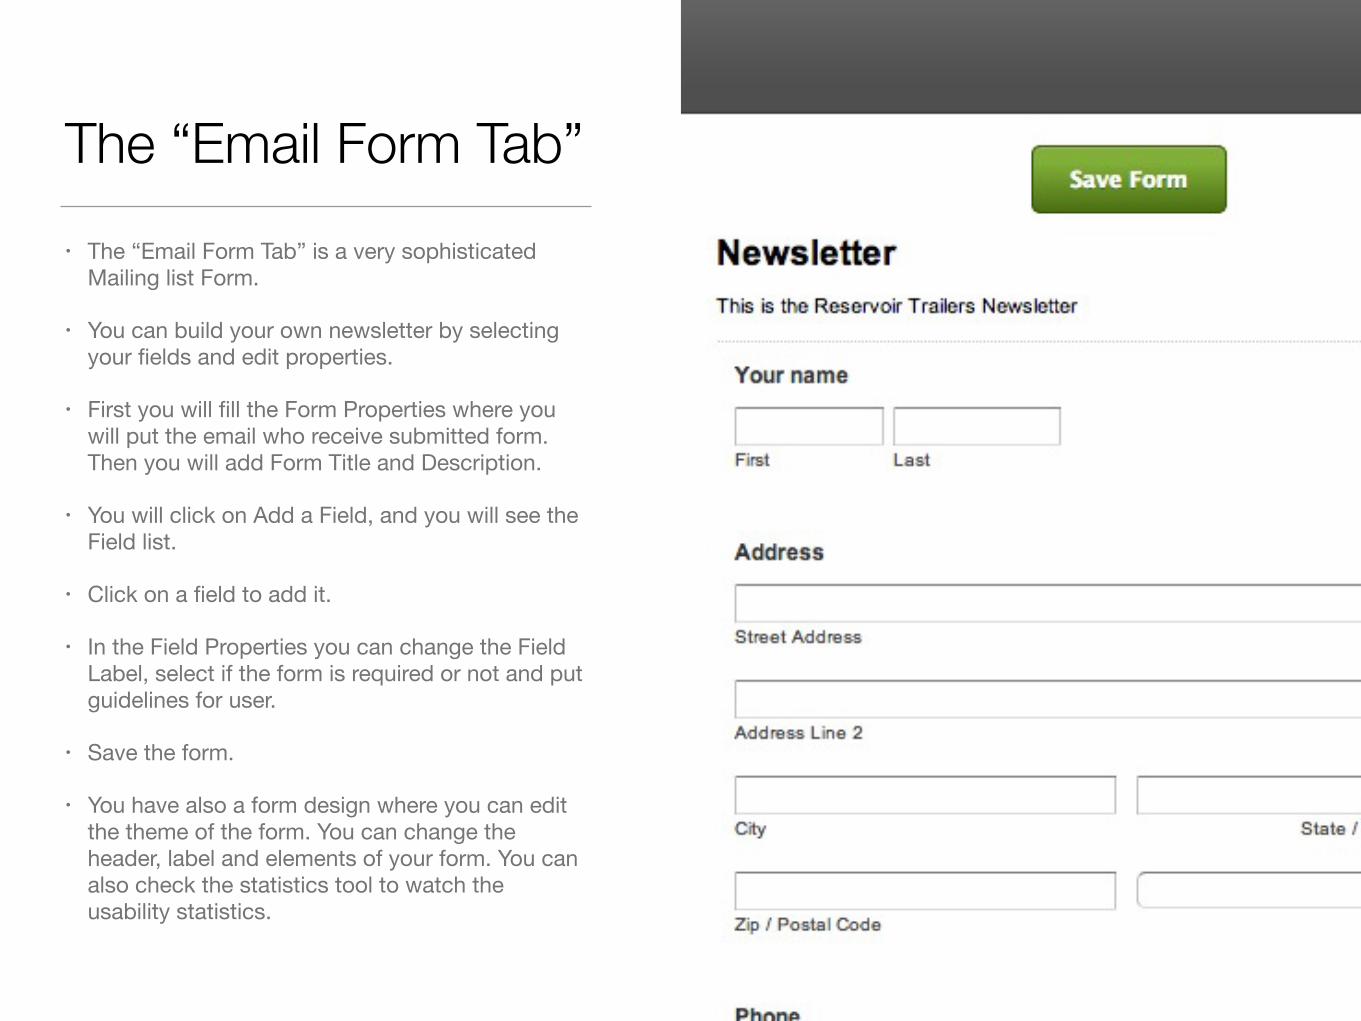
The “Email Form Tab”• The “Email Form Tab” is a very sophisticated
Mailing list Form.
• You can build your own newsletter by selecting your fields and edit properties.
• First you will fill the Form Properties where you will put the email who receive submitted form. Then you will add Form Title and Description.
• You will click on Add a Field, and you will see the Field list.
• Click on a field to add it.
• In the Field Properties you can change the Field Label, select if the form is required or not and put guidelines for user.
• Save the form.
• You have also a form design where you can edit the theme of the form. You can change the header, label and elements of your form. You can also check the statistics tool to watch the usability statistics.
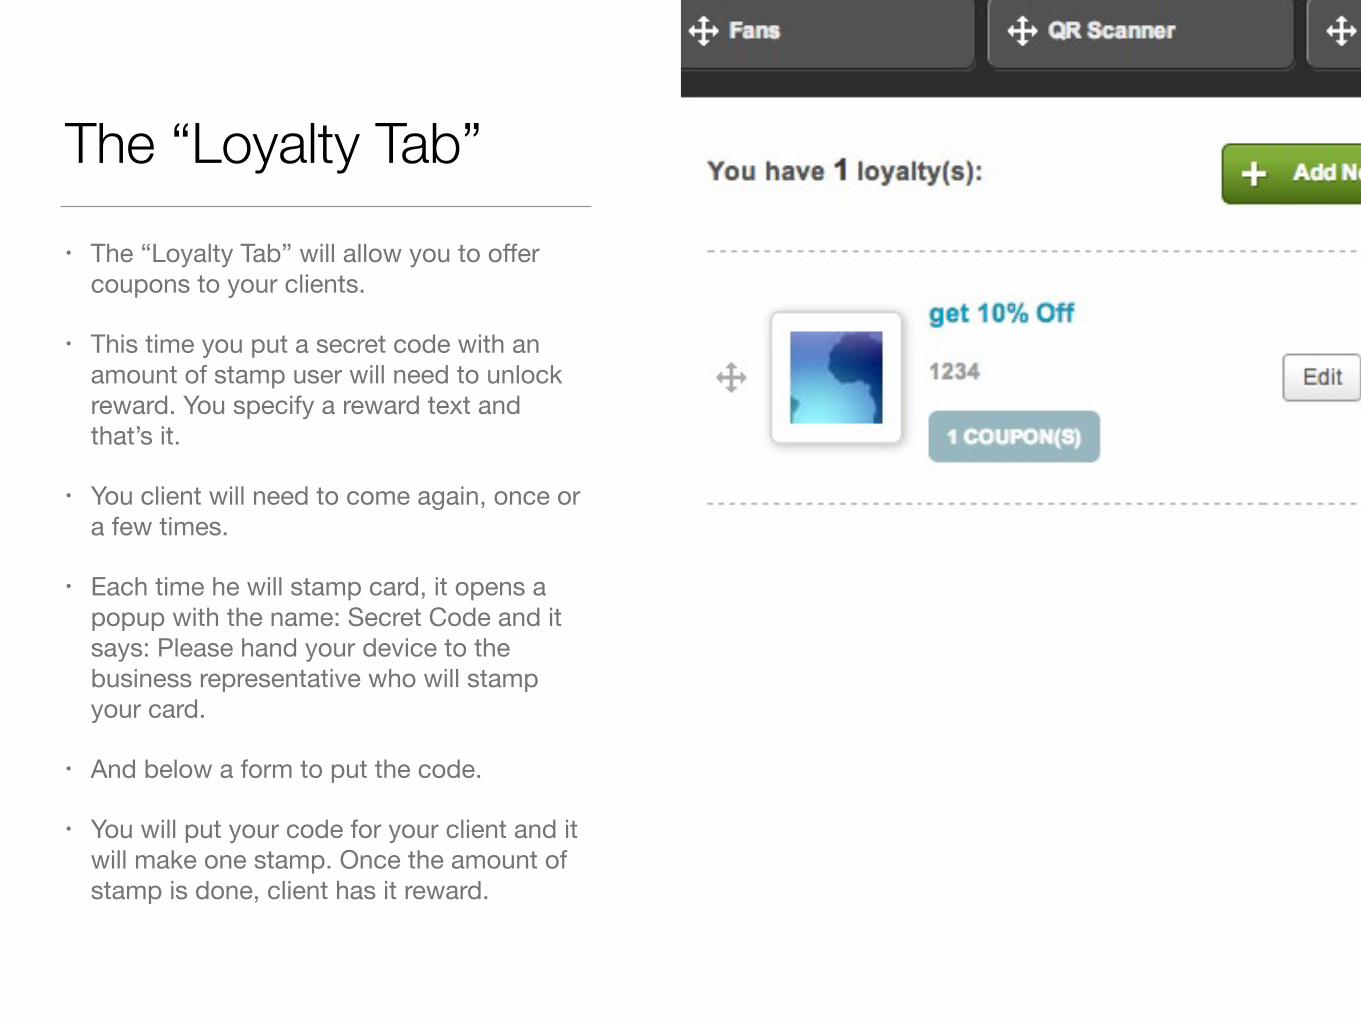
The “Loyalty Tab”• The “Loyalty Tab” will allow you to offer
coupons to your clients.
• This time you put a secret code with an amount of stamp user will need to unlock reward. You specify a reward text and that’s it.
• You client will need to come again, once or a few times.
• Each time he will stamp card, it opens a popup with the name: Secret Code and it says: Please hand your device to the business representative who will stamp your card.
• And below a form to put the code.
• You will put your code for your client and it will make one stamp. Once the amount of stamp is done, client has it reward.
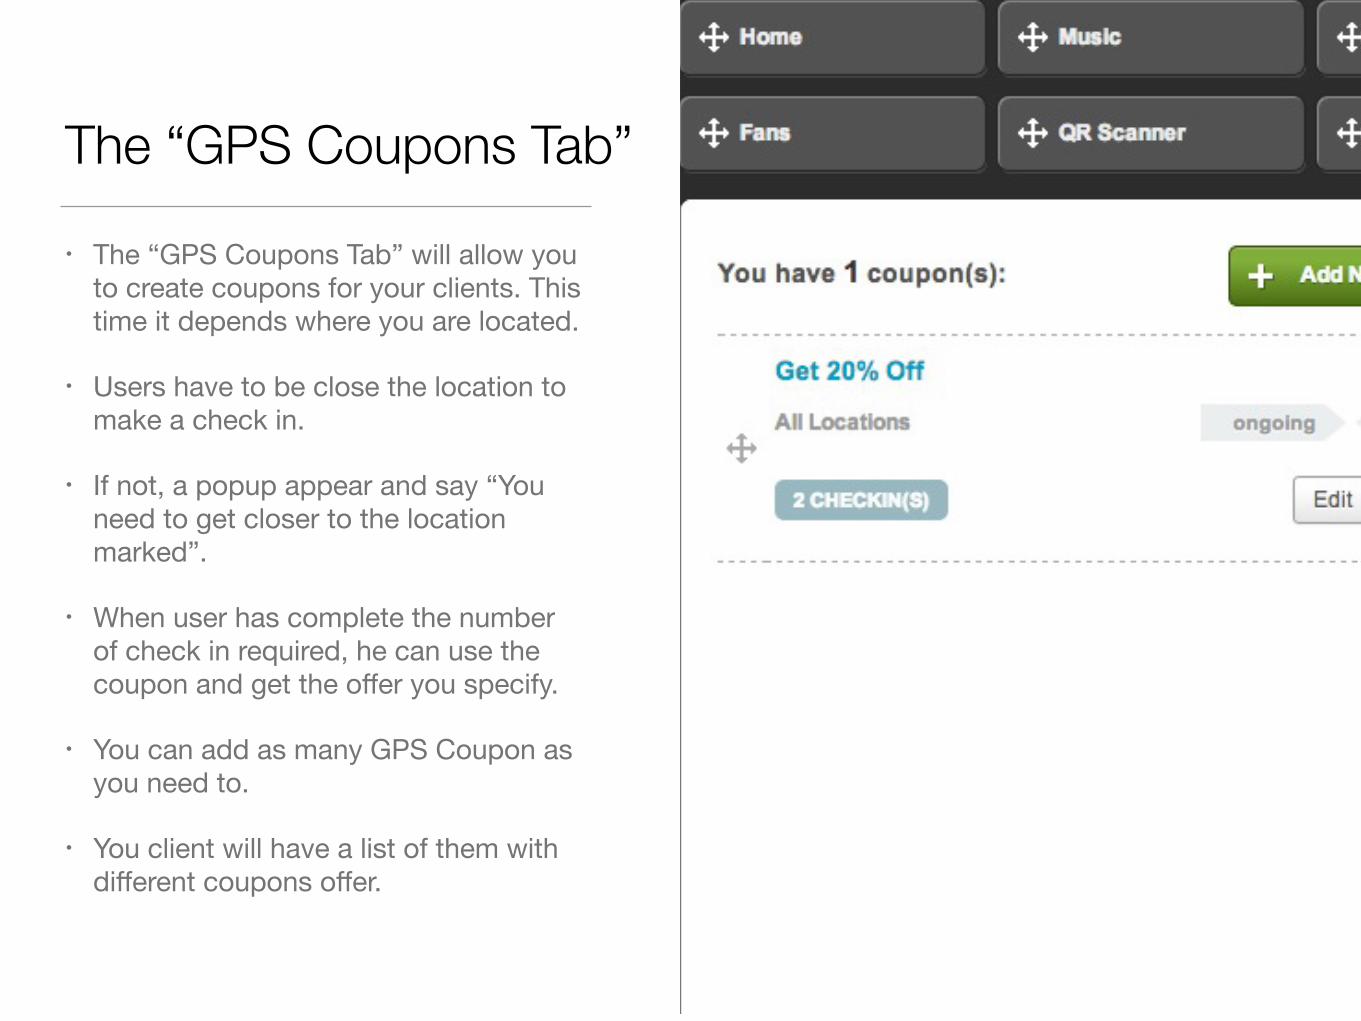
The “GPS Coupons Tab”
• The “GPS Coupons Tab” will allow you to create coupons for your clients. This time it depends where you are located.
• Users have to be close the location to make a check in.
• If not, a popup appear and say “You need to get closer to the location marked”.
• When user has complete the number of check in required, he can use the coupon and get the offer you specify.
• You can add as many GPS Coupon as you need to.
• You client will have a list of them with different coupons offer.
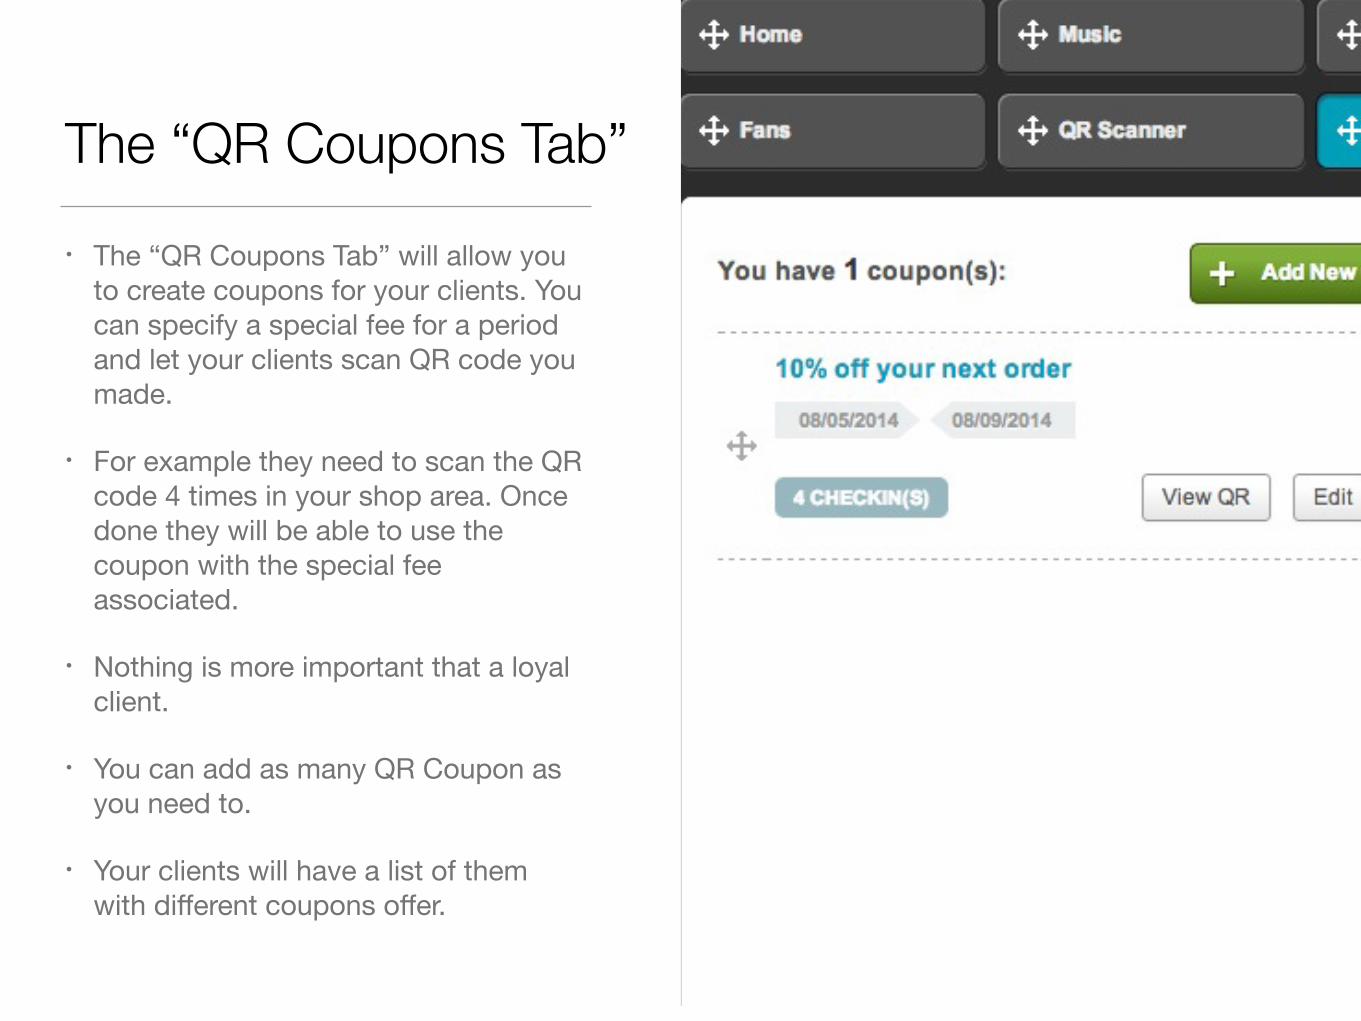
The “QR Coupons Tab”• The “QR Coupons Tab” will allow you
to create coupons for your clients. You can specify a special fee for a period and let your clients scan QR code you made.
• For example they need to scan the QR code 4 times in your shop area. Once done they will be able to use the coupon with the special fee associated.
• Nothing is more important that a loyal client.
• You can add as many QR Coupon as you need to.
• Your clients will have a list of them with different coupons offer.
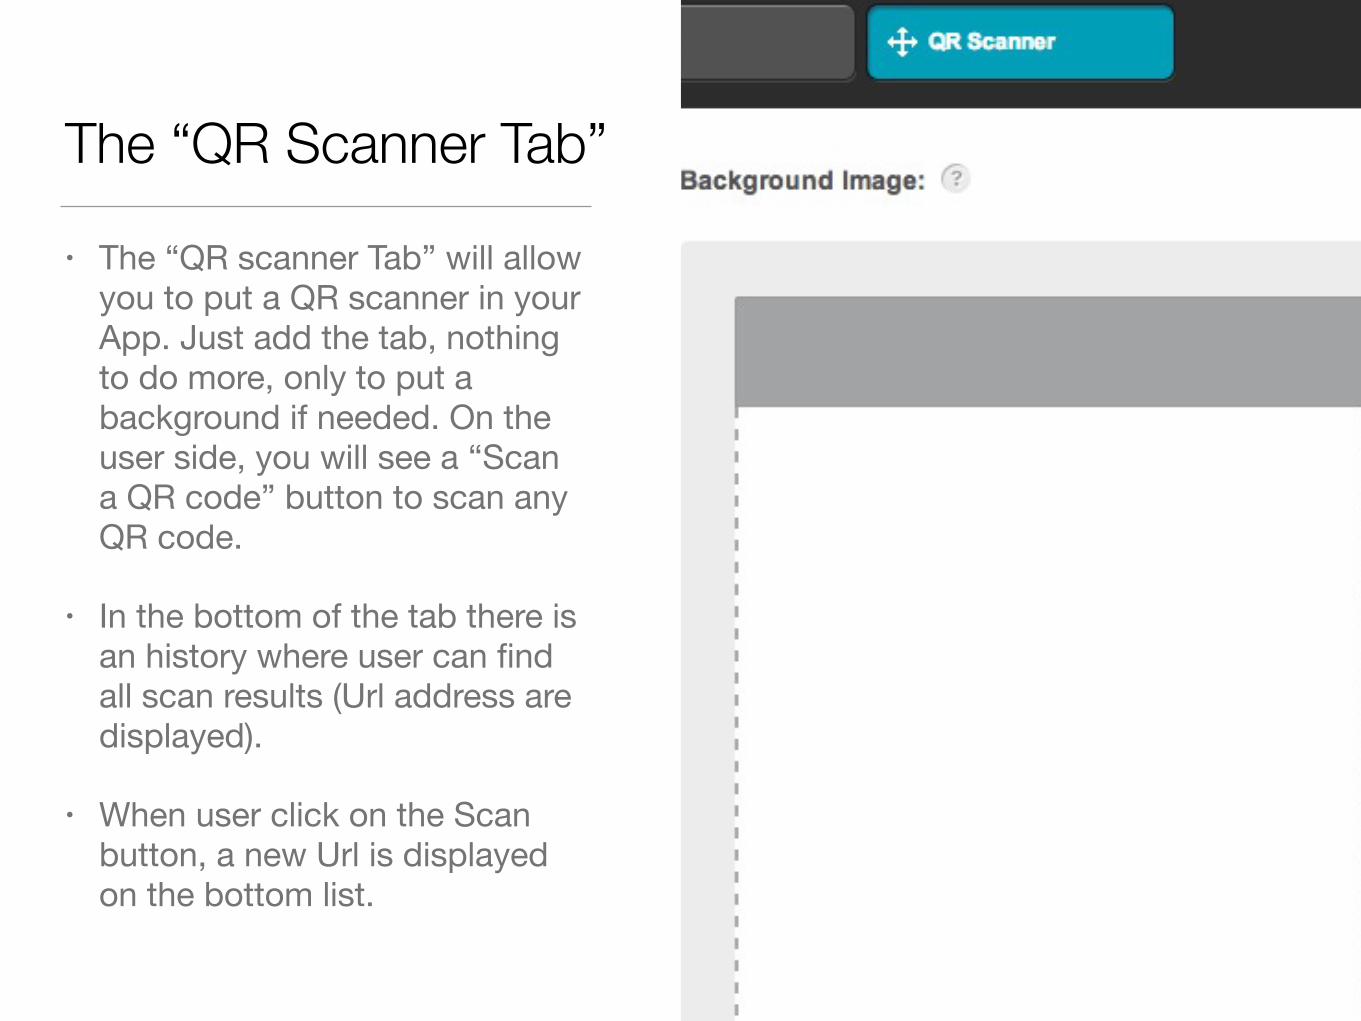
The “QR Scanner Tab”
• The “QR scanner Tab” will allow you to put a QR scanner in your App. Just add the tab, nothing to do more, only to put a background if needed. On the user side, you will see a “Scan a QR code” button to scan any QR code.
• In the bottom of the tab there is an history where user can find all scan results (Url address are displayed).
• When user click on the Scan button, a new Url is displayed on the bottom list.
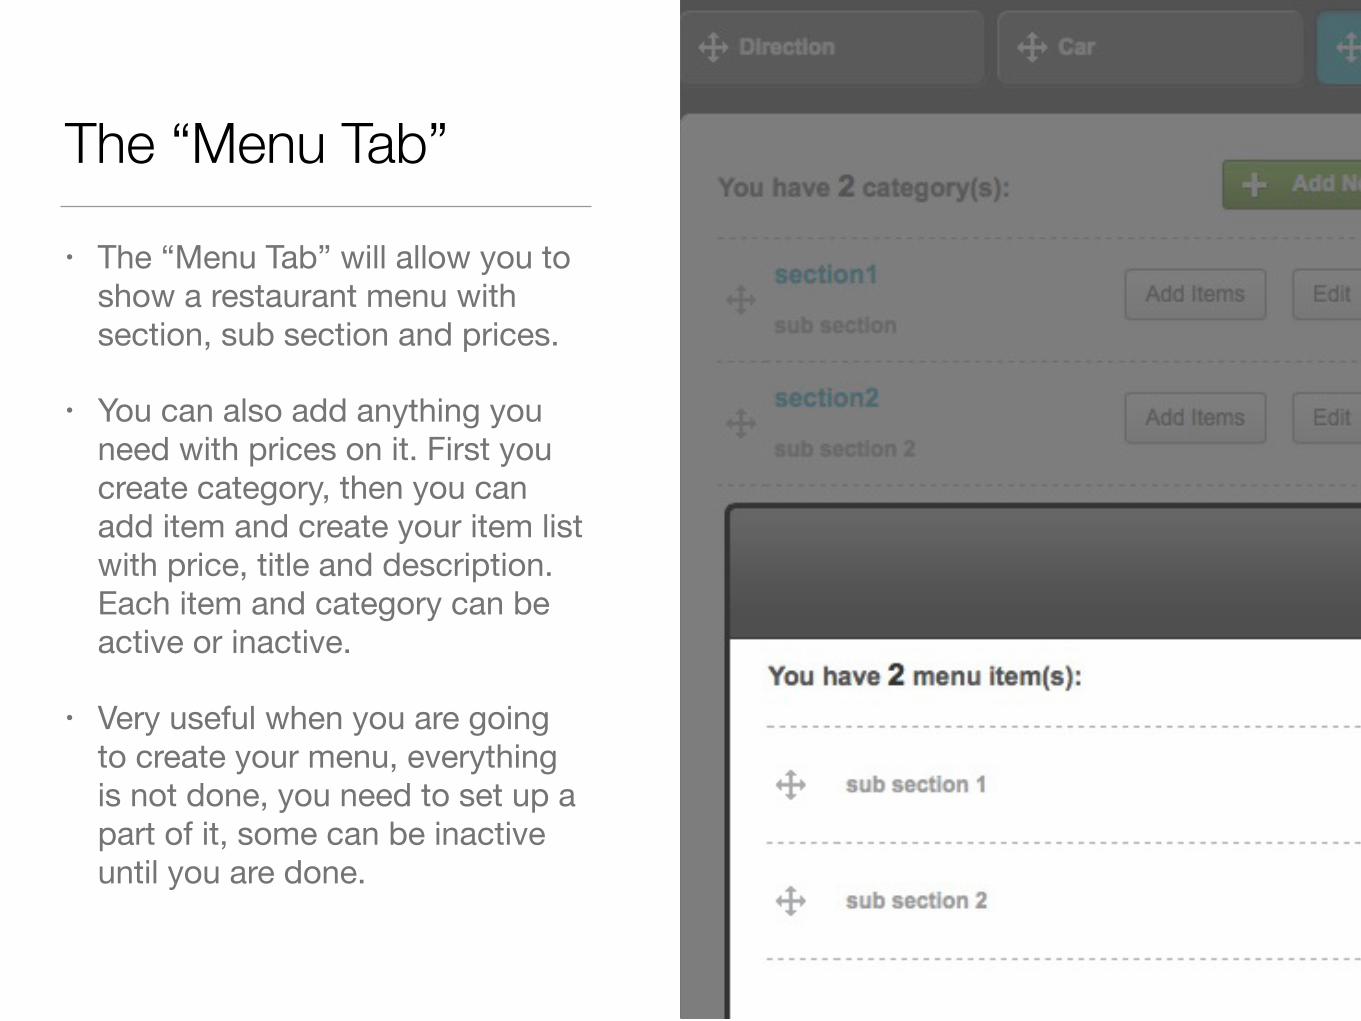
The “Menu Tab”
• The “Menu Tab” will allow you to show a restaurant menu with section, sub section and prices.
• You can also add anything you need with prices on it. First you create category, then you can add item and create your item list with price, title and description. Each item and category can be active or inactive.
• Very useful when you are going to create your menu, everything is not done, you need to set up a part of it, some can be inactive until you are done.
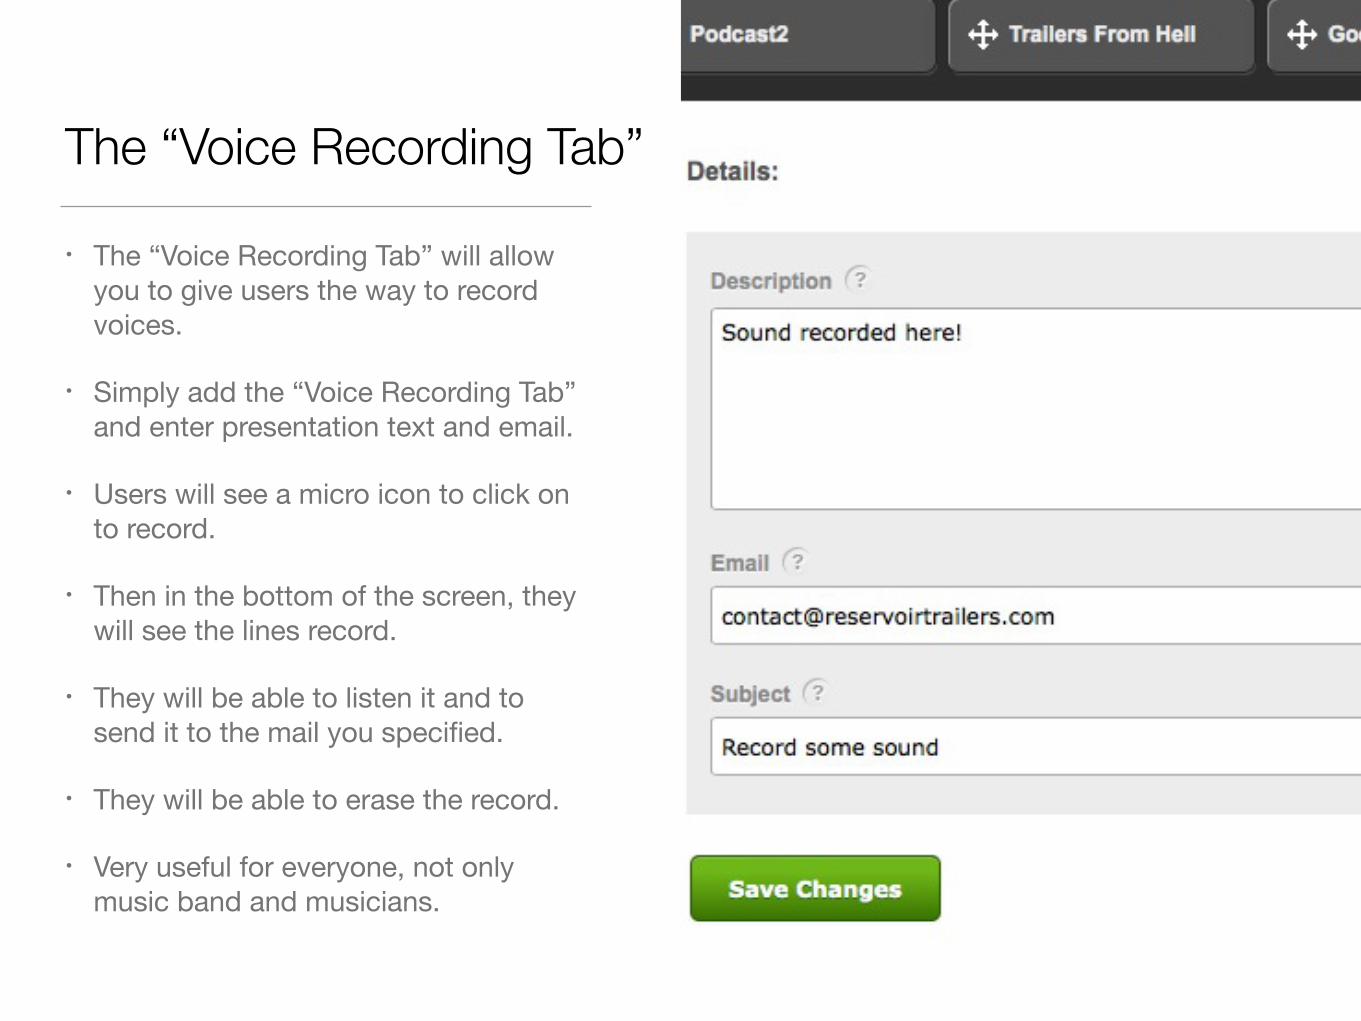
The “Voice Recording Tab”
• The “Voice Recording Tab” will allow you to give users the way to record voices.
• Simply add the “Voice Recording Tab” and enter presentation text and email.
• Users will see a micro icon to click on to record.
• Then in the bottom of the screen, they will see the lines record.
• They will be able to listen it and to send it to the mail you specified.
• They will be able to erase the record.
• Very useful for everyone, not only music band and musicians.
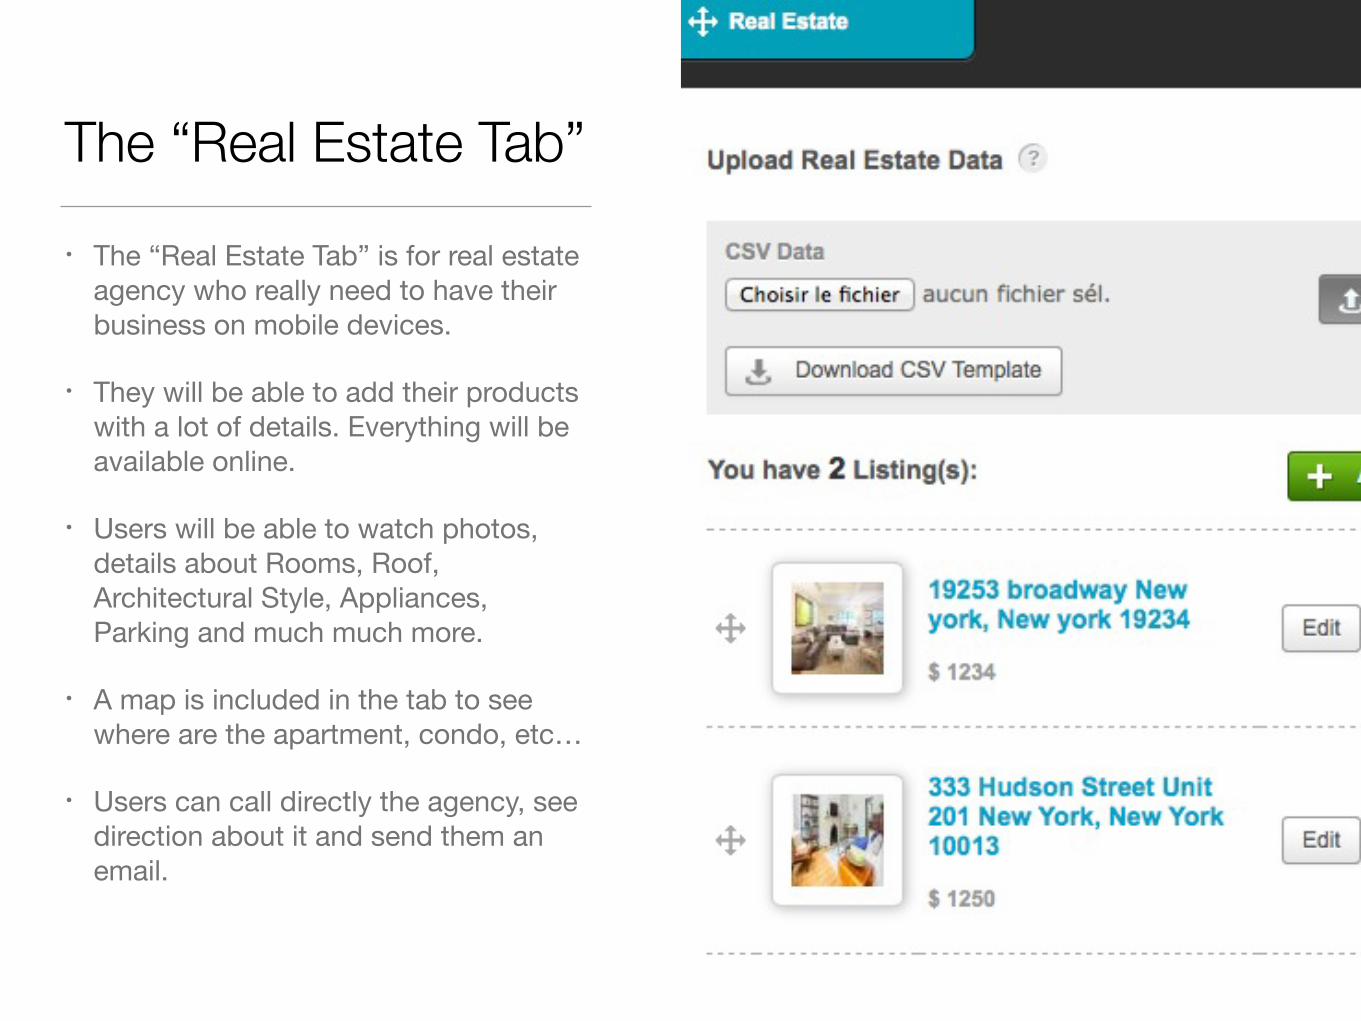
The “Real Estate Tab”• The “Real Estate Tab” is for real estate
agency who really need to have their business on mobile devices.
• They will be able to add their products with a lot of details. Everything will be available online.
• Users will be able to watch photos, details about Rooms, Roof, Architectural Style, Appliances, Parking and much much more.
• A map is included in the tab to see where are the apartment, condo, etc…
• Users can call directly the agency, see direction about it and send them an email.
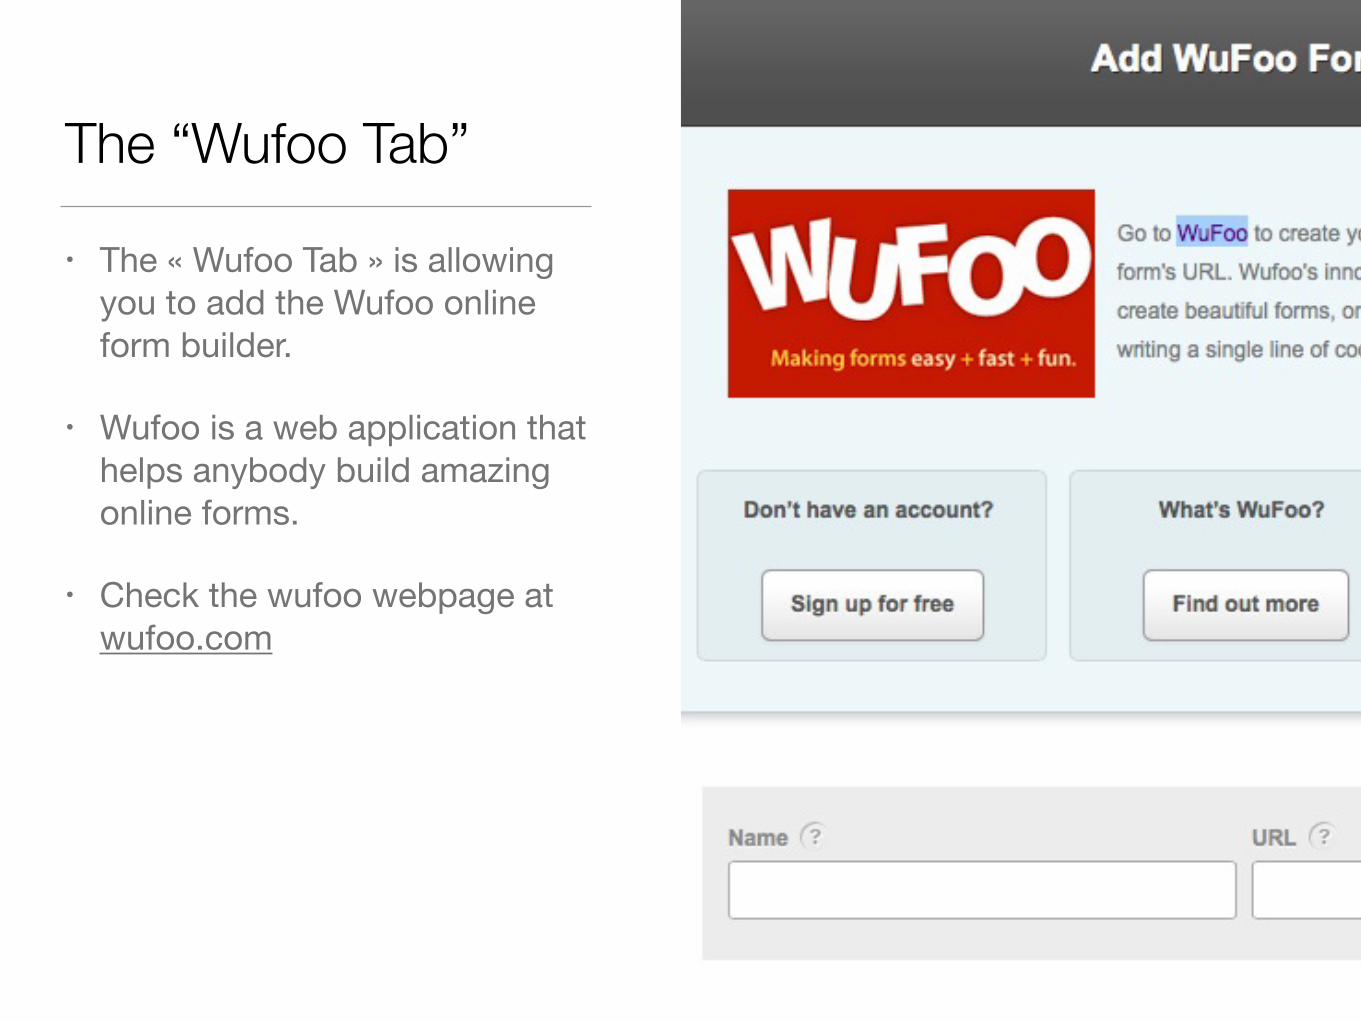
The “Wufoo Tab”
• The « Wufoo Tab » is allowing you to add the Wufoo online form builder.
• Wufoo is a web application that helps anybody build amazing online forms.
• Check the wufoo webpage at wufoo.com
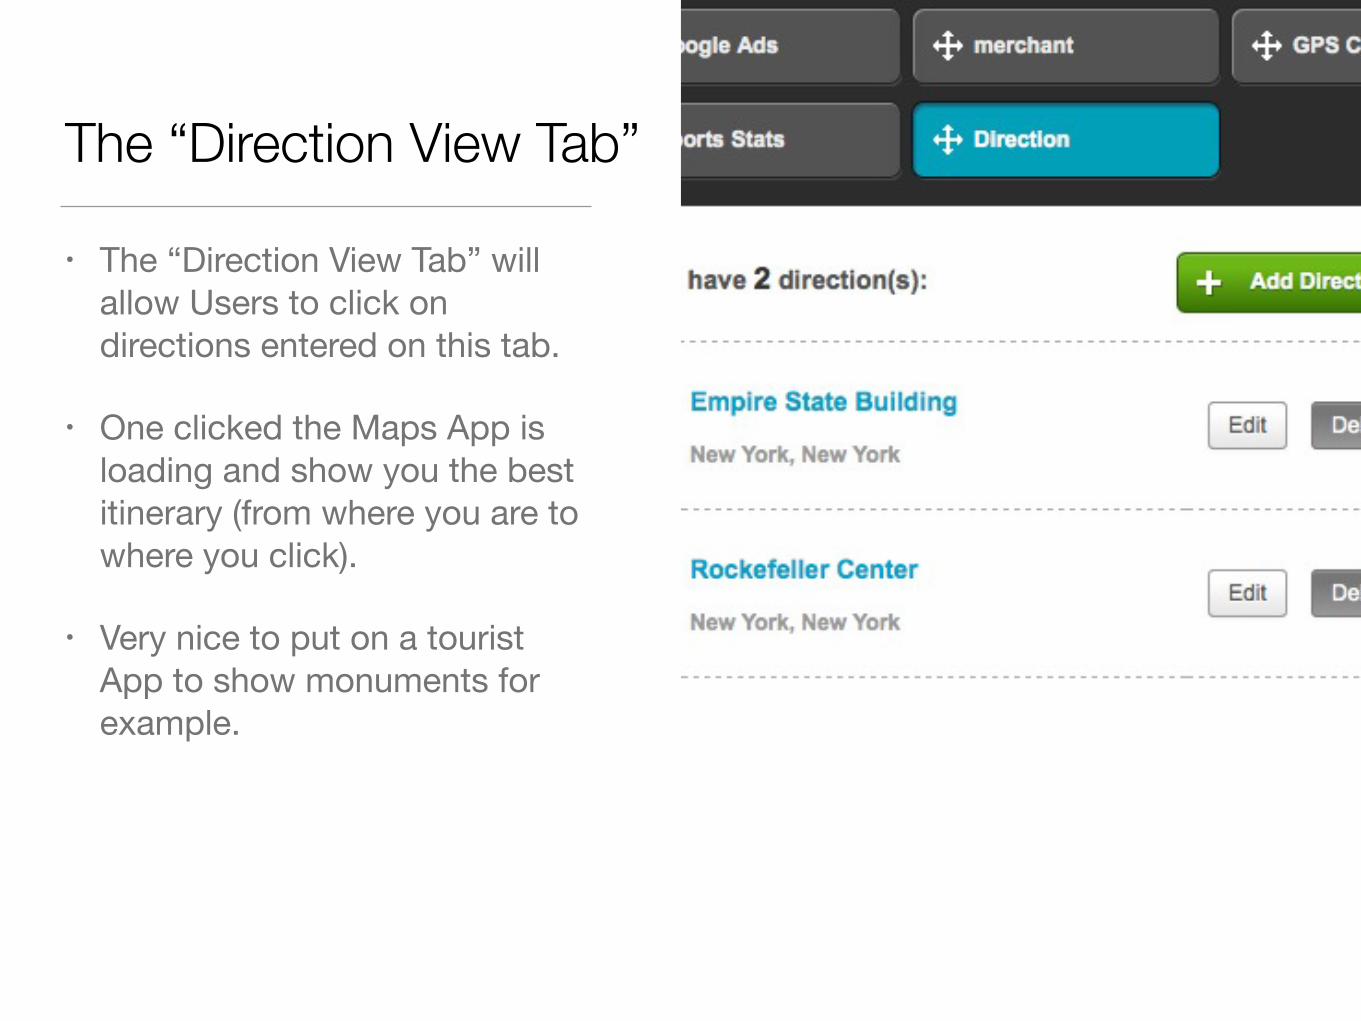
The “Direction View Tab”
• The “Direction View Tab” will allow Users to click on directions entered on this tab.
• One clicked the Maps App is loading and show you the best itinerary (from where you are to where you click).
• Very nice to put on a tourist App to show monuments for example.
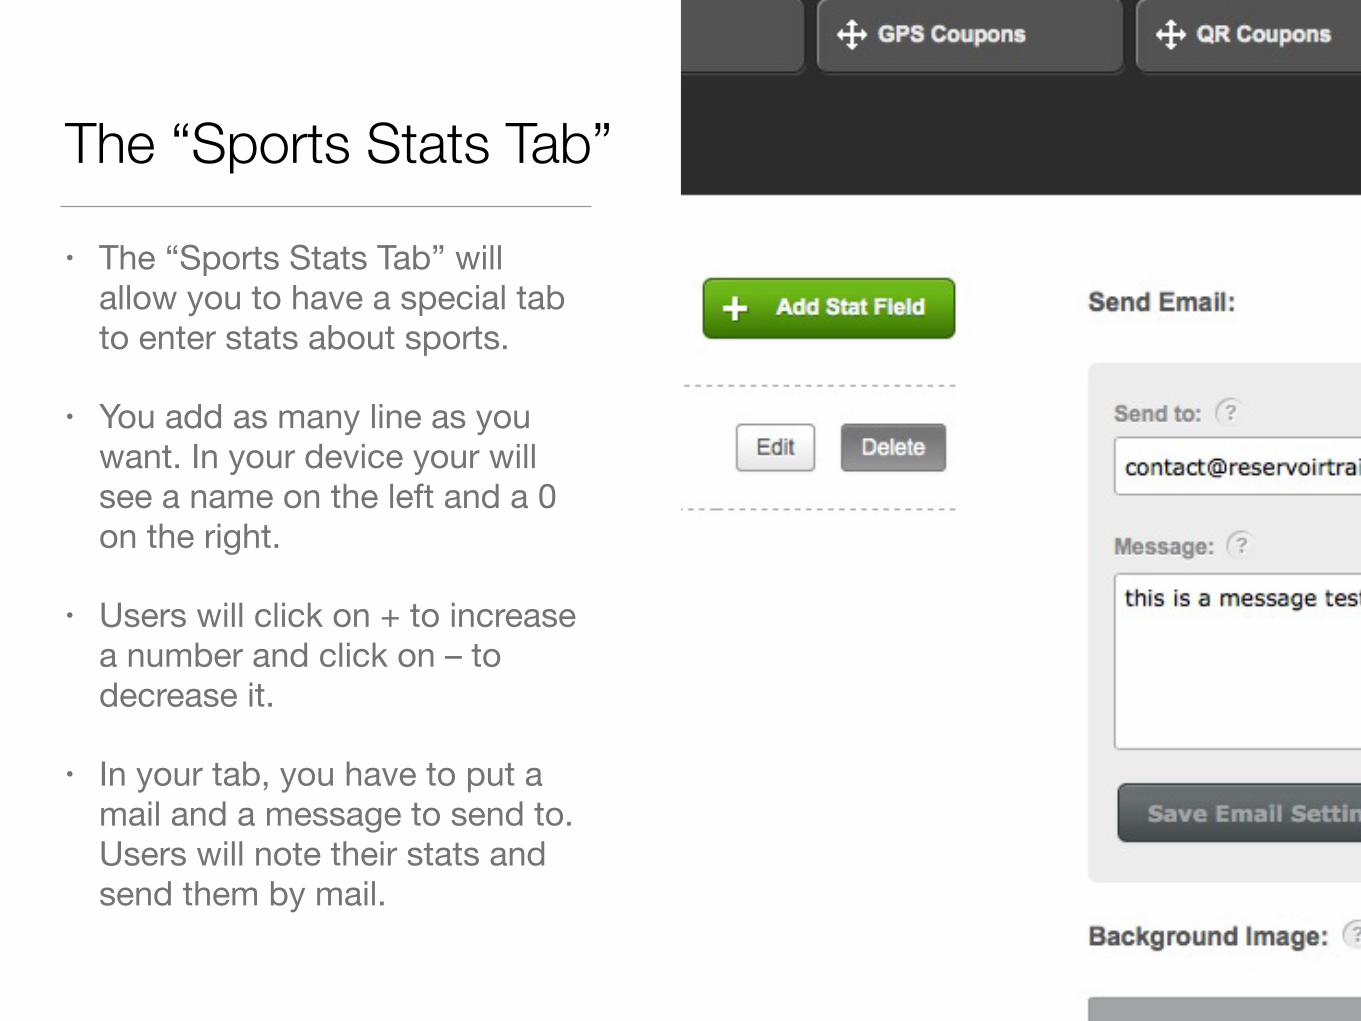
The “Sports Stats Tab”
• The “Sports Stats Tab” will allow you to have a special tab to enter stats about sports.
• You add as many line as you want. In your device your will see a name on the left and a 0 on the right.
• Users will click on + to increase a number and click on – to decrease it.
• In your tab, you have to put a mail and a message to send to. Users will note their stats and send them by mail.
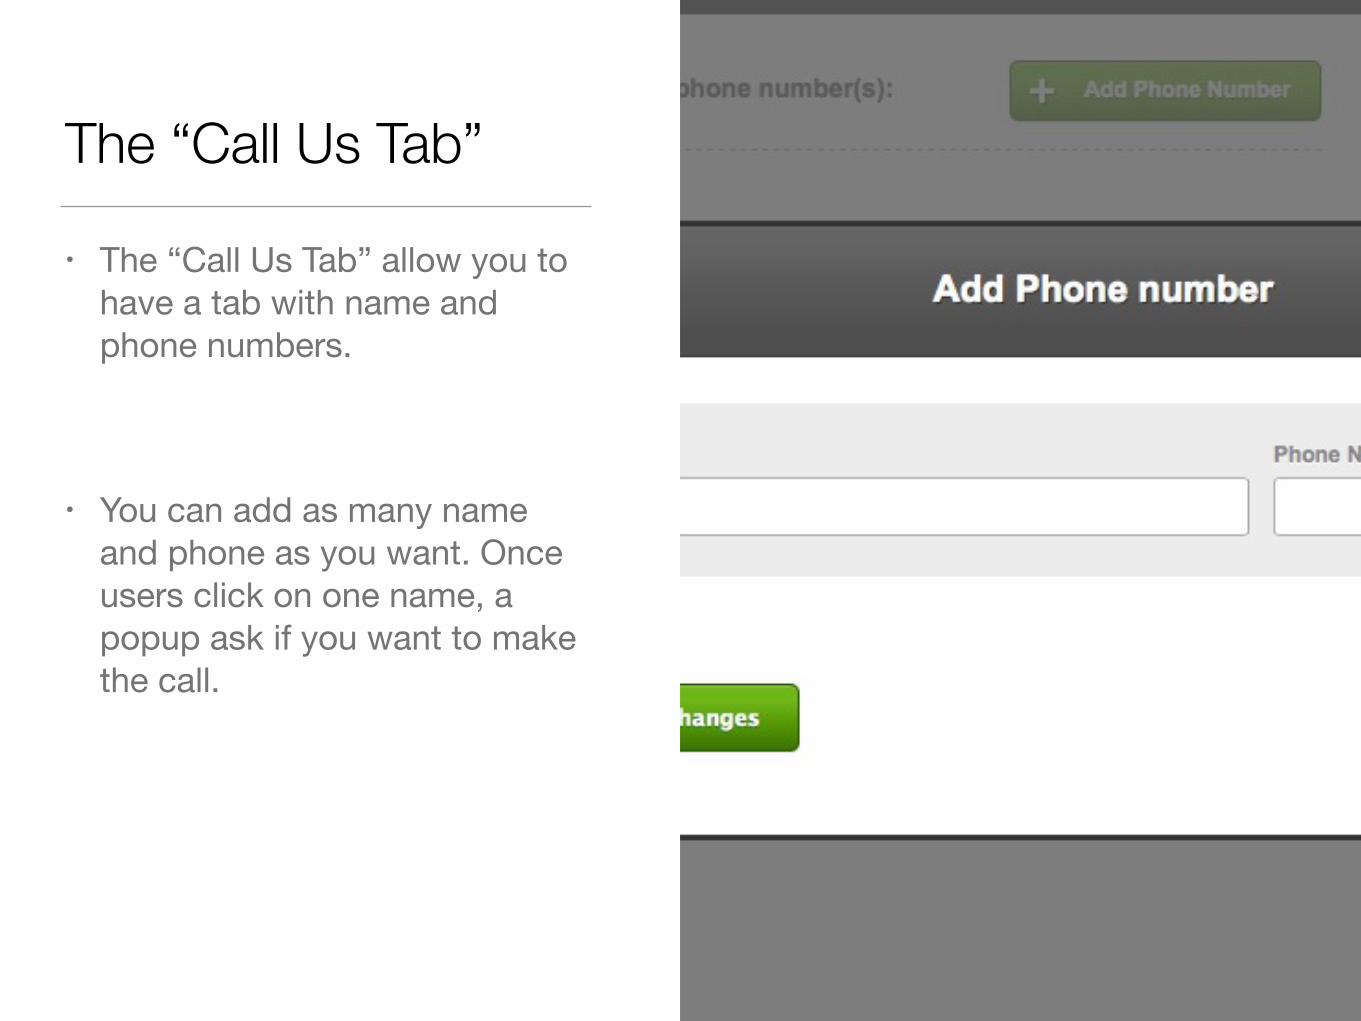
The “Call Us Tab”
• The “Call Us Tab” allow you to have a tab with name and phone numbers.
!
• You can add as many name and phone as you want. Once users click on one name, a popup ask if you want to make the call.
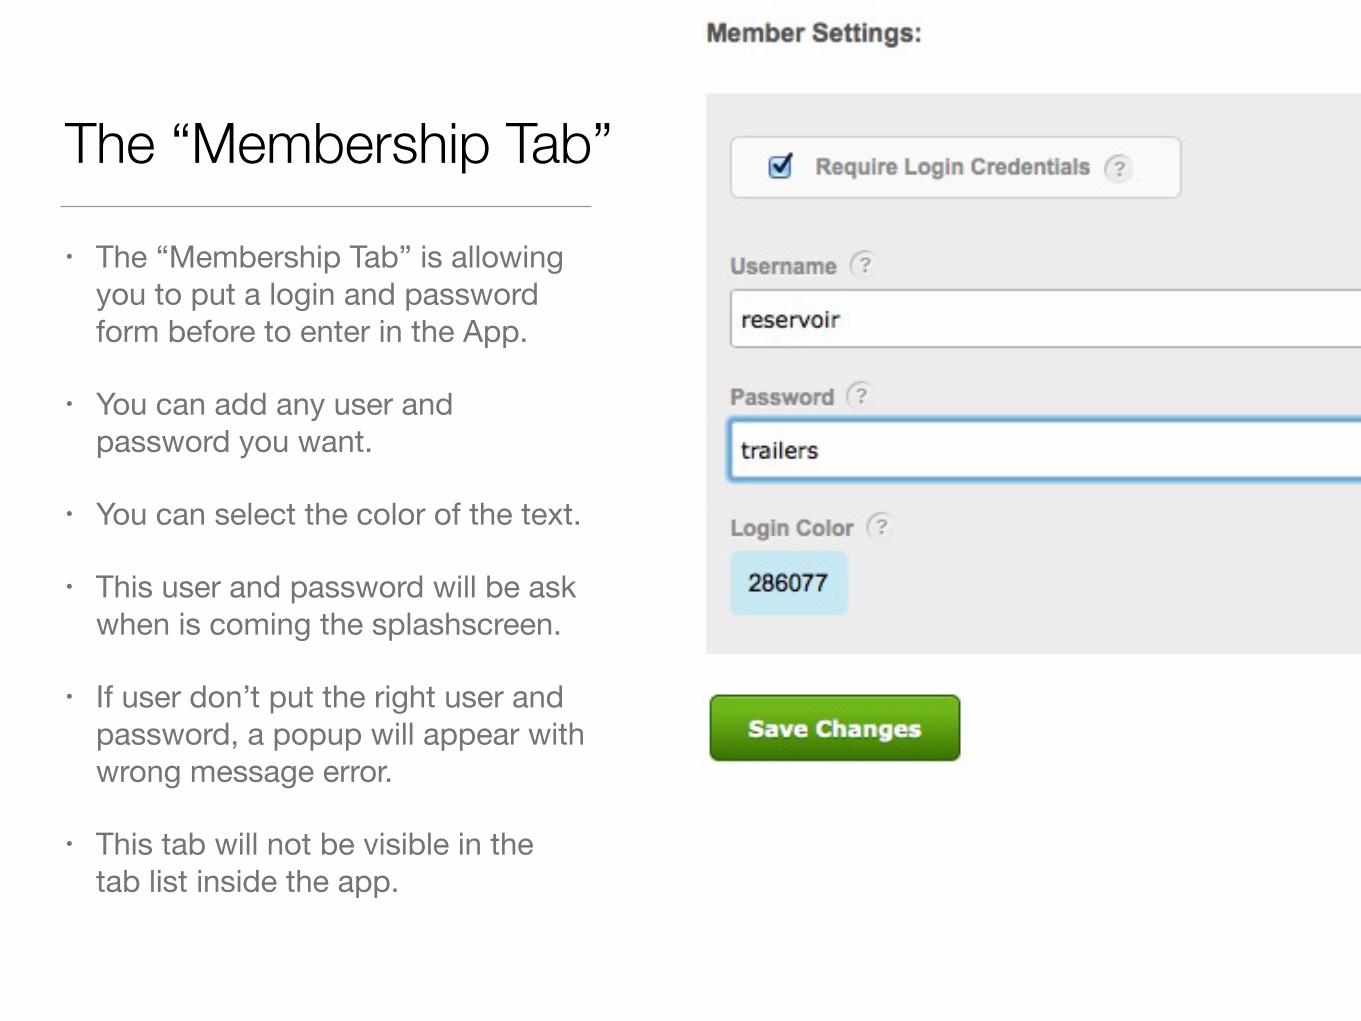
The “Membership Tab”• The “Membership Tab” is allowing
you to put a login and password form before to enter in the App.
• You can add any user and password you want.
• You can select the color of the text.
• This user and password will be ask when is coming the splashscreen.
• If user don’t put the right user and password, a popup will appear with wrong message error.
• This tab will not be visible in the tab list inside the app.
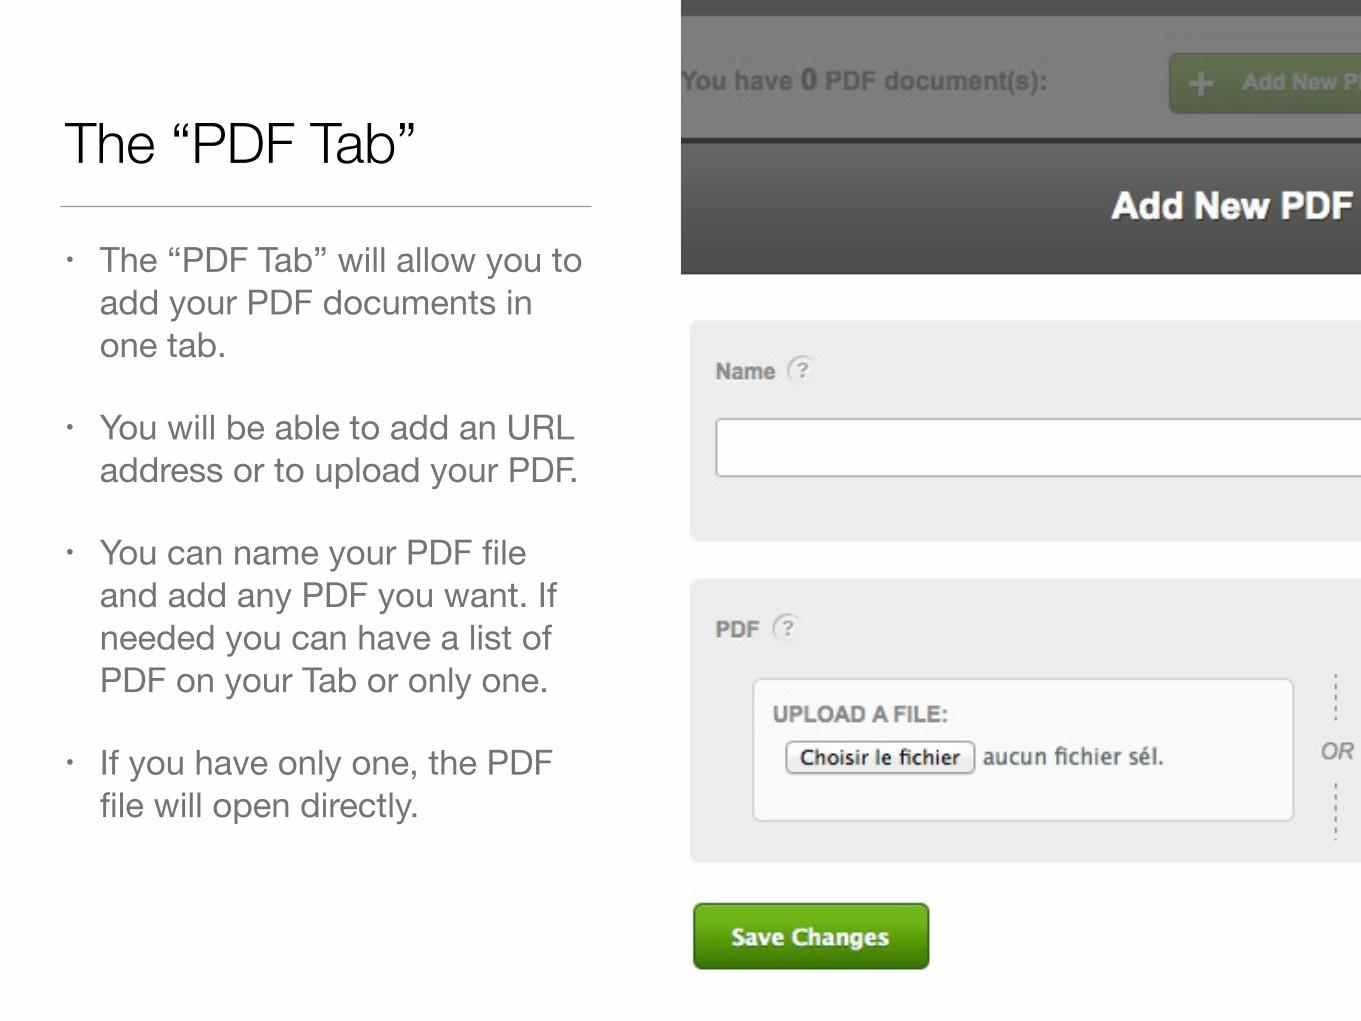
The “PDF Tab”
• The “PDF Tab” will allow you to add your PDF documents in one tab.
• You will be able to add an URL address or to upload your PDF.
• You can name your PDF file and add any PDF you want. If needed you can have a list of PDF on your Tab or only one.
• If you have only one, the PDF file will open directly.
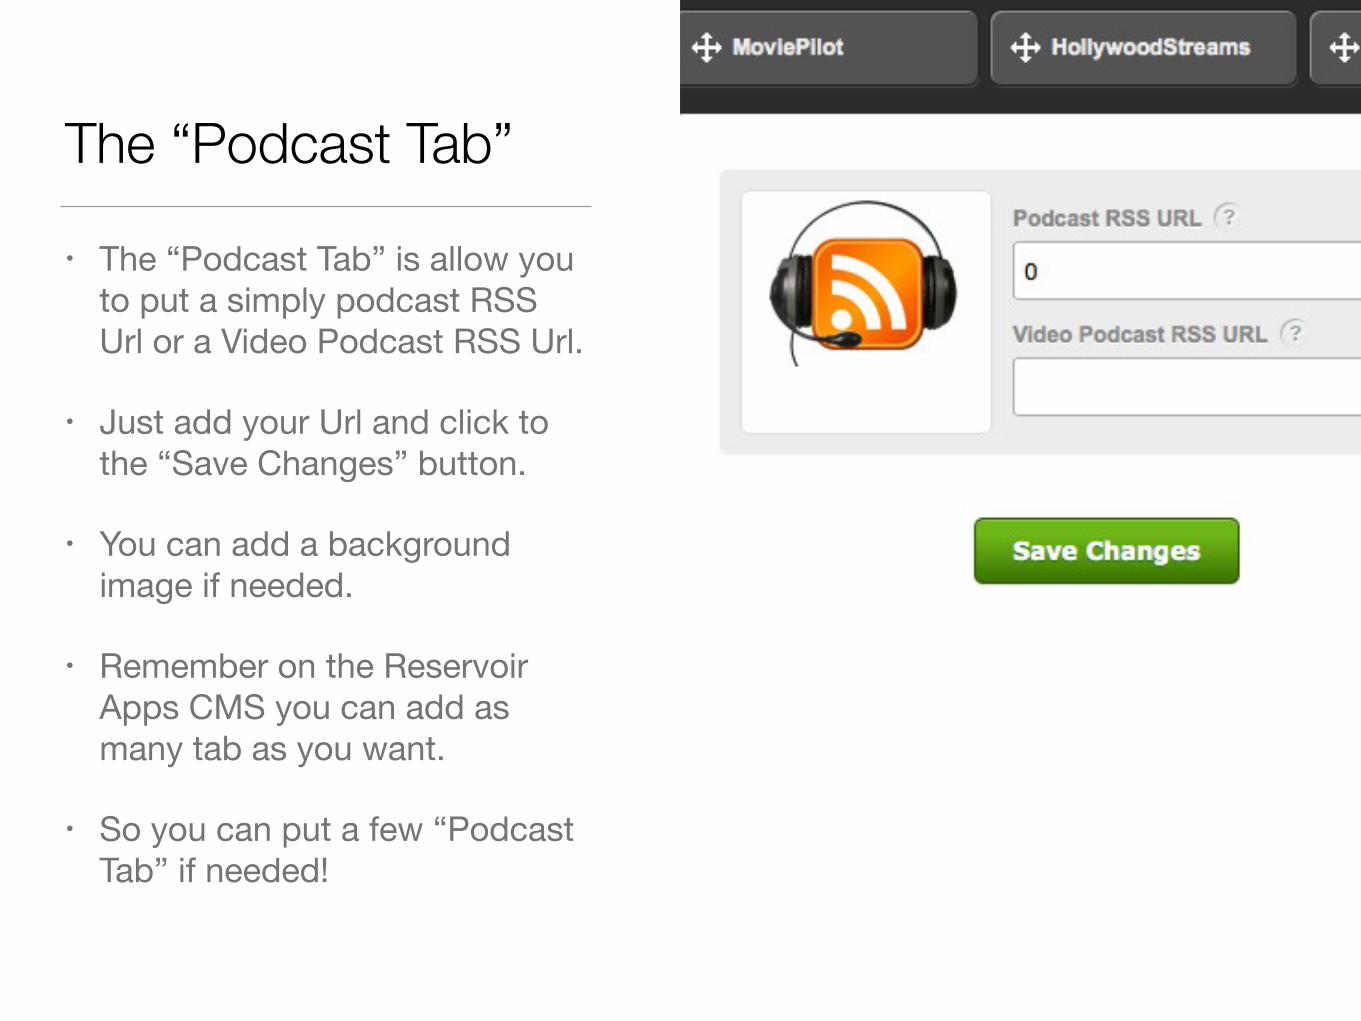
The “Podcast Tab”
• The “Podcast Tab” is allow you to put a simply podcast RSS Url or a Video Podcast RSS Url.
• Just add your Url and click to the “Save Changes” button.
• You can add a background image if needed.
• Remember on the Reservoir Apps CMS you can add as many tab as you want.
• So you can put a few “Podcast Tab” if needed!
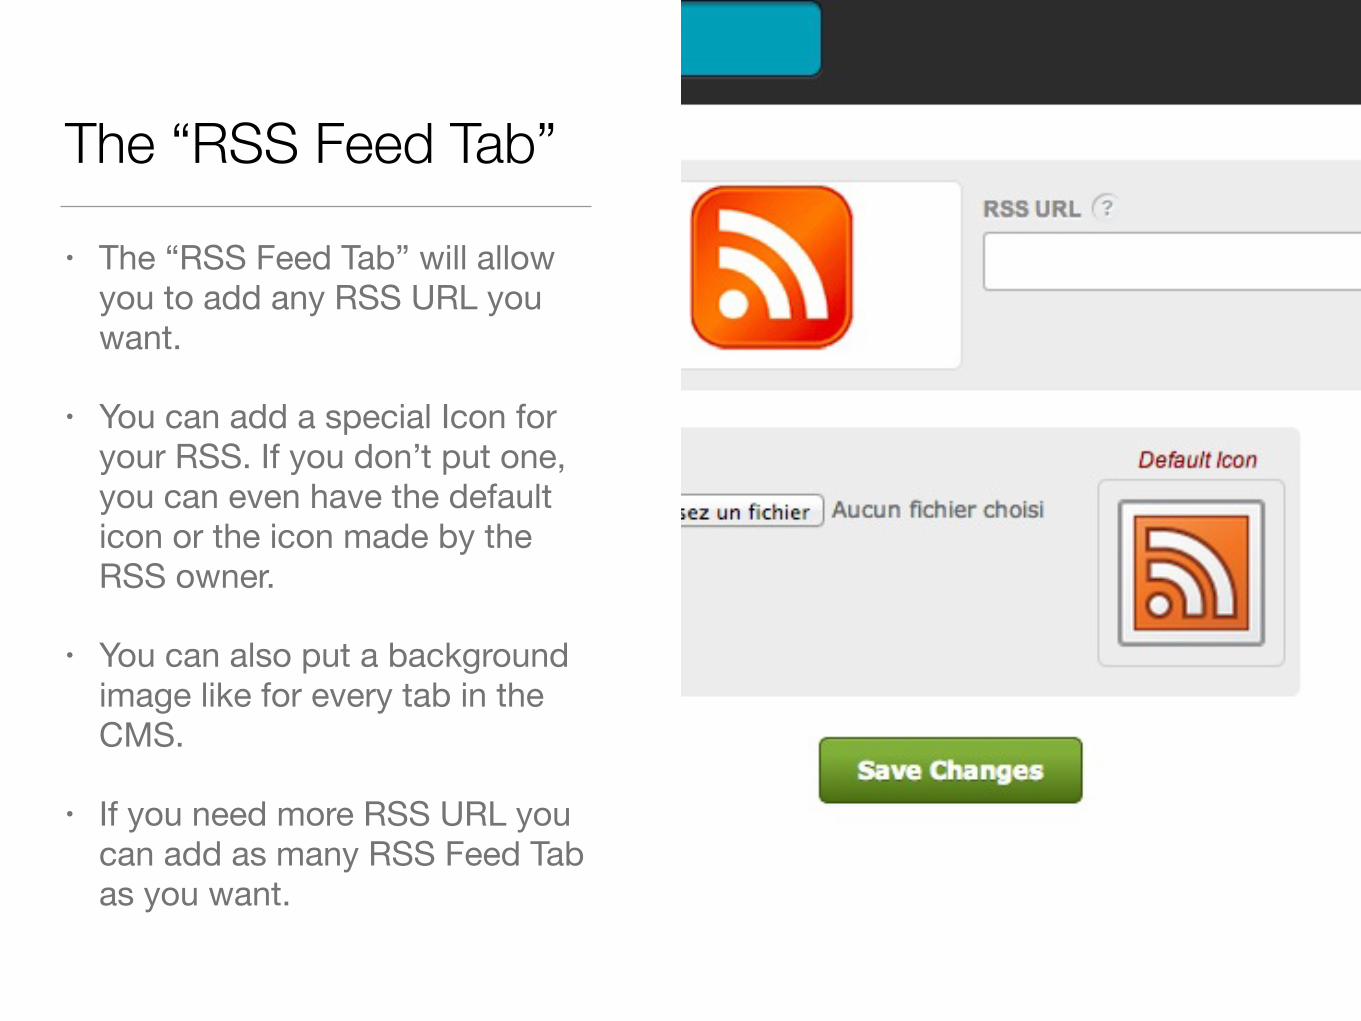
The “RSS Feed Tab”
• The “RSS Feed Tab” will allow you to add any RSS URL you want.
• You can add a special Icon for your RSS. If you don’t put one, you can even have the default icon or the icon made by the RSS owner.
• You can also put a background image like for every tab in the CMS.
• If you need more RSS URL you can add as many RSS Feed Tab as you want.
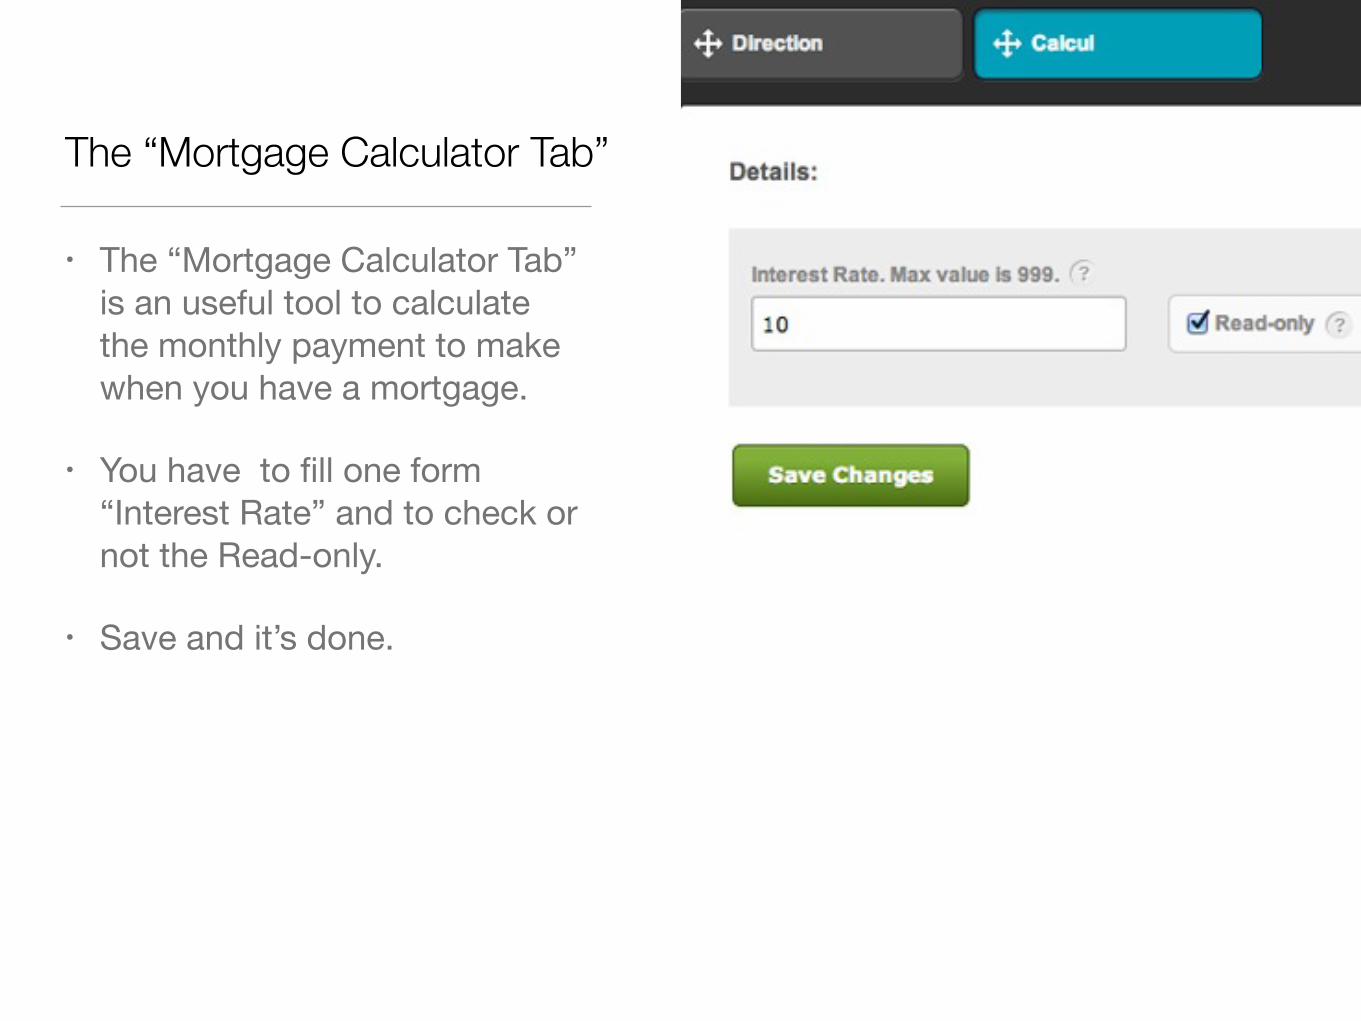
The “Mortgage Calculator Tab”
• The “Mortgage Calculator Tab” is an useful tool to calculate the monthly payment to make when you have a mortgage.
• You have to fill one form “Interest Rate” and to check or not the Read-only.
• Save and it’s done.
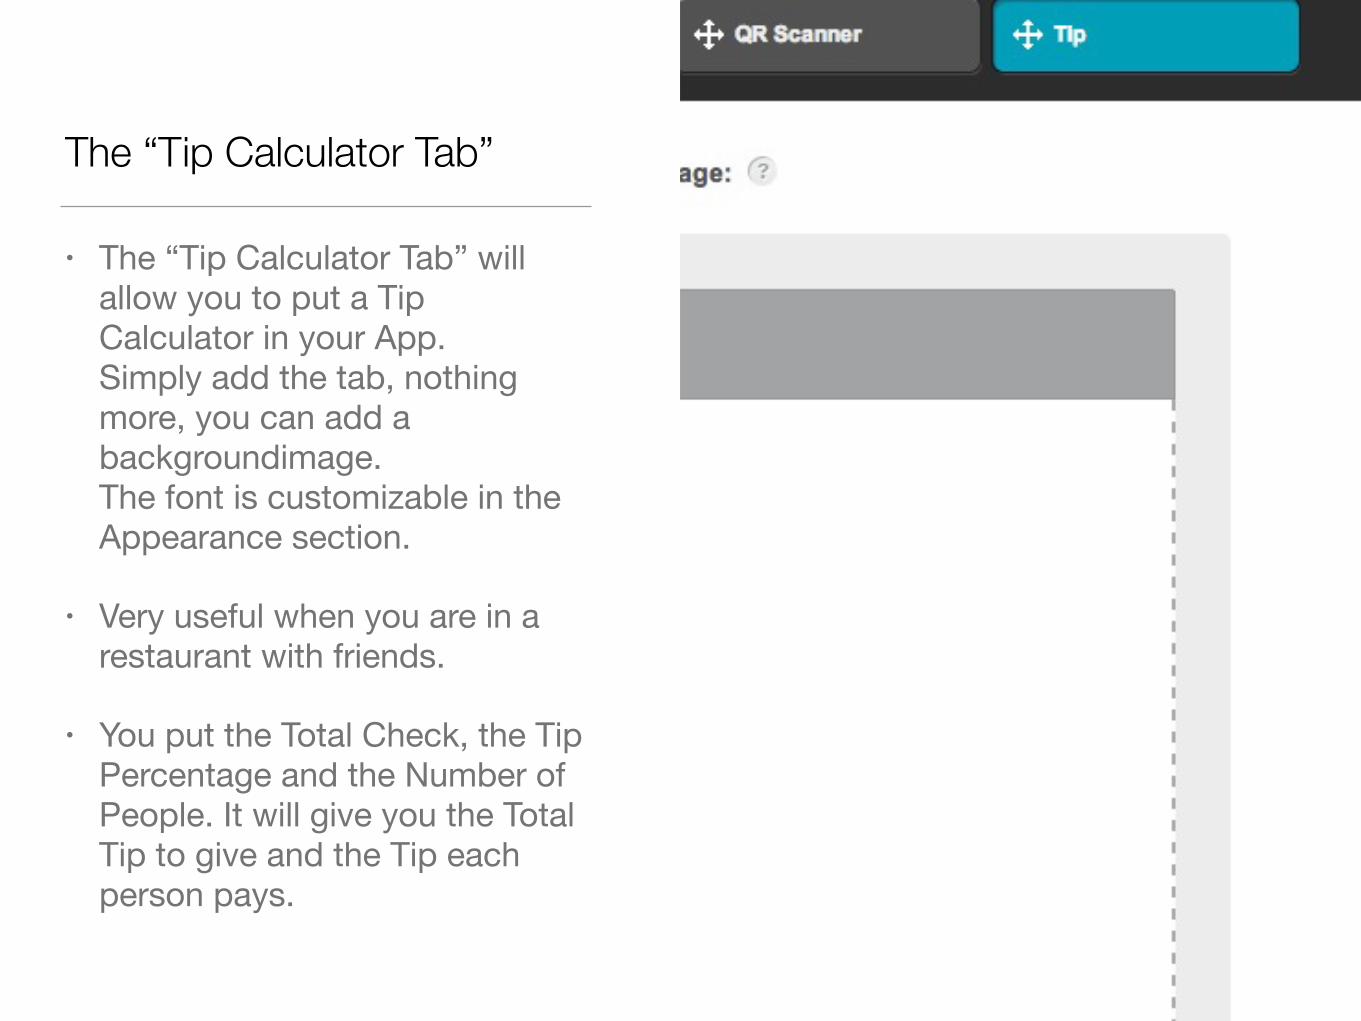
The “Tip Calculator Tab”
• The “Tip Calculator Tab” will allow you to put a Tip Calculator in your App.Simply add the tab, nothing more, you can add a backgroundimage. The font is customizable in the Appearance section.
• Very useful when you are in a restaurant with friends.
• You put the Total Check, the Tip Percentage and the Number of People. It will give you the Total Tip to give and the Tip each person pays.
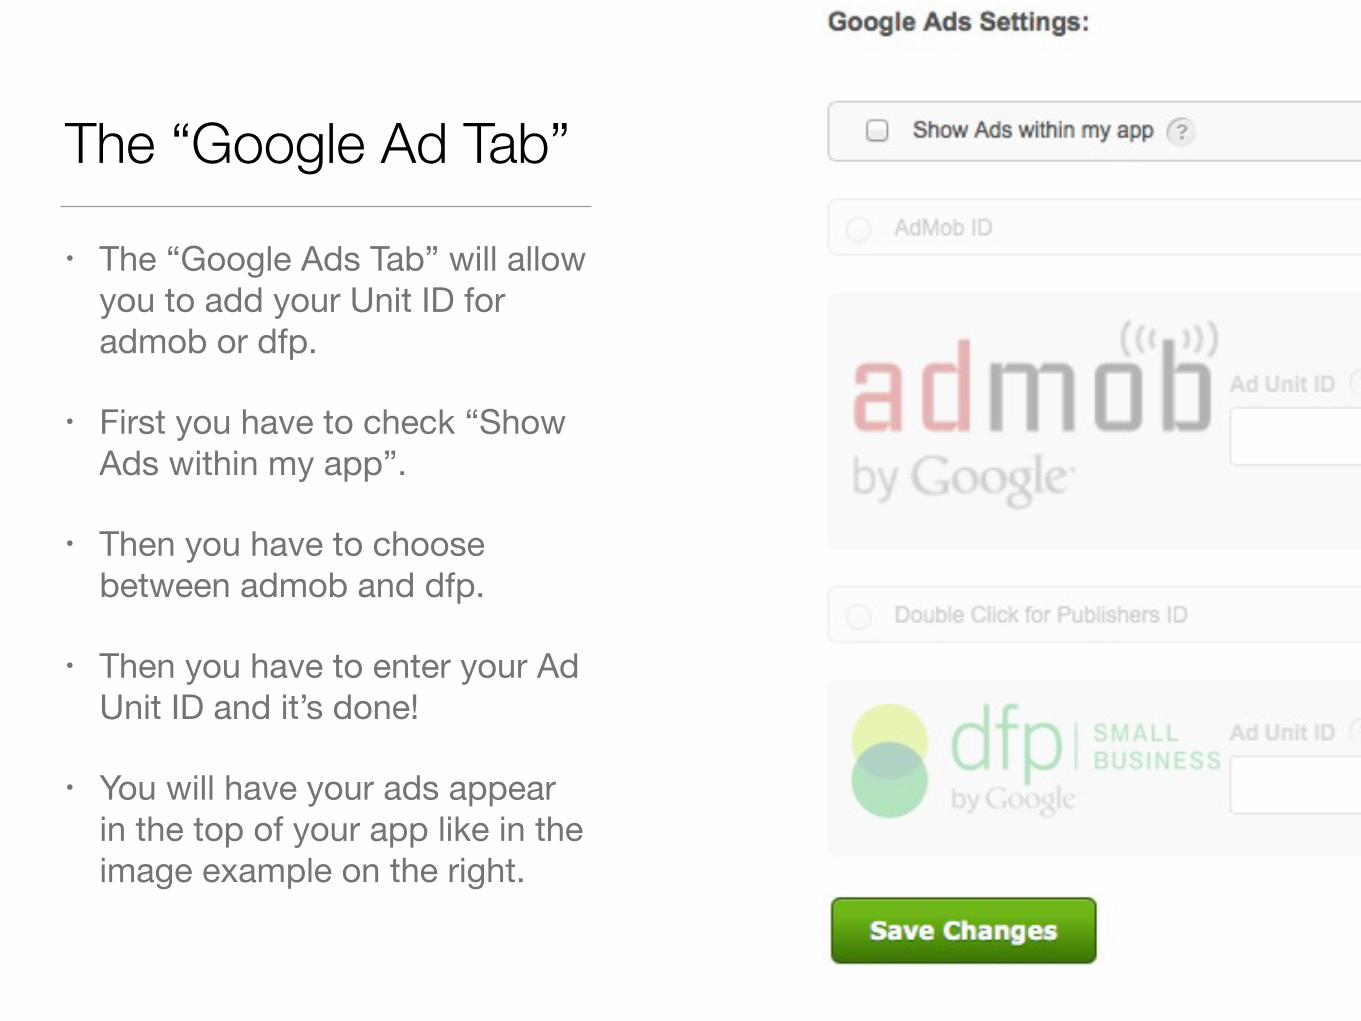
The “Google Ad Tab”
• The “Google Ads Tab” will allow you to add your Unit ID for admob or dfp.
• First you have to check “Show Ads within my app”.
• Then you have to choose between admob and dfp.
• Then you have to enter your Ad Unit ID and it’s done!
• You will have your ads appear in the top of your app like in the image example on the right.
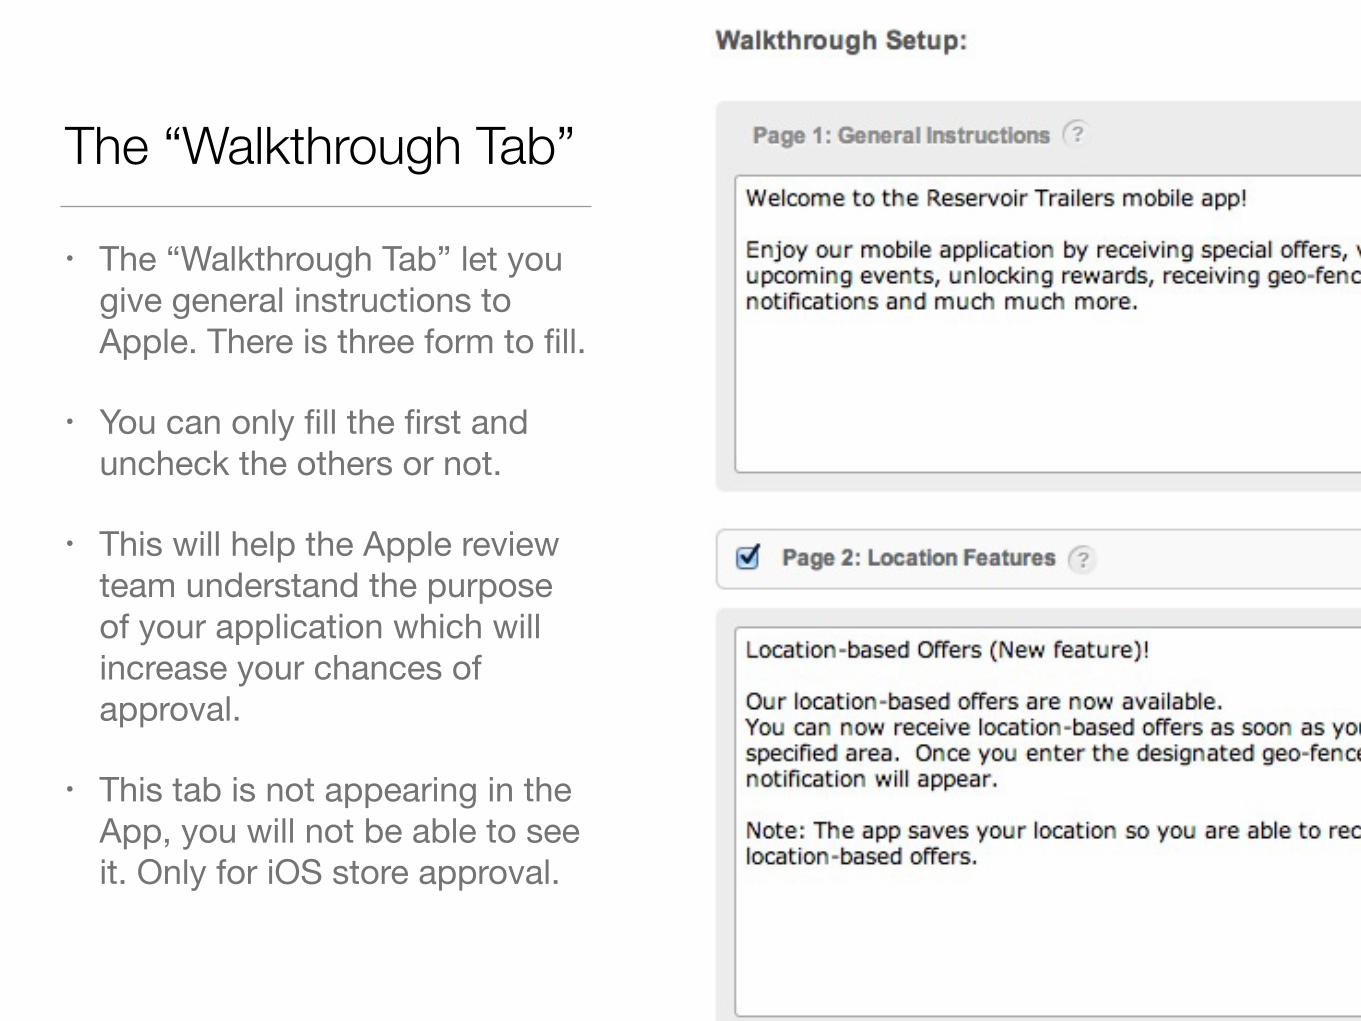
The “Walkthrough Tab”
• The “Walkthrough Tab” let you give general instructions to Apple. There is three form to fill.
• You can only fill the first and uncheck the others or not.
• This will help the Apple review team understand the purpose of your application which will increase your chances of approval.
• This tab is not appearing in the App, you will not be able to see it. Only for iOS store approval.
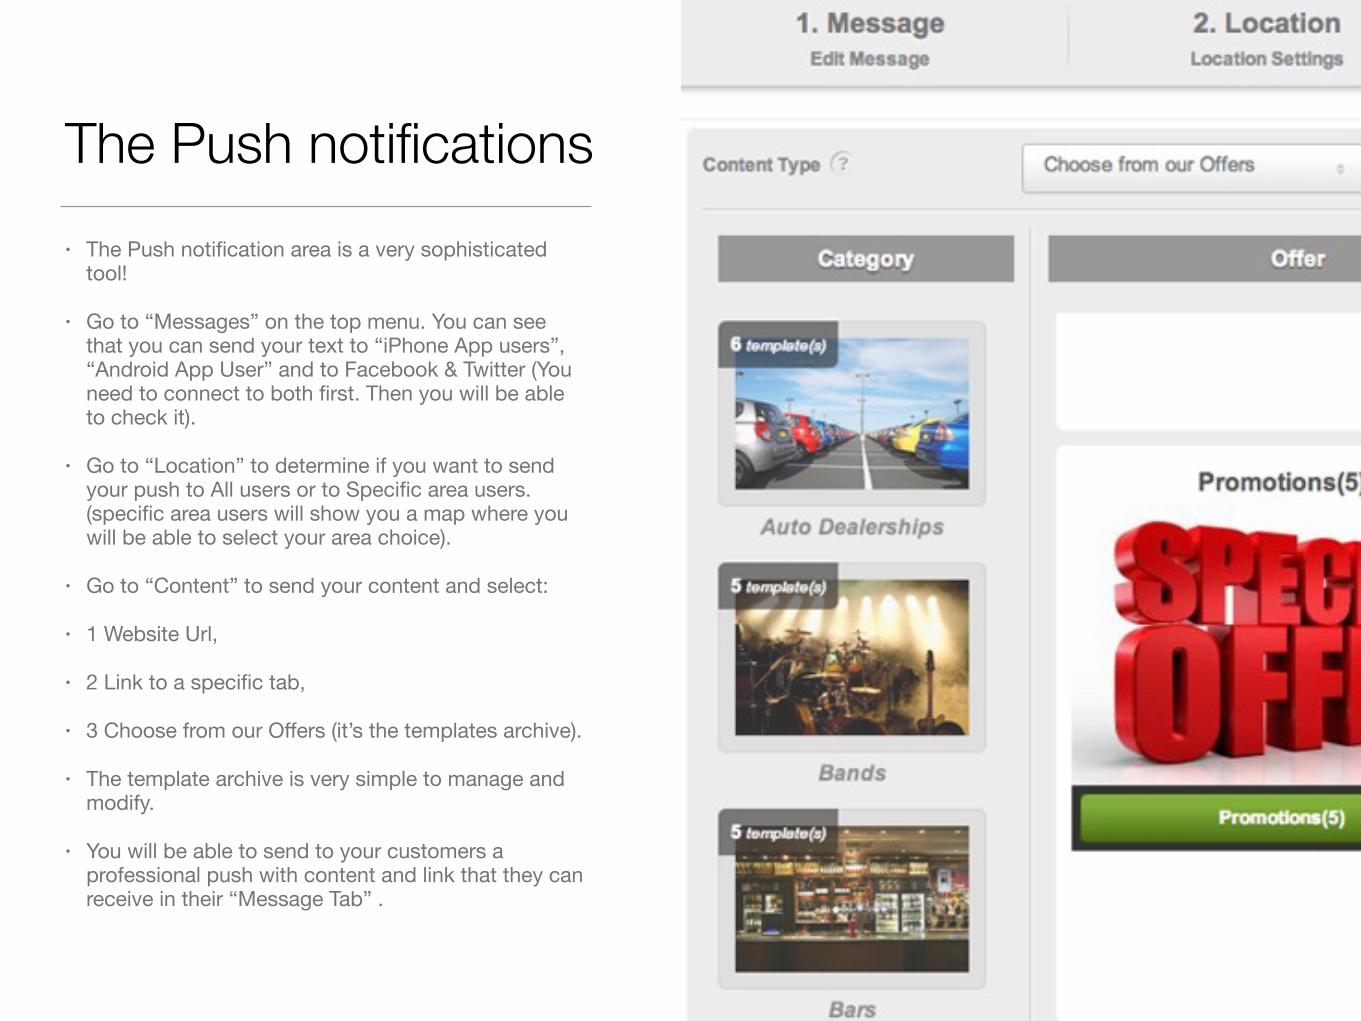
The Push notifications• The Push notification area is a very sophisticated
tool!
• Go to “Messages” on the top menu. You can see that you can send your text to “iPhone App users”, “Android App User” and to Facebook & Twitter (You need to connect to both first. Then you will be able to check it).
• Go to “Location” to determine if you want to send your push to All users or to Specific area users. (specific area users will show you a map where you will be able to select your area choice).
• Go to “Content” to send your content and select:
• 1 Website Url,
• 2 Link to a specific tab,
• 3 Choose from our Offers (it’s the templates archive).
• The template archive is very simple to manage and modify.
• You will be able to send to your customers a professional push with content and link that they can receive in their “Message Tab” .
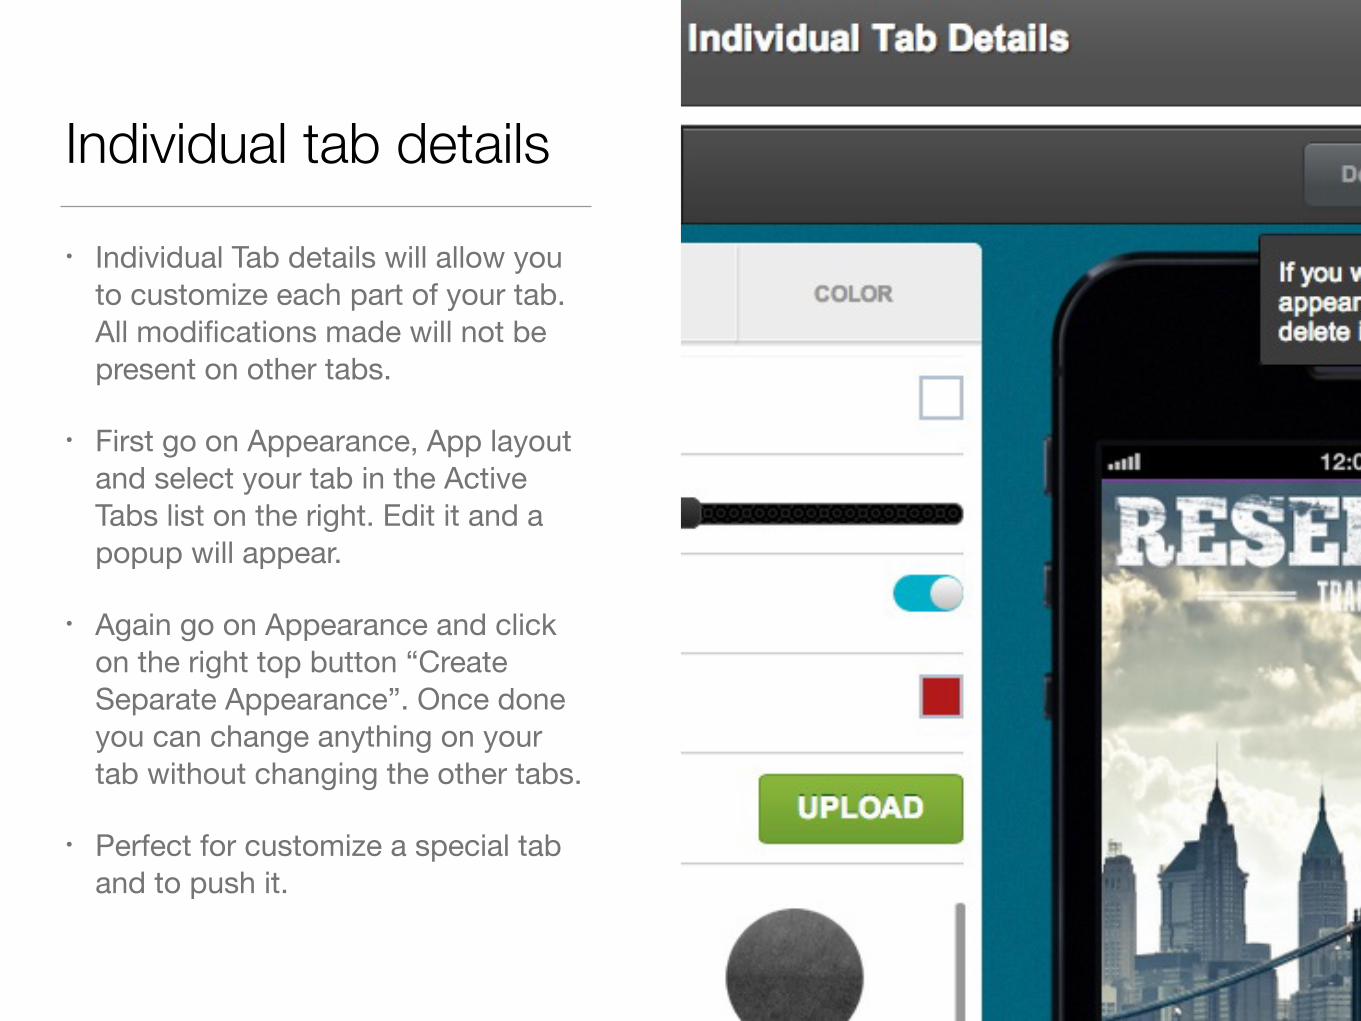
Individual tab details• Individual Tab details will allow you
to customize each part of your tab. All modifications made will not be present on other tabs.
• First go on Appearance, App layout and select your tab in the Active Tabs list on the right. Edit it and a popup will appear.
• Again go on Appearance and click on the right top button “Create Separate Appearance”. Once done you can change anything on your tab without changing the other tabs.
• Perfect for customize a special tab and to push it.