Embed Size (px)
DESCRIPTION
This is a tutorial on how to create hyperlinks, use keyboard shortcuts, and use the basic tool set in picmonkey.com to edit photos.
Citation preview

Intro to Content Basic
Tools
Jim L. SteffensmeierUniversity of PhoenixAET/545Instructor Carrie LewisAugust 12, 2012

ObjectiveToday, we’ll learn how to: Use Keyboard
Shortcuts Create a hyperlink
within any Microsoft based application.
Edit Photos Using Picmonkey.com

Lesson 1: Using Keyboard Shortcuts

Lesson 1: Using Keyboard Shortcuts
A keyboard shortcut is a combination of keys that when pressed perform a
specific action, saving you time and extra steps in order to accomplish
common actions.
Click the Graphic to the right to download or print a full list of all the
keyboard shortcuts.
Continue on to learn a few of the most useful shortcuts!

Lesson 1: Using Keyboard Shortcuts
This is the Control Key.
All of the keyboard shortcuts we are going to learn today require pressing them in conjunction with this key.
Find this key on your keyboard.
You will notice there are two control keys, one to the left, and one to the right of the space bar. They both do the same thing.
Lesson 1: Using Keyboard Shortcuts
+
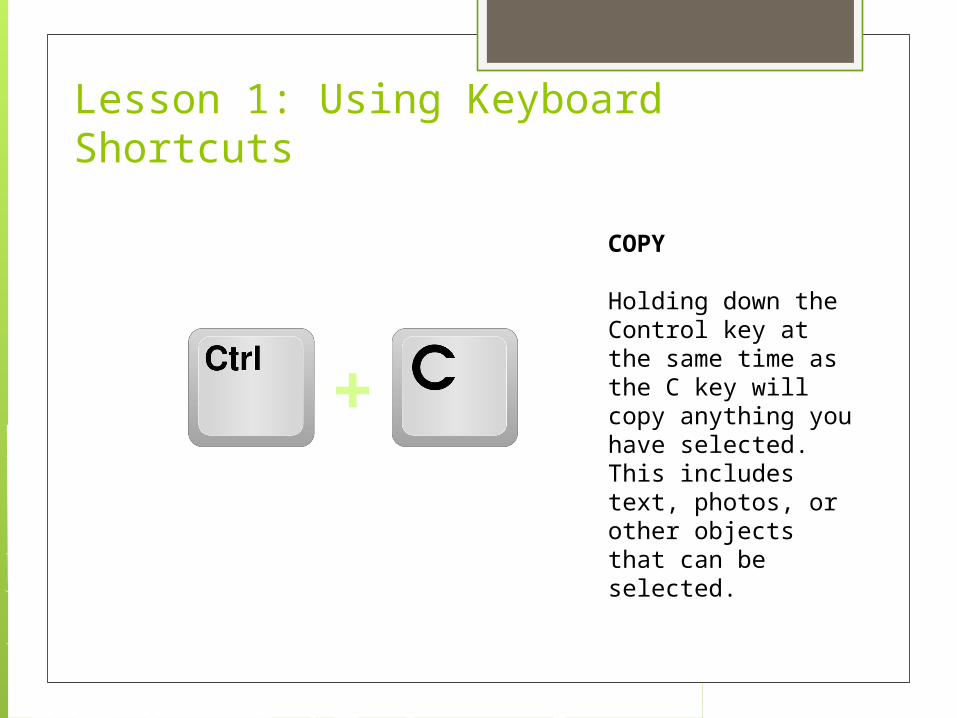
COPY
Holding down the Control key at the same time as the C key will copy anything you have selected. This includes text, photos, or other objects that can be selected.
Lesson 1: Using Keyboard Shortcuts
+
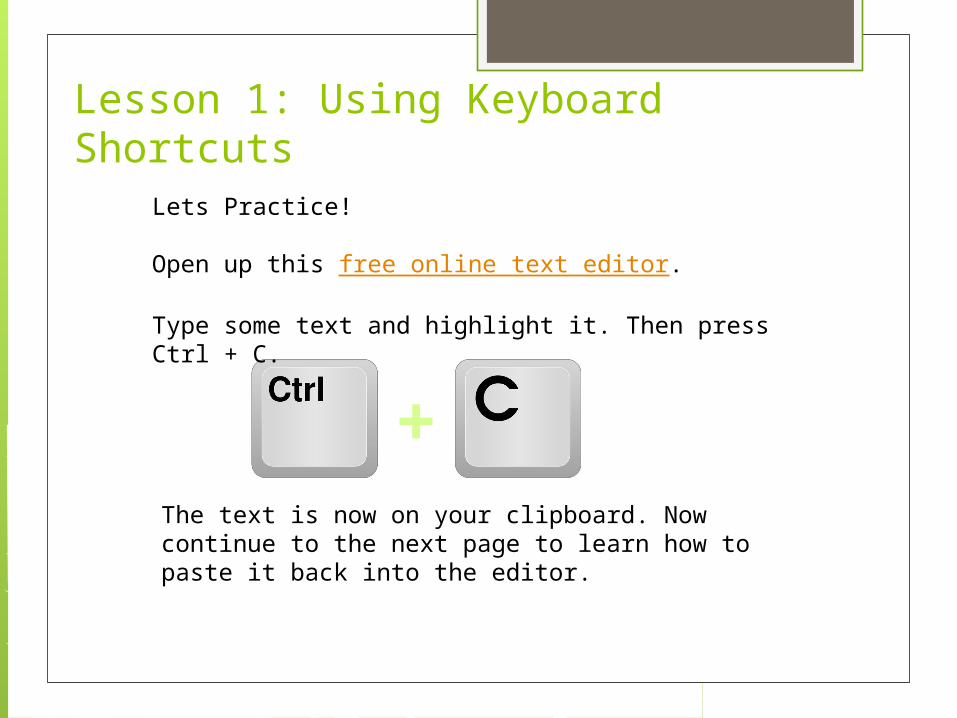
Lets Practice!
Open up this free online text editor.
Type some text and highlight it. Then press Ctrl + C.
The text is now on your clipboard. Now continue to the next page to learn how to paste it back into the editor.

Lesson 1: Using Keyboard Shortcuts
+
Paste
Holding down the Control key at the same time as the V key will paste the items you previously copied.
*Adding the Shift Key to the combo will paste as “plain text” which strips all html code.
Lesson 1: Using Keyboard Shortcuts
+
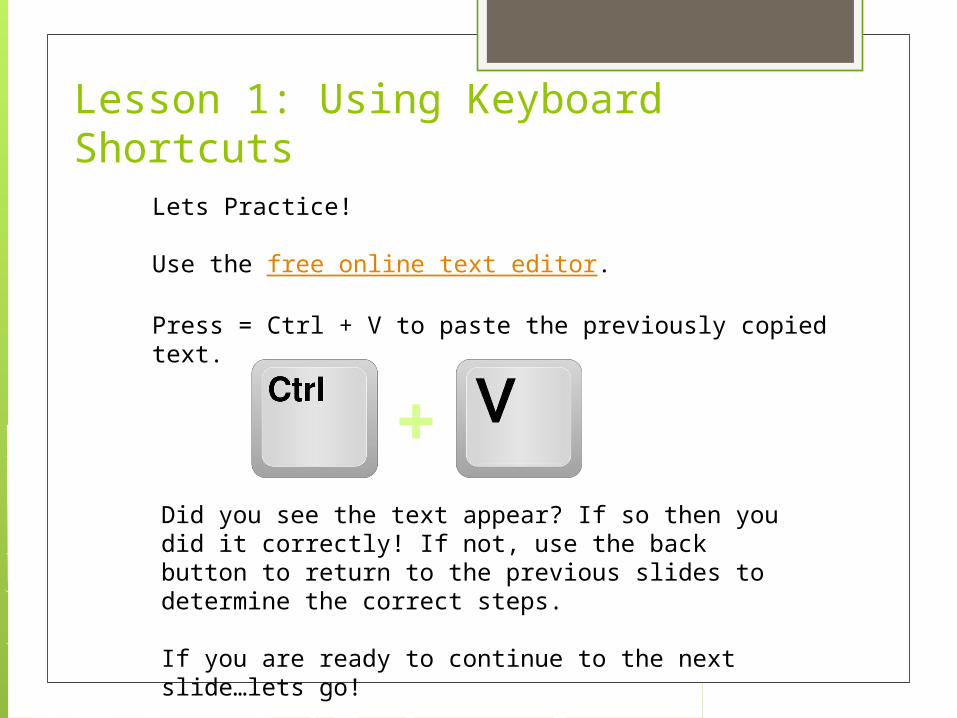
Lets Practice!
Use the free online text editor.
Press = Ctrl + V to paste the previously copied text.
Did you see the text appear? If so then you did it correctly! If not, use the back button to return to the previous slides to determine the correct steps.
If you are ready to continue to the next slide…lets go!
Lesson 1: Using Keyboard Shortcuts
+
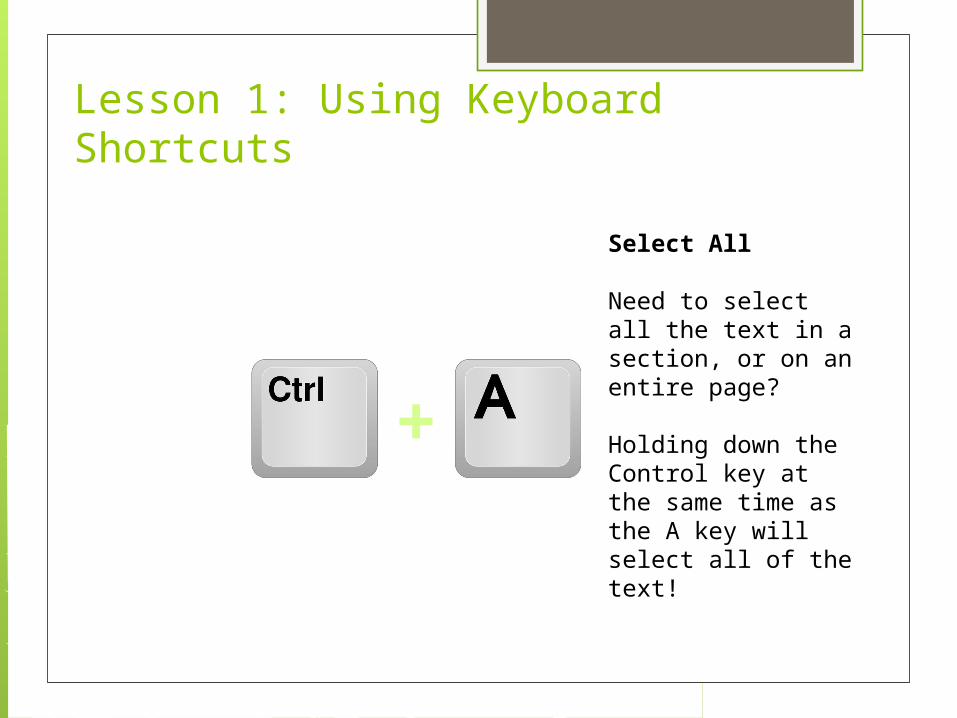
Select All
Need to select all the text in a section, or on an entire page?
Holding down the Control key at the same time as the A key will select all of the text!

Lesson 1: Using Keyboard ShortcutsLets Practice!
Use the free online text editor.
Type a sentence or two into the editor. Then Press Ctrl + A.
All of the text should now be selected. You could copy it, delete it, make it bold, larger, or drag and drop it into a different location. The ability to select all of the text if needed can save you precious time.
+
Lesson 1: Using Keyboard Shortcuts
+
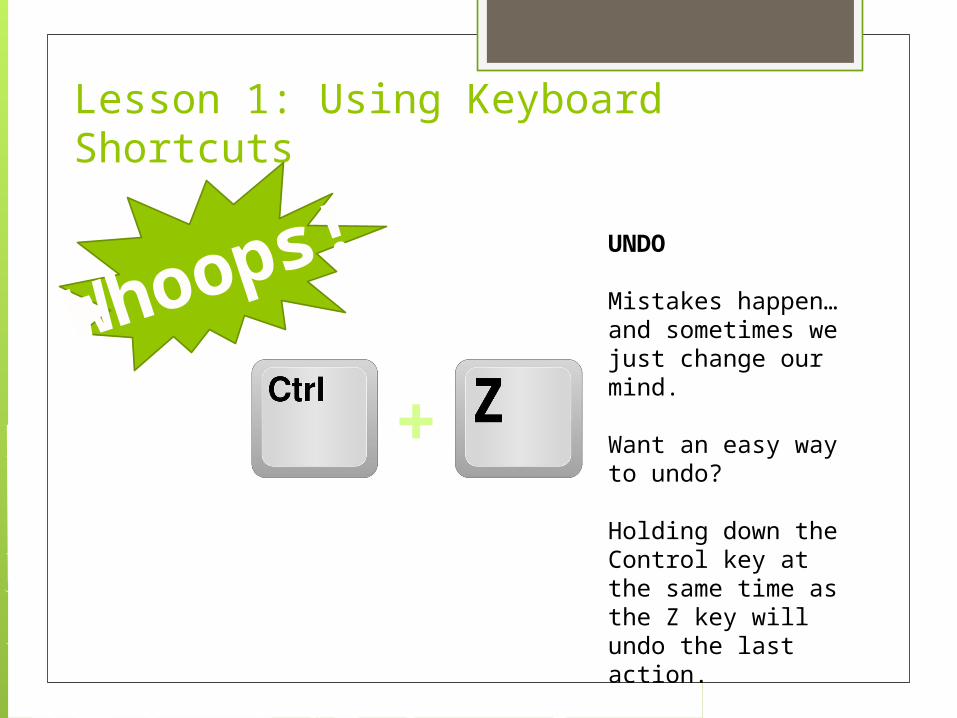
UNDO
Mistakes happen…and sometimes we just change our mind.
Want an easy way to undo?
Holding down the Control key at the same time as the Z key will undo the last action.
Whoops!

Lesson 1: Using Keyboard ShortcutsLets Practice!
Use the free online text editor.
Type a word into the editor. Now make your text bold.
Use Ctrl + Z to undo the action. It removed the bold formatting from your text. Keep hitting it and eventually it will undo every action you have done until you are left with a blank page.
Now don’t you wish life had an undo button!
+

Lesson 1: Using Keyboard ShortcutsLet’s Review…
Which keyboard shortcut do you use
to “Copy” text?

Lesson 1: Using Keyboard Shortcuts
CTRL + C
Lesson 1: Using Keyboard ShortcutsLet’s Review…
Which keyboard shortcut do you use
to “Paste” text?

Lesson 1: Using Keyboard Shortcuts
CTRL + V

Lesson 1: Using Keyboard ShortcutsLet’s Review…
Which keyboard shortcut do you use
to “Select All” of the text?

Lesson 1: Using Keyboard Shortcuts
CTRL + A

Lesson 1: Using Keyboard ShortcutsLet’s Review…
Which keyboard shortcut do you use to “Undo” your last
action?
Lesson 1: Using Keyboard Shortcuts
CTRL + Z
Great!
Let’s continue to Lesson 2!
Lesson 2: Creating a Hyperlink

Lesson 2: Creating a Hyperlink
What is a hyperlink?
A hyperlink is a special area on a Web page which can be activated (usually with a mouse).
The hyperlink can appear as text or graphics.
Most hyperlinks take you to another Web page. Other hyperlinks perform special functions, such as sending email, submitting a form
Have you seen these hyper l inks
be fo re?
• C l i ck Here• Submit• View S i te
Lesson 2: Creating a Hyperlink
Click the link to watch the short video on Youtube.
Hyperlinking Video
Let’s Review…
Where do you get the address for the
hyperlink?
Lesson 2: Creating a Hyperlink
Lesson 2: Creating a Hyperlink
From the address bar at the top of
the website!

Let’s Review…
What does the Hyperlink tool look
like?
Lesson 2: Creating a Hyperlink
Lesson 2: Creating a Hyperlink
A Globe with a
chain link!

Let’s Review…
What must you always include in the link address?
Lesson 2: Creating a Hyperlink

Lesson 2: Creating a Hyperlink
http://

Let’s Review…
What is the last step? Always!
Lesson 2: Creating a Hyperlink
Lesson 2: Creating a Hyperlink
Check the hyperlink
to ensure it works
properly!

Great!
Let’s continue to Lesson 3!
Lesson 3: Editing Your Photos
For this part of the tutorial, you will practice using picmonkey.com, a free online photo editing application that requires no account creation or file uploading. Please click the logo above to open picmonky.com in a separate window/tab!
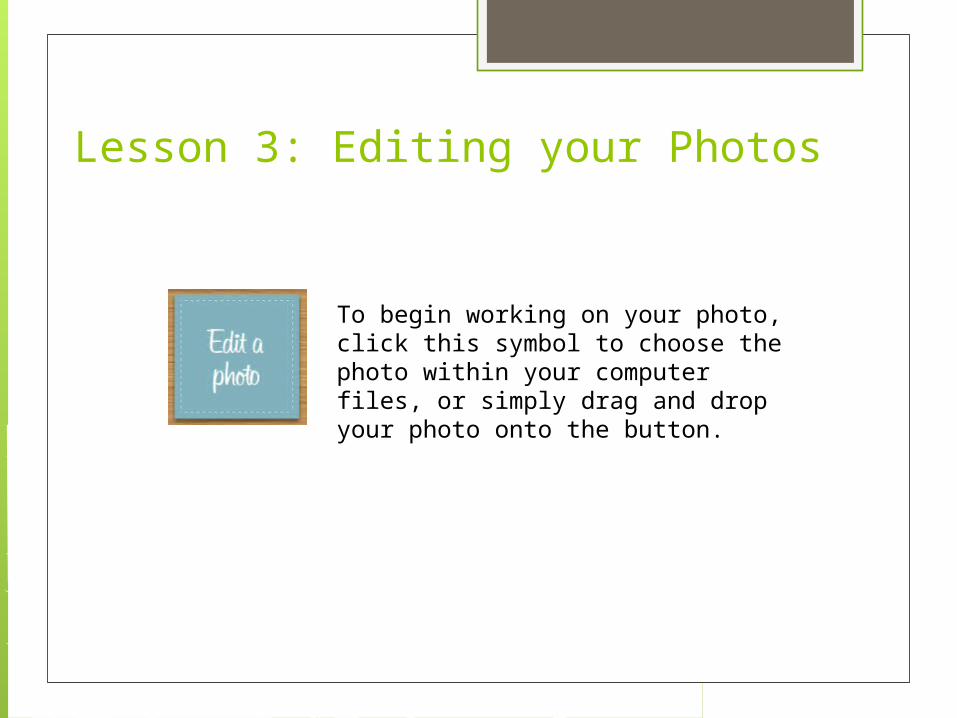
Lesson 3: Editing your Photos
To begin working on your photo, click this symbol to choose the photo within your computer files, or simply drag and drop your photo onto the button.

Lesson 3: Editing your Photos
Depending on the file size of your photo, you may be prompted to choose from the following 3 settings. When adding a photo to your website, you will want it to be under 3 megapixals. So choose the “Jack” setting. Then click on save.

Lesson 3: Editing your Photos
Now you will see the Basic Editing Tools, and your picture.
In this tutorial we will only be discussing basic edits. Advance tool options will be examined in later tutorials.
Continue to the next slide to begin editing your photo!
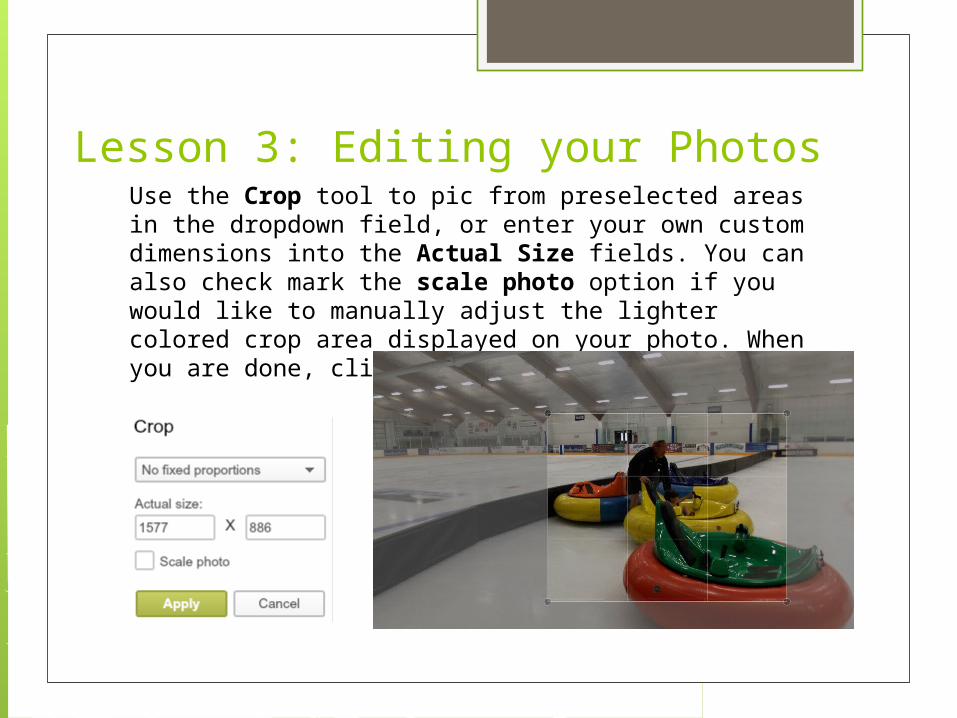
Lesson 3: Editing your PhotosUse the Crop tool to pic from preselected areas in the dropdown field, or enter your own custom dimensions into the Actual Size fields. You can also check mark the scale photo option if you would like to manually adjust the lighter colored crop area displayed on your photo. When you are done, click Apply.

Lesson 3: Editing your PhotosUse the rotate tool to straighten out photos that may be a little crooked, or flip photos if needed. The straighten slider will help you straighten. The rotate icons will rotate 90 Degrees at a time, changing your photos from landscape to portrait, and the flip tools will create the effect you see below.

Lesson 3: Editing your PhotosWhen using the Exposure tool, your best bet is always to try out the auto adjust button first. It’s usually going to give you the best result.You can also use the Brightness, Highlights, Shadows, and Contrast sliders in order to do subtle changes or drastic changes to your photo.
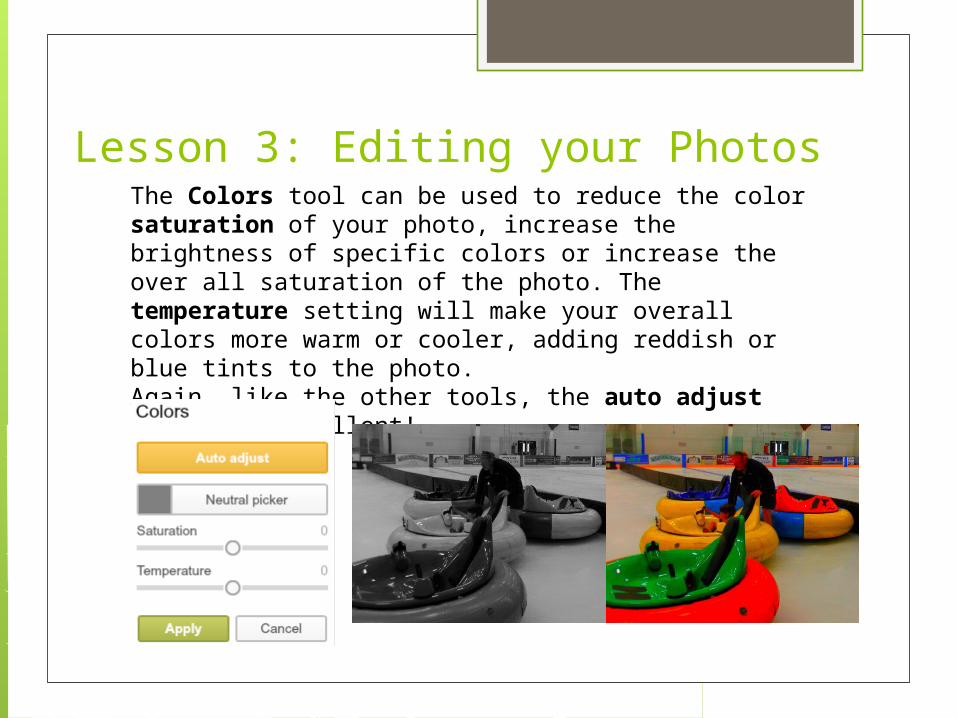
Lesson 3: Editing your PhotosThe Colors tool can be used to reduce the color saturation of your photo, increase the brightness of specific colors or increase the over all saturation of the photo. The temperature setting will make your overall colors more warm or cooler, adding reddish or blue tints to the photo.Again, like the other tools, the auto adjust button is excellent!
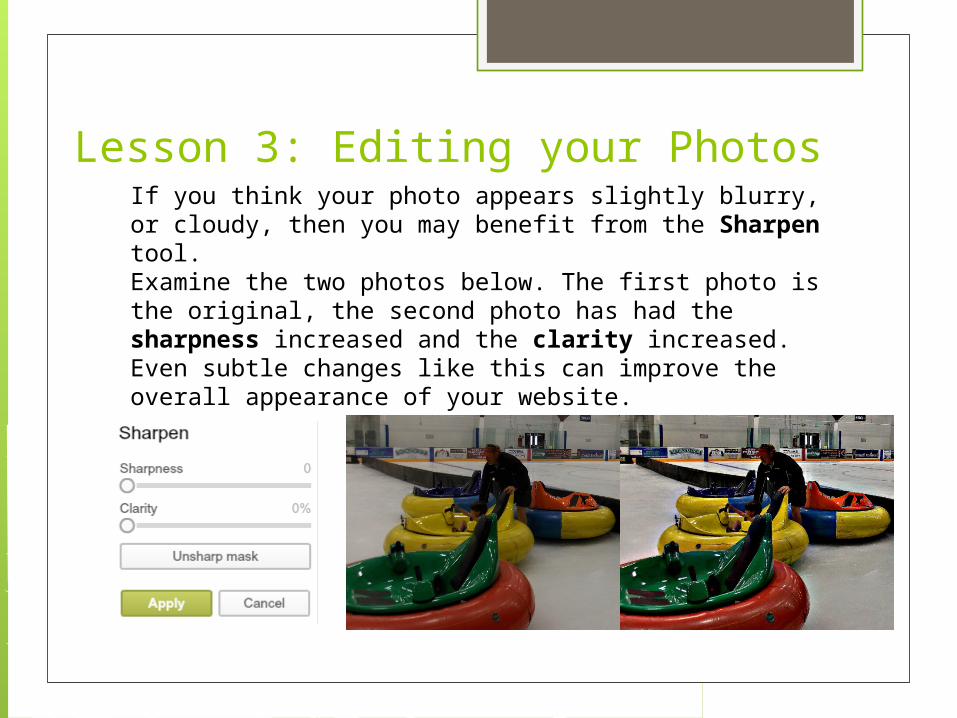
Lesson 3: Editing your PhotosIf you think your photo appears slightly blurry, or cloudy, then you may benefit from the Sharpen tool.Examine the two photos below. The first photo is the original, the second photo has had the sharpness increased and the clarity increased. Even subtle changes like this can improve the overall appearance of your website.

Lesson 3: Editing your PhotosThe last of the basic editing tools is the Resize tool.
You can resize using the actual size or you can use percentages. Check the box and enter any percentage to reduce the size of the photo.
Checking the Keep Proportions box will prevent distorted photos.

Let’s Review…
Which tool allows you to increase
color saturation?
Lesson 3: Editing your Photos

Lesson 3: Editing your Photos
Colors

Let’s Review…
What tool can you use to trim the unwanted area
from your photo?
Lesson 3: Editing your Photos
Lesson 3: Editing your Photos
Crop
Let’s Review…
What tool can you use to flip your
photo in order to make someone face
the opposite direction?
Lesson 3: Editing your Photos

Lesson 3: Editing your Photos
Let’s Review…
How do you save your photo after
you are done editing?
Lesson 3: Editing your Photos
Lesson 3: Editing your Photos
That was tricky!Did you find it?

Lesson 3: Editing your Photos
Good Job! The save button is always at the top of the screen. Remember, if
you are unsure where something is, it never hurts to look around!
You can now close picmonkey.com, we have finished Lesson 3.
Continue to the next slide when you are done.

Additional Resources:Thank you for completing this tutorial. If you would like to complete it again, you may hit the home button at the bottom of your screen. If you would like more information about the lessons in this plan, here are some helpful links!• Picmonkey.com FAQs• Microsoft Keyboard Shortcuts• Youtube Video on Hyperlinking• 10 Photo Editing Tips from a Pro!• How to create a hyperlink in Microsoft Office
Good luck on your new website!