Embed Size (px)
Citation preview
Craft Ideas: Spring: Cardboard Tube Birds................................................................................3Craft Ideas for Spring: Daisy......................................................................................................7Craft Ideas for Spring: Flower.................................................................................................12Cloud and Rainbow Raindrops.................................................................................................17Craft Ideas for Spring: Nest.....................................................................................................21
Craft Ideas: Spring: Cardboard Tube Birds
Only a couple more days and spring will be officially here, according to the calendar anyway! The weather here in southeast Wisconsin still reflects the dead of winter, so I’m waiting
Craft tips, tricks, tutorials. 2 www.thecraftideas.com
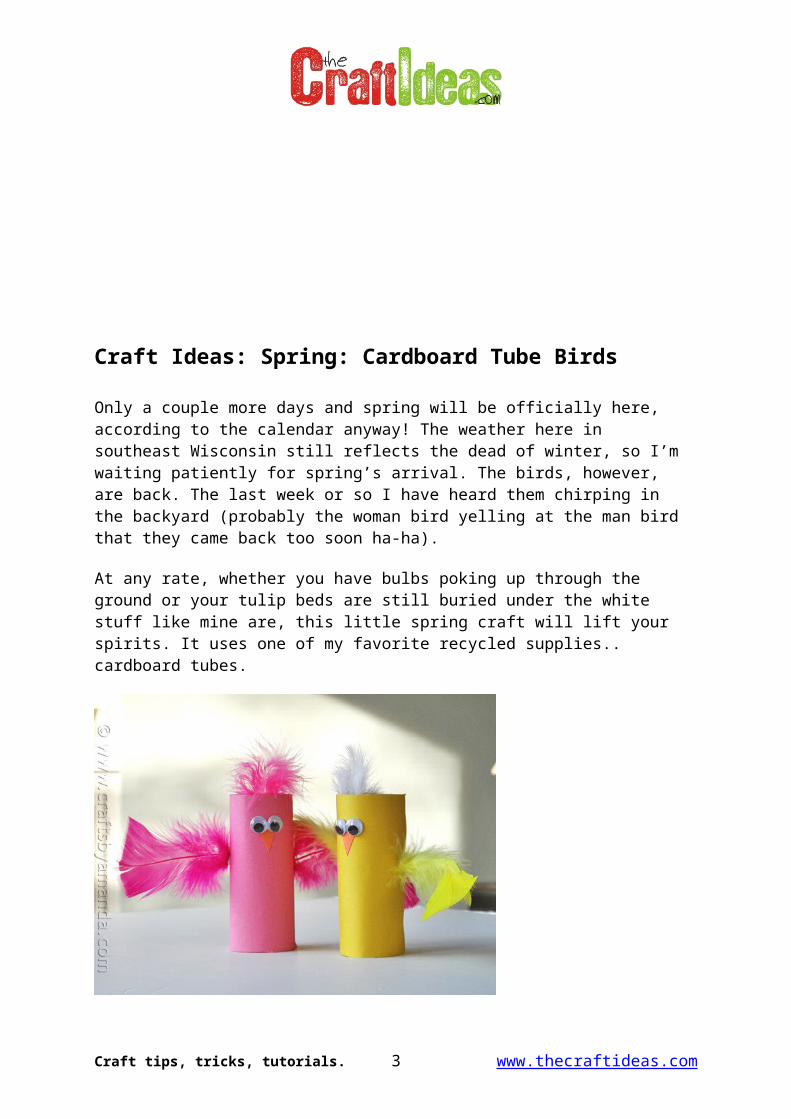
patiently for spring’s arrival. The birds, however, are back. The last week or so I have heard them chirping in the backyard (probably the woman bird yelling at the man bird that they came back too soon ha-ha).
At any rate, whether you have bulbs poking up through the ground or your tulip beds are still buried under the white stuff like mine are, this little spring craft will lift your spirits. It uses one of my favorite recycled supplies.. cardboard tubes.
Use whatever pretty colors make you happy, I chose pink and yellow. You can buy bags of feathers at the craft store, they come in a variety of colors. For a spring craft like this one, I prefer the bags with the bright flowery colors. Some are solid packs with all one color and some are multicolored packs, which are the ones I usually get.
Craft tips, tricks, tutorials. 3 www.thecraftideas.com
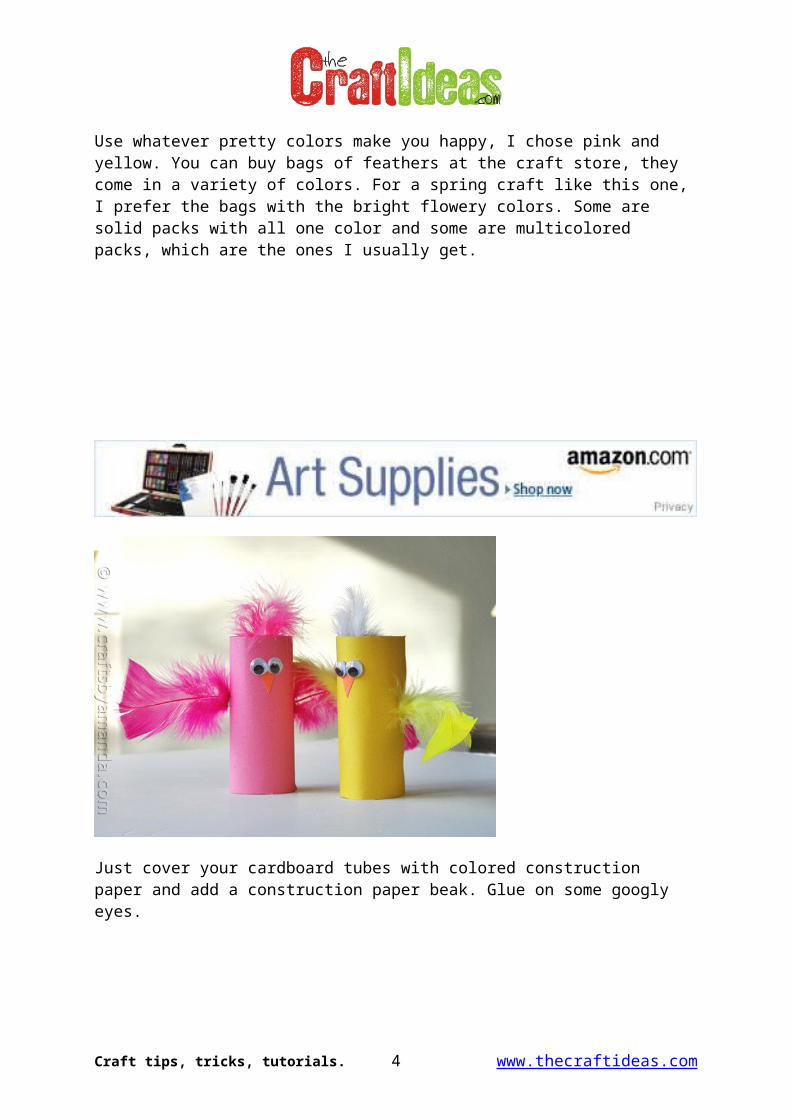
Just cover your cardboard tubes with colored construction paper and add a construction paper beak. Glue on some googly eyes.
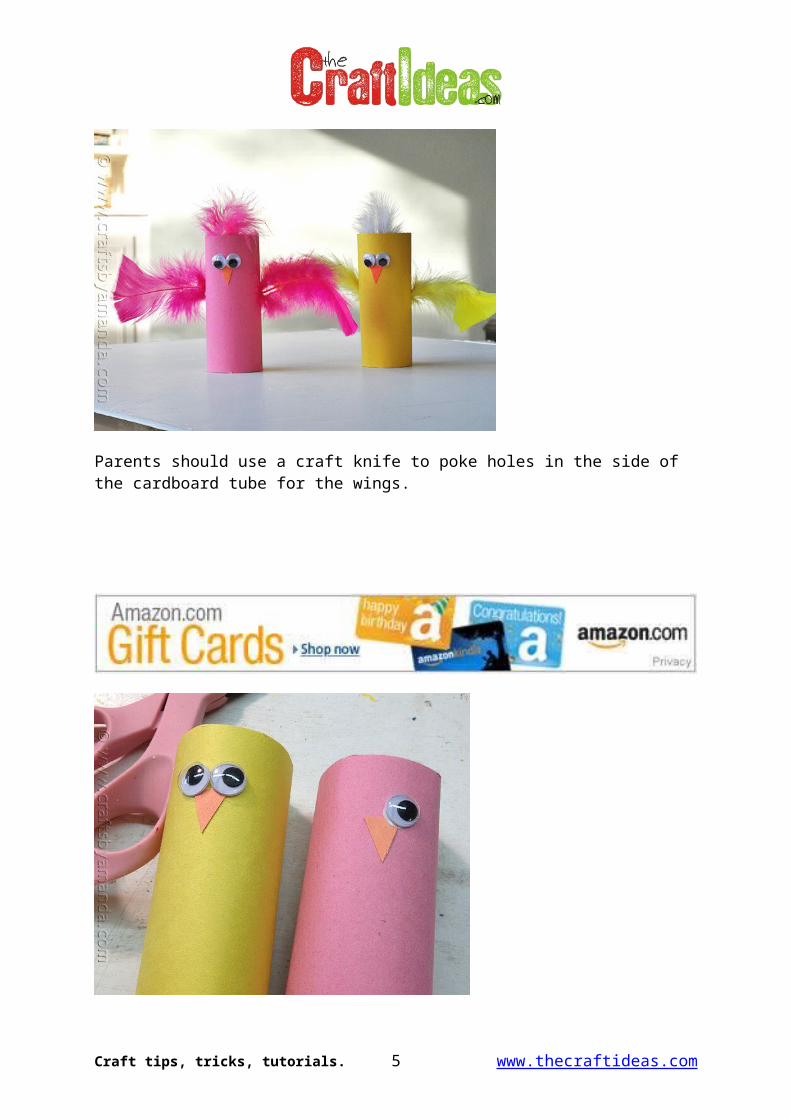
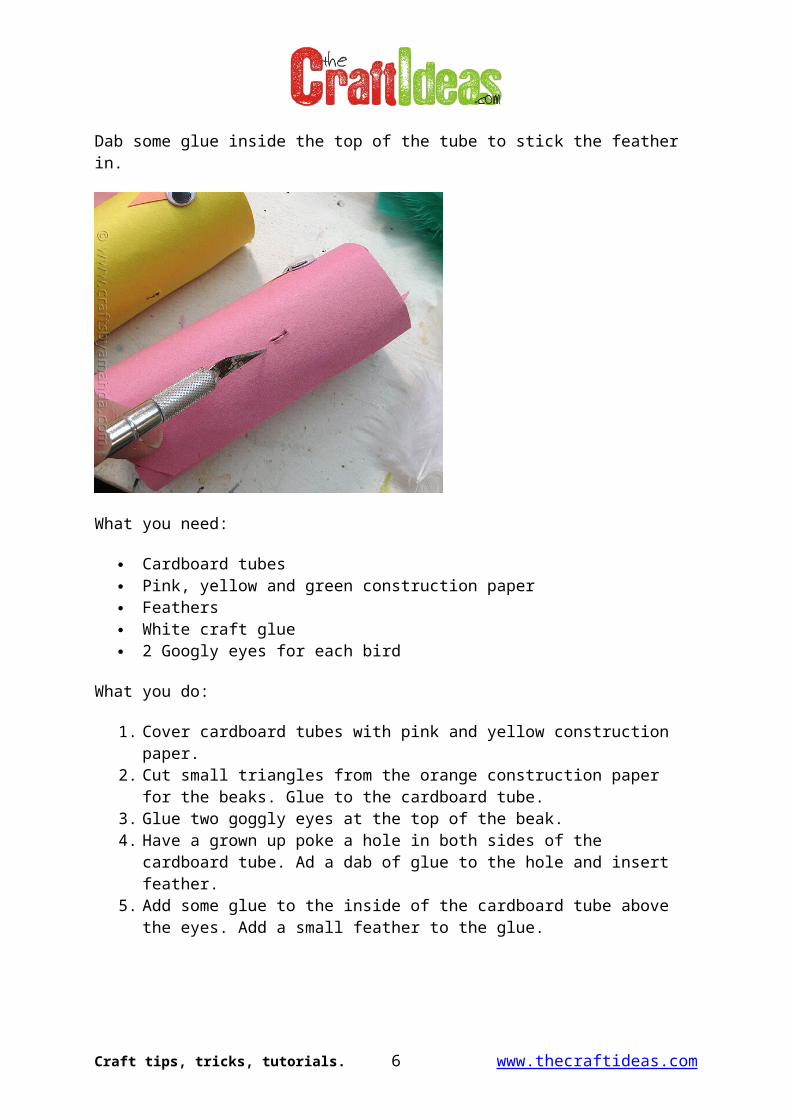
Parents should use a craft knife to poke holes in the side of the cardboard tube for the wings.
Craft tips, tricks, tutorials. 4 www.thecraftideas.com
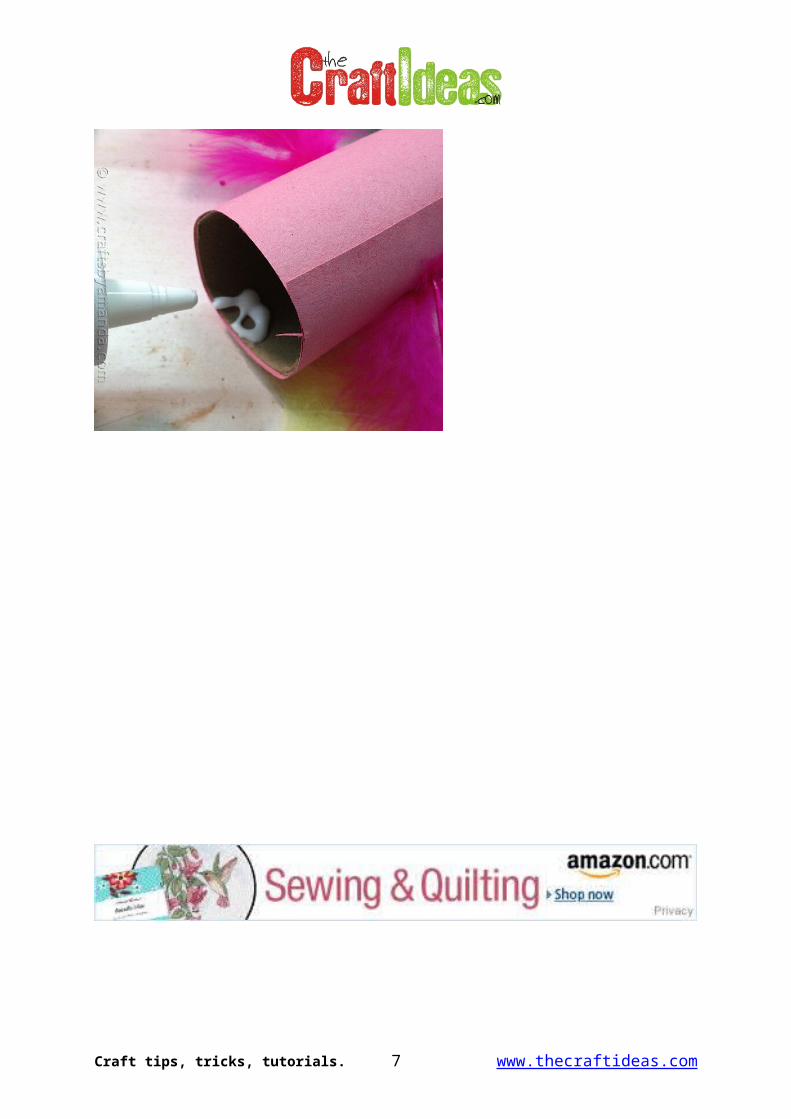
Dab some glue inside the top of the tube to stick the feather in.
What you need:
Cardboard tubes Pink, yellow and green construction paper Feathers White craft glue 2 Googly eyes for each bird
What you do:
1. Cover cardboard tubes with pink and yellow construction paper.
Craft tips, tricks, tutorials. 5 www.thecraftideas.com
2. Cut small triangles from the orange construction paper for the beaks. Glue to the cardboard tube.
3. Glue two goggly eyes at the top of the beak.4. Have a grown up poke a hole in both sides of the cardboard tube. Ad a dab of glue to
the hole and insert feather.5. Add some glue to the inside of the cardboard tube above the eyes. Add a small feather
to the glue.
Craft tips, tricks, tutorials. 6 www.thecraftideas.com
Craft Ideas for Spring: Daisy
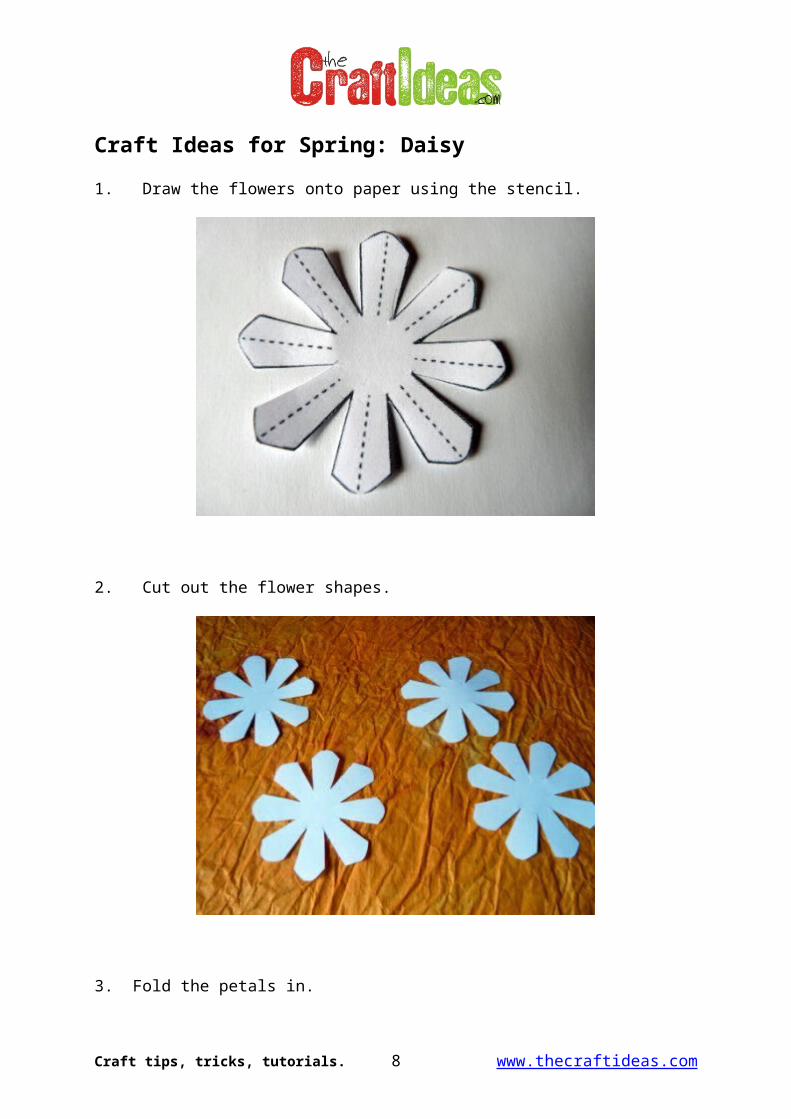
1. Draw the flowers onto paper using the stencil.
2. Cut out the flower shapes.
3. Fold the petals in.
Craft tips, tricks, tutorials. 7 www.thecraftideas.com
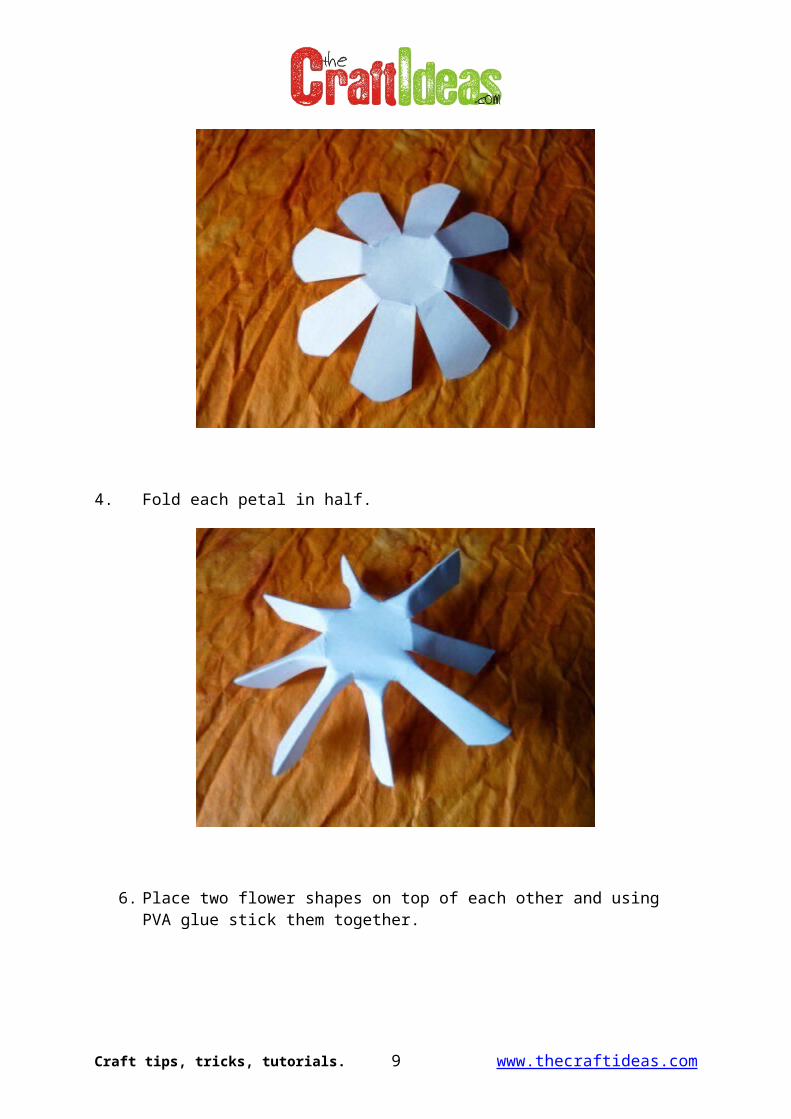
4. Fold each petal in half.
6. Place two flower shapes on top of each other and using PVA glue stick them together.
Craft tips, tricks, tutorials. 8 www.thecraftideas.com
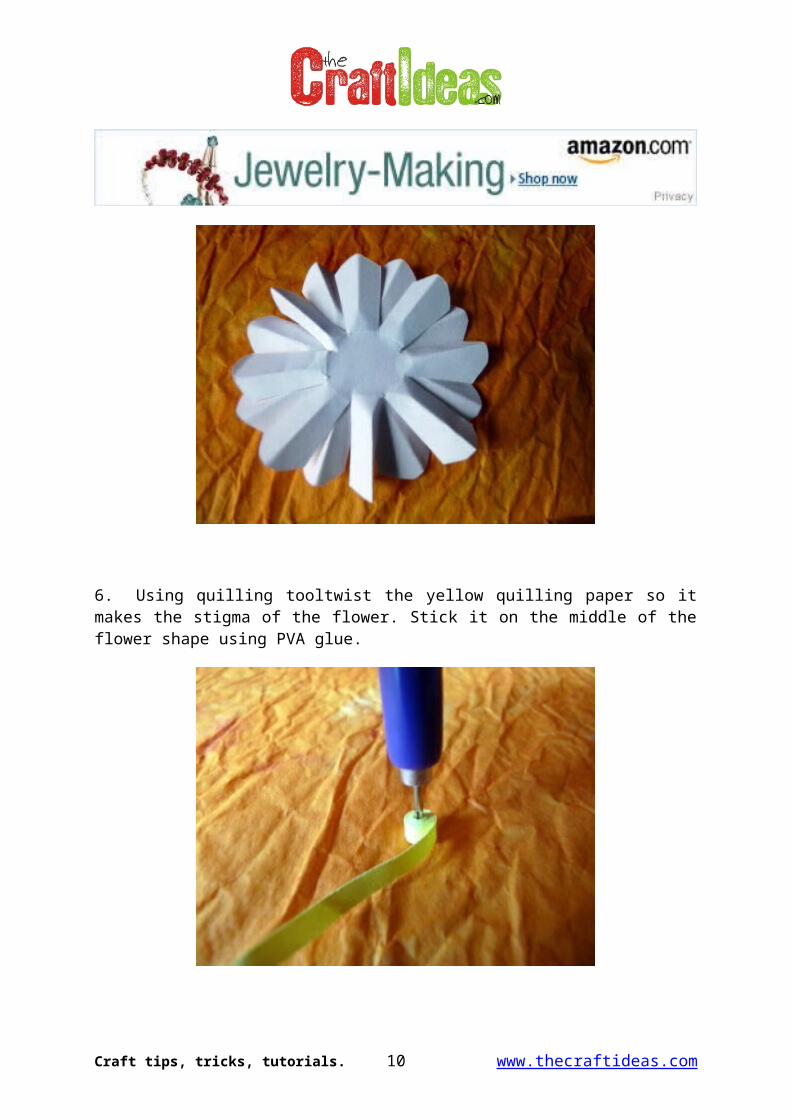
6. Using quilling tooltwist the yellow quilling paper so it makes the stigma of the flower. Stick it on the middle of the flower shape using PVA glue.
Craft tips, tricks, tutorials. 9 www.thecraftideas.com
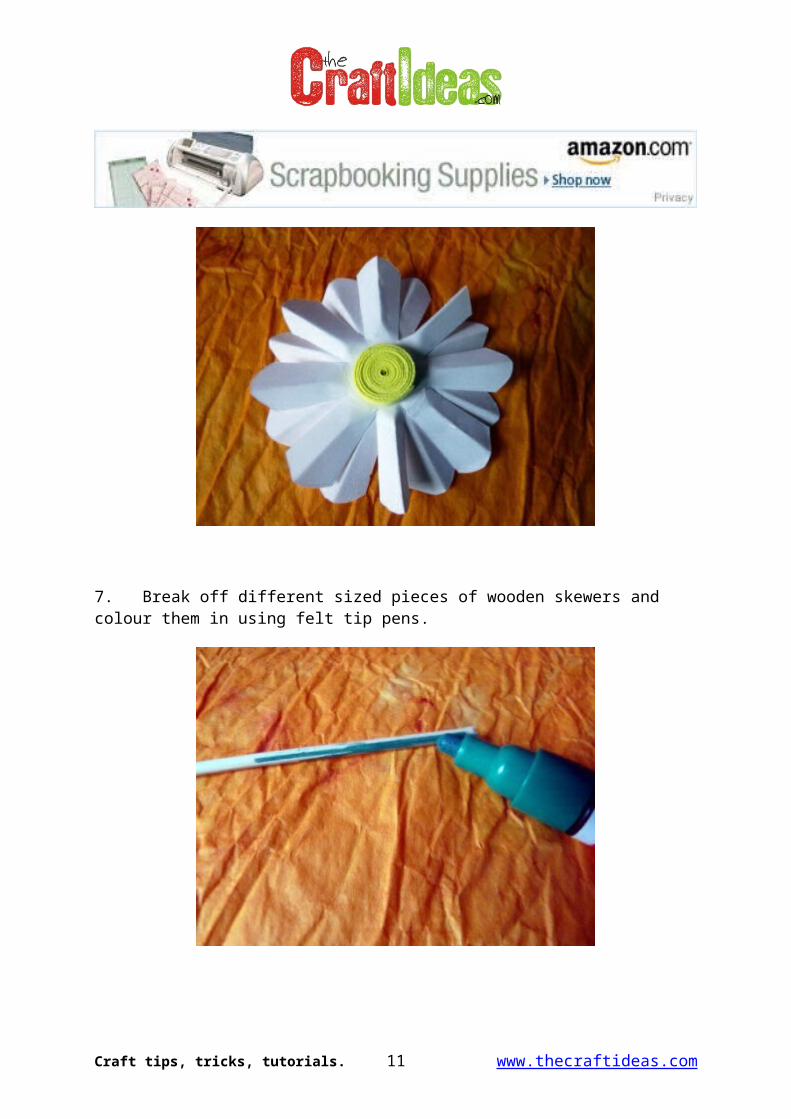
7. Break off different sized pieces of wooden skewers and colour them in using felt tip pens.
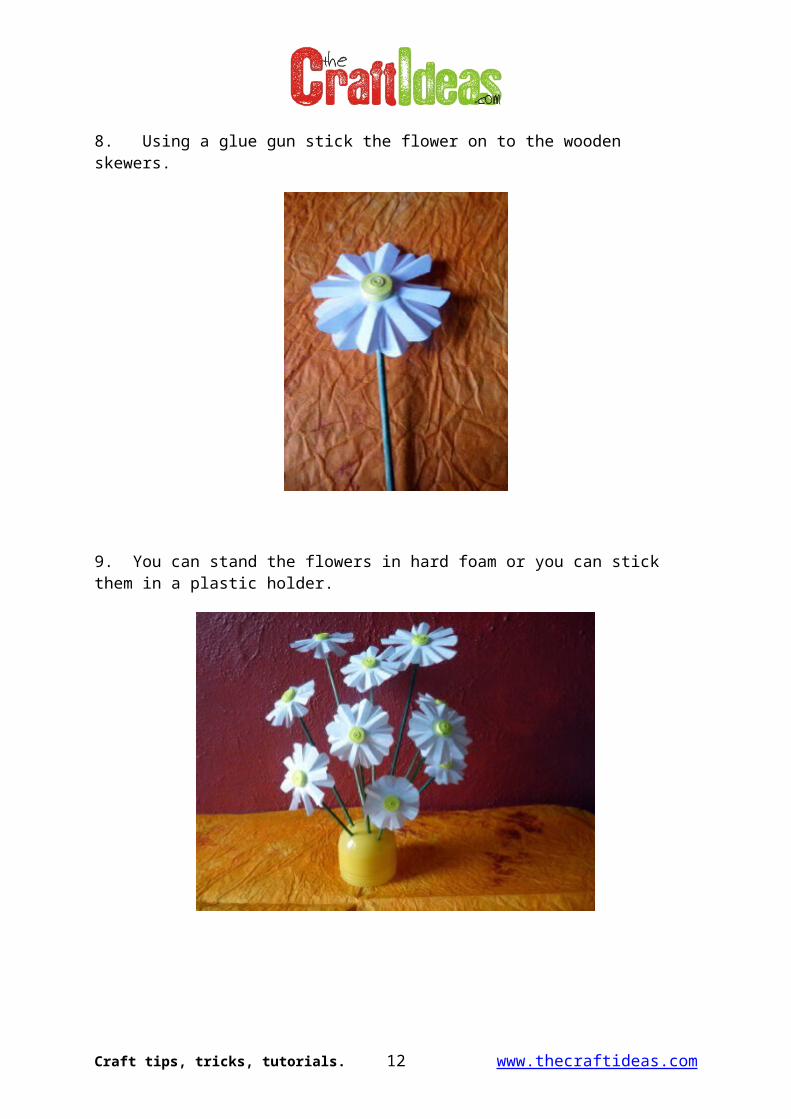
8. Using a glue gun stick the flower on to the wooden skewers.
Craft tips, tricks, tutorials. 10 www.thecraftideas.com
9. You can stand the flowers in hard foam or you can stick them in a plastic holder.
Craft tips, tricks, tutorials. 11 www.thecraftideas.com
Craft Ideas for Spring: Flower
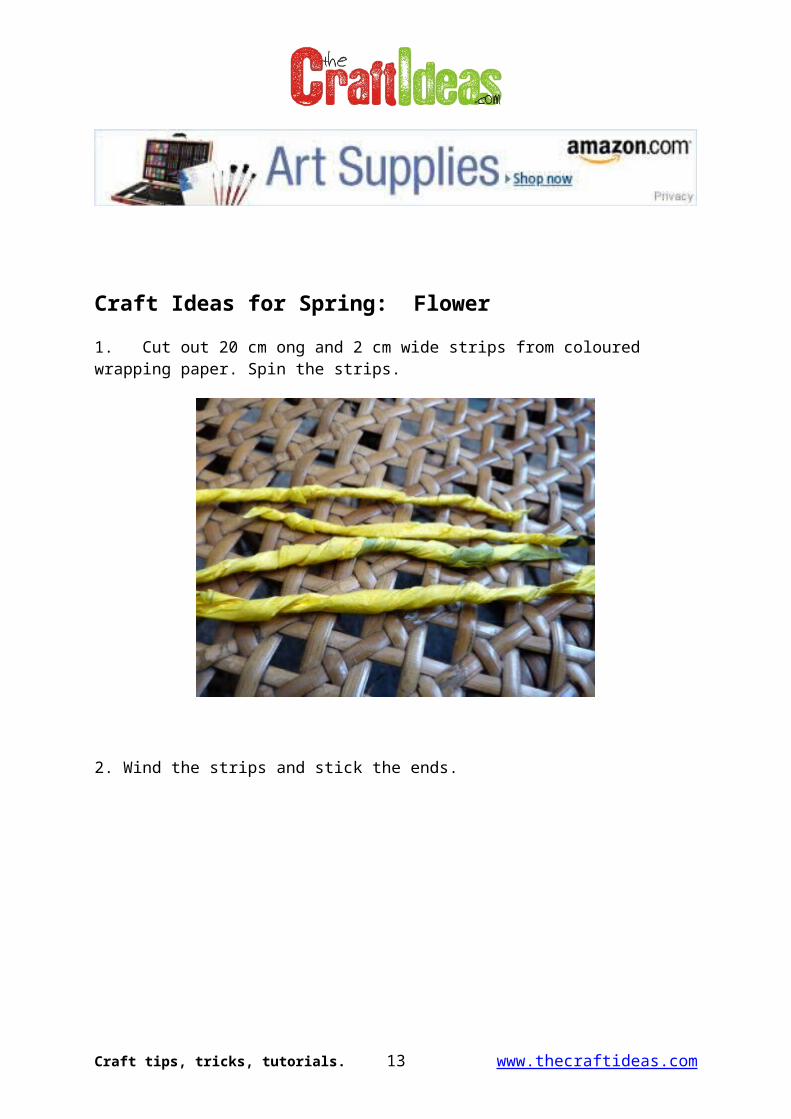
1. Cut out 20 cm ong and 2 cm wide strips from coloured wrapping paper. Spin the strips.
2. Wind the strips and stick the ends.
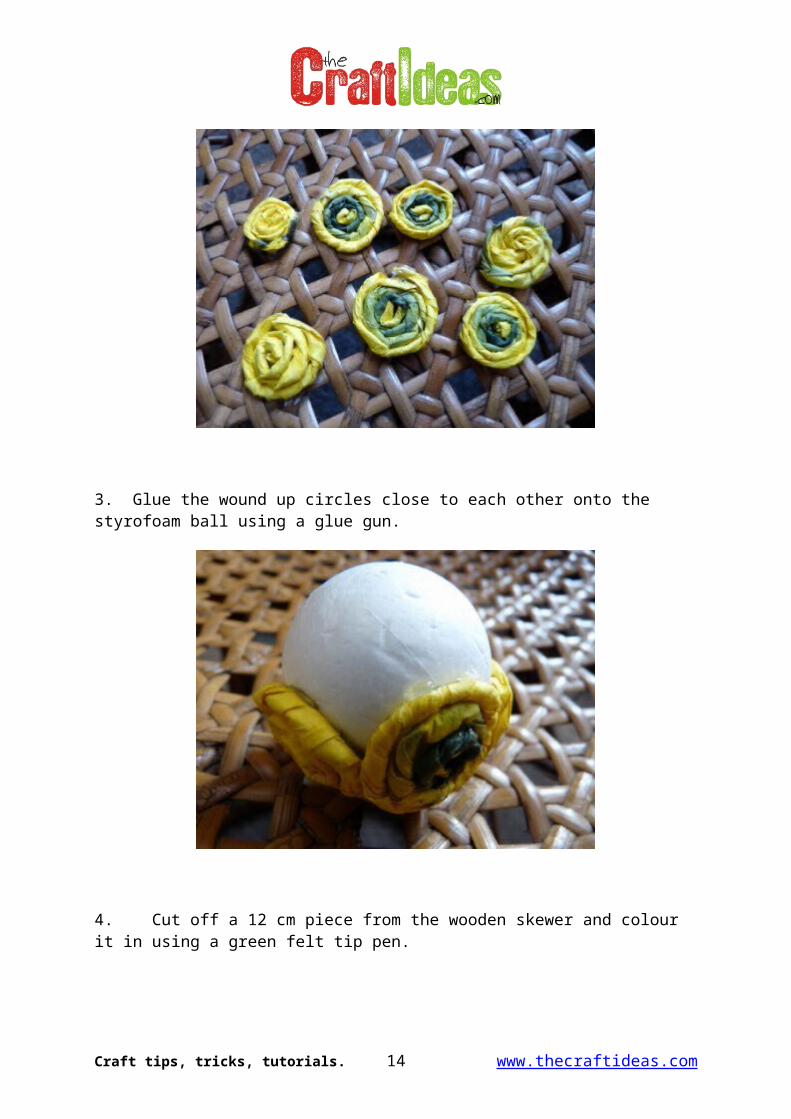
3. Glue the wound up circles close to each other onto the styrofoam ball using a glue gun.
Craft tips, tricks, tutorials. 12 www.thecraftideas.com
4. Cut off a 12 cm piece from the wooden skewer and colour it in using a green felt tip pen.
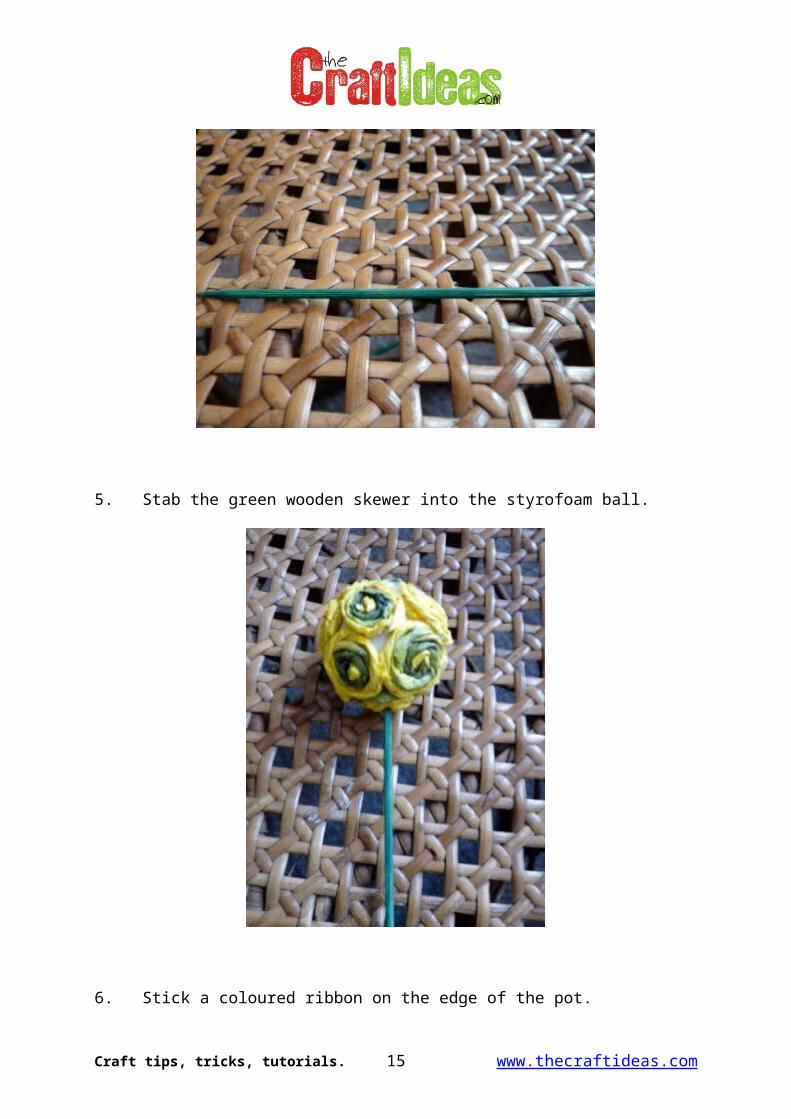
5. Stab the green wooden skewer into the styrofoam ball.
Craft tips, tricks, tutorials. 13 www.thecraftideas.com
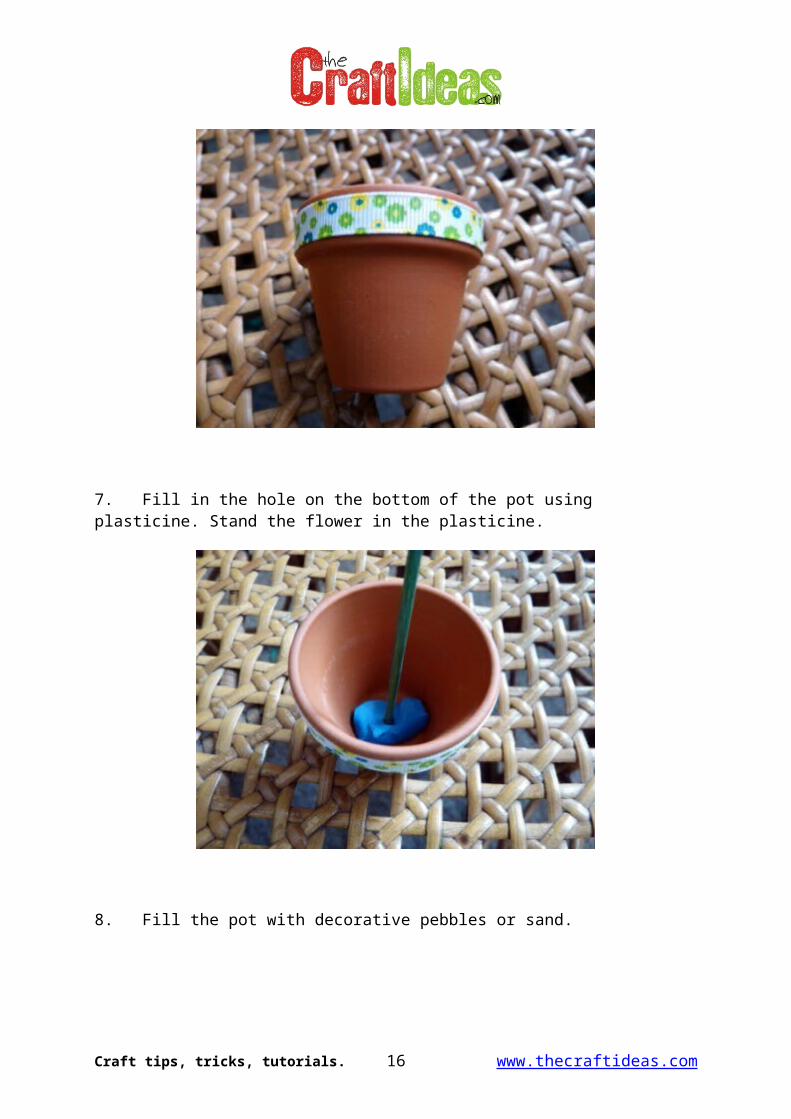
6. Stick a coloured ribbon on the edge of the pot.
7. Fill in the hole on the bottom of the pot using plasticine. Stand the flower in the plasticine.
Craft tips, tricks, tutorials. 14 www.thecraftideas.com
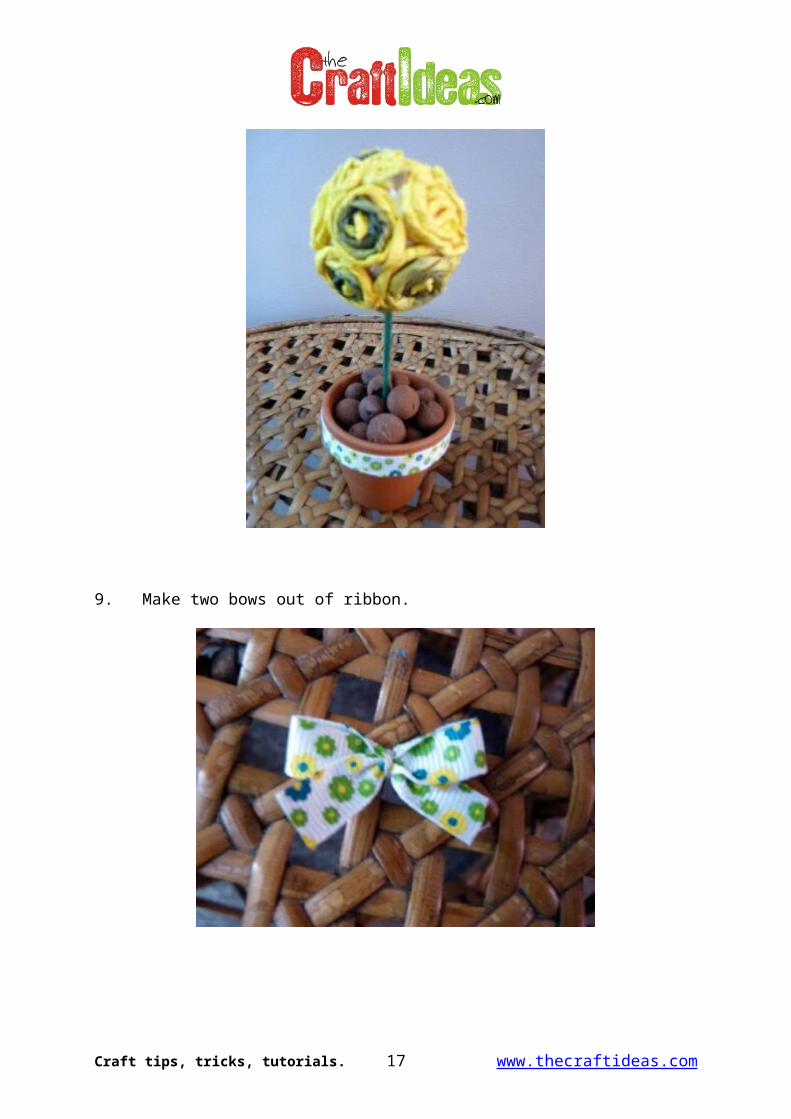
8. Fill the pot with decorative pebbles or sand.
9. Make two bows out of ribbon.
Craft tips, tricks, tutorials. 15 www.thecraftideas.com
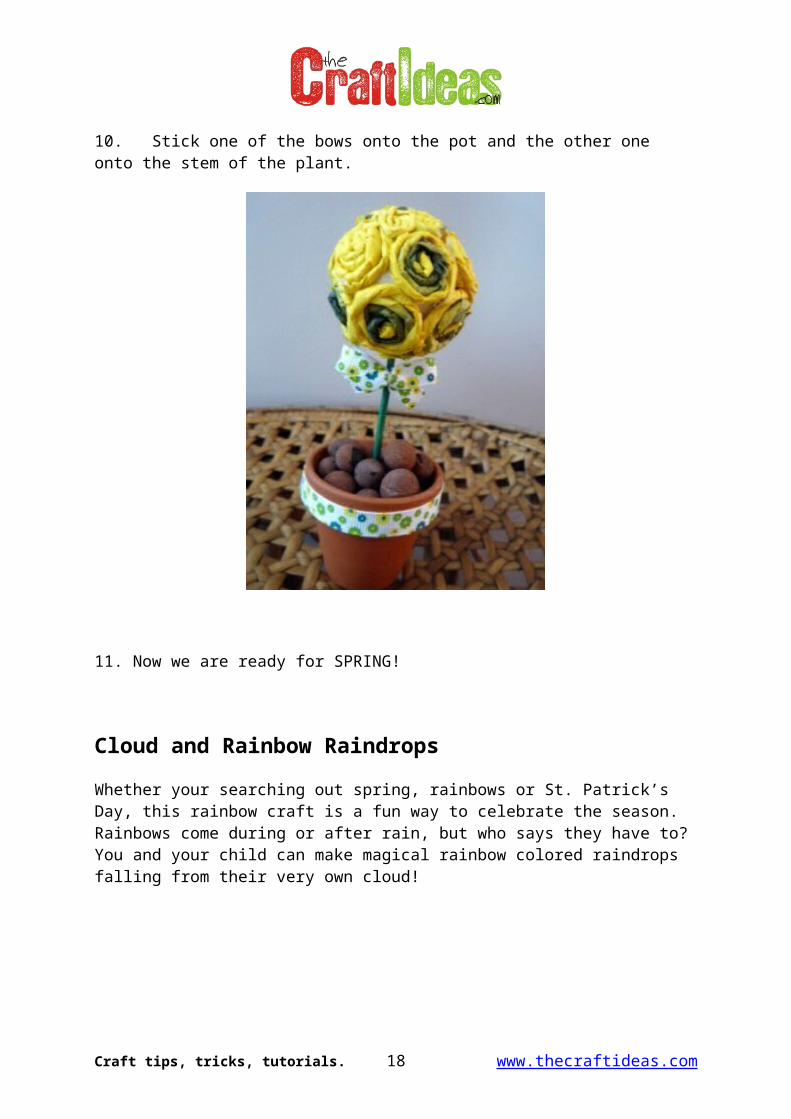
10. Stick one of the bows onto the pot and the other one onto the stem of the plant.
11. Now we are ready for SPRING!
Craft tips, tricks, tutorials. 16 www.thecraftideas.com
Cloud and Rainbow Raindrops
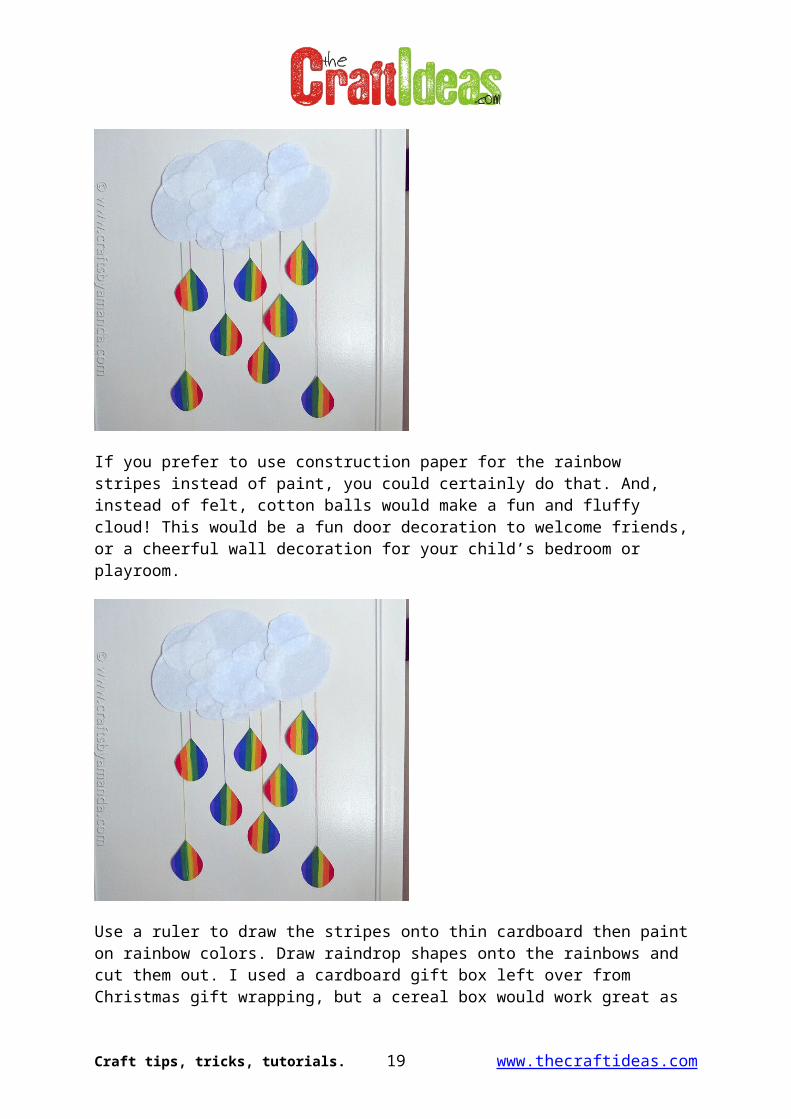
Whether your searching out spring, rainbows or St. Patrick’s Day, this rainbow craft is a fun way to celebrate the season. Rainbows come during or after rain, but who says they have to? You and your child can make magical rainbow colored raindrops falling from their very own cloud!
If you prefer to use construction paper for the rainbow stripes instead of paint, you could certainly do that. And, instead of felt, cotton balls would make a fun and fluffy cloud! This would be a fun door decoration to welcome friends, or a cheerful wall decoration for your child’s bedroom or playroom.
Craft tips, tricks, tutorials. 17 www.thecraftideas.com
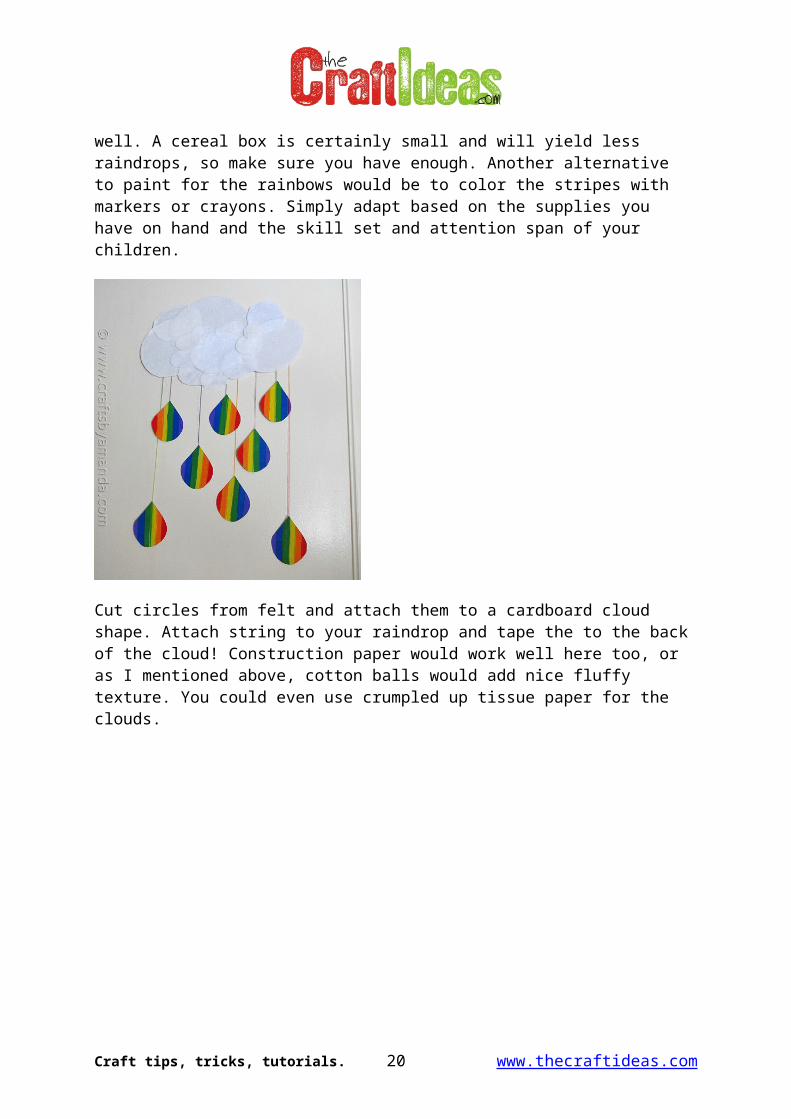
Use a ruler to draw the stripes onto thin cardboard then paint on rainbow colors. Draw raindrop shapes onto the rainbows and cut them out. I used a cardboard gift box left over from Christmas gift wrapping, but a cereal box would work great as well. A cereal box is certainly small and will yield less raindrops, so make sure you have enough. Another alternative to paint for the rainbows would be to color the stripes with markers or crayons. Simply adapt based on the supplies you have on hand and the skill set and attention span of your children.
Cut circles from felt and attach them to a cardboard cloud shape. Attach string to your raindrop and tape the to the back of the cloud! Construction paper would work well here too, or as I mentioned above, cotton balls would add nice fluffy texture. You could even use crumpled up tissue paper for the clouds.
Craft tips, tricks, tutorials. 18 www.thecraftideas.com
Craft tips, tricks, tutorials. 19 www.thecraftideas.com
What you need:
Recycled cardboard gift boxes (cereal boxes work great too) paint - purple, blue, green, yellow, orange, red string 3 sheets white felt ruler pencil scissors tape
What you do:
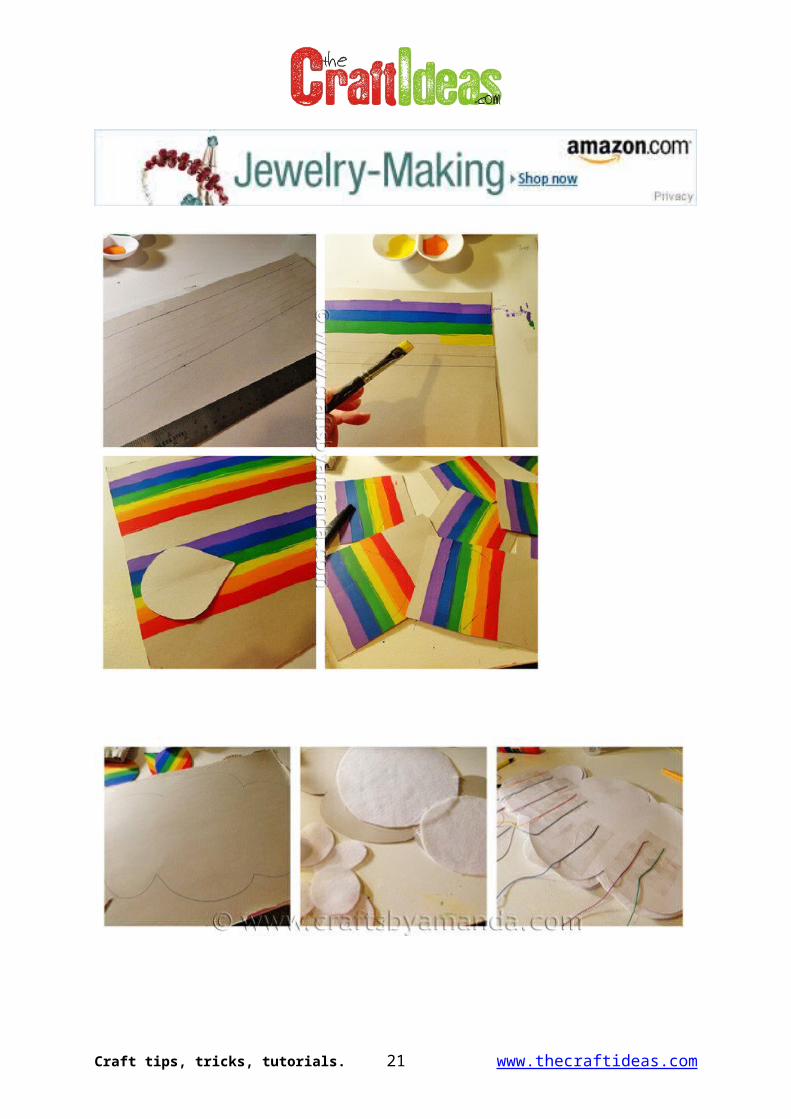
1. Use a ruler to draw a straight line the full length of the cardboard. Draw another line 1/2" away and repeat for a total of 6 half inch sections. Repeat again using up the cardboard.
2. Paint the first line with purple paint. The next next line should be blue, then next is green. The fourth line is yellow, followed by orange, and finally ending with red.
3. Cut a raindrop shape out of another piece of cardboard or from paper, making the widest around about 3 inches. This way your raindrops will be wide enough to have all colors of the rainbow.
4. Trace the raindrop shape onto the rainbow lines. We got 8 but 6 would be plenty.5. Cut the raindrops out and set aside.6. Use another piece of cardboard to draw and cut out a cloud shape. Cut different sized
circles and ovals from white felt. Use white craft glue to cover the cloud with the felt, overlapping as you go.
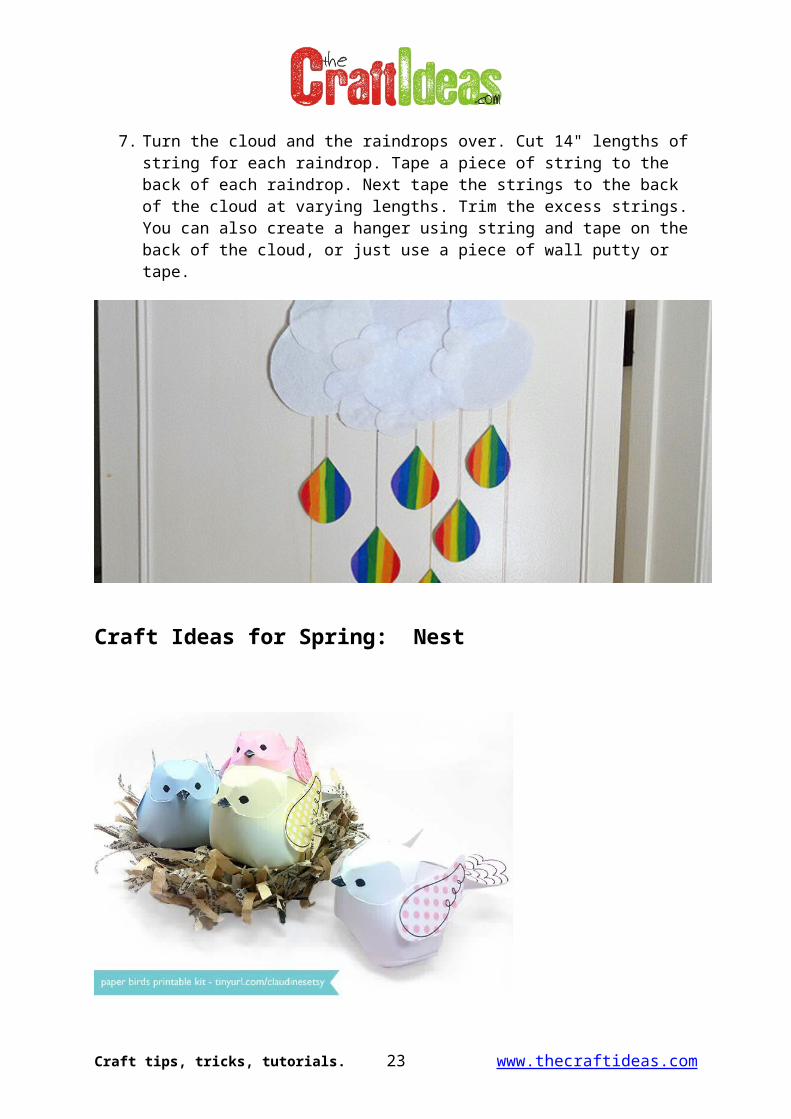
7. Turn the cloud and the raindrops over. Cut 14" lengths of string for each raindrop. Tape a piece of string to the back of each raindrop. Next tape the strings to the back of the cloud at varying lengths. Trim the excess strings. You can also create a hanger using string and tape on the back of the cloud, or just use a piece of wall putty or tape.
Craft tips, tricks, tutorials. 20 www.thecraftideas.com
Craft Ideas for Spring: Nest
Here are a few little birdies from my Paper Bird Printable kit looking right at home sitting in the nest!You can also use your nest for Easter eggs too! Read on to see how I created mine!
Shred old book pages and brown paper bag in your shredder. Cover a bowl with plastic wrap. I didn’t have any plastic wrap so I used a plastic grocery bag and it worked great!
Craft tips, tricks, tutorials. 21 www.thecraftideas.com
Apply Multi medium to your surface and glue on shredded papers
Continue until you’ve covered the bottom of the bowl and little bit of the sides. Once you have a smooth layer of shredded papers on, add a final coat of multi medium and sprinkle on another layer of shredded papers so that it give the outside a messy birds nest look.
Craft tips, tricks, tutorials. 22 www.thecraftideas.com
Paint a few craft store wooden eggs to place inside! Here I painted eggs using Claudine Hellmuth Studio paints in Blank Canvas, Painterly Pink, Dash of Red, Yellow Pastel and Sky Blue mixed with Classic Teal
SUPPLIES USED FOR THIS PROJECT:Old book pages and brown paper bags Small bowl Plastic wrap or plastic grocery bag
Thank you for watching!See more at www.thecraftideas.com
Craft tips, tricks, tutorials. 23 www.thecraftideas.com