Embed Size (px)
Citation preview


Building your first Android app using XamarinGill Cleeren - @gillcleeren
Hi, I’m Gill!
Gill CleerenMVP and Regional Director.NET Practice Manager @ OrdinaTrainer & speaker
@gillcleeren

I’m a Pluralsight author!
• Courses on Windows 8, social and HTML5• http://gicl.me/mypscourses

Agenda
• Overview of Xamarin and Xamarin.Android• Xamarin.Android fundamentals• Creating a detail screen
• Lists and navigation• Navigating from master to detail
• (Optional) Intro to using Fragments• Optimizing the application• Preparing for store deployment
Targets of this talk
• Understanding the fundamentals of Android app development with Xamarin• See how a fully working app can be built
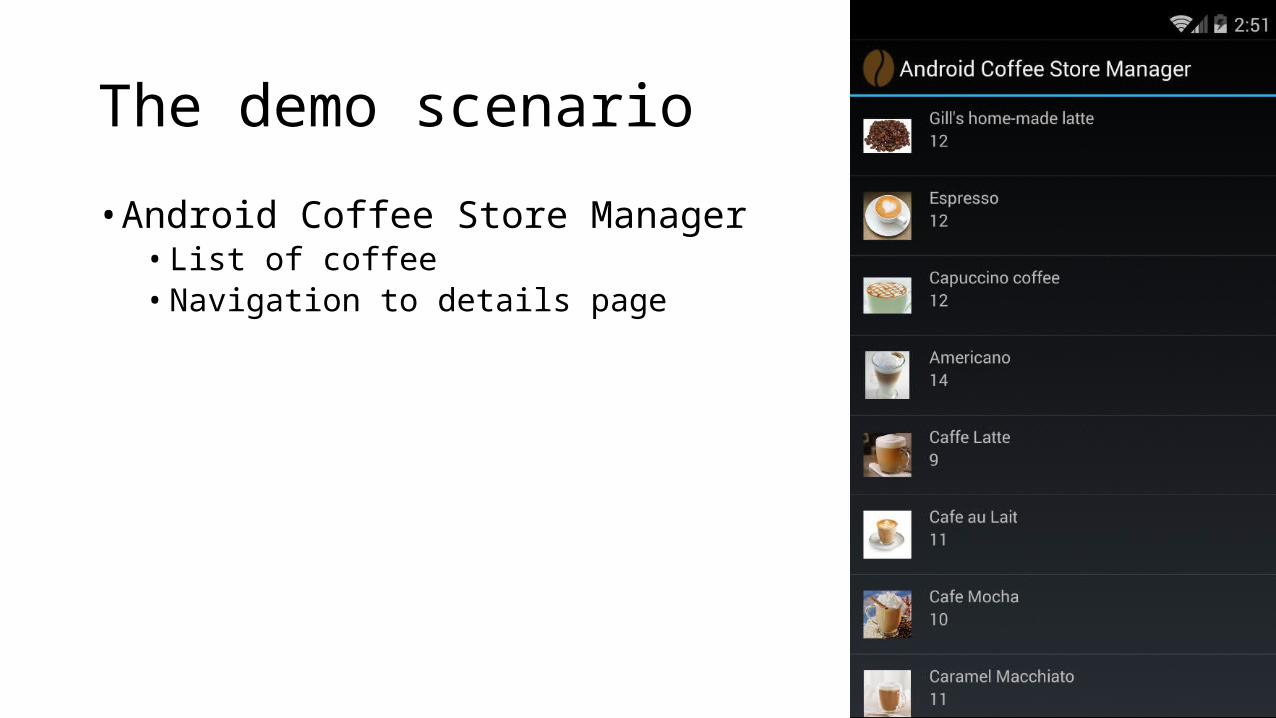
The demo scenario
• Android Coffee Store Manager• List of coffee• Navigation to details page
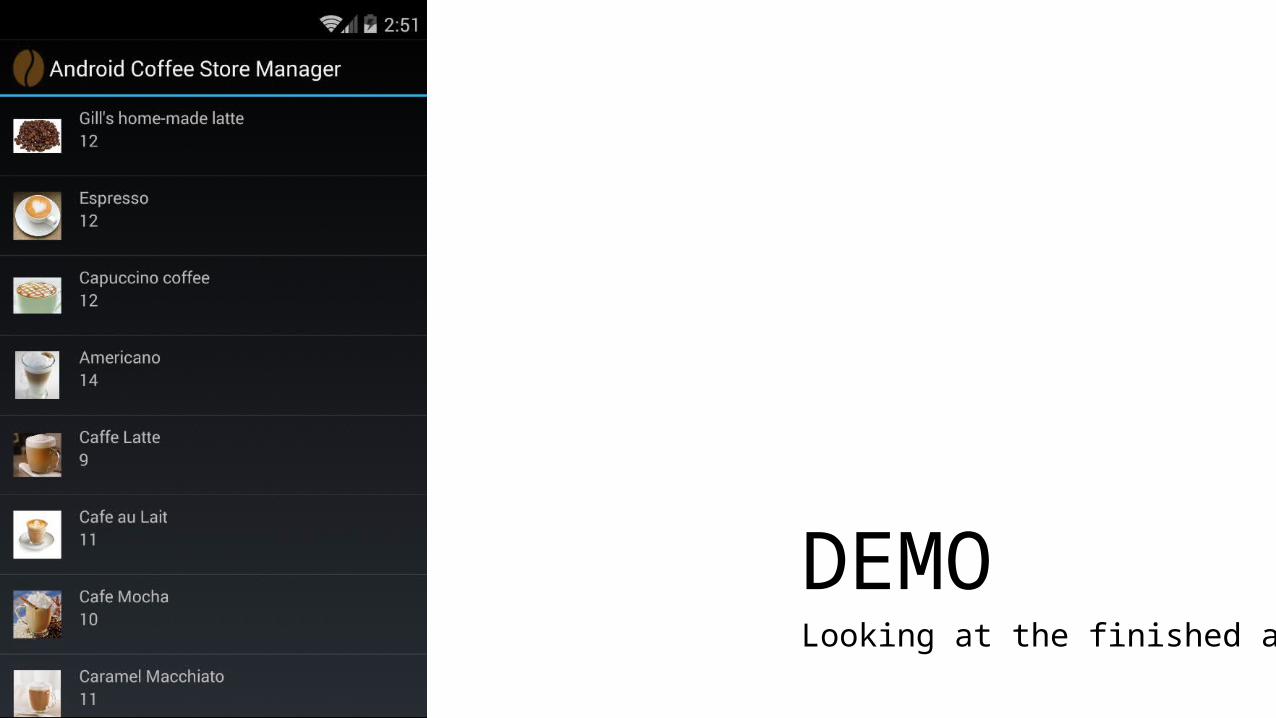
DEMOLooking at the finished application

Overview of Xamarin and Xamarin.Android
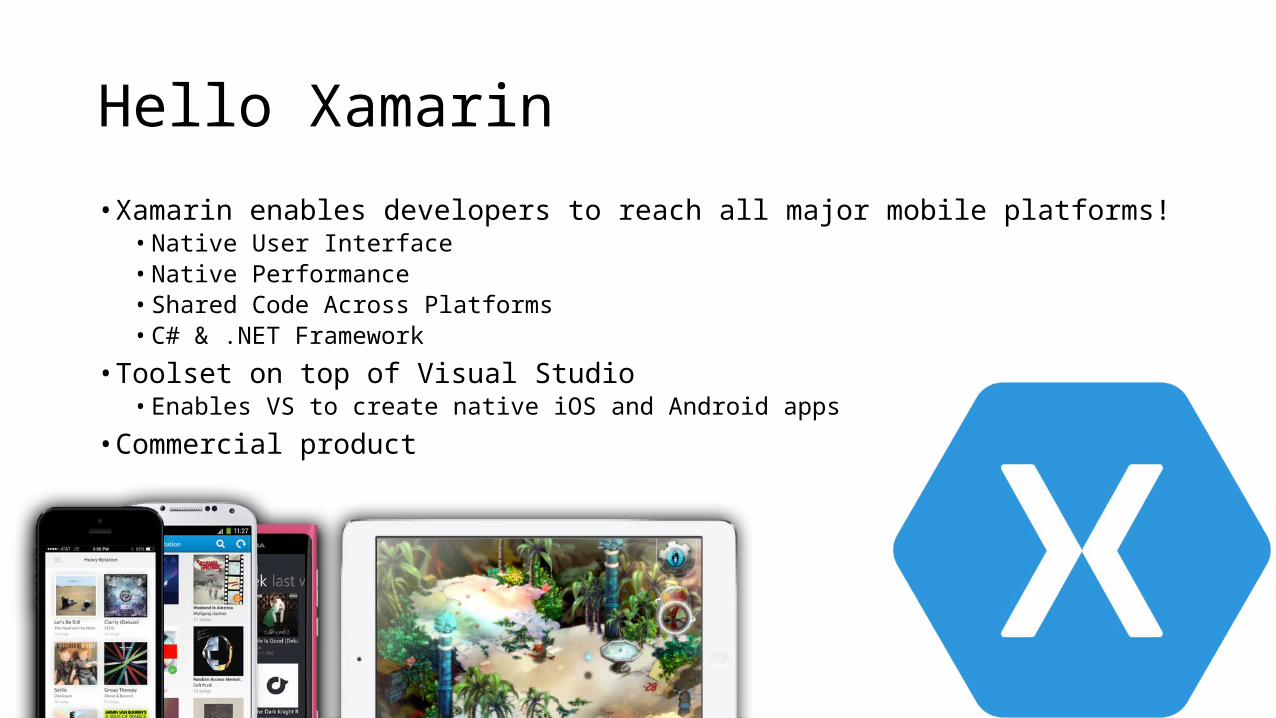
Hello Xamarin
• Xamarin enables developers to reach all major mobile platforms!• Native User Interface• Native Performance• Shared Code Across Platforms• C# & .NET Framework
• Toolset on top of Visual Studio• Enables VS to create native iOS and Android apps
• Commercial product
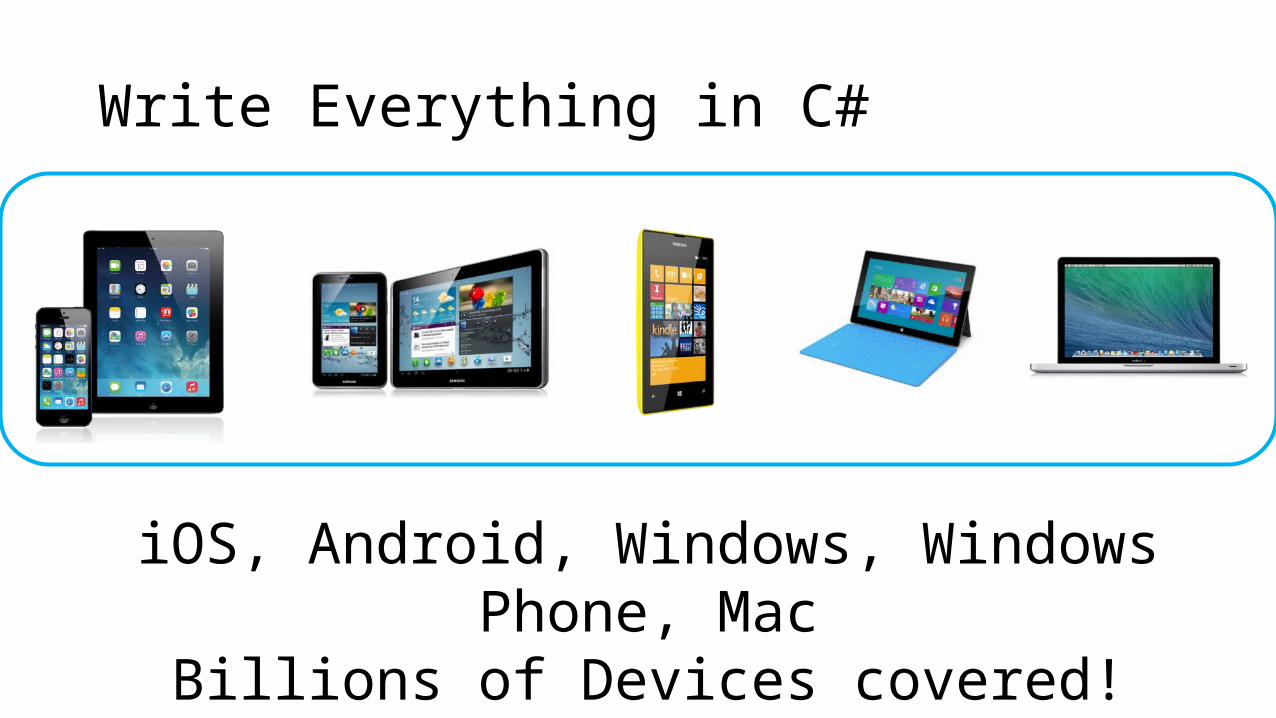
Write Everything in C#
iOS, Android, Windows, Windows Phone, Mac
Billions of Devices covered!
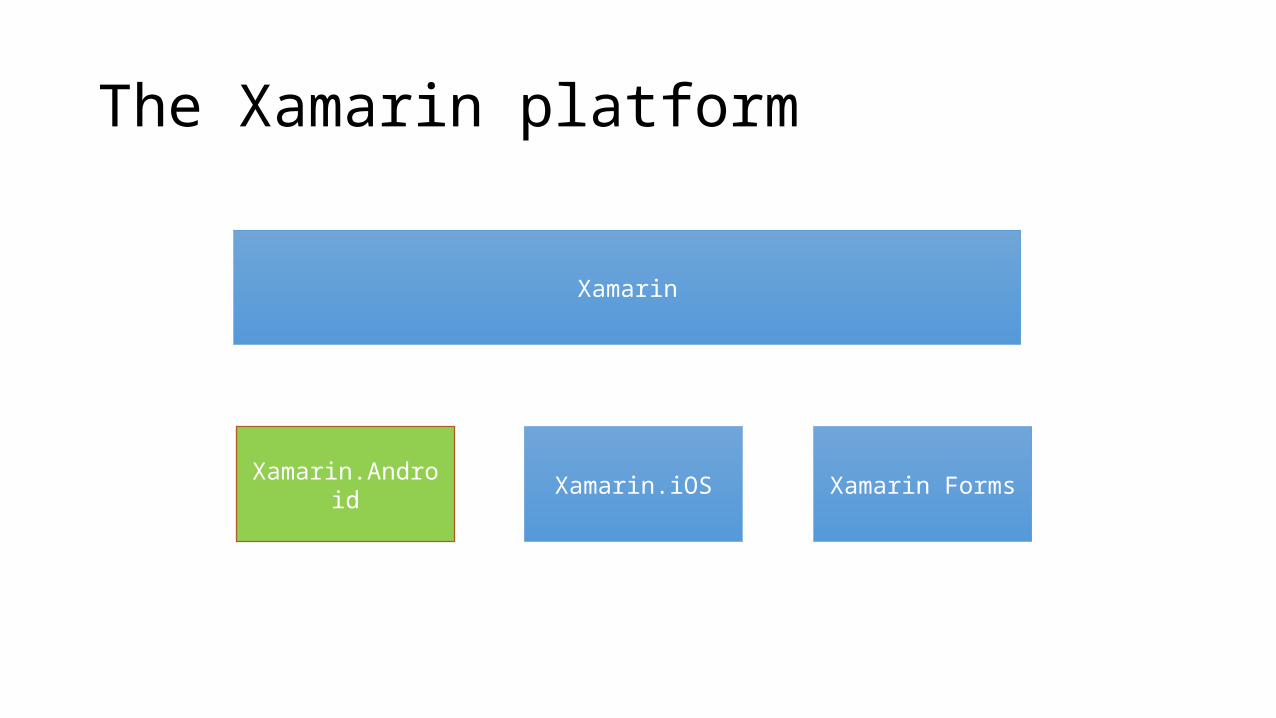
The Xamarin platform
Xamarin
Xamarin.Android Xamarin.iOS Xamarin Forms
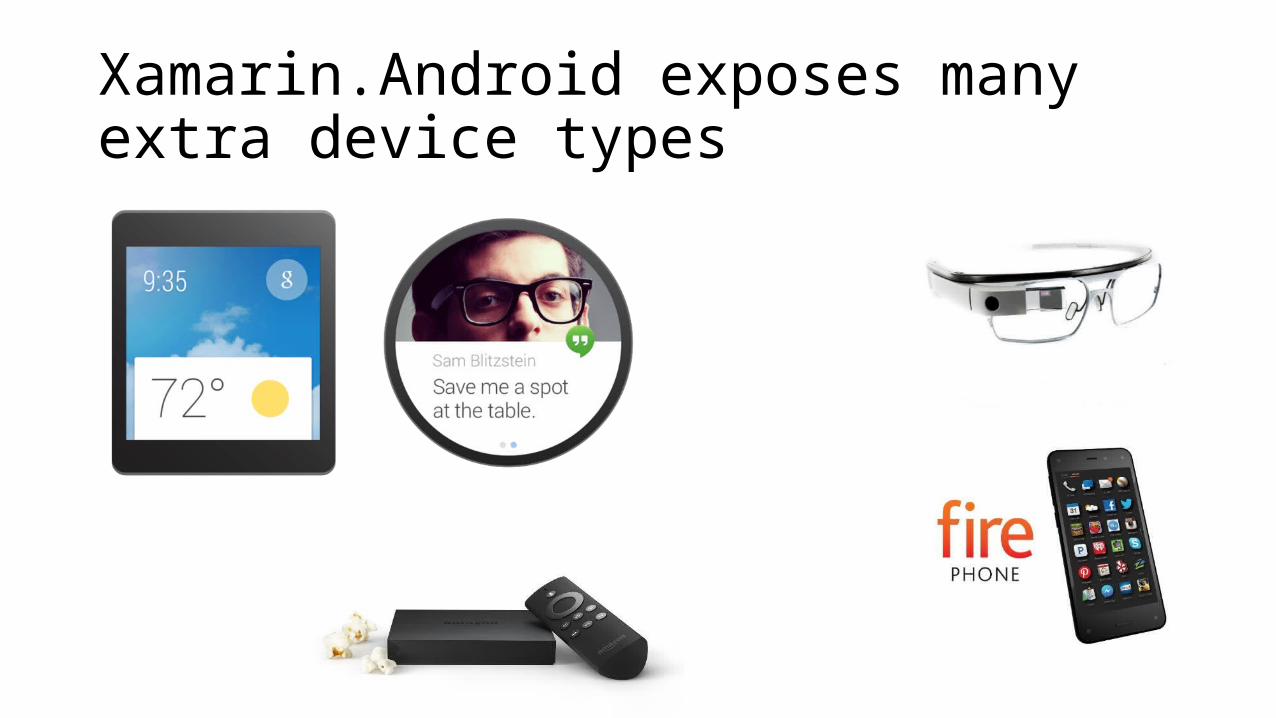
Xamarin.Android exposes many extra device types
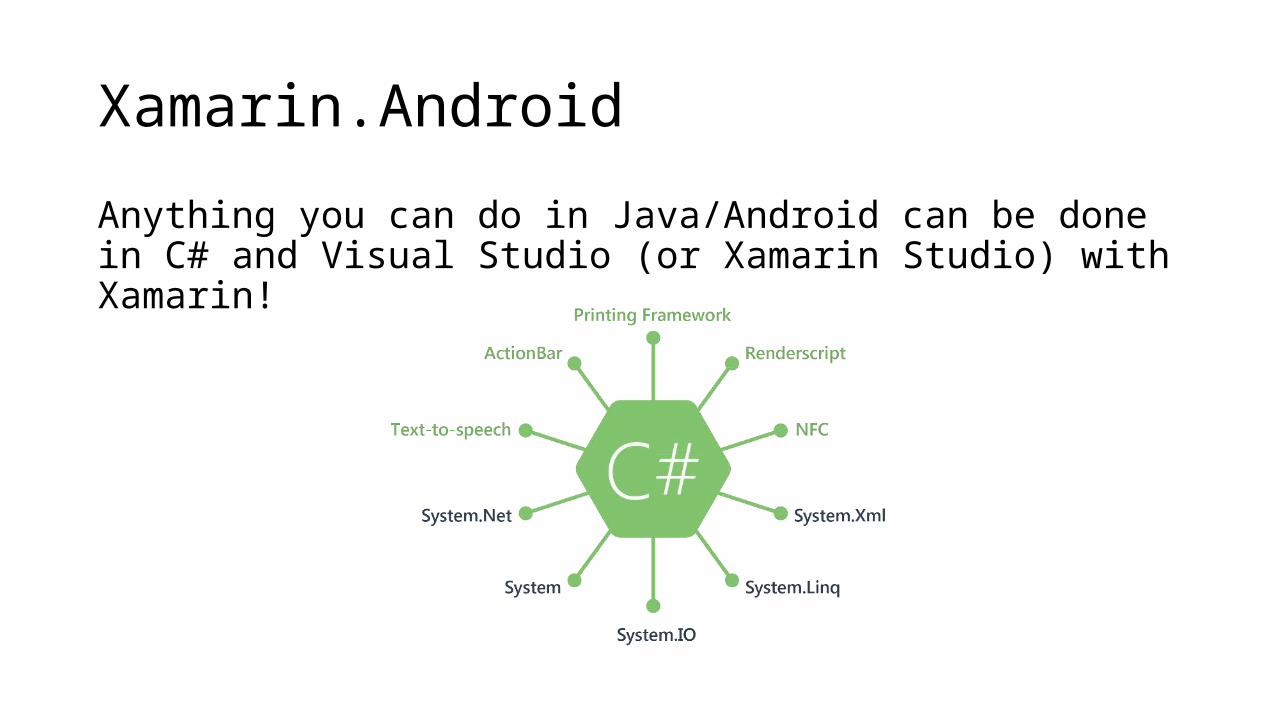
Xamarin.Android
Anything you can do in Java/Android can be done in C# and Visual Studio (or Xamarin Studio) with Xamarin!
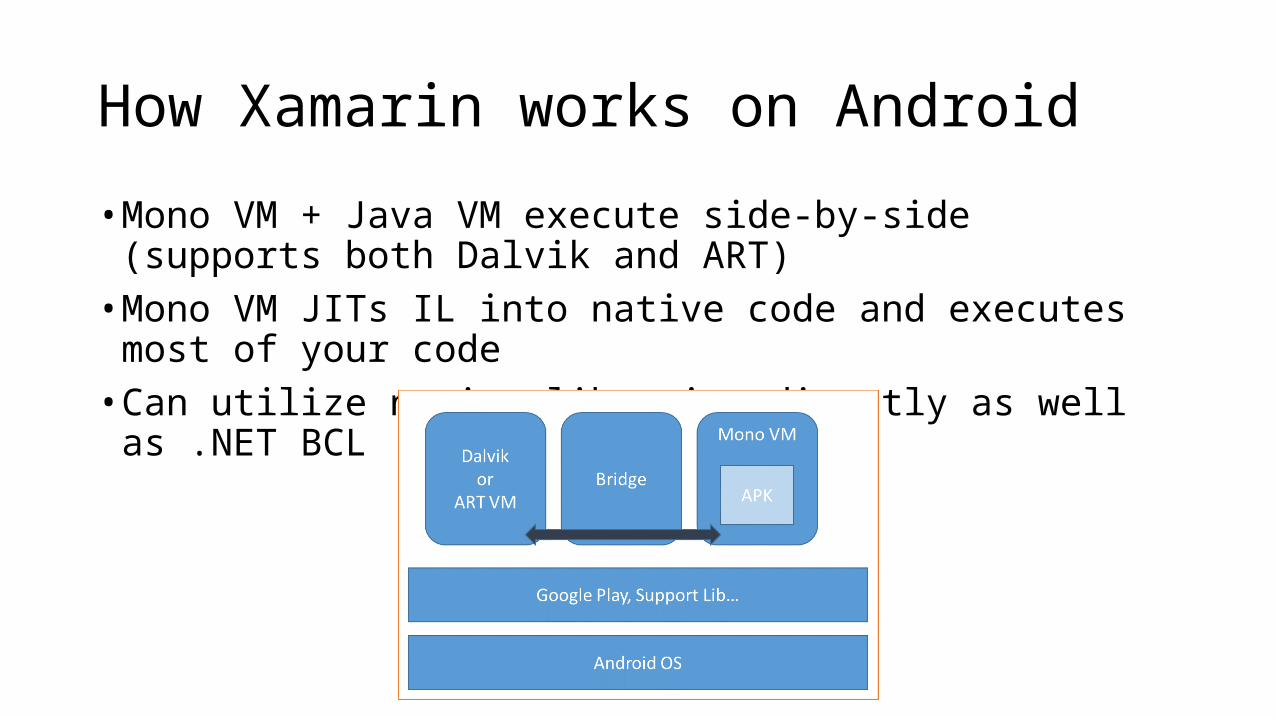
How Xamarin works on Android
• Mono VM + Java VM execute side-by-side (supports both Dalvik and ART)• Mono VM JITs IL into native code and executes most of your code• Can utilize native libraries directly as well as .NET BCL
A word on code-sharing
• Xamarin brings development time through the use of code-sharing• Possible (currently!) using• Shared projects:
• allows organizing the shared code• #if directives for platform specific code
• PCL• “include” the platforms we want to support• Abstract to interfaces where platforms have specific implementations
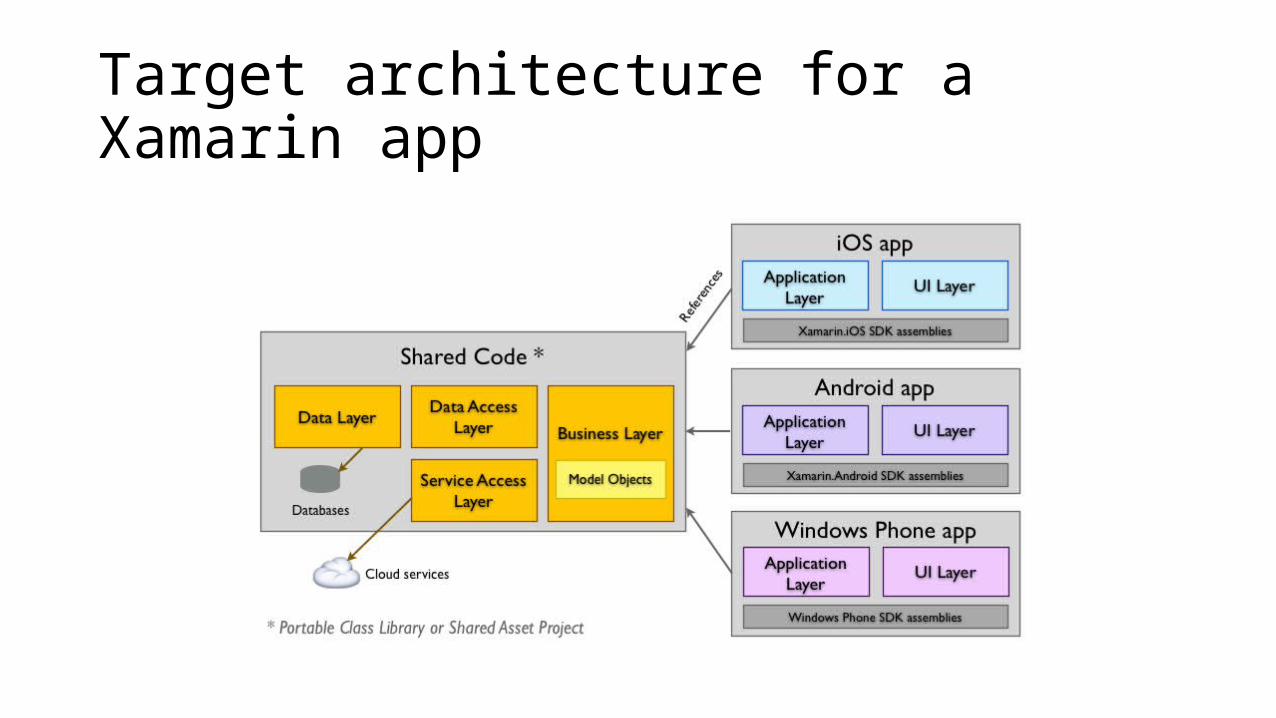
Target architecture for a Xamarin app

Preparing for Android development
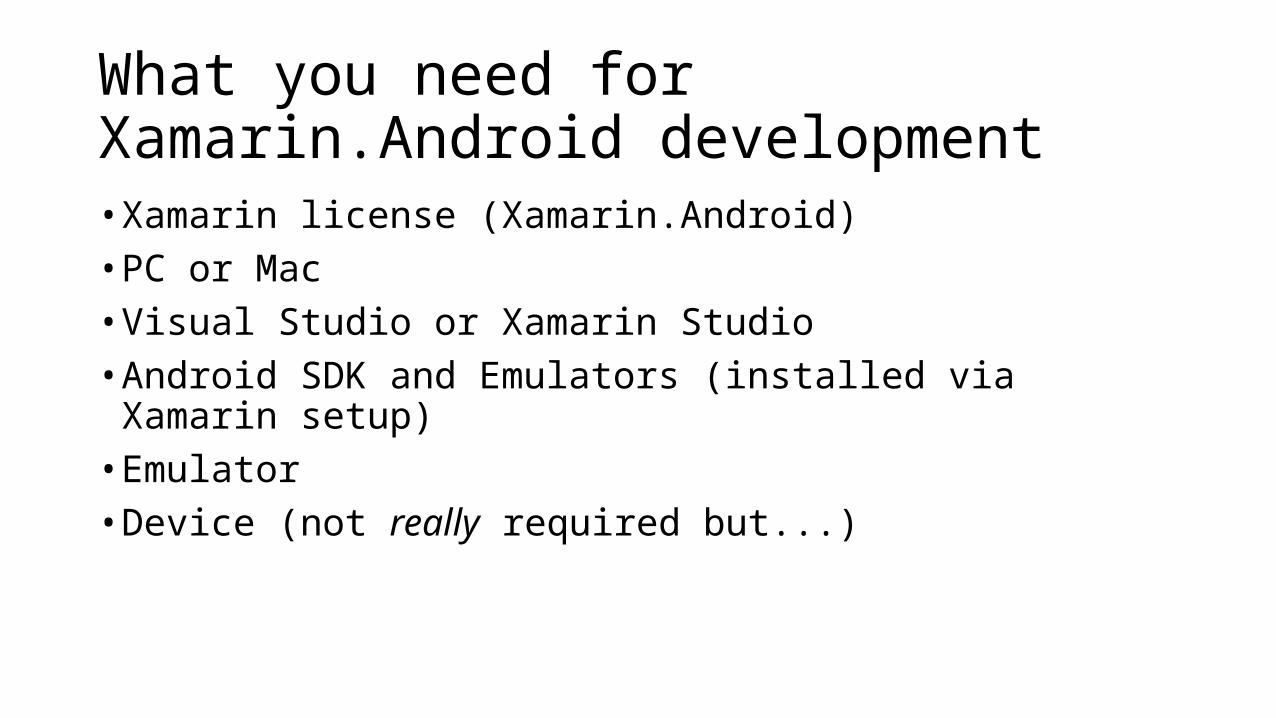
What you need for Xamarin.Android development• Xamarin license (Xamarin.Android)• PC or Mac• Visual Studio or Xamarin Studio• Android SDK and Emulators (installed via Xamarin setup)• Emulator• Device (not really required but...)
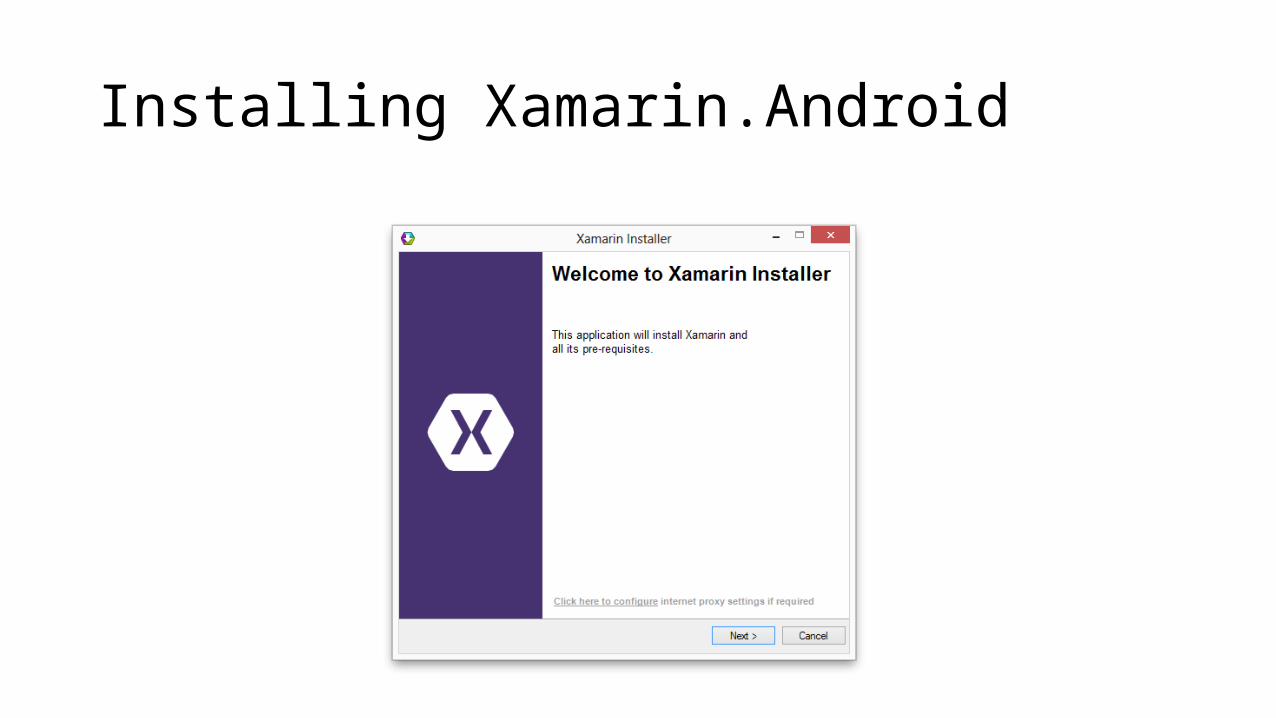
Installing Xamarin.Android
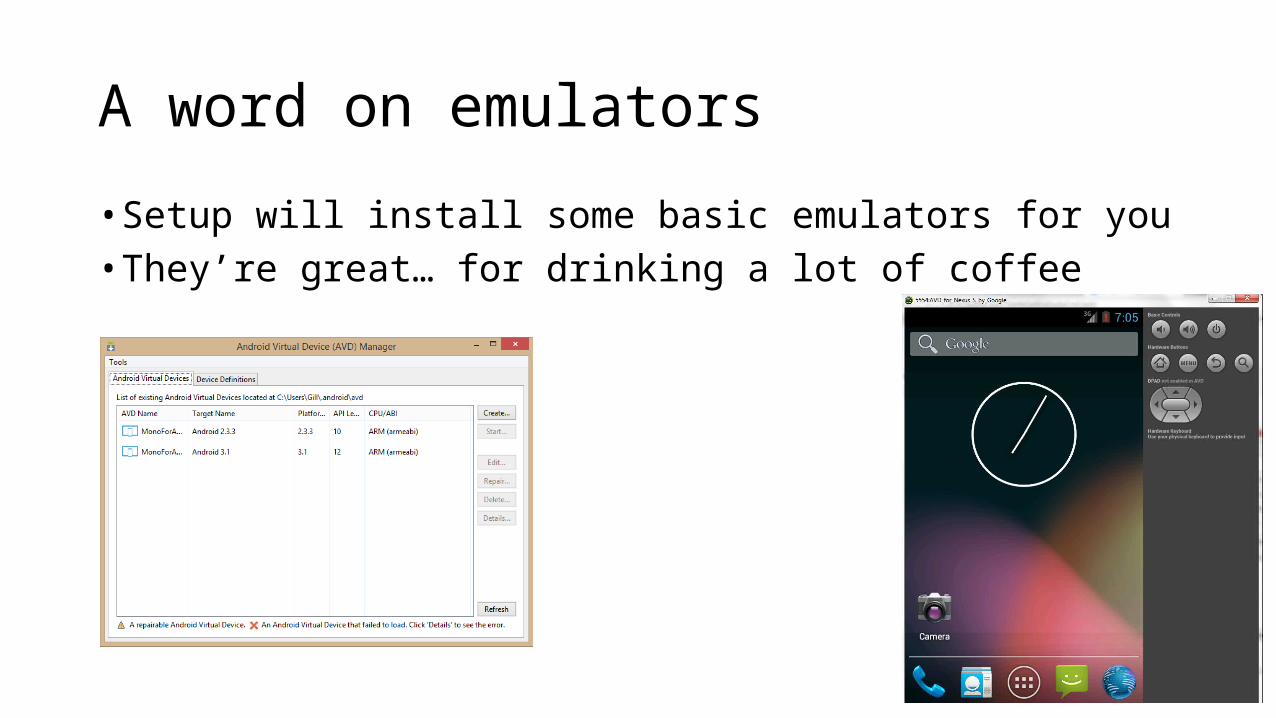
A word on emulators
• Setup will install some basic emulators for you• They’re great… for drinking a lot of coffee
Alternatives for the default emulators• Possible options• Genymotion
-Requires VirtualBox under the hood
• HAXM drivers• Android Player from Xamarin• Microsoft Android emulator
• Hyper-V
Developing with a device
• 3 steps• Enable Debugging on the Device • Install USB Drivers (Windows only)• Connect the Device to the Computer
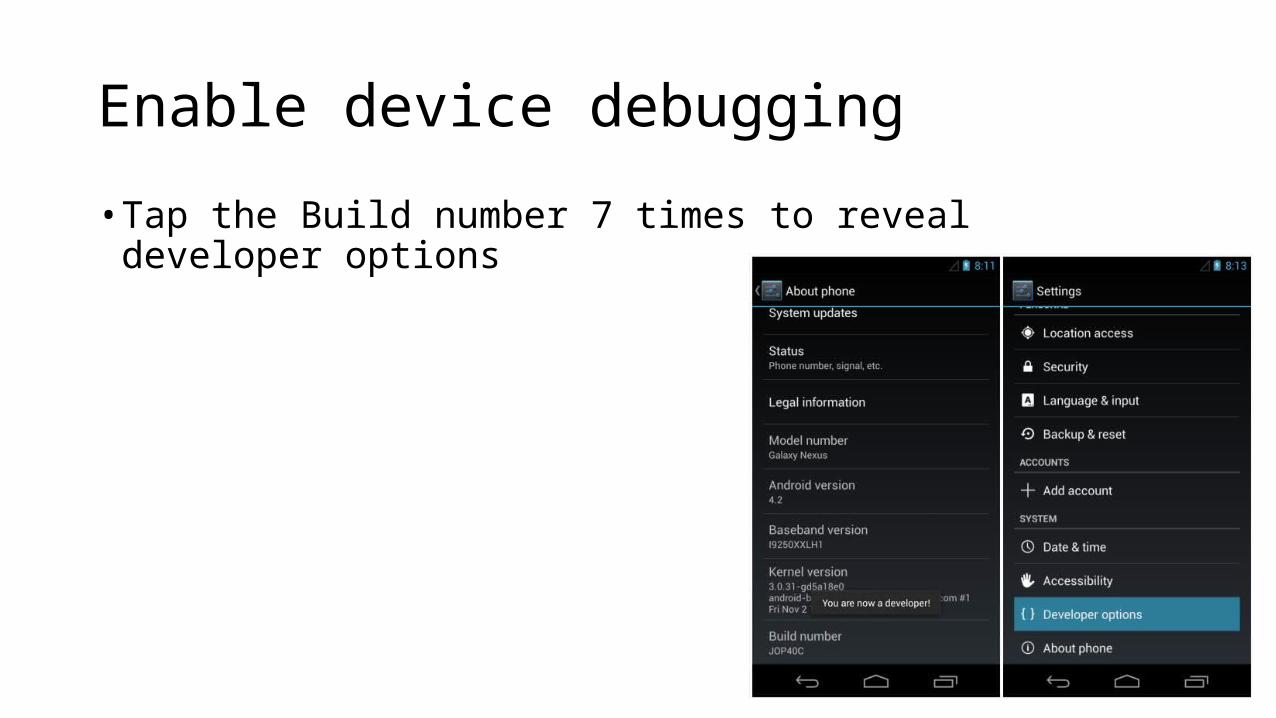
Enable device debugging
• Tap the Build number 7 times to reveal developer options
Xamarin setup
DEMOA quick look at the development setup

Xamarin.Android fundamentals
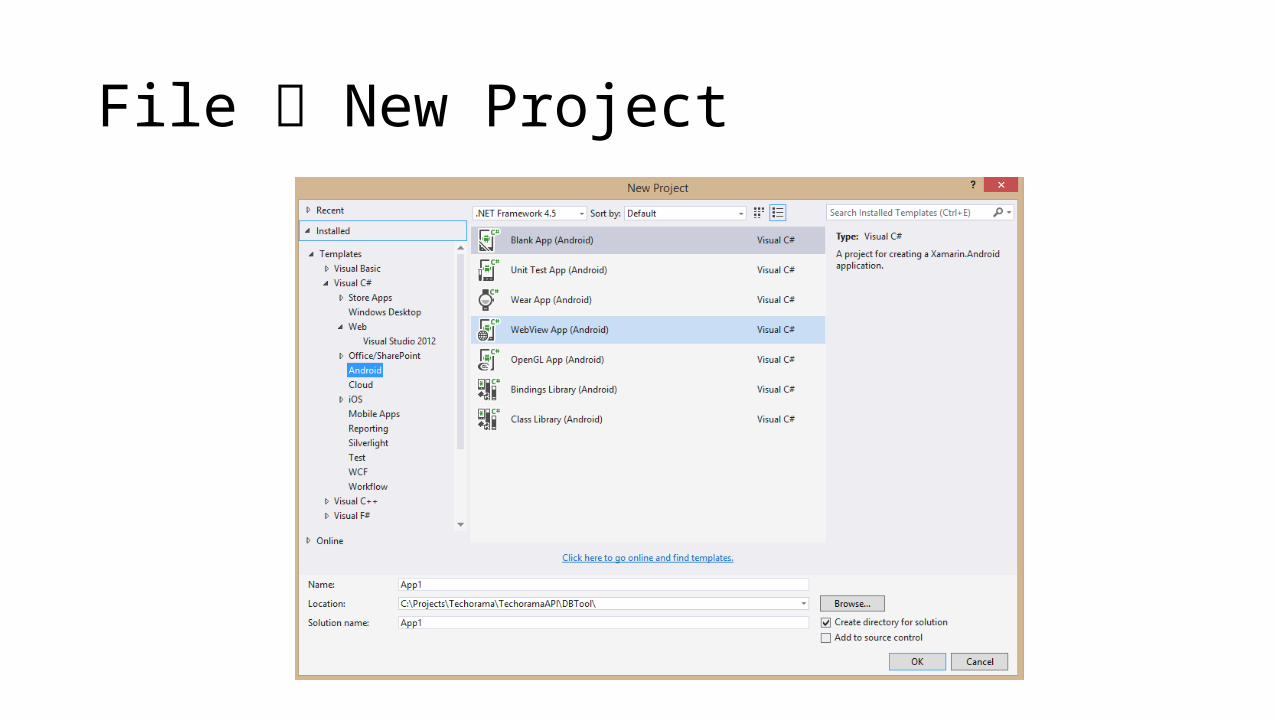
File New Project
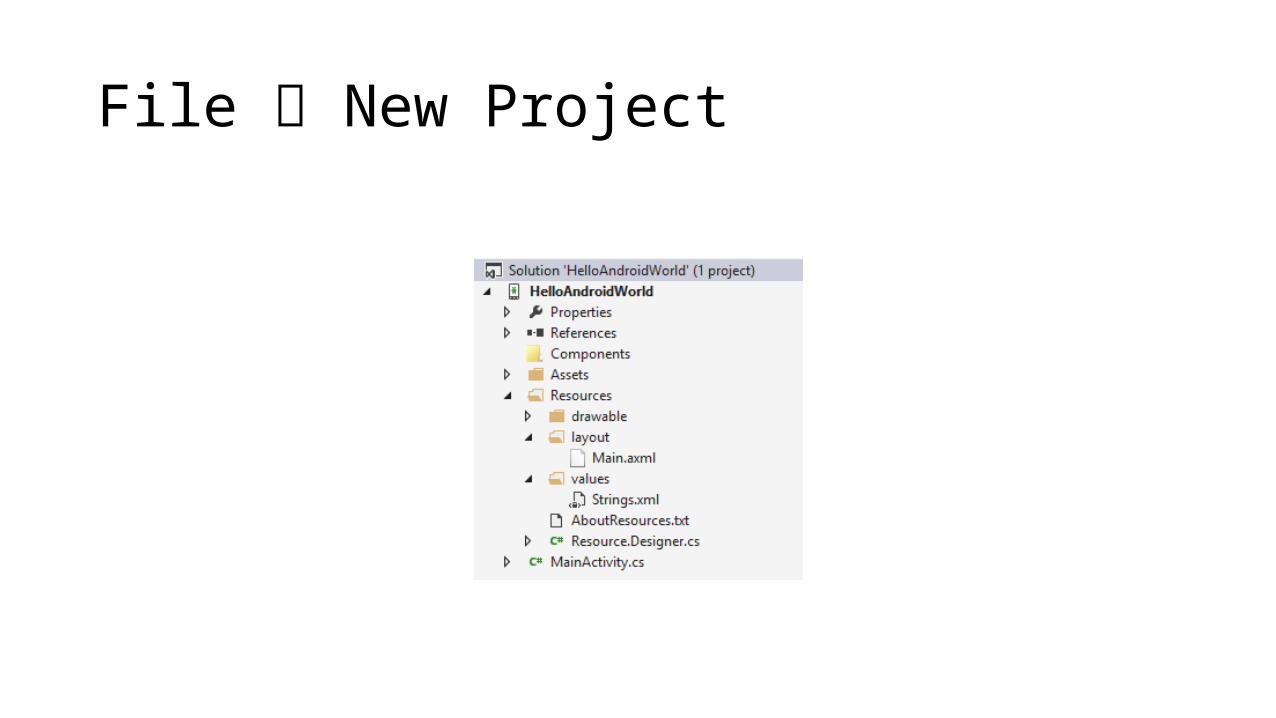
File New Project
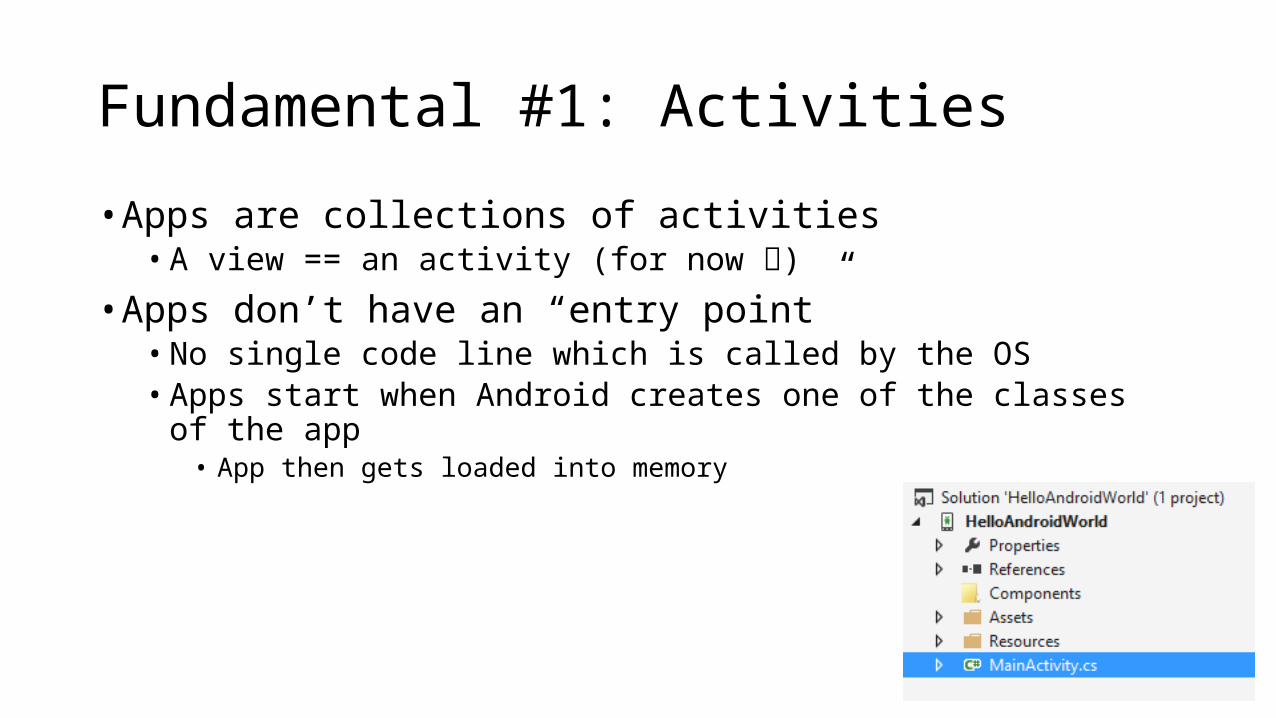
Fundamental #1: Activities
• Apps are collections of activities• A view == an activity (for now )
• Apps don’t have an “entry point”• No single code line which is called by the OS• Apps start when Android creates one of the classes of the app
• App then gets loaded into memory
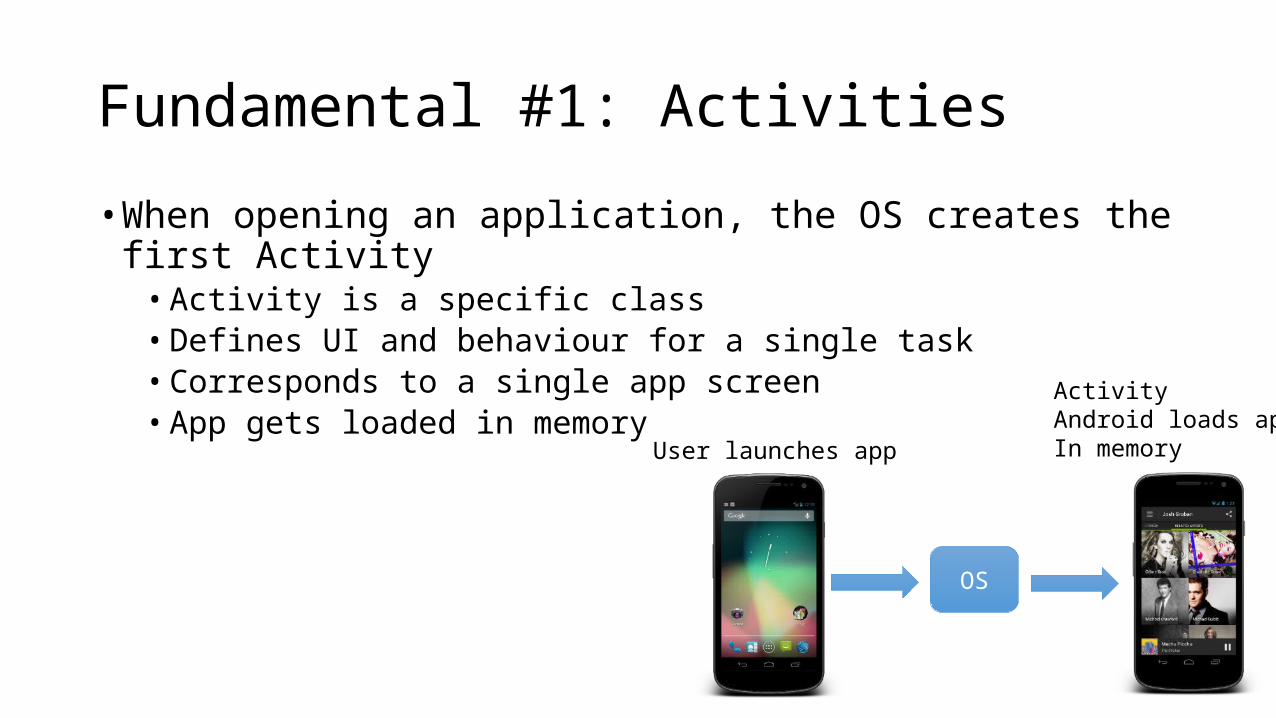
Fundamental #1: Activities
• When opening an application, the OS creates the first Activity• Activity is a specific class• Defines UI and behaviour for a single task• Corresponds to a single app screen• App gets loaded in memory
OS
User launches app
ActivityAndroid loads appIn memory
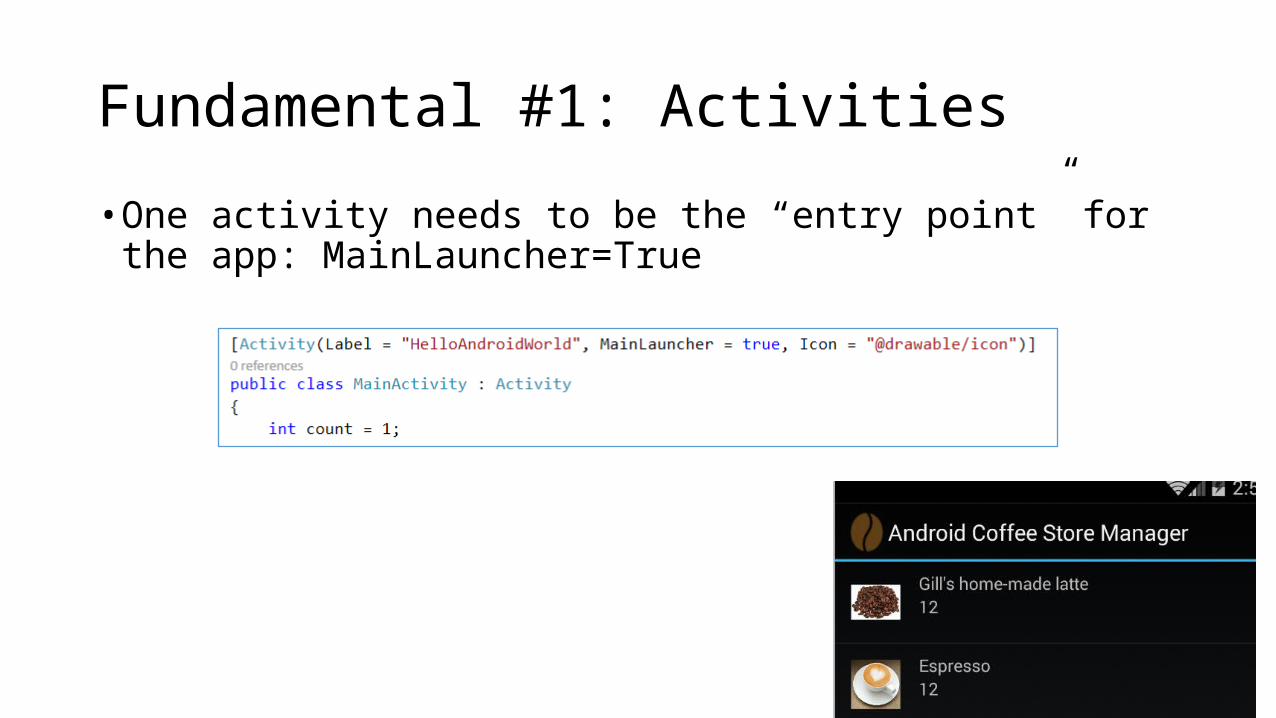
Fundamental #1: Activities
• One activity needs to be the “entry point” for the app: MainLauncher=True
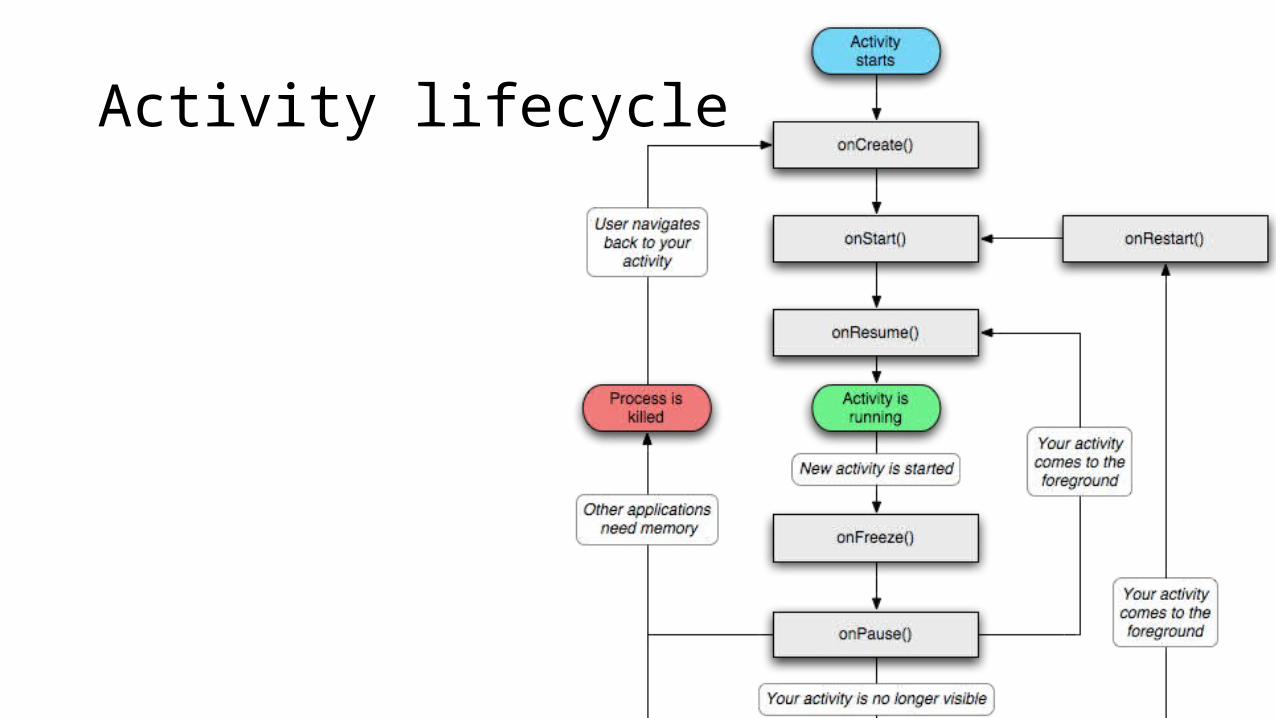
Activity lifecycle
Activity lifecycle
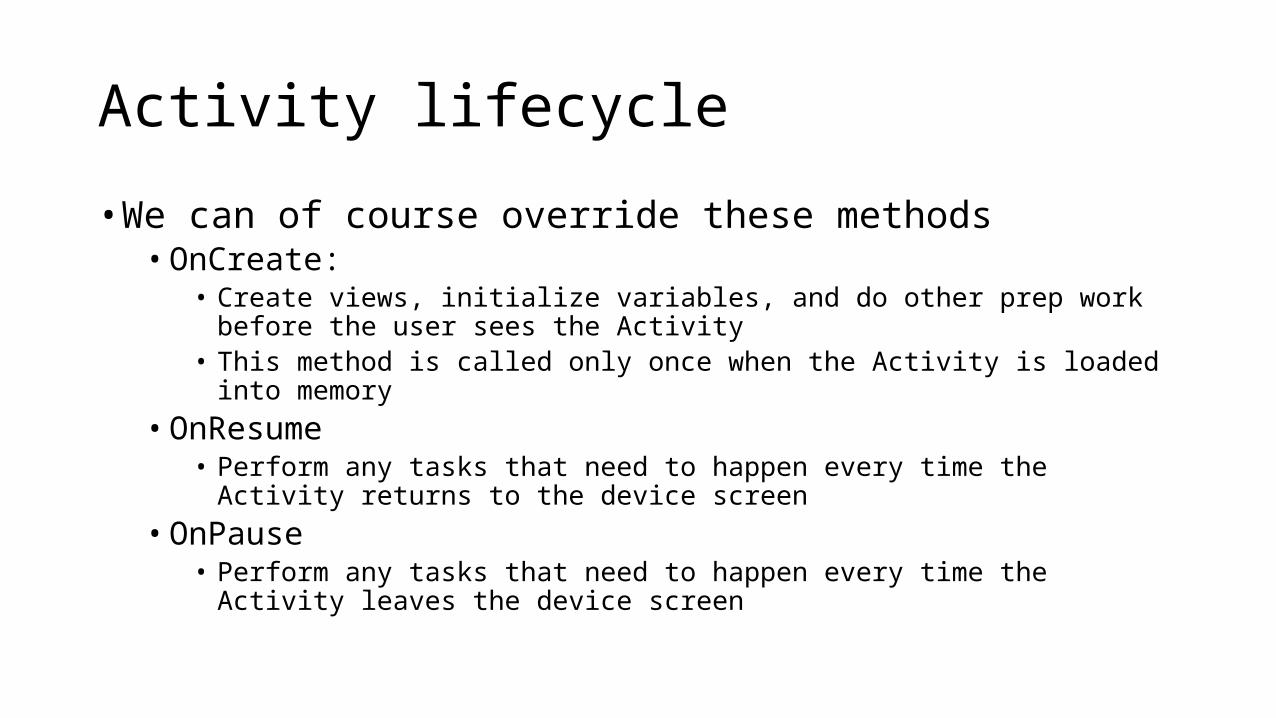
• We can of course override these methods• OnCreate:
• Create views, initialize variables, and do other prep work before the user sees the Activity
• This method is called only once when the Activity is loaded into memory• OnResume
• Perform any tasks that need to happen every time the Activity returns to the device screen
• OnPause• Perform any tasks that need to happen every time the Activity leaves the device screen
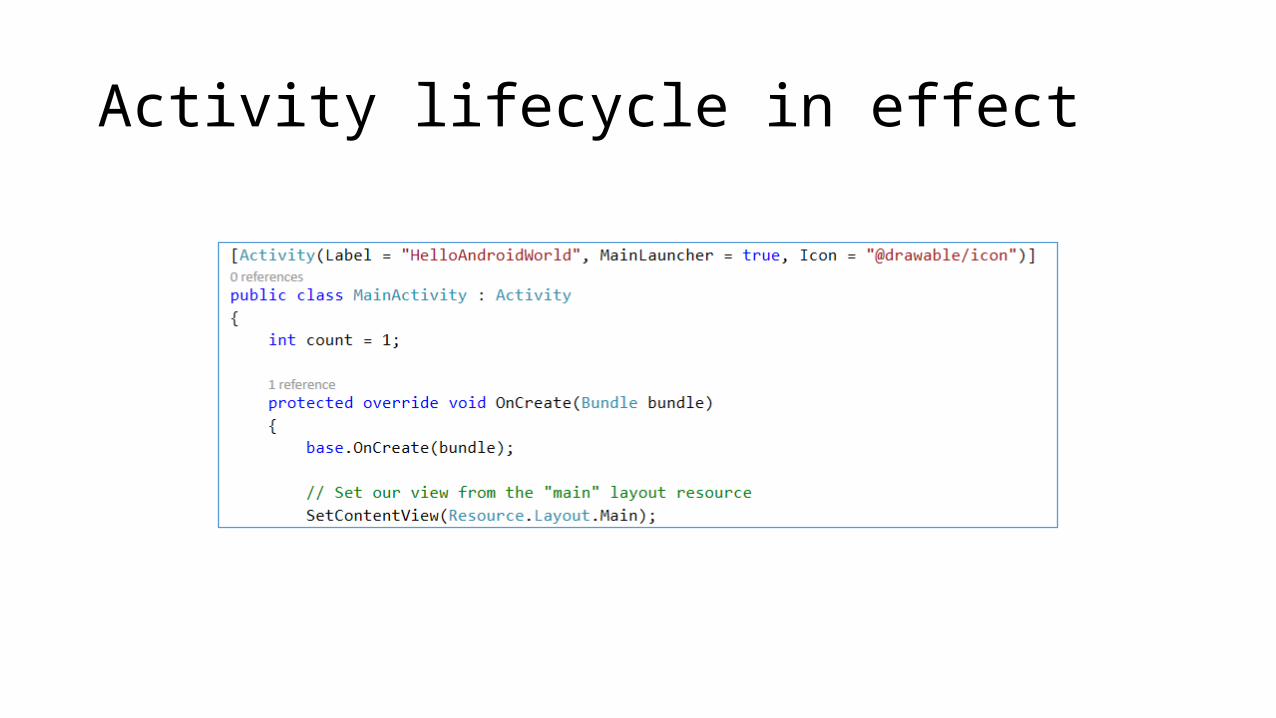
Activity lifecycle in effect
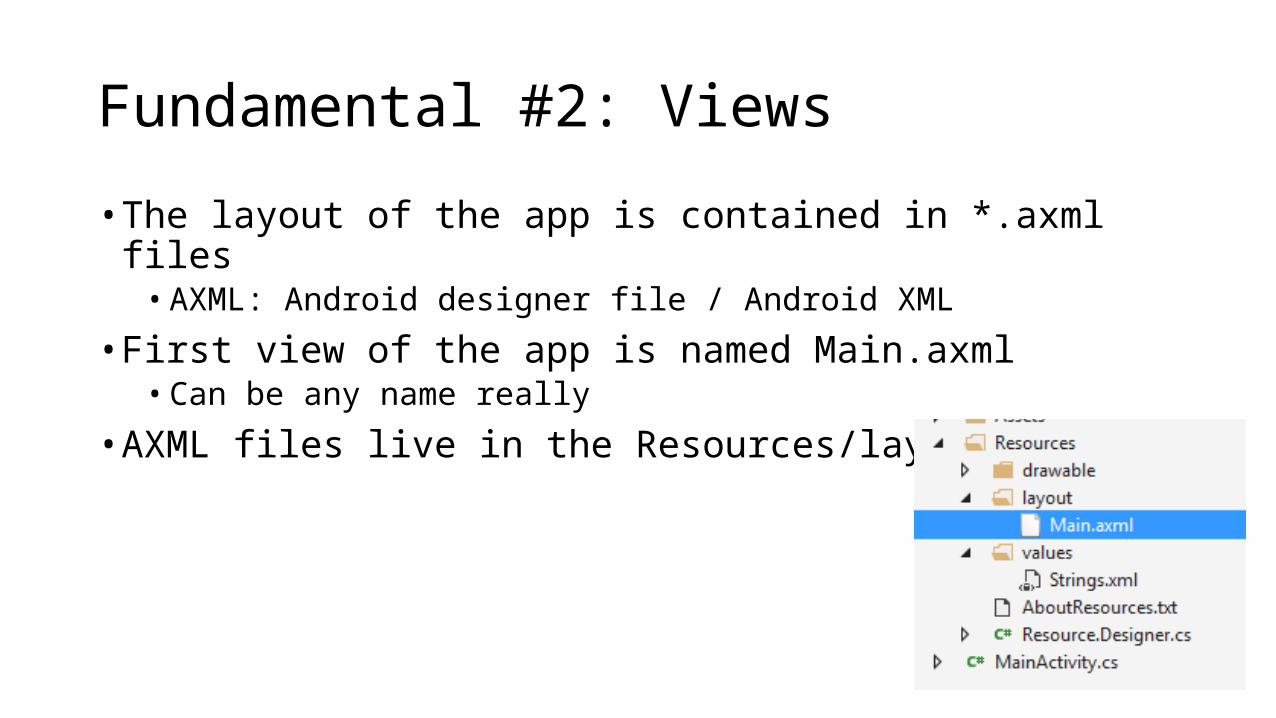
Fundamental #2: Views
• The layout of the app is contained in *.axml files• AXML: Android designer file / Android XML
• First view of the app is named Main.axml • Can be any name really
• AXML files live in the Resources/layout folder
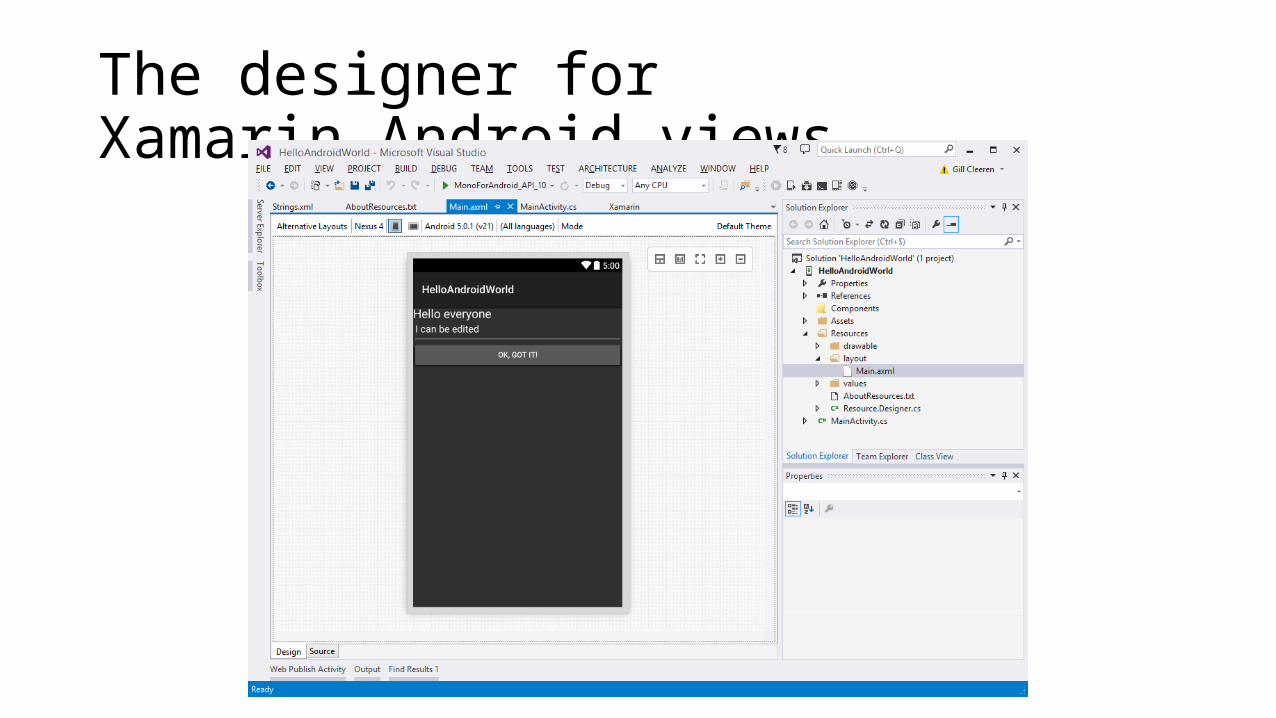
The designer for Xamarin.Android views
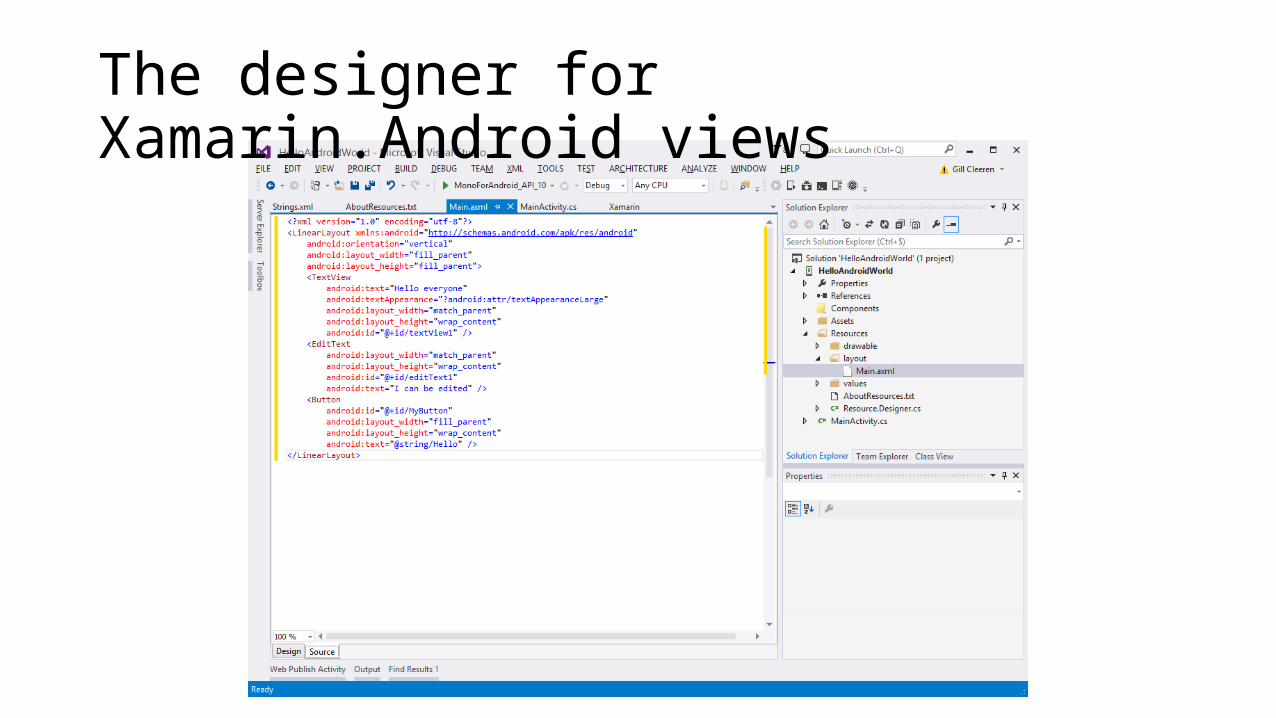
The designer for Xamarin.Android views
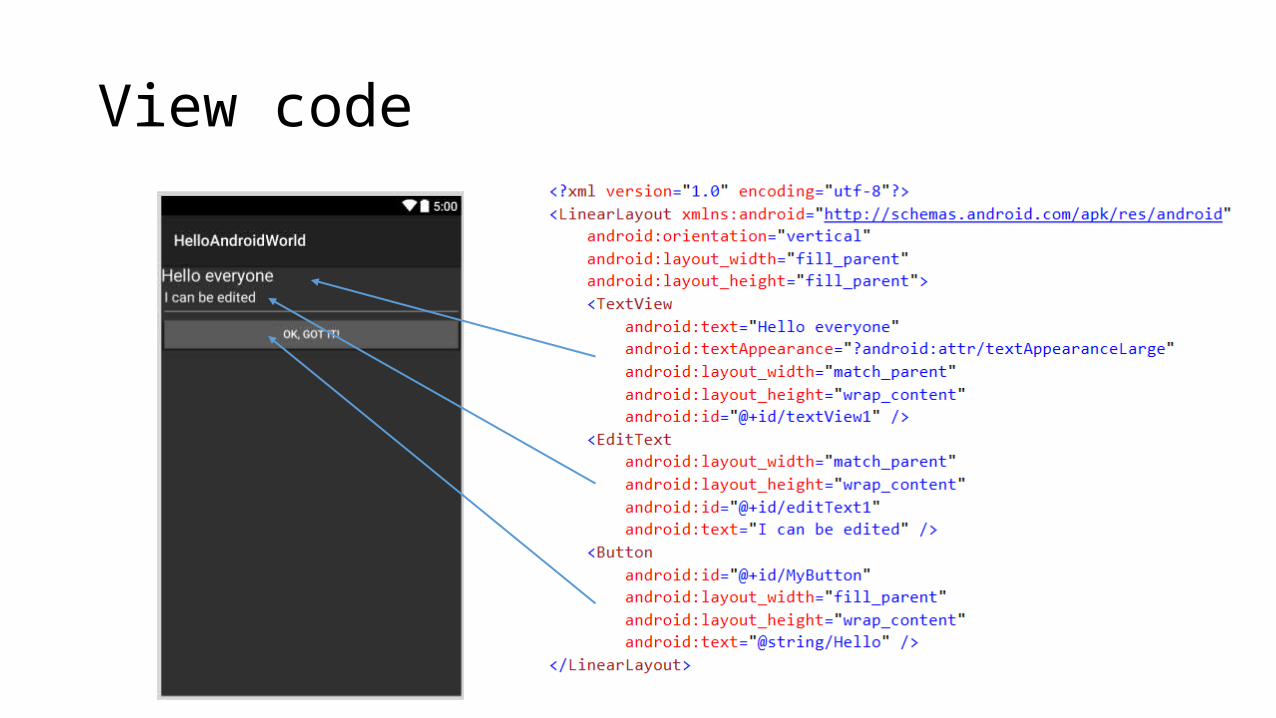
View code
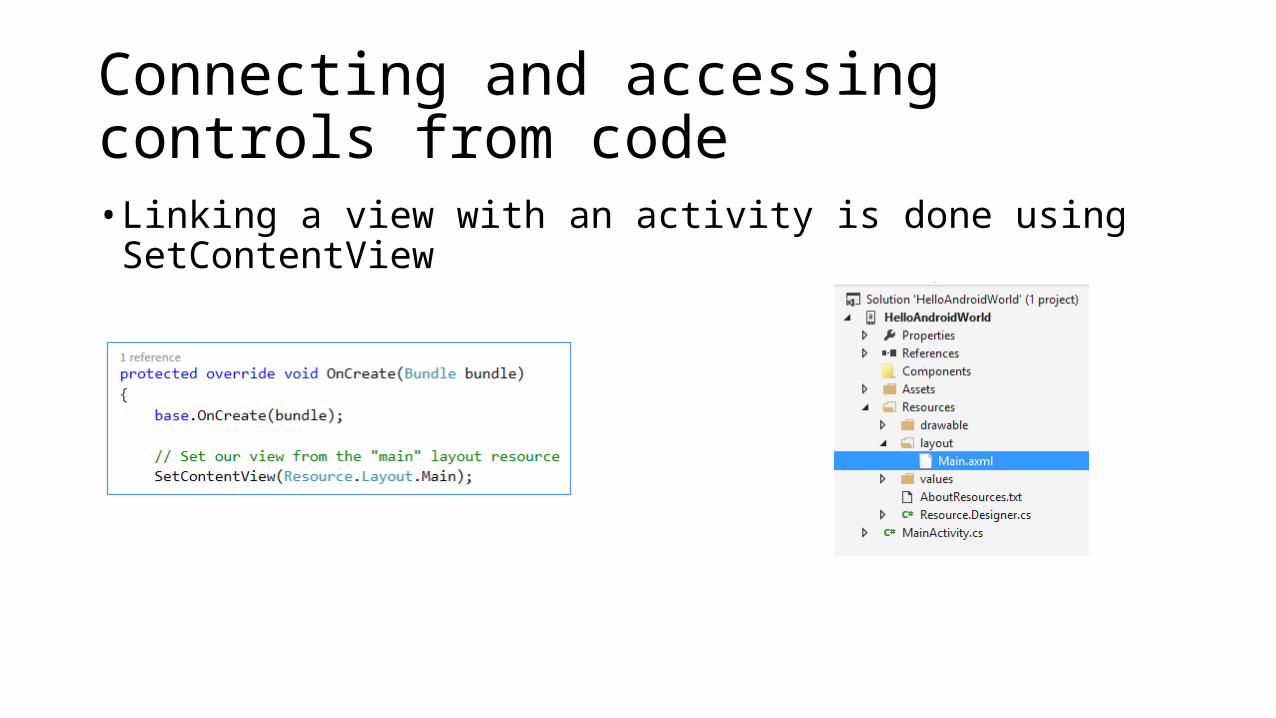
Connecting and accessing controls from code• Linking a view with an activity is done using SetContentView
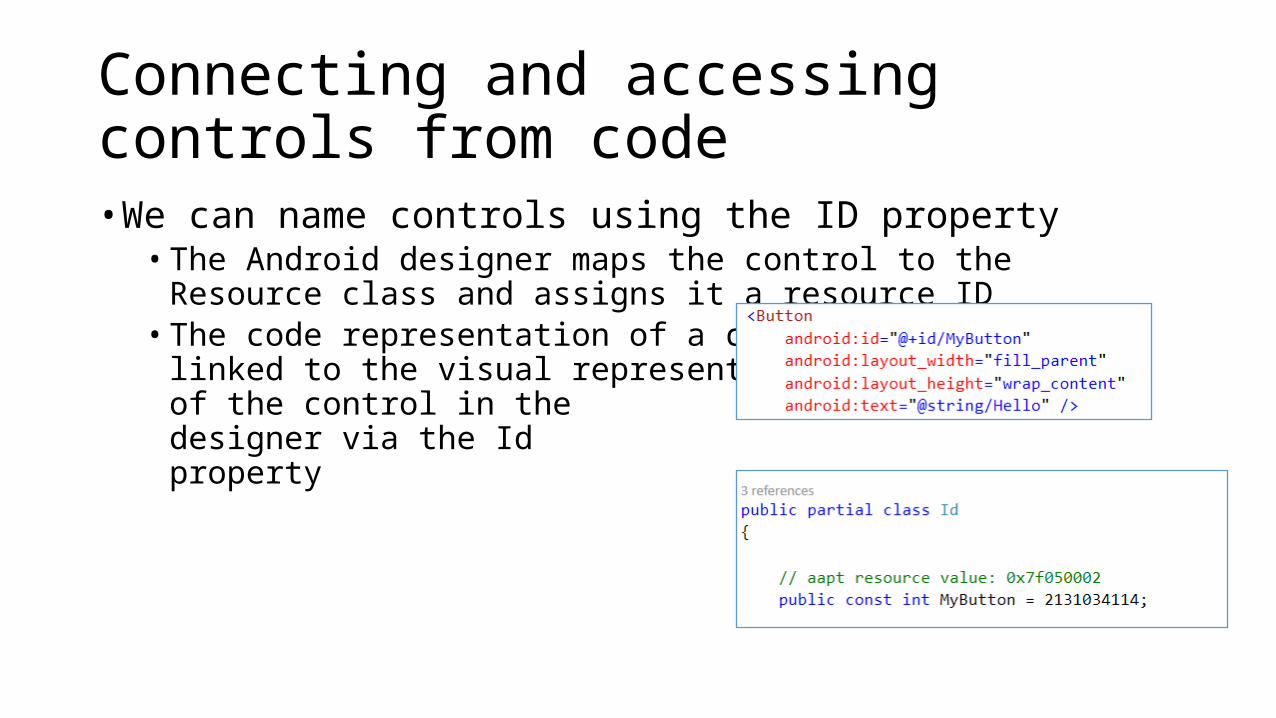
Connecting and accessing controls from code• We can name controls using the ID property• The Android designer maps the control to the Resource class and assigns it a
resource ID• The code representation of a control is
linked to the visual representation of the control in the designer via the Id property
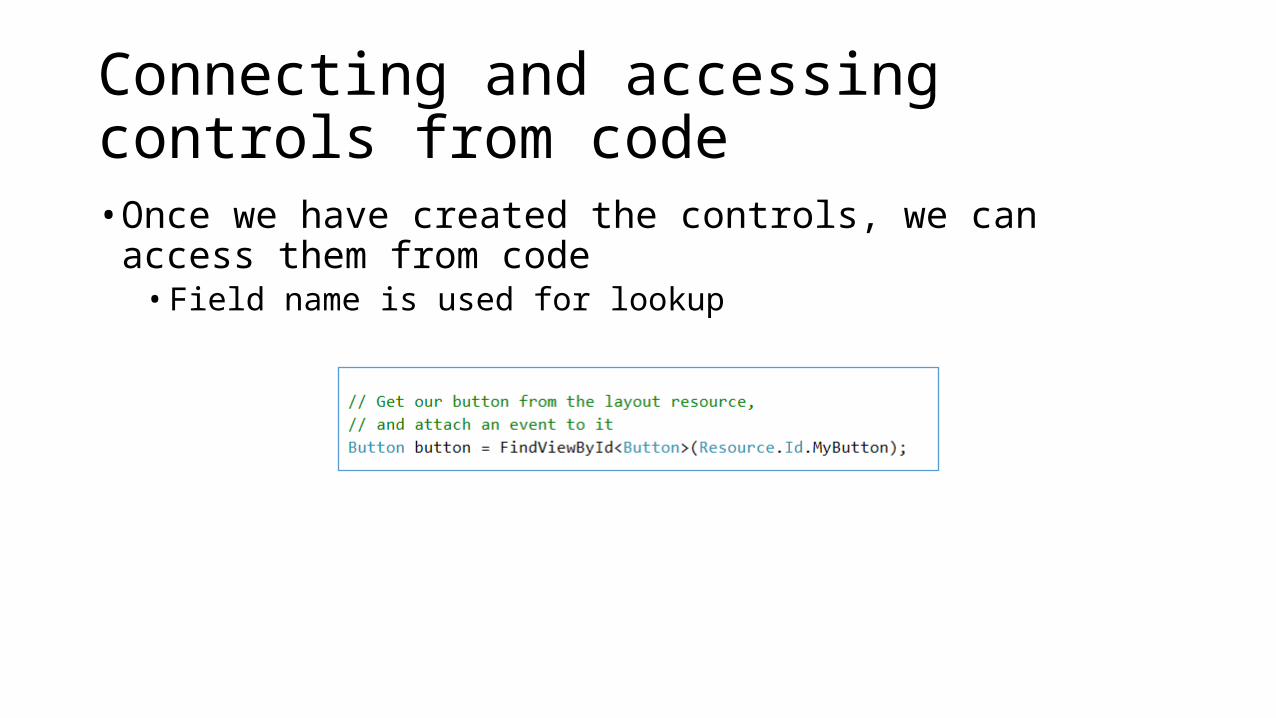
Connecting and accessing controls from code• Once we have created the controls, we can access them from code• Field name is used for lookup
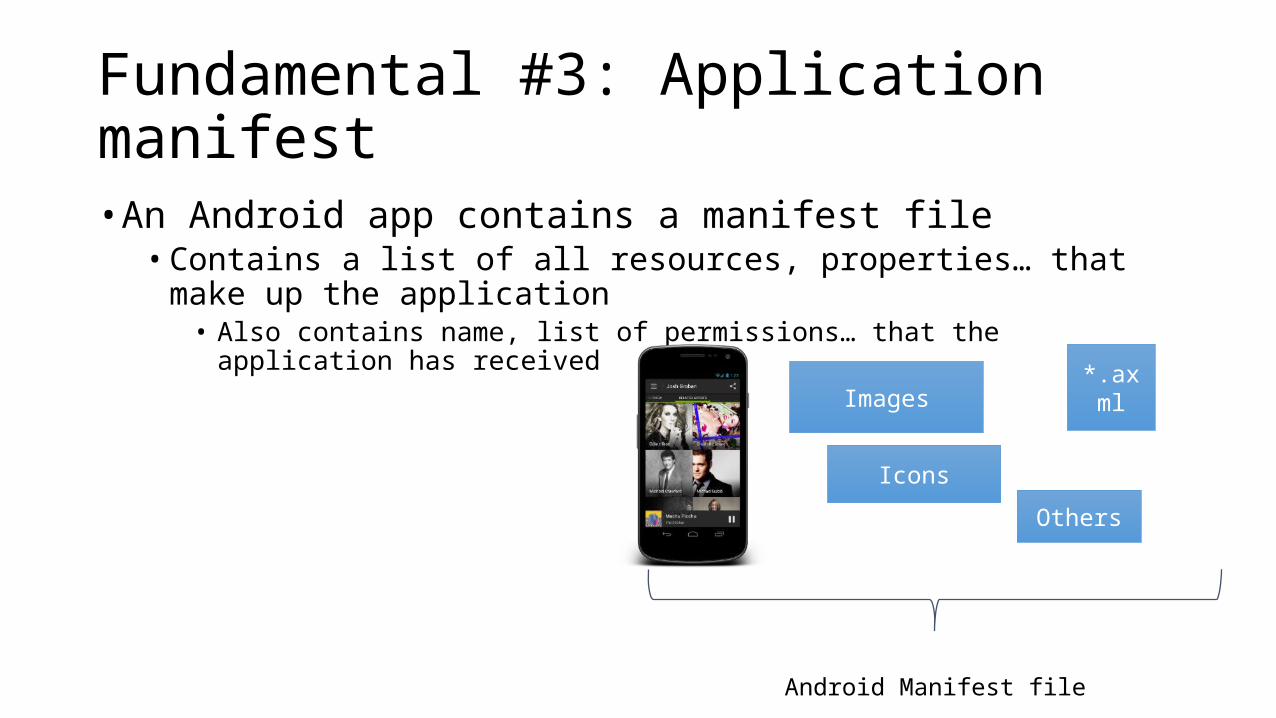
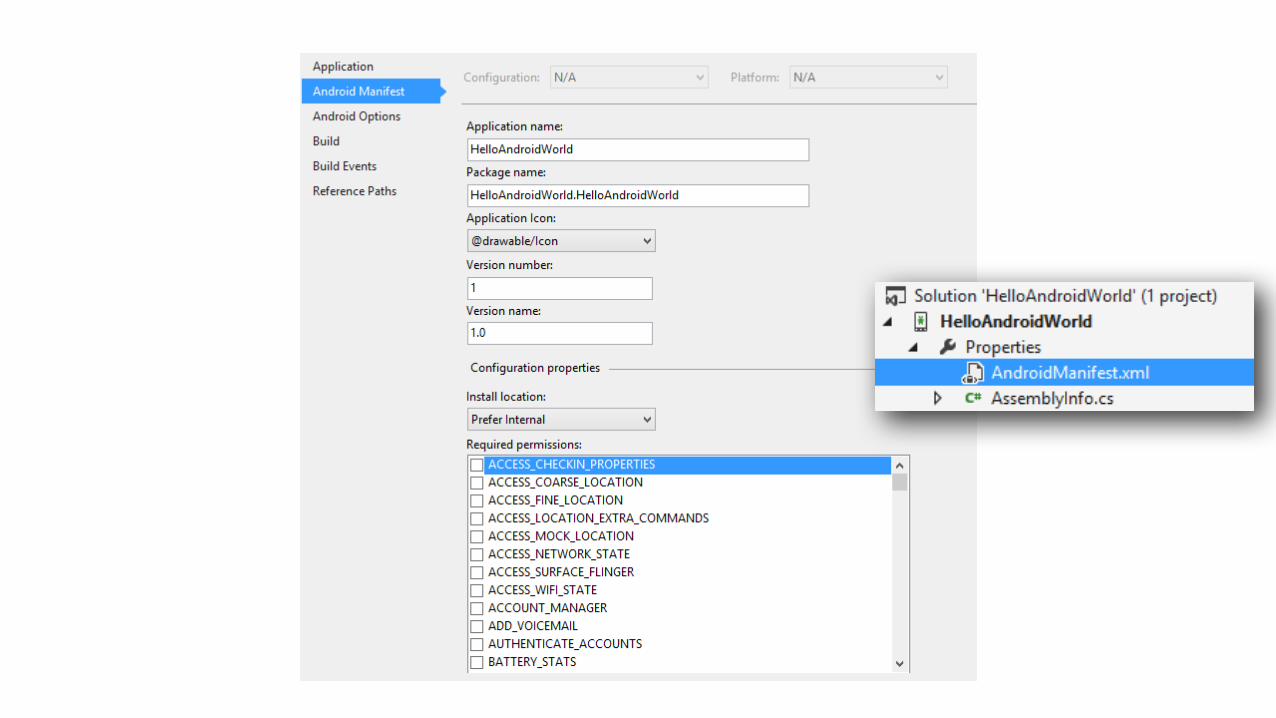
Fundamental #3: Application manifest• An Android app contains a manifest file• Contains a list of all resources, properties… that make up the application
• Also contains name, list of permissions… that the application has received
Images
Icons
*.axml
Others
Android Manifest file
DEMOCreating our first Android application together!

Navigation and lists
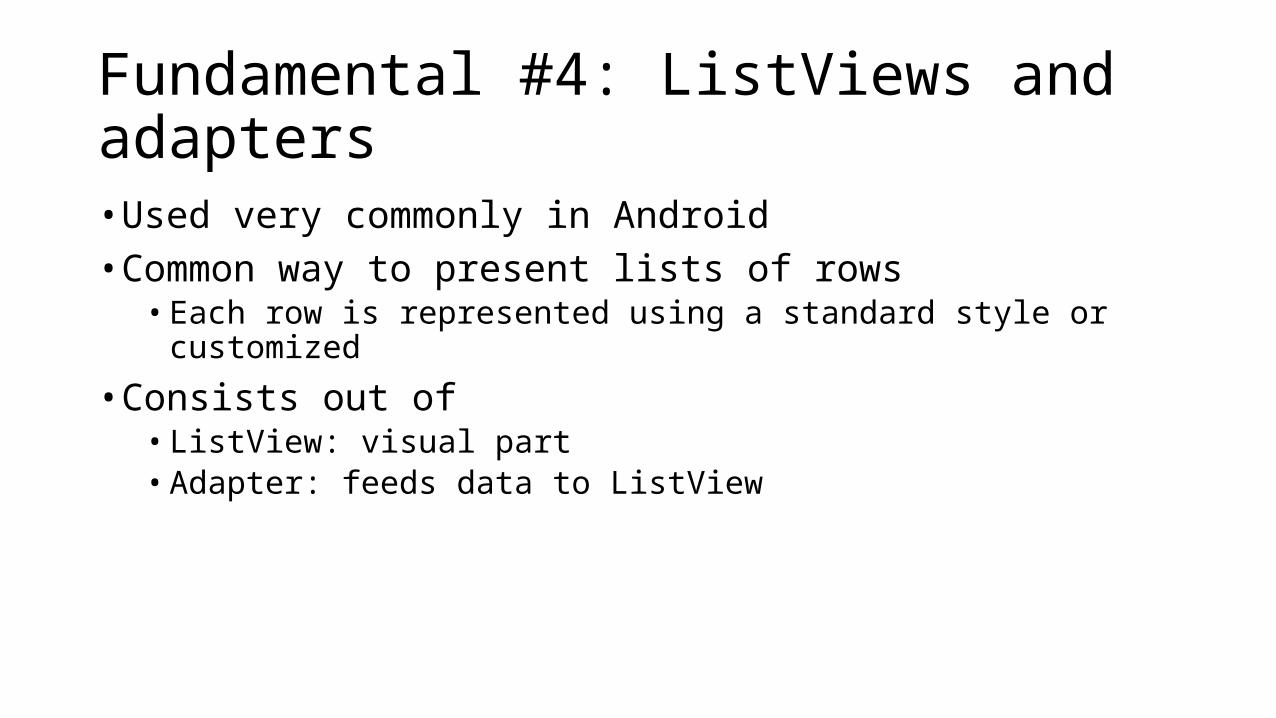
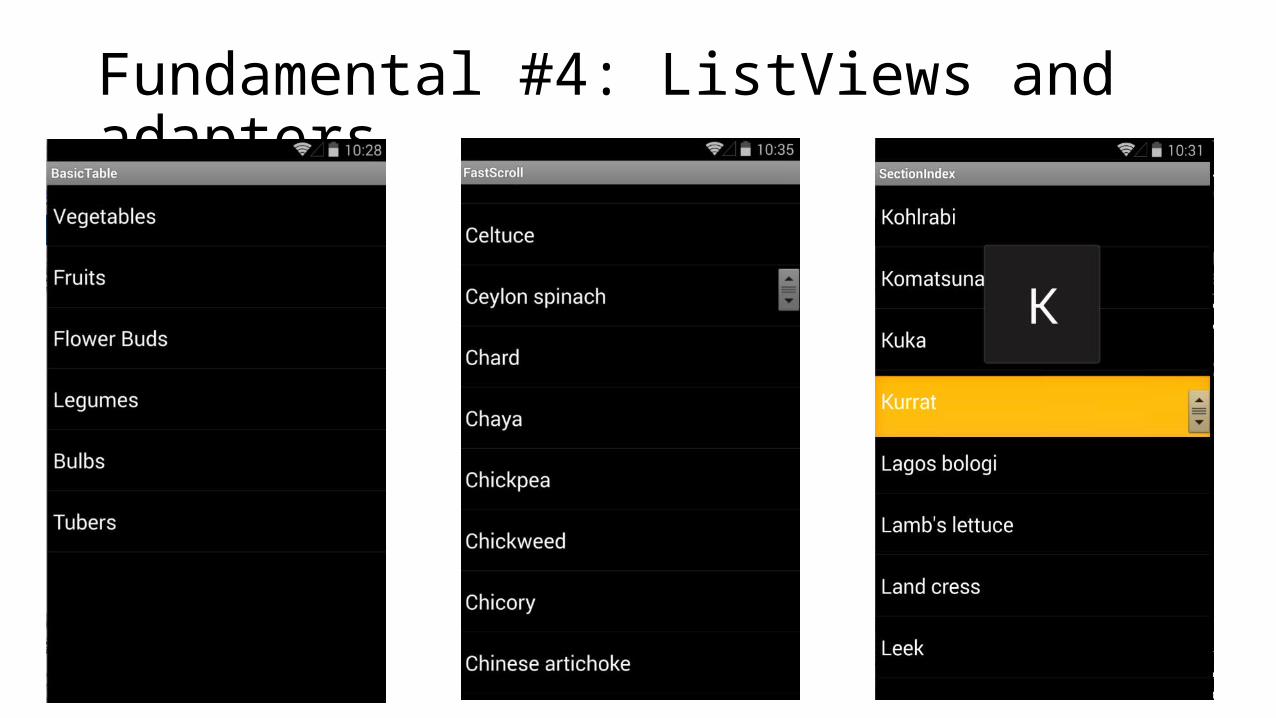
Fundamental #4: ListViews and adapters• Used very commonly in Android• Common way to present lists of rows• Each row is represented using a standard style or customized
• Consists out of• ListView: visual part• Adapter: feeds data to ListView
Fundamental #4: ListViews and adapters

Important classes
• ListView• ListActivity• BaseAdapter• ArrayAdapter & ArrayAdapter<T>
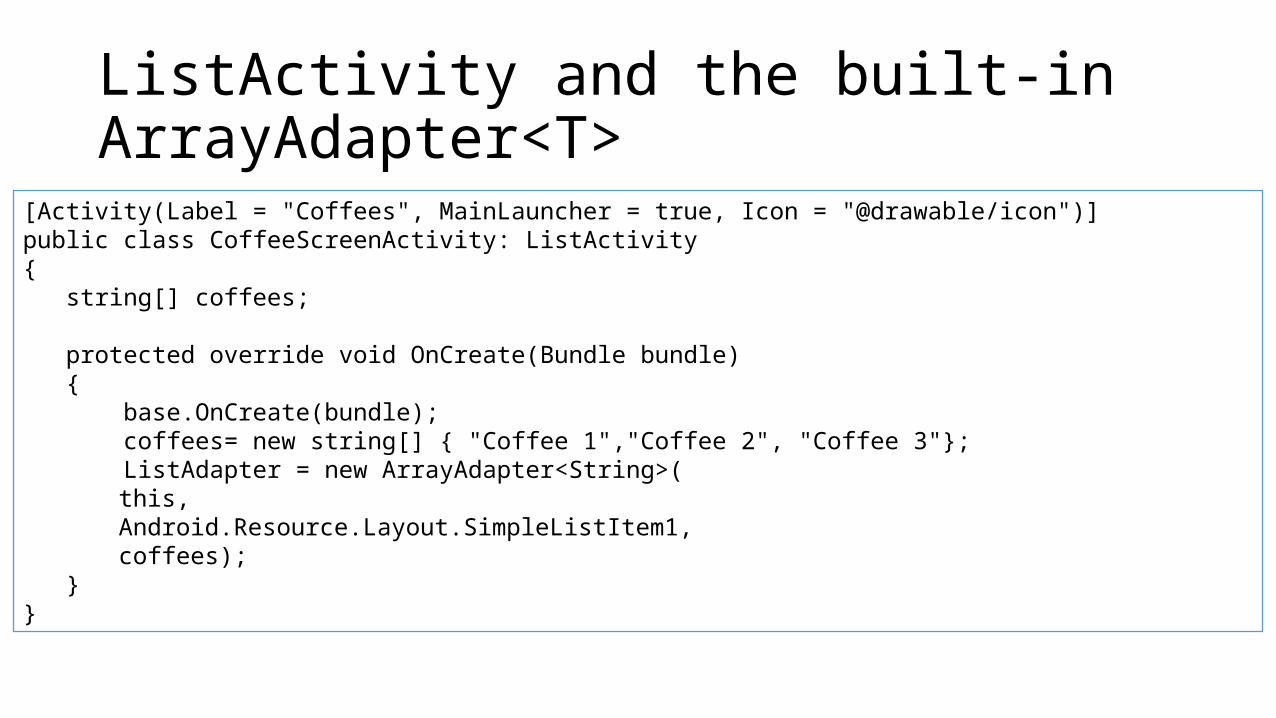
ListActivity and the built-in ArrayAdapter<T>
[Activity(Label = "Coffees", MainLauncher = true, Icon = "@drawable/icon")]public class CoffeeScreenActivity: ListActivity { string[] coffees;
protected override void OnCreate(Bundle bundle) { base.OnCreate(bundle); coffees= new string[] { "Coffee 1","Coffee 2", "Coffee 3"}; ListAdapter = new ArrayAdapter<String>(
this, Android.Resource.Layout.SimpleListItem1, coffees);
}}
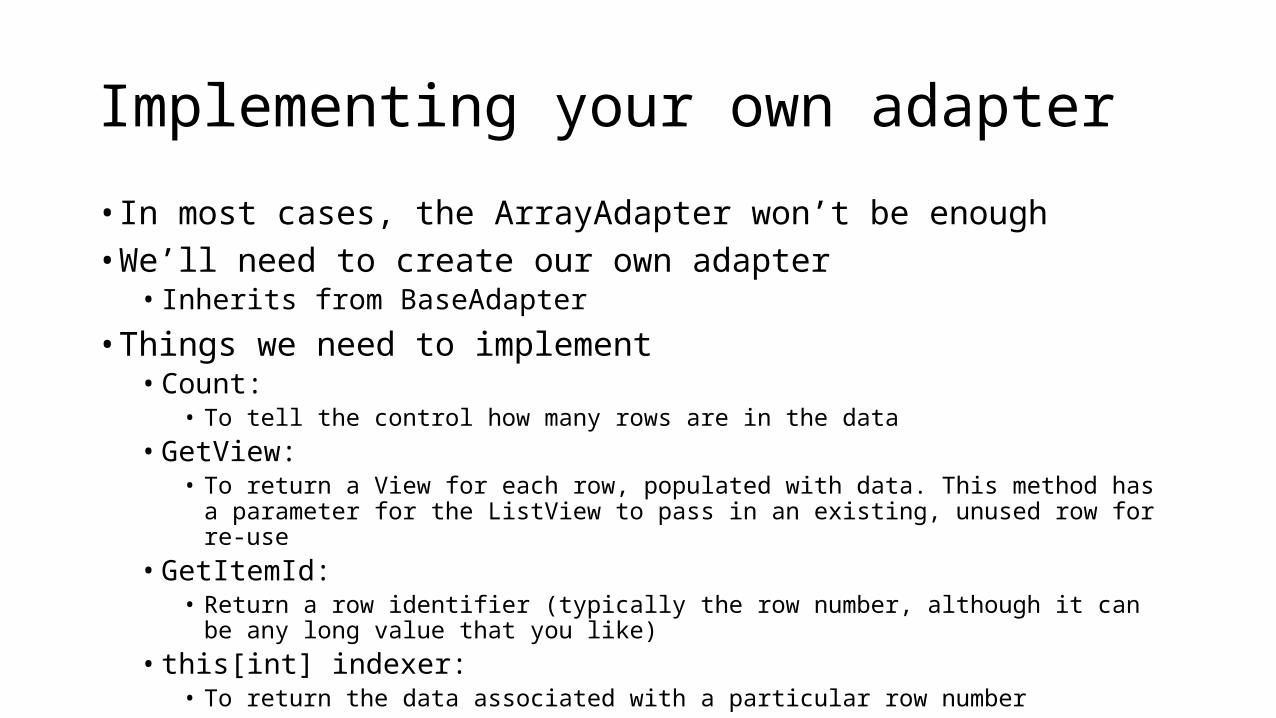
Implementing your own adapter
• In most cases, the ArrayAdapter won’t be enough• We’ll need to create our own adapter
• Inherits from BaseAdapter
• Things we need to implement• Count:
• To tell the control how many rows are in the data• GetView:
• To return a View for each row, populated with data. This method has a parameter for the ListView to pass in an existing, unused row for re-use
• GetItemId: • Return a row identifier (typically the row number, although it can be any long value that
you like)• this[int] indexer:
• To return the data associated with a particular row number
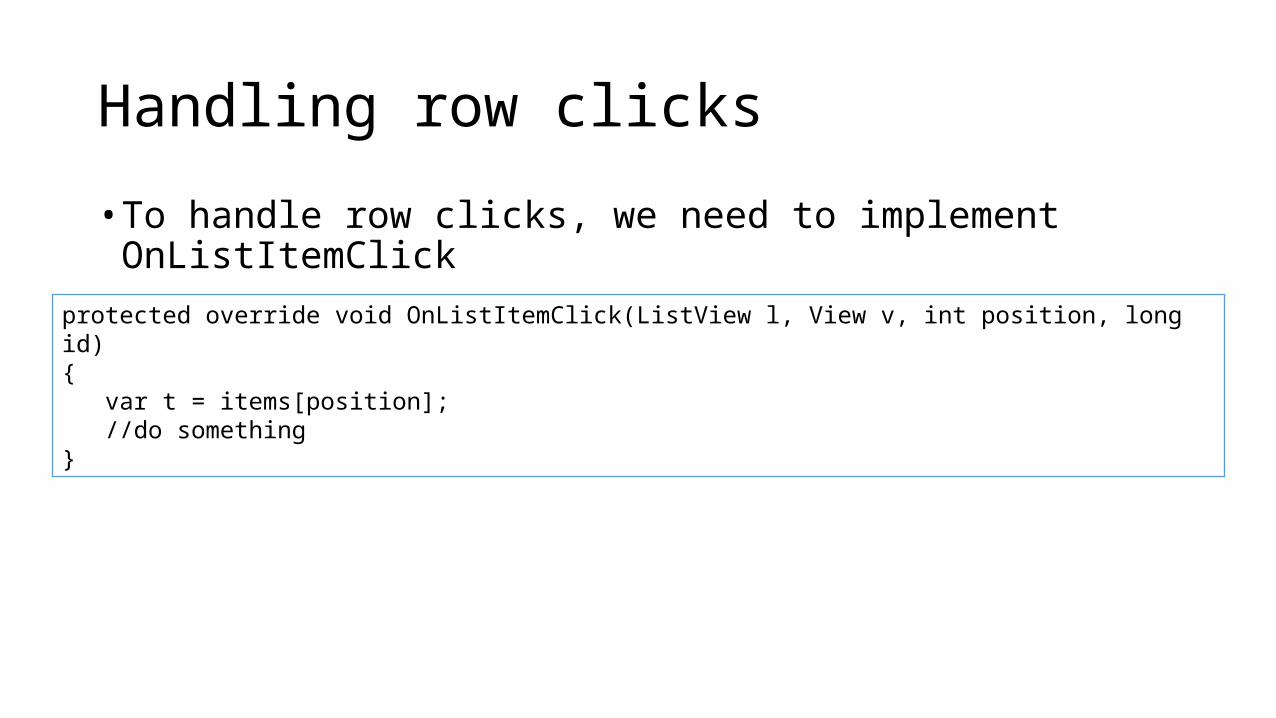
Handling row clicks
• To handle row clicks, we need to implement OnListItemClick
protected override void OnListItemClick(ListView l, View v, int position, long id){ var t = items[position]; //do something}
DEMOAdding a ListView and an adapter
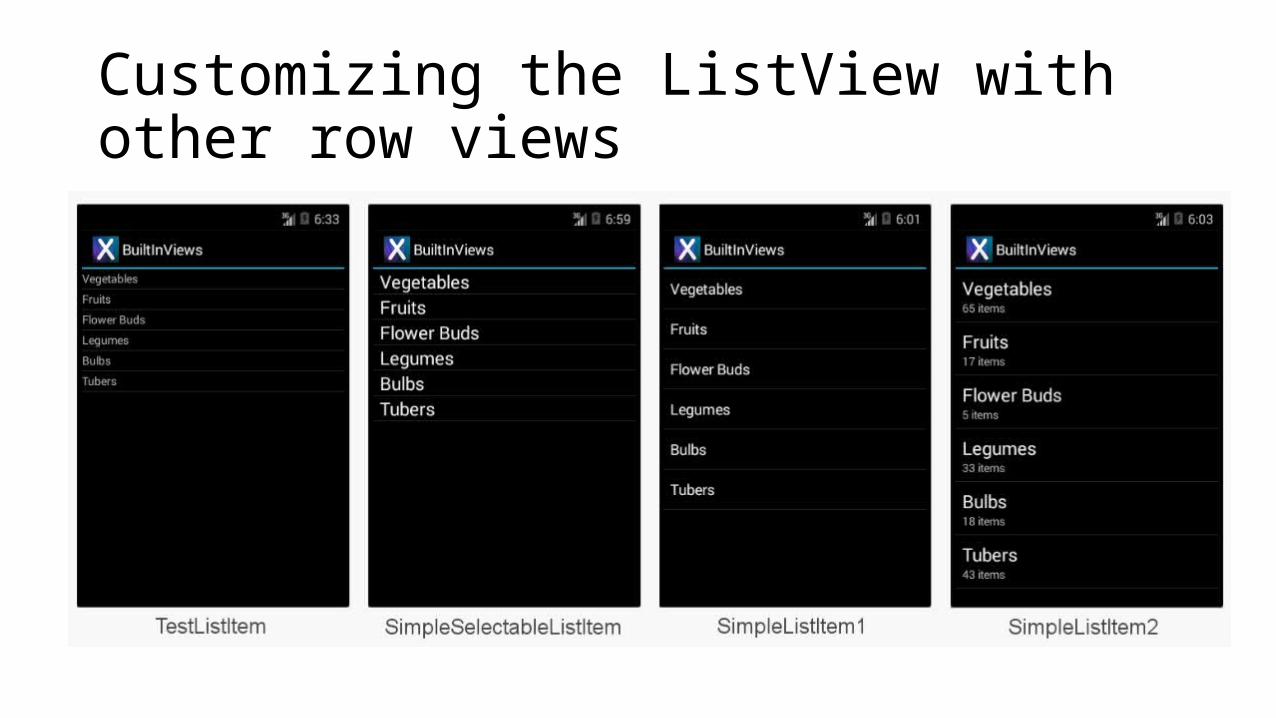
Customizing the ListView with other row views

Customizing the ListView with other row views
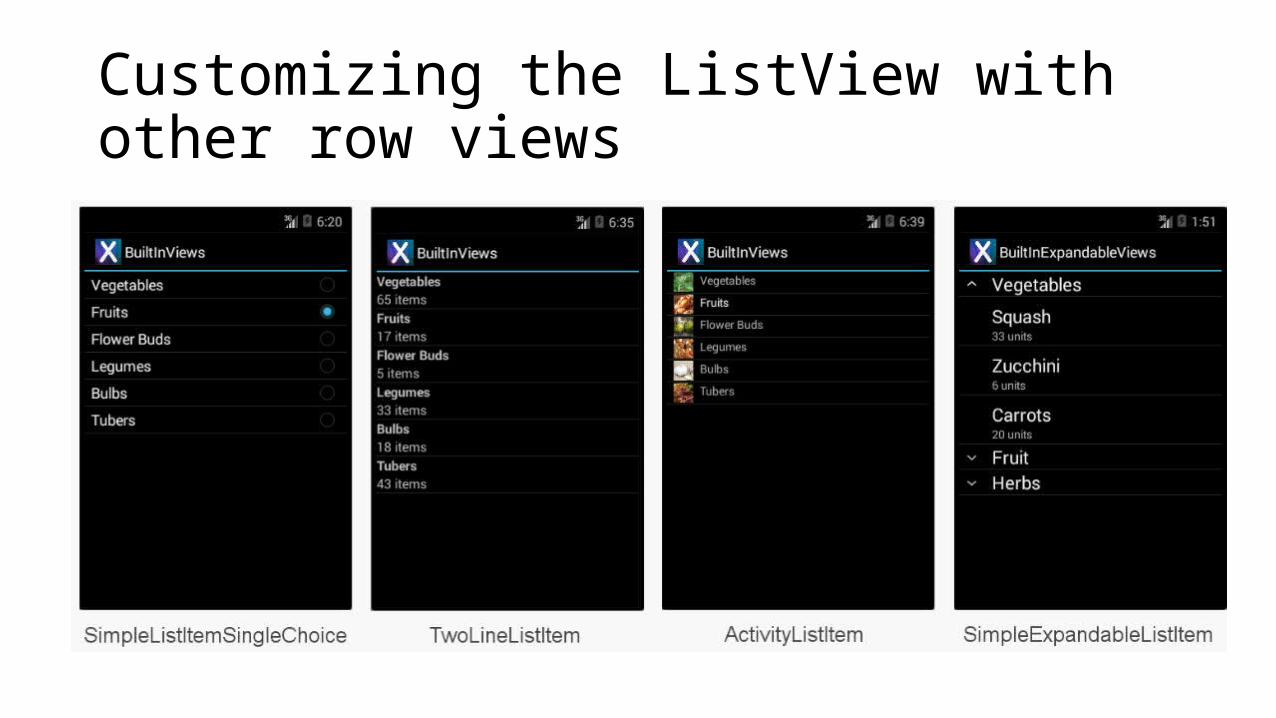
Customizing the ListView with other row views
DEMOUsing the built-in row views

Creating your own row views
• Custom row layouts are AXML files in Resources/layout• Are loaded by Id using a custom adapter• View can contain any number of display classes with custom colors, fonts…

Creating your ownrow view
<?xml version="1.0" encoding="utf-8"?><LinearLayout xmlns:android="http://schemas.android.com/apk/res/android" android:layout_width="fill_parent" android:layout_height="wrap_content" android:padding="8dp" android:orientation="horizontal"> <ImageView android:id="@+id/CoffeeImageView" android:layout_width="50dp" android:layout_height="50dp" android:padding="5dp" /> <LinearLayout android:id="@+id/TextFields" android:orientation="vertical" android:layout_width="match_parent" android:layout_height="wrap_content" android:paddingLeft="10dip"> <TextView android:id="@+id/CoffeeNameText" android:layout_width="wrap_content" android:layout_height="wrap_content" /> <TextView android:id="@+id/PriceText" android:layout_width="wrap_content" android:layout_height="wrap_content" /> </LinearLayout></LinearLayout>
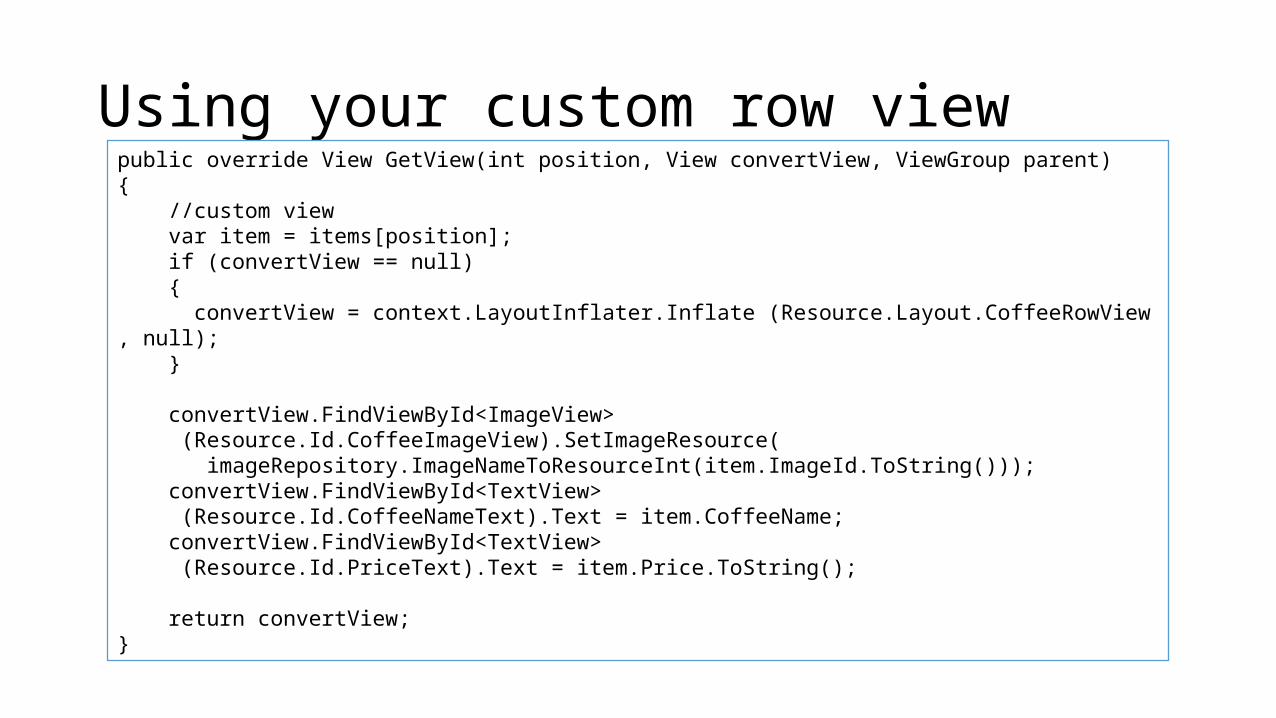
Using your custom row viewpublic override View GetView(int position, View convertView, ViewGroup parent){ //custom view var item = items[position]; if (convertView == null) { convertView = context.LayoutInflater.Inflate (Resource.Layout.CoffeeRowView, null); } convertView.FindViewById<ImageView> (Resource.Id.CoffeeImageView).SetImageResource( imageRepository.ImageNameToResourceInt(item.ImageId.ToString())); convertView.FindViewById<TextView> (Resource.Id.CoffeeNameText).Text = item.CoffeeName; convertView.FindViewById<TextView> (Resource.Id.PriceText).Text = item.Price.ToString();
return convertView;}
DEMOAdding our own custom row view
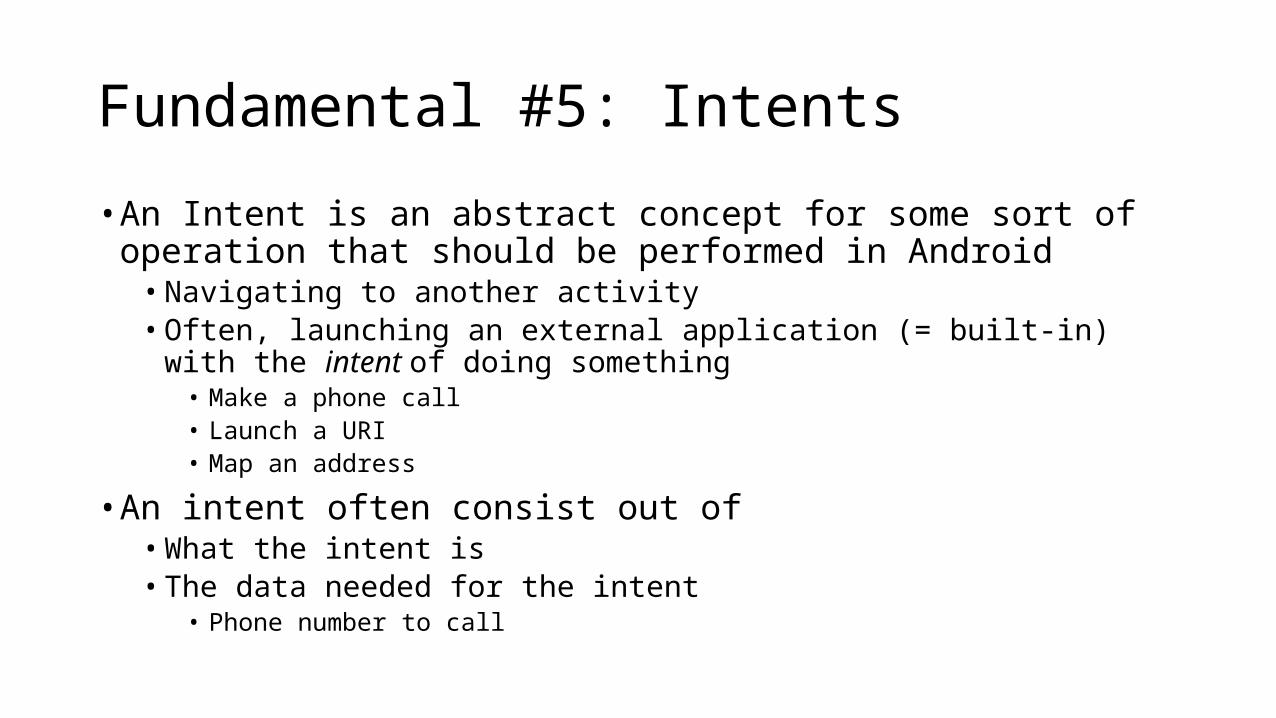
Fundamental #5: Intents
• An Intent is an abstract concept for some sort of operation that should be performed in Android• Navigating to another activity• Often, launching an external application (= built-in) with the intent of doing
something• Make a phone call• Launch a URI• Map an address
• An intent often consist out of• What the intent is• The data needed for the intent
• Phone number to call
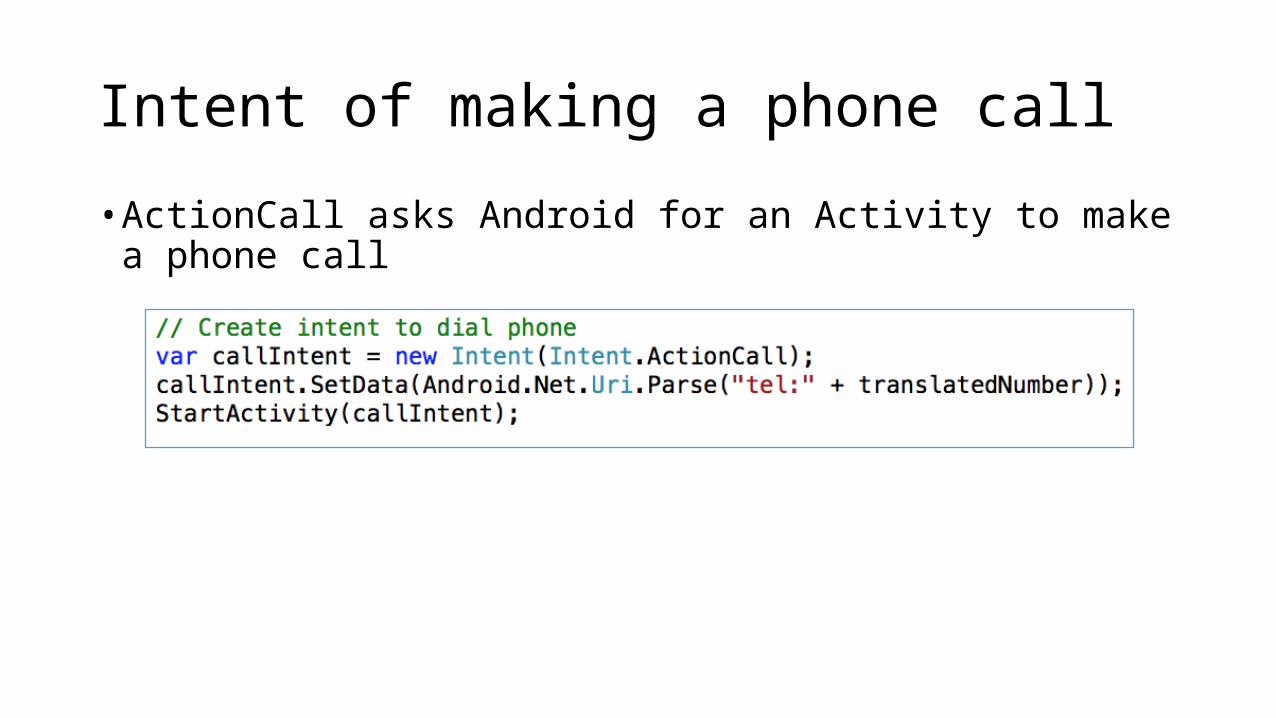
Intent of making a phone call
• ActionCall asks Android for an Activity to make a phone call
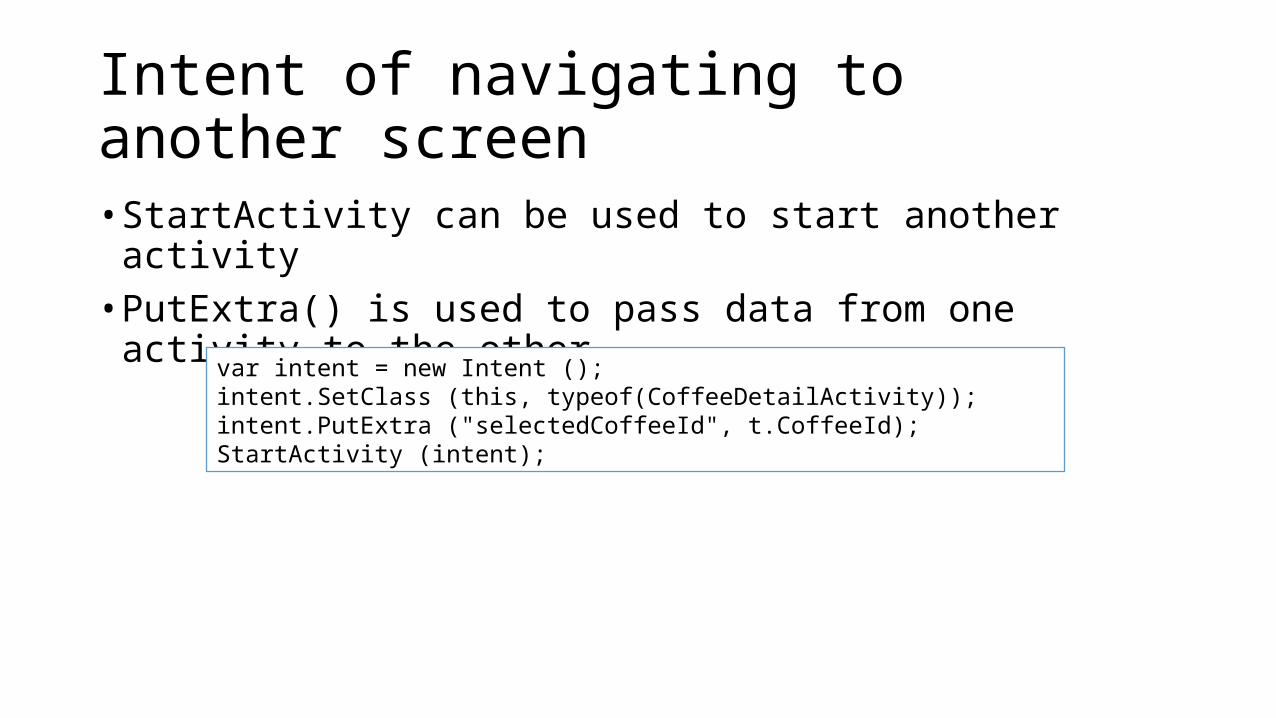
Intent of navigating to another screen• StartActivity can be used to start another activity• PutExtra() is used to pass data from one activity to the other
var intent = new Intent ();intent.SetClass (this, typeof(CoffeeDetailActivity));intent.PutExtra ("selectedCoffeeId", t.CoffeeId);StartActivity (intent);
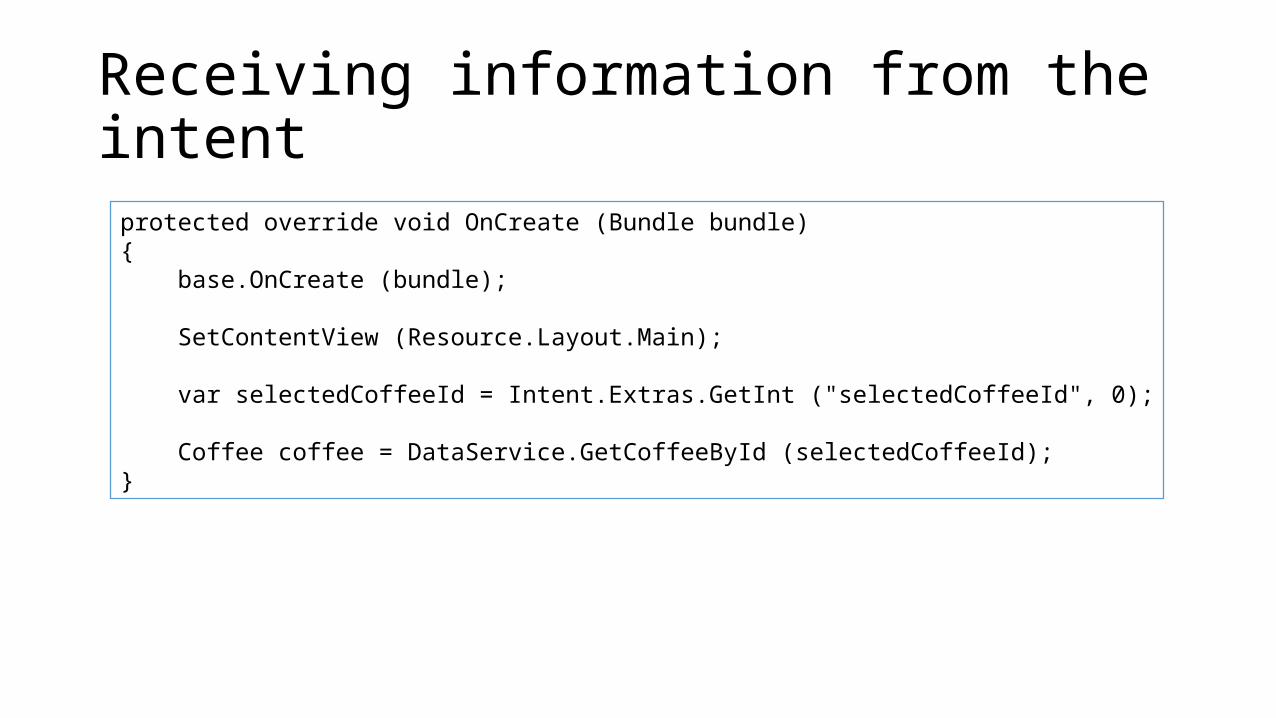
Receiving information from the intentprotected override void OnCreate (Bundle bundle){ base.OnCreate (bundle);
SetContentView (Resource.Layout.Main);
var selectedCoffeeId = Intent.Extras.GetInt ("selectedCoffeeId", 0);
Coffee coffee = DataService.GetCoffeeById (selectedCoffeeId);}

DEMONavigating from the List
to the Detail page

Adding Fragments
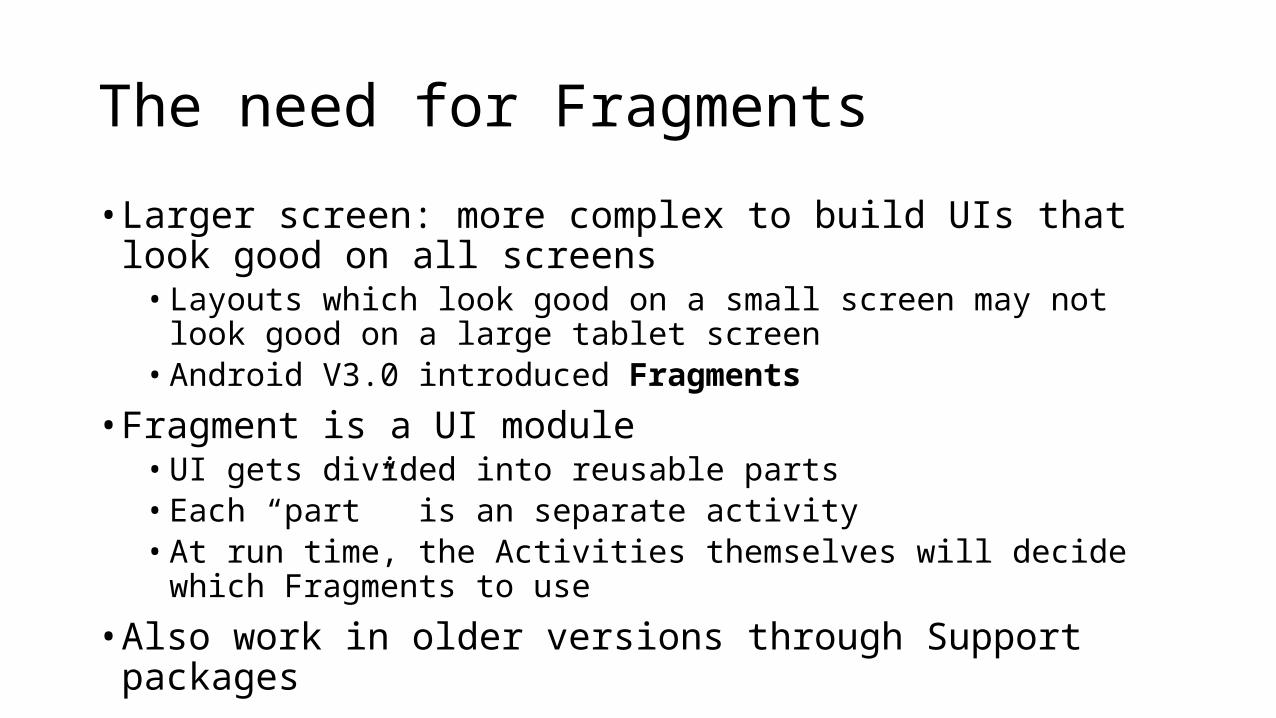
The need for Fragments
• Larger screen: more complex to build UIs that look good on all screens
• Layouts which look good on a small screen may not look good on a large tablet screen• Android V3.0 introduced Fragments
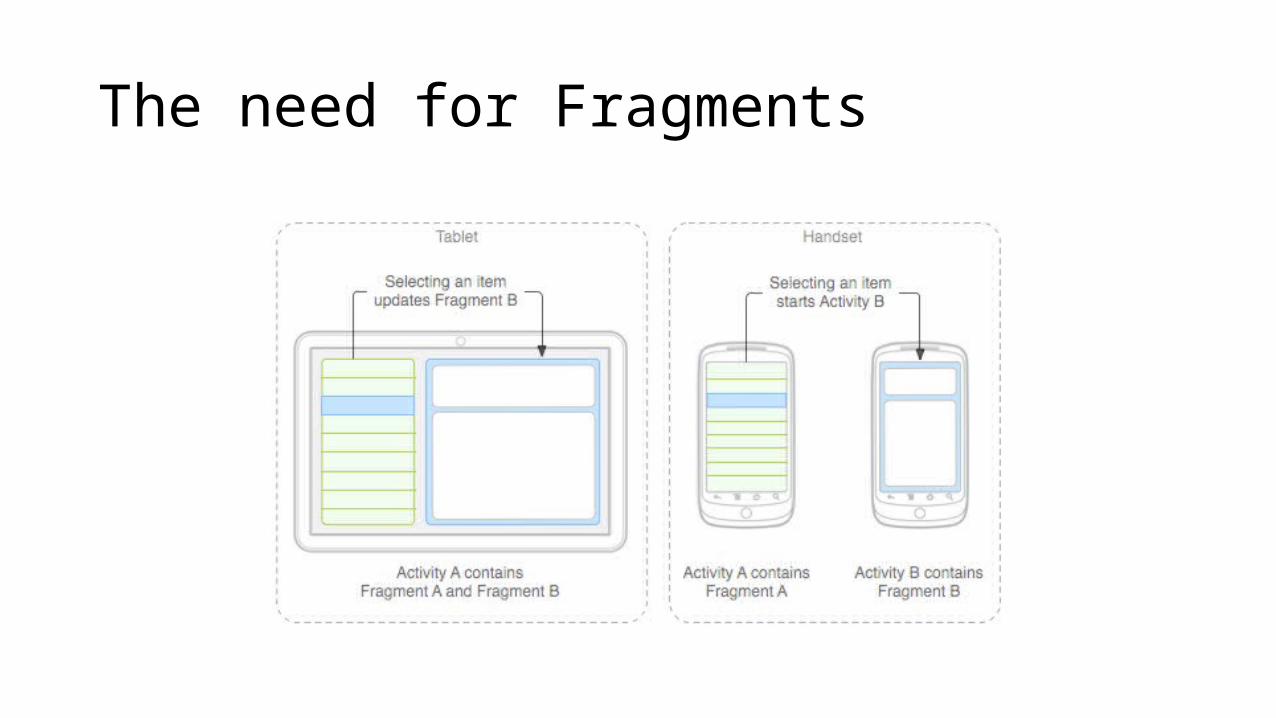
• Fragment is a UI module• UI gets divided into reusable parts• Each “part” is an separate activity• At run time, the Activities themselves will decide which Fragments to use
• Also work in older versions through Support packages
The need for Fragments
FragmentManager
• To help an Activity coordinate and manage all these Fragments, Android introduced a new class called the FragmentManager• Each activity has an instance of the FragmentManager• Allows finding, adding and removing fragments
Adding a fragment to an Activity
• We can add the Fragment to the Activity in 2 ways• Declaratively:
• Fragments can be used declaratively within .axml layout files by using the <Fragment> tag
• Programmatically• Fragments can also be instantiated dynamically by using the FragmentManager class’s
API

DEMORefactoring to Fragments

Optimizing the application
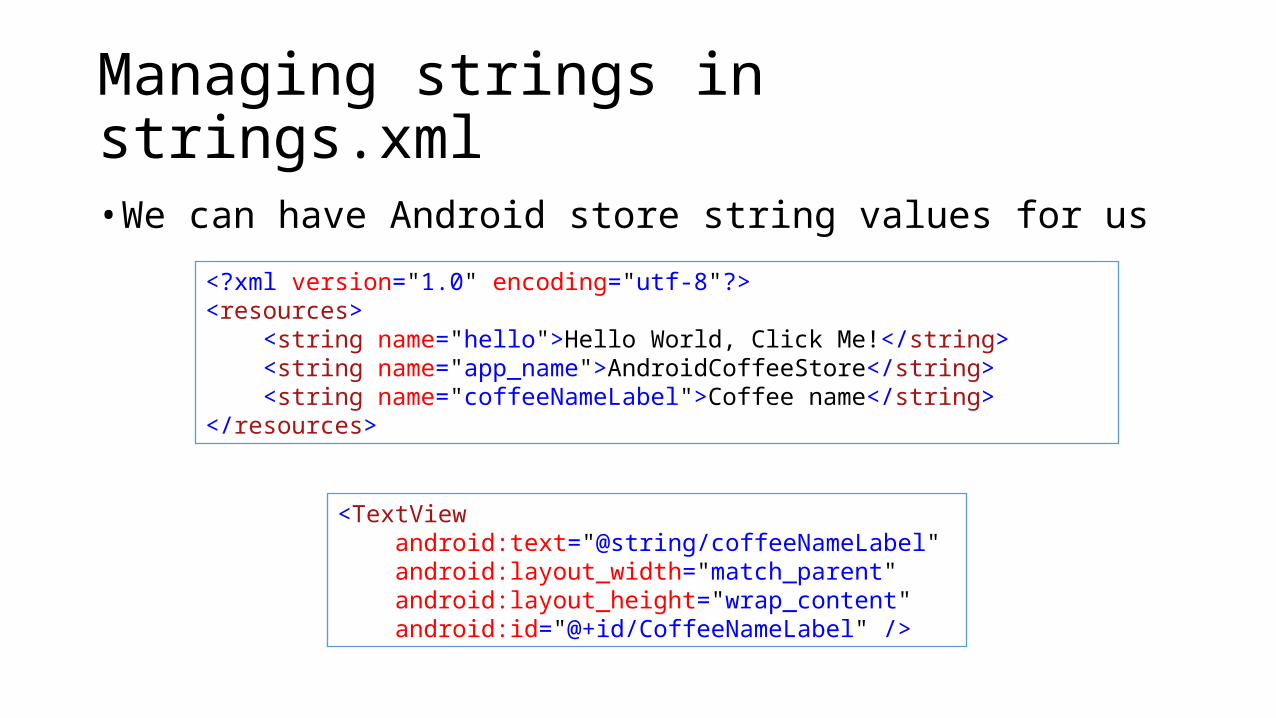
Managing strings in strings.xml
• We can have Android store string values for us
<?xml version="1.0" encoding="utf-8"?><resources> <string name="hello">Hello World, Click Me!</string> <string name="app_name">AndroidCoffeeStore</string> <string name="coffeeNameLabel">Coffee name</string></resources>
<TextView android:text="@string/coffeeNameLabel" android:layout_width="match_parent" android:layout_height="wrap_content" android:id="@+id/CoffeeNameLabel" />
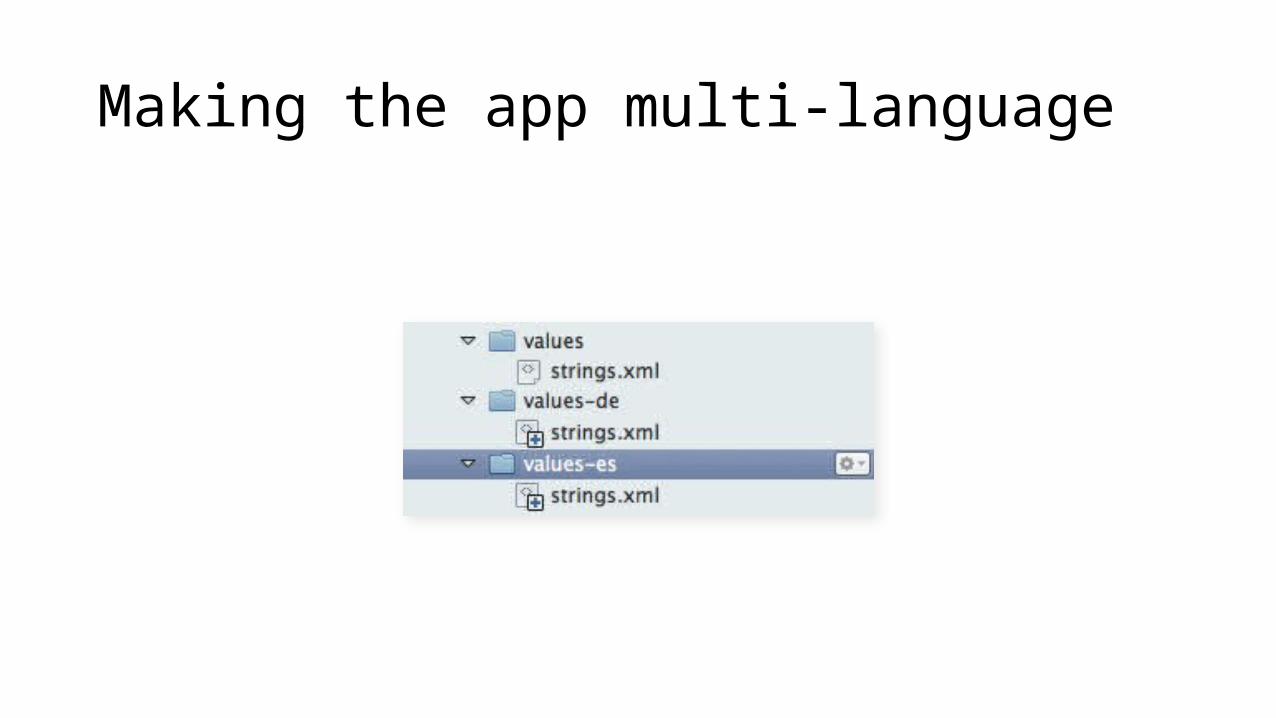
Making the app multi-language
Application drawables
• We can add drawables: application icons• Adding all resolutions makes sure the icons look good on all screens• Filenames are the same• Folder name identifies the resolution

Application drawables
• We can select an image in the project properties• This now becomes the icon for the application within Android

DEMOAdding resources
and drawables to the application

Deploying to the store
Publishing your work
• Marketplace is most common option• Often, more than one is used (Google Play, Amazon, GetJar…)
• Email or website is often for a more closed distribution• Also require less work to prepare the application for distribution
• Google Play is best known store• Allows users to discover, download, rate, and pay for applications by clicking a
single icon either on their device or on their computer• Google Play also provides tools to assist in the analysis of sales and market
trends and to control which devices and users may download an application
Summary
• Xamarin.Android leverages your C# knowledge to build apps for Android• Concepts of Android mean a learning curve

Thanks!

Q&A
Building your first Android app using XamarinGill Cleeren - @gillcleeren

Your feedback is important!Scan the QR Code and let us know via the TechDays App.
Laat ons weten wat u van de sessie vindt via de TechDays App!Scan de QR Code.
Bent u al lid van de Microsoft Virtual Academy?! Op MVA kunt u altijd iets nieuws leren over de laatste technologie van Microsoft. Meld u vandaag aan op de MVA Stand. MVA biedt 7/24 gratis online training on-demand voor IT-Professionals en Ontwikkelaars.