Embed Size (px)
Citation preview

5 Swift Features to Maximize your iOS Development
When Apple released Swift in 2014, its goal was to introduce a new programming language for Cocoa and Cocoa Touch that
was fast, easy and effective.
And, as usual, Apple succeeded.
Swift is designed to couple with Objective-C and be compatible with current Mac OS X and iOS programs. Making
it easy for developers to add Swift to existing apps without removing older code.
Swift also comes with five features guaranteed to maximize your iOS development experience.
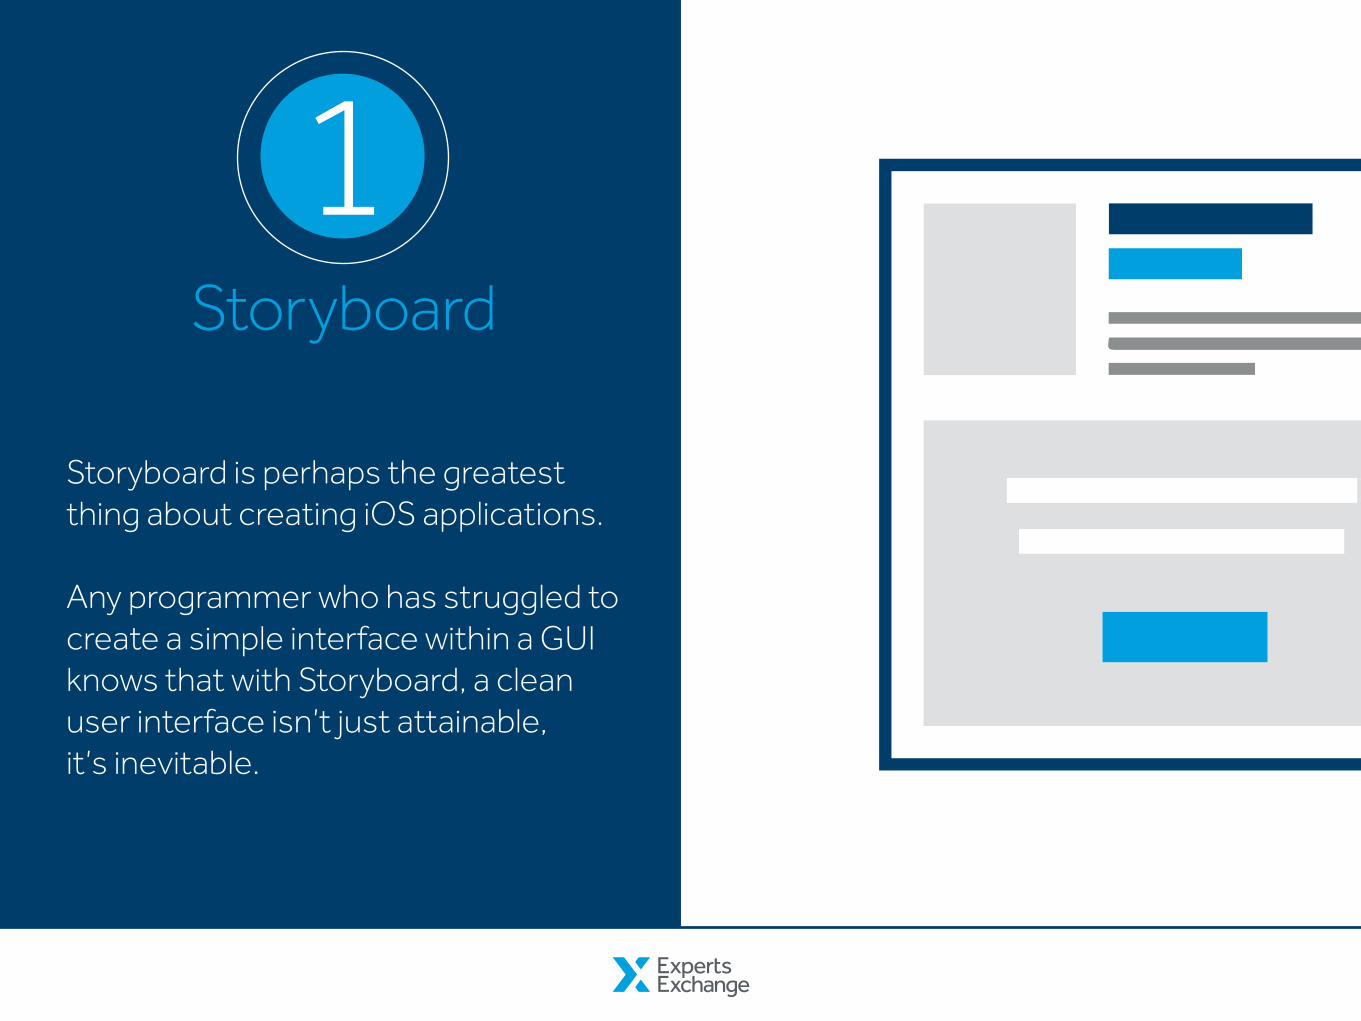
Storyboard is perhaps the greatest thing about creating iOS applications.
Any programmer who has struggled to create a simple interface within a GUI knows that with Storyboard, a clean user interface isn’t just attainable, it’s inevitable.
Storyboard
1
The Model-View-Controller (MVC) design performs exactly as its name suggests, defining how objects communicate with one another within your app.
Most importantly to your iOS development, MVC is a huge time-saver as it promotes reusability and abstraction of your code.
MVC Design
2
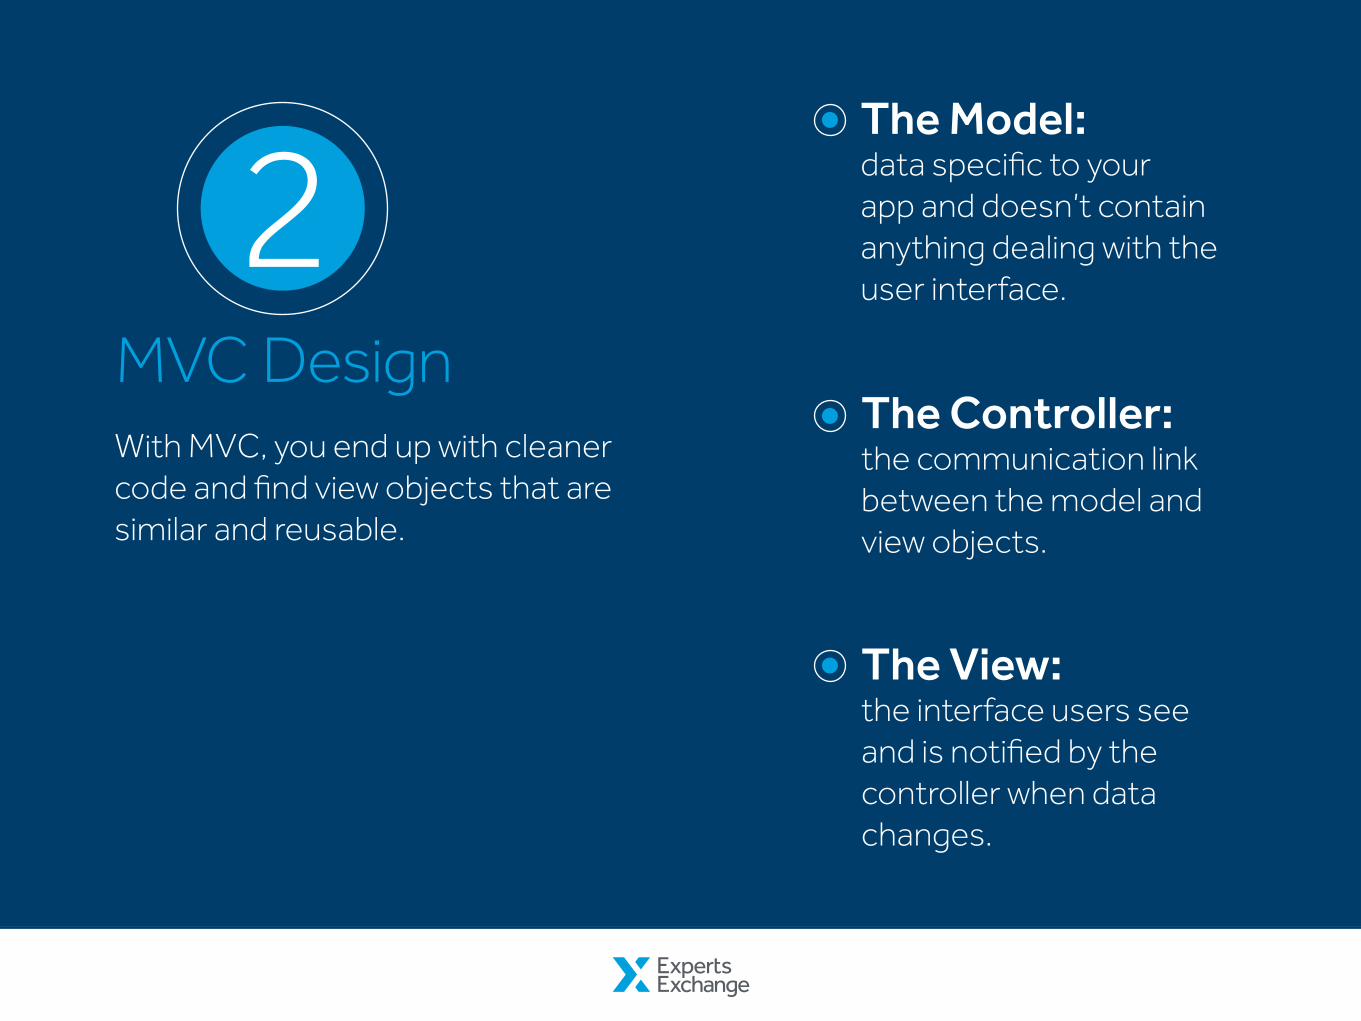
With MVC, you end up with cleaner code and find view objects that are similar and reusable.
The Model: data specific to your app and doesn’t contain anything dealing with the user interface.
The Controller: the communication link between the model and view objects.
The View: the interface users see and is notified by the controller when data changes.
MVC Design
2
Optionals are Swift’s way of dealing with null values. Any variable type can be optional and is declared by using a ? directly after the variable name.
These optionals are key when a variable that might not have a value associated with it is used.
Optionals enable programmers to know when a value is missing and allows applications to run successfully when they are. This may seem tricky at first, but once you get the hang of optionals and when to use them, they become a failsafe to prevent your app from crashing.
Optionals
3

If you have a spreadsheet of people’s information and want a print-out, but some email or phone numbers are missing, the sheet will error out.
Optionals
3 With Swift you can say:
if number = numberOptional { println(number) }
...And boom, your print-out is successful!
Duck-typing lets Swift infer the variable type so your only focus needs to be that objects perform correctly.
But be sure to remember there are exceptions where explicit casting is required!
Duck-typing does not work if you want to check a type while declaring a class or need to ensure that a variable can only be a certain type.
Duck-typing
4
If you haven’t used a language or object environment (Python, Smalltalk) that implements duck-typing it might seem odd at first.
Soon enough, you’ll be thinking less of variables as integers or strings and more as objects.
Duck-typing
4
Navigation controllers allow for easy movement through screens by providing a navigation bar at the top of each one.
When the navigation controller is used as the root view controller, each following view is pushed onto a stack and added to the navigation bar. This bar includes a back button, a title, and is fully customizable to display what you want, where you want.
The navigation controller is easy to set-up, the only requirement is that it be your root view. Implement this as a simple drop down menu navigation within your app.
Navigation Controllers
5
Get started by helping others troubleshoot their iOS projects in real-time with Live by Experts Exchange today!
-or-
Become a freelancer and help others bring their brilliant mobile app ideas to life with Gigs.
With these iOS development tips in mind, what are you waiting for?