Embed Size (px)
Citation preview
Demo how to create visualforce page and custom controller
via Developer Console
Description: Demo how to create visualforce page and custom controller to load, create and update
standard Account object using Developer Console.
Author: Tuan Vo ([email protected])
Version: 1.0
Contents Create a classic Page ..................................................................................................................................... 1
Show page on a tab ....................................................................................................................................... 2
Create controller to get Accounts ................................................................................................................. 6
Modify Visualforce page to show accounts .................................................................................................. 9
Create new visualforce page to add New Account Demo .......................................................................... 11
Create button New Account on the list ...................................................................................................... 15
Create and page to update existing Account .............................................................................................. 18
Create a classic Page Open the Developer Console under Your Name or the quick access menu (Setup gear icon).
The Developer Console opens in a new window.
Click File | New | Visualforce Page.
Enter AccountDemo for the name of the new page, and click OK.
A new, blank Visualforce page opens in the Developer Console.
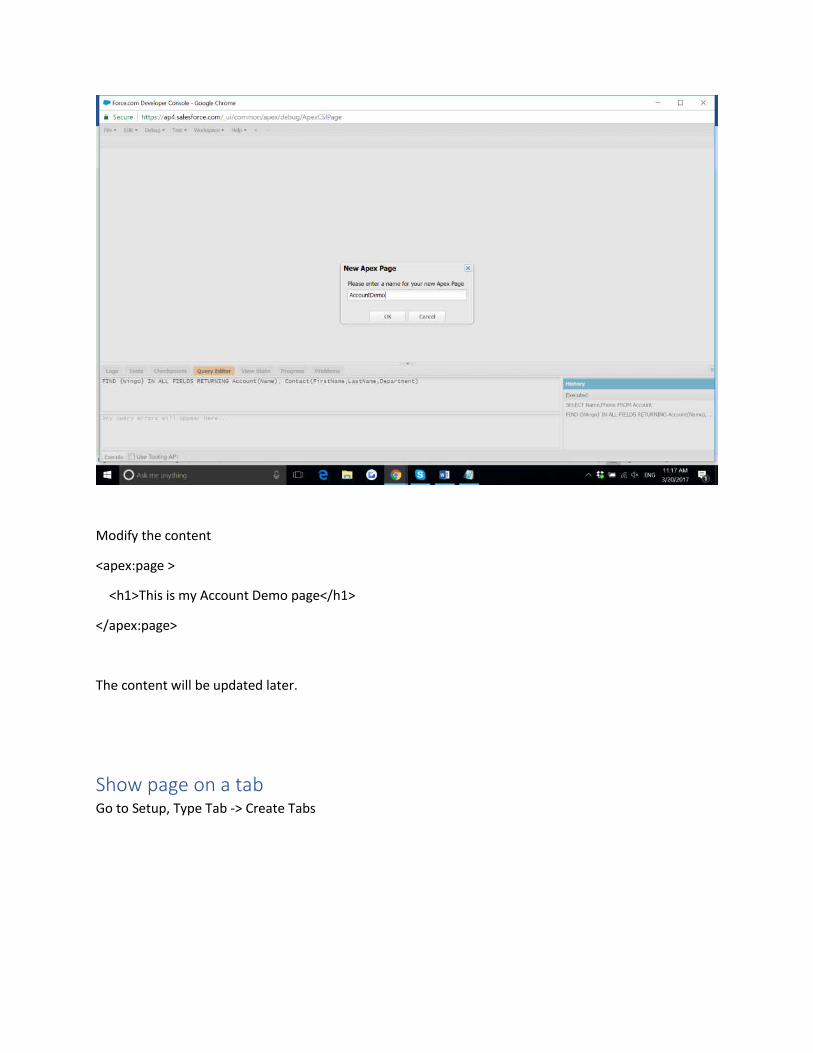
Modify the content
<apex:page >
<h1>This is my Account Demo page</h1>
</apex:page>
The content will be updated later.
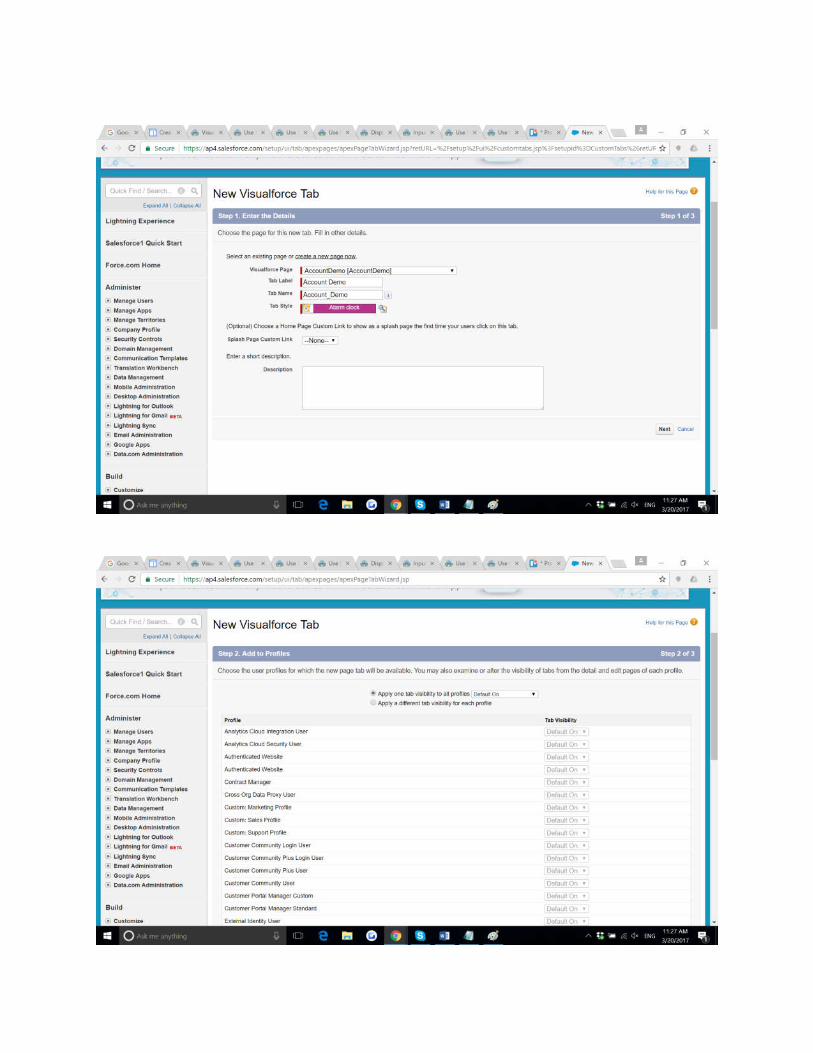
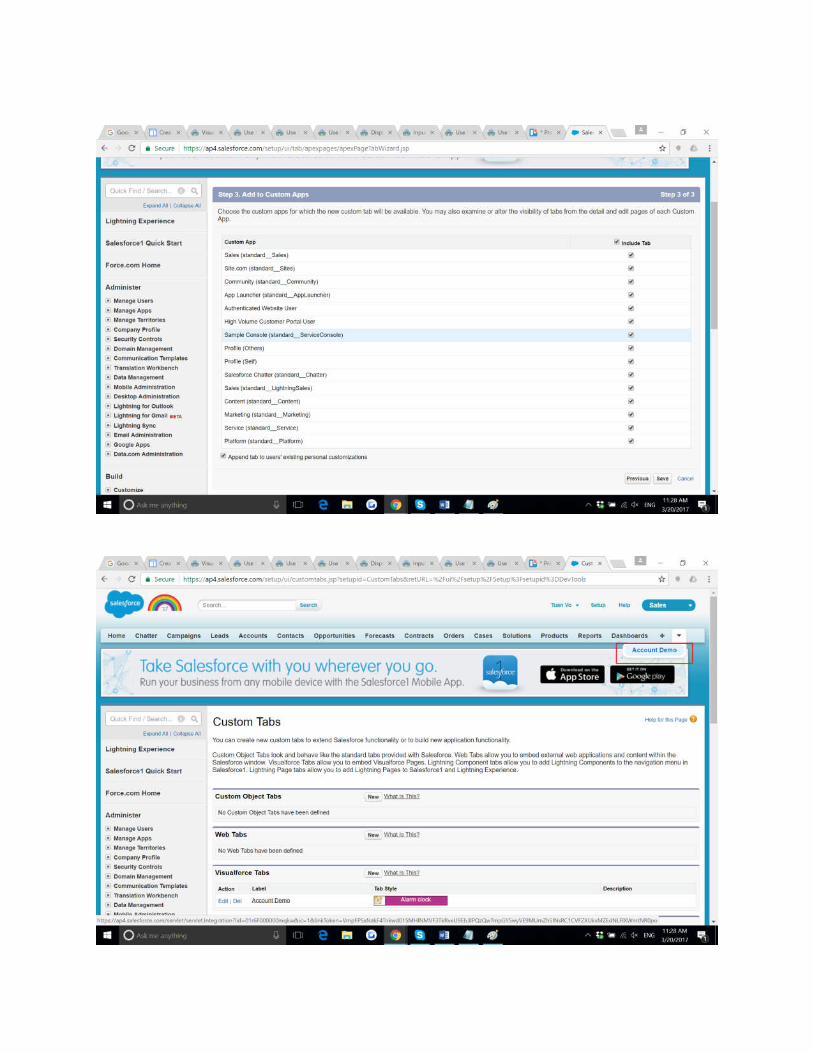
Show page on a tab Go to Setup, Type Tab -> Create Tabs
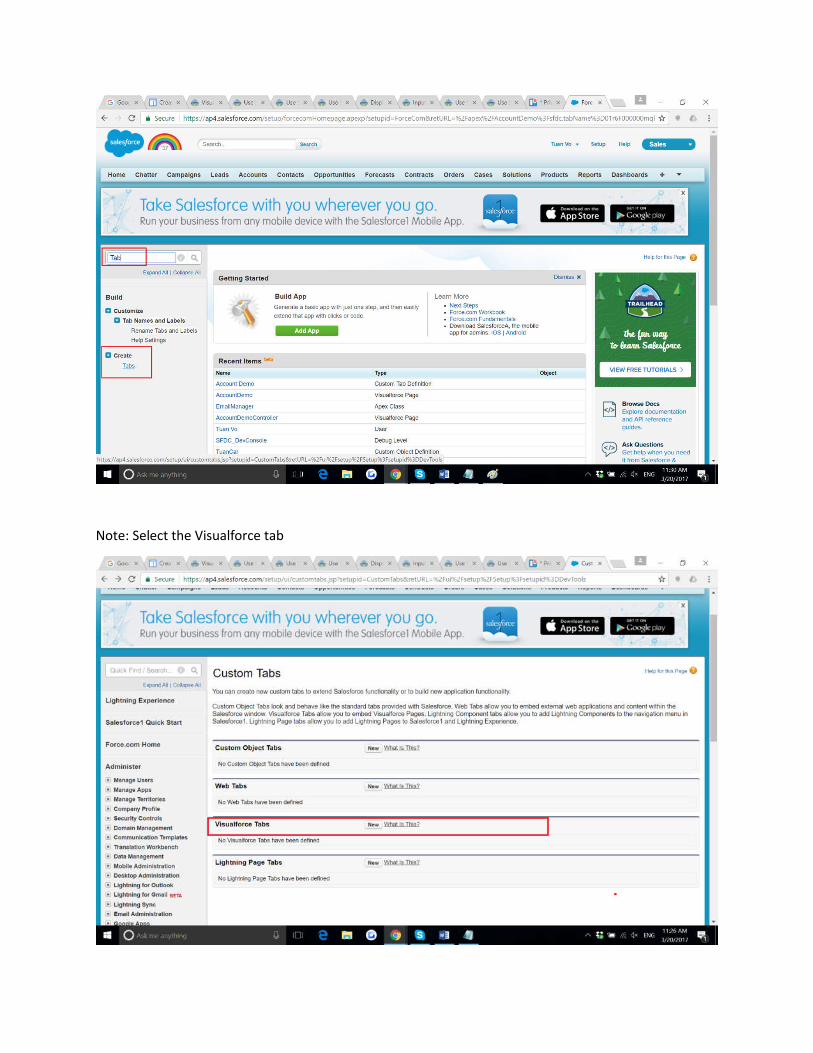
Note: Select the Visualforce tab
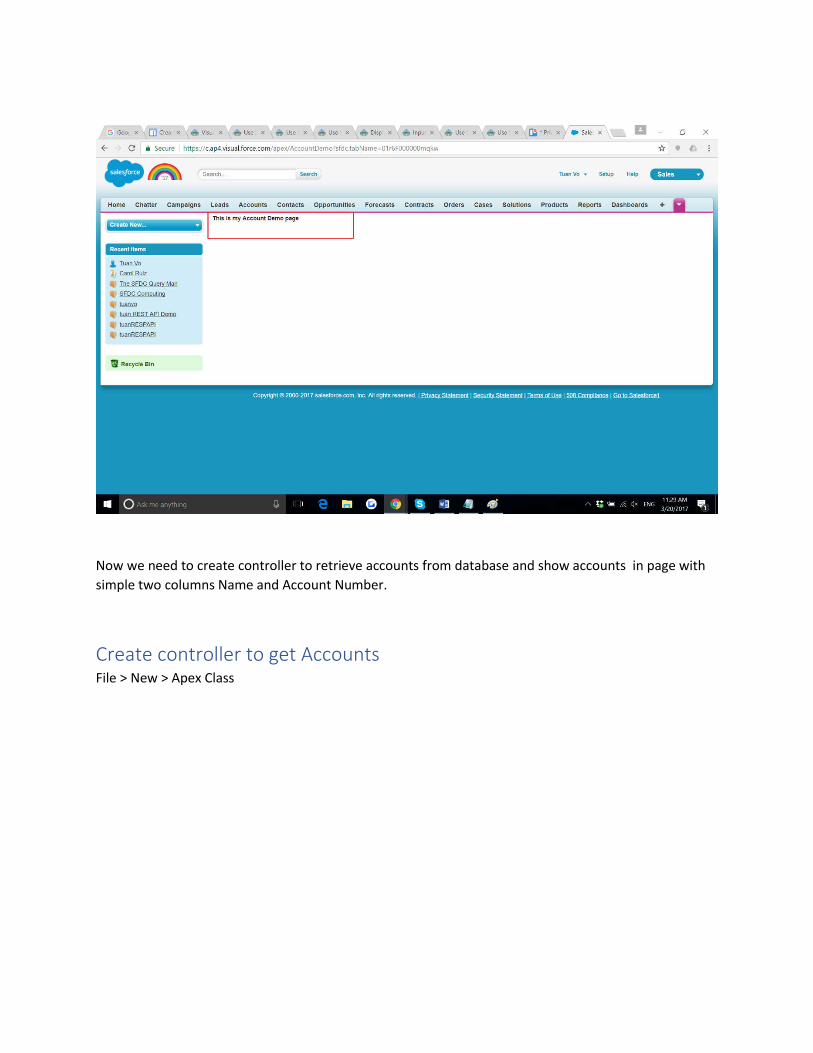
Now we need to create controller to retrieve accounts from database and show accounts in page with
simple two columns Name and Account Number.
Create controller to get Accounts File > New > Apex Class
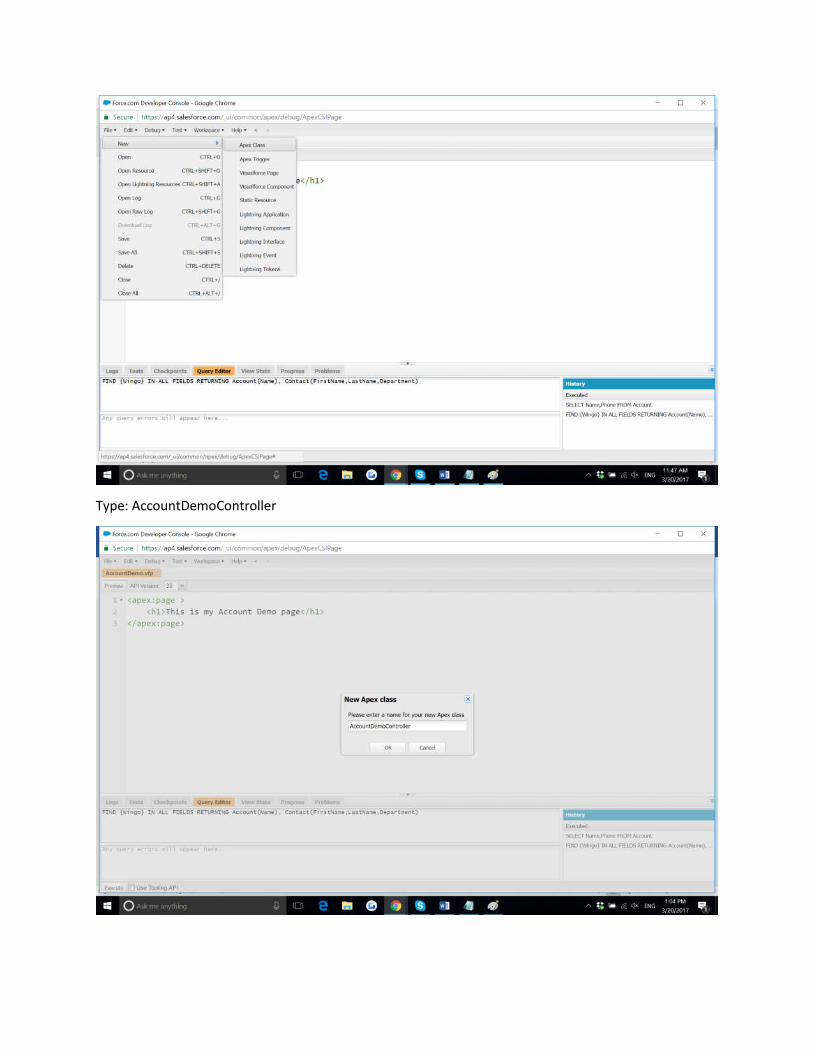
Type: AccountDemoController
Copy and paste this code segment into the AccountDemoController
public class AccountDemoController {
public List<Account> getAccounts(){
List<Account> results = Database.query(
'SELECT Id, Name, AccountNumber ' +
'FROM Account ' +
'ORDER BY Name'
);
return results;
}
}
Now the AccountDemoController looks like this
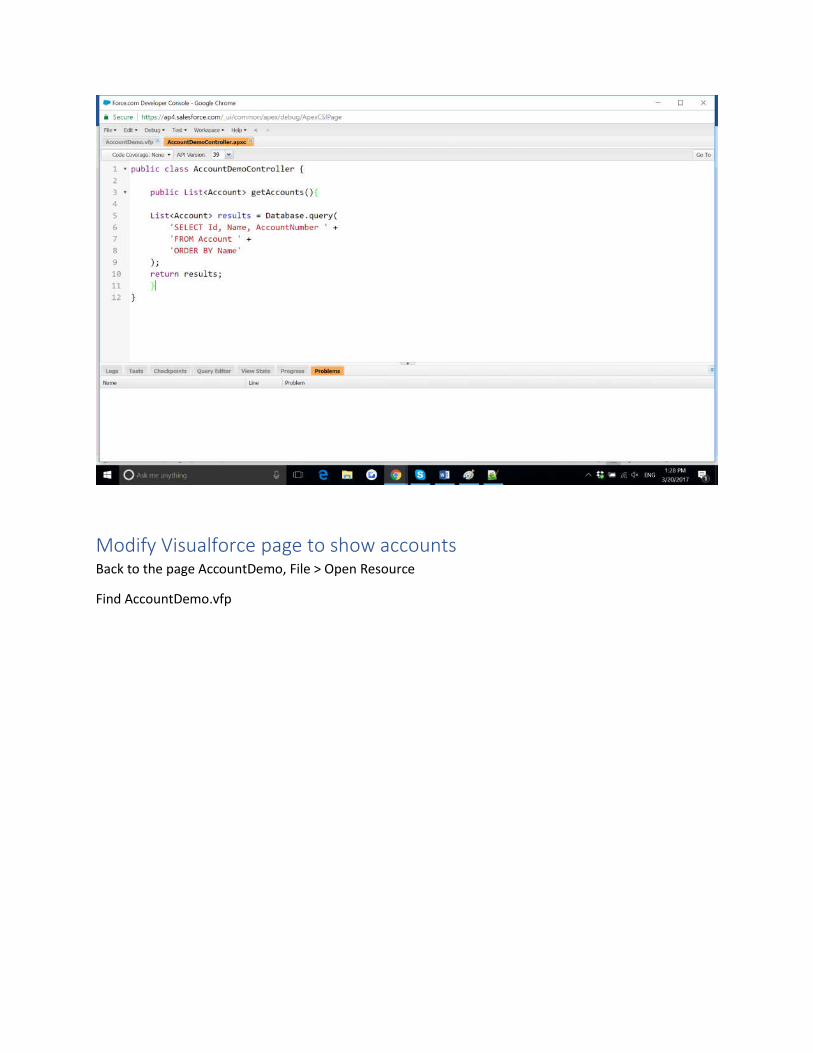
Modify Visualforce page to show accounts Back to the page AccountDemo, File > Open Resource
Find AccountDemo.vfp

Modify the source of AccountDemo.vfp as below
<apex:page controller="AccountDemoController">
<apex:pageBlock title="Accounts">
<apex:pageBlockTable value="{!Accounts}" var="account">
<apex:column value="{!account.Name}"/>
<apex:column value="{!account.AccountNumber}"/>
</apex:pageBlockTable>
</apex:pageBlock>
</apex:page>
Now the AccountDmo.vfp looks like this
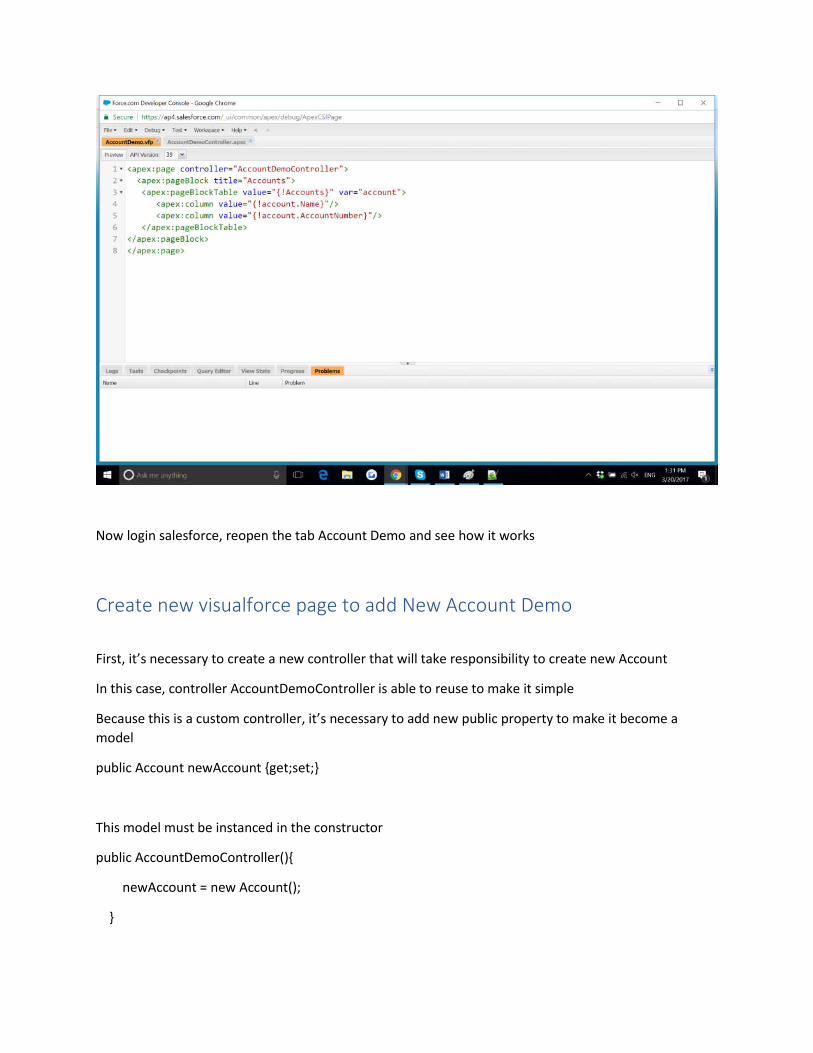
Now login salesforce, reopen the tab Account Demo and see how it works
Create new visualforce page to add New Account Demo
First, it’s necessary to create a new controller that will take responsibility to create new Account
In this case, controller AccountDemoController is able to reuse to make it simple
Because this is a custom controller, it’s necessary to add new public property to make it become a
model
public Account newAccount {get;set;}
This model must be instanced in the constructor
public AccountDemoController(){
newAccount = new Account();
}
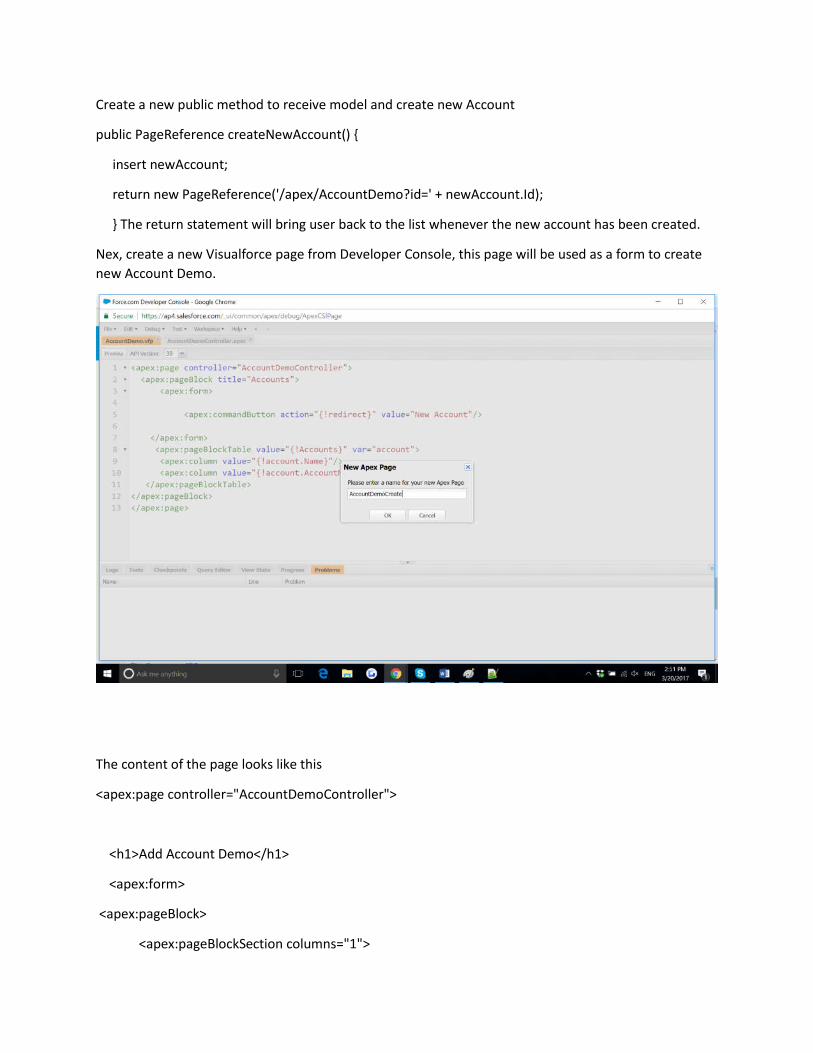
Create a new public method to receive model and create new Account
public PageReference createNewAccount() {
insert newAccount;
return new PageReference('/apex/AccountDemo?id=' + newAccount.Id);
} The return statement will bring user back to the list whenever the new account has been created.
Nex, create a new Visualforce page from Developer Console, this page will be used as a form to create
new Account Demo.
The content of the page looks like this
<apex:page controller="AccountDemoController">
<h1>Add Account Demo</h1>
<apex:form>
<apex:pageBlock>
<apex:pageBlockSection columns="1">
<apex:inputField value="{! newAccount.Name }"/>
<apex:inputField value="{!newAccount.AccountNumber}" />
</apex:pageBlockSection>
<apex:pageBlockButtons>
<apex:commandButton action="{!createNewAccount}" value="Create" />
</apex:pageBlockButtons>
</apex:pageBlock>
</apex:form>
</apex:page>
It’s able to access to page directly from url such as
https://c.ap4.visual.force.com/apex/AccountDemoCreate
And here’s how it looks like
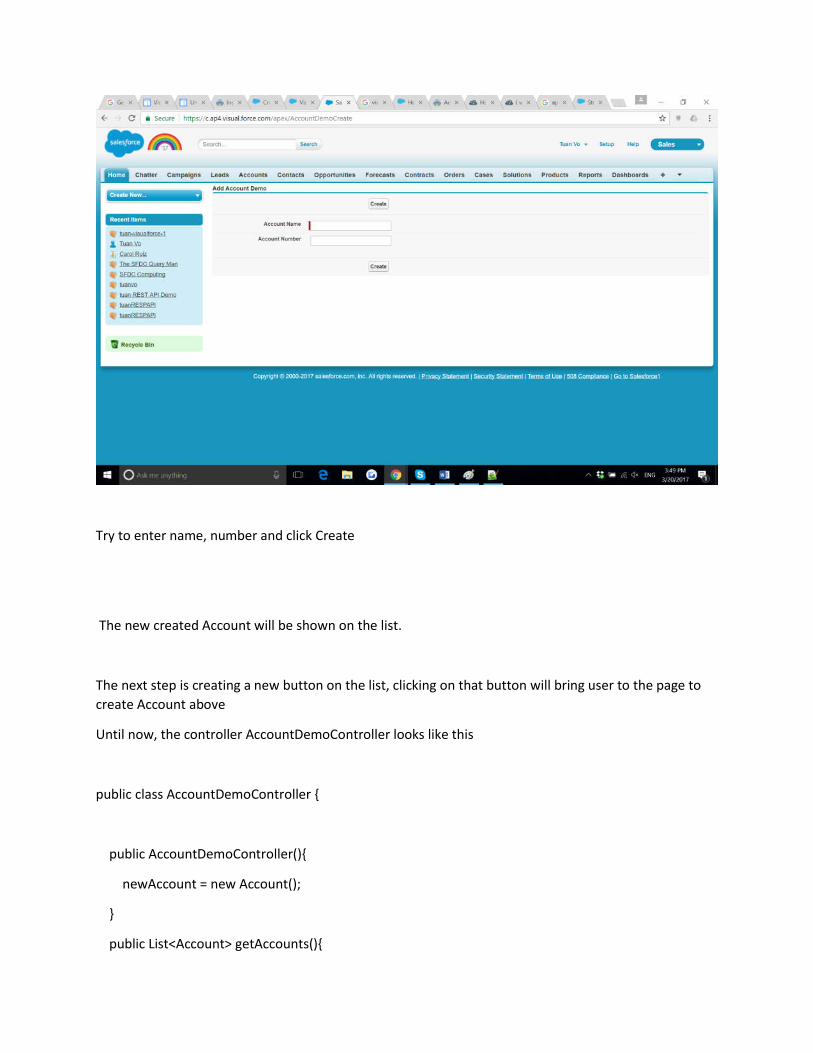
Try to enter name, number and click Create
The new created Account will be shown on the list.
The next step is creating a new button on the list, clicking on that button will bring user to the page to
create Account above
Until now, the controller AccountDemoController looks like this
public class AccountDemoController {
public AccountDemoController(){
newAccount = new Account();
}
public List<Account> getAccounts(){
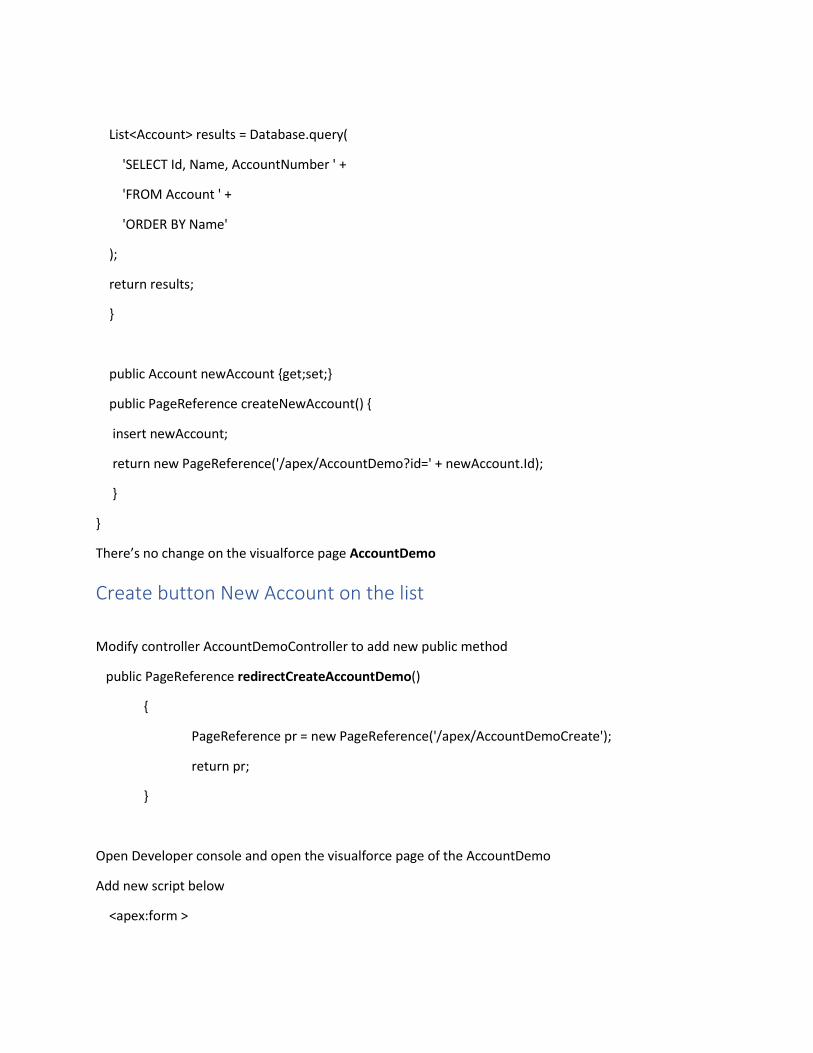
List<Account> results = Database.query(
'SELECT Id, Name, AccountNumber ' +
'FROM Account ' +
'ORDER BY Name'
);
return results;
}
public Account newAccount {get;set;}
public PageReference createNewAccount() {
insert newAccount;
return new PageReference('/apex/AccountDemo?id=' + newAccount.Id);
}
}
There’s no change on the visualforce page AccountDemo
Create button New Account on the list
Modify controller AccountDemoController to add new public method
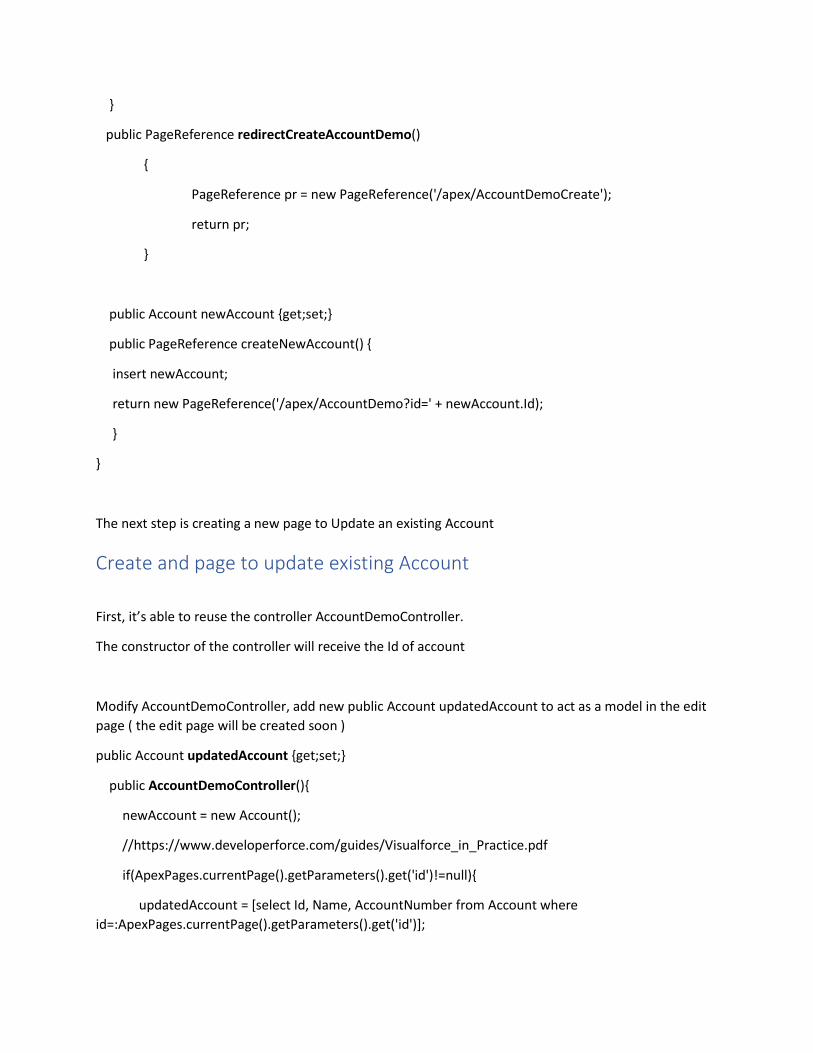
public PageReference redirectCreateAccountDemo()
{
PageReference pr = new PageReference('/apex/AccountDemoCreate');
return pr;
}
Open Developer console and open the visualforce page of the AccountDemo
Add new script below
<apex:form >
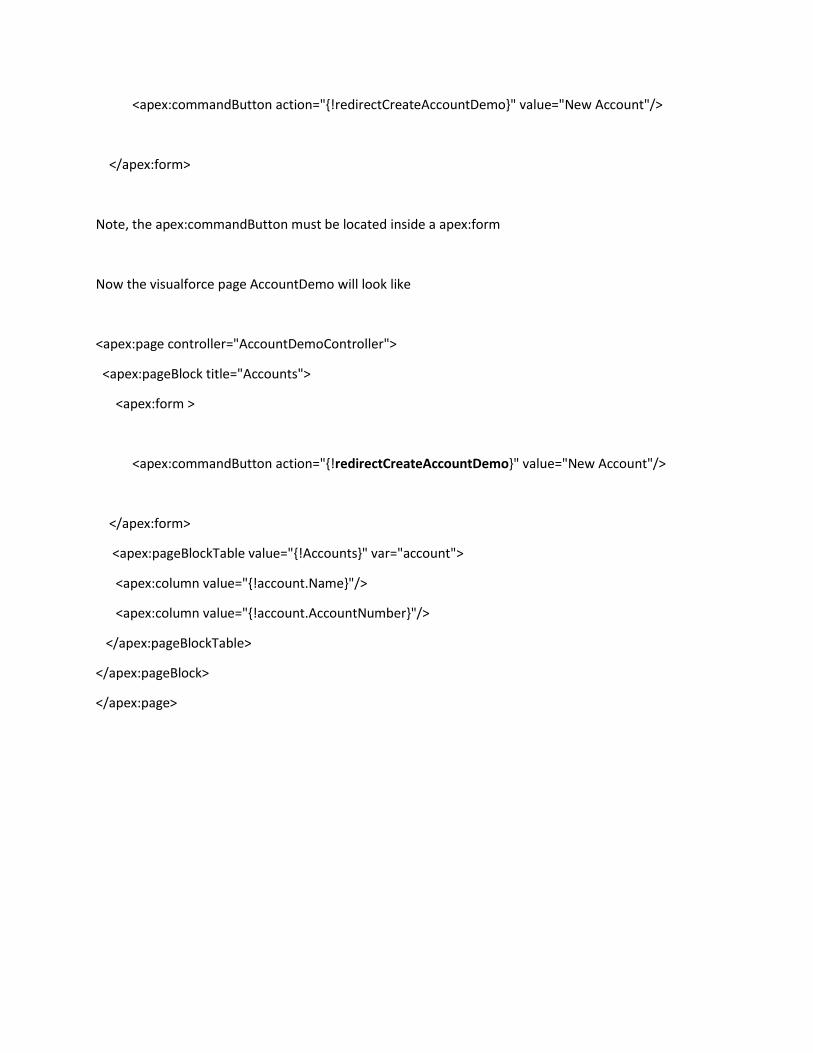
<apex:commandButton action="{!redirectCreateAccountDemo}" value="New Account"/>
</apex:form>
Note, the apex:commandButton must be located inside a apex:form
Now the visualforce page AccountDemo will look like
<apex:page controller="AccountDemoController">
<apex:pageBlock title="Accounts">
<apex:form >
<apex:commandButton action="{!redirectCreateAccountDemo}" value="New Account"/>
</apex:form>
<apex:pageBlockTable value="{!Accounts}" var="account">
<apex:column value="{!account.Name}"/>
<apex:column value="{!account.AccountNumber}"/>
</apex:pageBlockTable>
</apex:pageBlock>
</apex:page>
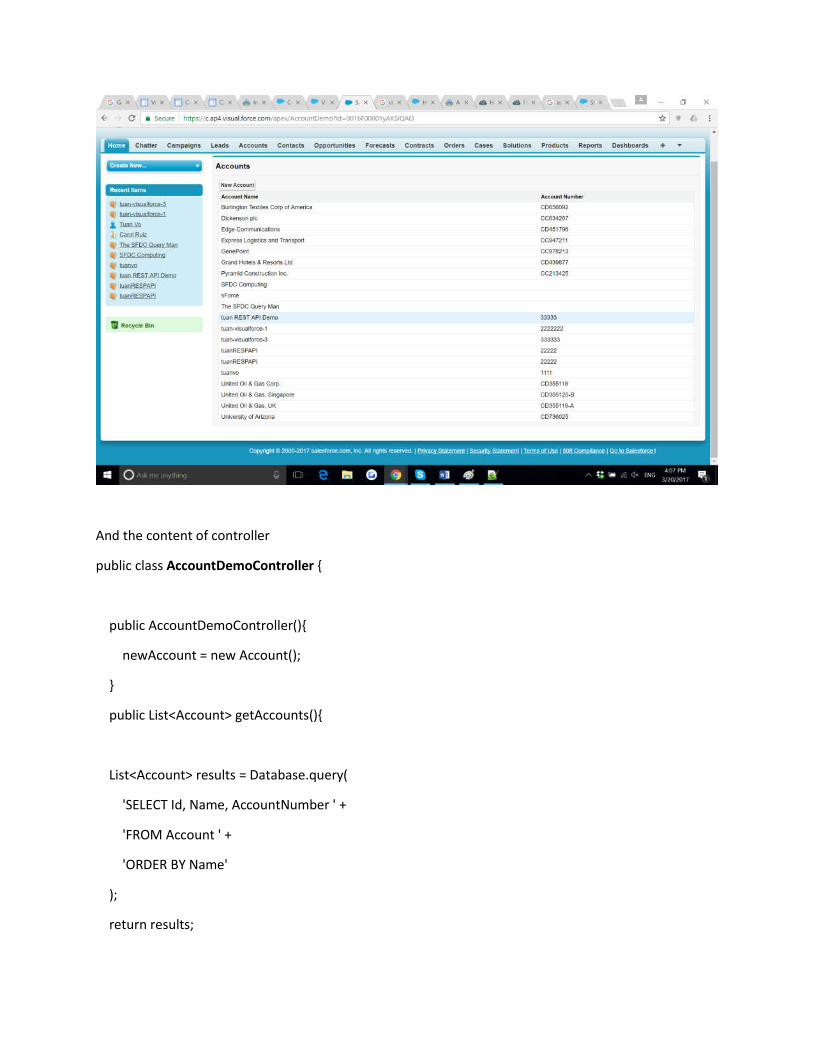
And the content of controller
public class AccountDemoController {
public AccountDemoController(){
newAccount = new Account();
}
public List<Account> getAccounts(){
List<Account> results = Database.query(
'SELECT Id, Name, AccountNumber ' +
'FROM Account ' +
'ORDER BY Name'
);
return results;
}
public PageReference redirectCreateAccountDemo()
{
PageReference pr = new PageReference('/apex/AccountDemoCreate');
return pr;
}
public Account newAccount {get;set;}
public PageReference createNewAccount() {
insert newAccount;
return new PageReference('/apex/AccountDemo?id=' + newAccount.Id);
}
}
The next step is creating a new page to Update an existing Account
Create and page to update existing Account
First, it’s able to reuse the controller AccountDemoController.
The constructor of the controller will receive the Id of account
Modify AccountDemoController, add new public Account updatedAccount to act as a model in the edit
page ( the edit page will be created soon )
public Account updatedAccount {get;set;}
public AccountDemoController(){
newAccount = new Account();
//https://www.developerforce.com/guides/Visualforce_in_Practice.pdf
if(ApexPages.currentPage().getParameters().get('id')!=null){
updatedAccount = [select Id, Name, AccountNumber from Account where
id=:ApexPages.currentPage().getParameters().get('id')];
}
}
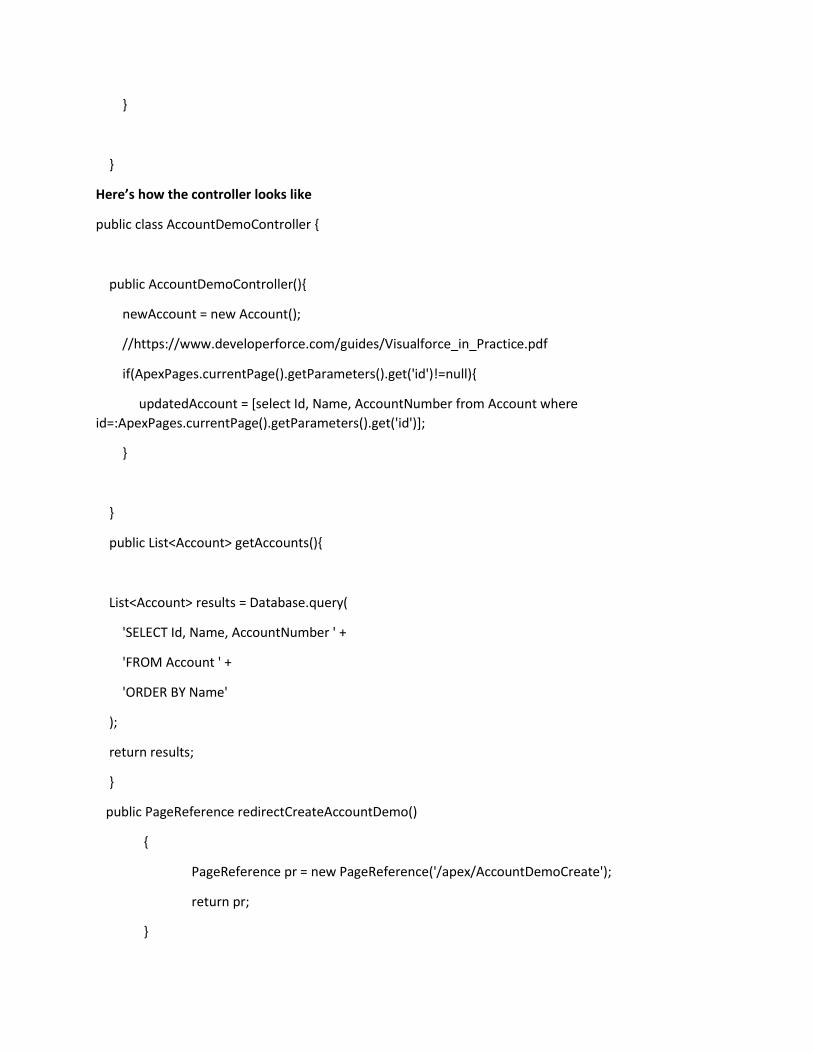
Here’s how the controller looks like
public class AccountDemoController {
public AccountDemoController(){
newAccount = new Account();
//https://www.developerforce.com/guides/Visualforce_in_Practice.pdf
if(ApexPages.currentPage().getParameters().get('id')!=null){
updatedAccount = [select Id, Name, AccountNumber from Account where
id=:ApexPages.currentPage().getParameters().get('id')];
}
}
public List<Account> getAccounts(){
List<Account> results = Database.query(
'SELECT Id, Name, AccountNumber ' +
'FROM Account ' +
'ORDER BY Name'
);
return results;
}
public PageReference redirectCreateAccountDemo()
{
PageReference pr = new PageReference('/apex/AccountDemoCreate');
return pr;
}
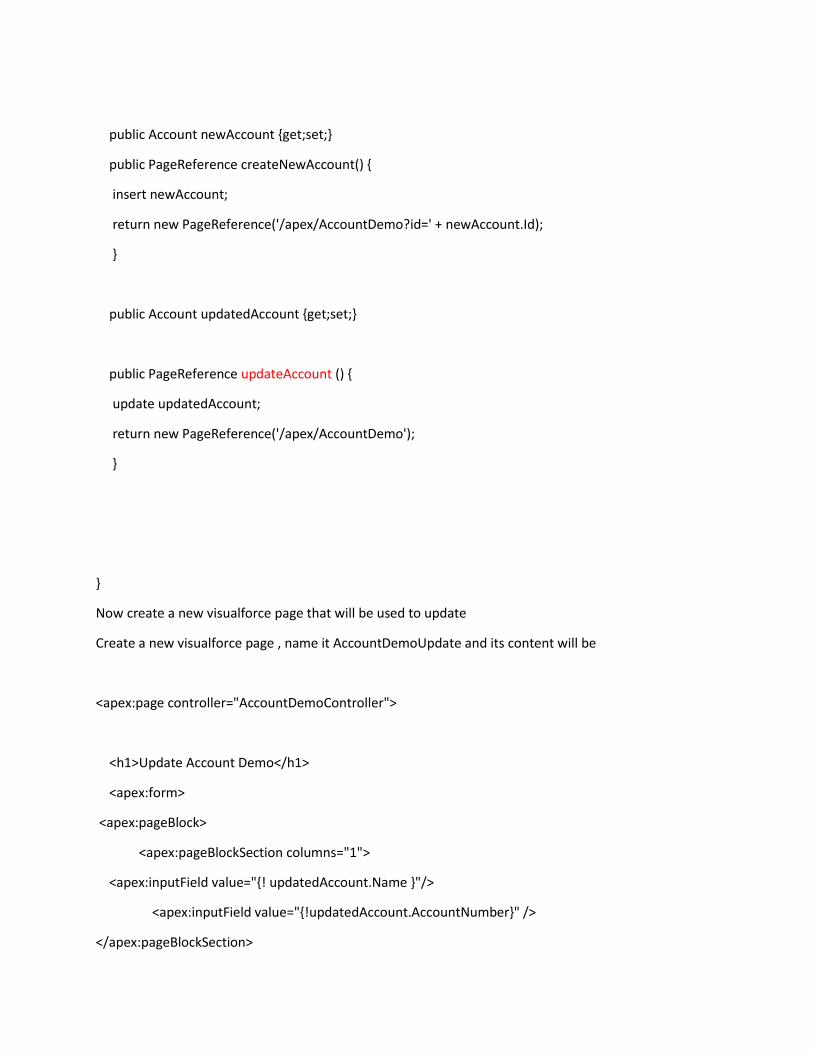
public Account newAccount {get;set;}
public PageReference createNewAccount() {
insert newAccount;
return new PageReference('/apex/AccountDemo?id=' + newAccount.Id);
}
public Account updatedAccount {get;set;}
public PageReference updateAccount () {
update updatedAccount;
return new PageReference('/apex/AccountDemo');
}
}
Now create a new visualforce page that will be used to update
Create a new visualforce page , name it AccountDemoUpdate and its content will be
<apex:page controller="AccountDemoController">
<h1>Update Account Demo</h1>
<apex:form>
<apex:pageBlock>
<apex:pageBlockSection columns="1">
<apex:inputField value="{! updatedAccount.Name }"/>
<apex:inputField value="{!updatedAccount.AccountNumber}" />
</apex:pageBlockSection>
<apex:pageBlockButtons>
<apex:commandButton action="{! updateAccount }" value="Save" />
</apex:pageBlockButtons>
</apex:pageBlock>
</apex:form>
</apex:page>
Now modify the home AccountDemo page, add new link Edit, clicking on that link will bring user to the
edit page
<apex:pageBlockTable value="{!Accounts}" var="account">
<apex:column>
<apex:outputLink
value="AccountDemoUpdate?id={!account.Id}">
Edit
</apex:outputLink>
</apex:column>
<apex:column value="{!account.Name}"/>
<apex:column value="{!account.AccountNumber}"/>
</apex:pageBlockTable>
So until now, here are the whole AccountDemo looks like
<apex:page controller="AccountDemoController">
<apex:pageBlock title="Accounts">
<apex:form >
<apex:commandButton action="{!redirectCreateAccountDemo}" value="New Account"/>
</apex:form>
<apex:pageBlockTable value="{!Accounts}" var="account">
<apex:column>
<apex:outputLink
value="AccountDemoUpdate?id={!account.Id}">
Edit
</apex:outputLink>
</apex:column>
<apex:column value="{!account.Name}"/>
<apex:column value="{!account.AccountNumber}"/>
</apex:pageBlockTable>
</apex:pageBlock>
</apex:page>
Run it
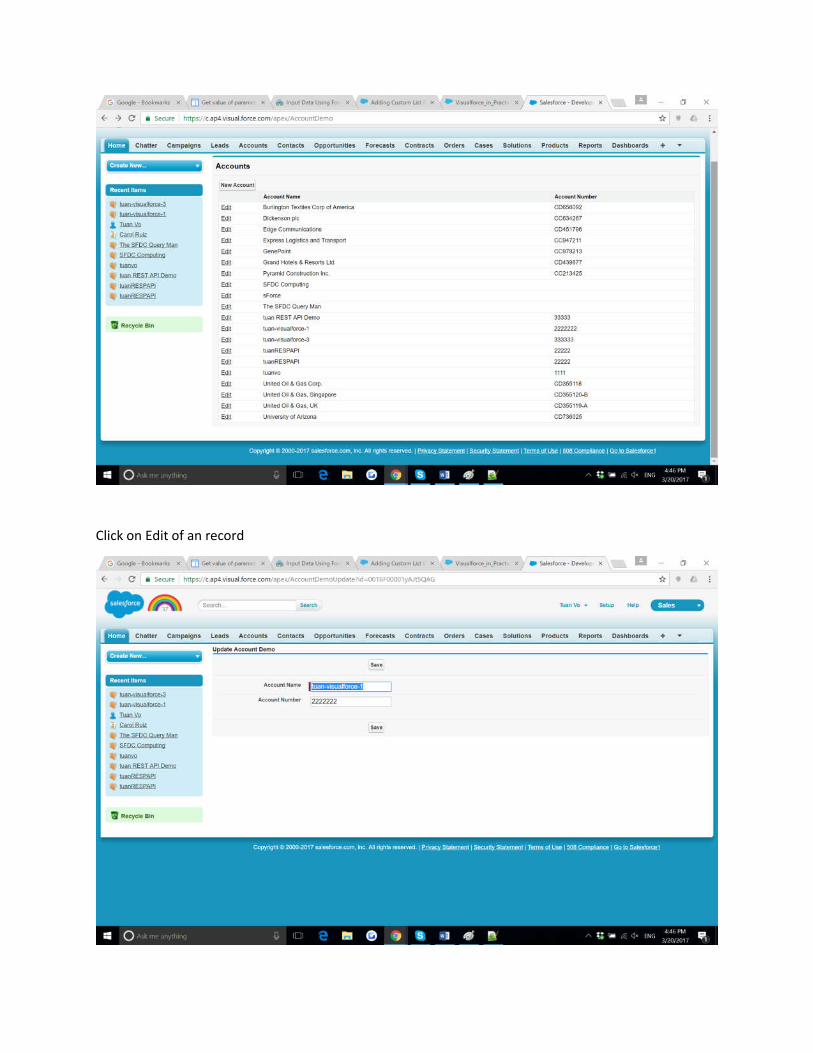
Click on Edit of an record

Make change something for this account and click Save, user will be brought back to the list