Embed Size (px)
Citation preview

Web design and programming
Adding Some Style with CSS

2
CSS is a language that allows you to change the
appearance of elements on the page: the size, style, and
color of text; background colors; border styles and
colors; even the position of elements on the page.
Defining and applying a style rule, or style, is composed
of two parts: the selector, which locates the elements in
the HTML document that will be styled, and the
declaration block, which contains the formatting
instructions (declarations). Multiple declarations are
always separated with a semicolon. A declaration
comprises a CSS property, followed by a colon, followed
by a value. The following is an example of a style rule
that locates the element and sets the background color
to white and the font color to gray.
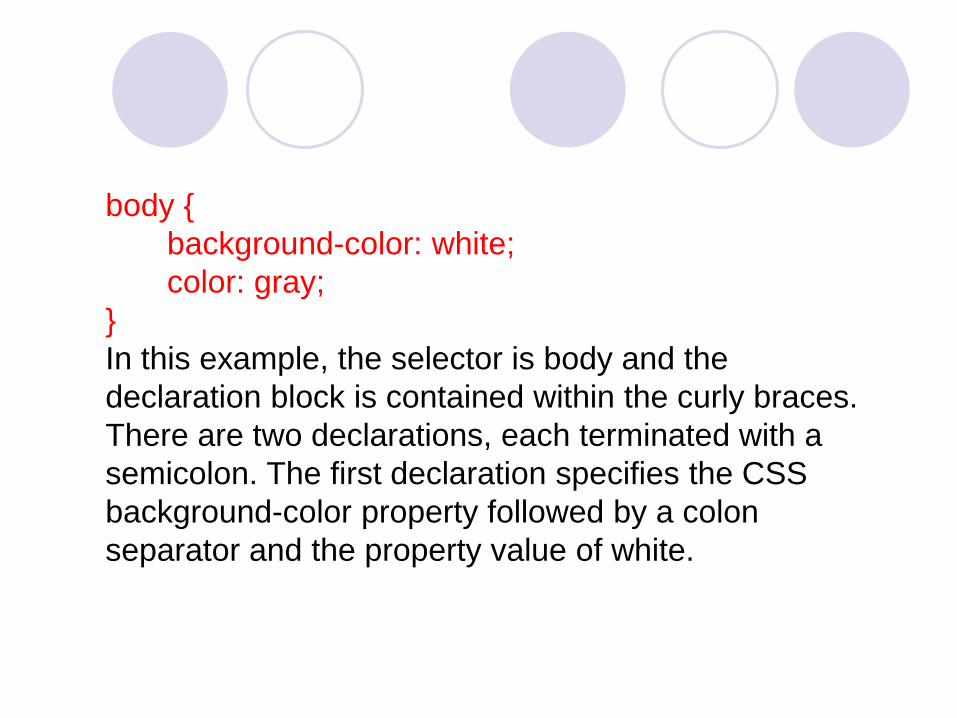
body {
background-color: white;
color: gray;
}
In this example, the selector is body and the
declaration block is contained within the curly braces.
There are two declarations, each terminated with a
semicolon. The first declaration specifies the CSS
background-color property followed by a colon
separator and the property value of white.

Adding comments within a style sheet
You can add comments within a style sheet by using the /* characters to
start the comment and the */ characters to end the comment. Comments
may also span multiple lines, as shown in the following example.
/* This is the style
for the body element */
body {
background-color: white; /* The rgb value is #ffffff */
color: gray; /* This is the font color */
}
Let’s take a look at some CSS in action; we’ll start by learning about
inline styles.

Inline Styles
Creating an inline style, all elements have a global attribute called style that can be
used to provide an inline style. Because an inline style is defined on the element to
which you wish to add styling, you don’t need a selector; you just need to specify
the declaration block. You should try to avoid this technique; it violates the primary
goal of separation between structure and presentation and doesn’t create any
reusability because you will need to copy this style to each HTML document you
add to your application. An advantage of using an inline style is that it always
overrides styles that are defined elsewhere because the inline styles are specific to
the element on which the inline style is defined. This specificity can solve isolated
problems when a style is applied globally in an external style sheet, but one
element needs to be styled differently. Even then, it’s preferable to maintain
separation of structure and presentation, so you should avoid this approach.
<p style="color: red;">The quick brown fox jumps over
the lazy dog.</p>
In the example above, we use a style attribute inside the opening tag. Applying a
style to a specific HTML element in this way is known as using an inline style.
<p style="color: red; font-weight: bold;">The quick brown fox
jumps over the lazy dog.</p>
Notice that a semicolon separates the two declarations. You could carry on adding
styles in this way, but beware, this approach can be messy. There are cleverer
ways to apply styling,

Embedded Styles
Inline styles offer a simple and quick method to apply some CSS effects to
specific sections of a document, but there are better ways to style a page.
After all, it would be more ideal if you could set styles in just one place, rather
than having to type them out every time you wanted to use them, surely?
Embedded style sheets are the logical next step. An embedded style sheet is
a section you add to the start of a web page that sets out all the styles that
will be used on that page. To do this, you need to use the style element
inside the head:
<head>
<title>Bubble Under - The diving club for the south-west UK</title>
<meta charset="utf-8"/>
<style type="text/css">
p {
font-weight: bold;
}
</style>
</head>

In the markup shown above, we’ve moved the inline style into an
embedded style sheet. The embedded style sheet starts with a tag.
The actual style declarations are enclosed in a set of curly braces: {
and }. The p that appears before the first curly brace tells the browser
what elements the style rules are for; in this case, we’re making the
text inside every p element bold. The p is called the selector, and it’s
a great tool for quickly and easily changing the appearance of lots of
elements on your page. The selector instructs the browser to apply all
the declarations between the curly braces to certain elements. The
selector, curly braces, and declarations combine to form what’s called
a rule. In this case, our style sheet contains one rule: “Style all the
paragraphs on this page so that the text appears in a bold font.” We
could add more declarations to our rule. For instance, if we wanted to
make the text bold and blue, we’d add the declaration color: blue to
our rule:

Figure 11 style rule
<style type="text/css">
p { font-weight: bold; color: red; } </style>
In the example provided in Figure, text in all paragraphs will display in bold, blue type.
This saves you from typing every time you start a new paragraph—a clear benefit over
inline styles. If you wanted to change the color of all paragraph text to red, you need
only change it in the style sheet at the top of the page:
That’s efficiency for you. For this reason, an embedded style sheet is a marked
improvement over inline styles. But what if you have a website comprising many pages?
If you want to make your changes across the whole site, embedded style sheets used in
the way I demonstrated still falls short of the perfect solution. Why? Because, to make a
site-wide change, you’d have to edit the embedded style sheet on every single page of
that site. That’s why the best solution is to use an external style sheet.
<style type="text/css">
p {
font-weight: bold;
color: red;
}
</style>

External style sheets
An external style sheet provides a location where you can place styles to be
applied on all your web pages. This is where the true power of CSS lies and it’s
for this reason why we’ve spent minimal time applying inline or embedded styles
to our diving club project site.
Creating an External CSS File
If you’re to make use of all the benefits of an external style sheet, you’ll first
need to create a CSS file that can be shared among the pages of your website.
Open your text editor and enter the following in a new document:
/*
CSS for Bubble Under site
*/
p {
font-weight: bold;
color: blue;
}

Save the file in the same folder as your HTML files, naming it style1.css; you can
save a CSS file in the same way you saved your HTML files.
Note that the first few lines we typed into our CSS file won’t actually do anything.
Like HTML, CSS allows you to add comments. It’s a same that the tags for HTML
comments differ from those for CSS comments, but they perform exactly the
same function: they allow you to make notes about your work without affecting
the on screen display. In CSS, a comment starts with a /* and ends with a */; the
browser ignores anything in between. Above, we used the comment simply to
make a note about the purpose of the file, namely that it’s the CSS for the Bubble
Under site. We’ve also added a rule so that all the type in our paragraphs is now
bold and blue.

Before your CSS can have any effect, you need to link it to the web pages to
which you want the styles to apply. To do this, you need to add a link element to
the head of each and every web page that will be styled using CSS. Our site
contains just three pages at the moment (figure 12), so this will be nice and easy.
The link element simply links a file to the page on which the element appears; in
this case, the linked file is a style sheet. Below, the new line appears in the
context of the home page:

<head>
<title>Bubble Under - The diving club for the south-west UK</title>
<meta charset="utf-8"/>
<link href="style1.css" rel="stylesheet" type="text/css"/>
</head>
Let’s take a look at what the markup means. The href attribute tells the web browser where
the style sheet file (style1.css) can be found, in the same way that the href attribute is used
in an anchor to point to the destination file (for example, Home). The rel="stylesheet" and
type="text/css" parts of the link tag tell the browser what kind of file is being linked to, and
how the browser should handle the content. You should always include these important
attributes when linking to a .css file.
The link element is another one of those empty elements, without separate start and end
tags. Link is a complete element in its own right, and ends using the space and forward slash
(following XHTML syntax rules).
Open each of your web pages—index.html, about.html, and contact.html—in your text editor.
Add the following line just before the closing tag in each of those files:
<link href="style1.css" rel="stylesheet" type="text/css"/> Be sure to save each page. Then, try opening each one in your web browser.
All your paragraphs should now display in bold, blue text. If so, you’ve now linked one
stylesheet to three separate pages.

If you change the color specified in your css. file from blue to red, you should see
that change reflected across your pages the next time you open them. Go ahead,
give it a try. Now, using bold, blue text might be a good way to make sure your style
sheets are correctly linked, but it’s not the design effect we want to use. Remove the
p rule, but leave the comment, and we’ll start building our stylesheet for real. The
stylesheet is ready to be used. It’s saved in the right location, and your web pages
(all three—count ’em) are linked to it correctly. It’s time to set some styles. One of
the first changes that people often make to a website’s default styling is to the font
(or typeface) that’s used. On Windows, most browsers use Times New Roman as
the default—it’s the font that has been used in all the screenshots we’ve seen so
far. For many people, though, it’s a bit dull, probably because it’s used more than
any other. It’s very easy to change fonts using CSS’s font-family property. The best
place to use this is within the body element, as shown below:
/*
CSS for Bubble Under site
*/
body {
font-family: Verdana;
}

Here, I’ve chosen to use the Verdana font. It’s applied to the body element
because body contains every element that you will see on the web page. The
nature of how CSS is applied means that every element contained in the body
element will take on the same font (unless another font is specified for a given
element or elements within body—but more on that a little later).
The font-family property allows us to enter multiple fonts in the order in which
we’d prefer them used if a particular font is missing on a user’s computer. So,
we could type the following:
body {
font-family: Verdana, Helvetica, Arial, sans-serif;
}
To translate: “Style everything in the body of my web page so that the text
appears as Verdana. Failing that, use Helvetica and, failing that, Arial. If none of
the above are installed, just use whichever sans-serif font is available.” open the
stylesheet file and play around with some CSS.
1. Type the above CSS into style1.css.
2. Save the file, and then open the home page (index.html) in your browser.
If everything went to plan, your web page (all three of them, actually) should
display slightly differently to how they did before
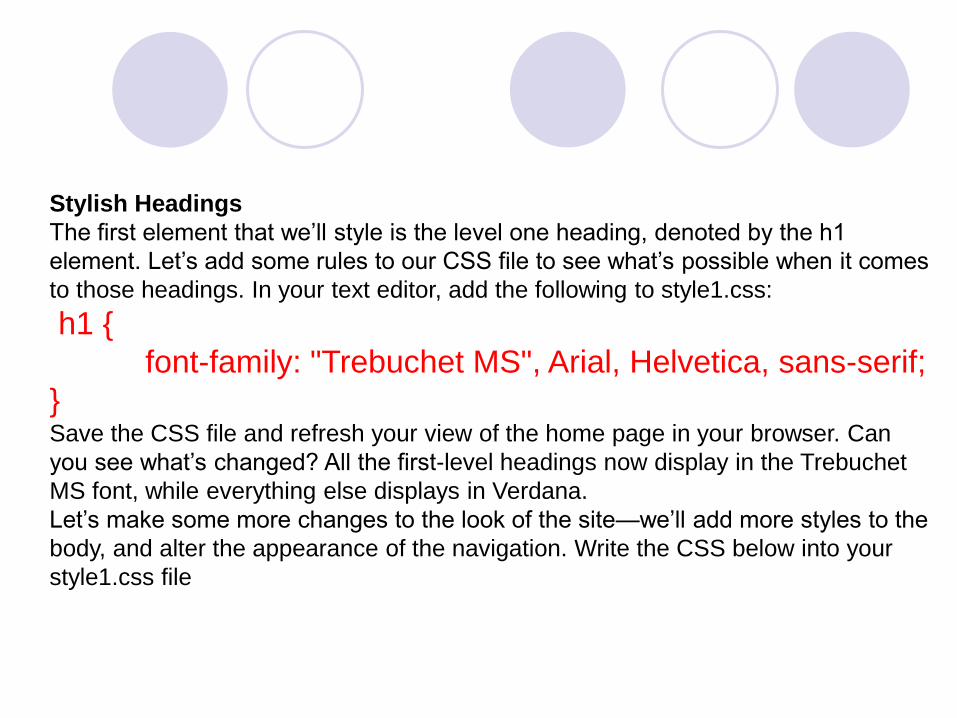
Stylish Headings
The first element that we’ll style is the level one heading, denoted by the h1
element. Let’s add some rules to our CSS file to see what’s possible when it comes
to those headings. In your text editor, add the following to style1.css:
h1 {
font-family: "Trebuchet MS", Arial, Helvetica, sans-serif;
} Save the CSS file and refresh your view of the home page in your browser. Can
you see what’s changed? All the first-level headings now display in the Trebuchet
MS font, while everything else displays in Verdana.
Let’s make some more changes to the look of the site—we’ll add more styles to the
body, and alter the appearance of the navigation. Write the CSS below into your
style1.css file

/* CSS for Bubble Under site */
body {
font-family: Verdana, Helvetica, Arial, sans-serif;
background-color: #e2edff;
line-height: 125%;
padding: 15px;
}
h1 {
font-family: "Trebuchet MS", Helvetica, Arial, sans-serif;
font-size: x-large;
}
li {
font-size: small;
}
h2 {
color: blue;
font-size: medium;
font-weight: normal;
}
p {
font-size: small;
color: navy;
}

Save the CSS file, and then click Reload (or Refresh) in your browser.
We’ve introduced quite a few style declarations here. Let’s examine them in the
order in which they appear in the CSS file:
body {
font-family: Verdana, Helvetica, Arial, sans-serif;
background-color: #e2edff;
line-height: 125%;
padding: 15px;
}
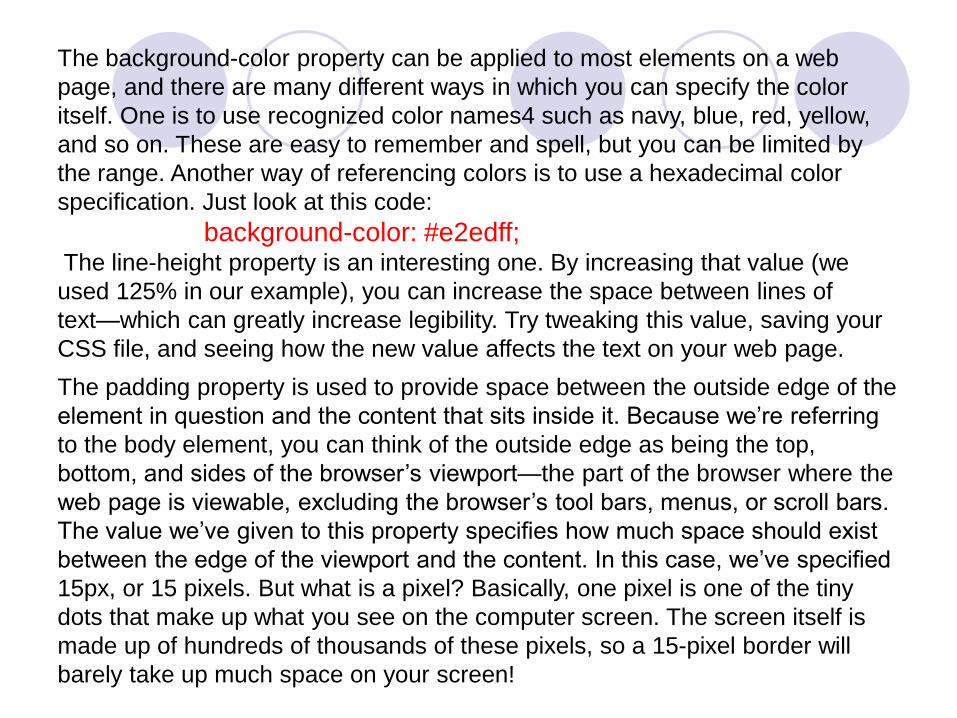
The background-color property can be applied to most elements on a web
page, and there are many different ways in which you can specify the color
itself. One is to use recognized color names4 such as navy, blue, red, yellow,
and so on. These are easy to remember and spell, but you can be limited by
the range. Another way of referencing colors is to use a hexadecimal color
specification. Just look at this code:
background-color: #e2edff; The line-height property is an interesting one. By increasing that value (we
used 125% in our example), you can increase the space between lines of
text—which can greatly increase legibility. Try tweaking this value, saving your
CSS file, and seeing how the new value affects the text on your web page.
The padding property is used to provide space between the outside edge of the
element in question and the content that sits inside it. Because we’re referring
to the body element, you can think of the outside edge as being the top,
bottom, and sides of the browser’s viewport—the part of the browser where the
web page is viewable, excluding the browser’s tool bars, menus, or scroll bars.
The value we’ve given to this property specifies how much space should exist
between the edge of the viewport and the content. In this case, we’ve specified
15px, or 15 pixels. But what is a pixel? Basically, one pixel is one of the tiny
dots that make up what you see on the computer screen. The screen itself is
made up of hundreds of thousands of these pixels, so a 15-pixel border will
barely take up much space on your screen!
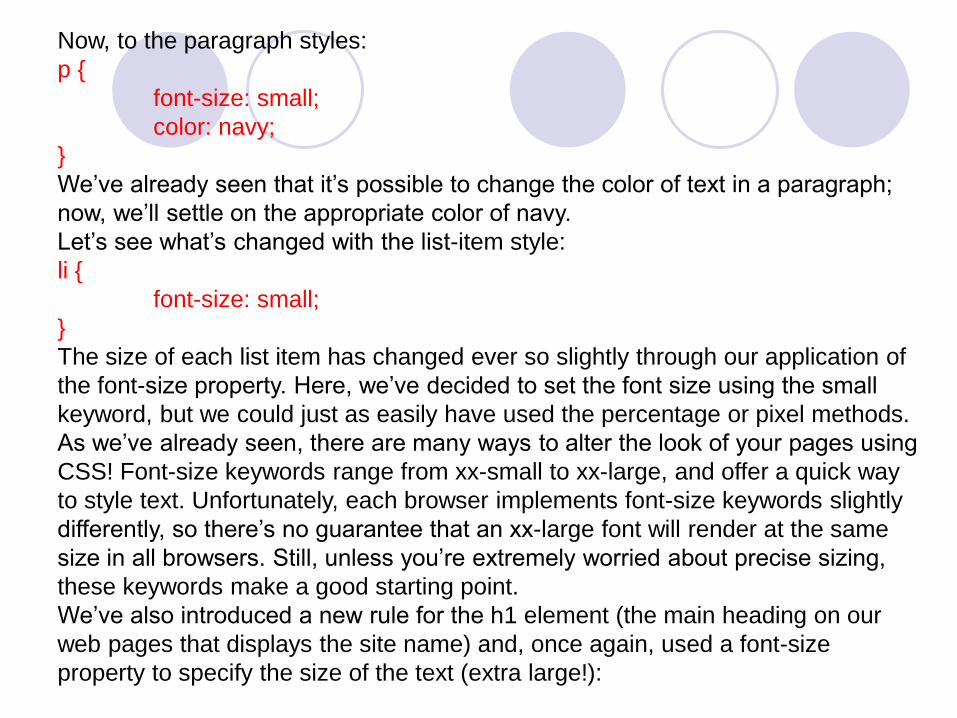
Now, to the paragraph styles:
p {
font-size: small;
color: navy;
}
We’ve already seen that it’s possible to change the color of text in a paragraph;
now, we’ll settle on the appropriate color of navy.
Let’s see what’s changed with the list-item style:
li {
font-size: small;
}
The size of each list item has changed ever so slightly through our application of
the font-size property. Here, we’ve decided to set the font size using the small
keyword, but we could just as easily have used the percentage or pixel methods.
As we’ve already seen, there are many ways to alter the look of your pages using
CSS! Font-size keywords range from xx-small to xx-large, and offer a quick way
to style text. Unfortunately, each browser implements font-size keywords slightly
differently, so there’s no guarantee that an xx-large font will render at the same
size in all browsers. Still, unless you’re extremely worried about precise sizing,
these keywords make a good starting point.
We’ve also introduced a new rule for the h1 element (the main heading on our
web pages that displays the site name) and, once again, used a font-size
property to specify the size of the text (extra large!):

h1 {
font-family: "Trebuchet MS", Helvetica, Arial, sans-serif;
font-size: x-large;
}
The h2 element also receives a minor makeover:
h2 {
color: blue;
font-size: medium;
font-weight: normal;
}
Browsers usually display headings in bold type, but we can have them display in
standard type by giving the font-weight property a value of normal.

A Beginner’s Palette of Styling Options
This section lists some of the basic properties and values with which you might
like to experiment. Feel free to try any of these in your CSS file.
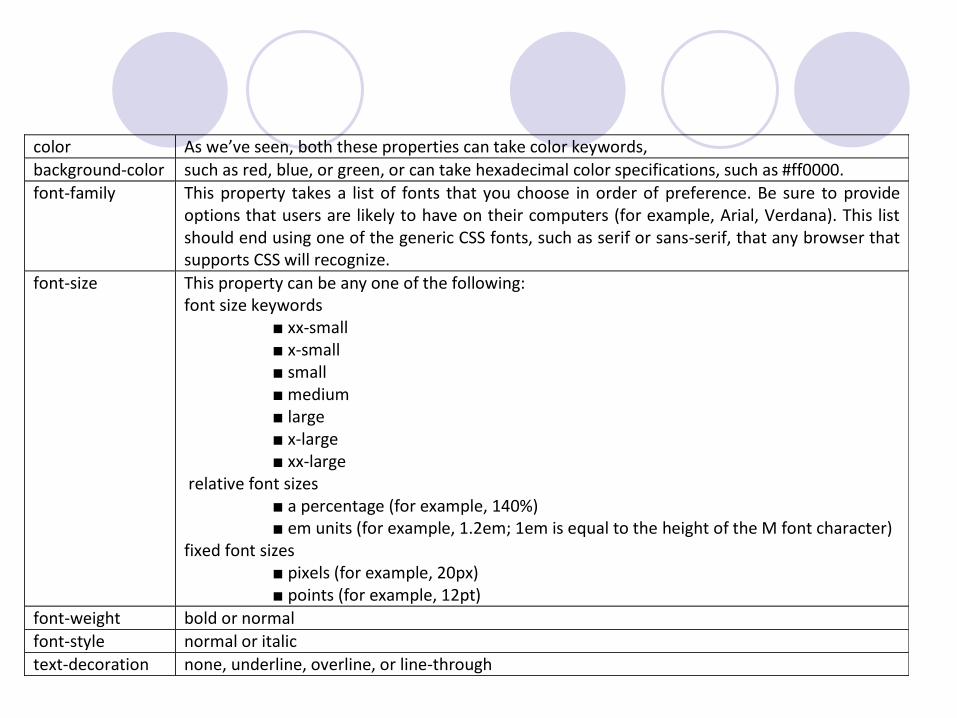
color As we’ve seen, both these properties can take color keywords, background-color such as red, blue, or green, or can take hexadecimal color specifications, such as #ff0000. font-family This property takes a list of fonts that you choose in order of preference. Be sure to provide
options that users are likely to have on their computers (for example, Arial, Verdana). This list should end using one of the generic CSS fonts, such as serif or sans-serif, that any browser that supports CSS will recognize.
font-size This property can be any one of the following: font size keywords
■ xx-small ■ x-small ■ small ■ medium ■ large ■ x-large ■ xx-large
relative font sizes ■ a percentage (for example, 140%) ■ em units (for example, 1.2em; 1em is equal to the height of the M font character)
fixed font sizes ■ pixels (for example, 20px) ■ points (for example, 12pt)
font-weight bold or normal font-style normal or italic text-decoration none, underline, overline, or line-through
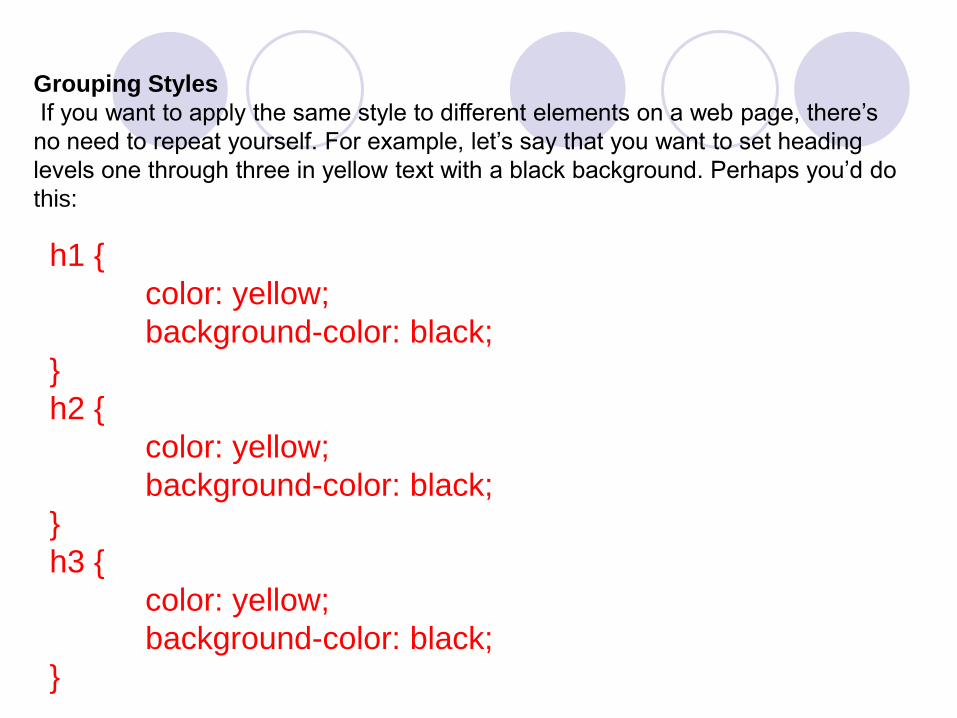
Grouping Styles
If you want to apply the same style to different elements on a web page, there’s
no need to repeat yourself. For example, let’s say that you want to set heading
levels one through three in yellow text with a black background. Perhaps you’d do
this:
h1 {
color: yellow;
background-color: black;
}
h2 {
color: yellow;
background-color: black;
}
h3 {
color: yellow;
background-color: black;
}

That’s very repetitive. Plus, once you have a lot of styles on the page, it’s even more
difficult to maintain. Translation: if the element is a level one heading, a level two
heading, or a level three heading, set the text to yellow and the background to black.
h1, h2, h3 {
color: yellow;
background-color: black;
}
When we added the grouped declaration for the headings, we changed some
styles that we’d set previously. A look at the source shows that the level two
heading, h2, has been set to be blue and white in different places on our
stylesheet:

h2 {
color: blue;
font-size: medium;
font-weight: normal;
}
⋮ h1, h2, h3 {
font-family: "Trebuchet MS", Helvetica, Arial, sans-serif;
background-color: navy;
color: white;
}
Because the declaration specifying that the h2 should be white comes later, it
has overridden the earlier blue specification. It doesn’t matter if you’ve defined
an h2 to be blue 100 times throughout your stylesheet; if the last definition says it
should be white, and then white it will be!


