Embed Size (px)
Citation preview
Rescue Technician— Swiftwater Rescue Technician
Maryland Fire and Rescue Institute University of Maryland
Steven T. Edwards, Director
Spring 2015
Note-Taking Guide
Copyright 2014 by the Maryland Fire and Rescue Institute. All rights reserved. No part of this book may be copied or reproduced in any form or by any means without written permission of the Maryland Fire and Rescue Institute.

The Maryland Fire and Rescue Institute of the University of Maryland is the State’s comprehensive training and education system for all emergency services. The Institute plans, researches, develops, and delivers quality programs to enhance the ability of emergency service providers to protect life, the environment, and property.

Lesson 1-2Introduction and NFPA Standards
RES 213-PPT-1-2.1
Student Performance Objective
• Given information from discussion, handouts, and reading materials the student will be able to compare operational levels of swiftwater rescue and relate those levels to zones of a swiftwater incident.
RES 213-PPT-1-2.2
Overview
• Water Rescue Standards
• Water Rescue Philosophy
• Zones of an Incident
RES 213-PPT-1-2.3
Water Rescue Standards
• Stakeholder Organizations– OSHA
– FEMA
– DHS
– ASTM
– ANSI
– State Legislations
– Local Jurisdictions
RES 213-PPT-1-2.4
Water Rescue Standards
• NFPA– Generally Accepted Standards
• NFPA 1670—Guidelines for organizations or agencies
– Awareness – Operations – Technician
• NFPA 1006—Personnel Performance Guidelines Level 1 and II
– Awareness – Operations – Technician
RES 213-PPT-1-2.5
Water Rescue Philosophy
• Elements of Successful Rescue– Training
– Practice
– Experience
– Judgment
RES 213-PPT-1-2.6
Water Rescue Philosophy
• Rescue Priorities– Self
– Team
– Victim
RES 213-PPT-1-2.7
Water Rescue Philosophy
• Phases of a rescue– Locate
– Access
– Stabilize
– Transport
RES 213-PPT-1-2.8
Zones of an Incident
• Hot Zone
• Warm Zone
• Cold Zone
RES 213-PPT-1-2.9
Student Performance Objective
• Given information from discussion, handouts, and reading materials the student will be able to compare operational levels of swiftwater rescue and relate those levels to zones of a swiftwater incident.
RES 213-PPT-1-2.10
Review
• Water Rescue Standards
• Water Rescue Philosophy
• Zones of an Incident

Lesson 2-1: NIMS/ICS
RES 213-PPT-2-1.1
Student Performance Objective
Given information from discussion, handouts, and reading materials the student will be able to compare the functions of the National Incident Management System (NIMS) and the Incident Command System (ICS).
RES 213-PPT-2-1.2
Overview
The National Incident Management System
The Incident Command System
RES 213-PPT-2-1.3
The National IncidentManagement System
NIMS was developed to facilitate mutual aid between jurisdictions
NIMS training is mandated for all first responders by DHS
NIMS mandates the use of the Incident Command System
RES 213-PPT-2-1.4
The Incident Command System
Defines specific roles and positions that are responsible for pre-assigned jobs or duties
Can be used for single- or multi-jurisdictional incidents
RES 213-PPT-2-1.5
The Incident Command System
Uses several components– The Core Team Incident Commander
Incident Safety Officer
Single Resource Boss or Team
– Additional Positions Assistant Safety Officer
PIO
Liaison Officer
RES 213-PPT-2-1.6
The Incident Command System
Uses several components– Additional Positions Operations Section Officer
Logistics Section Officer
Planning/Intelligence Officer
Finance/Administration Officer
Branch Director
Division/Group Supervisor
Strike Team/Task Force Leader
RES 213-PPT-2-1.7
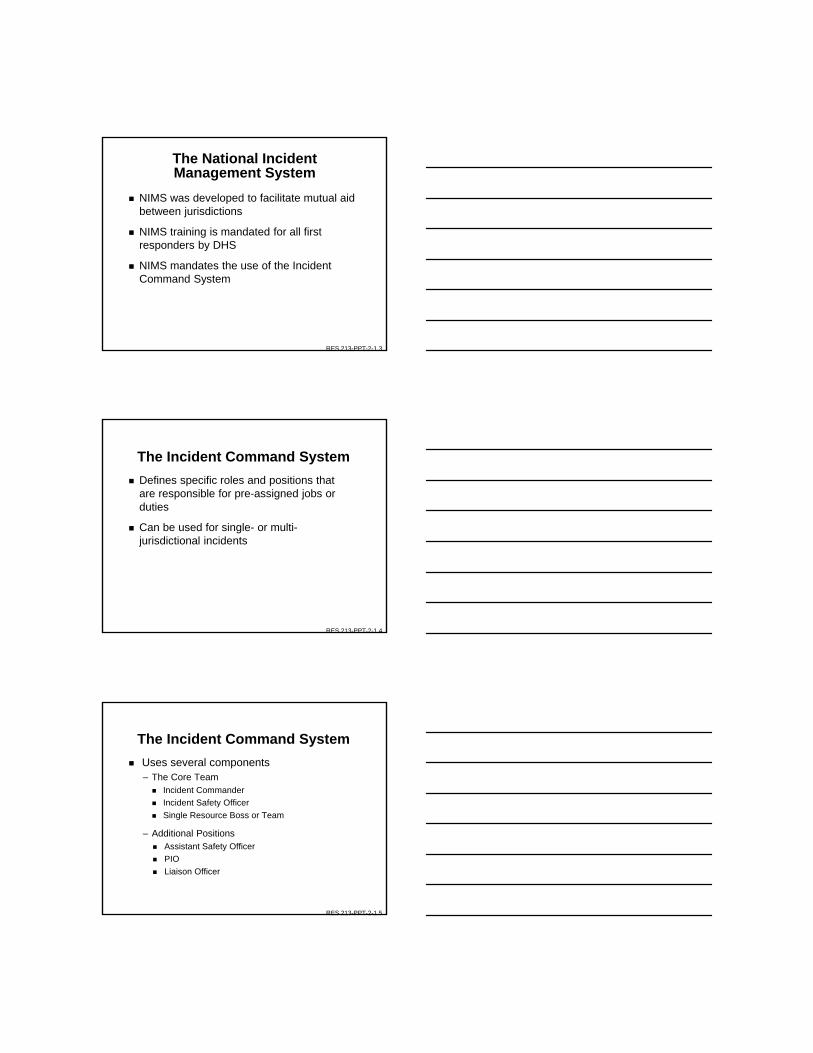
The Incident Command System
Safety Officer
Asst. Safety OfficerLogistics
PIO
Liaison
Rigging Group
Rescue Group
Operations
Finance
Planning
EMS Group
Rescue Team 1
Staging / Equipment
Group
Rescue Team 2
Boat Team 1
Boat Team 2
Rope Team 1
Rope Team 2
Ambulance 1
Triage
Medic 1
Equipment
Apparatus
RES 213-PPT-2-1.8
Student Performance Objective
Given information from discussion, handouts, and reading materials the student will be able to compare the functions of the National Incident Management System (NIMS) and the Incident Command System (ICS).

RES 213-PPT-2-1.9
Review
The National Incident Management System
The Incident Command System

Lesson 2-2Communications and PPE Overview
RES 213-PPT-2-2.1
Student Performance Objective
Given information from discussion, handouts, and reading materials the student will be able to utilize all means of communication and personal protective equipment during a swiftwater incident.
RES 213-PPT-2-2.2
Overview
Communications
Personal Protective Equipment
Team Equipment
RES 213-PPT-2-2.3
Communications
Hand Signals– One hand on the top of the head = “Okay!”
– One hand extended waving = “Distress!”
– One hand pointing = “Move in that direction!”
– One hand rotating above the head and then pointing = “Eddy out in that direction!”
– Both arms crossed in front of the chest = “Needs medical attention!”
– Palm out = “Stop!”
– Both hands raised = “Stop!”
RES 213-PPT-2-2.4
Whistle Blasts
– 1 blast = Stop or attention
– 2 blasts = Attention upstream or move upstream
– 3 blasts = Attention downstream or move downstream
– 3 blasts repeated = Emergency or Rescue
Communications
RES 213-PPT-2-2.5
Personal Protective Equipment
Review all personal equipment
RES 213-PPT-2-2.6
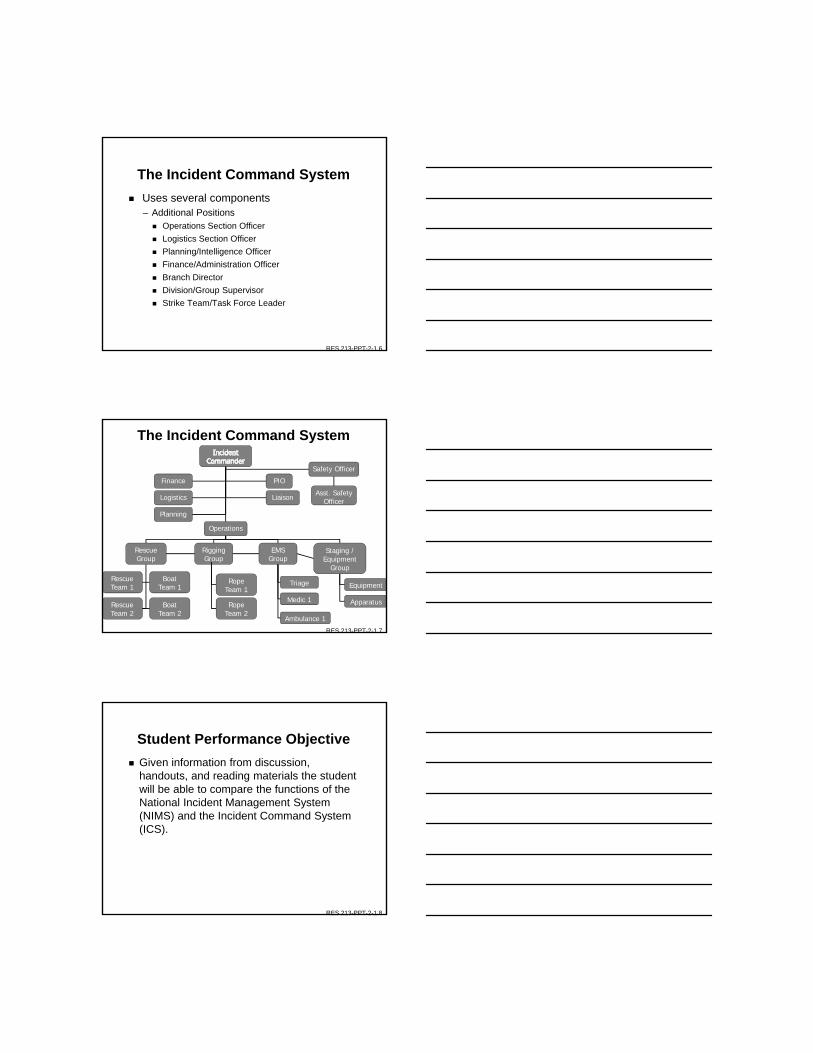
Personal Protective Equipment
Drysuits– Must protect the wearer
from the water
– Must protect the wearer from water-borne pathogens
– Must have an integral sock
– May have integral boots
RES 213-PPT-2-2.7
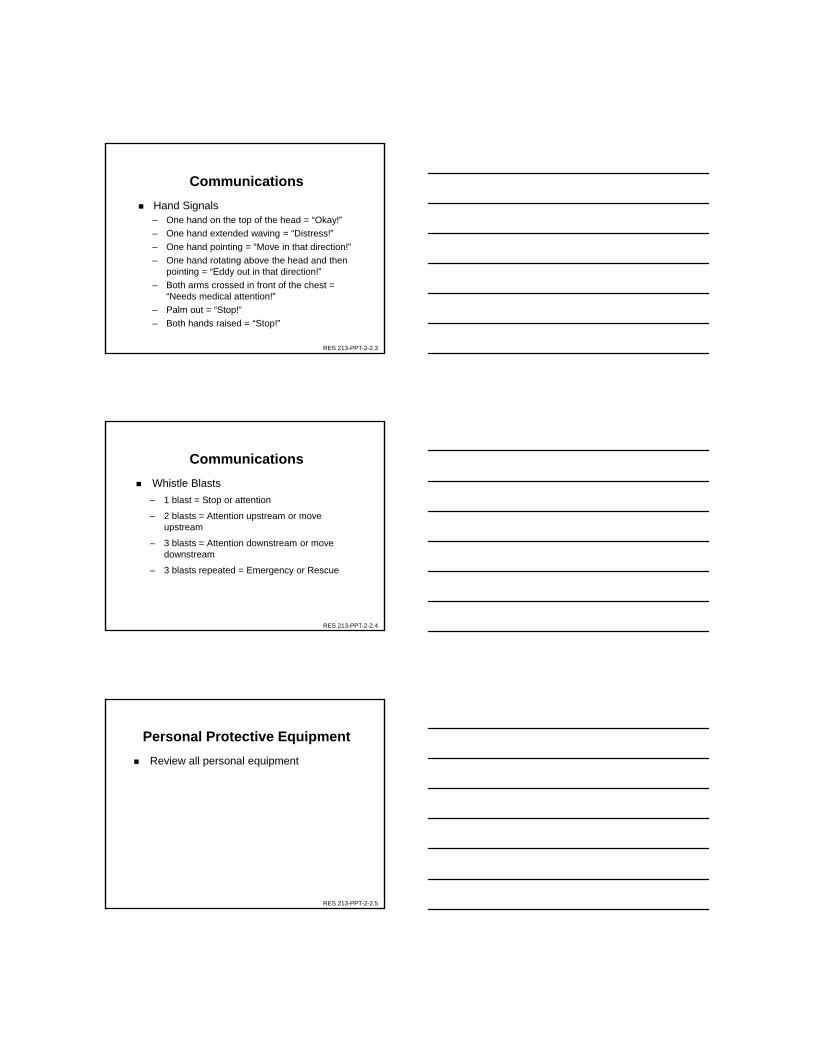
Personal Protective Equipment
Wetsuits
– Trap a layer of water between an individual’s skin and the suit material
– Offer no protection from hazardous materials
– Must have long sleeves and cover the legs to the ankle according to the NFPA
RES 213-PPT-2-2.8
Personal Protective Equipment
Personal Flotation Devices (PFDs)– Some PFDs are designed to assist rescue
personnel Type III—designed for boat-based activity in calm,
inland waters
Type V—designed for special uses and work purposes
Type III/V—designed to be multi-purpose and is a combination type III and type V
– PFDs will function properly if the fit is good
– Some PFDs are inflatable
RES 213-PPT-2-2.9
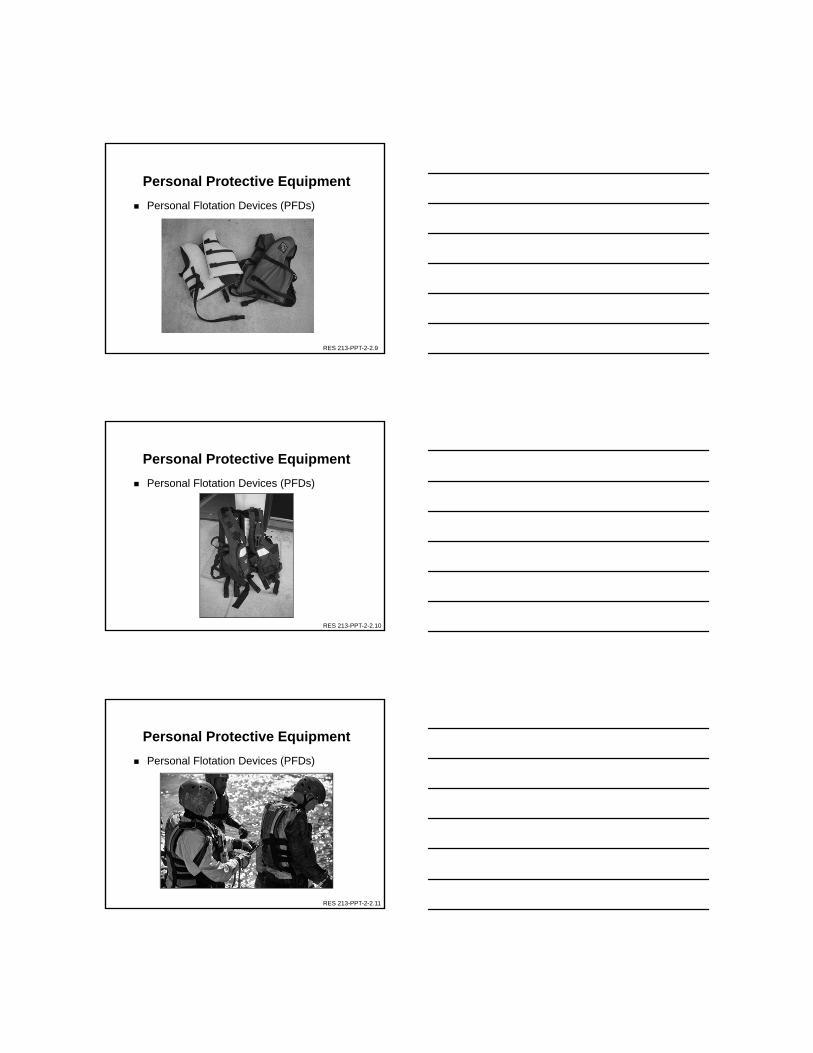
Personal Protective Equipment
Personal Flotation Devices (PFDs)
RES 213-PPT-2-2.10
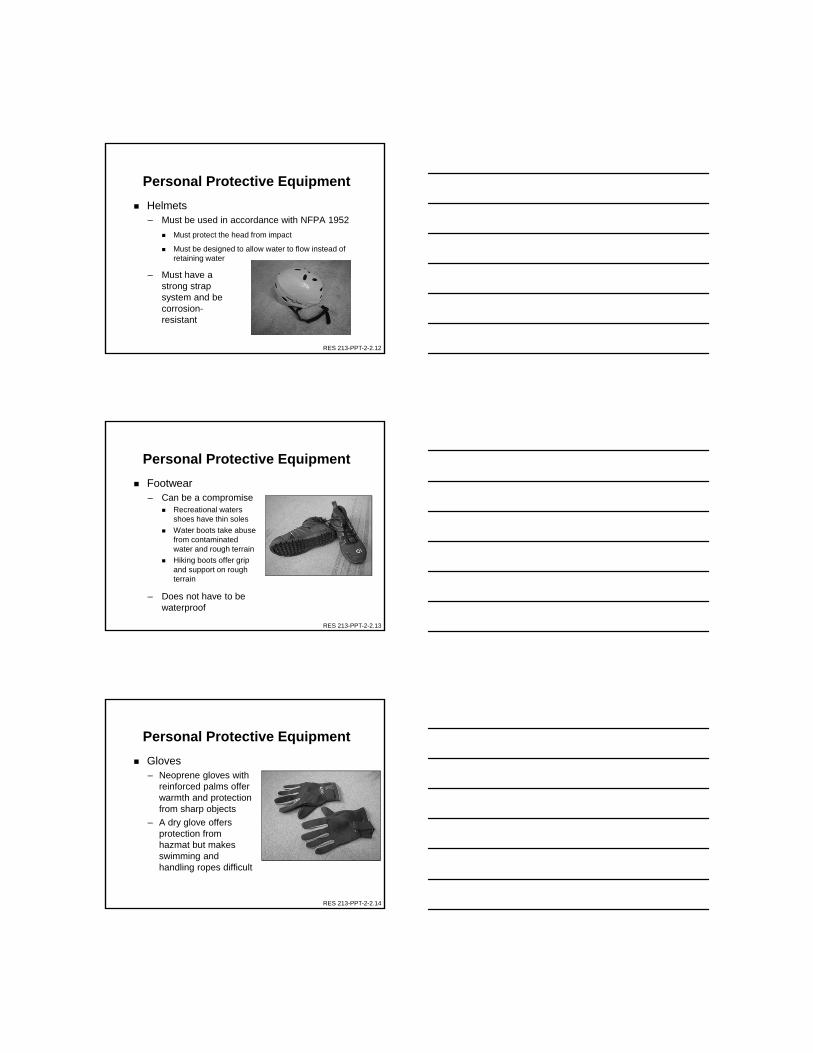
Personal Protective Equipment
Personal Flotation Devices (PFDs)
RES 213-PPT-2-2.11
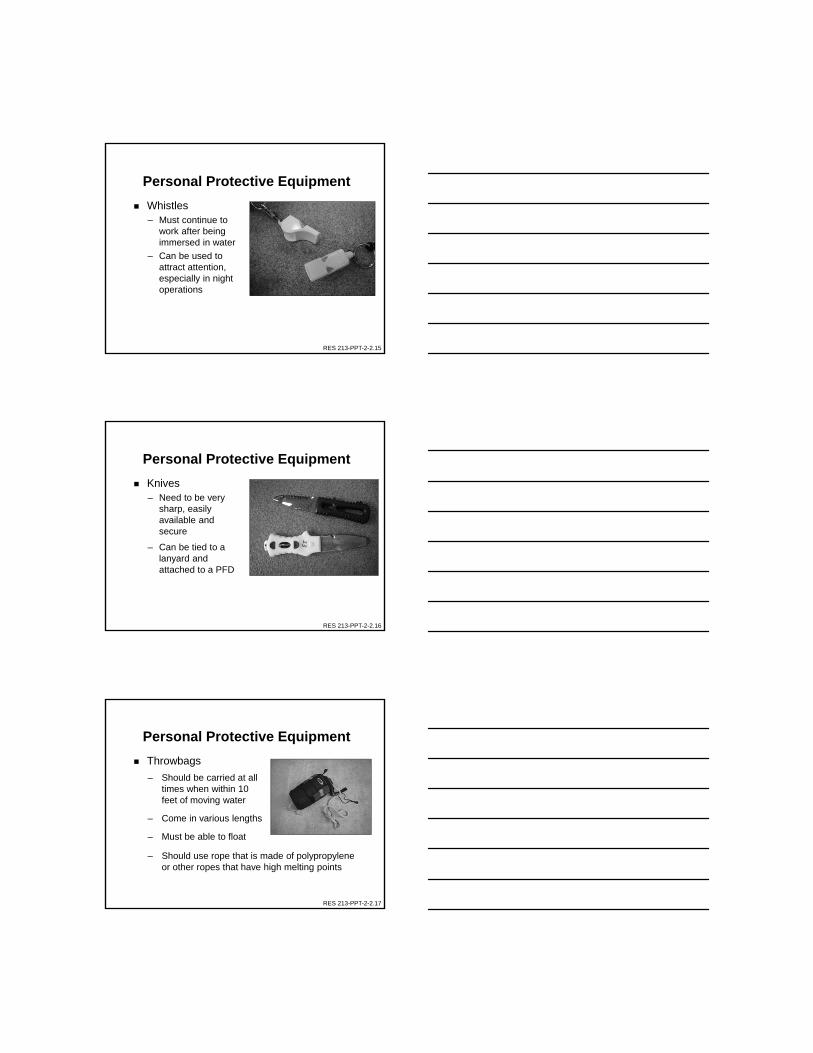
Personal Protective Equipment
Personal Flotation Devices (PFDs)
RES 213-PPT-2-2.12
Personal Protective Equipment
Helmets– Must be used in accordance with NFPA 1952
Must protect the head from impact
Must be designed to allow water to flow instead of retaining water
– Must have a strong strap system and be corrosion-resistant
RES 213-PPT-2-2.13
Personal Protective Equipment
Footwear– Can be a compromise
Recreational waters shoes have thin soles
Water boots take abuse from contaminated water and rough terrain
Hiking boots offer grip and support on rough terrain
– Does not have to be waterproof
RES 213-PPT-2-2.14
Personal Protective Equipment
Gloves – Neoprene gloves with
reinforced palms offer warmth and protection from sharp objects
– A dry glove offers protection from hazmat but makes swimming and handling ropes difficult
RES 213-PPT-2-2.15
Personal Protective Equipment
Whistles– Must continue to
work after being immersed in water
– Can be used to attract attention, especially in night operations
RES 213-PPT-2-2.16
Personal Protective Equipment
Knives– Need to be very
sharp, easily available and secure
– Can be tied to a lanyard and attached to a PFD
RES 213-PPT-2-2.17
Personal Protective Equipment
Throwbags
– Should be carried at all times when within 10 feet of moving water
– Come in various lengths
– Must be able to float
– Should use rope that is made of polypropylene or other ropes that have high melting points

RES 213-PPT-2-2.18
Personal Protective Equipment
Lights
– Lights should be waterproof and be the hands-free type
– LED bulbs provide a pure white light and extended battery life
– Glow sticks should only be used to mark equipment or if personnel lights fail
RES 213-PPT-2-2.19
Personal Protective Equipment
Lights
RES 213-PPT-2-2.20
Personal Protective Equipment
Swim fins– Can increase a
rescuer’s speed
– Can be difficult and tiring to use
RES 213-PPT-2-2.21
Personal Protective Equipment
Eye Protection– Is typically not used in a swiftwater
environment
– Should be used when additional risks are present
RES 213-PPT-2-2.22
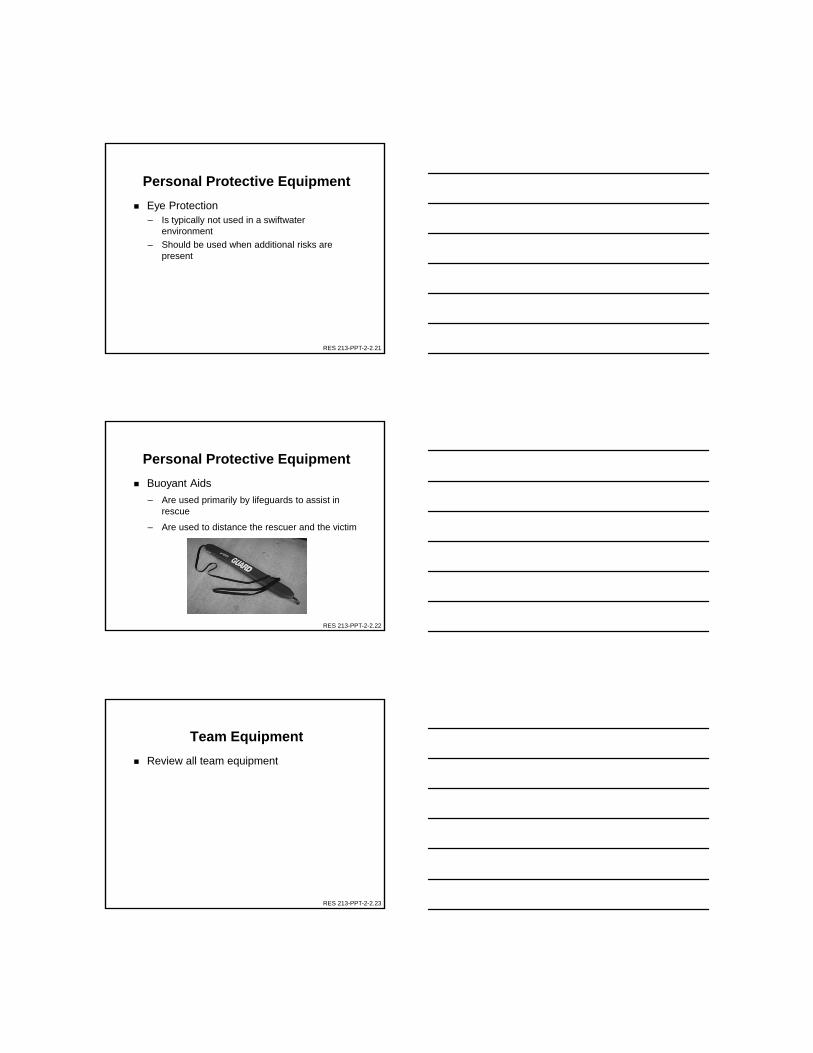
Personal Protective Equipment
Buoyant Aids
– Are used primarily by lifeguards to assist in rescue
– Are used to distance the rescuer and the victim
RES 213-PPT-2-2.23
Team Equipment
Review all team equipment
RES 213-PPT-2-2.24
Team Equipment
Inflated Fire Hose
– Allows for many rescue options
– Is inflated to between one and three Bar
RES 213-PPT-2-2.25
Team Equipment
Boats– Inflatable rescue boats
Are smaller than other rescue boats
Have a raft-like construction
Can be rolled up for transportation
Have semi-rigid floors
RES 213-PPT-2-2.26
Team Equipment
Boats– Inflatable rescue
boats Are maneuverable
in whitewater
Can be handled without the motor
Are popular with emergency services
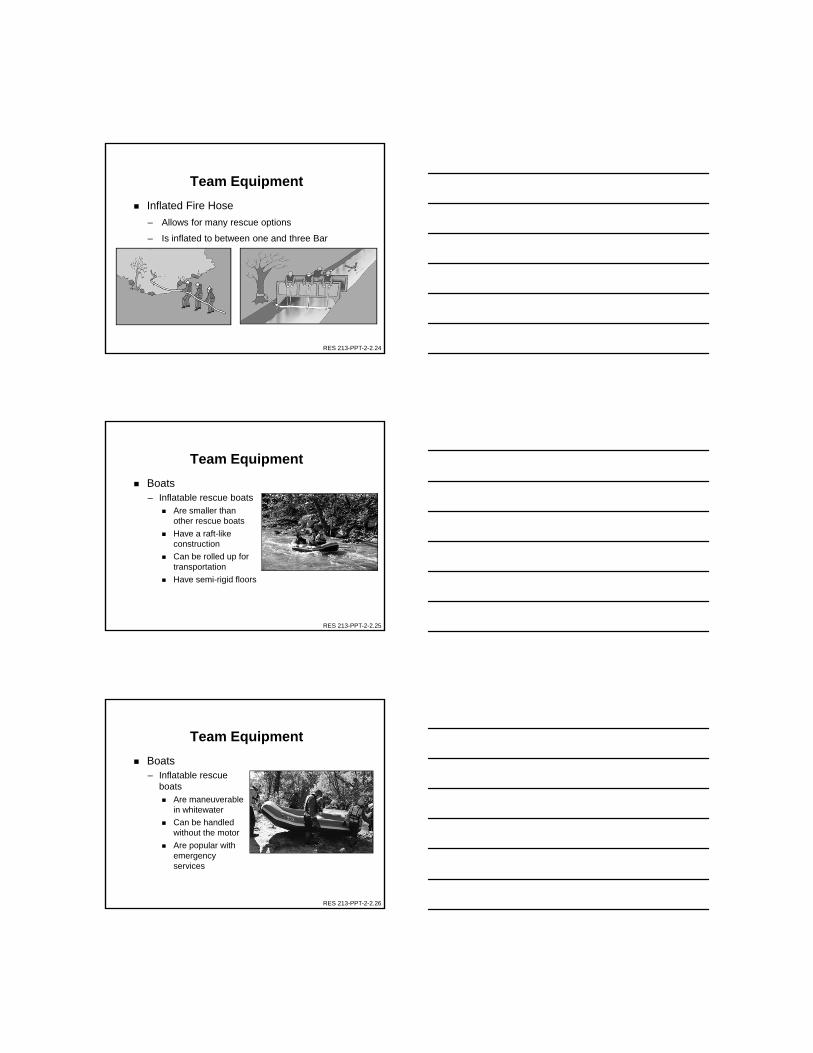
RES 213-PPT-2-2.27
Team Equipment
Boats– Rigid Hull Crafts
Can have flat bottoms or deep V’s
Can be made of aluminum, wood, or plastic
Can have built-in buoyancy compartments
Can have more “freeboard”
Need a trailer and a slipway to launch
RES 213-PPT-2-2.28
Team Equipment
Boats– Rigid inflatable boats
Have a combination of a rigid hull and keel with inflatable tubes
Can use more powerful engines
Have good directional stability
Need a trailer and slipway to launch
RES 213-PPT-2-2.29
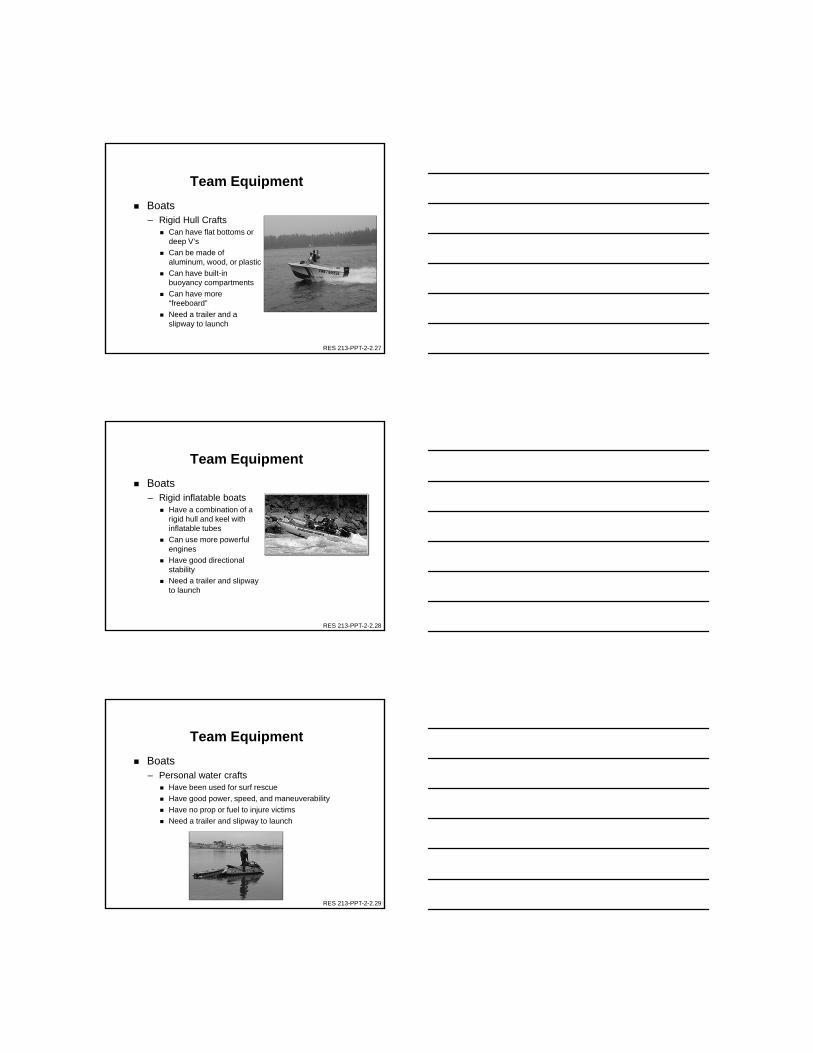
Team Equipment
Boats– Personal water crafts
Have been used for surf rescue
Have good power, speed, and maneuverability
Have no prop or fuel to injure victims
Need a trailer and slipway to launch
RES 213-PPT-2-2.30
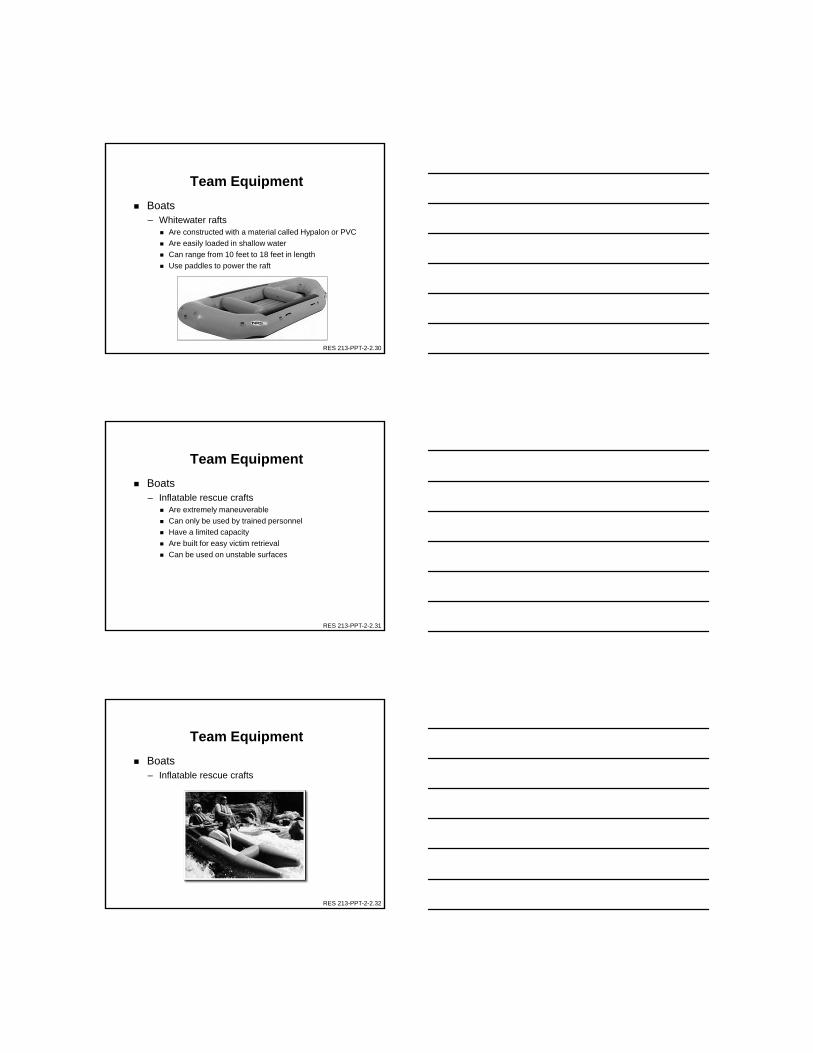
Team Equipment
Boats – Whitewater rafts
Are constructed with a material called Hypalon or PVC
Are easily loaded in shallow water
Can range from 10 feet to 18 feet in length
Use paddles to power the raft
RES 213-PPT-2-2.31
Team Equipment
Boats– Inflatable rescue crafts
Are extremely maneuverable
Can only be used by trained personnel
Have a limited capacity
Are built for easy victim retrieval
Can be used on unstable surfaces
RES 213-PPT-2-2.32
Team Equipment
Boats– Inflatable rescue crafts
RES 213-PPT-2-2.33
Team Equipment
Boats– Kayaks
Are extremely maneuverable
Can only be used by trained personnel
Have a very limited capacity
Are good for hasty searches
RES 213-PPT-2-2.34
Team Equipment
Boats– Canoes
Can only be used by trained personnel
Have a limited capacity
RES 213-PPT-2-2.35
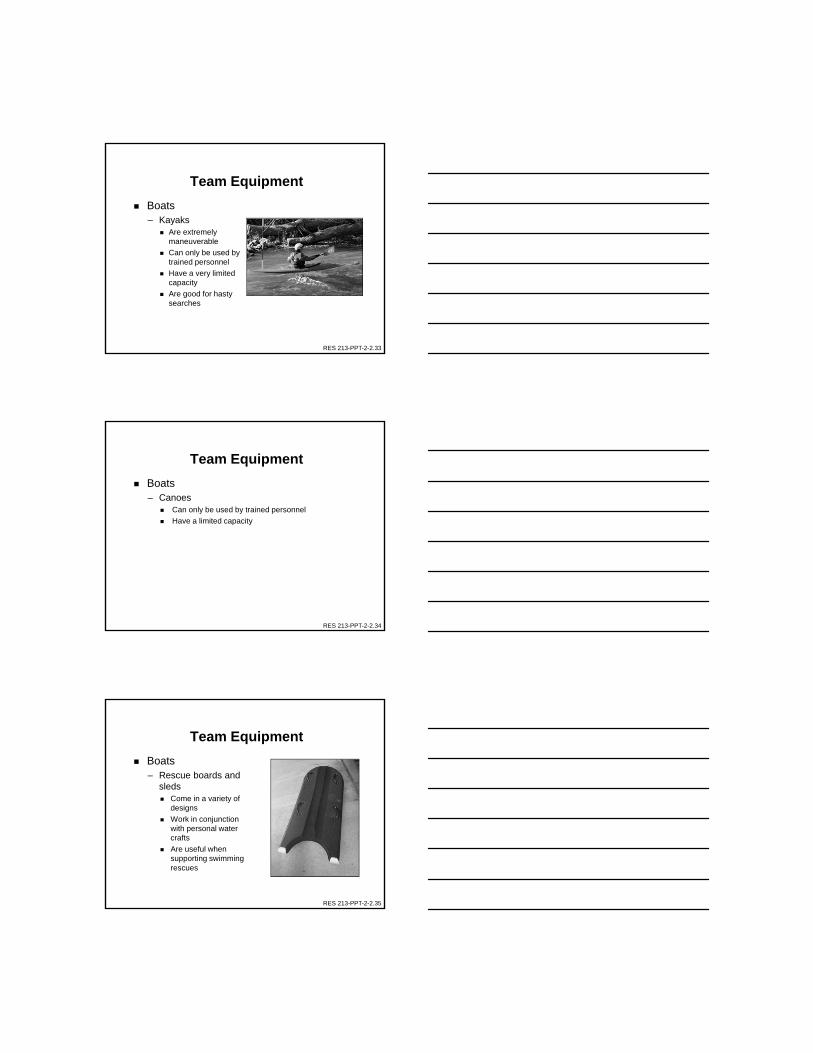
Team Equipment
Boats– Rescue boards and
sleds Come in a variety of
designs
Work in conjunction with personal water crafts
Are useful when supporting swimming rescues

RES 213-PPT-2-2.36
Student Performance Objective
Given information from discussion, handouts, and reading materials the student will be able to utilize all means of communication and personal protective equipment during a swiftwater incident.
RES 213-PPT-2-2.37
Review
Communications
Personal Protective Equipment
Team Equipment

Lesson 3-1Hydrology and River Dynamics
RES 213-PPT-3-1.1
Student Performance Objective
• Given information from discussion, handouts, and reading materials the student will be able to define hydrology as it relates to swiftwater rescue, and relate those definitions to river dynamics.
RES 213-PPT-3-1.2
Overview
• Moving Water• Channel Characteristics• Force of Water• Transportation of Loads• Swiftwater Hydrology• Flow Types• Current Vectors• Swiftwater Features• Hydraulics• Low Head Dams• Swiftwater and Flood Hazards
RES 213-PPT-3-1.3
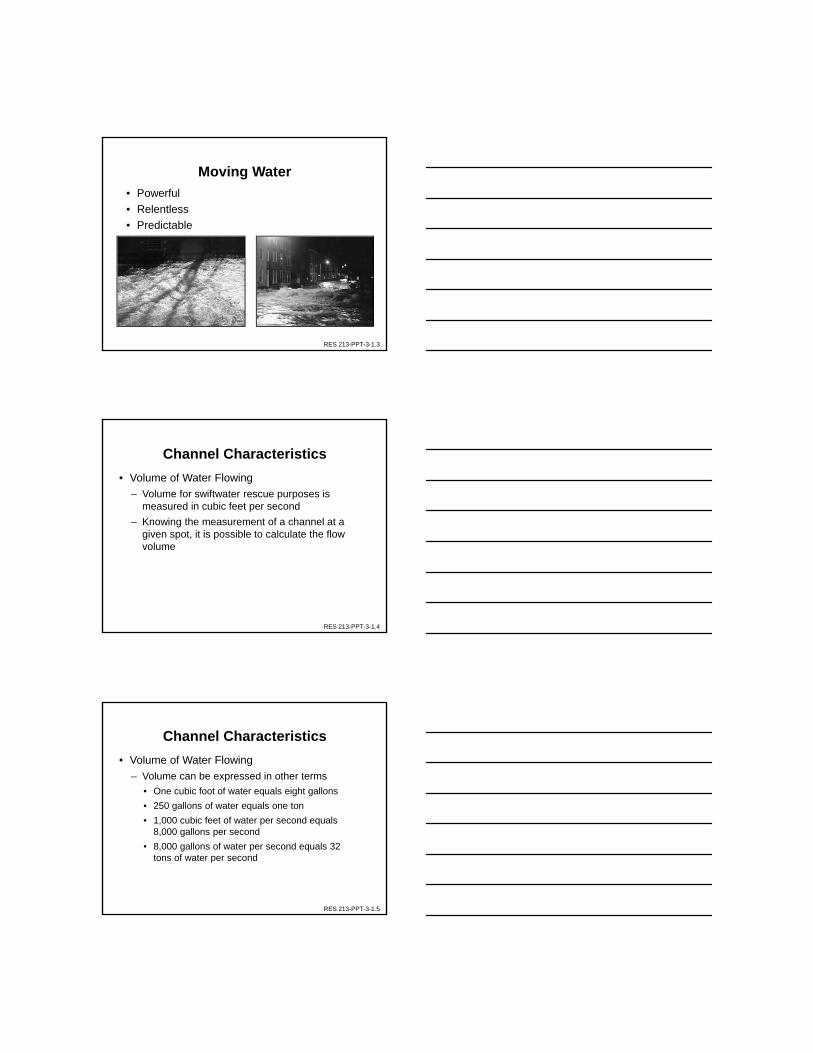
Moving Water
• Powerful
• Relentless
• Predictable
RES 213-PPT-3-1.4
Channel Characteristics
• Volume of Water Flowing
– Volume for swiftwater rescue purposes is measured in cubic feet per second
– Knowing the measurement of a channel at a given spot, it is possible to calculate the flow volume
RES 213-PPT-3-1.5
Channel Characteristics
• Volume of Water Flowing
– Volume can be expressed in other terms
• One cubic foot of water equals eight gallons
• 250 gallons of water equals one ton
• 1,000 cubic feet of water per second equals 8,000 gallons per second
• 8,000 gallons of water per second equals 32 tons of water per second
RES 213-PPT-3-1.6
Channel Characteristics
• Channel gradient is the main determining factor of water speed
• Channel gradient is a critical factor
– 100 feet over 1 mile could be a uniform slope with a high water speed
– 100 feet over 1 mile could be a series of slow-moving pools divided by waterfalls
RES 213-PPT-3-1.7
Channel Characteristics
• Smooth sided, man-made drainage channels can result in very uniform flows and little entrapment risk
• Straight running drainage channels will have much higher water speeds than a natural river channel of the same gradient
• Natural river beds vary greatly depending on the rock type and the forms and structure of the rocks
RES 213-PPT-3-1.8
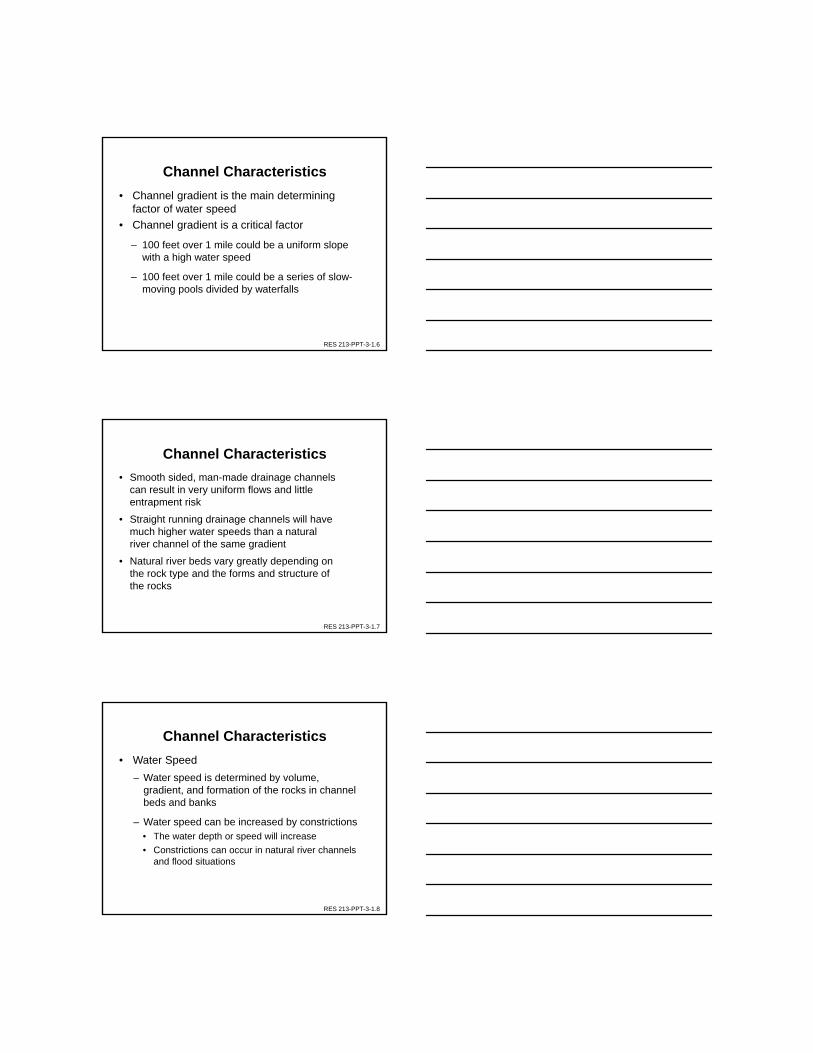
Channel Characteristics
• Water Speed
– Water speed is determined by volume, gradient, and formation of the rocks in channel beds and banks
– Water speed can be increased by constrictions • The water depth or speed will increase
• Constrictions can occur in natural river channels and flood situations
RES 213-PPT-3-1.9
Channel Characteristics
• Water Speed
RES 213-PPT-3-1.10
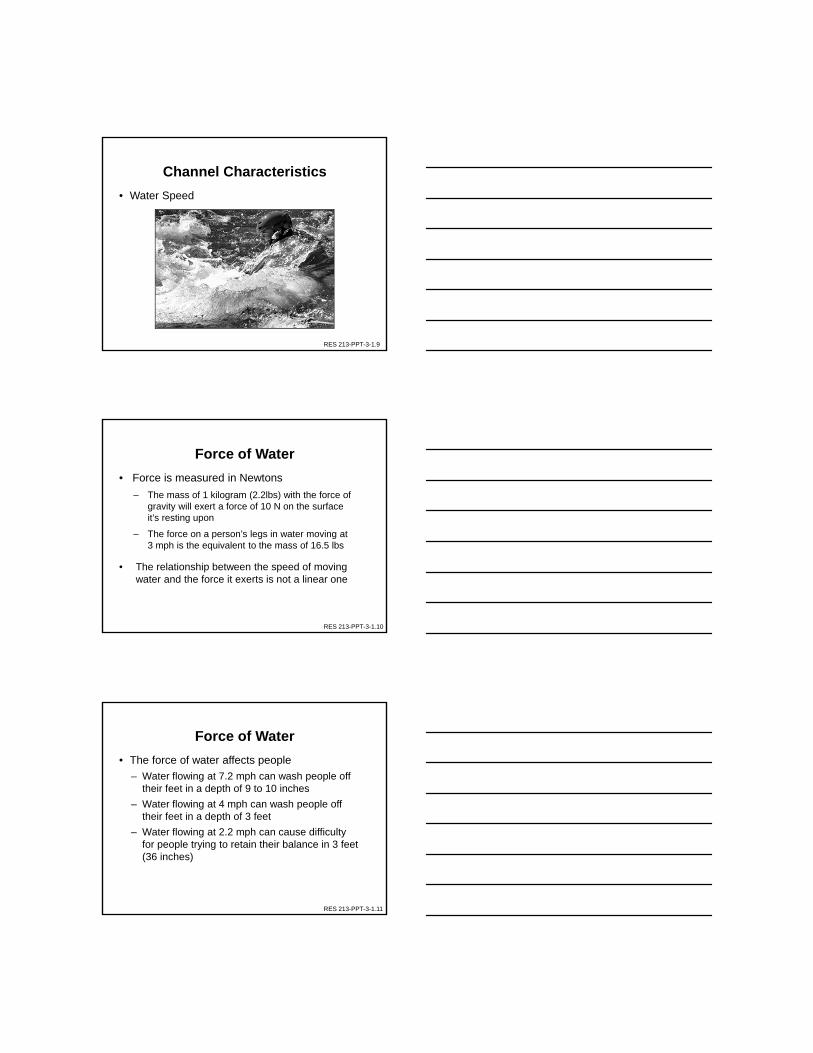
Force of Water
• Force is measured in Newtons
– The mass of 1 kilogram (2.2lbs) with the force of gravity will exert a force of 10 N on the surface it’s resting upon
– The force on a person’s legs in water moving at 3 mph is the equivalent to the mass of 16.5 lbs
• The relationship between the speed of moving water and the force it exerts is not a linear one
RES 213-PPT-3-1.11
Force of Water
• The force of water affects people
– Water flowing at 7.2 mph can wash people off their feet in a depth of 9 to 10 inches
– Water flowing at 4 mph can wash people off their feet in a depth of 3 feet
– Water flowing at 2.2 mph can cause difficulty for people trying to retain their balance in 3 feet (36 inches)
RES 213-PPT-3-1.12
Transportation of Loads
• Top Load or Surface Load
– Kayaks
– Rafts
– Floating debris
– Swimmers and victims with PFDs
• Suspended loads
– Debris that has been waterlogged
– Dead bodies
RES 213-PPT-3-1.13
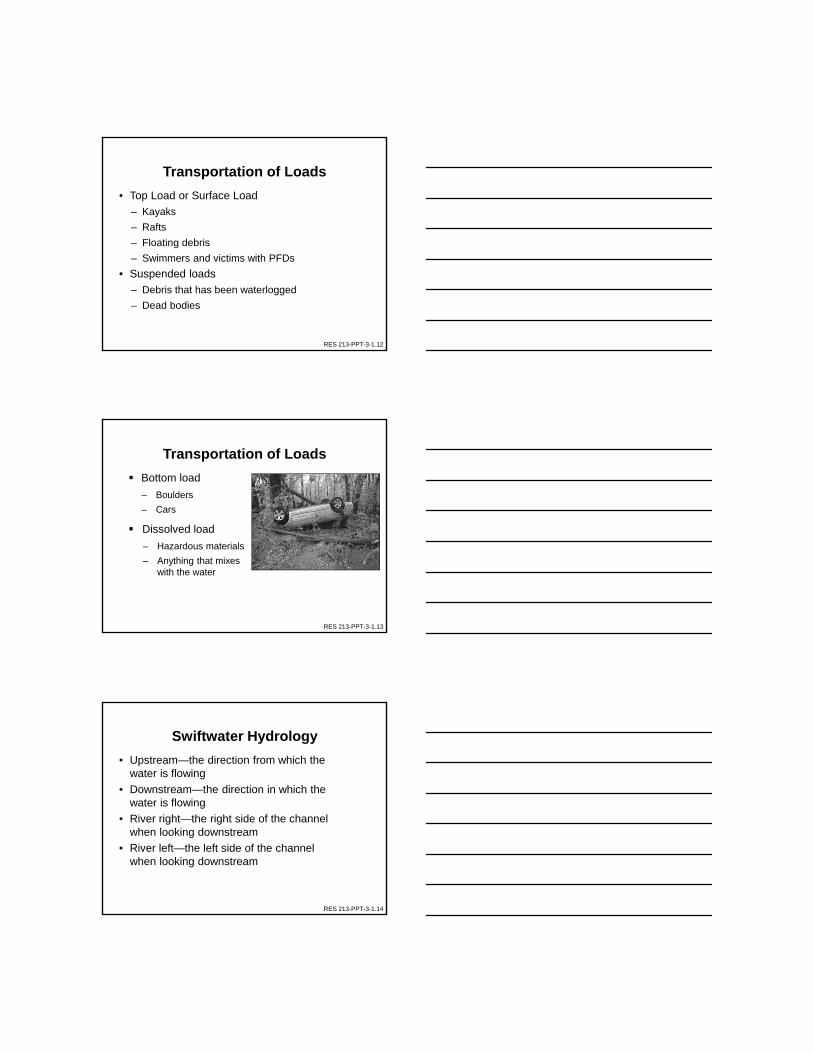
Transportation of Loads
Bottom load
– Boulders
– Cars
Dissolved load
– Hazardous materials
– Anything that mixes with the water
RES 213-PPT-3-1.14
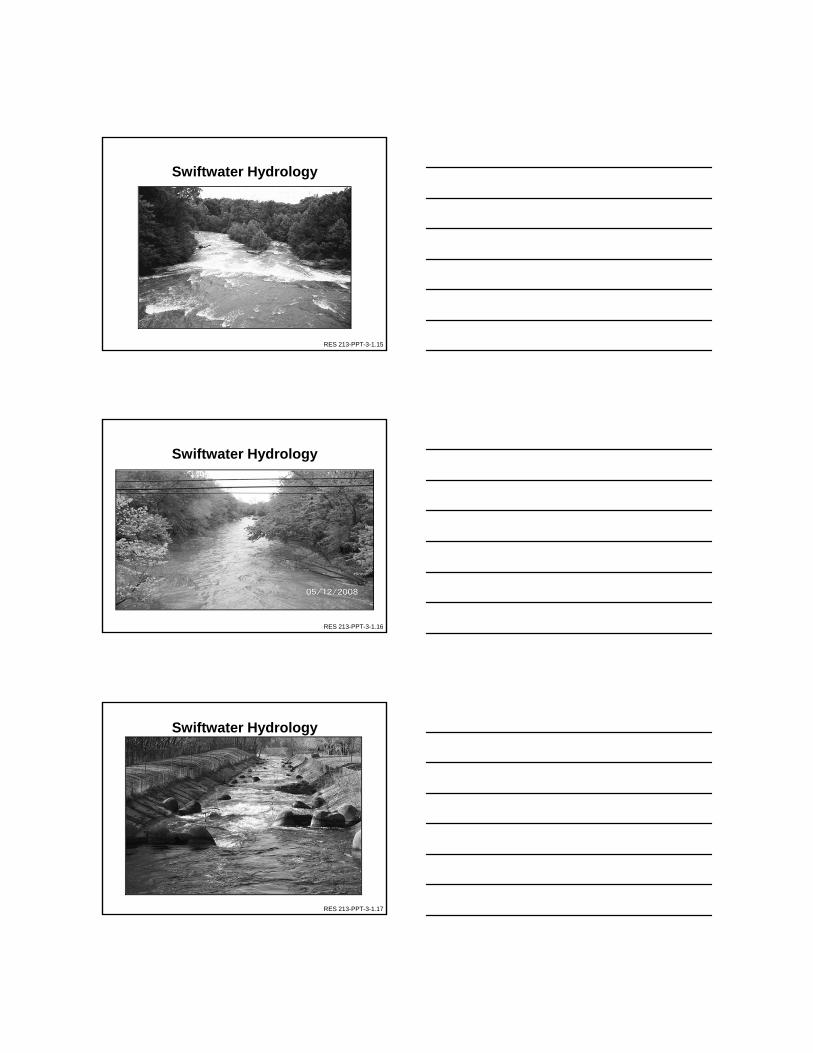
Swiftwater Hydrology
• Upstream—the direction from which the water is flowing
• Downstream—the direction in which the water is flowing
• River right—the right side of the channel when looking downstream
• River left—the left side of the channel when looking downstream
RES 213-PPT-3-1.15
Swiftwater Hydrology
RES 213-PPT-3-1.16
Swiftwater Hydrology
RES 213-PPT-3-1.17
Swiftwater Hydrology
RES 213-PPT-3-1.18
Flow Types
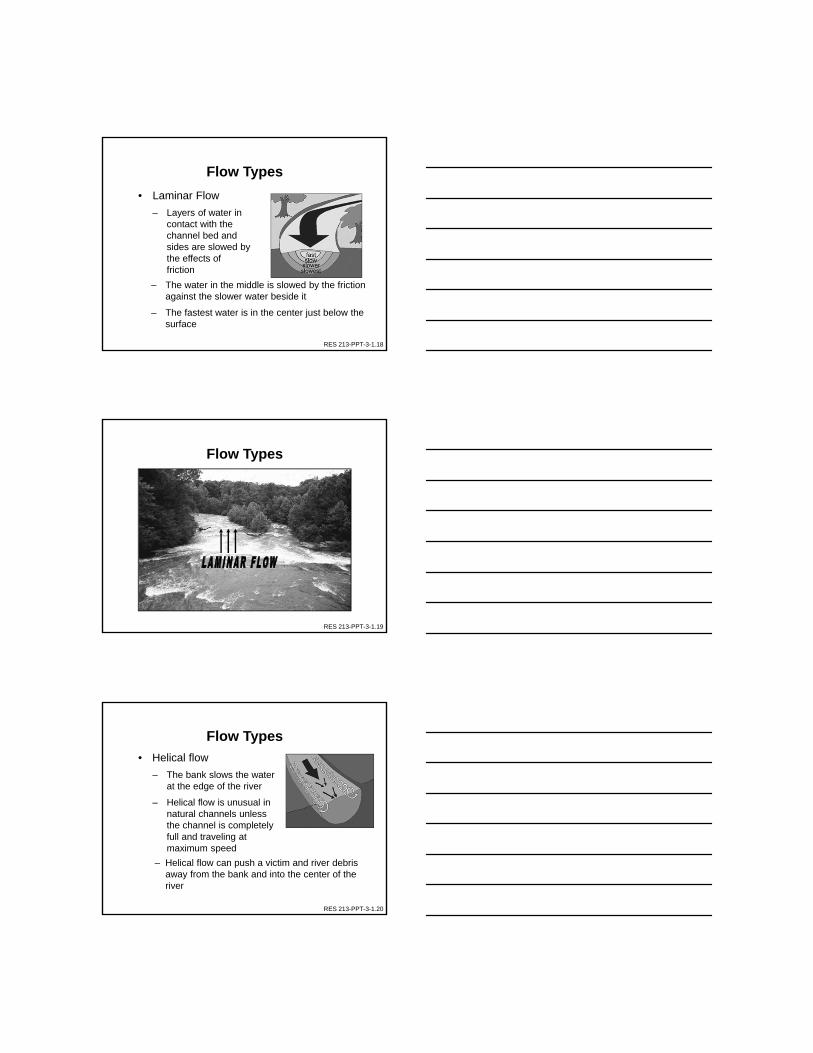
• Laminar Flow
– Layers of water in contact with the channel bed and sides are slowed by the effects of friction
– The water in the middle is slowed by the friction against the slower water beside it
– The fastest water is in the center just below the surface
RES 213-PPT-3-1.19
Flow Types
RES 213-PPT-3-1.20
Flow Types
• Helical flow
– The bank slows the water at the edge of the river
– Helical flow is unusual in natural channels unless the channel is completely full and traveling at maximum speed
– Helical flow can push a victim and river debris away from the bank and into the center of the river
RES 213-PPT-3-1.21
Flow Types
RES 213-PPT-3-1.22
Flow Types
RES 213-PPT-3-1.23
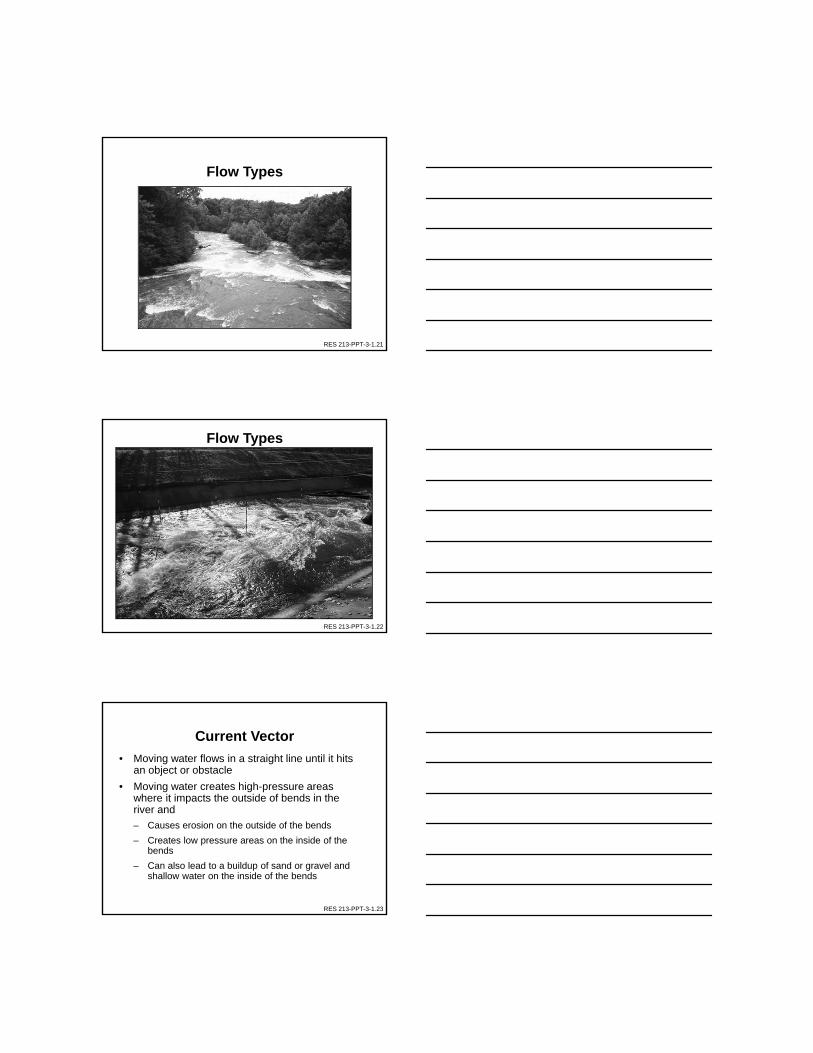
Current Vector
• Moving water flows in a straight line until it hits an object or obstacle
• Moving water creates high-pressure areas where it impacts the outside of bends in the river and
– Causes erosion on the outside of the bends
– Creates low pressure areas on the inside of the bends
– Can also lead to a buildup of sand or gravel and shallow water on the inside of the bends
RES 213-PPT-3-1.24
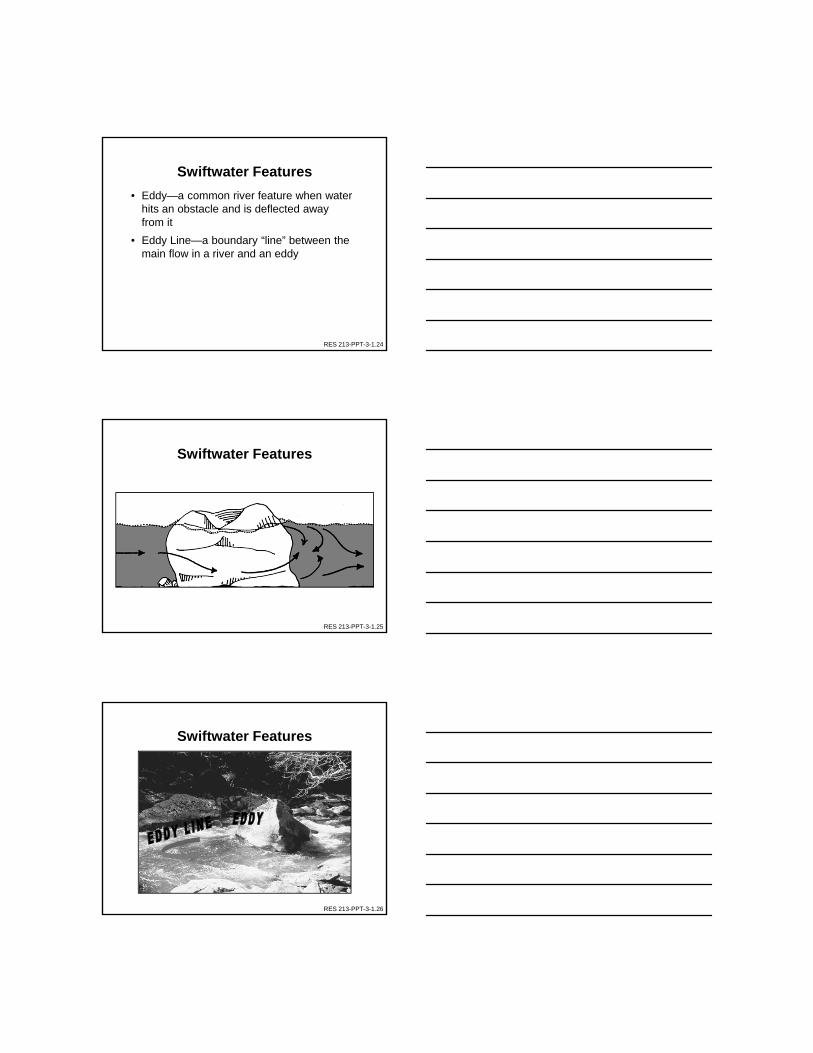
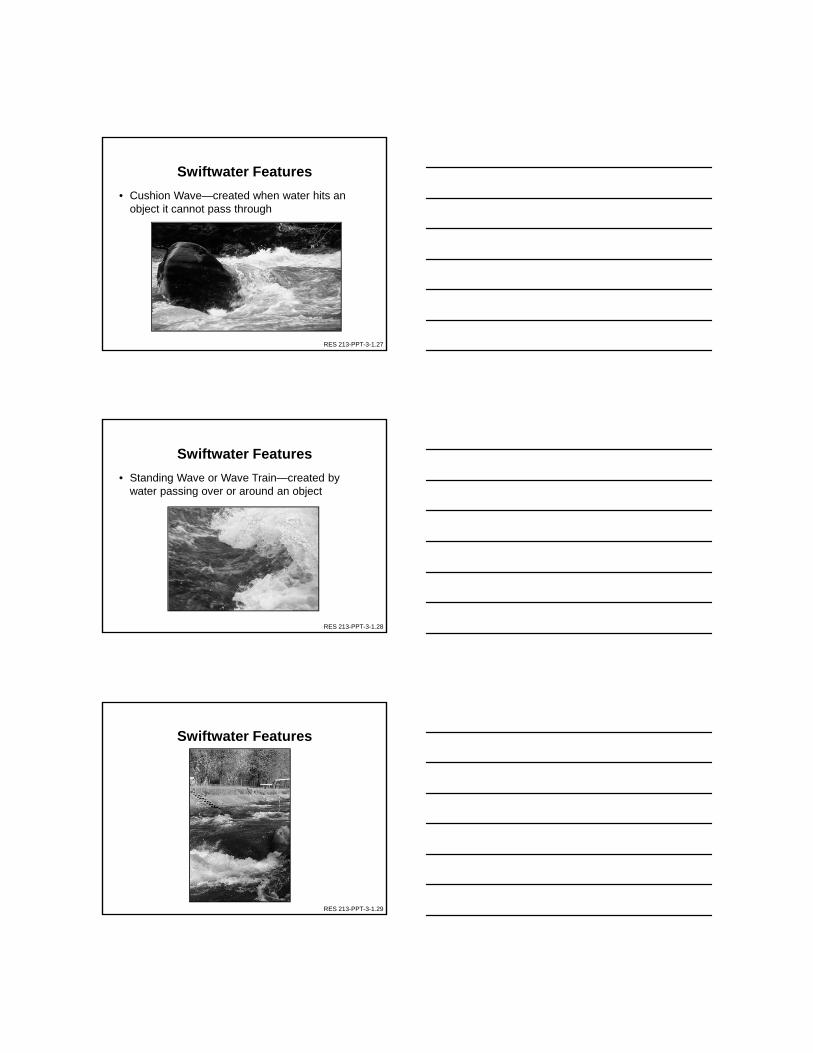
Swiftwater Features
• Eddy—a common river feature when water hits an obstacle and is deflected away from it
• Eddy Line—a boundary “line” between the main flow in a river and an eddy
RES 213-PPT-3-1.25
Swiftwater Features
RES 213-PPT-3-1.26
Swiftwater Features
RES 213-PPT-3-1.27
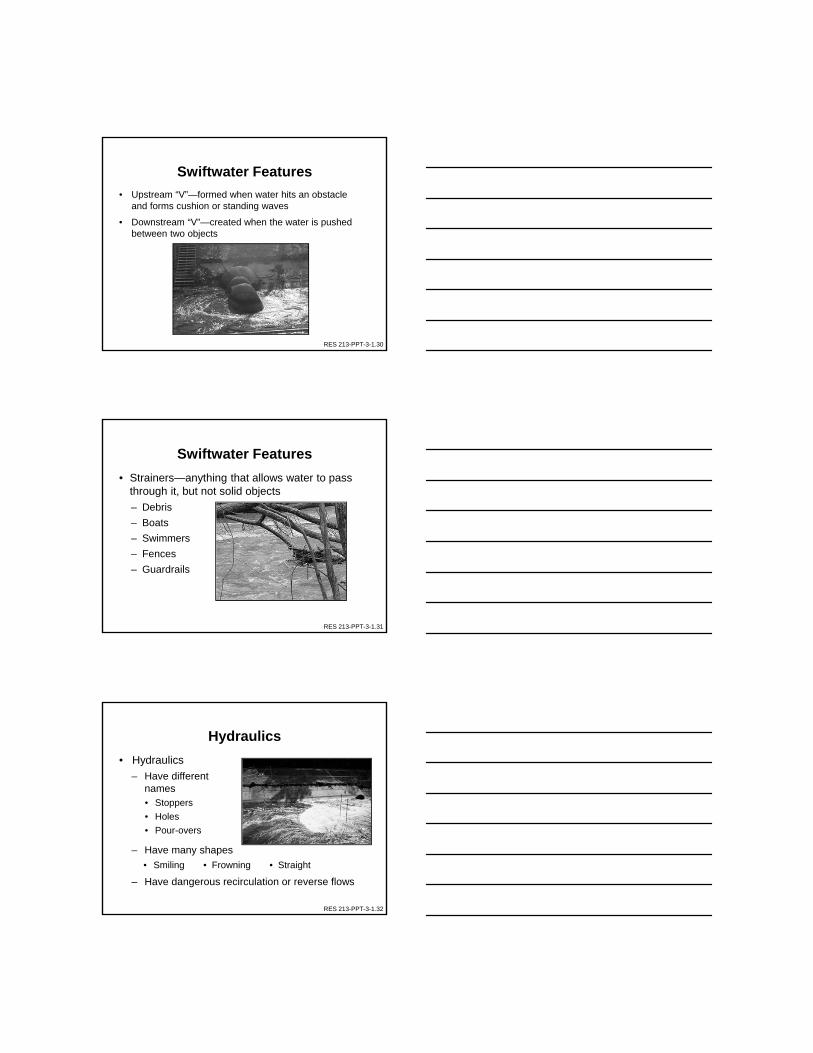
Swiftwater Features
• Cushion Wave—created when water hits an object it cannot pass through
RES 213-PPT-3-1.28
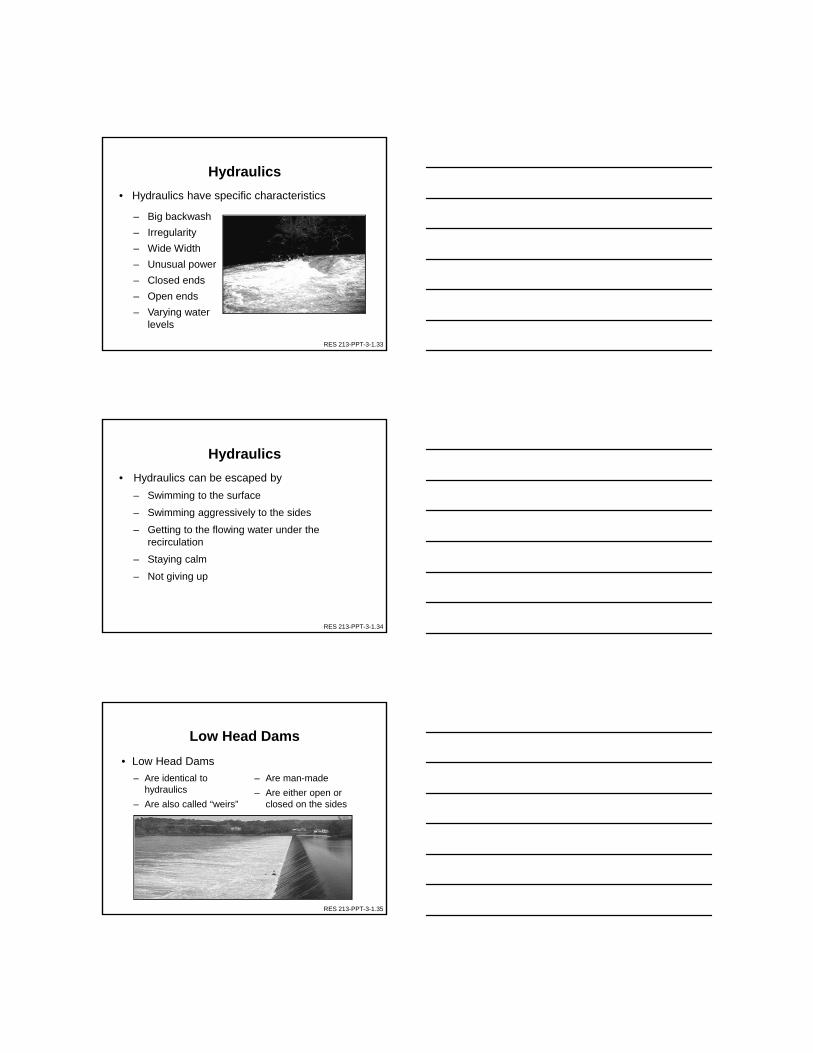
Swiftwater Features
• Standing Wave or Wave Train—created by water passing over or around an object
RES 213-PPT-3-1.29
Swiftwater Features
RES 213-PPT-3-1.30
Swiftwater Features
• Upstream “V”—formed when water hits an obstacle and forms cushion or standing waves
• Downstream “V”—created when the water is pushed between two objects
RES 213-PPT-3-1.31
Swiftwater Features
• Strainers—anything that allows water to pass through it, but not solid objects
– Debris
– Boats
– Swimmers
– Fences
– Guardrails
RES 213-PPT-3-1.32
Hydraulics
• Hydraulics
– Have different names• Stoppers
• Holes
• Pour-overs
– Have many shapes
• Smiling • Frowning • Straight
– Have dangerous recirculation or reverse flows
RES 213-PPT-3-1.33
Hydraulics
– Big backwash
– Irregularity
– Wide Width
– Unusual power
– Closed ends
– Open ends
– Varying water levels
• Hydraulics have specific characteristics
RES 213-PPT-3-1.34
Hydraulics
• Hydraulics can be escaped by
– Swimming to the surface
– Swimming aggressively to the sides
– Getting to the flowing water under the recirculation
– Staying calm
– Not giving up
RES 213-PPT-3-1.35
Low Head Dams
– Are identical to hydraulics
– Are also called “weirs”
– Are man-made
– Are either open or closed on the sides
• Low Head Dams
RES 213-PPT-3-1.36
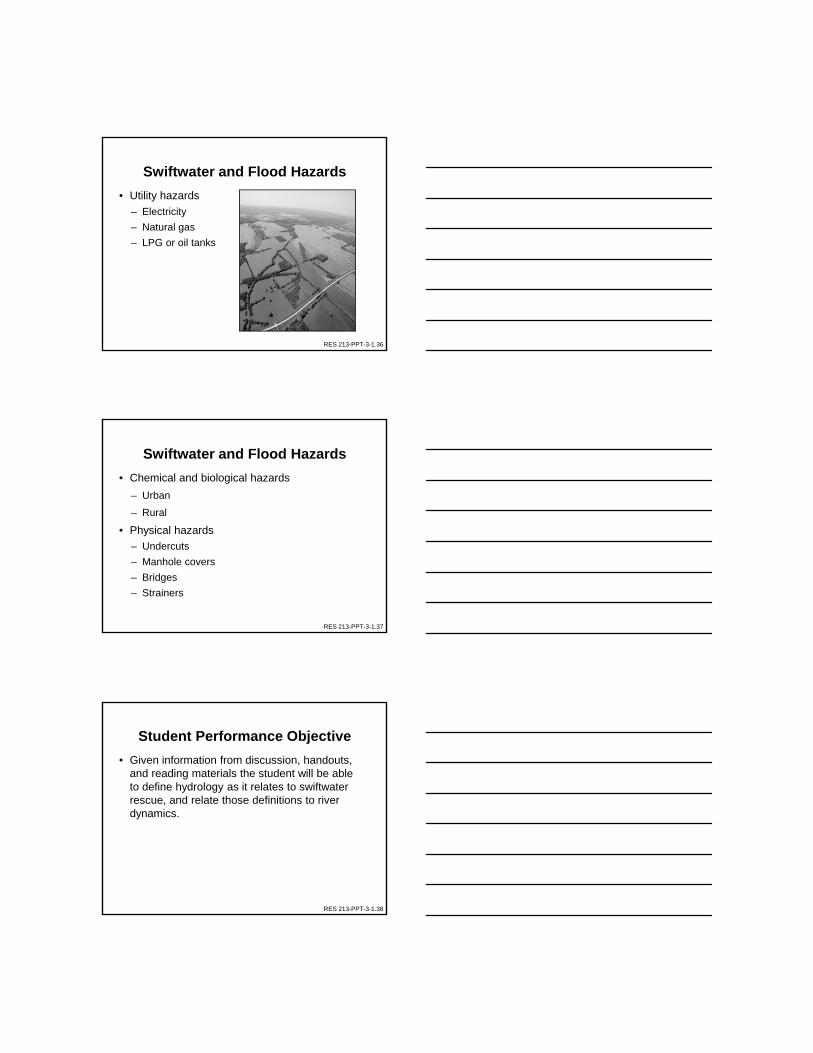
Swiftwater and Flood Hazards
• Utility hazards
– Electricity
– Natural gas
– LPG or oil tanks
RES 213-PPT-3-1.37
Swiftwater and Flood Hazards
• Chemical and biological hazards
– Urban
– Rural
• Physical hazards
– Undercuts
– Manhole covers
– Bridges
– Strainers
RES 213-PPT-3-1.38
Student Performance Objective
• Given information from discussion, handouts, and reading materials the student will be able to define hydrology as it relates to swiftwater rescue, and relate those definitions to river dynamics.
RES 213-PPT-3-1.39
Review• Moving Water
• Channel Characteristics
• Force of Water
• Transportation of Loads
• Swiftwater Hydrology
• Flow Types
• Current Vectors
• Swiftwater Features
• Hydraulics
• Low Head Dams
• Swiftwater and Flood Hazards
Lesson 3-2: Medical ConditionsRelated to Swiftwater Rescue
RES 213-PPT-3-2.1
Student Performance Objective
Given information from discussion, hand-outs, and reading materials the student will be able to identify the medical conditions and illnesses related to swiftwater rescue victims and how to provide initial treatment.
RES 213-PPT-3-2.2
Overview
Drowning
Hydrostatic Shock
Mammalian Diving Reflex
Common Medical Conditions in the Water Environment
Waterborne Illnesses
General First Aid in Moving Water
RES 213-PPT-3-2.3
Drowning
Definitions
Outcomes
Global and National Statistics
The Process
RES 213-PPT-3-2.4
Hydrostatic Shock
Hydrostatic shock
– Occurs when a victim is immersed in water for a long period of time
– Reduces blood flow, causing blood to pool
Victims must be rolled horizontally out of the water to prevent loss of consciousness and cardiac arrest
Prone position is the best for transport
RES 213-PPT-3-2.5
Mammalian Diving Reflex
Warm-blooded animals are able to optimize their respiration when diving under the water
– The diving reflex is exhibited primarily in aquatic mammals
– Humans have a diving reflex but it is not as strong as that of the aquatic mammals’
RES 213-PPT-3-2.6
Mammalian Diving Reflex
The diving reflex is triggered when cold water contacts the face
– The diving reflex is more dramatic in young people
– A full understanding of the reflex is unknown
Key factors include vascular constriction and bradycardia
Blood shunting and shifting is also a factor
RES 213-PPT-3-2.7
Mammalian Diving Reflex
The diving reflex is triggered when cold water contacts the face
– Blood vessels constrict in parts of the body that can tolerate oxygen deprivation and still work
The body slows and will eventually stop blood supply to these areas
The brain and heart are the last to be cut off from blood supply
The heart works less when circulation is decreased in parts of the body
RES 213-PPT-3-2.8
Common Medical Conditions in the Water Environment
Hypothermia
– Hypothermia is best defined as the body not being able to maintain a core temperature of 98.6° F
– Heartbeat irregularities occur at a body temperature about 82.4° F
– Heartbeats cease at 64.8° F
RES 213-PPT-3-2.9
Common Medical Conditions in the Water Environment
Hypothermia
– Early stages of hypothermia include
Chills and shivering
Lack of fine motor skills
Loss of judgment
– Severe hypothermia includes signs of altered mental status and no shivers
RES 213-PPT-3-2.10
Common Medical Conditions in the Water Environment
Hypothermia
– Can be treated in several steps
Remove or protect the victim from a cold, wet, or windy environment
Remove wet clothing and insulate with thermal layers
Treat in position of comfort with the exception of severely hypothermic patients
Always attempt to re-warm
RES 213-PPT-3-2.11
Common Medical Conditions in the Water Environment
Hyperthermia
– Is best defined as when the body can no longer dissipate enough heat to maintain the core temperature of 98.6° F
– Can cause heat cramps Sudden onset of cramps in legs or abdomen
Low blood pressure
Nausea
Rapid pulse
Pale, moist skin
Normal core body temperature

RES 213-PPT-3-2.12
Common Medical Conditions in the Water Environment
Hyperthermia
– Can cause heat exhaustion due to dehydration Headaches
Weakness/fatigue
Rapid shallow breathing
Pale skin and sweating
Muscle cramps
Dizziness
Nausea
RES 213-PPT-3-2.13
Common Medical Conditions in the Water Environment
Hyperthermia
– Can be prevented by the following steps
Remain hydrated
Take steps to cool down– Remove the victim from the hot environment
– Provide fluid replacement by mouth if the victim can tolerate it
– Remove clothing, if practicable
– Apply cold compresses
RES 213-PPT-3-2.14
Common Medical Conditions in the Water Environment
Hyperthermia
– Can cause heat stroke which is characterized by a very high core body temperature Hot, reddish, dry skin Rapid, strong pulse that becomes weaker Deep breathing initially that becomes shallow
and weak Mental confusion Headache Nausea or vomiting Convulsions Sudden collapse
RES 213-PPT-3-2.15
Common Medical Conditions in the Water Environment
Traumatic Injuries
– Major Fractures
The most serious of all fractures are to the femur
If the femur is fractured then one must suspect other injuries
RES 213-PPT-3-2.16
Common Medical Conditions in the Water Environment
Traumatic Injuries
– Bleeding
Oozing—not a serious concern and can be treated with simple bandages
Flowing—can be a serious concern and can be easily controlled
Spurting—is a serious concern and must be controlled quickly or the patient will die from blood loss
RES 213-PPT-3-2.17
Common Medical Conditions in the Water Environment
Traumatic Injuries—Shock
– Is defined as inadequate tissue perfusion
– Can be determined by signs and symptoms: Low blood pressure
Hyperventilation
Weak, rapid pulse
Cyanosis
Altered mental status
– Can be treated by keeping patients warm and giving them fluids
RES 213-PPT-3-2.18
Waterborne Illnesses
Leptospirosis
– Is a bacterial infection caused by leptospires
Can be undetected in some patients
Can only survive a few hours in salt water
Can infect a wide variety of animals
Can occur worldwide
RES 213-PPT-3-2.19
Waterborne Illnesses
Leptospirosis
– Enters the body through breaks in the skin
Cover cuts and broken skin with waterproof plasters
Wear PPE
Wash hands prior to eating or drinking
Shower after immersion in open water
Decontaminate on-site after PPE removal
RES 213-PPT-3-2.20
Waterborne Illnesses
Leptospirosis
– Has an incubation period of four to fourteen days
Flu-like symptoms (Phase I)
Meningitis (Phase II)
– Can be treated if caught early
RES 213-PPT-3-2.21
Waterborne Illnesses
Hepatitis A
– Is a virus present in feces
– Enters the body through the fecal-oral route
– Has an incubation period of 15–50 days
Can be mild
Can progress into a severely disabling disease
– Can be prevented
RES 213-PPT-3-2.22
Waterborne Illnesses
Blue Green Algae
– Is also known as cyanobacteria and is found in fresh water
The algae multiplies and forms blooms on the water surface
The blooms may look like jelly or paint and are blue-green in color
– Enters the body through the skin while swimming or wading
RES 213-PPT-3-2.23
Waterborne Illnesses
Blue Green Algae
– Can elicit many signs and symptoms Dermatitis
Eye irritation
Gastroenteritis
Joint and muscle pain
Pneumonia
Liver damage
Neurological conditions
RES 213-PPT-3-2.24
Other gastrointestinal illnesses
– Salmonella
– Campylobacter
– Escherichia Coli
– Listeria
– Cryptosporidium
Waterborne Illnesses
RES 213-PPT-3-2.25
General First Aid in Moving Water
Rescuer safety
– Hazard assessment
– Team Safety
– Body substance isolation
RES 213-PPT-3-2.26
General First Aid in Moving Water
Initial Assessment
– Check level of consciousness
– Scan for mechanism of injury
ABC Assessment
– Airway
– Breathing
– Circulation
RES 213-PPT-3-2.27
General First Aid in Moving Water
Neurological Assessment
– Alert: Is the victim alert and able to converse?
– Verbal: Does the victim respond to verbal stimuli?
– Painful: Does the victim respond to painful stimuli?
– Unresponsive: Is the victim completely unresponsive?
RES 213-PPT-3-2.28
Injury and Exposure
– Physical assessment
Start at the head
Compare injured limbs to uninjured limbs
– Body temperature
– History (SAMPLE)
– Patient Packaging and Evacuation
General First Aid in Moving Water
RES 213-PPT-3-2.29
Student Performance Objective
Given information from discussion, hand-outs, and reading materials the student will be able to identify the medical conditions and illnesses related to swiftwater rescue victims and how to provide initial treatment.
RES 213-PPT-3-2.30
Review
Drowning
Hydrostatic Shock
Mammalian Diving Reflex
Common Medical Conditions in the Water Environment
Waterborne Illnesses
General First Aid in Moving Water

Lesson 4-115 Absolutes, Pre-Planning, and Size-Up
RES 213-PPT-4-1.1
Student Performance Objective
• Given information from discussion, handouts, and reading materials the student will be able to define the 15 Absolutes of swiftwater rescue, conduct a size-up of a swiftwater rescue incident, and conduct a pre-plan of a swiftwater rescue incident.
RES 213-PPT-4-1.2
Overview
• 15 Absolutes
• Developing a Pre-Plan
• Size-up of Flood and Swiftwater Rescues
• Activity 4-1-1
• Activity 4-1-2
RES 213-PPT-4-1.3
15 Absolutes
1. Keep it simple– Use minimal equipment set up time
– Use equipment known to the entire rescue team
2. Be-proactive– Use pre-plan– Use public education tools– Use public notification systems– Use containment strategies for the scene– Use critical thinking strategies
RES 213-PPT-4-1.4
15 Absolutes
3. Prioritize Rescue– Self-rescue– Teammates’ safety– Victim management
4. Always wear a personal flotation device (PFD) – Anyone that is at risk of entering water should
wear a PFD– The type of PFD worn is determined by the
incident
RES 213-PPT-4-1.5
15 Absolutes
5. Use the right equipment – Never use inappropriate or unsafe equipment– Never improvise any equipment – Never use equipment that does not meet all
the applicable standards
6. Do not use a fire helmet for water rescue operations – There is a huge potential for injuries to the
neck– There are a wide variety of helmets approved
for swiftwater environments
RES 213-PPT-4-1.6
15 Absolutes
7. Always deploy upstream spotters – Above the location of the incident
• Can warn rescuers of potential debris and other hazards
• Can warn other river users to the incident in progress
– On both sides of the river
RES 213-PPT-4-1.7
15 Absolutes
8. Always have appropriate downstream backup
– Throwbags and inflated fire hoses are ideal; however, they are not absolute
– Any backup is better than no backup
9. Always have a backup plan
– Think critically
– Use additional resources
RES 213-PPT-4-1.8
15 Absolutes
10. Never tie a rope around a rescuer– Personnel have died being pulled
underwater by a rope
– Rope should be tied to a quick release harness on a PFD
11. Never tension a rope at right angles to the current– The current will push a person downstream
– The rope will form a “V” with the rescuer downstream unable to move
RES 213-PPT-4-1.9
15 Absolutes
12. Never stand inside a loop of rope on the upstream side– Standing inside a loop will put a person at risk
for being trapped by a rope
– Standing inside a loop of rope with mechanical advantage (MA) will put a person at risk for injury if the MA system fails
– Standing on the upstream side allows for rescuers to stay clear of objects as they move downstream and not be knocked down by the rope or object
RES 213-PPT-4-1.10
15 Absolutes
13. Never put your feet down if you are swept away– Can be fatal
– Can cause foot entrapment
– Can cause entrapment underwater
14. Never count on victims to help in their own rescue– Victims will be terrified
– Victims’ abilities will be diminished
RES 213-PPT-4-1.11
15 Absolutes
15. Never lose the victim once he/she is contacted– Remember self-
rescue first, team safety, then victim rescue
– Make every effort to avoid losing contact with the victim

RES 213-PPT-4-1.12
Developing a Pre-Plan
• Assess hazards– Utility hazards
• Electricity
• Natural Gas
• LPG or oil tanks
– Chemical and Biological hazards
• Urban
• Rural
• Physical hazards
RES 213-PPT-4-1.13
Developing a Pre-Plan
• Assess hazards– Physical hazards
• Undercuts
• Siphons or sieves
• Inspection “manhole” covers
• Bridges
• Debris
• Strainers
• Cold Water
RES 213-PPT-4-1.14
Developing a Pre-Plan
• Assess previous incidents– Recent
– Historic
– Rainfall
– River level data
RES 213-PPT-4-1.15
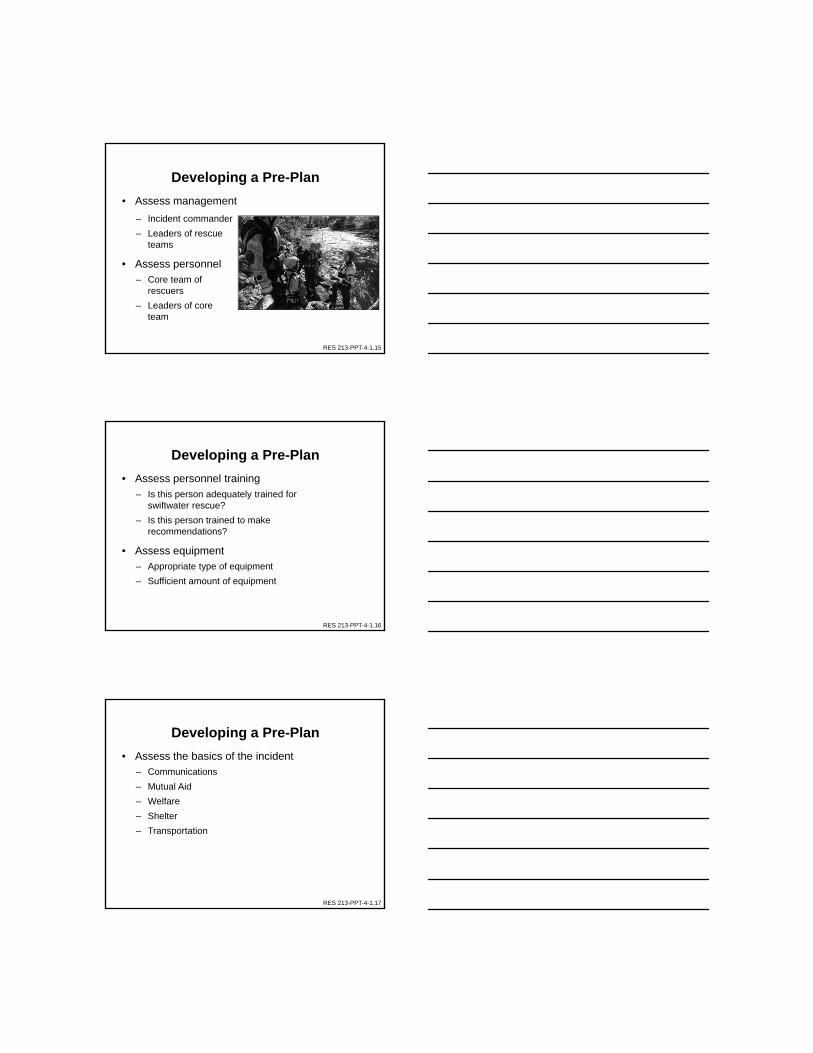
Developing a Pre-Plan
• Assess management
– Incident commander
– Leaders of rescue teams
• Assess personnel– Core team of
rescuers
– Leaders of core team
RES 213-PPT-4-1.16
Developing a Pre-Plan
• Assess personnel training– Is this person adequately trained for
swiftwater rescue?
– Is this person trained to make recommendations?
• Assess equipment– Appropriate type of equipment
– Sufficient amount of equipment
RES 213-PPT-4-1.17
Developing a Pre-Plan
• Assess the basics of the incident– Communications
– Mutual Aid
– Welfare
– Shelter
– Transportation
RES 213-PPT-4-1.18
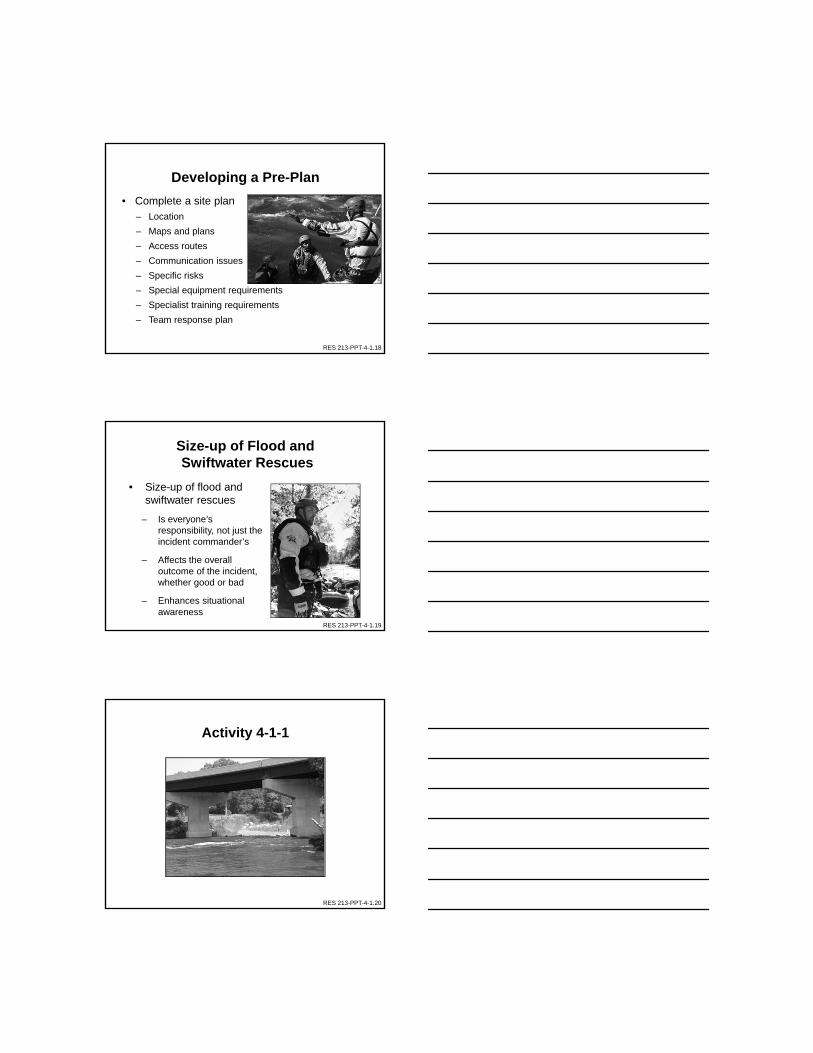
Developing a Pre-Plan
• Complete a site plan– Location
– Maps and plans
– Access routes
– Communication issues
– Specific risks
– Special equipment requirements
– Specialist training requirements
– Team response plan
RES 213-PPT-4-1.19
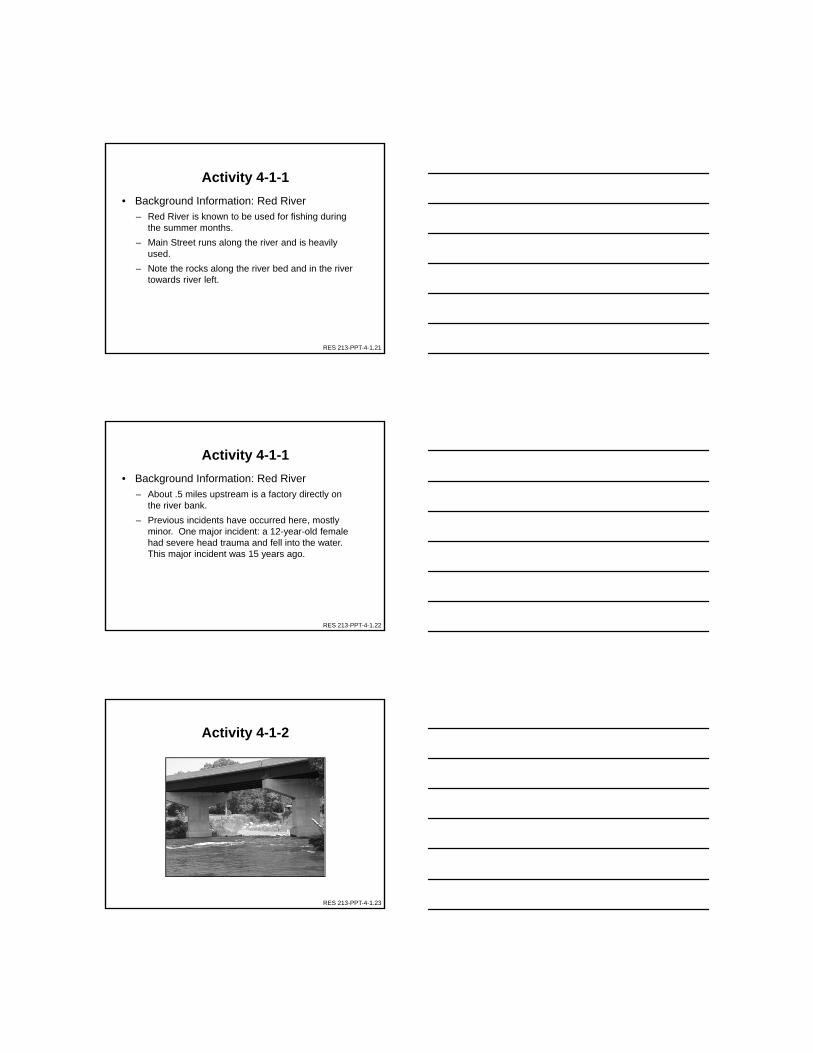
Size-up of Flood andSwiftwater Rescues
• Size-up of flood and swiftwater rescues
– Is everyone’s responsibility, not just the incident commander’s
– Affects the overall outcome of the incident, whether good or bad
– Enhances situational awareness
RES 213-PPT-4-1.20
Activity 4-1-1
RES 213-PPT-4-1.21
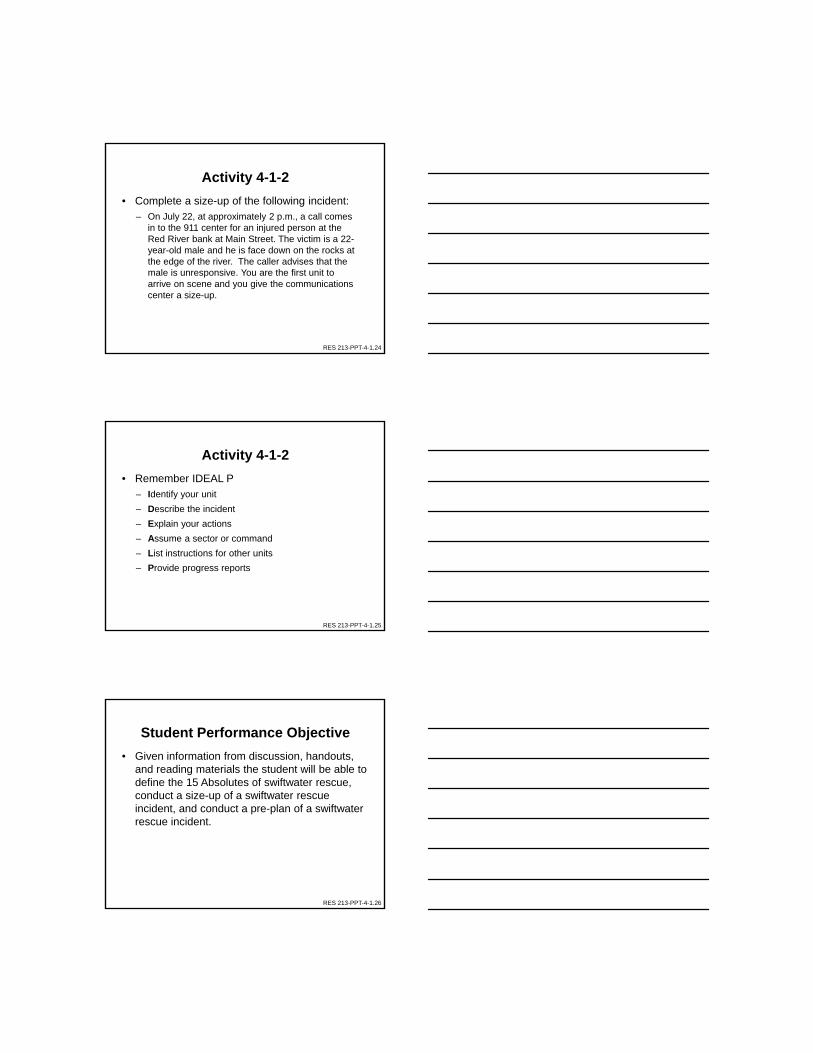
Activity 4-1-1
• Background Information: Red River– Red River is known to be used for fishing during
the summer months.
– Main Street runs along the river and is heavily used.
– Note the rocks along the river bed and in the river towards river left.
RES 213-PPT-4-1.22
Activity 4-1-1
• Background Information: Red River– About .5 miles upstream is a factory directly on
the river bank.
– Previous incidents have occurred here, mostly minor. One major incident: a 12-year-old female had severe head trauma and fell into the water. This major incident was 15 years ago.
RES 213-PPT-4-1.23
Activity 4-1-2
RES 213-PPT-4-1.24
Activity 4-1-2
• Complete a size-up of the following incident:– On July 22, at approximately 2 p.m., a call comes
in to the 911 center for an injured person at the Red River bank at Main Street. The victim is a 22-year-old male and he is face down on the rocks at the edge of the river. The caller advises that the male is unresponsive. You are the first unit to arrive on scene and you give the communications center a size-up.
RES 213-PPT-4-1.25
Activity 4-1-2
• Remember IDEAL P– Identify your unit
– Describe the incident
– Explain your actions
– Assume a sector or command
– List instructions for other units
– Provide progress reports
RES 213-PPT-4-1.26
Student Performance Objective
• Given information from discussion, handouts, and reading materials the student will be able to define the 15 Absolutes of swiftwater rescue, conduct a size-up of a swiftwater rescue incident, and conduct a pre-plan of a swiftwater rescue incident.

RES 213-PPT-4-1.27
Review
• 15 Absolutes
• Developing a Pre-Plan
• Size-up of Flood and Swiftwater Rescues
• Activity 4-1-1
• Activity 4-1-2
Lesson 5-1Personal and Team Equipment
RES 213-PPT-5-1.1
Student Performance Objective
Given information from discussion, handouts, and reading materials the student will be able to describe all personal and team equipment used during a swiftwater incident.
RES 213-PPT-5-1.2
Overview
Personal Equipment
Team Equipment
RES 213-PPT-5-1.3
Personal Protective Equipment
Review all personal equipment
RES 213-PPT-5-1.4
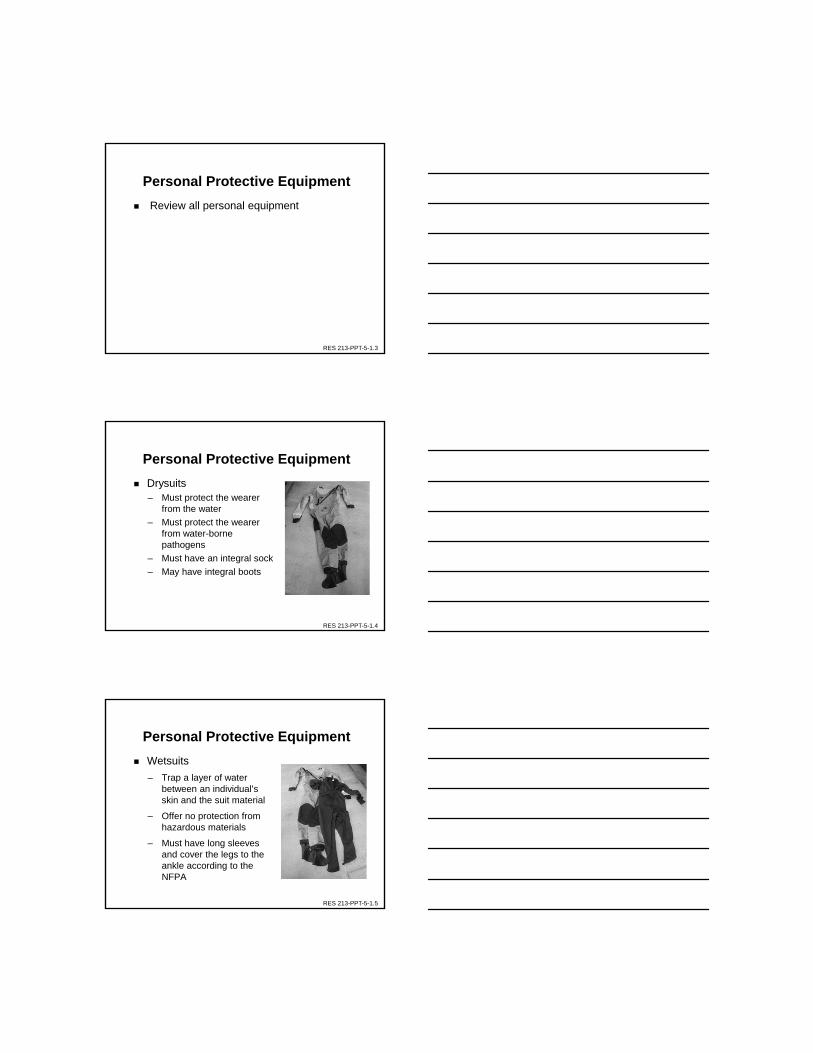
Personal Protective Equipment
Drysuits– Must protect the wearer
from the water
– Must protect the wearer from water-borne pathogens
– Must have an integral sock
– May have integral boots
RES 213-PPT-5-1.5
Personal Protective Equipment
Wetsuits
– Trap a layer of water between an individual’s skin and the suit material
– Offer no protection from hazardous materials
– Must have long sleeves and cover the legs to the ankle according to the NFPA
RES 213-PPT-5-1.6
Personal Protective Equipment
Personal Flotation Devices (PFDs)– Some PFDs are designed to assist rescue
personnel Type III—are designed for boat-based activity in calm,
inland waters
Type V—are designed for special uses and work purposes
Type III/V—are multi-purpose, a combination of type III and type V
– PFDs will function properly if the fit is good
– Some PFDs are inflatable
RES 213-PPT-5-1.7
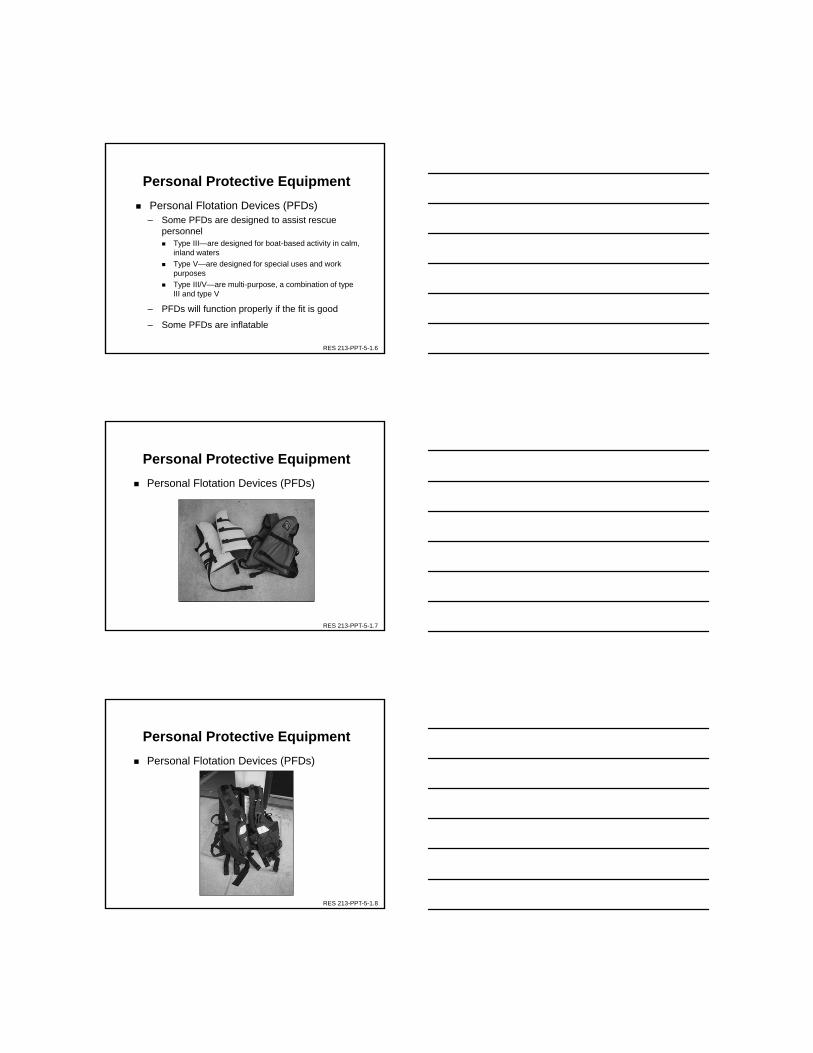
Personal Protective Equipment
Personal Flotation Devices (PFDs)
RES 213-PPT-5-1.8
Personal Protective Equipment
Personal Flotation Devices (PFDs)

RES 213-PPT-5-1.9
Personal Protective Equipment
Personal Flotation Devices (PFDs)
RES 213-PPT-5-1.10
Personal Protective Equipment
Helmets– Must be used in accordance with NFPA 1952
Must protect the head from impact
Must be designed to allow water to flow instead of retaining water
– Must have a strong strap system and be corrosion-resistant
RES 213-PPT-5-1.11
Personal Protective Equipment
Footwear– Can be a compromise
Recreational waters shoes have thin soles
Water boots take abuse from contaminated water and rough terrain
Hiking boots offer grip and support on rough terrain
– Does not have to be waterproof
RES 213-PPT-5-1.12
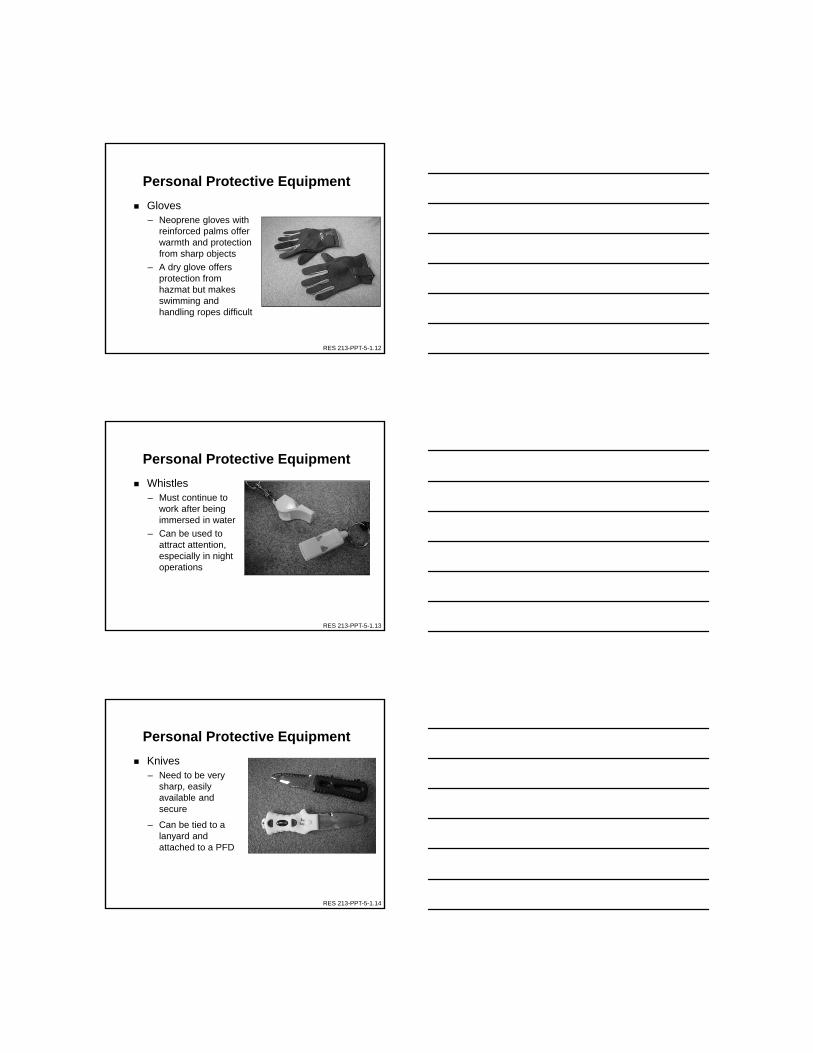
Personal Protective Equipment
Gloves – Neoprene gloves with
reinforced palms offer warmth and protection from sharp objects
– A dry glove offers protection from hazmat but makes swimming and handling ropes difficult
RES 213-PPT-5-1.13
Personal Protective Equipment
Whistles– Must continue to
work after being immersed in water
– Can be used to attract attention, especially in night operations
RES 213-PPT-5-1.14
Personal Protective Equipment
Knives– Need to be very
sharp, easily available and secure
– Can be tied to a lanyard and attached to a PFD
RES 213-PPT-5-1.15
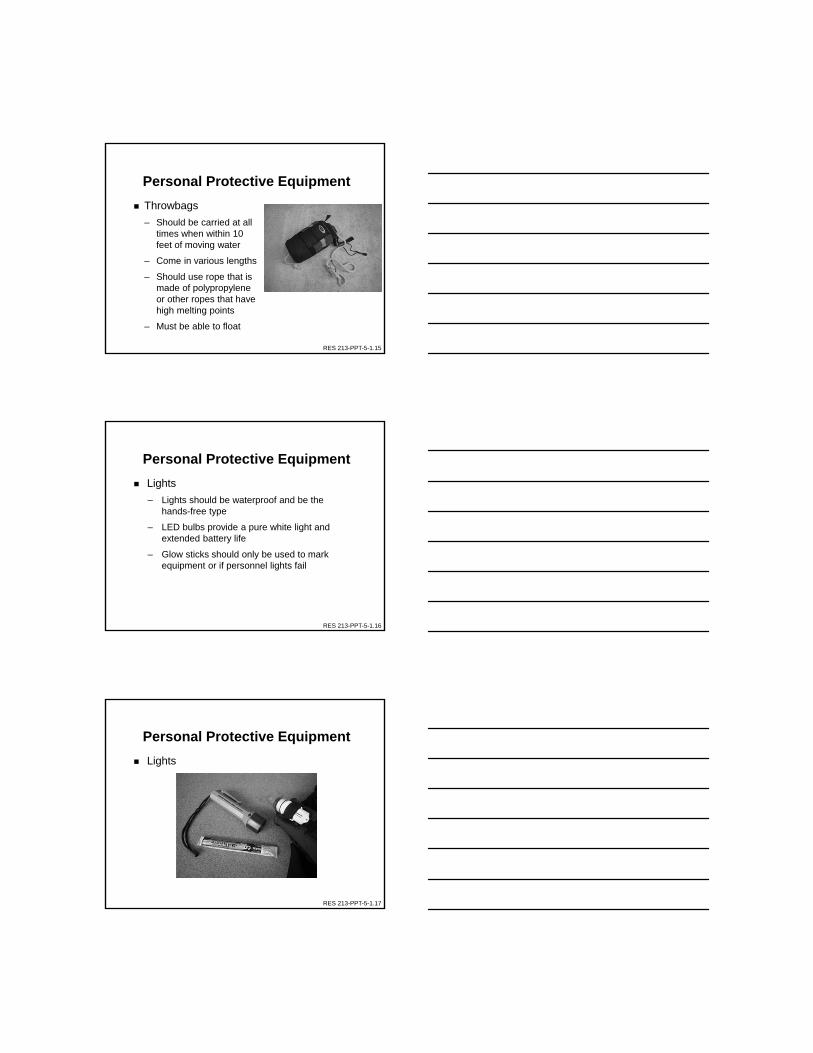
Personal Protective Equipment
Throwbags
– Should be carried at all times when within 10 feet of moving water
– Come in various lengths
– Should use rope that is made of polypropylene or other ropes that have high melting points
– Must be able to float
RES 213-PPT-5-1.16
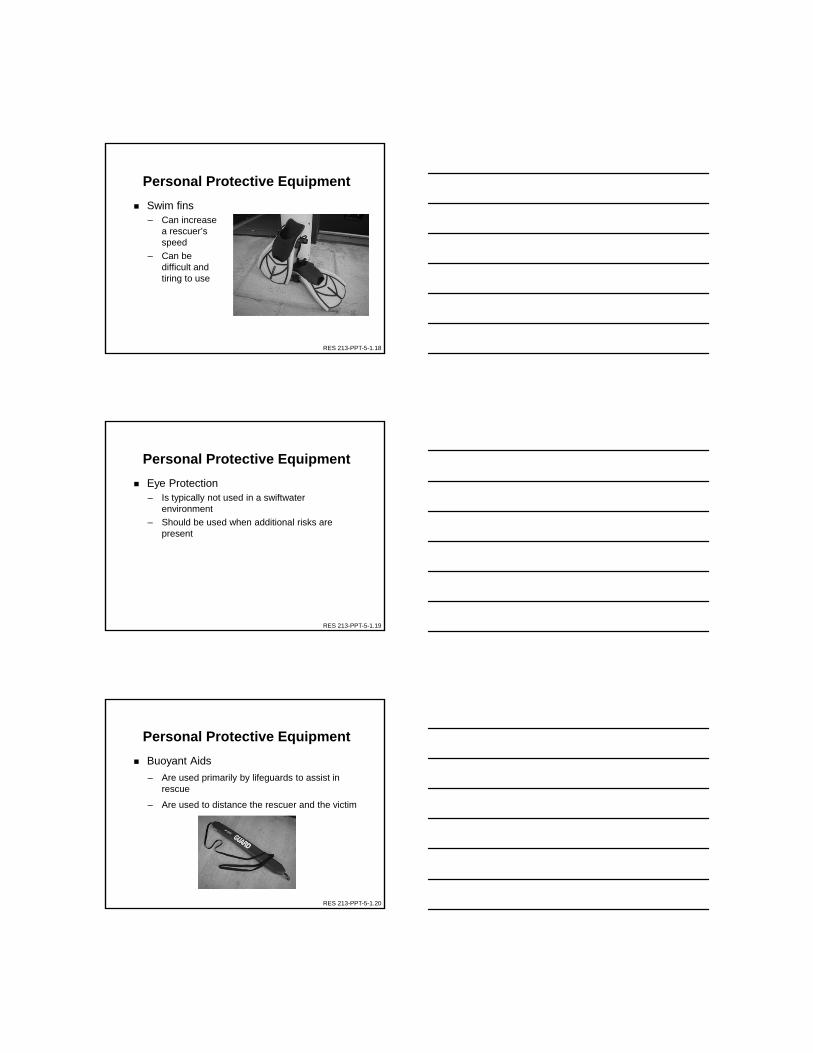
Personal Protective Equipment
Lights
– Lights should be waterproof and be the hands-free type
– LED bulbs provide a pure white light and extended battery life
– Glow sticks should only be used to mark equipment or if personnel lights fail
RES 213-PPT-5-1.17
Personal Protective Equipment
Lights
RES 213-PPT-5-1.18
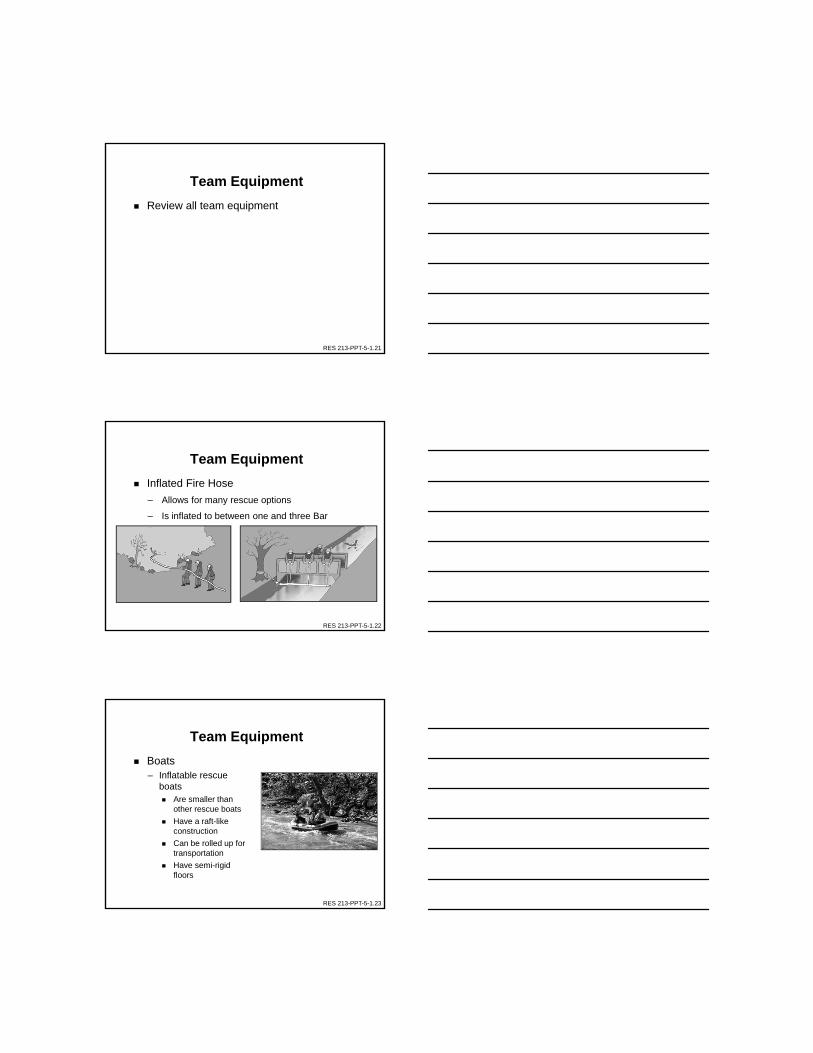
Personal Protective Equipment
Swim fins– Can increase
a rescuer’s speed
– Can be difficult and tiring to use
RES 213-PPT-5-1.19
Personal Protective Equipment
Eye Protection– Is typically not used in a swiftwater
environment
– Should be used when additional risks are present
RES 213-PPT-5-1.20
Personal Protective Equipment
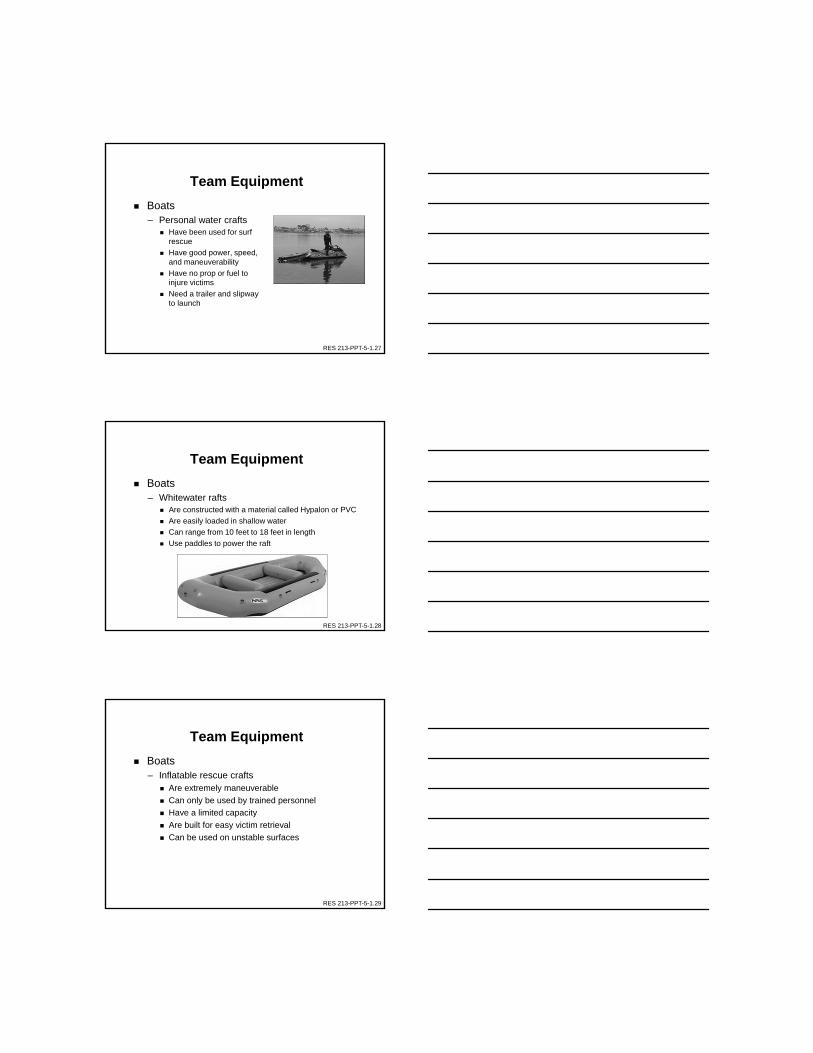
Buoyant Aids
– Are used primarily by lifeguards to assist in rescue
– Are used to distance the rescuer and the victim
RES 213-PPT-5-1.21
Team Equipment
Review all team equipment
RES 213-PPT-5-1.22
Team Equipment
Inflated Fire Hose
– Allows for many rescue options
– Is inflated to between one and three Bar
RES 213-PPT-5-1.23
Team Equipment
Boats– Inflatable rescue
boats Are smaller than
other rescue boats
Have a raft-like construction
Can be rolled up for transportation
Have semi-rigid floors

RES 213-PPT-5-1.24
Team Equipment
Boats– Inflatable rescue
boats Are maneuverable in
whitewater
Can be handled without the motor
Are popular with emergency services
RES 213-PPT-5-1.25
Team Equipment
Boats– Rigid Hull Crafts
Can have flat bottoms or deep V’s
Can be made of aluminum, wood, or plastic
Can have built-in buoyancy compartments
Can have more “freeboard”
Need a trailer and a slipway to launch
RES 213-PPT-5-1.26
Team Equipment
Boats– Rigid inflatable boats
Have a combination of a rigid hull and keel with inflatable tubes
Can use more powerful engines
Have good directional stability
Need a trailer and slipway to launch
RES 213-PPT-5-1.27
Team Equipment
Boats– Personal water crafts
Have been used for surf rescue
Have good power, speed, and maneuverability
Have no prop or fuel to injure victims
Need a trailer and slipway to launch
RES 213-PPT-5-1.28
Team Equipment
Boats – Whitewater rafts
Are constructed with a material called Hypalon or PVC
Are easily loaded in shallow water
Can range from 10 feet to 18 feet in length
Use paddles to power the raft
RES 213-PPT-5-1.29
Team Equipment
Boats– Inflatable rescue crafts
Are extremely maneuverable
Can only be used by trained personnel
Have a limited capacity
Are built for easy victim retrieval
Can be used on unstable surfaces
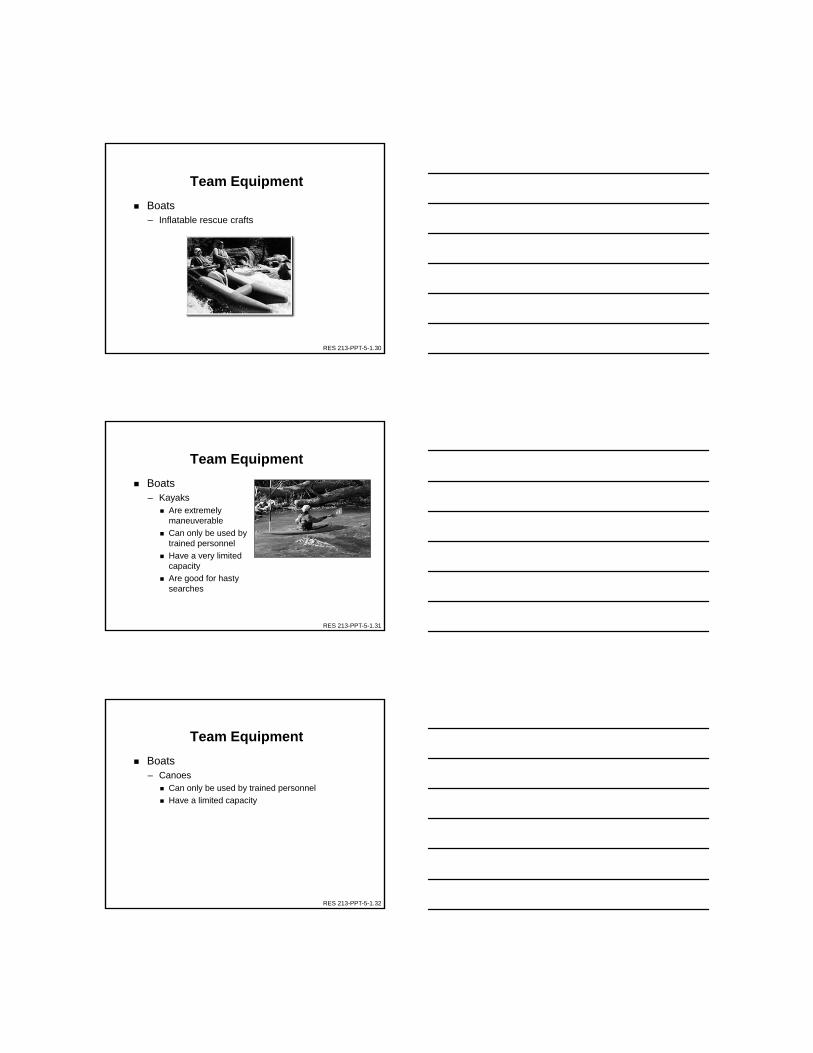
RES 213-PPT-5-1.30
Team Equipment
Boats– Inflatable rescue crafts
RES 213-PPT-5-1.31
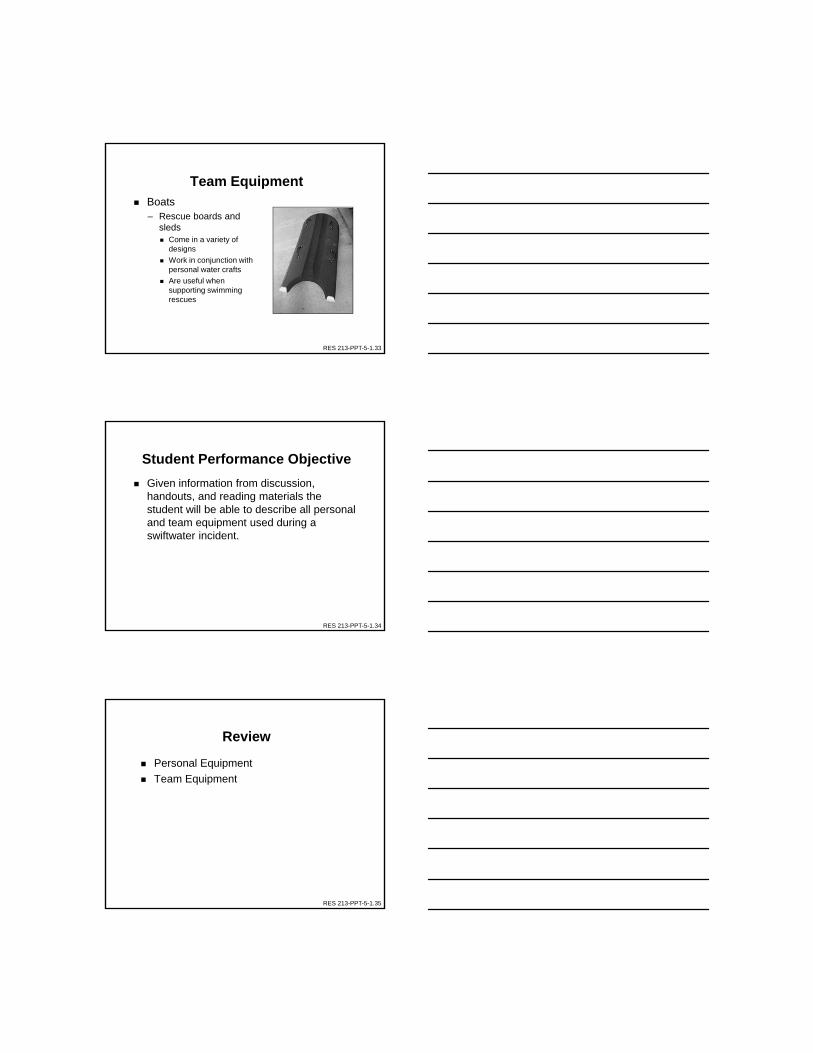
Team Equipment
Boats– Kayaks
Are extremely maneuverable
Can only be used by trained personnel
Have a very limited capacity
Are good for hasty searches
RES 213-PPT-5-1.32
Team Equipment
Boats– Canoes
Can only be used by trained personnel
Have a limited capacity
RES 213-PPT-5-1.33
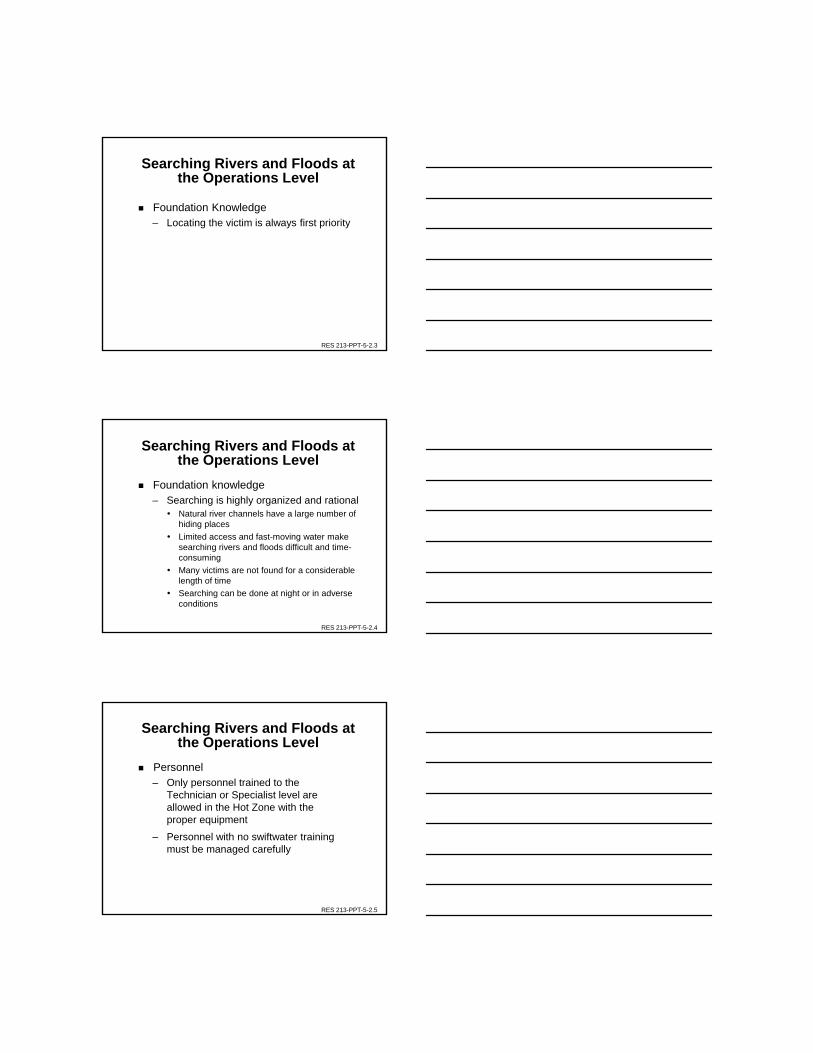
Team Equipment Boats
– Rescue boards and sleds Come in a variety of
designs
Work in conjunction with personal water crafts
Are useful when supporting swimming rescues
RES 213-PPT-5-1.34
Student Performance Objective
Given information from discussion, handouts, and reading materials the student will be able to describe all personal and team equipment used during a swiftwater incident.
RES 213-PPT-5-1.35
Review
Personal Equipment
Team Equipment
Lesson 5-2Searching Rivers and Floods
RES 213-PPT-5-2.1
Student Performance Objective
Given information from discussion, handouts, and reading materials the student will be able to describe how to conduct a search of a river or flood during a swiftwater incident.
RES 213-PPT-5-2.2
Overview
Searching Rivers and Floods at the Operations Level
Searching Rivers and Floods at the Technician Level
Searching Rivers and Floods at the Advanced Level
RES 213-PPT-5-2.3
Searching Rivers and Floods at the Operations Level
Foundation Knowledge– Locating the victim is always first priority
RES 213-PPT-5-2.4
Foundation knowledge– Searching is highly organized and rational Natural river channels have a large number of
hiding places
Limited access and fast-moving water make searching rivers and floods difficult and time-consuming
Many victims are not found for a considerable length of time
Searching can be done at night or in adverse conditions
Searching Rivers and Floods at the Operations Level
RES 213-PPT-5-2.5
Personnel– Only personnel trained to the
Technician or Specialist level are allowed in the Hot Zone with the proper equipment
– Personnel with no swiftwater training must be managed carefully
Searching Rivers and Floods at the Operations Level
RES 213-PPT-5-2.6
Specialty Teams and Equipment
– Specialist boat crews may be needed to assist in the search
– Helicopters may be helpful but present limitations
– Technical Rope teams may be of assistance
– Search dogs may be highly effective
Searching Rivers and Floods at the Operations Level
RES 213-PPT-5-2.7
Radio Communications
– Radio communication is the preferred option
Radios should be protected from water
Radios should be put into dry-bags
– Radio interoperability is key
Searching Rivers and Floods at the Operations Level
RES 213-PPT-5-2.8
Lighting
– Identifies search team members
– Allows the searchers to see where they are going
– Allows for searchers to search effectively
Searching Rivers and Floods at the Operations Level
RES 213-PPT-5-2.9
Search Methods– Searchers must pretend they are in a cube Look forward: far distance, middle distance, and
near distance
Look left
Look right
Look backward
Look and up and down
– Searchers’ areas will overlap one another
Searching Rivers and Floods at the Operations Level
RES 213-PPT-5-2.10
Searching Rivers and Floods at the Technician Level
Determine which of the three main situations is applicable
– A rescue site where the team learns that someone was swept away
– A rescue site where the team is requested by another agency
– A rescue site where the team encounters large- scale flooding
RES 213-PPT-5-2.11
Determine who you are looking for– Interview witnesses or family members for
specifics on victim– Brief search teams with as much information
as possible
Establish a point last seen – The PLS is used as the upstream boundary
for the search area– An effective timeframe with the time of the
point last seen will also assist in search
Searching Rivers and Floods at the Technician Level

RES 213-PPT-5-2.12
Establish downstream containment
– After PLS and time frame are established, time elapsed and knowledge of the area will be helpful in determining downstream containment
– In flood situations it may be impracticable to establish downstream containment
Searching Rivers and Floods at the Technician Level
RES 213-PPT-5-2.13
Conduct a hasty search
– Use a small group of two to three personnel
– Conduct to find out information and report back to the search manager
– Have a team on each bank
– Conduct twice by different personnel
Searching Rivers and Floods at the Technician Level
RES 213-PPT-5-2.14
Determine the area of probability
– The hasty teams report back to the search manager on the areas where there is the highest probability of finding a victim
– Searchers need to have a good understanding of river and flood hydrology
Searching Rivers and Floods at the Technician Level
RES 213-PPT-5-2.15
Conduct a detailed search
– Conduct a detailed search after the hasty team has completed its search
– Utilize information from the AOP
– Understand that a detailed search will sometimes require a body recovery instead of a rescue
Searching Rivers and Floods at the Technician Level
RES 213-PPT-5-2.16
Searching Rivers and Floods at the Advanced Level
Prepare personnel and equipment
– The search will depend on the amount of trained personnel
– The appropriate equipment must be available
RES 213-PPT-5-2.17
Prepare personnel and equipment – The communications systems are key
Radio communication is ideal but not always available
Whistles, aerial flares, and smoke signals are all forms of communication that could be used in the event of an emergency
Searching Rivers and Floods at the Advanced Level
RES 213-PPT-5-2.18
Prepare personnel and equipment
– Lighting could be the determining factor in finding the victim
Each rescuer should carry two electric lights
Each rescuer should carry a chemical light
Each rescuer should have reflective tape attached to the PFD and helmet
– Specialized equipment may be necessary
Searching Rivers and Floods at the Advanced Level
RES 213-PPT-5-2.19
Initiate ICS
– The incident commander should have enough experience and training to read the river
– Incident commanders should use their knowledge to determine where and how to search for victims
Searching Rivers and Floods at the Advanced Level
RES 213-PPT-5-2.20
Identify the subject– Number of possible victims
– Age
– Sex
– Clothing
– Crimes committed
Searching Rivers and Floods at the Advanced Level
RES 213-PPT-5-2.21
Determine the search area
– Establish boundaries
– Identify the PLS and LKP
PLS is the last place where the victim was seen by eyewitnesses
LKP is the last place where there is evidence the victim had been
Searching Rivers and Floods at the Advanced Level
RES 213-PPT-5-2.22
Determine the search area– Conduct a physical search
The Hasty Team
– Should be deployed as soon as possible
– Should look for areas of probability
Searching Rivers and Floods at the Advanced Level
RES 213-PPT-5-2.23
– Conduct a physical search The Thorough Search
– Is conducted after the hasty team has completed its search
– Is extremely time-consuming and resource-intensive
– Utilizes information from the AOP
– Sometimes will require a body recovery instead of a rescue
Searching Rivers and Floods at the Advanced Level
RES 213-PPT-5-2.24
Searching Rivers and Floods at the Advanced Level
– Conduct a physical search The phases of a search: the Passive Phase
– The Pre-Plan is activated
– The reporting party is questioned
– The IC is chosen
– The reporting party is re-interviewed
– The IC chooses whether or not to conduct a search
RES 213-PPT-5-2.25
Searching Rivers and Floods at the Advanced Level
The Passive Phase of a search (continued)
– The IC and Command Staff determine whether or not to proceed
– The IC gives the order to initiate the search
– The PLS is secured
– The hasty search begins from the PLS in the most obvious direction of travel
RES 213-PPT-5-2.26
Searching Rivers and Floods at the Advanced Level
The Passive Phase of a search (continued)
– The perimeter is secured and confinement is established
– The IC uses the media and law enforcement for a “welfare check” outside the area being searched
– The IC gathers another “overhead” team to study topographical maps and areas of probability

RES 213-PPT-5-2.27
– Conduct a physical search The Active Phase
– The hasty search is repeated
– The thorough search or detailed search begins
– The search will include the use of boats and swimmers to search deep eddies and pools of water
– The search may include the use of helicopters
Searching Rivers and Floods at the Advanced Level
RES 213-PPT-5-2.28
– The Active Phase (continued)
The search can use SCUBA, but only as a last resort
The search efforts should be reevaluated early and often
The search may require an expert in searching techniques
Searching Rivers and Floods at the Advanced Level
RES 213-PPT-5-2.29
– Conduct a physical search The Rules for Success
– Pass on clear orders
– Remember the span of control
– Remember not to micro-manage
– Lead with your mouth, not your hands
– Remember to rehab
Searching Rivers and Floods at the Advanced Level
RES 213-PPT-5-2.30
The Rules for Success (continued)
– Ensure the operations branch is thinking one step ahead
– Ensure the flow of information continues
– Know the area
– Ensure safety is the number one priority
Searching Rivers and Floods at the Advanced Level
RES 213-PPT-5-2.31
Student Performance Objective
Given information from discussion, handouts, and reading materials the student will be able to describe how to conduct a search of a river or flood during a swiftwater incident.
RES 213-PPT-5-2.32
Review
Searching Rivers and Floods at the Operations Level
Searching Rivers and Floods at the Technician Level
Searching Rivers and Floods at the Advanced Level

Lesson 6-1Advanced Rescue Skills and Techniques
RES 213-PPT-6-1.1
Student Performance Objective
Given information from discussion, handouts, and reading materials the student will be able to identify advanced rescue skills and techniques to use during a swiftwater incident.
RES 213-PPT-6-1.2
Overview
Vehicles in Water
Animal Rescue in Water
Helicopters
Unstable Surface Rescue
Canals and Locks
RES 213-PPT-6-1.3
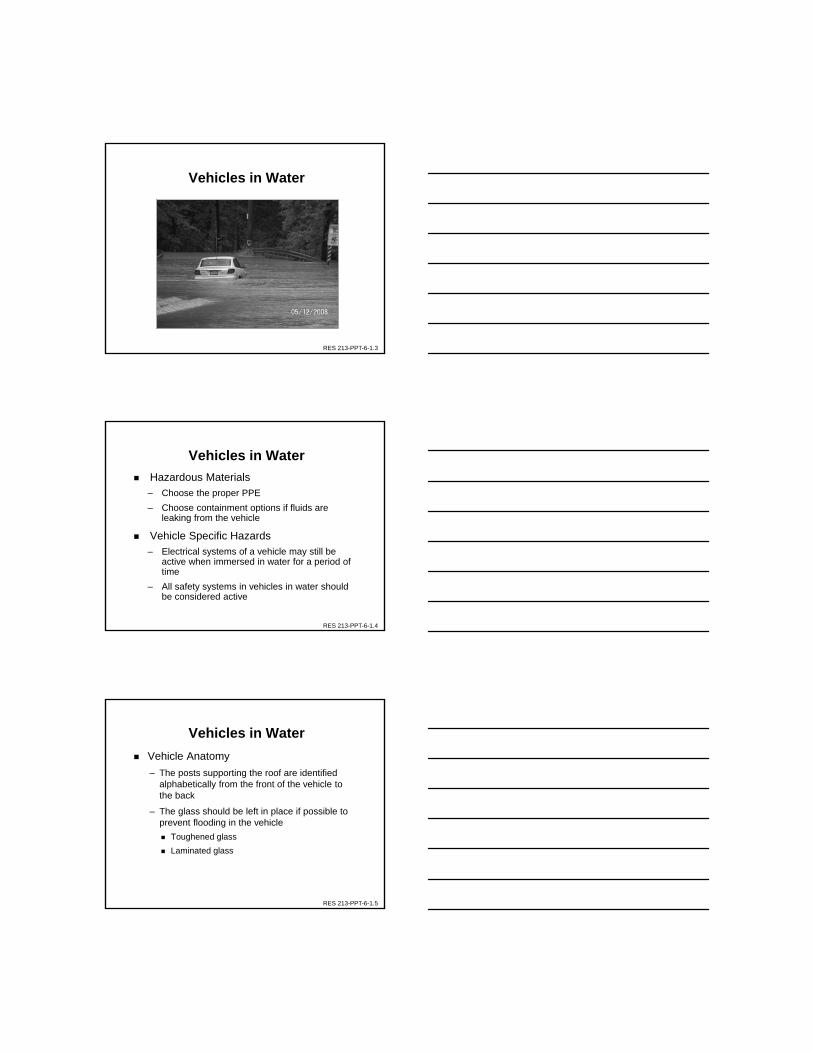
Vehicles in Water
RES 213-PPT-6-1.4
Vehicles in Water
Hazardous Materials– Choose the proper PPE
– Choose containment options if fluids are leaking from the vehicle
Vehicle Specific Hazards– Electrical systems of a vehicle may still be
active when immersed in water for a period of time
– All safety systems in vehicles in water should be considered active
RES 213-PPT-6-1.5
Vehicles in Water
Vehicle Anatomy
– The posts supporting the roof are identified alphabetically from the front of the vehicle to the back
– The glass should be left in place if possible to prevent flooding in the vehicle
Toughened glass
Laminated glass
RES 213-PPT-6-1.6
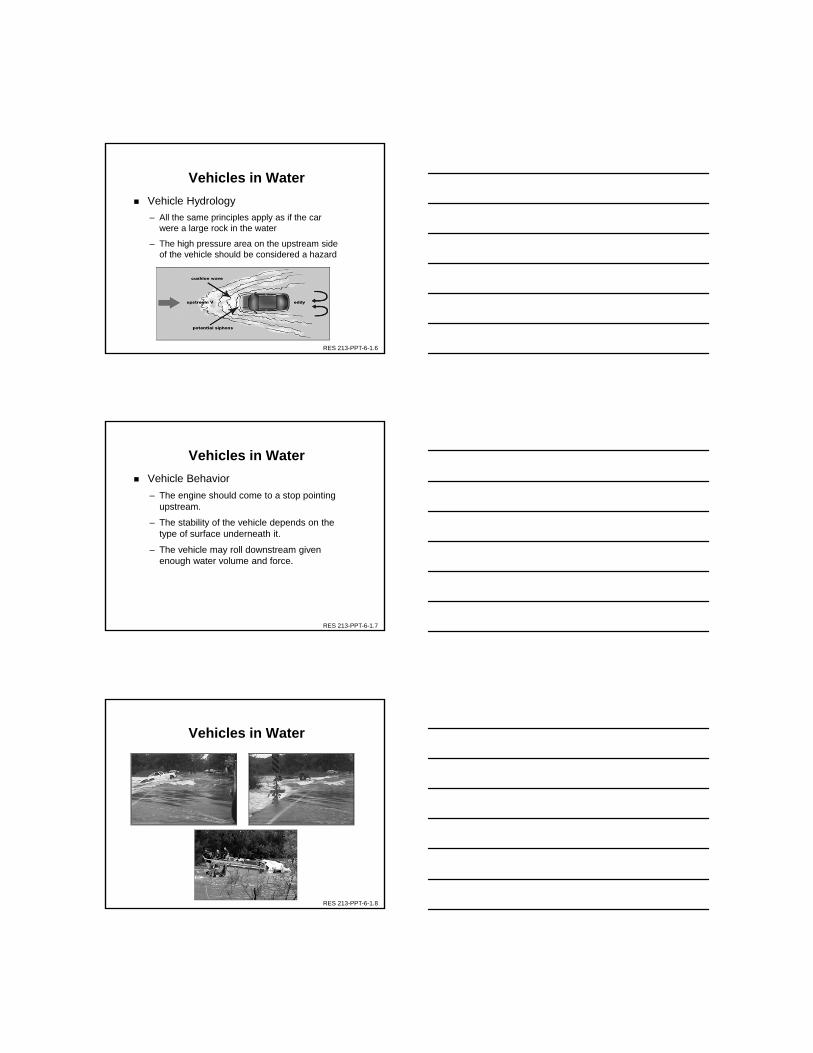
Vehicles in Water
Vehicle Hydrology
– All the same principles apply as if the car were a large rock in the water
– The high pressure area on the upstream side of the vehicle should be considered a hazard
RES 213-PPT-6-1.7
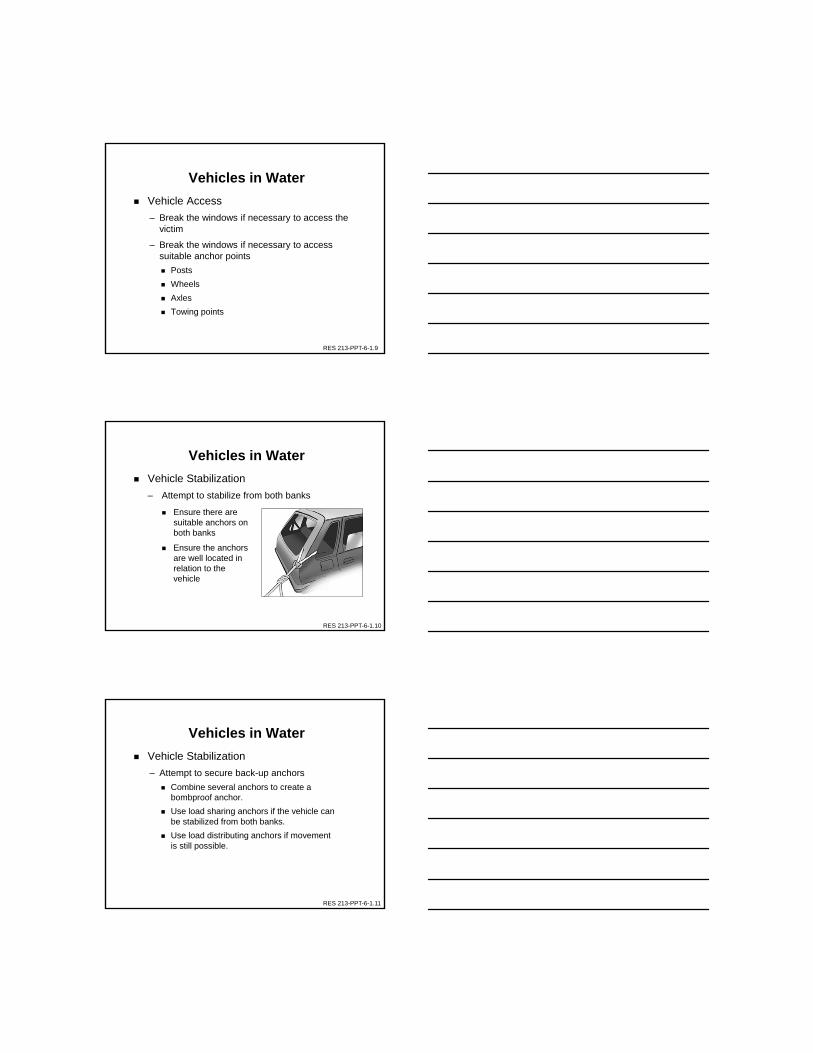
Vehicles in Water
Vehicle Behavior
– The engine should come to a stop pointing upstream.
– The stability of the vehicle depends on the type of surface underneath it.
– The vehicle may roll downstream given enough water volume and force.
RES 213-PPT-6-1.8
Vehicles in Water
RES 213-PPT-6-1.9
Vehicles in Water
Vehicle Access
– Break the windows if necessary to access the victim
– Break the windows if necessary to access suitable anchor points
Posts
Wheels
Axles
Towing points
RES 213-PPT-6-1.10
Vehicles in Water
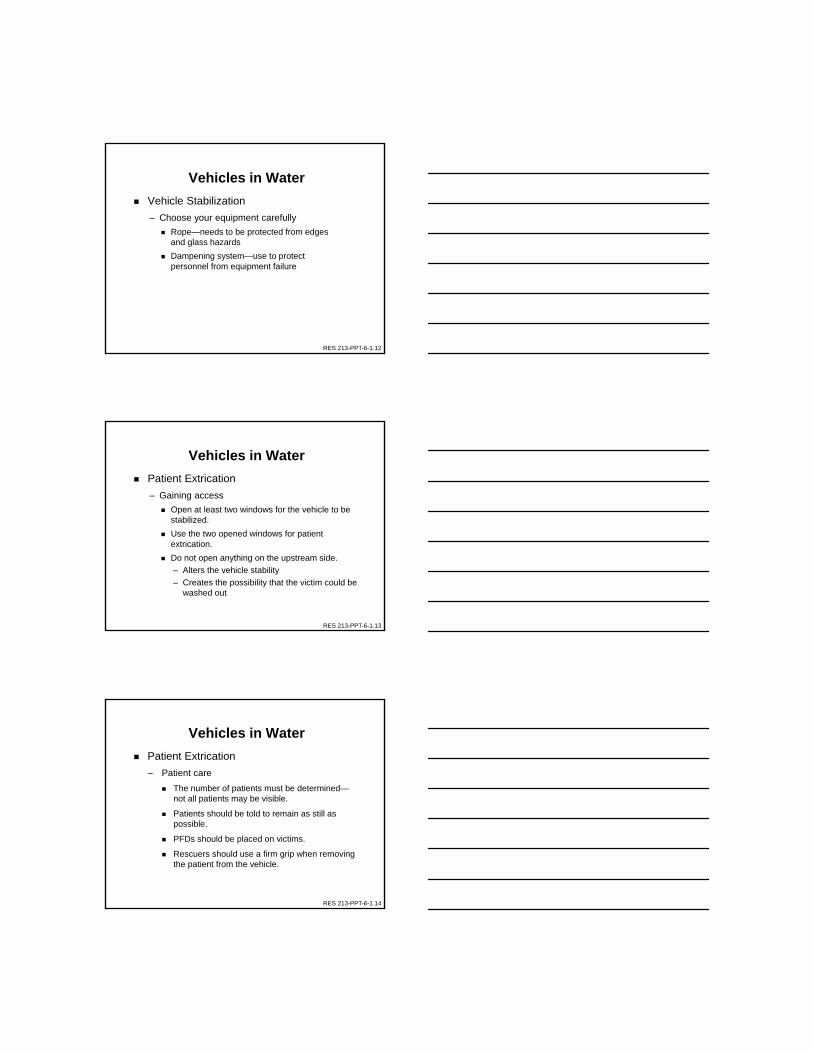
Vehicle Stabilization
– Attempt to stabilize from both banks
Ensure there are suitable anchors on both banks
Ensure the anchors are well located in relation to the vehicle
RES 213-PPT-6-1.11
Vehicles in Water
Vehicle Stabilization
– Attempt to secure back-up anchors
Combine several anchors to create a bombproof anchor.
Use load sharing anchors if the vehicle can be stabilized from both banks.
Use load distributing anchors if movement is still possible.
RES 213-PPT-6-1.12
Vehicles in Water
Vehicle Stabilization
– Choose your equipment carefully
Rope—needs to be protected from edges and glass hazards
Dampening system—use to protect personnel from equipment failure
RES 213-PPT-6-1.13
Vehicles in Water
Patient Extrication
– Gaining access
Open at least two windows for the vehicle to be stabilized.
Use the two opened windows for patient extrication.
Do not open anything on the upstream side.
– Alters the vehicle stability
– Creates the possibility that the victim could be washed out
RES 213-PPT-6-1.14
Patient Extrication
– Patient care
The number of patients must be determined—not all patients may be visible.
Patients should be told to remain as still as possible.
PFDs should be placed on victims.
Rescuers should use a firm grip when removing the patient from the vehicle.
Vehicles in Water
RES 213-PPT-6-1.15
Animal Rescue in Water
Do not attempt an animal rescue in water unless you are trained to do so.
Keep untrained persons away from the animal.
– Keeps people from endangering themselves
– Keeps people from endangering the life of the animal
RES 213-PPT-6-1.16
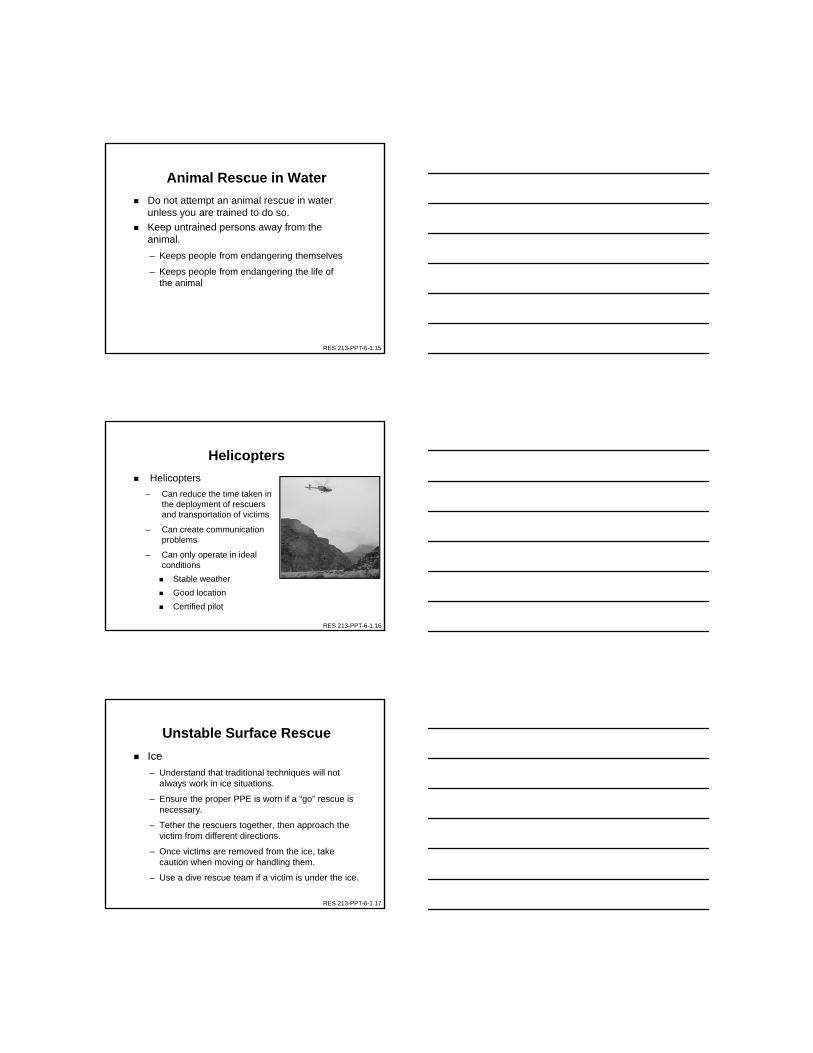
Helicopters
Helicopters
– Can reduce the time taken in the deployment of rescuers and transportation of victims
– Can create communication problems
– Can only operate in ideal conditions
Stable weather
Good location
Certified pilot
RES 213-PPT-6-1.17
Unstable Surface Rescue
Ice
– Understand that traditional techniques will not always work in ice situations.
– Ensure the proper PPE is worn if a “go” rescue is necessary.
– Tether the rescuers together, then approach the victim from different directions.
– Once victims are removed from the ice, take caution when moving or handling them.
– Use a dive rescue team if a victim is under the ice.
RES 213-PPT-6-1.18
Unstable Surface Rescue
Mud
– Injecting compressed air into the mud may release a victim that is trapped.
– Forcing water into the mud may release a victim that is trapped.
– Digging in a mud rescue situation poses the largest risk to both the victim and rescuer.
RES 213-PPT-6-1.19
Canals and Locks
Sudden turbulence in the water occurs when the lock is opened.
When the sluice gates are opened the rush of water could submerge victims and entrap them.
Secure the gate controls to reduce the risk of unexpected water flow.
RES 213-PPT-6-1.20
Student Performance Objective
Given information from discussion, handouts, and reading materials the student will be able to identify advanced rescue skills and techniques to use during a swiftwater incident.
RES 213-PPT-6-1.21
Review
Vehicles in Water
Animal Rescue in Water
Helicopters
Unstable Surface Rescue
Canals and Locks